How to flash custom firmware to a Sonoff Basic

Sonoff basics are amazing little devices and are probably the most popular way of making a dumb device smart. They are incredibly simple, versatile and very inexpensive. It has many use cases and it finds its way into many smart homes around the globe. But there is a simple way we can greatly enhance the Sonoff Basic with a custom firmware such as Tasmota.
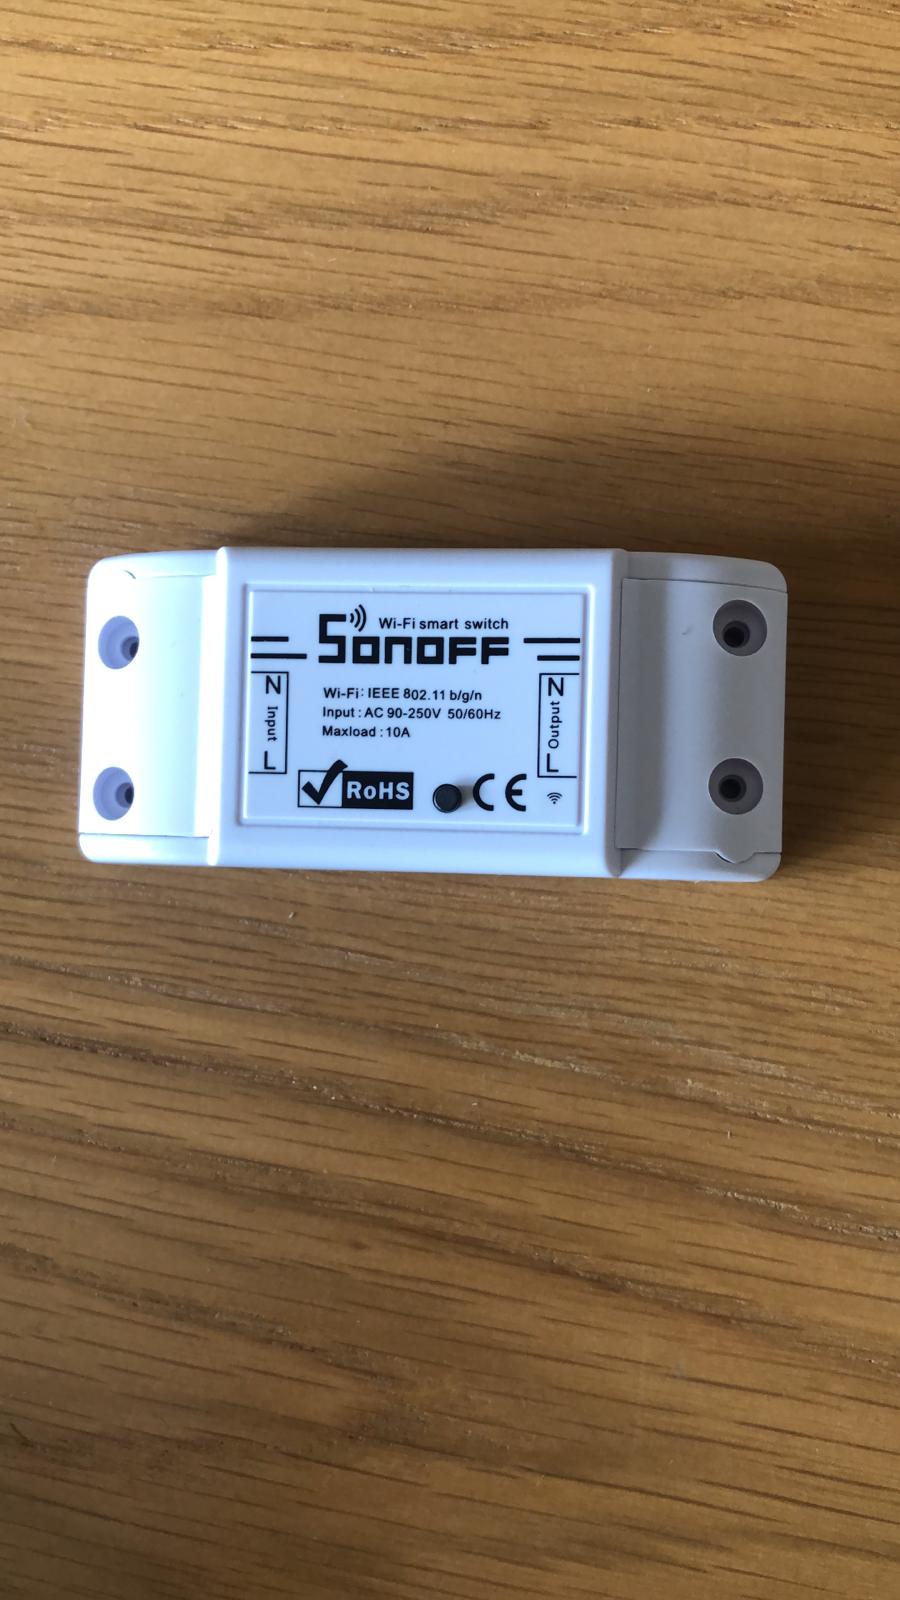
Sonoff basic modules are essentially an ESP8266 board with a relay. It takes power from the mains and has a single output. There are of course other Sonoff modules that have more outputs and perform various functions, but today we are looking at the most simplest module.
The problem is that many of these devices come with “cloud” connected firmware installed and require the use of some unknown manufacturers app. Of course this is no use for us, we want everything integrated into a single app and we want to get rid of the cloud aspect.
Fortunately this is very easy to fix by flashing our own firmware. We are going to be using Tasmota for this guide but any ESP8266 firmware will work.
Guide
Parts list:
There is just 2 items we need for this:
- Sonoff basic
- FTDI USB to serial adaptor and USB to Mini USB cable – these are essential for many projects so definitely worth purchasing
Optionally you might consider picking up some headers if you don’t have any, chances are you will have some around.
Setup
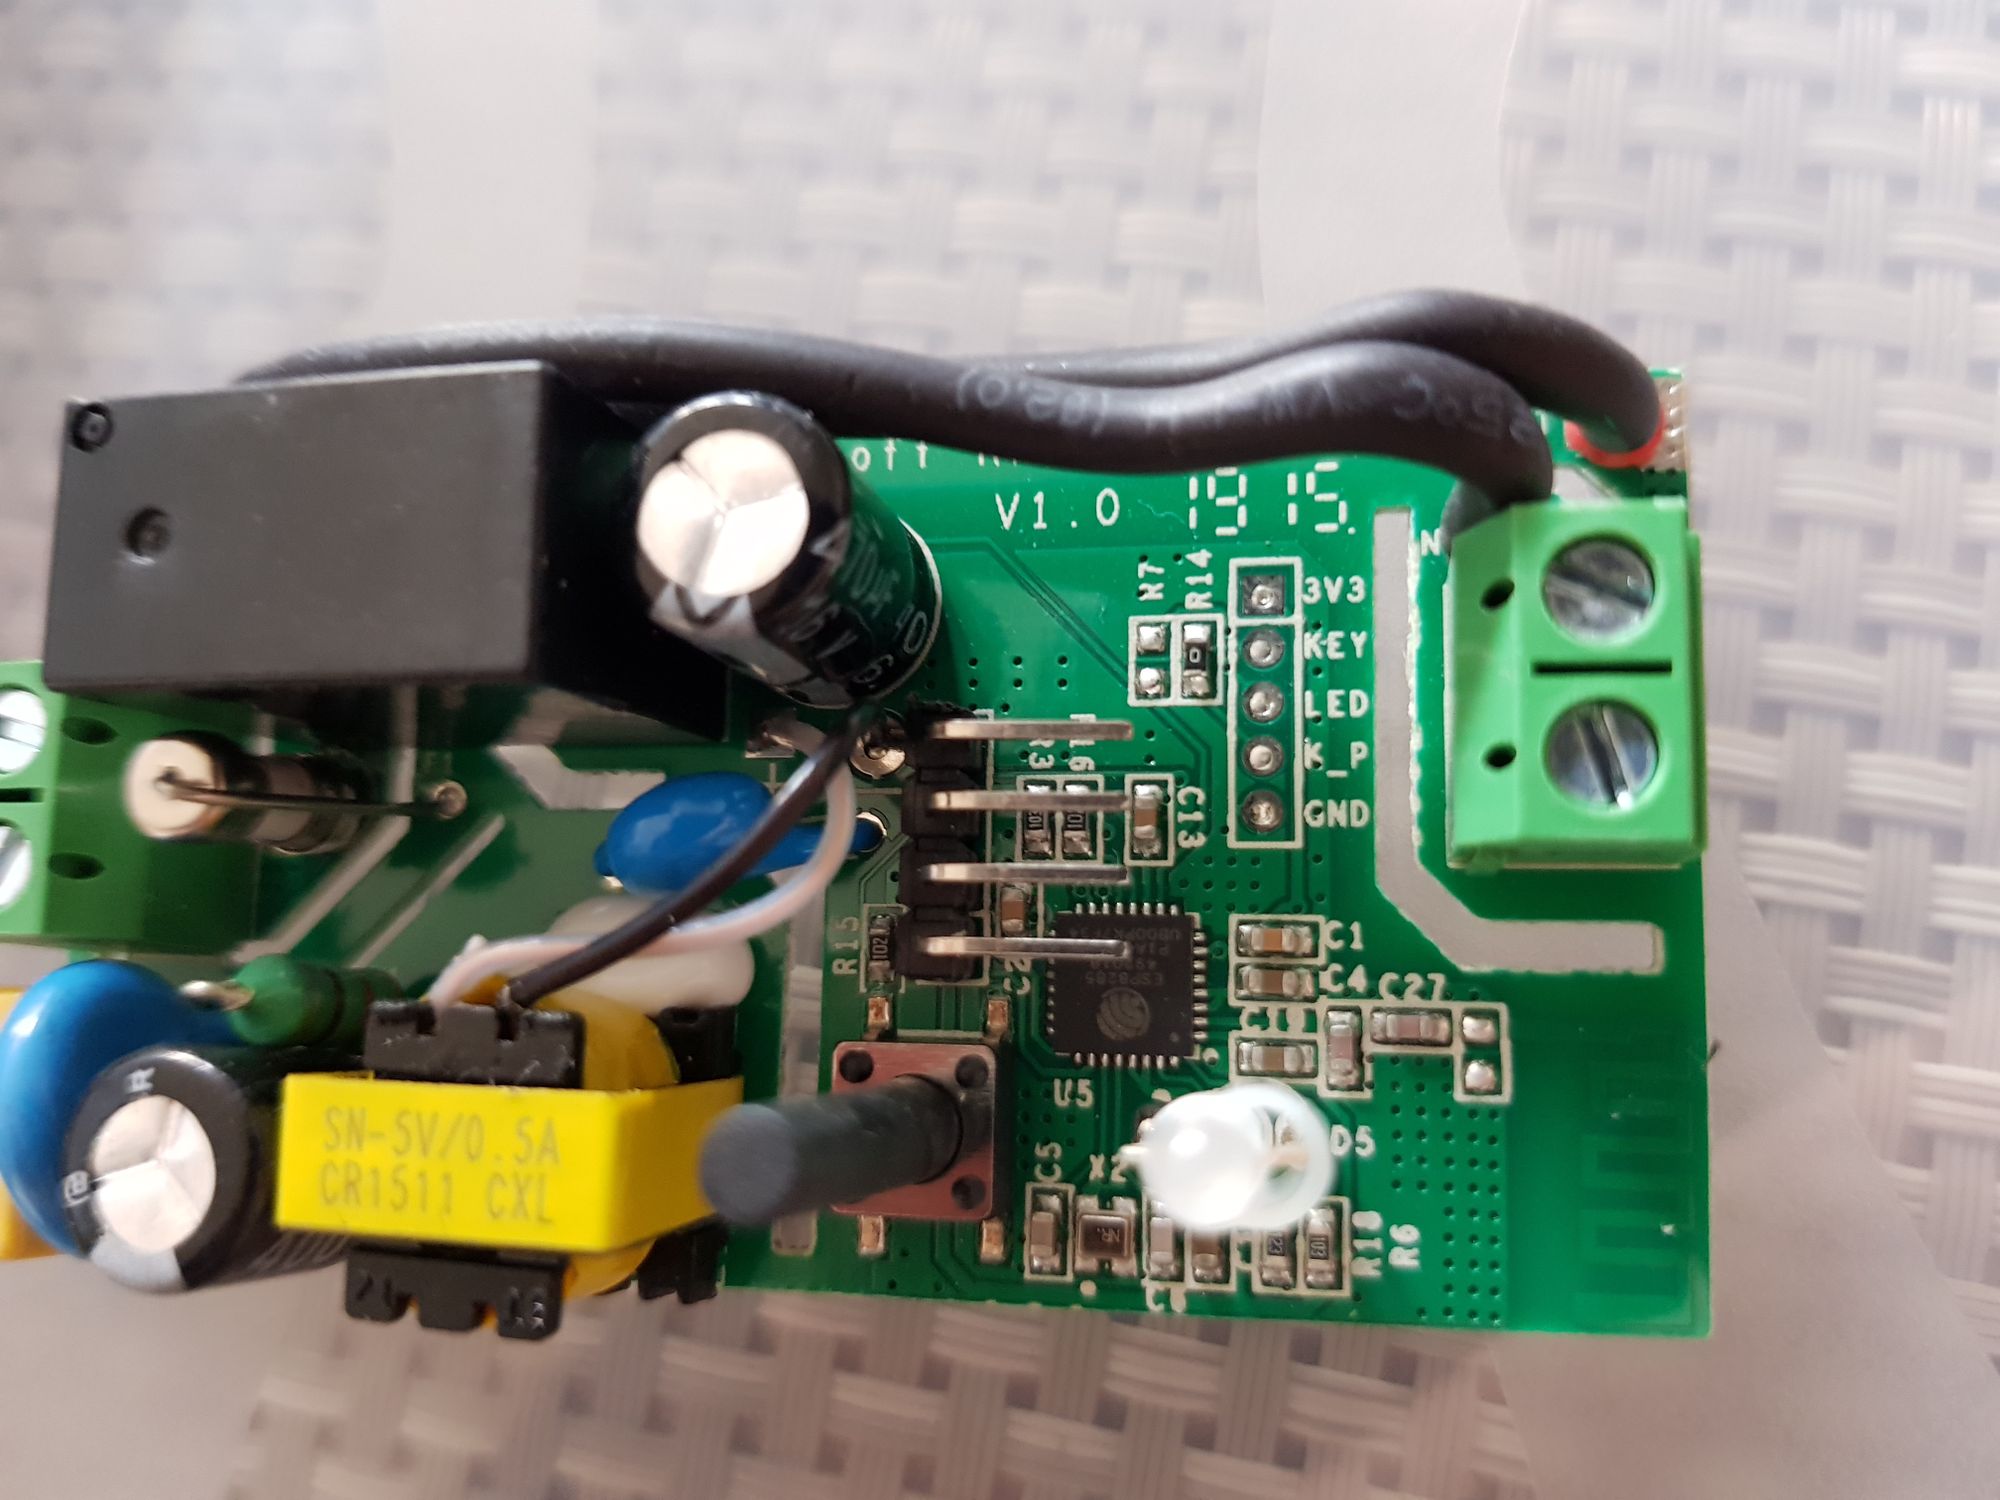
First things first, we need to add some headers to connect to. Crack open the case of your module and locate 4 pins on the board, you’ll need to flip it over to the underside and they will be clearly located: GND, TX, RX and 3v3.

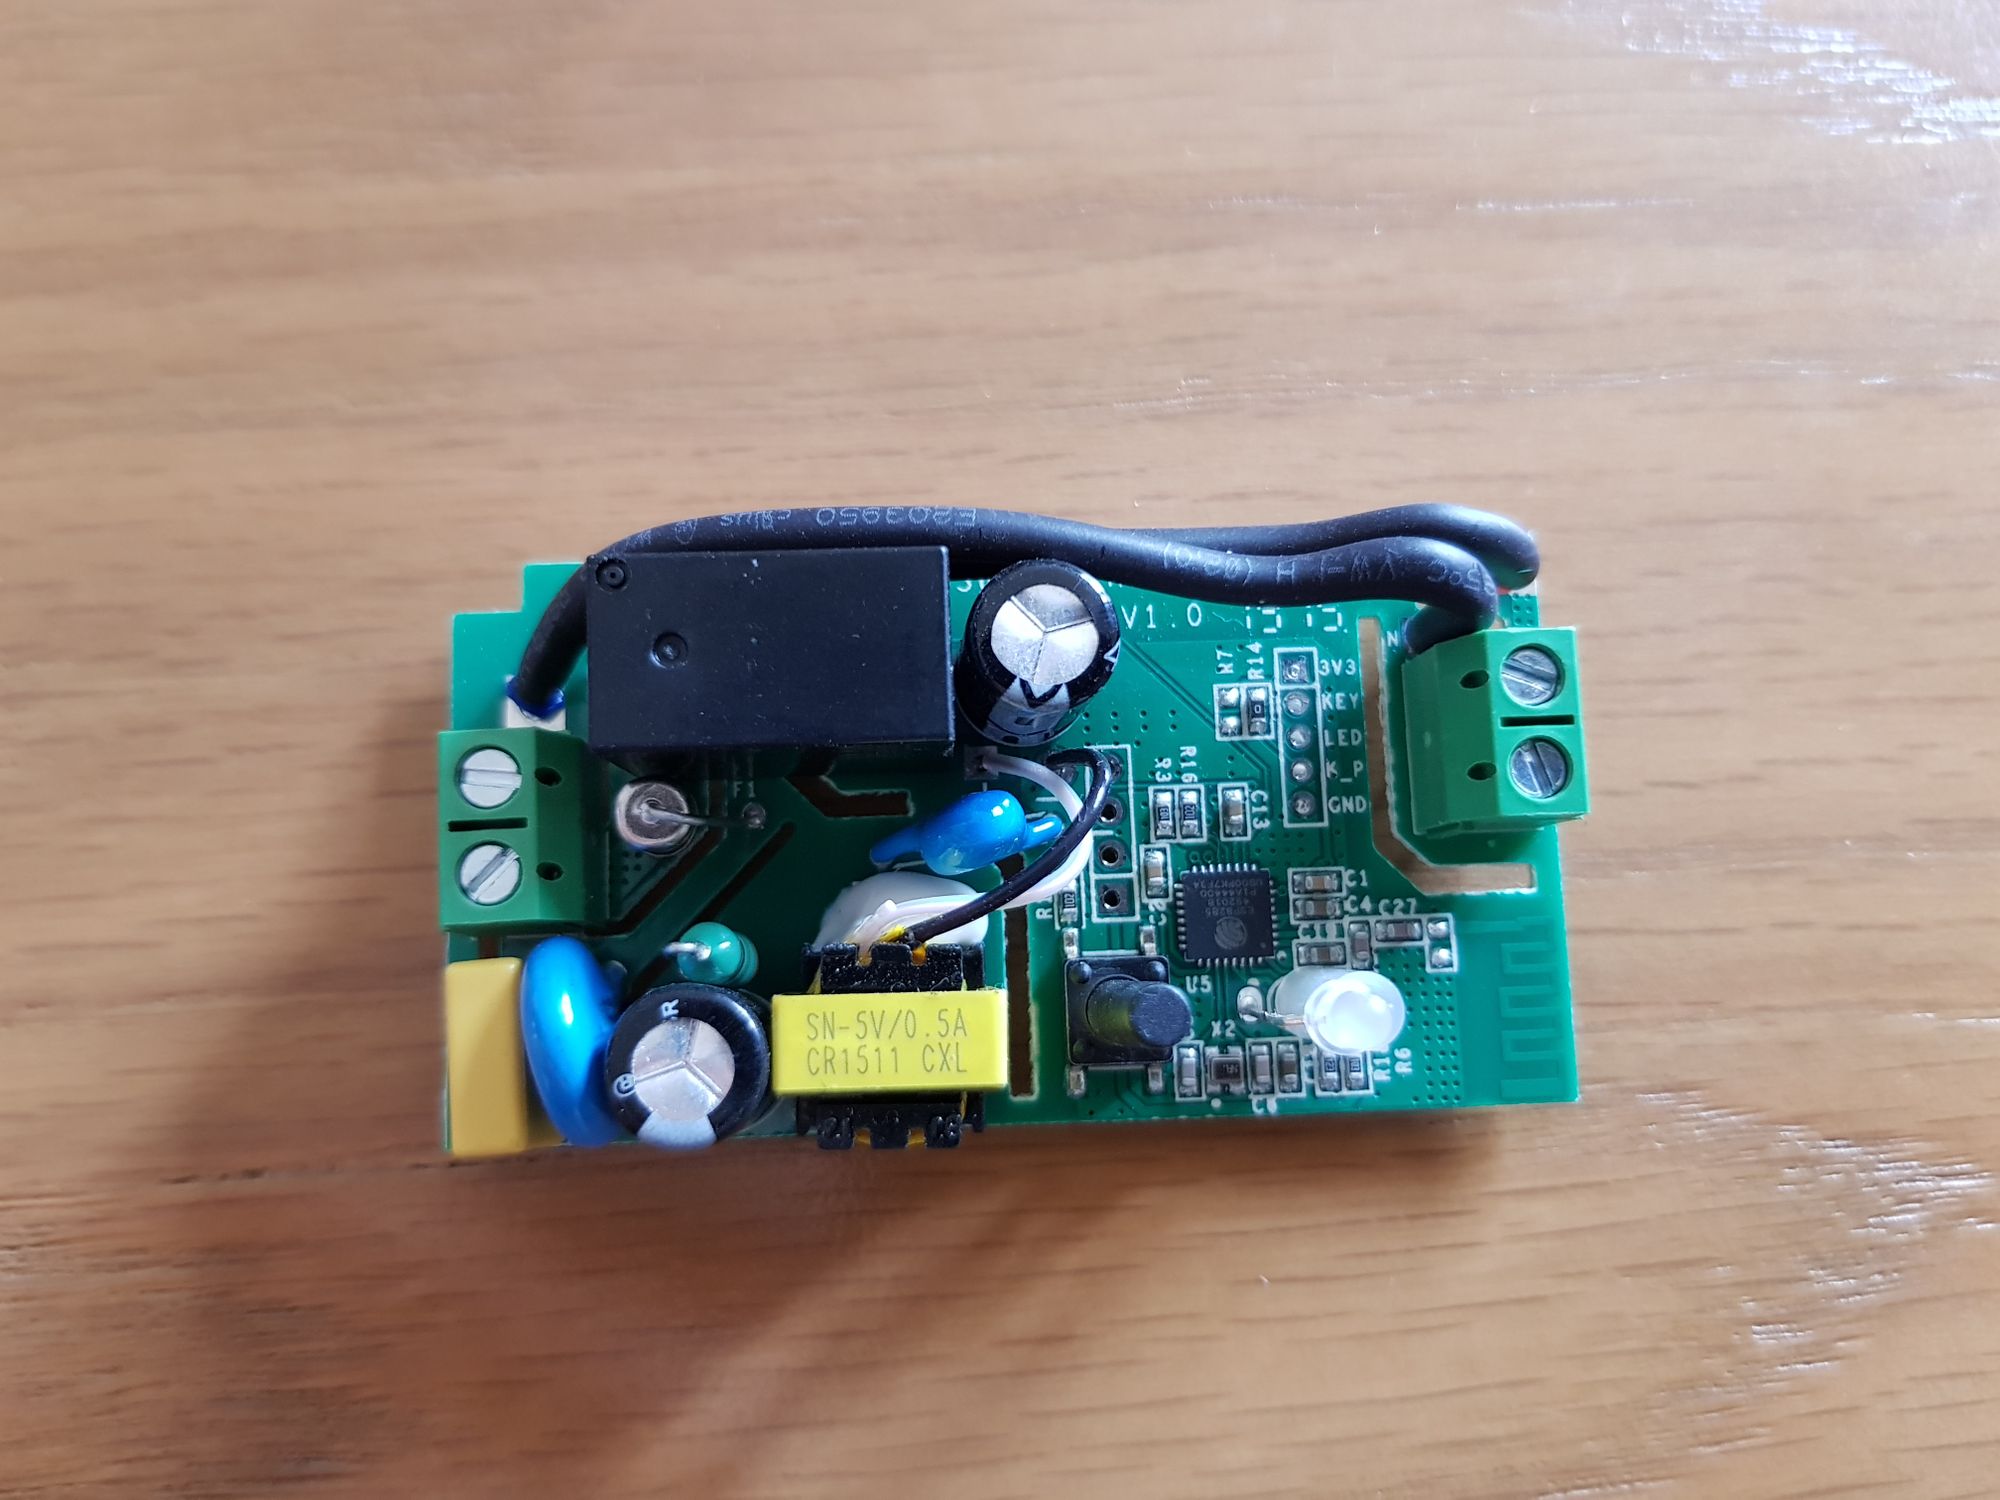
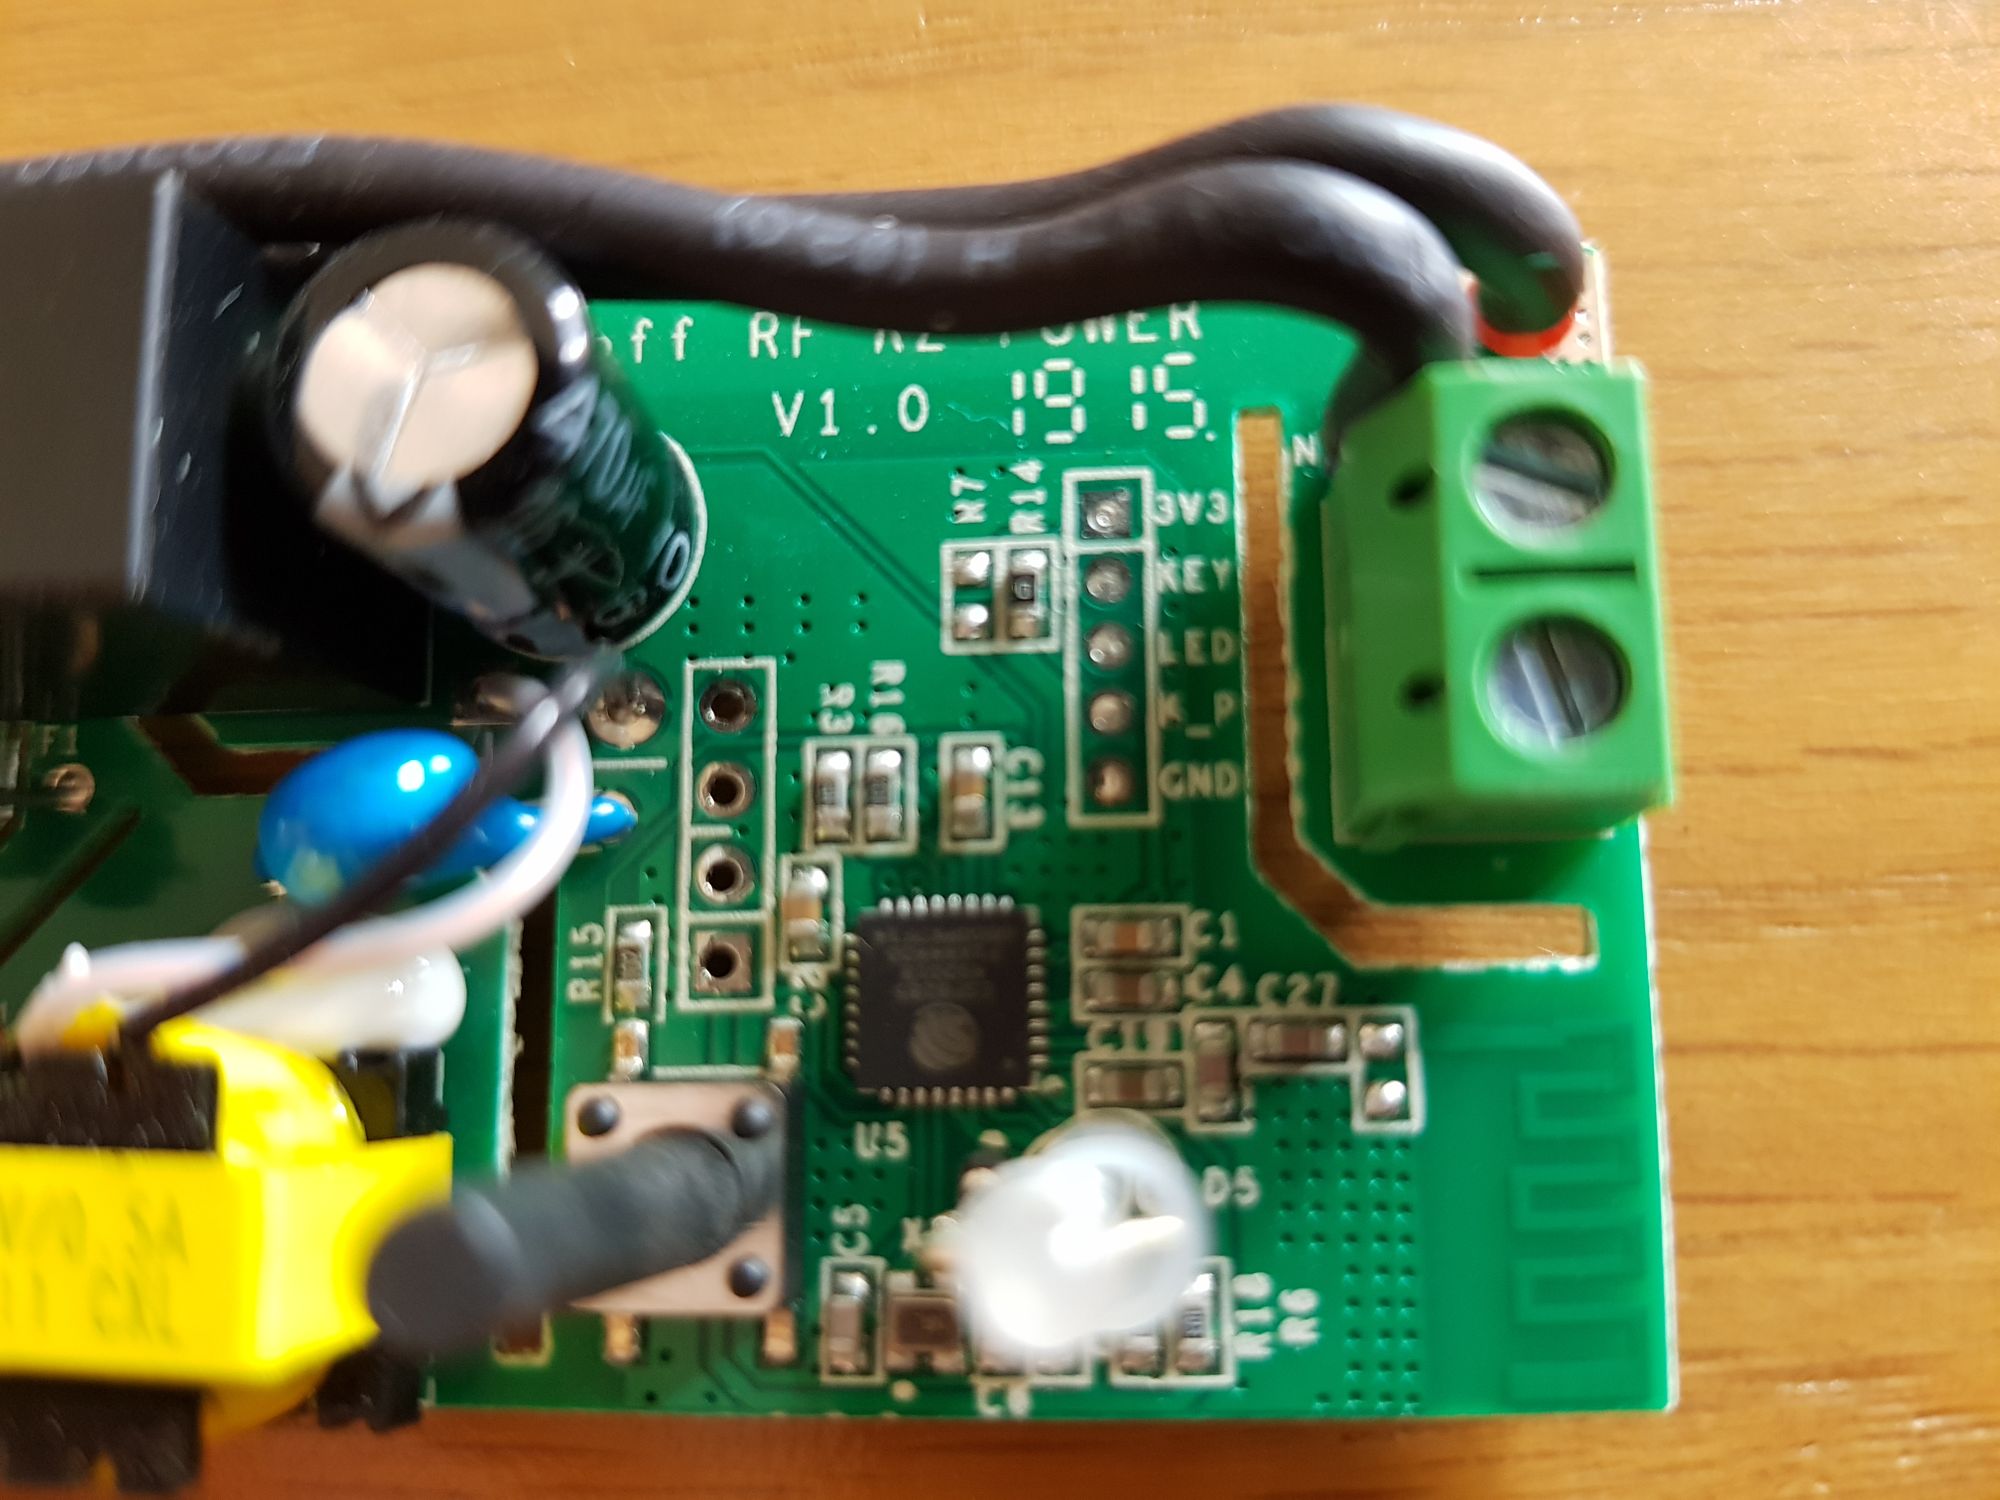
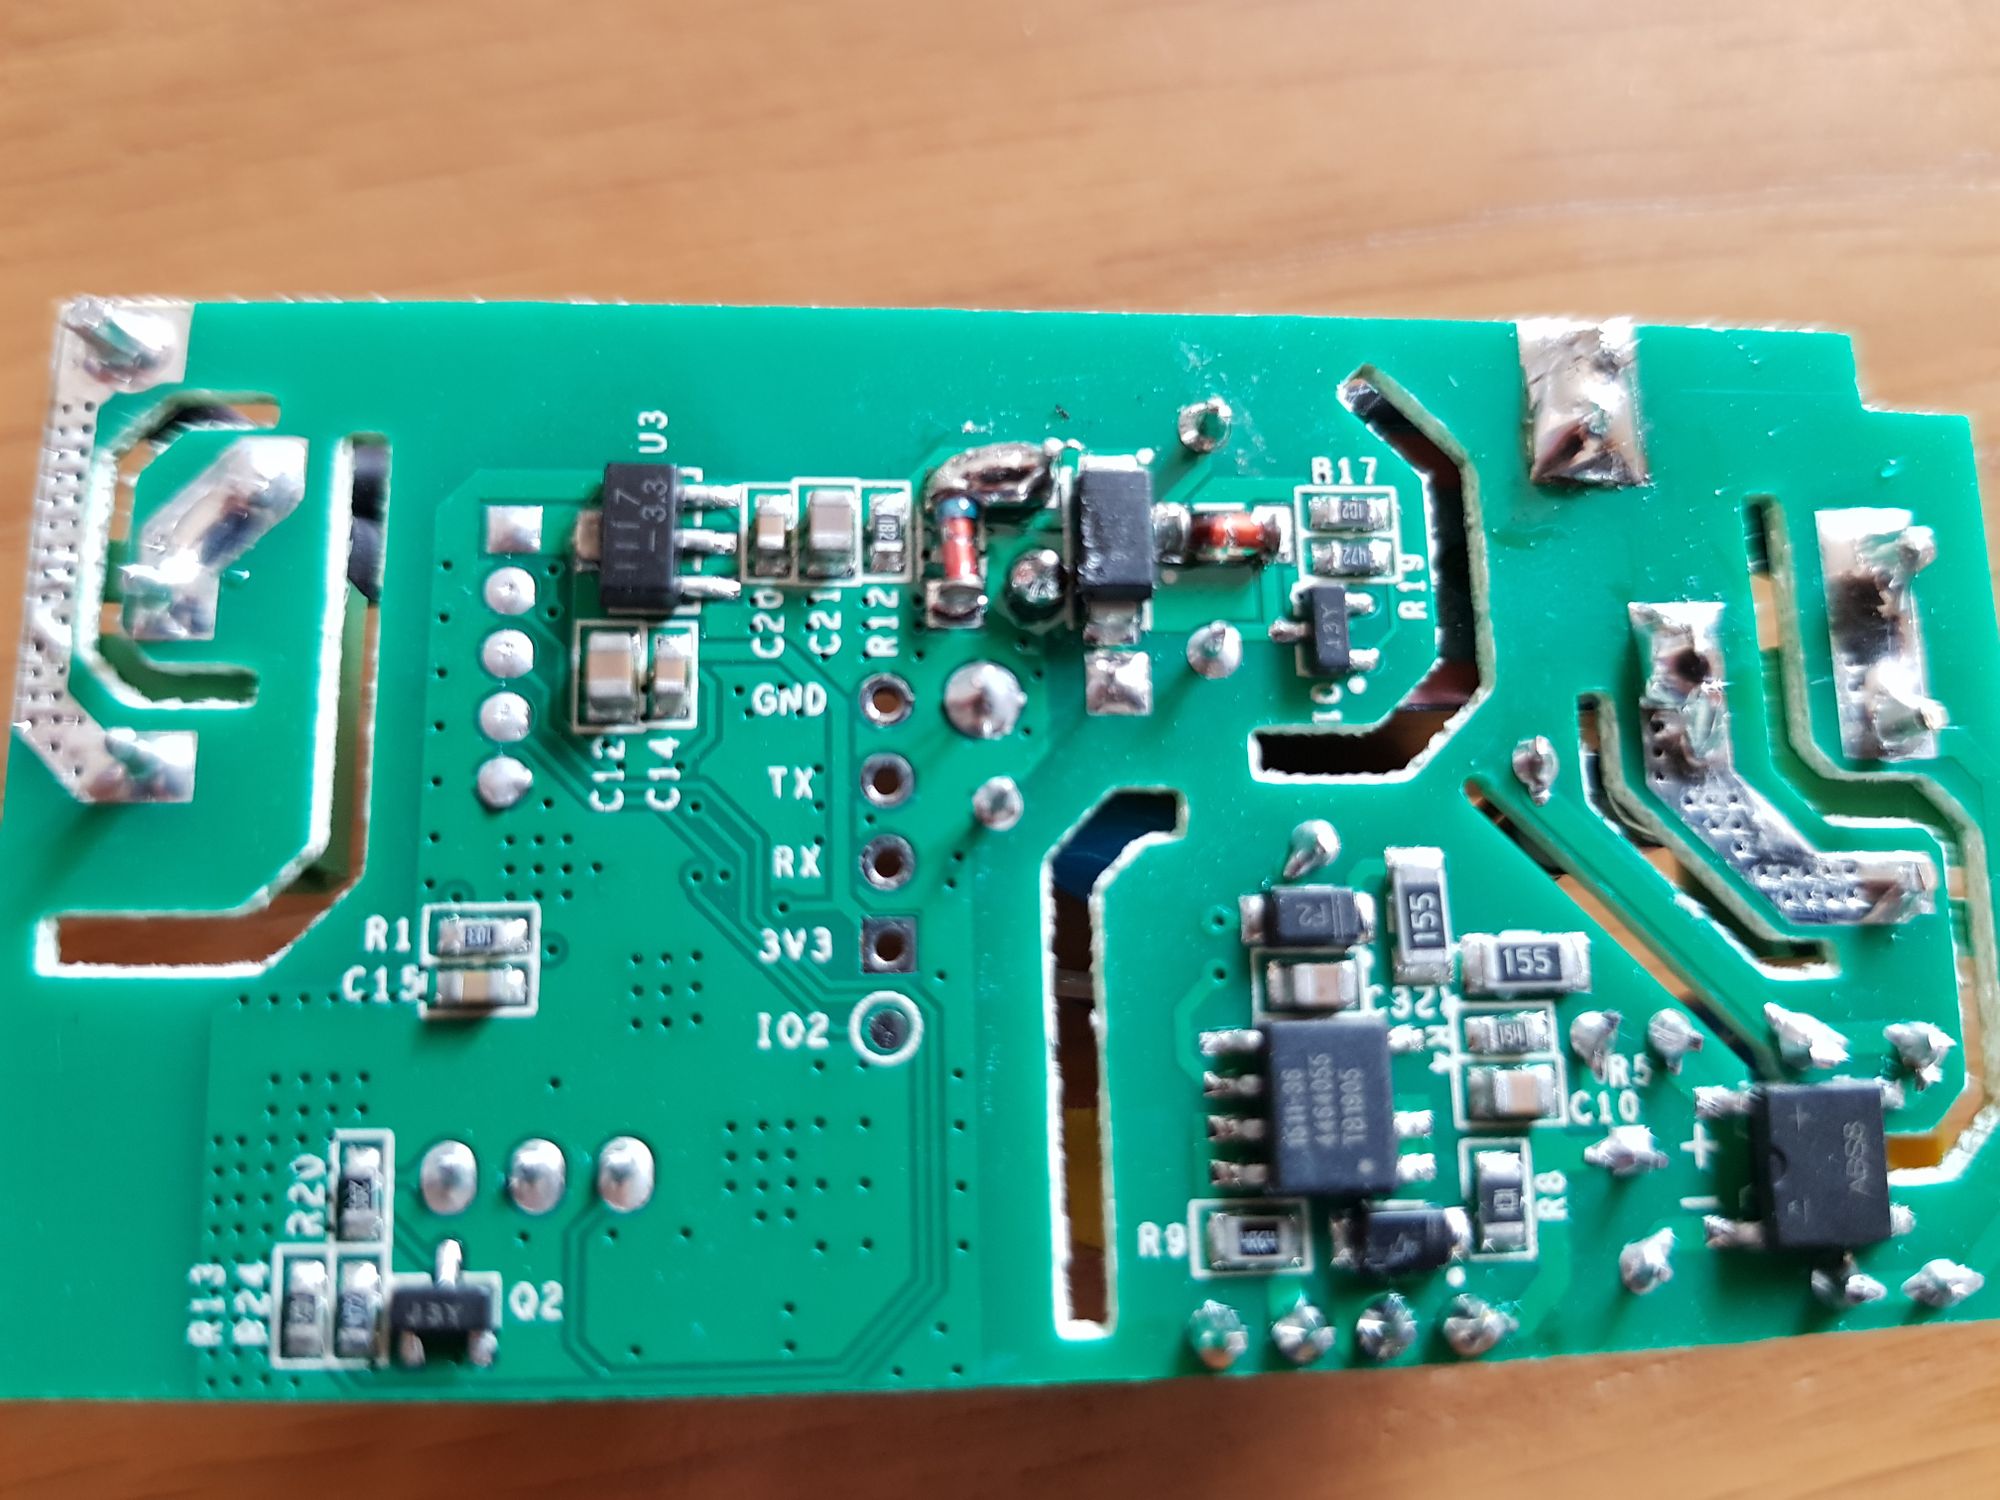
Take a 4 pin header and poke it through the top side, soldering from the bottom. Make sure to put the header through the top, otherwise the case won’t shut properly when we come to re-assemble. You should now have easy connections to GND, RX and 3v3.
I used a right angle header on my example. From there, connect these pins to your serial adaptor using the following configuration:
| Sonoff Basic | USB to Serial Adapter |
| GND | GND |
| 3.3 | VCC |
| RX | TX |
| TX | RX |
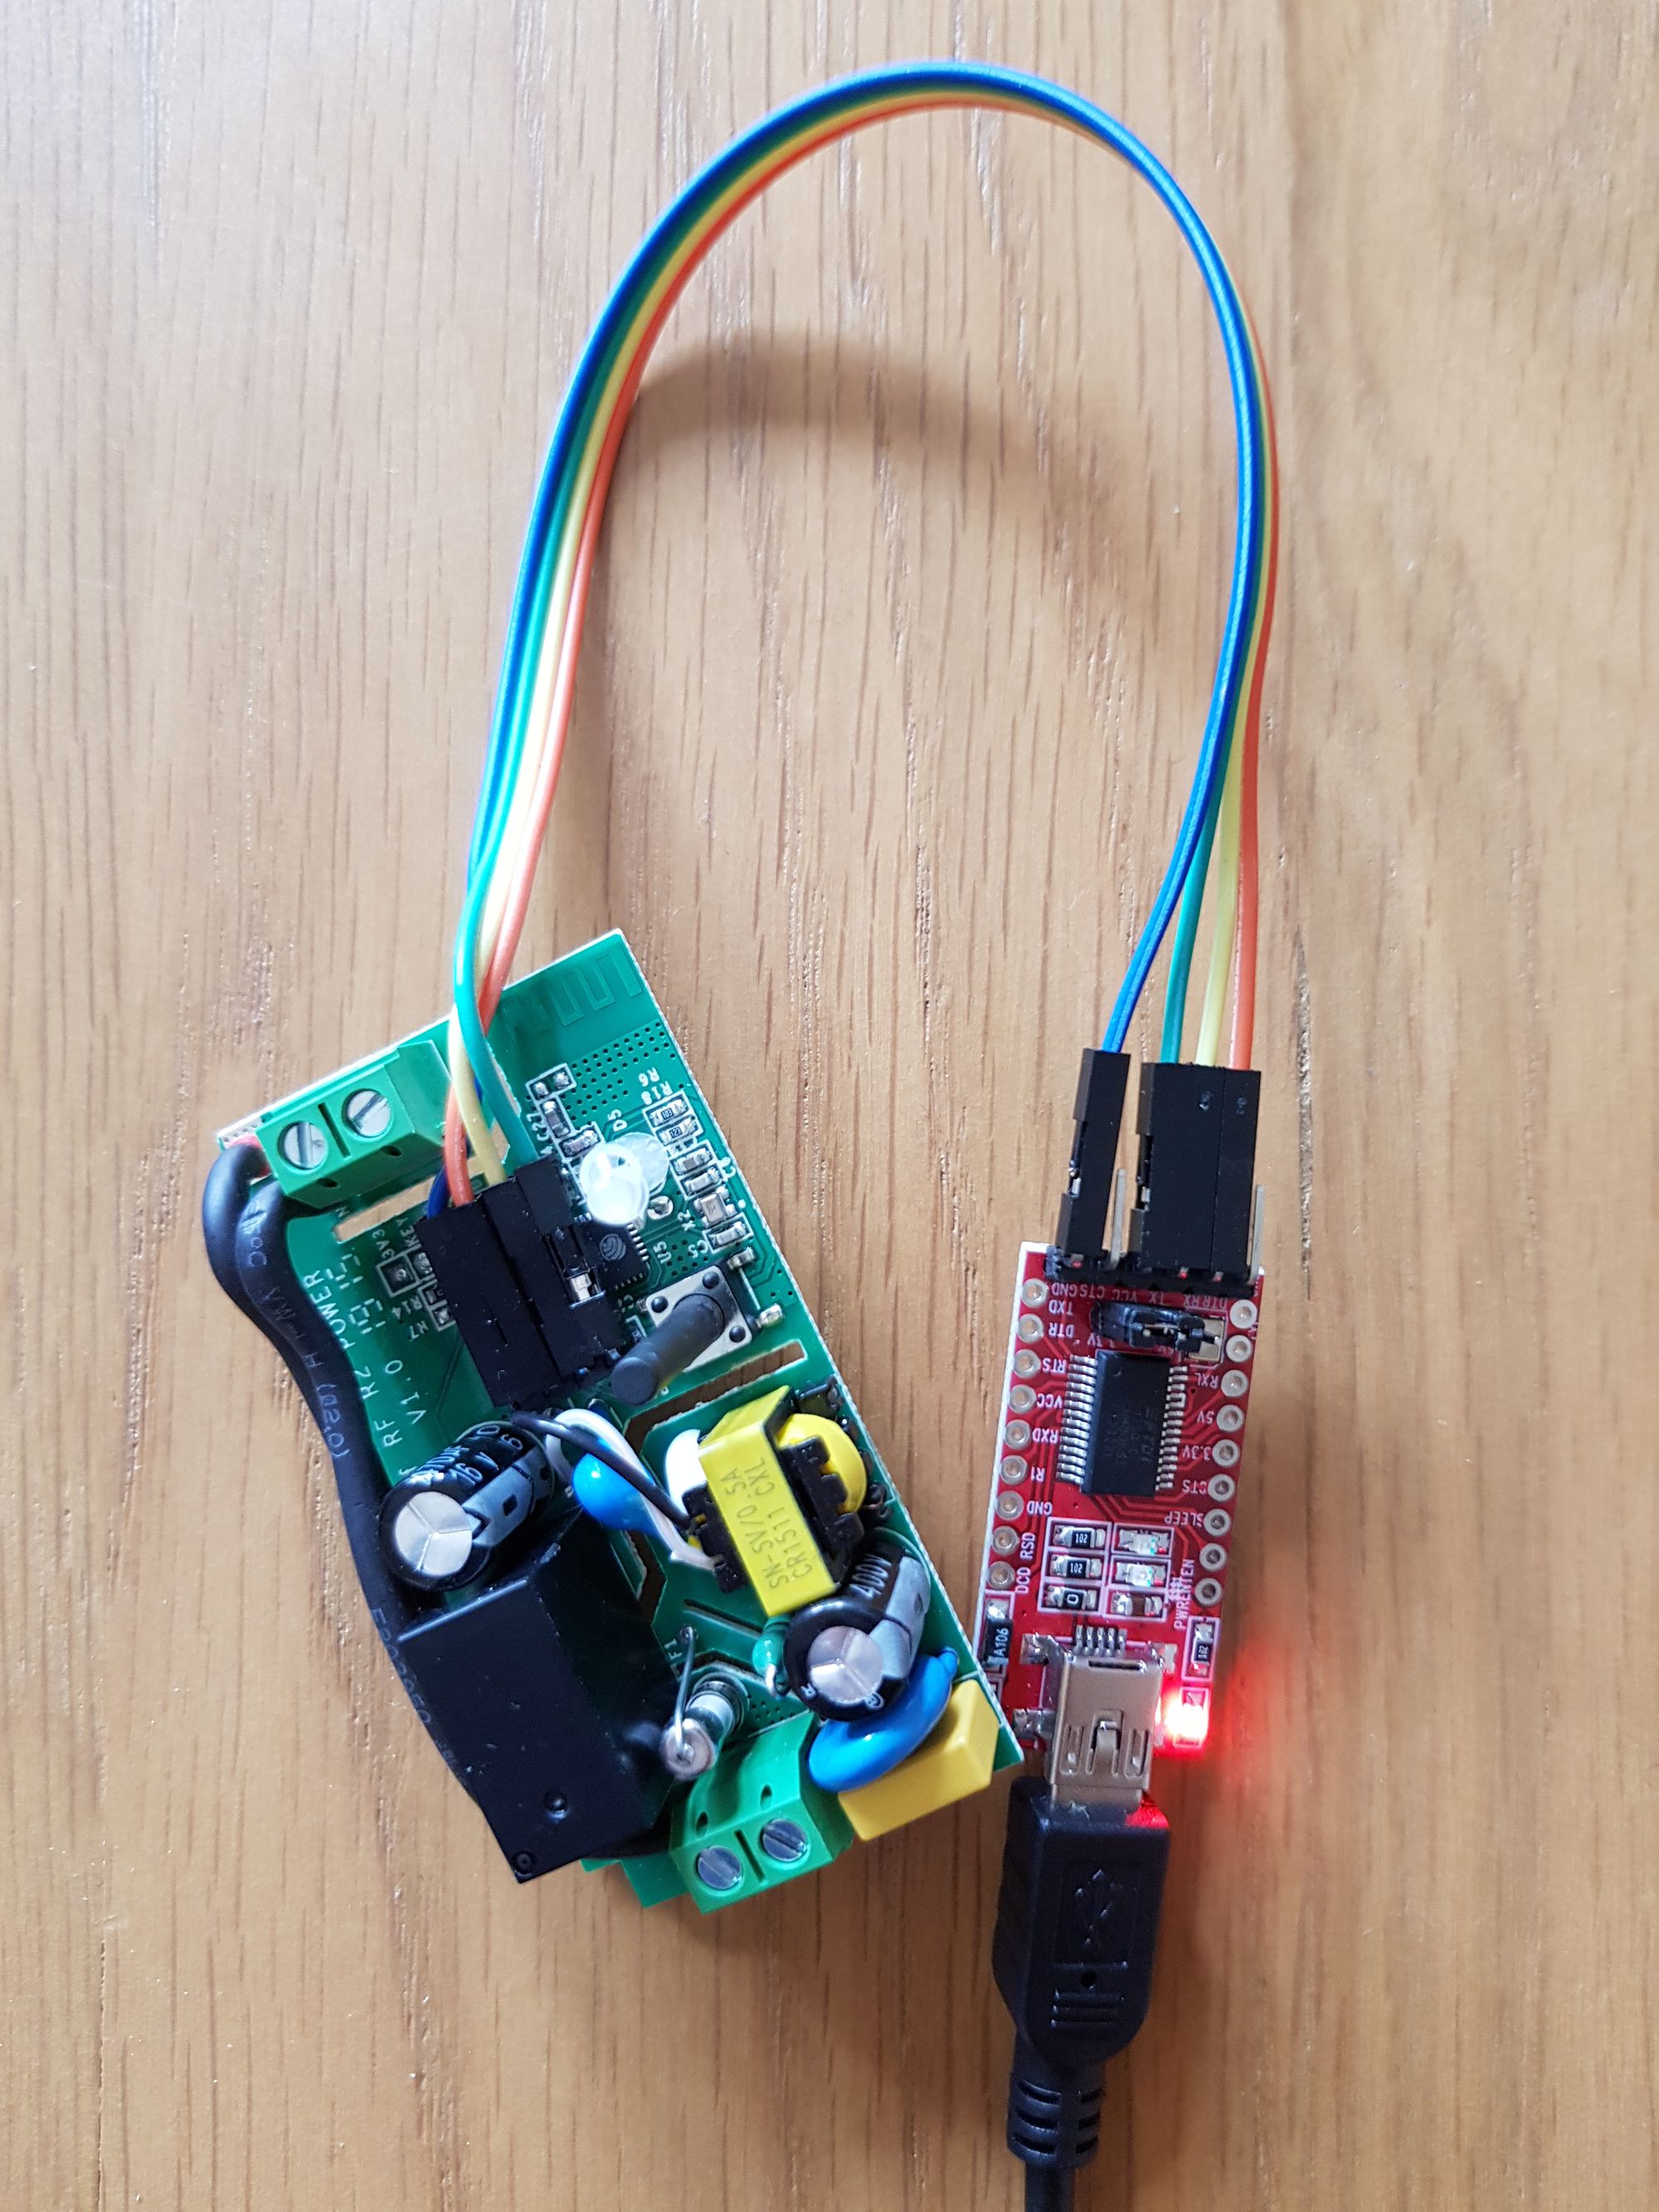
Make sure you have your USB to Serial adapter set to 3.3v output, 5v output could damage the device.
Now we are ready to flash.
Flashing Tasmota to Sonoff Basic
You have your USB to Serial adapter set to 3.3v right?
With your USB unplugged, go ahead and fire up a terminal or command prompt. We will be using esptool as usual for this, if you do not have this installed then follow previous instructions here.
Backup original firmware
We are going to take a backup of the original firmware first, incase you need it for any reason.
Normally an ESP8266 has to have IO0 connected to ground on startup to enter flash mode. On your Sonoff module, you will have a single button which lucky for us is IO0 meaning we don’t need to solder a connection for IO0.
Hold this button down, and plug in your USB, After a few seconds, release the button. Your Sonoff module will now be in flash mode. You need to do this each time you want to read or write the flash.
With your module in flash mode, enter the following commands:
Windows:
esptool --port YOUR_COM_PORT --baud 115200 read_flash 0x00000 0x100000 sonoff-basic-backup.bin

Linux:
esptool --port /dev/YOUR_COM_PORT --baud 115200 read_flash 0x00000 0x100000 sonoff-basic-backup.bin
You will see the progress on screen, it shouldn’t only take a minute to complete.
Flashing custom firmware
For the example I will use Sonoff-tasmota, but you can use any firmware you like. If you want to use Tasmota, grab the latest version from the Github here. I’d stick with the basic version.
First we will erase the flash to make sure we are starting from fresh. Go ahead and re-enter your Sonoff module to flash mode.
Use the following command to erase flash:
Windows:
esptool --port YOUR_COM_PORT erase_flash

Linux:
esptool --port /dev/YOUR_COM_PORT erase_flash
This should just take a few seconds to complete. After this has finished, reboot your module again to flash mode. Then use the following command to flash Sonoff-tasmota to your module:
Windows:
esptool --port YOUR_COM_PORT write_flash -fs 1MB -fm dout 0x0 sonoff-basic.bin

Linux:
esptool --port /dev/YOUR_COM_PORT write_flash -fs 1MB -fm dout 0x0 sonoff-basic.bin
This will take less than a minute. Once complete, unplug and re-plug your USB, do not enter flash mode this time.
That’s it, you have successfully flashed your Sonoff Basic module. If you are using Tasmota, you can now connect to the Wifi hotspot of your Sonoff module and open http://192.168.4.1 to complete setup!