Take Your Smart Home Heating To The Next Level! - Shelly TRV Review
The Shelly TRV is a device that lets you automatically control the individual radiators in a room and has a bunch of great features, to help take your smart home heating to the next level.

Automating your heating is often a high priority item when building out your smart home, with lots of options available for smart thermostats. But those usually just heat or cool the entire house as one, what if there was a way to do it on a room by room basis which would be very nice for comfort, the environment and your wallet?
Shelly has entered the market with their new Shelly TRV, a device that lets you automatically control the individual radiators in a room and has a bunch of great features, all whilst being pretty affordable!
Video
Specs & Features
Full transparency as always, Shelly did send their new TRV’s over to me to check out, but no money changed hands and they do not get to see the video or this review before it went live.
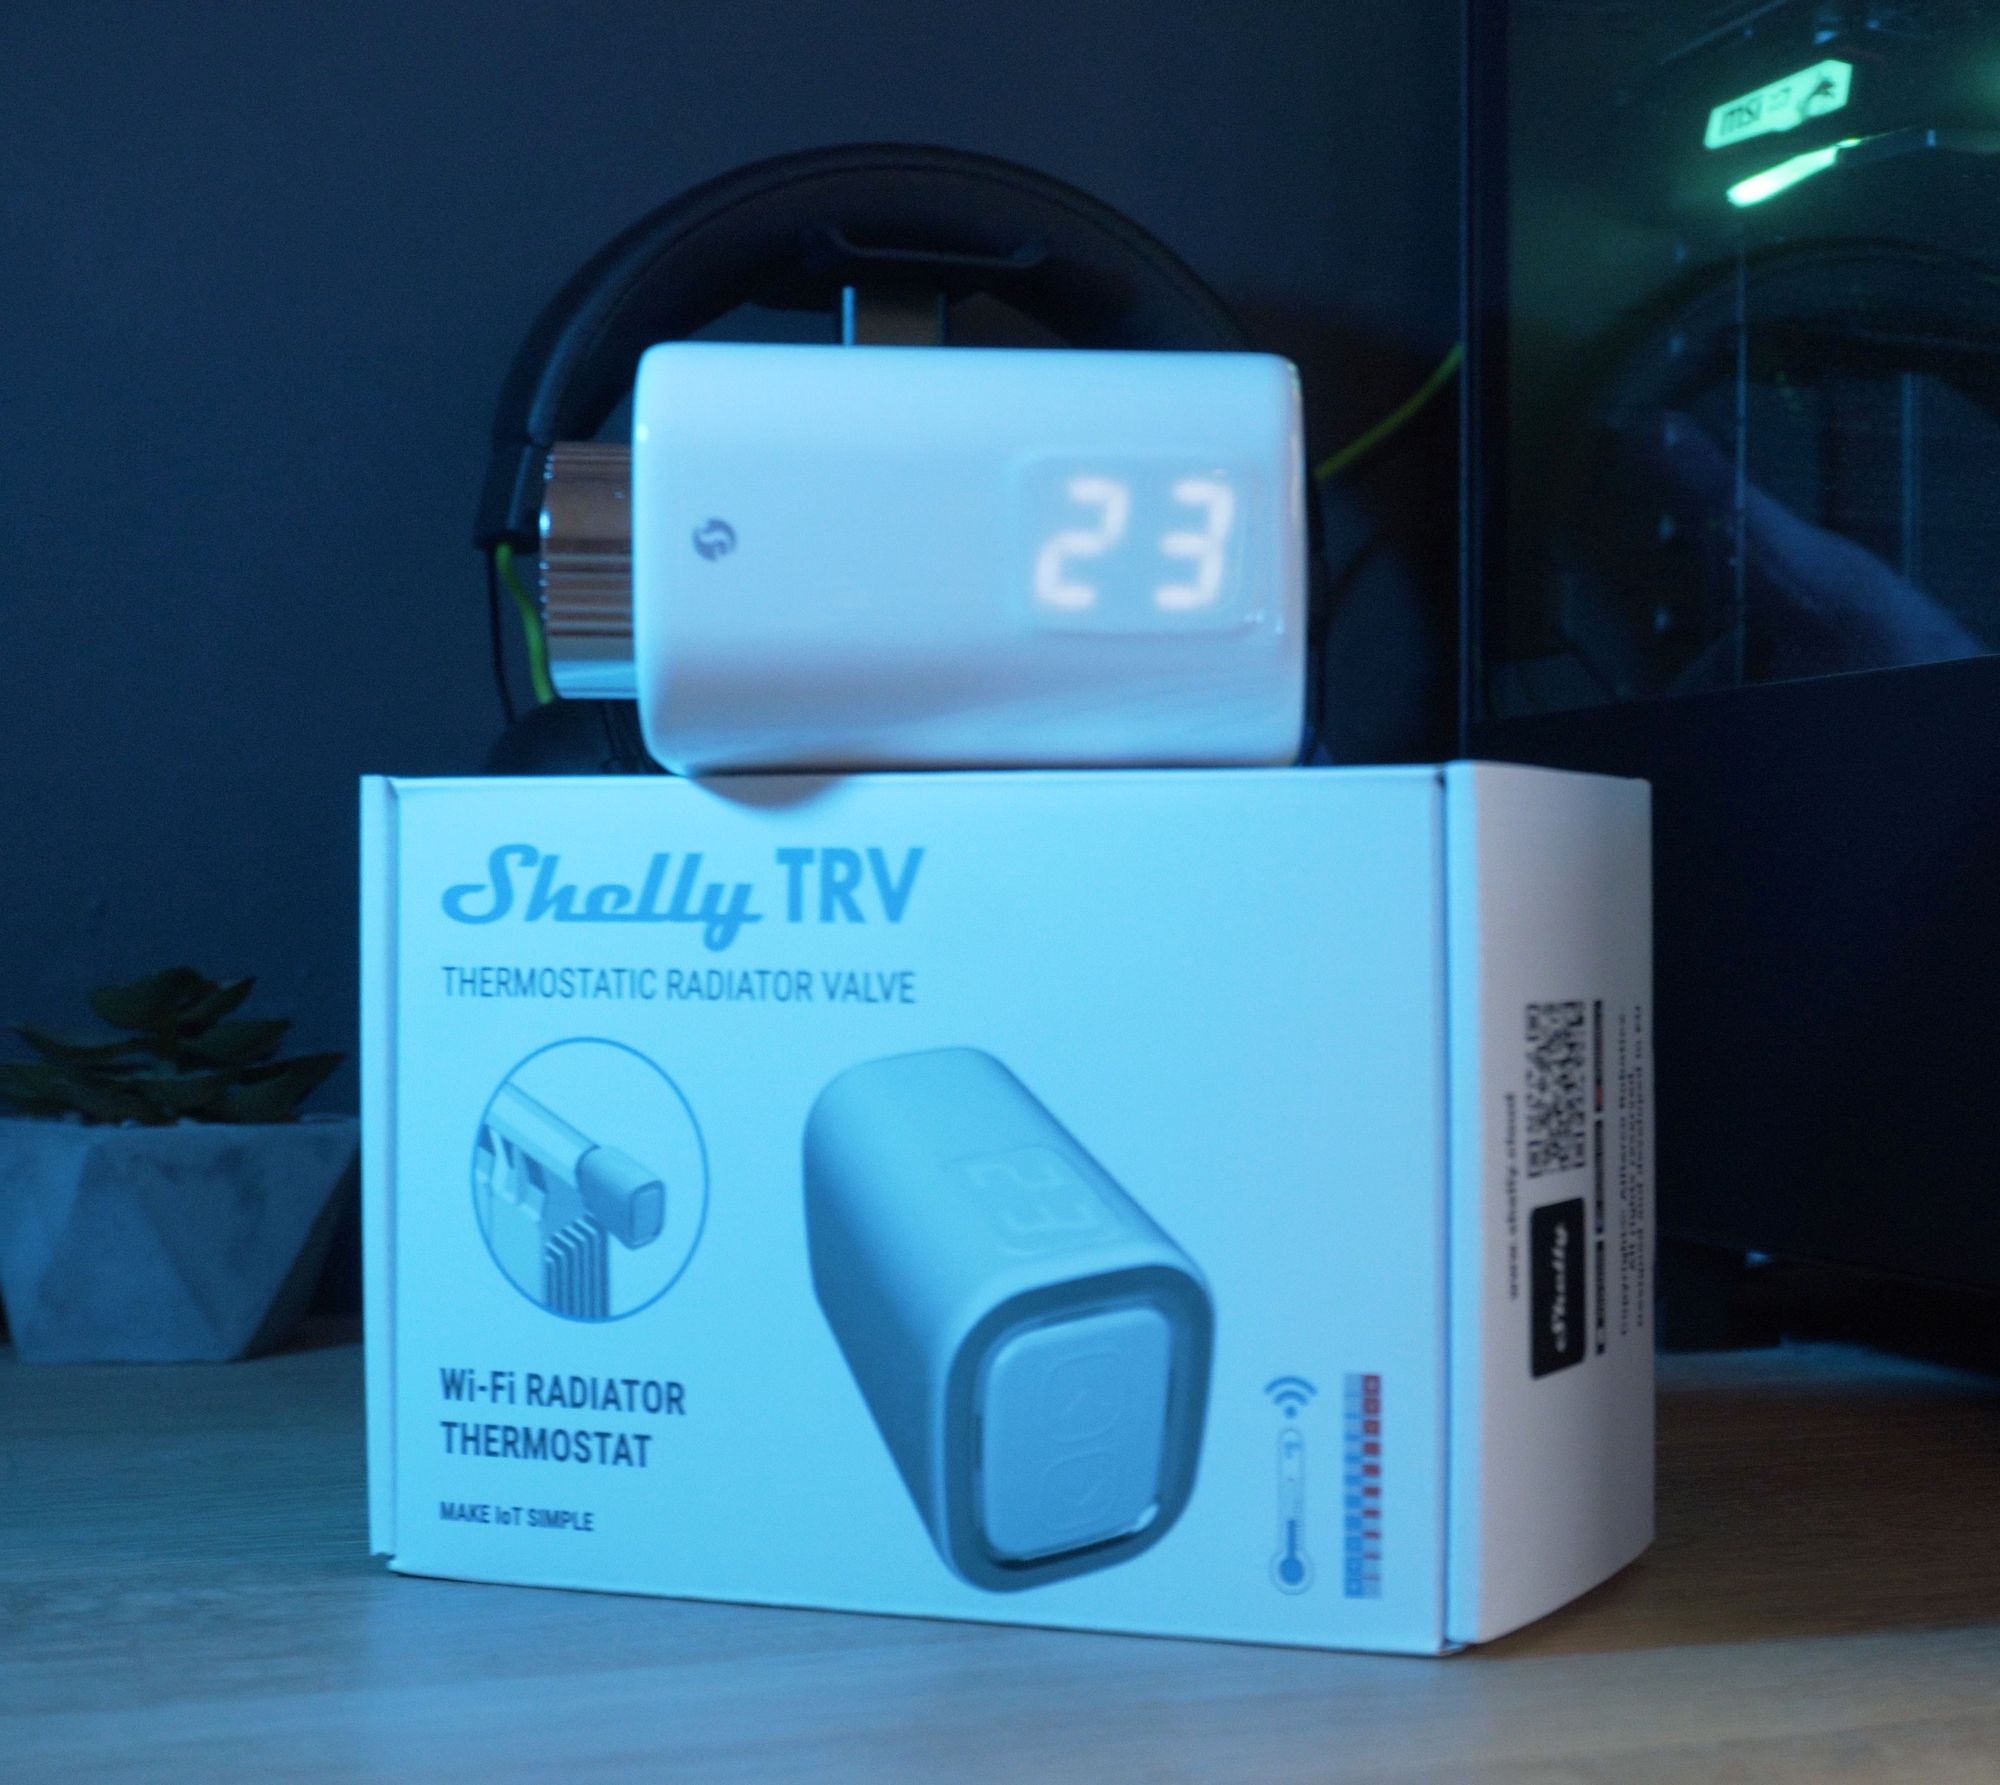
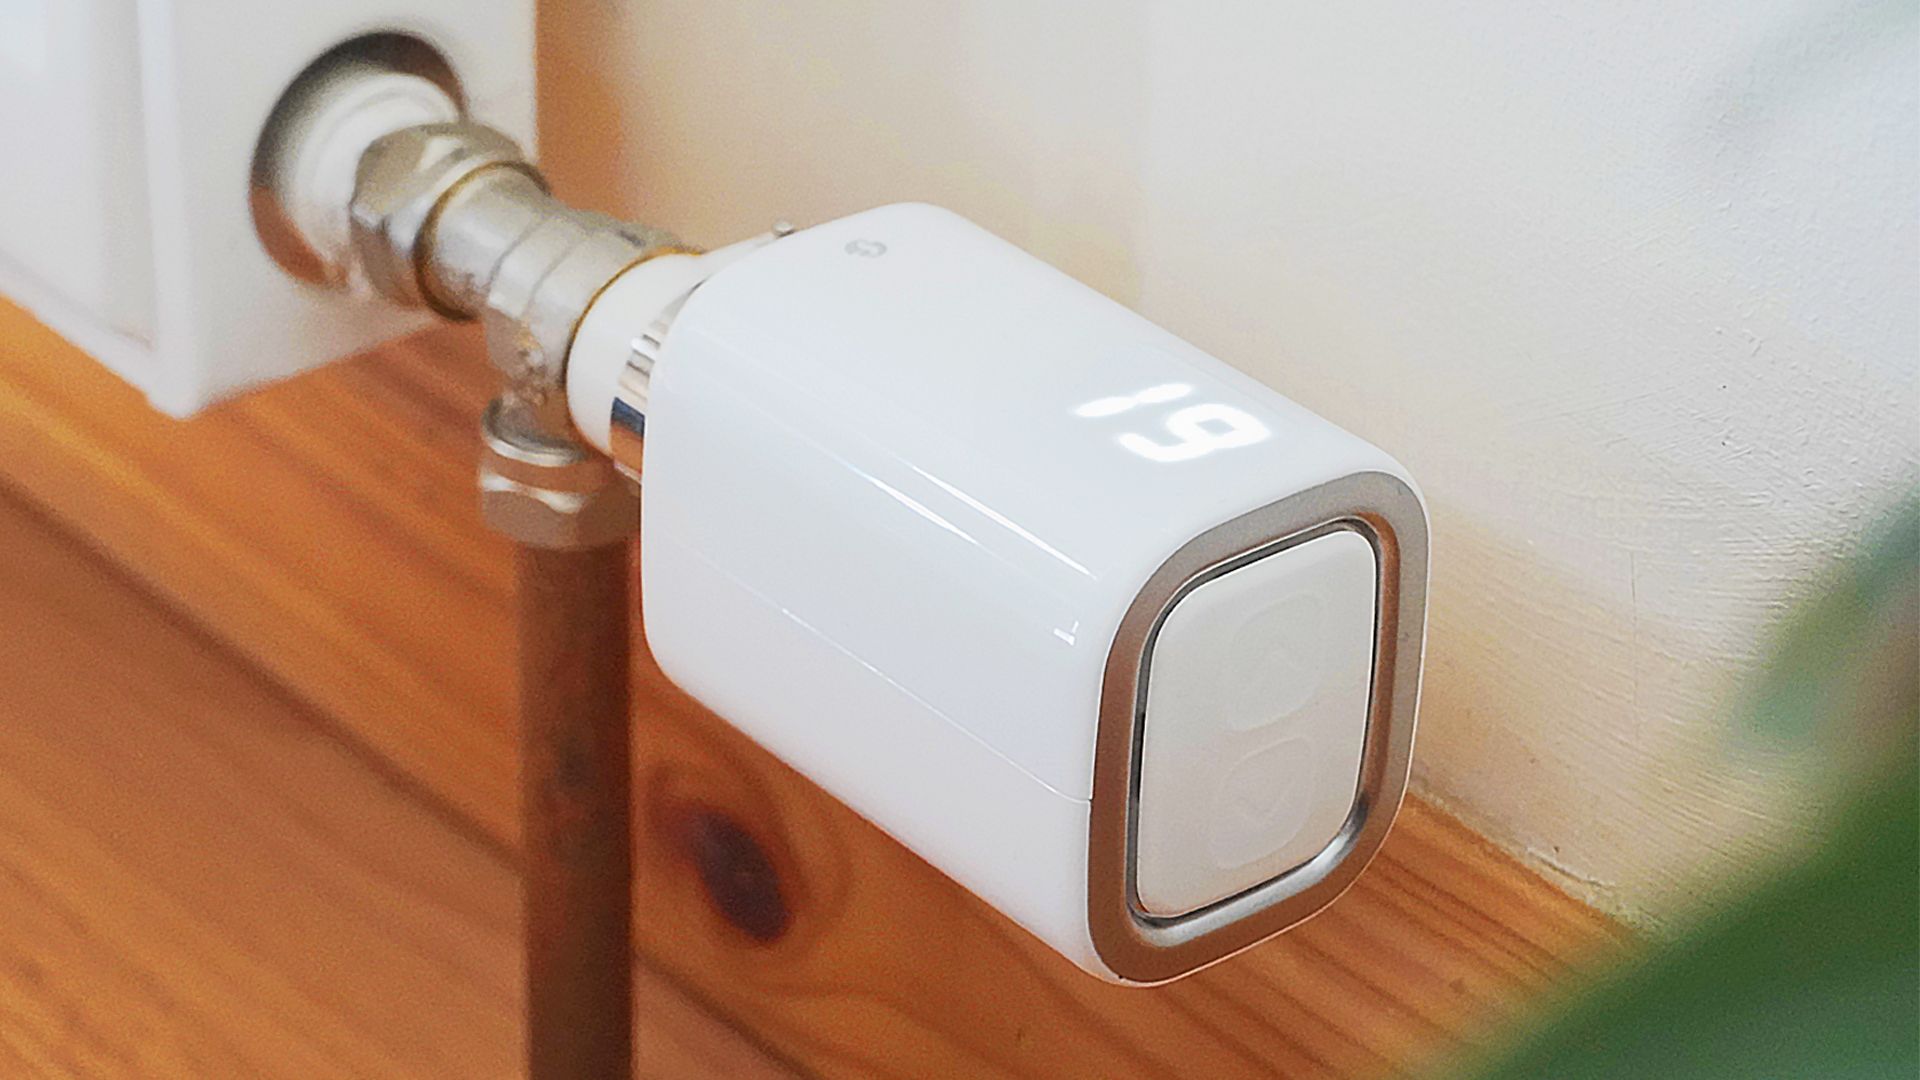
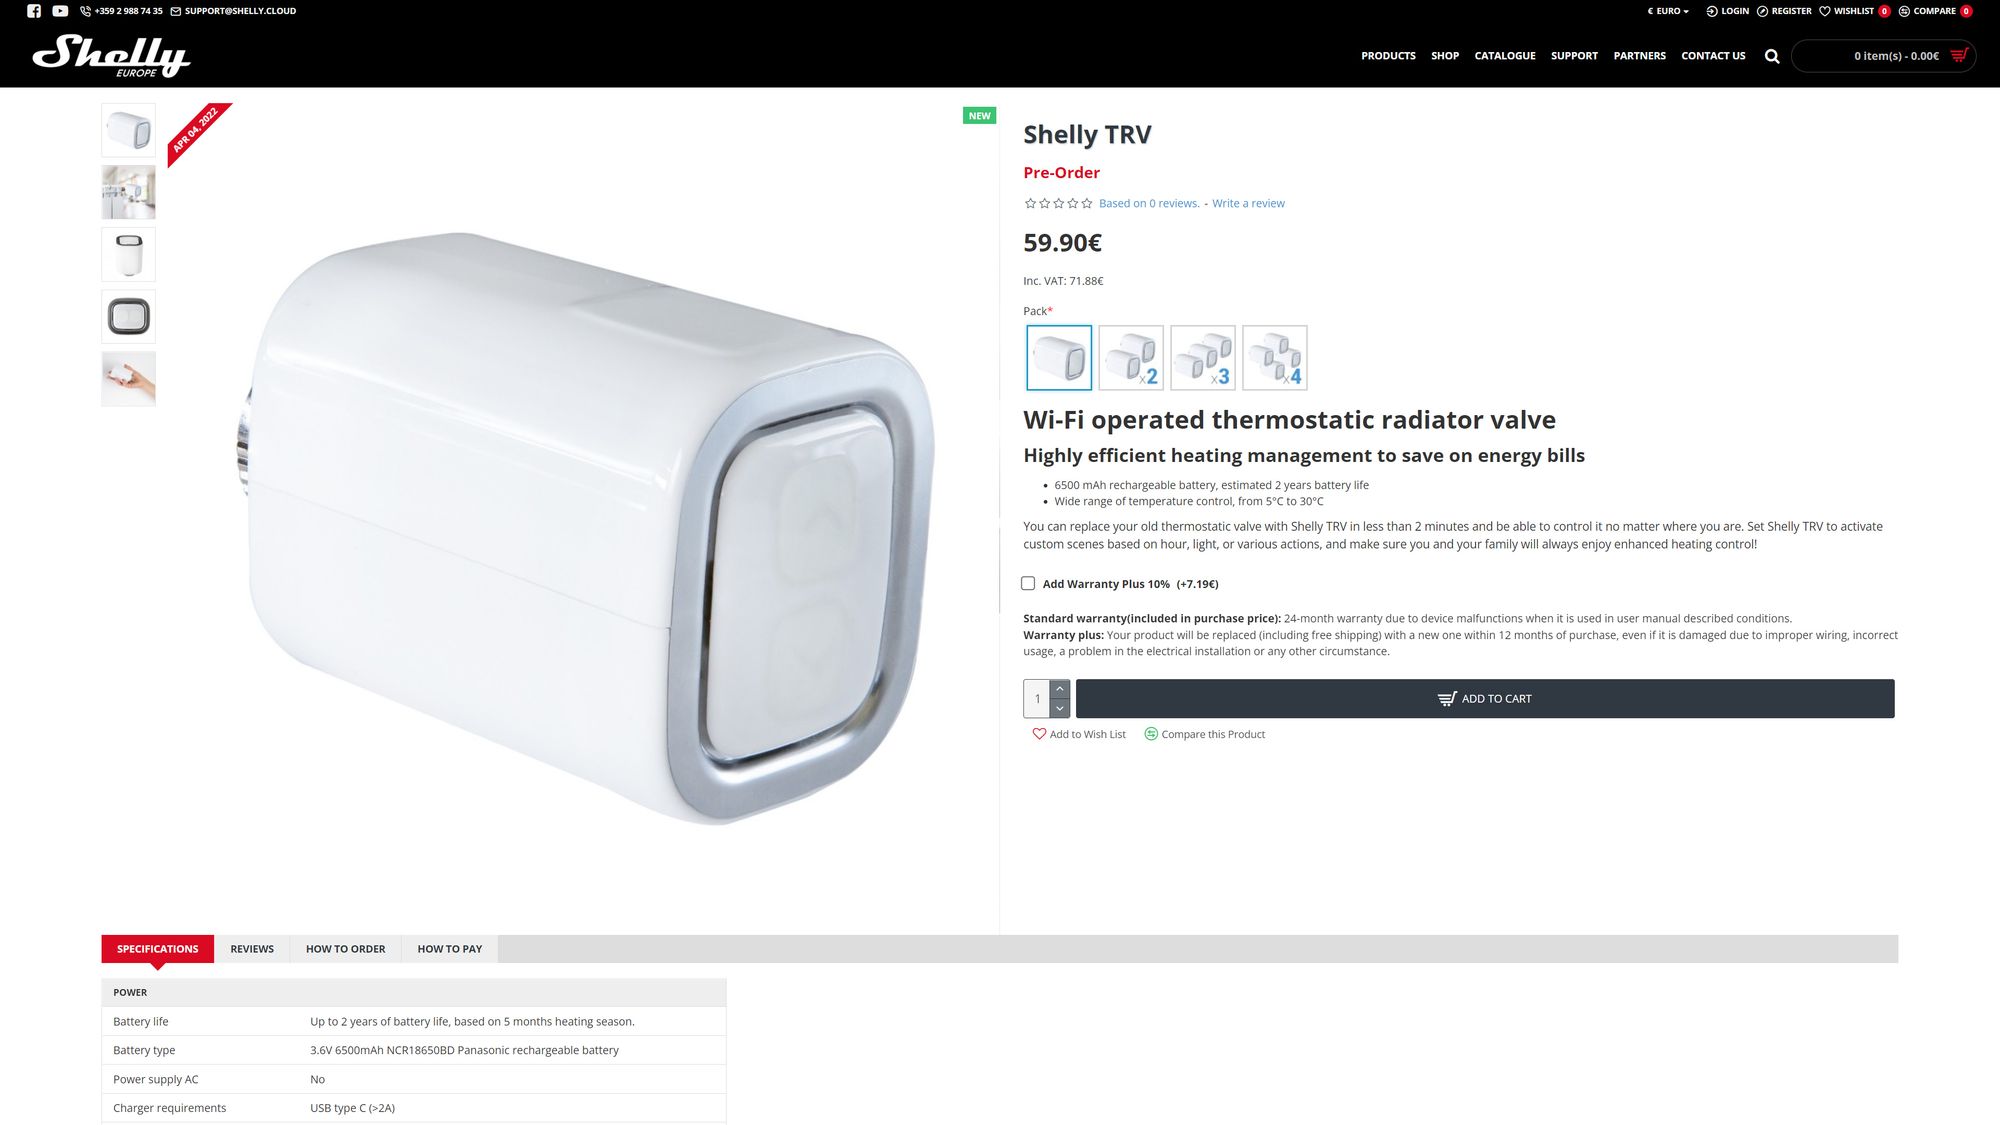
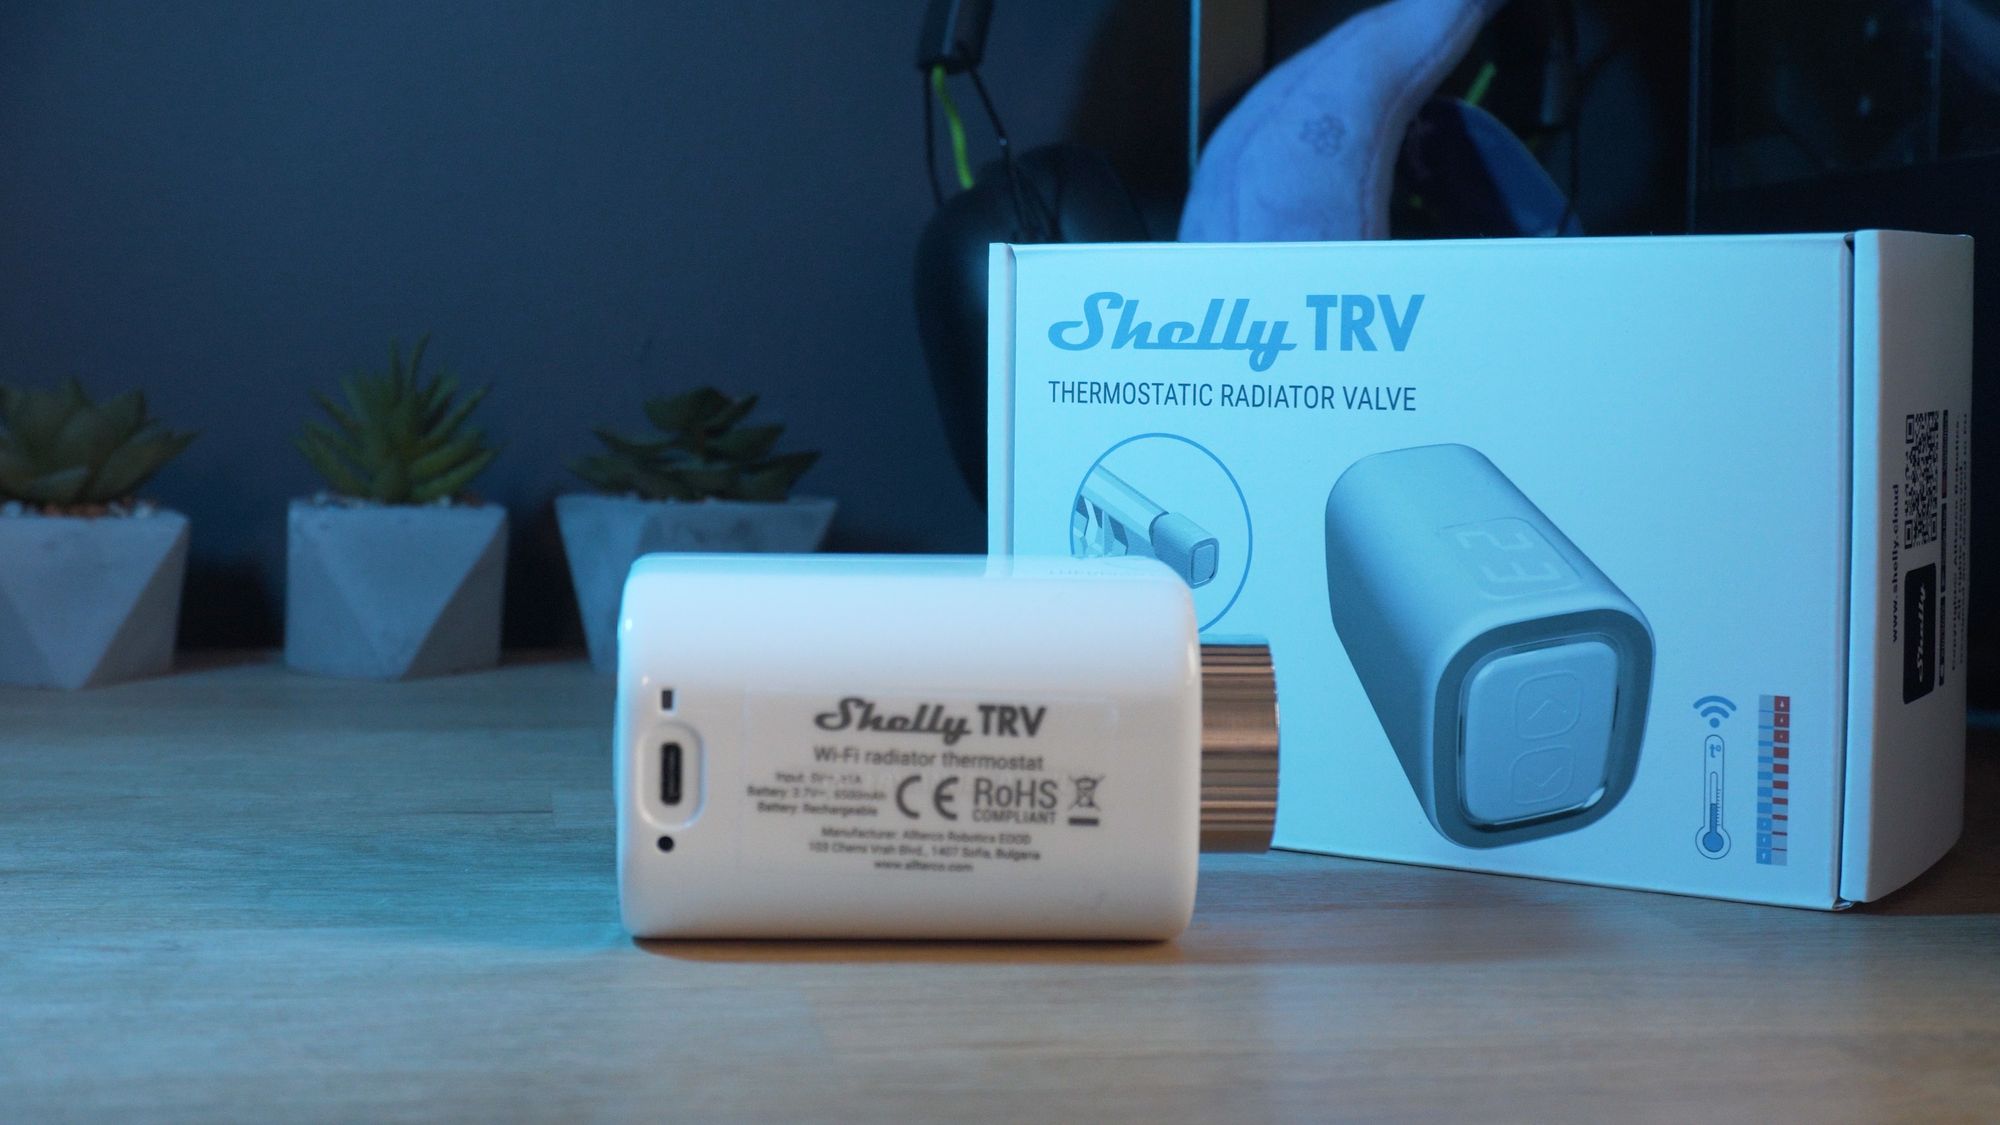
The Shelly TRV, short for thermostatic radiator valve, is a direct replacement for your existing radiator valve and helps you automate and control the heating in individual rooms and zones in your smart home. As we’ve come to know and expect from Shelly, it uses WiFi for connectivity, has a built in battery with a claimed 2 years of battery on a single charge, a USB type c port for charging and has support for Alexa, Google Home, Smartthings, Home Assistant and a handful of others. On the top is a display for viewing the temperature from its built in temperature sensor, and on the side is 2 physical buttons for controlling the temperature set point and all of this can be operated locally without the use of any cloud - something we love to see! The Shelly TRV comes in at a price of 59 euros which is around 50 pounds.
Installation
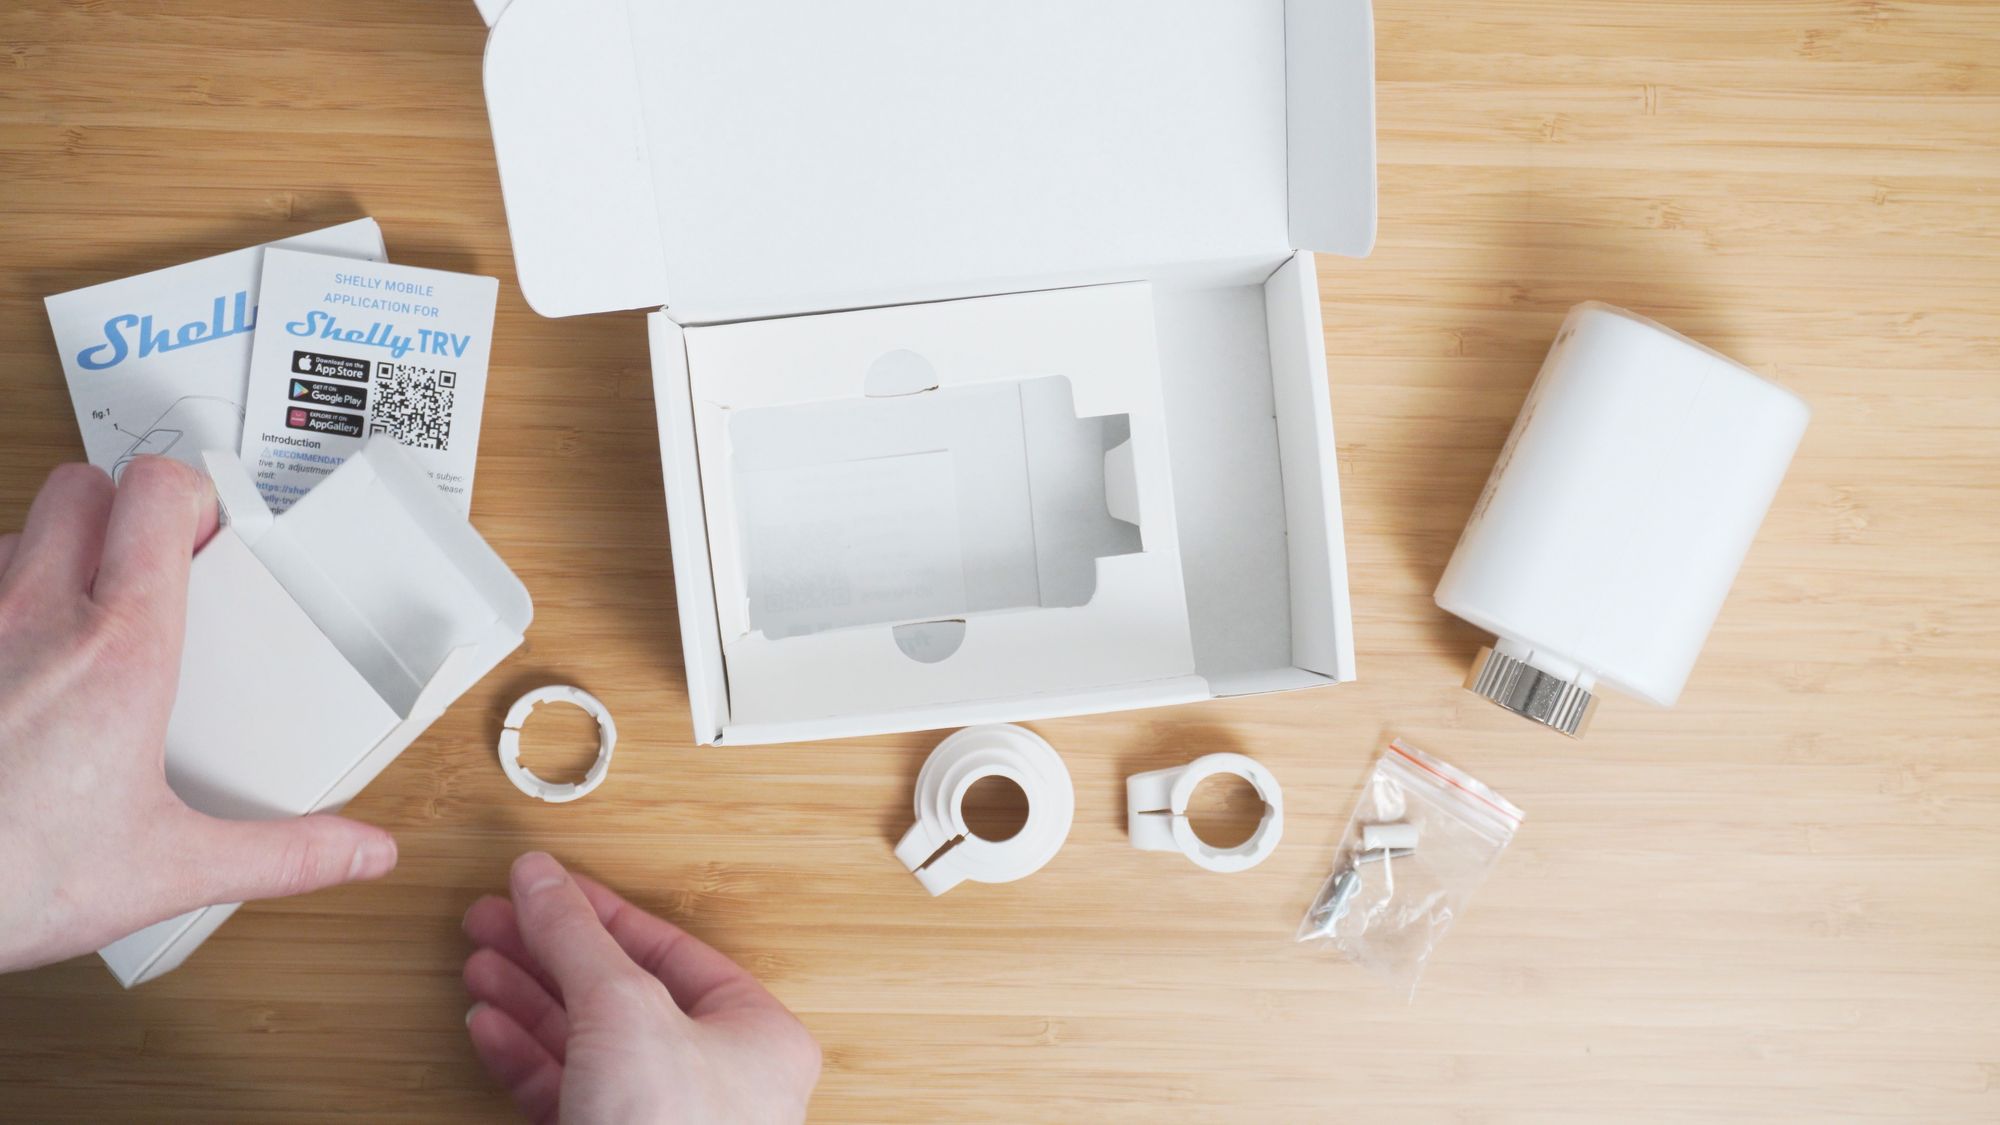
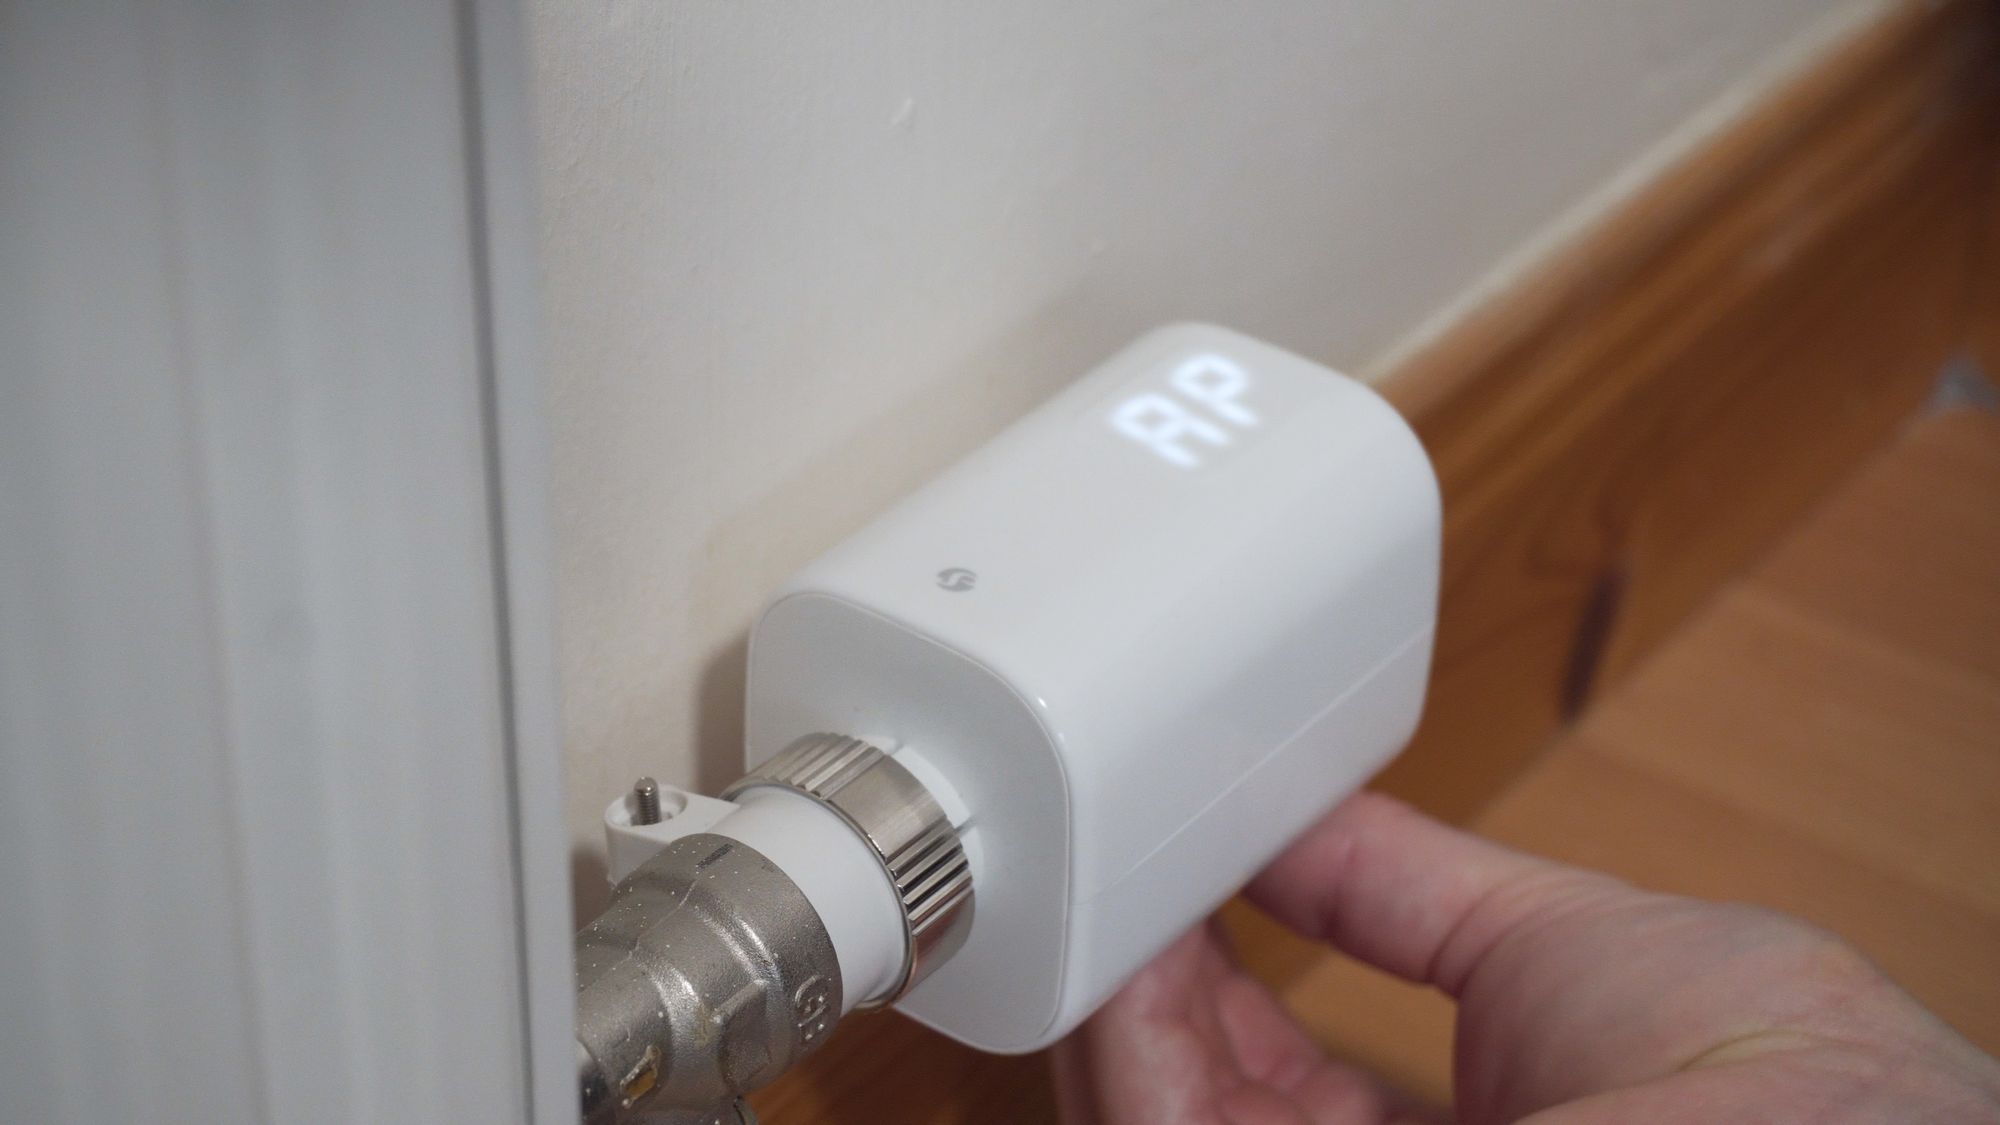
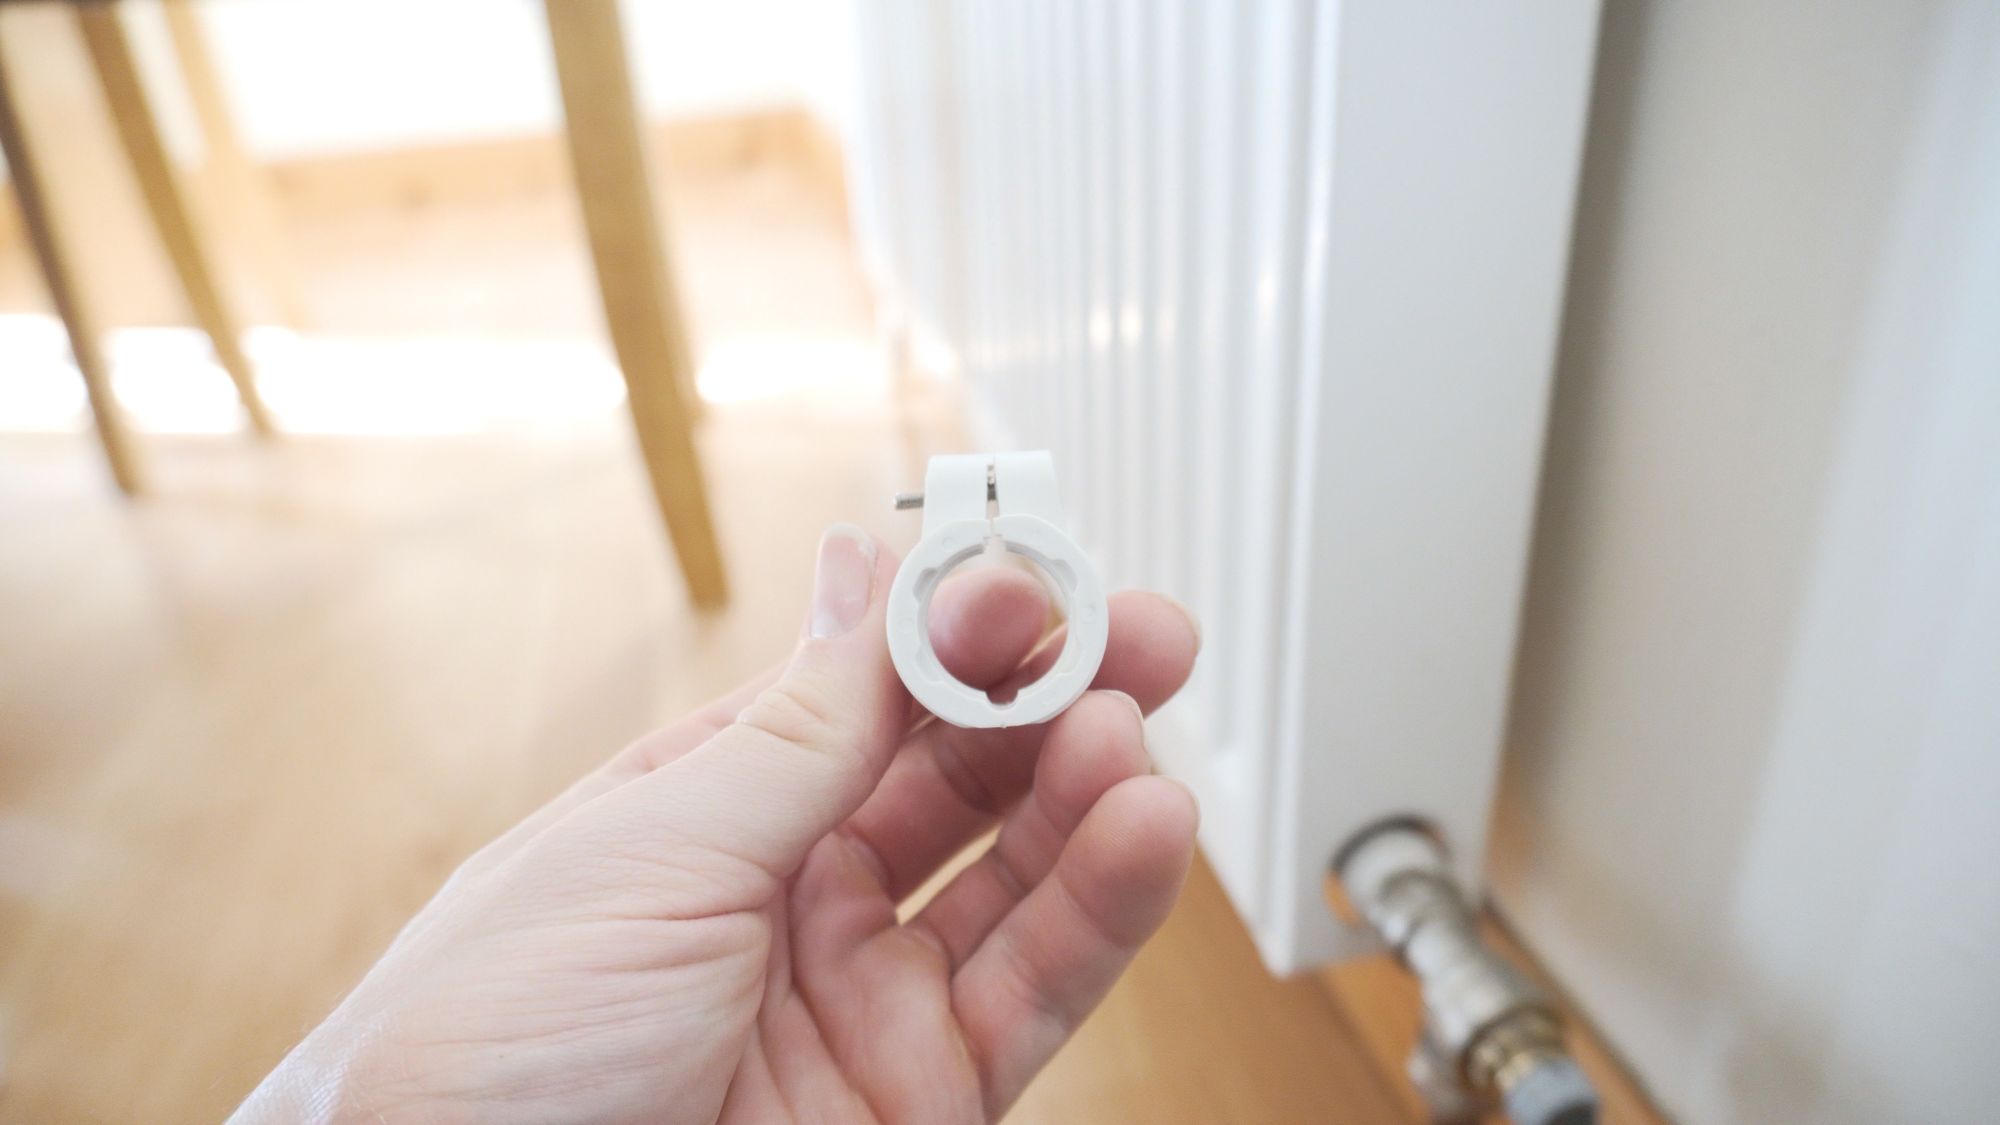
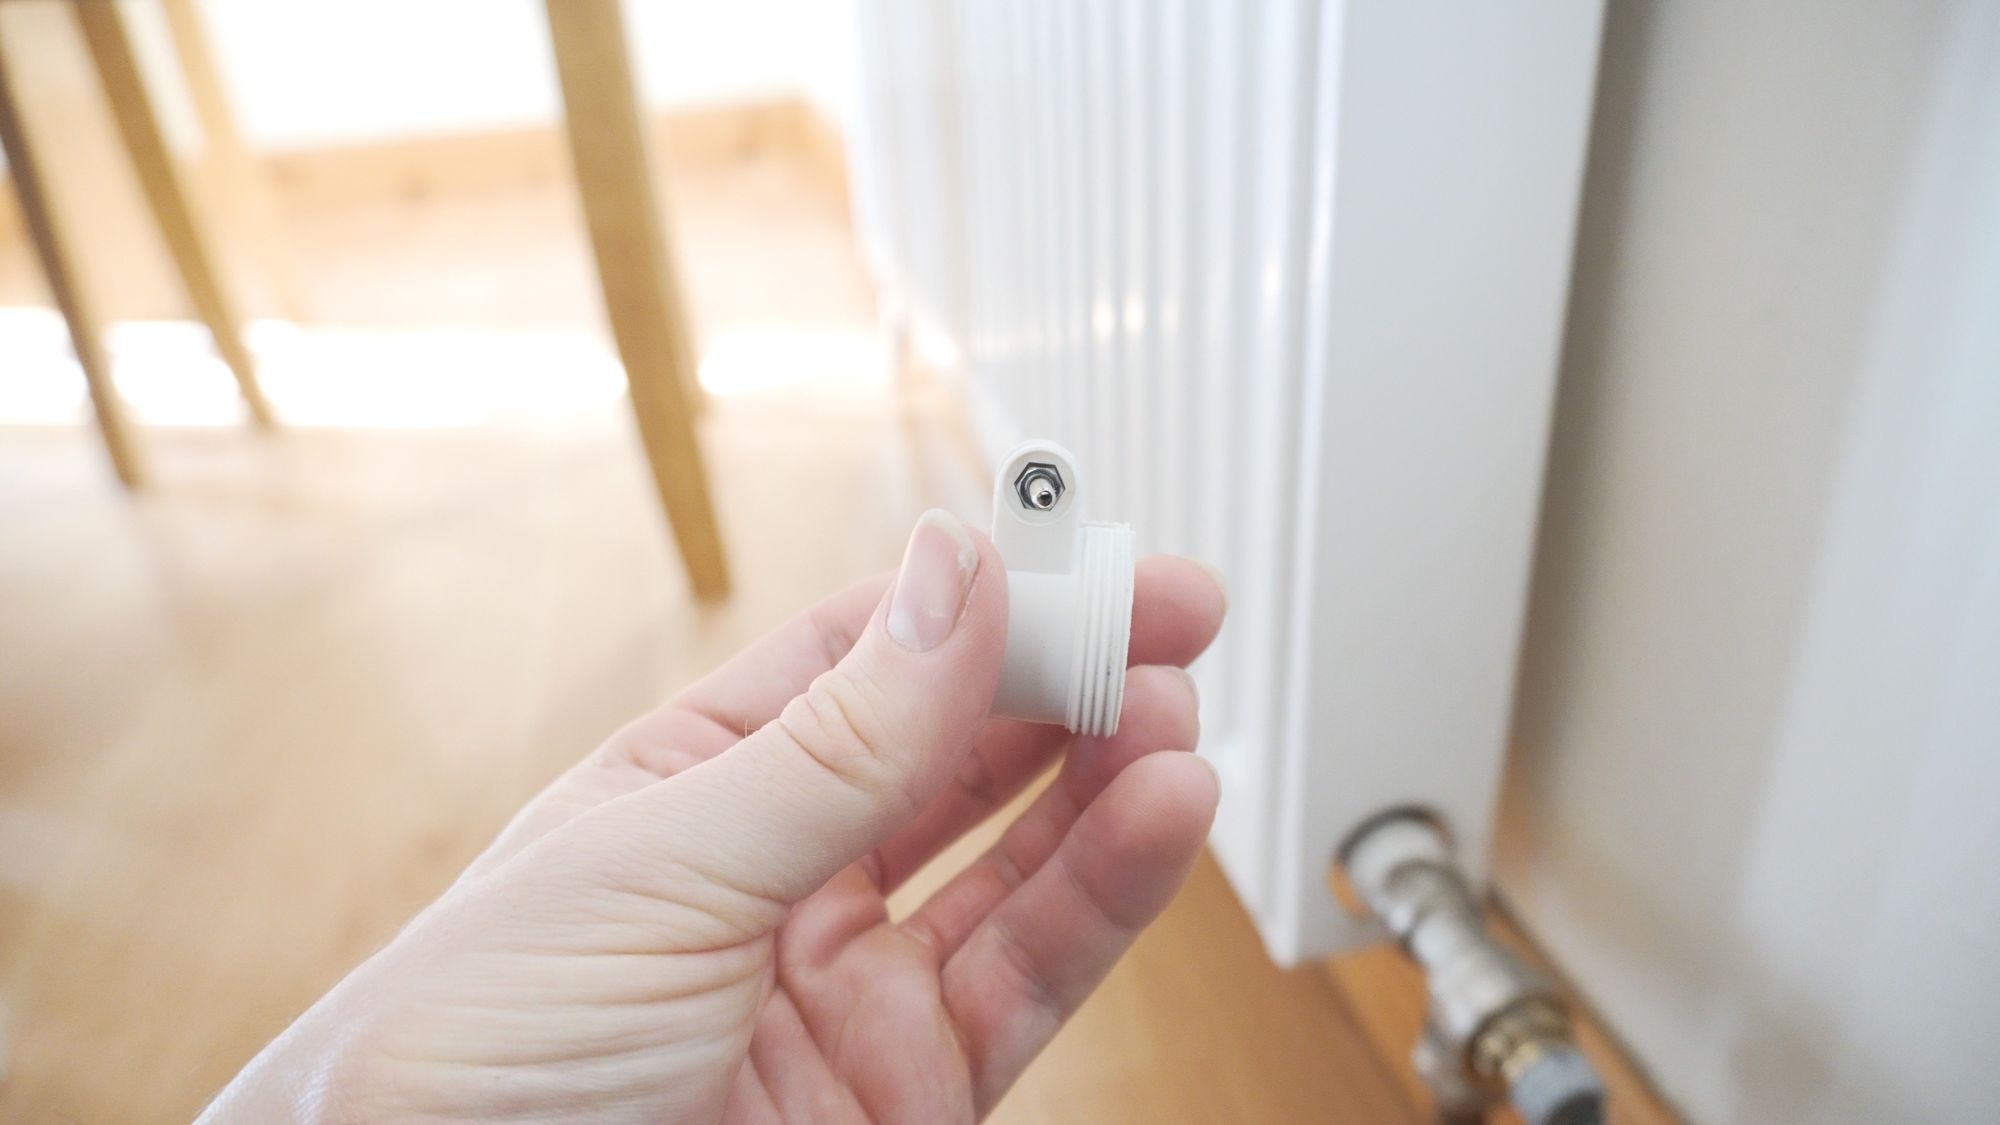
Installation of the Shelly TRV is really easy and should be compatible with almost all radiator types. In my case I just had to unscrew the existing radiator valve, and then with the adapters included in the box, find the correct one for my radiator valve, screw it down so its nice and tight and then screw on the Shelly TRV, making sure that the display is facing the correct way up.
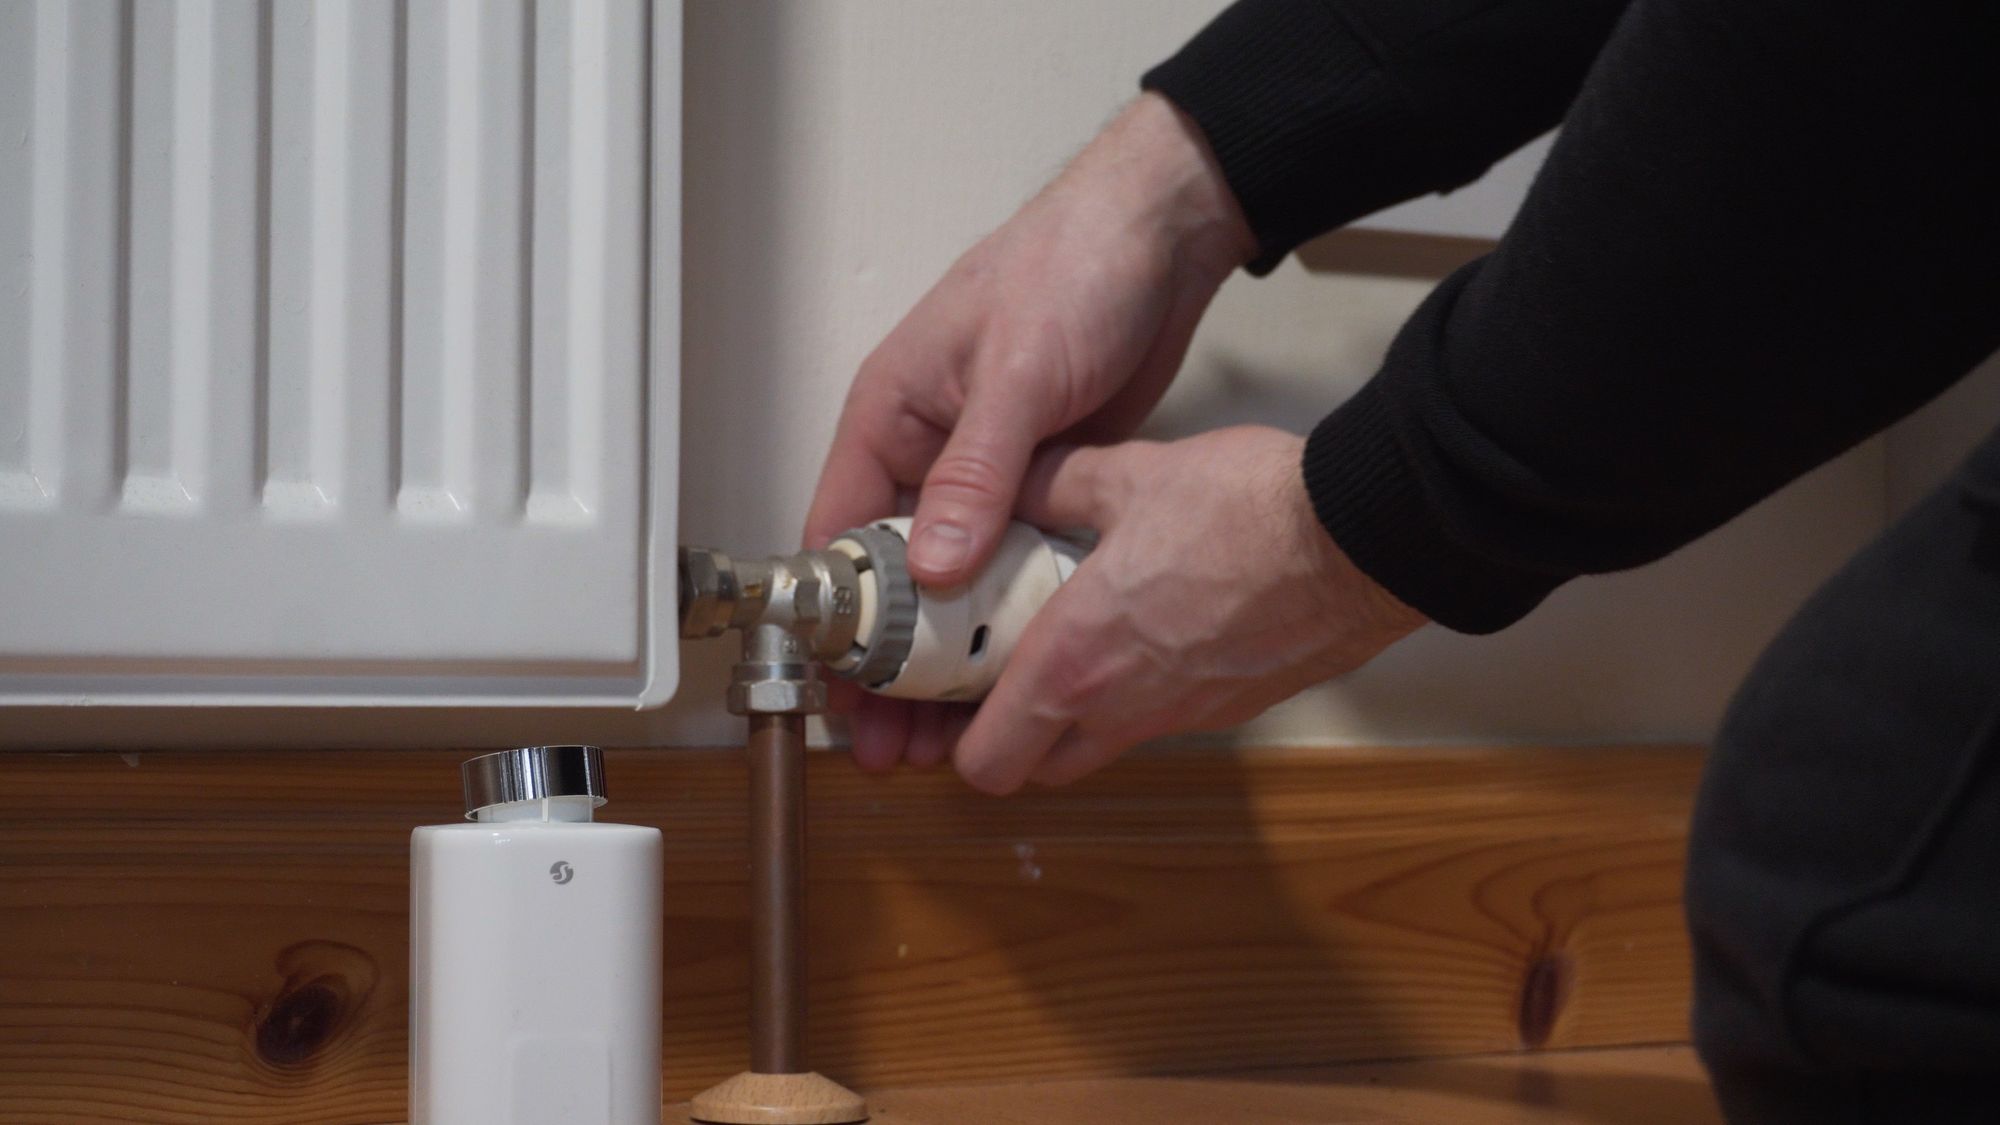
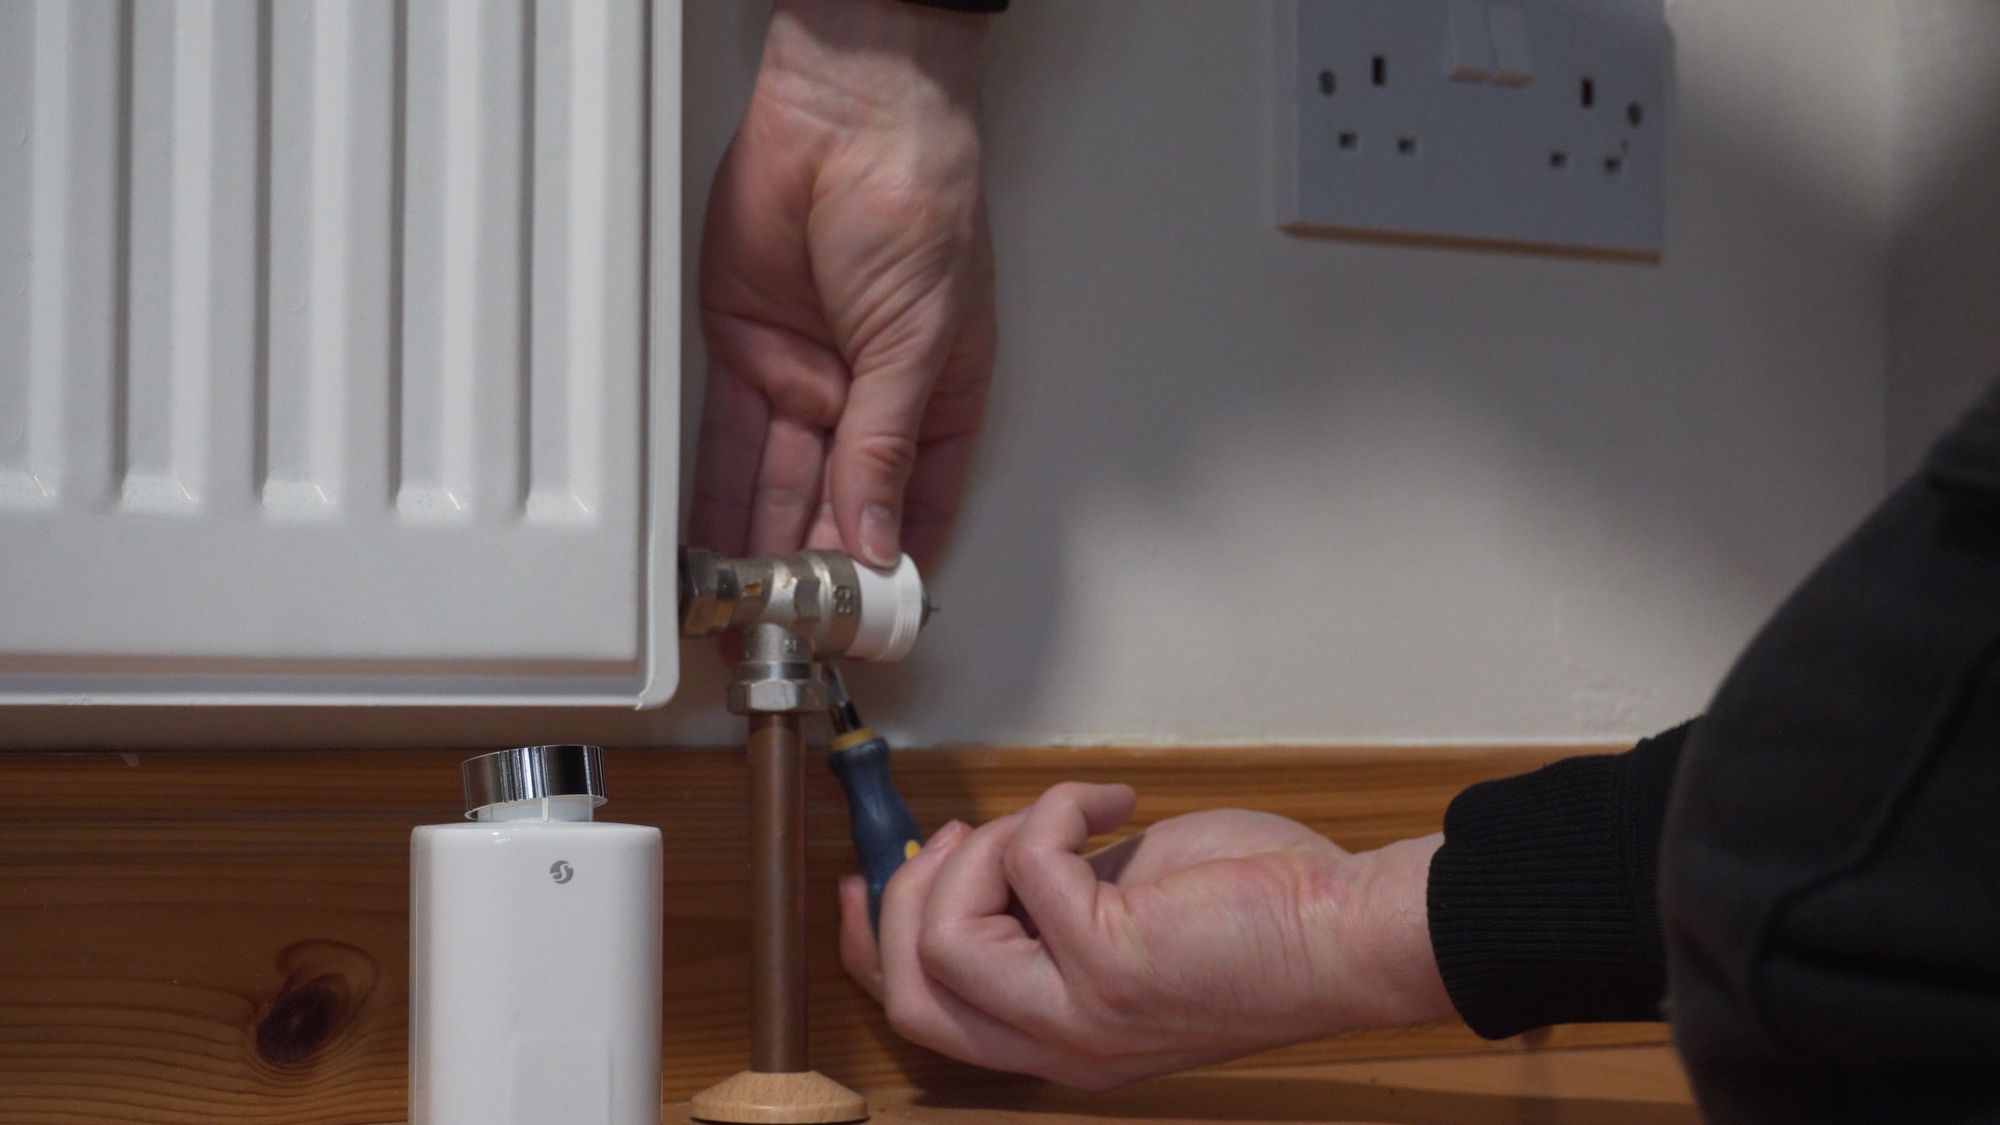

Once done press and hold the reset button on the bottom until the display lights up and you’ll hear the motorized valve start to move. After a few seconds it shows the letters AP on the display which means its ready to be connected to the Shelly app. If you see the letters E1, then that means your Shelly is not quite seated properly and you’ll need to try again.
One minor complaint I have here is the adapter - at least the one I used - I would like it to have gripped to the radiator a bit more to prevent it from rotating, but if I tried to tighten it any more then the screw pulls itself through the holes in the clip; they could probably fix this with different size screws and a washer. But once you have them on there they are pretty secure and you won’t really need to touch them anyway, I suppose.
Setup
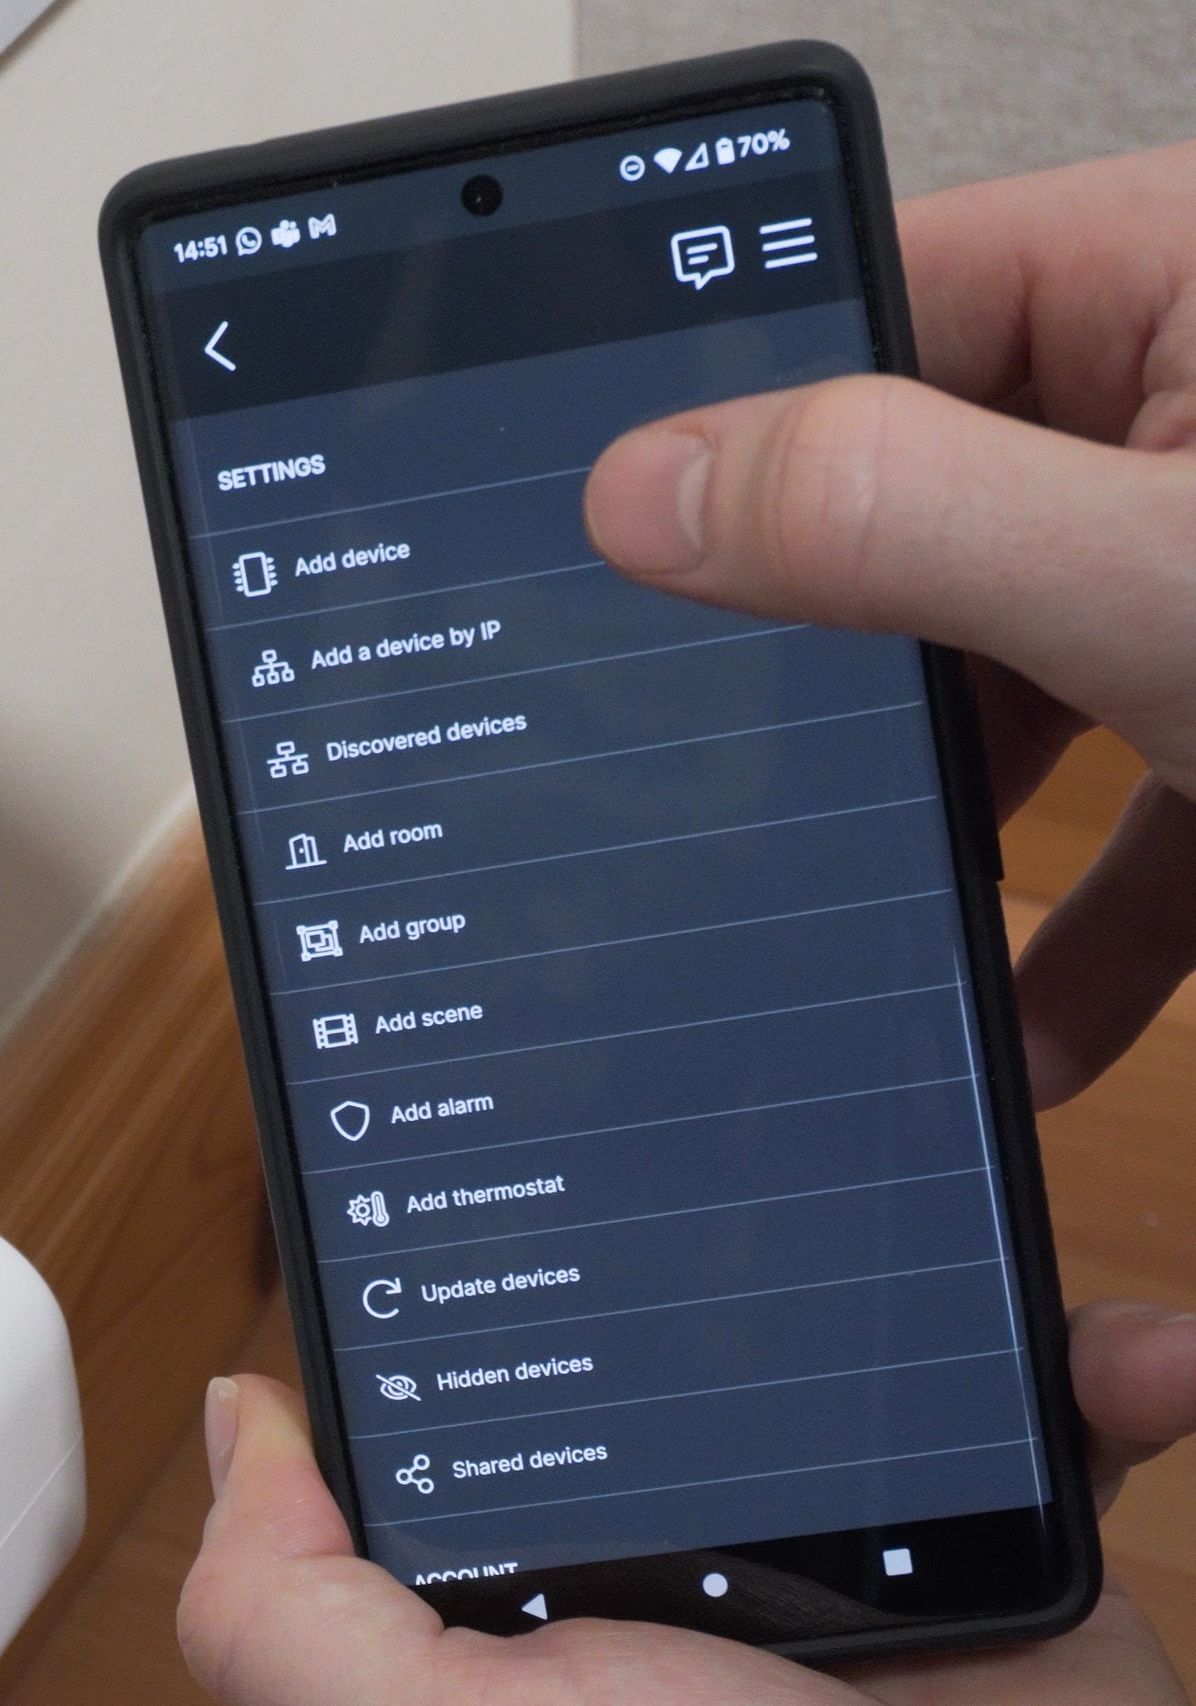
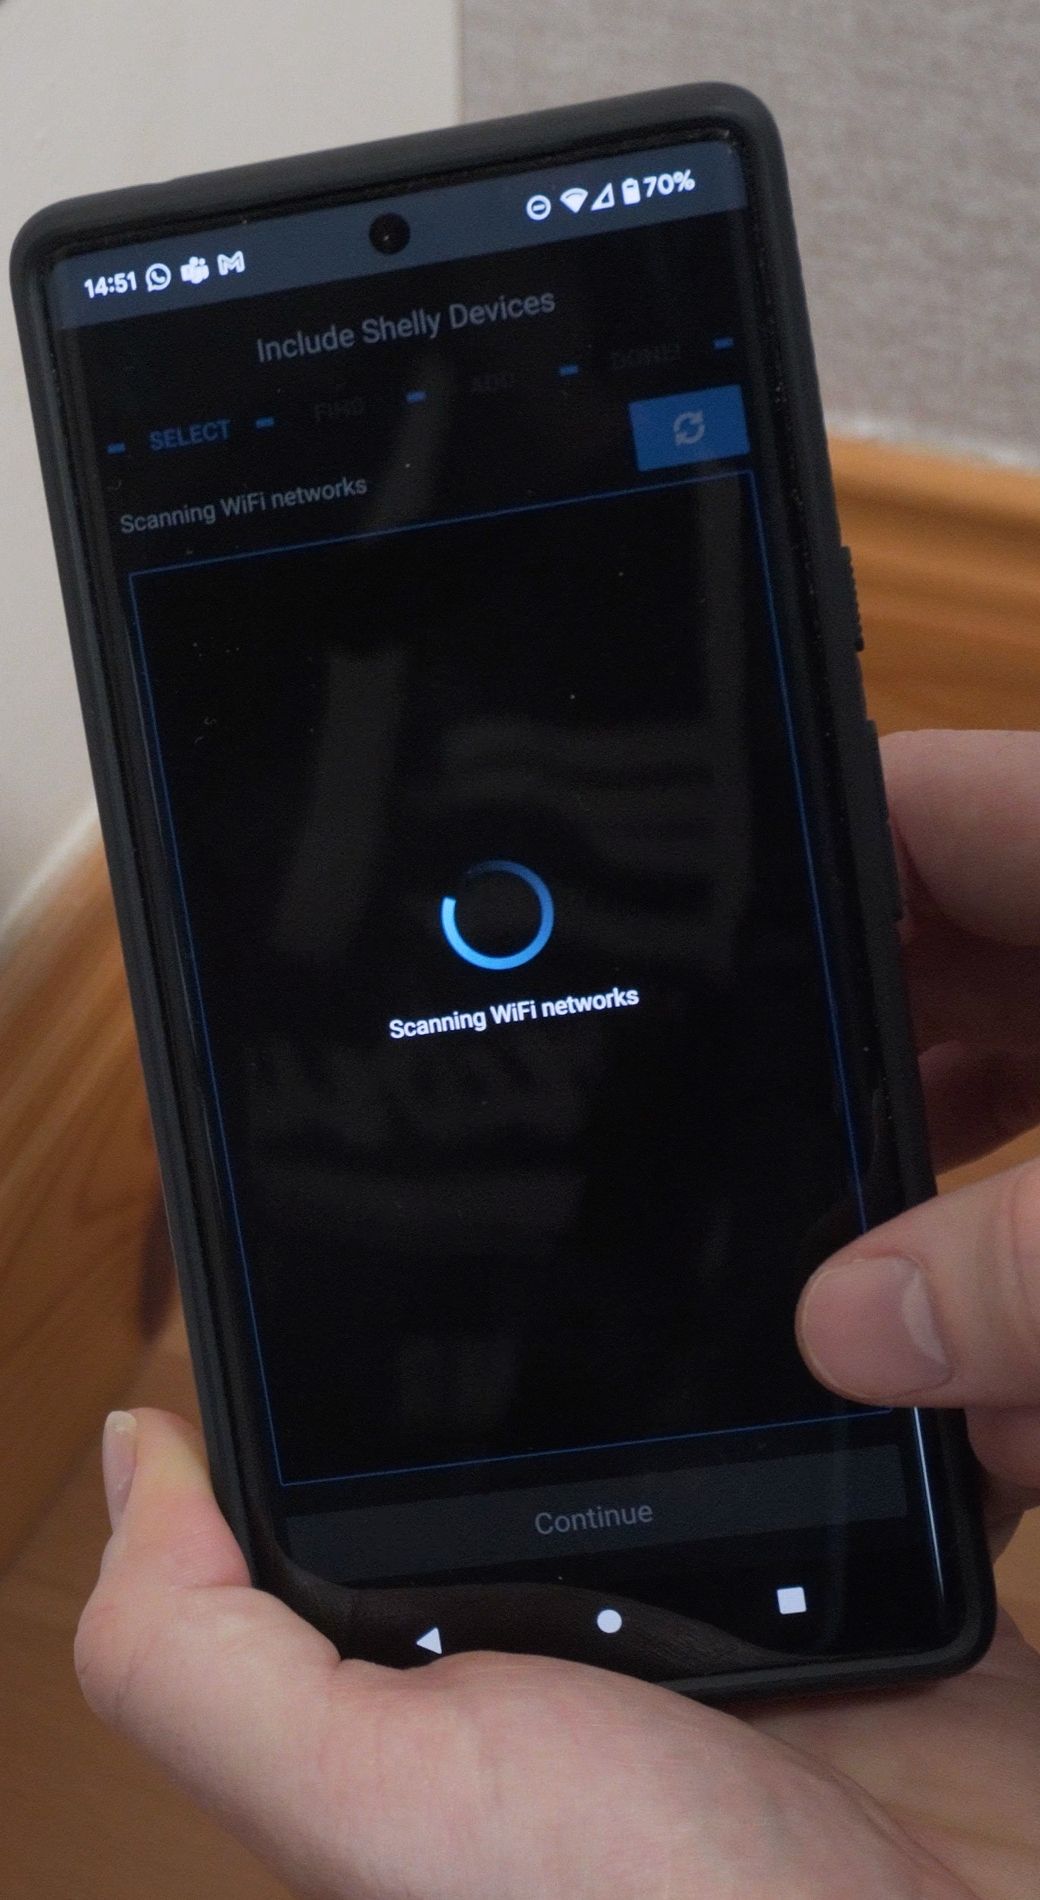
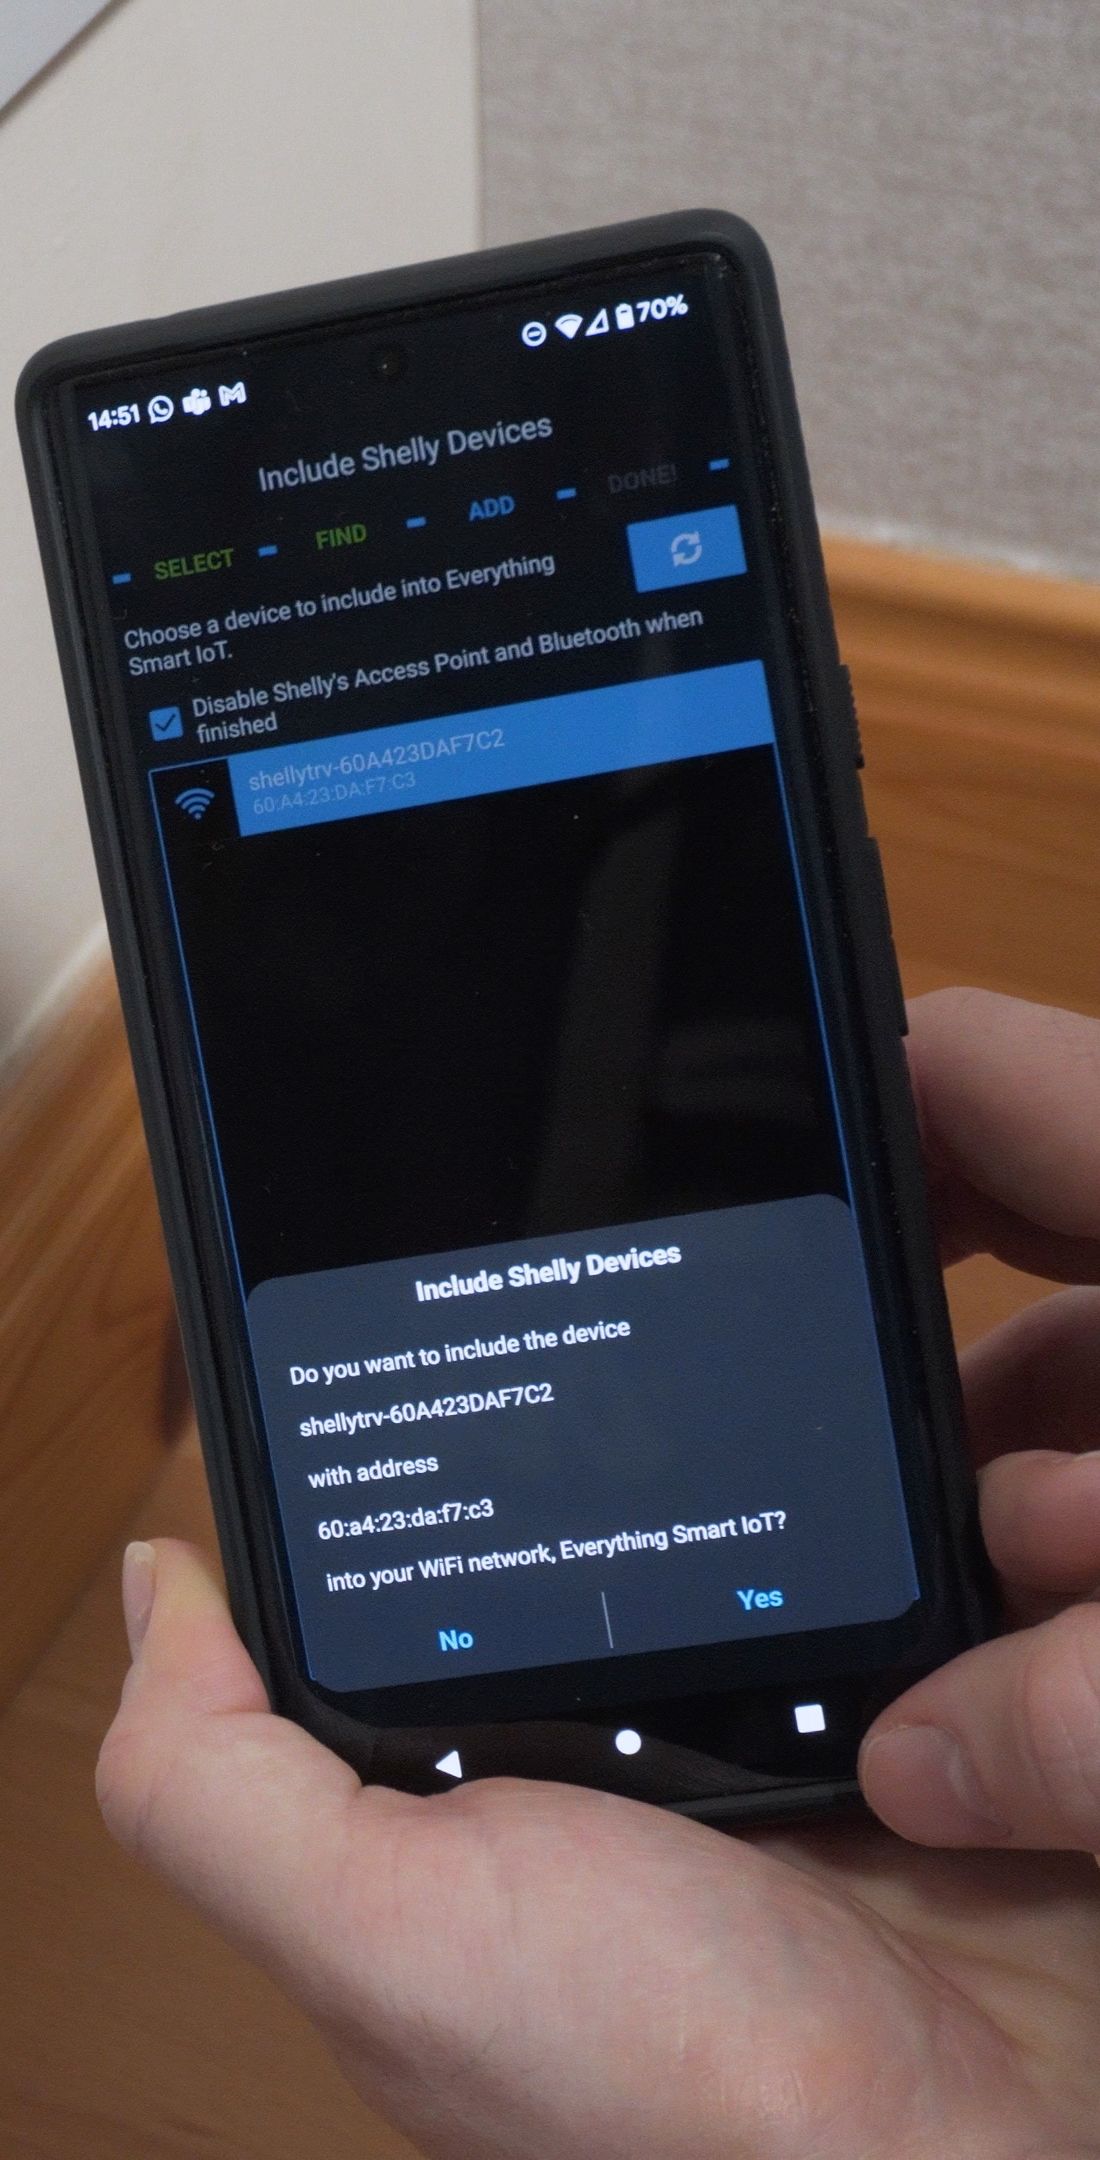
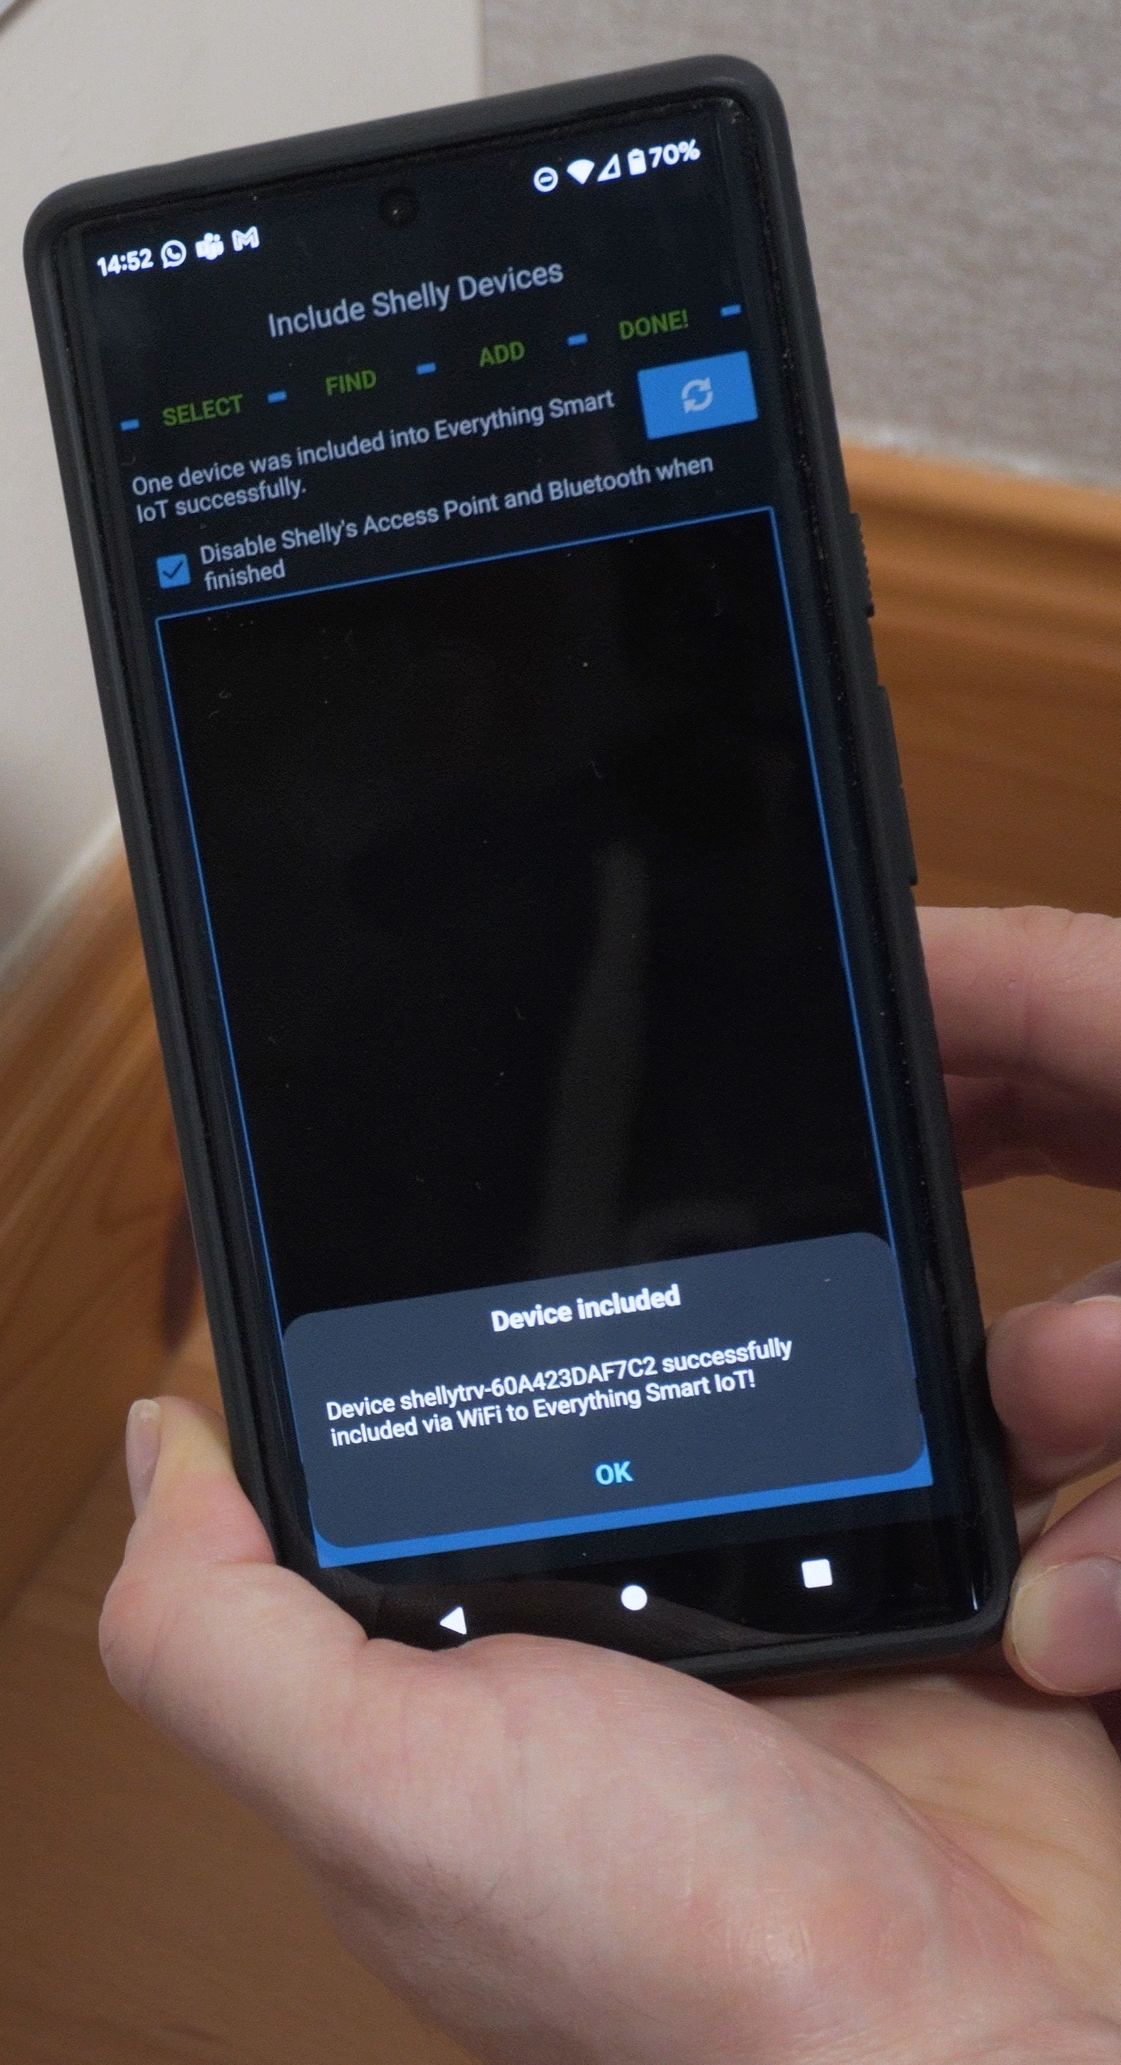
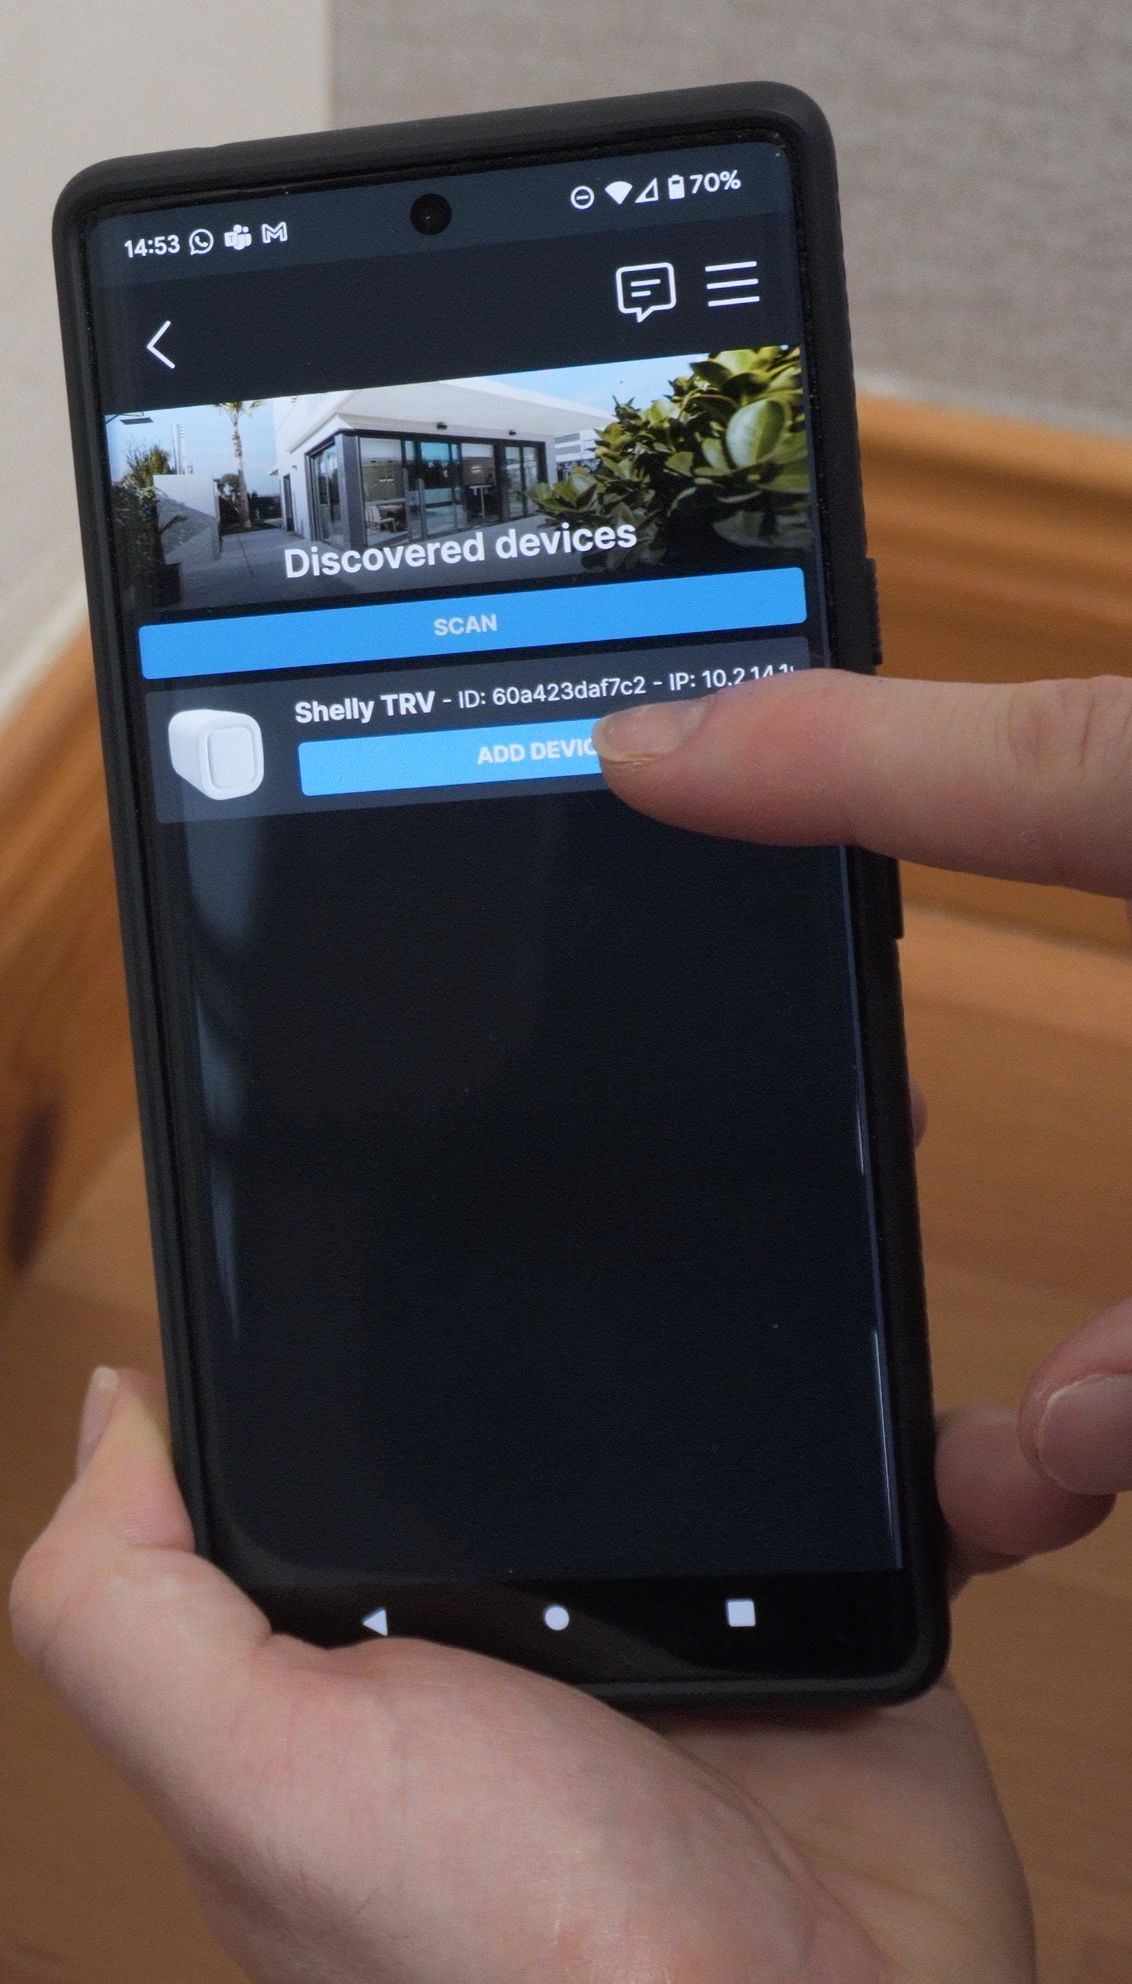
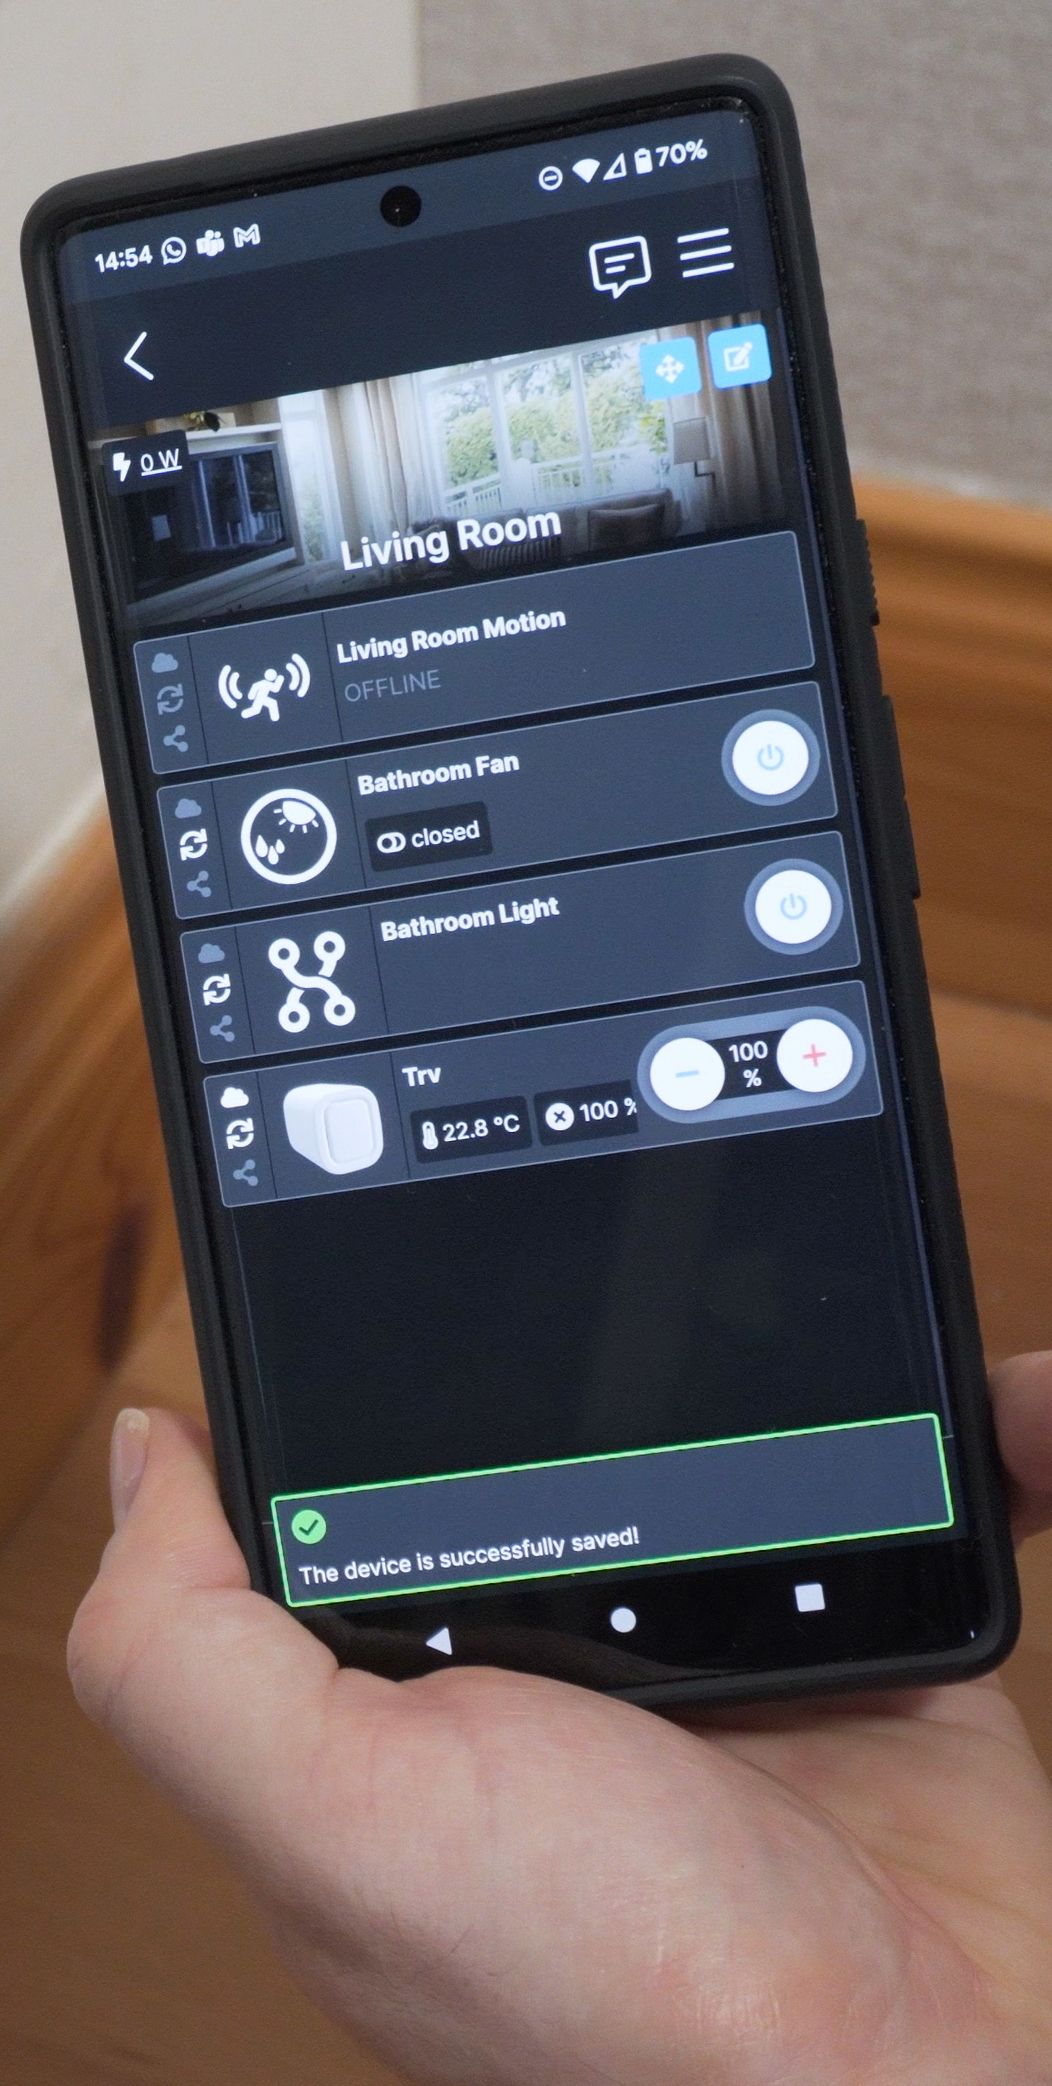
Connecting to the Shelly app has improved a little since last time I used it and is fairly straightforward, although they could still make this a bit more user friendly, in my opinion. In the menu go to add devices, and it will ask you which SSID you want to connect your device too, select one and enter your password. Then it will start to scan for your Shelly and pick up its hotspot, tap the device you would like to add and the TRV will connect to your Wifi. Wait a few minutes then in the Shelly app it should show up as a discovered device, where you can then name it and add it to a room.

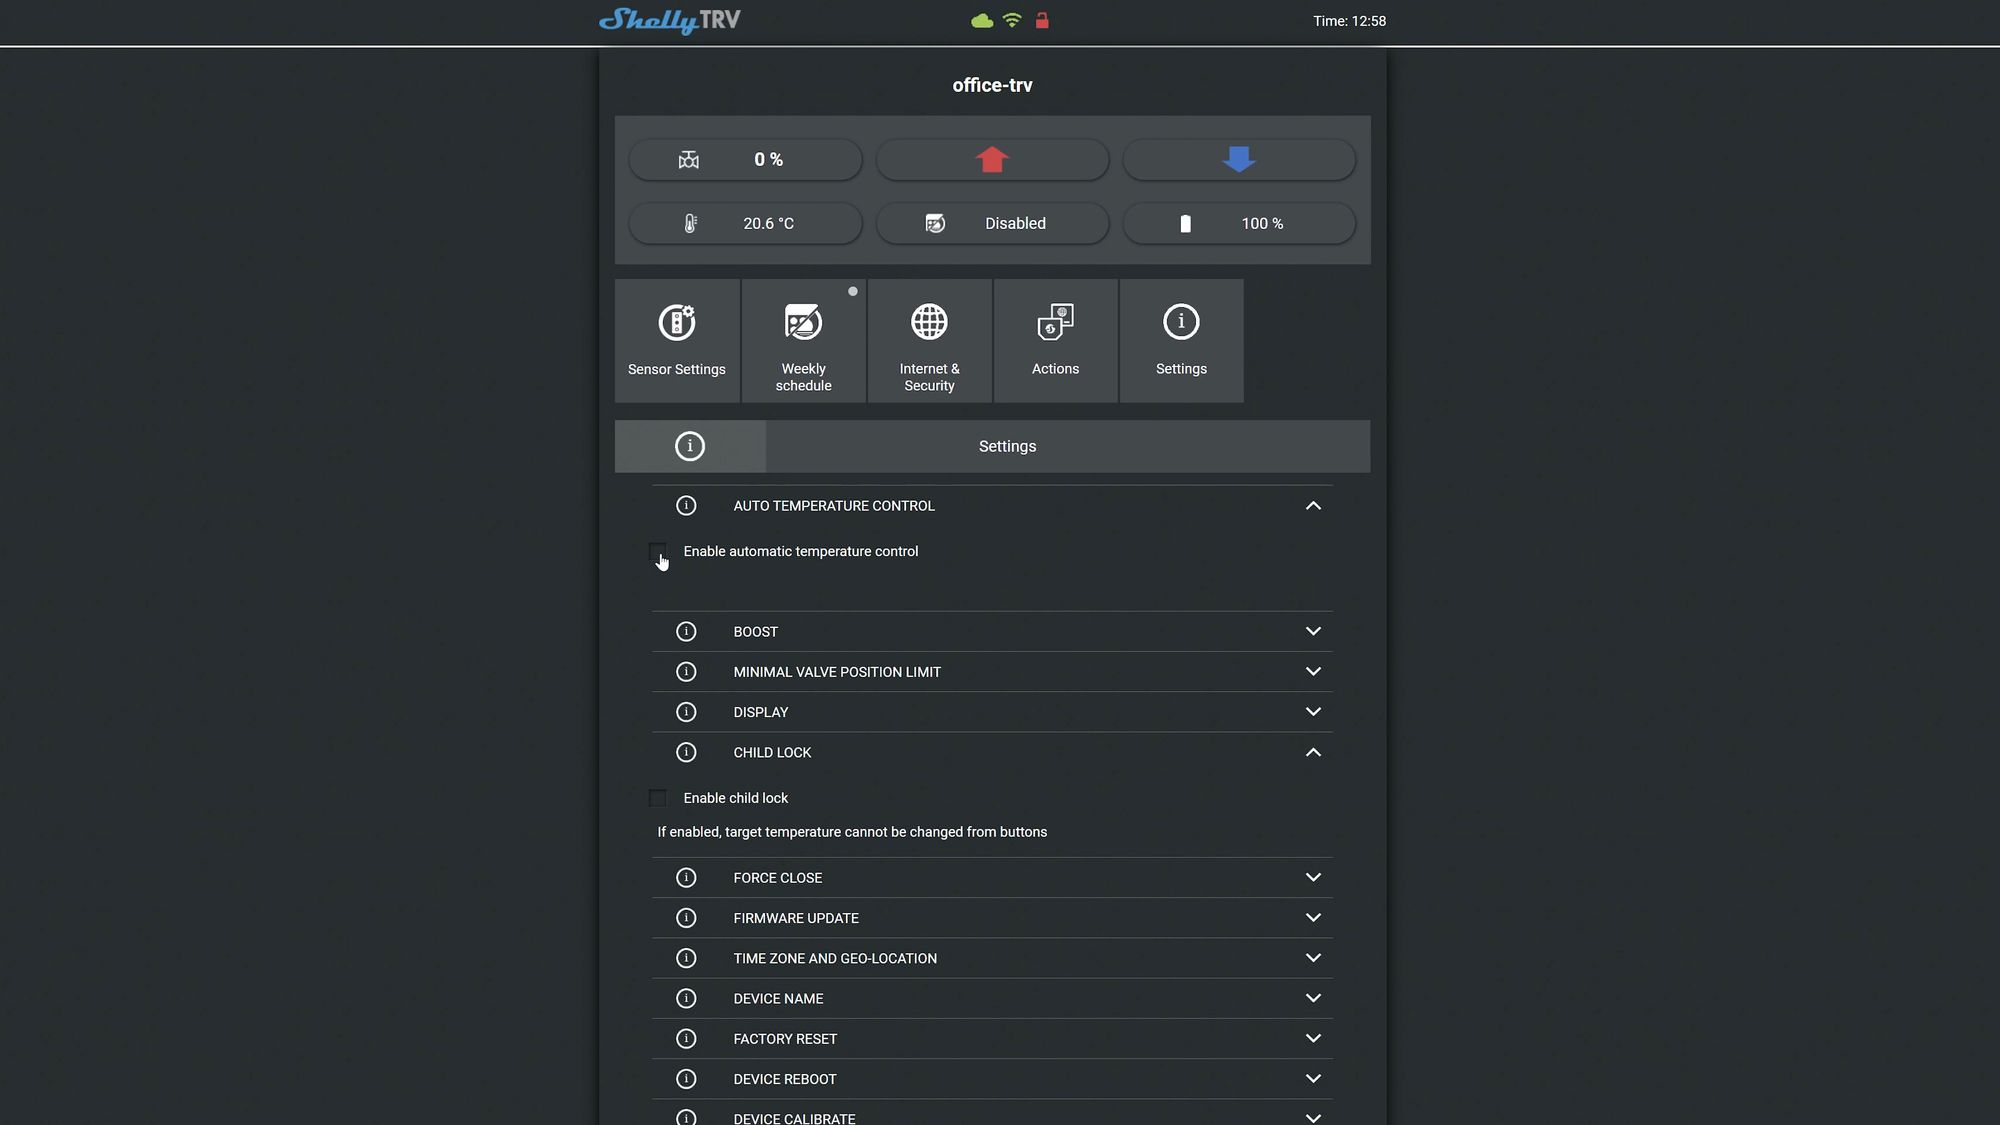
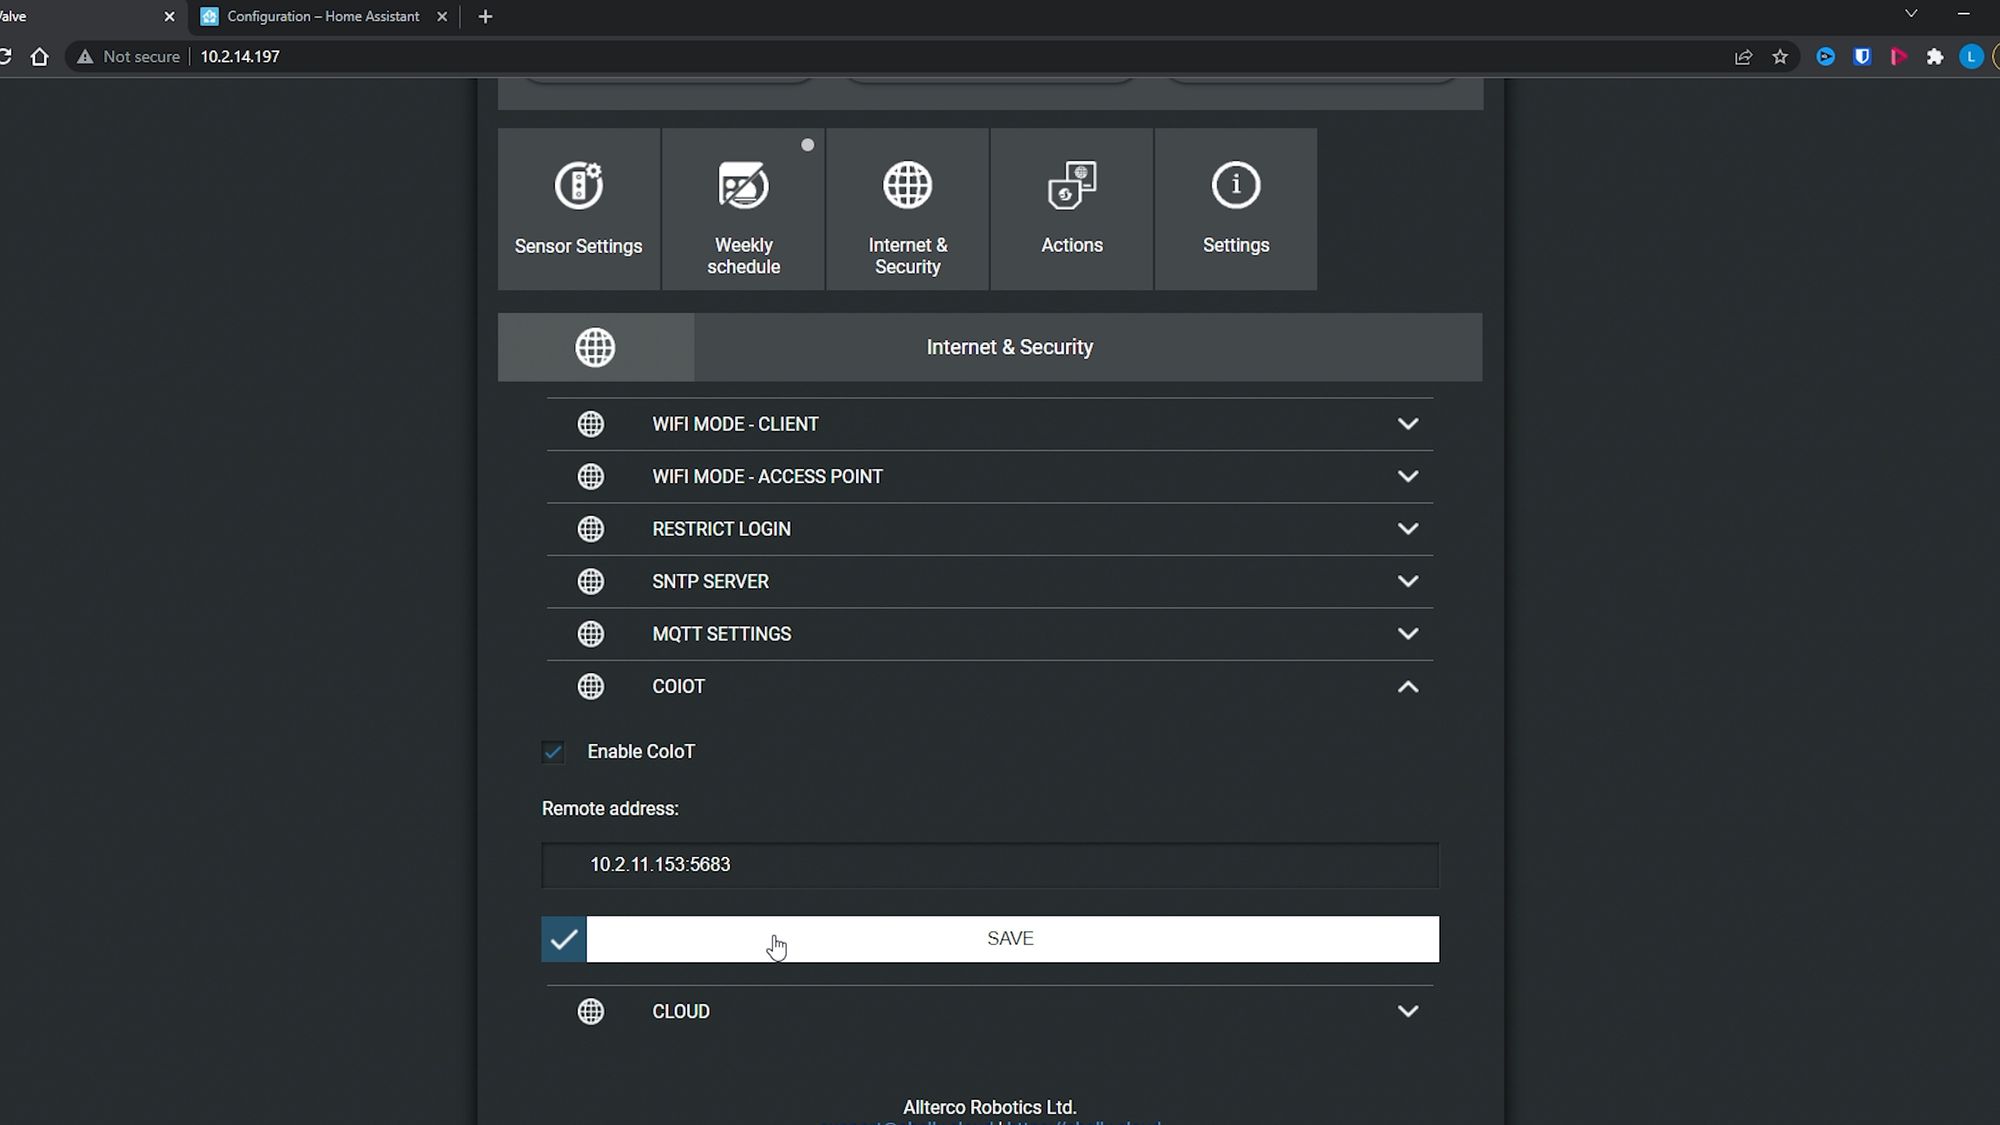
The Shelly TRV is primarily controlled through the Shelly app or it has a local web server running on it that you can connect to in your browser and modify settings on it. Both have pretty much the same functionality, although there are a few settings only available in the app, and a different couple settings only available through the browser for some reason, so just be aware of that.
Modes
There are essentially 3 different modes with the Shelly TRV:
1.You can have it set so that it will automatically try and maintain a given temperature by using its inbuilt temperature sensor, which will then in turn automatically open and close the radiator valve to try and stay as close as possible to that temperature.
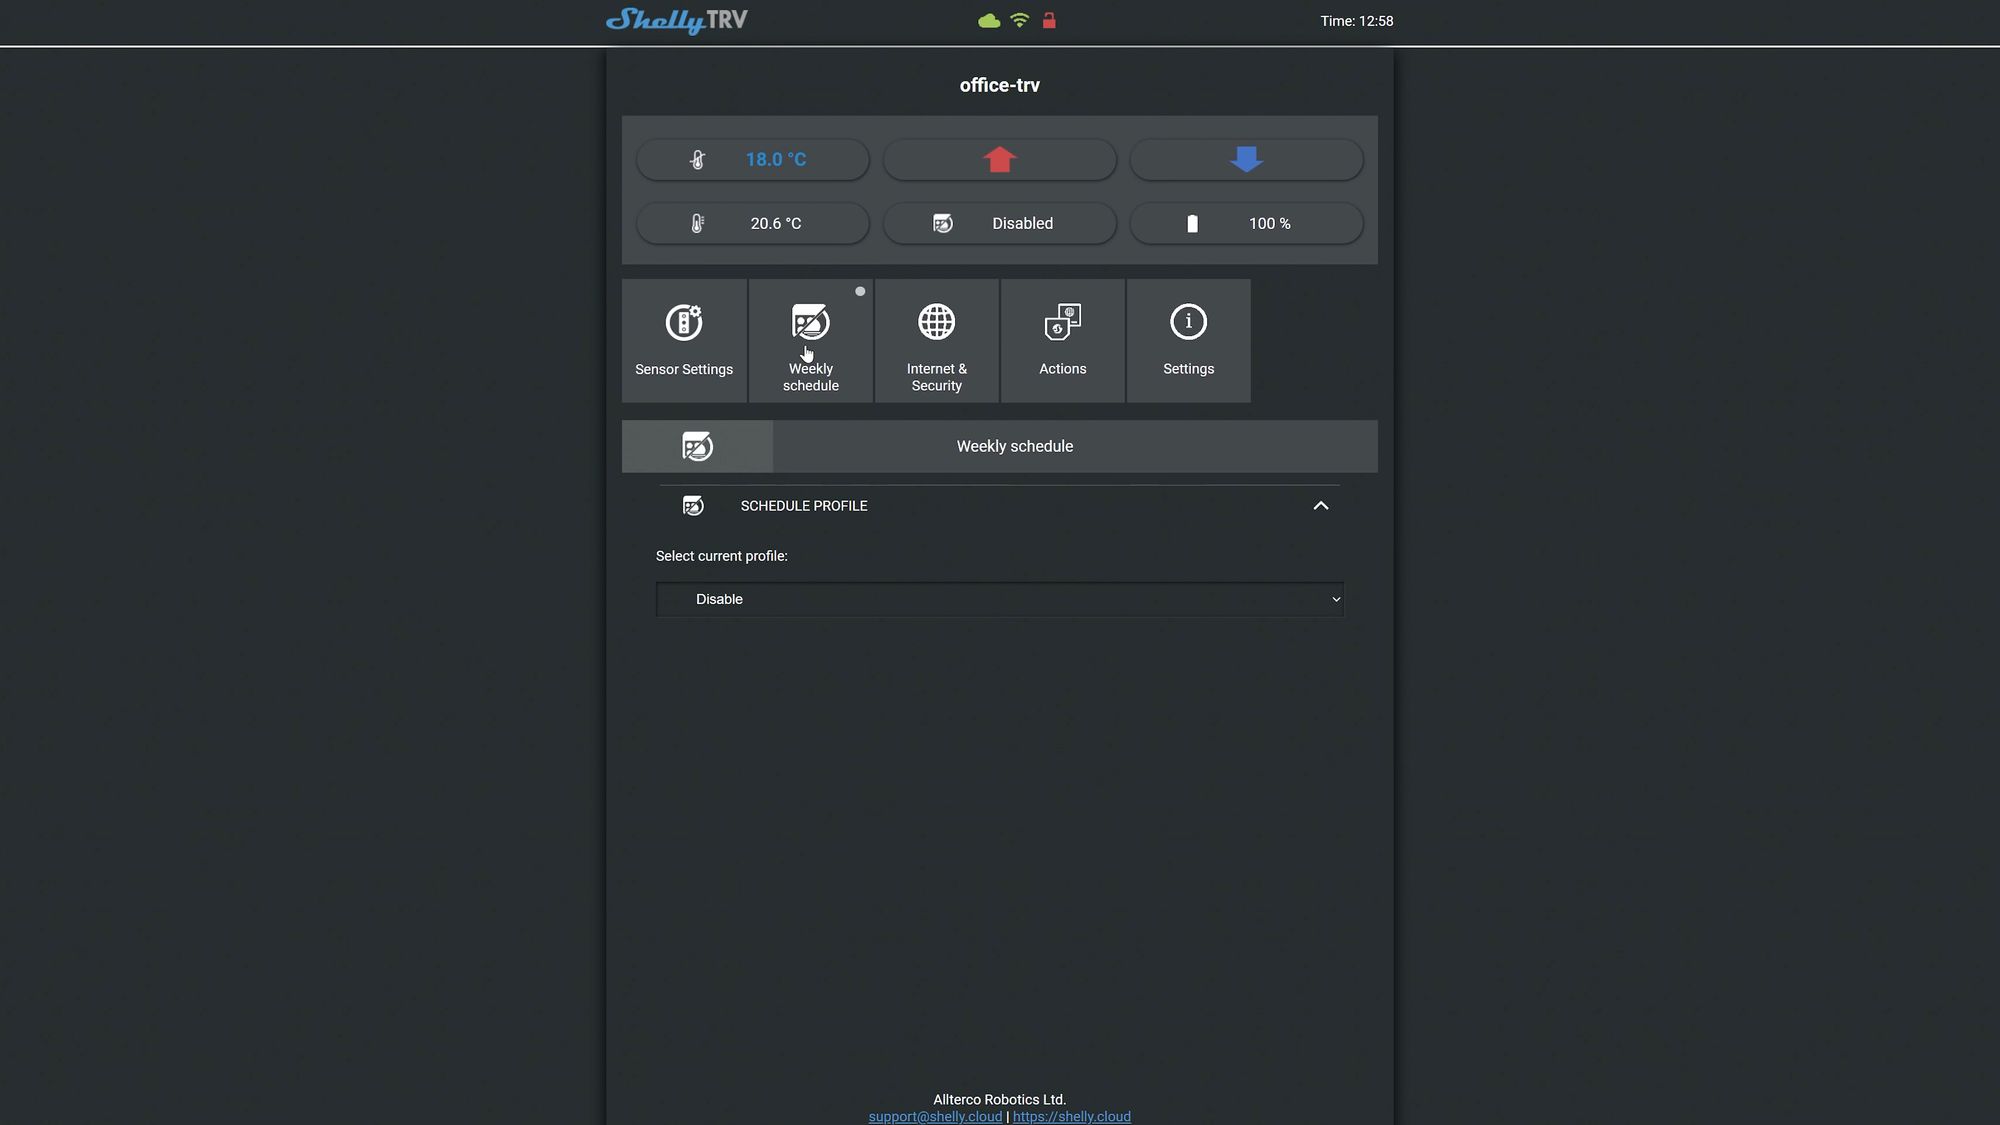
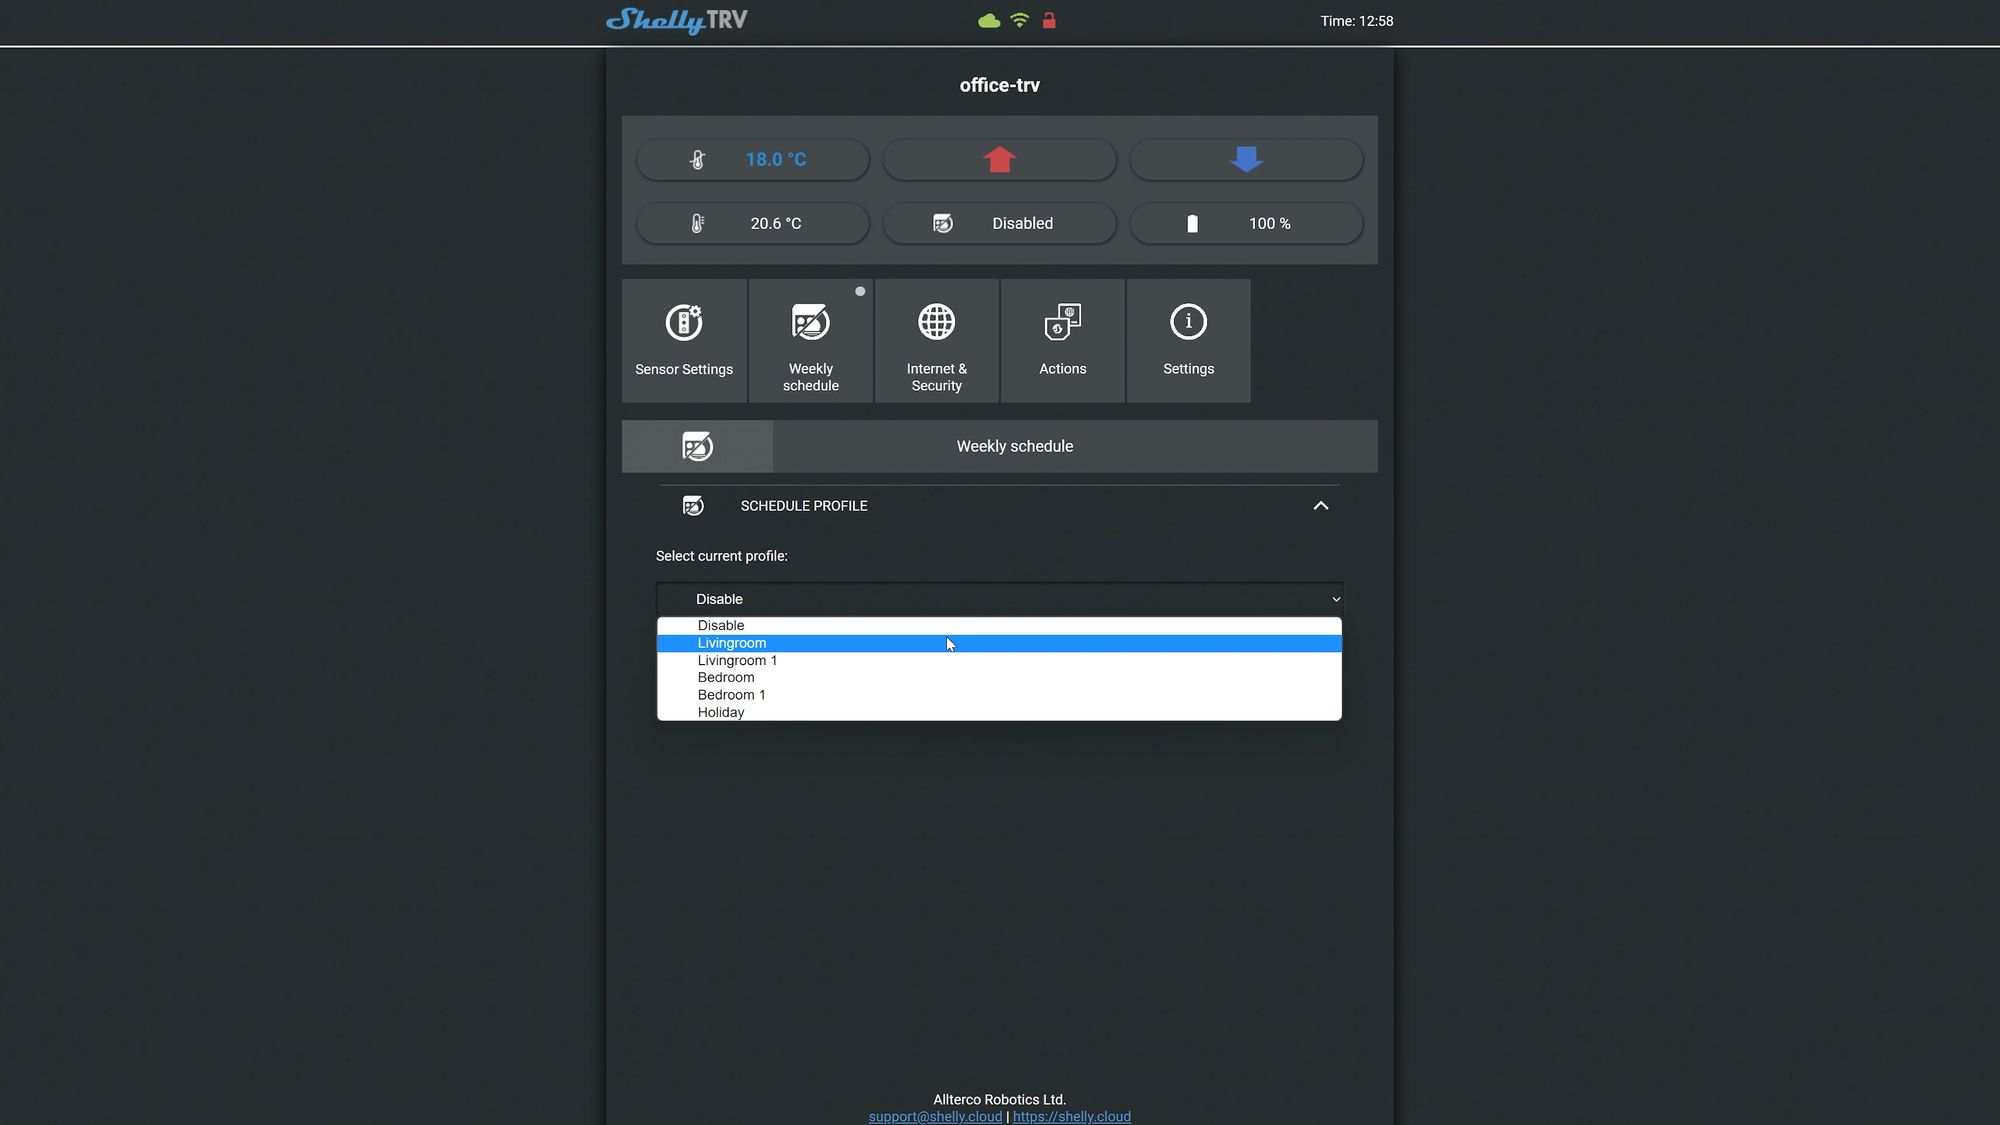
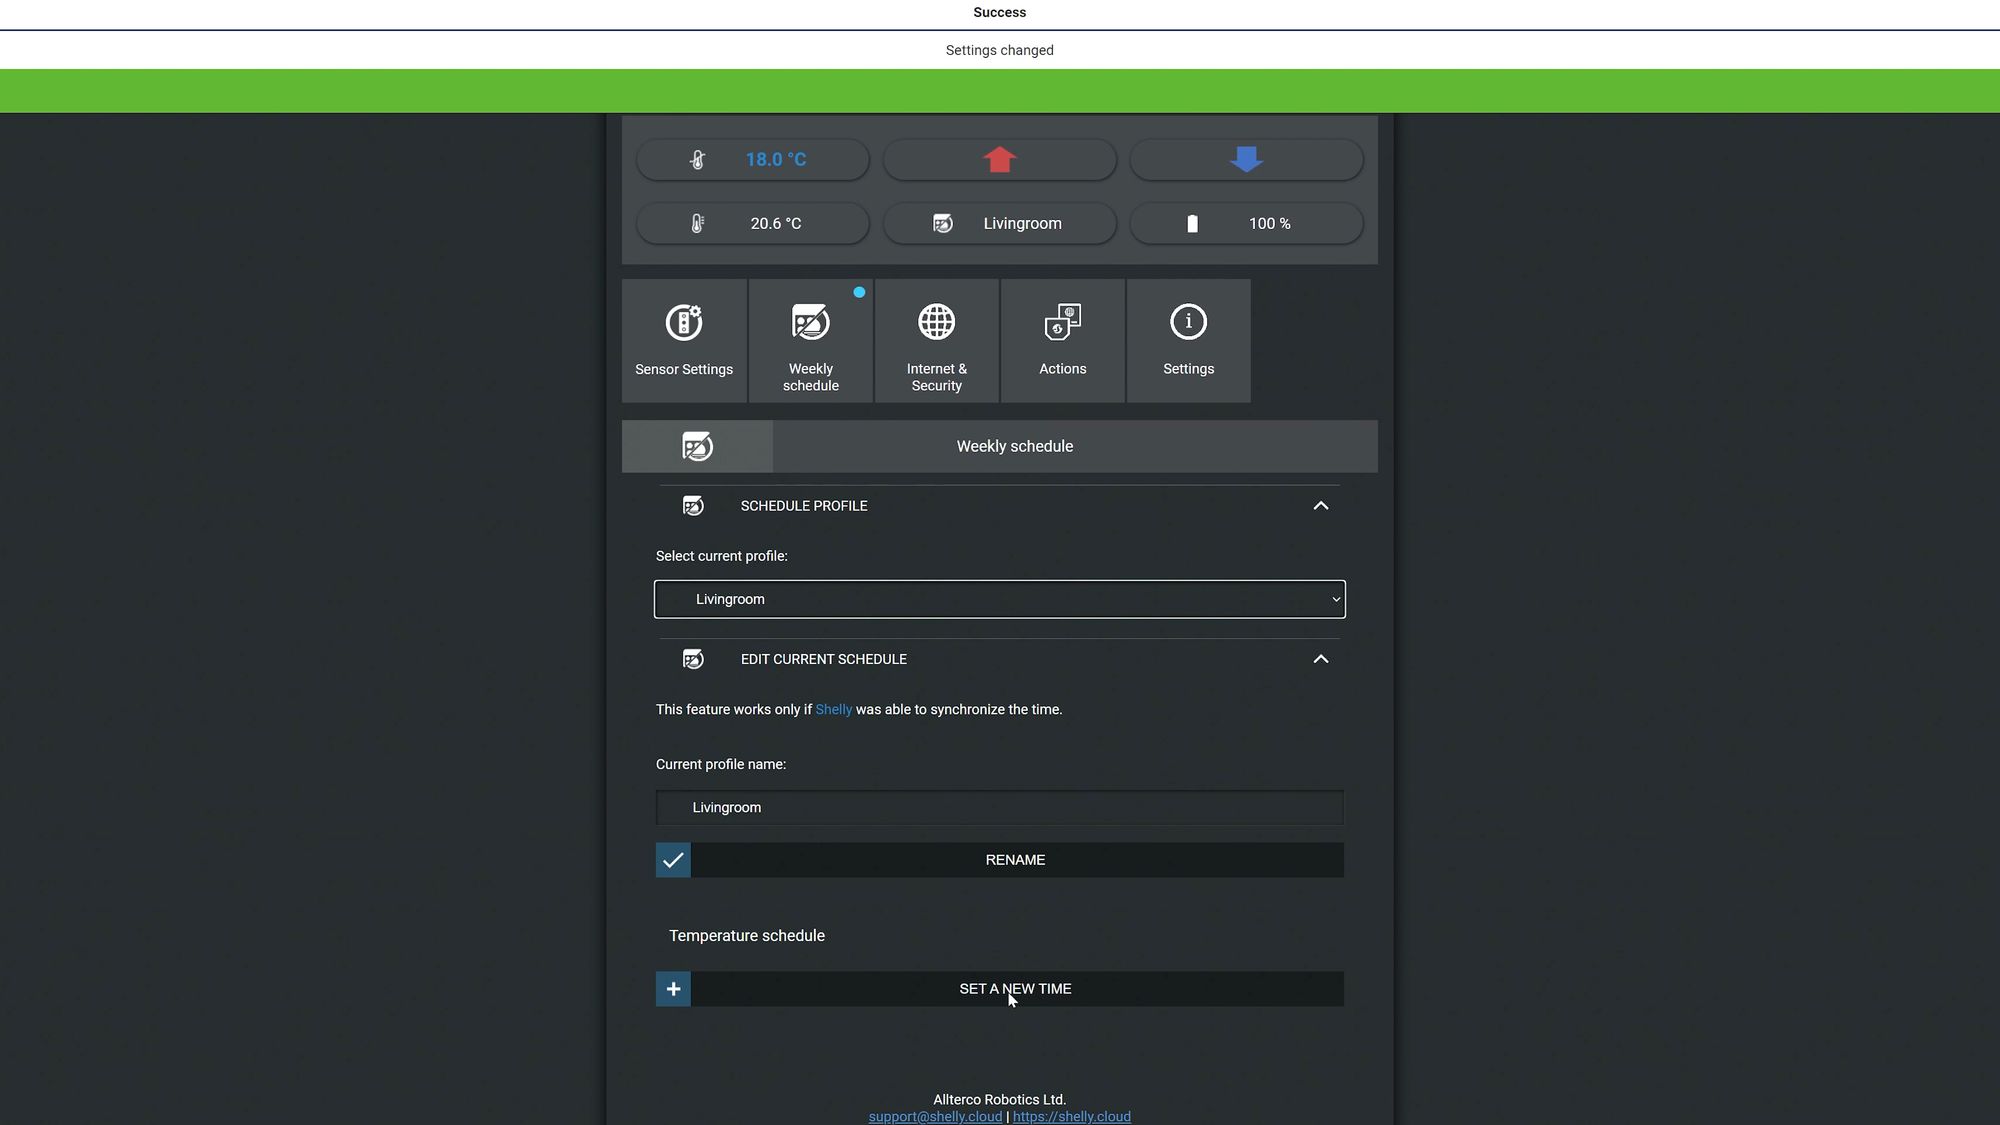
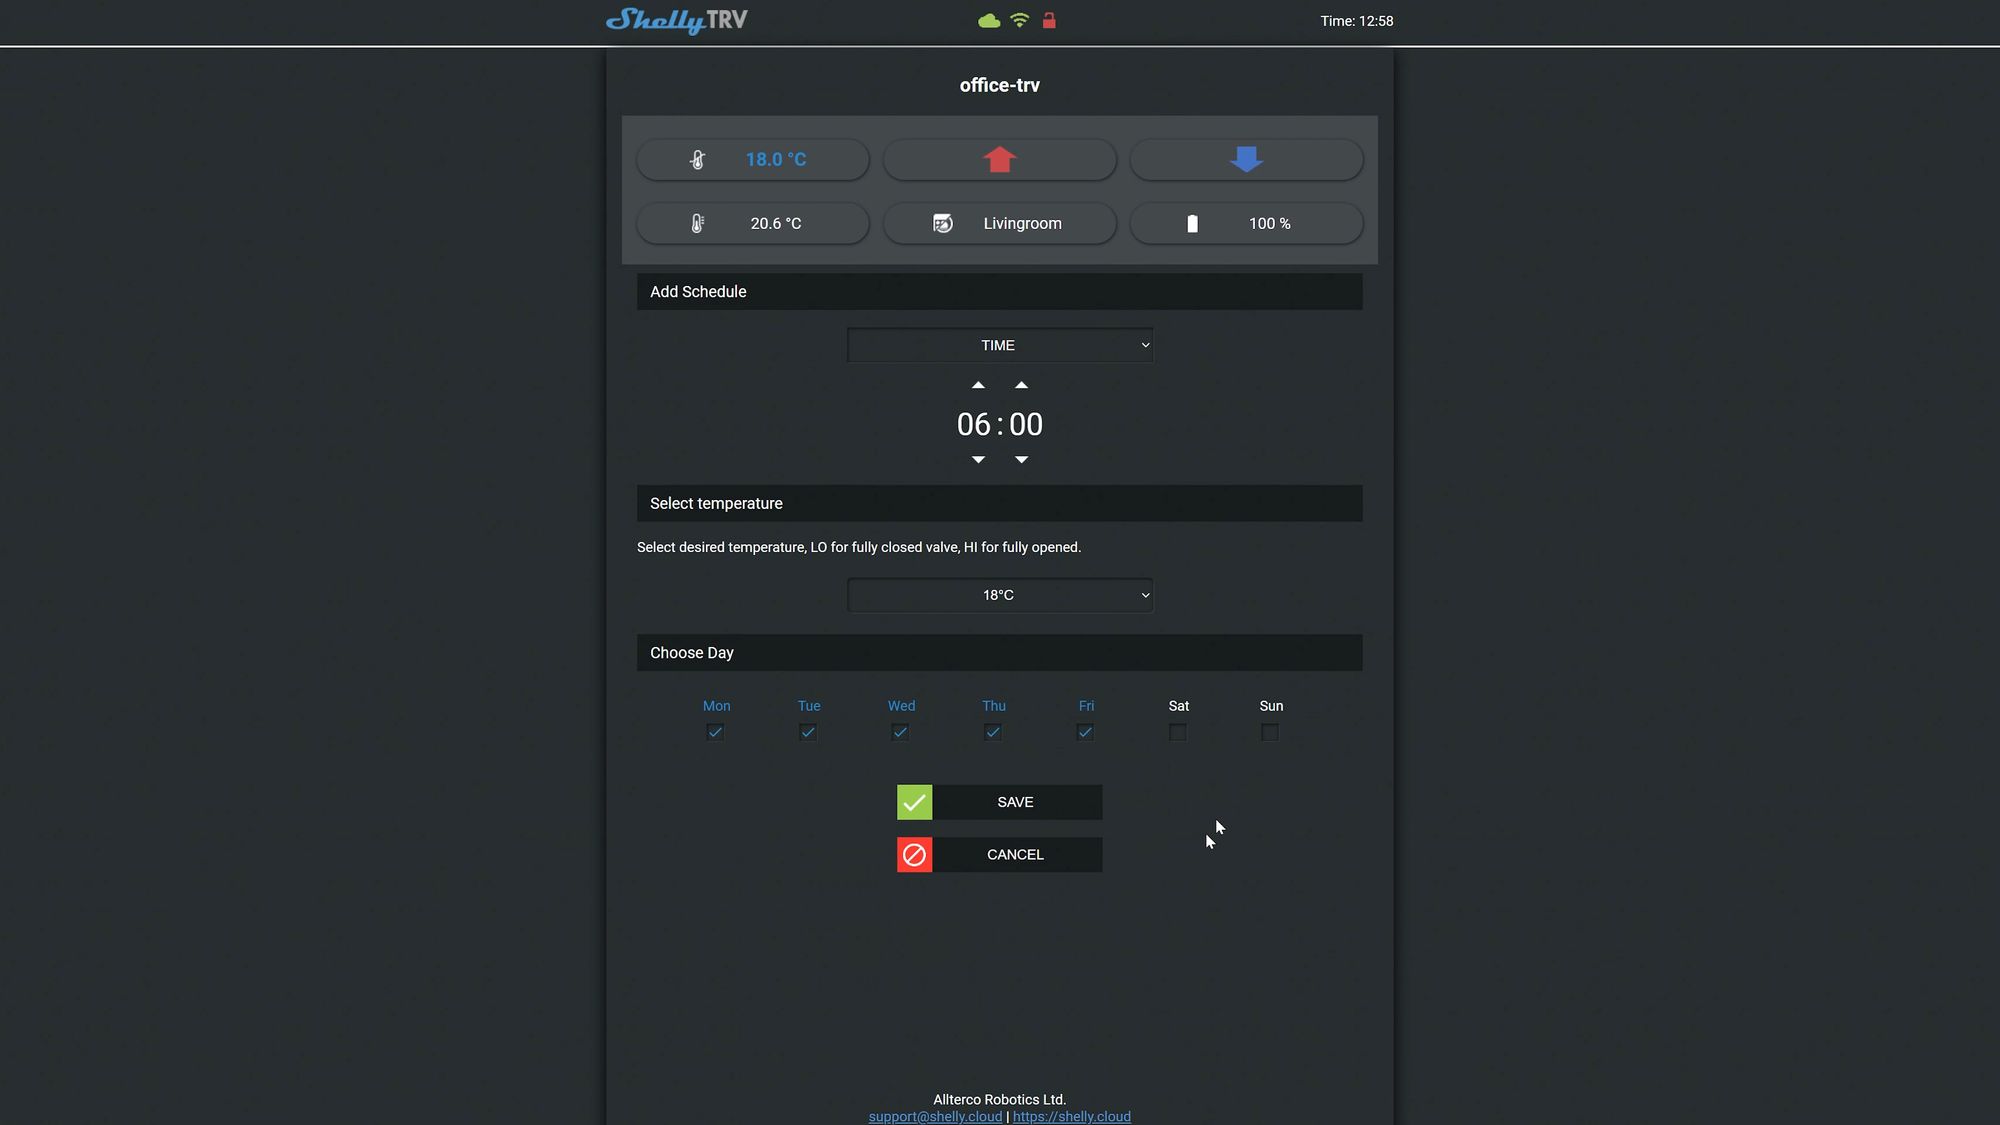
2. You can create weekly schedules where you tell it what temperature you want to maintain at set times of the day.
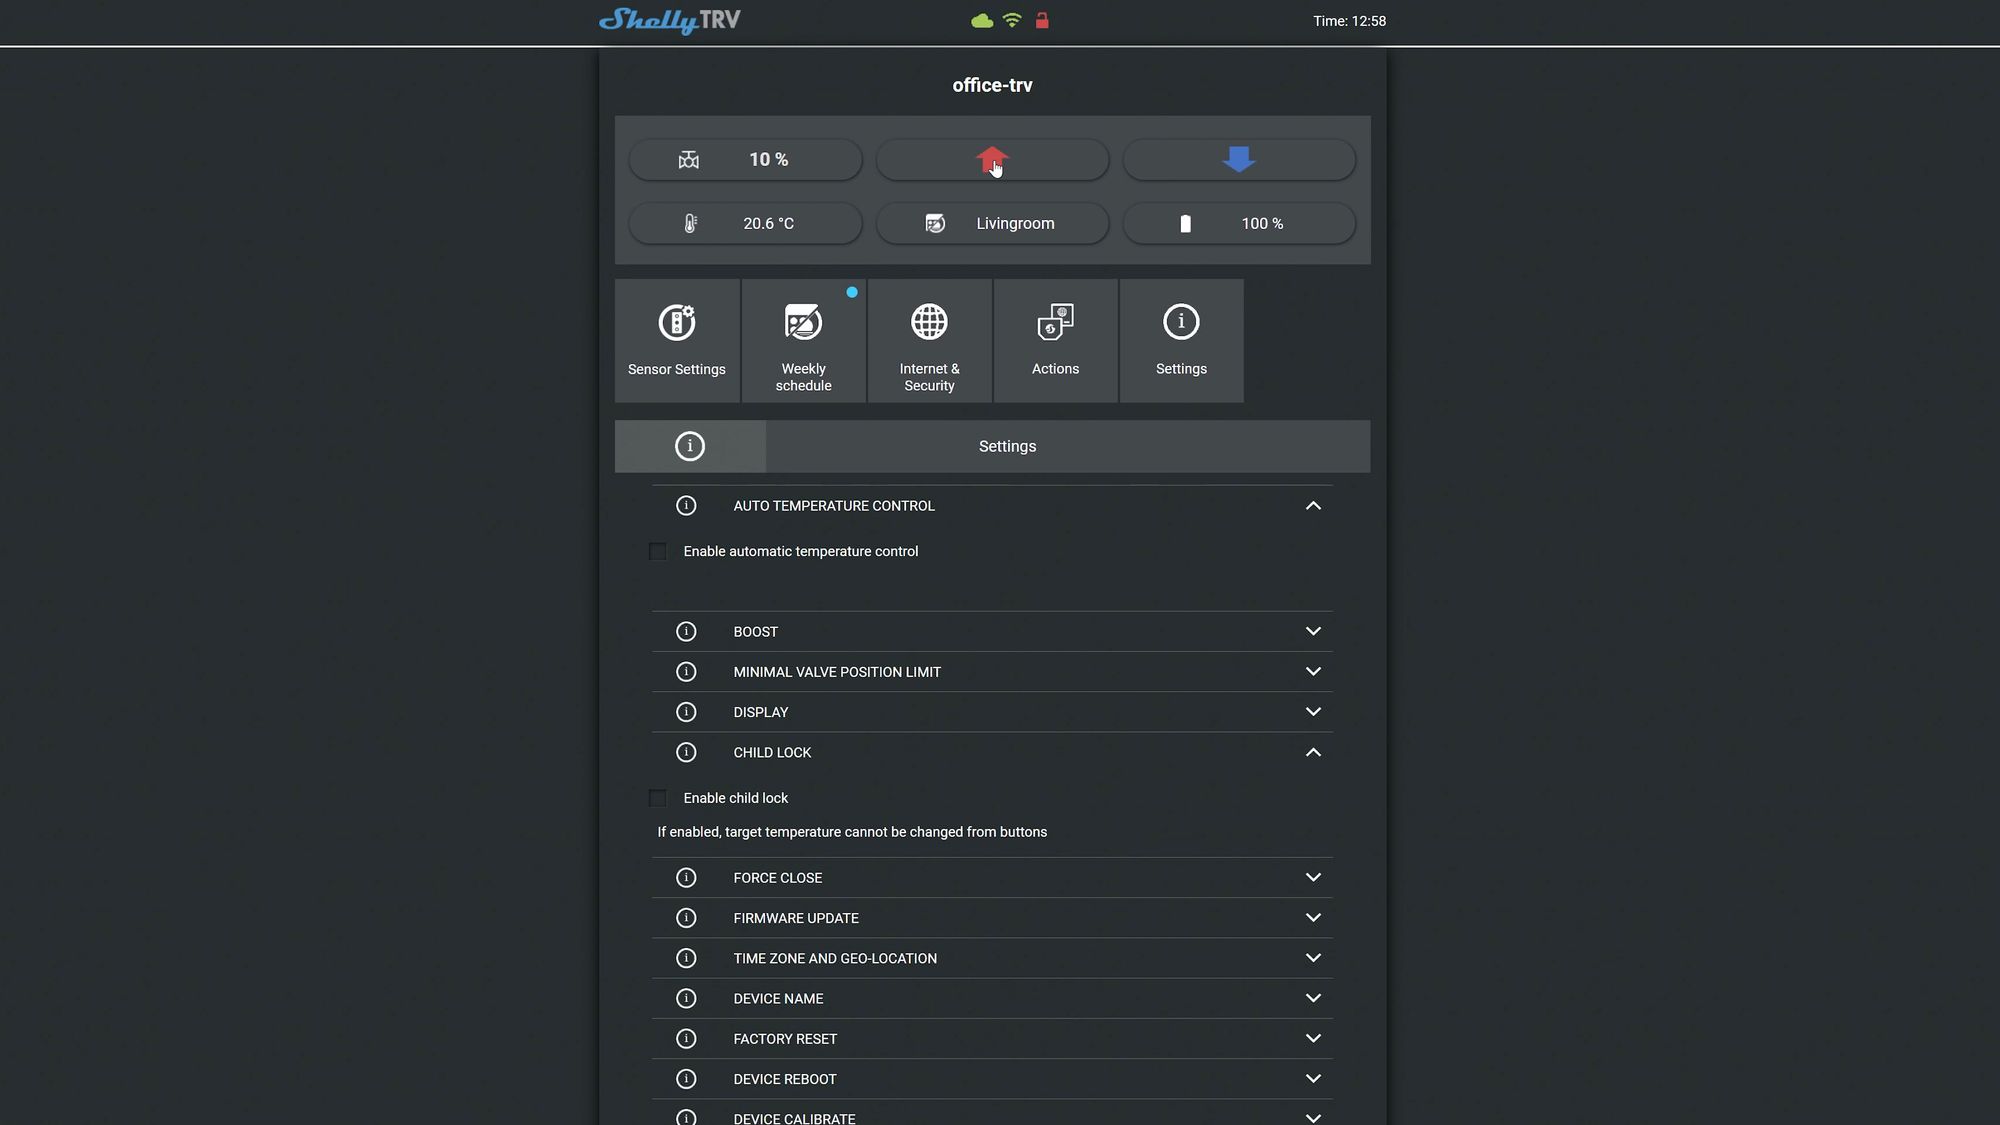
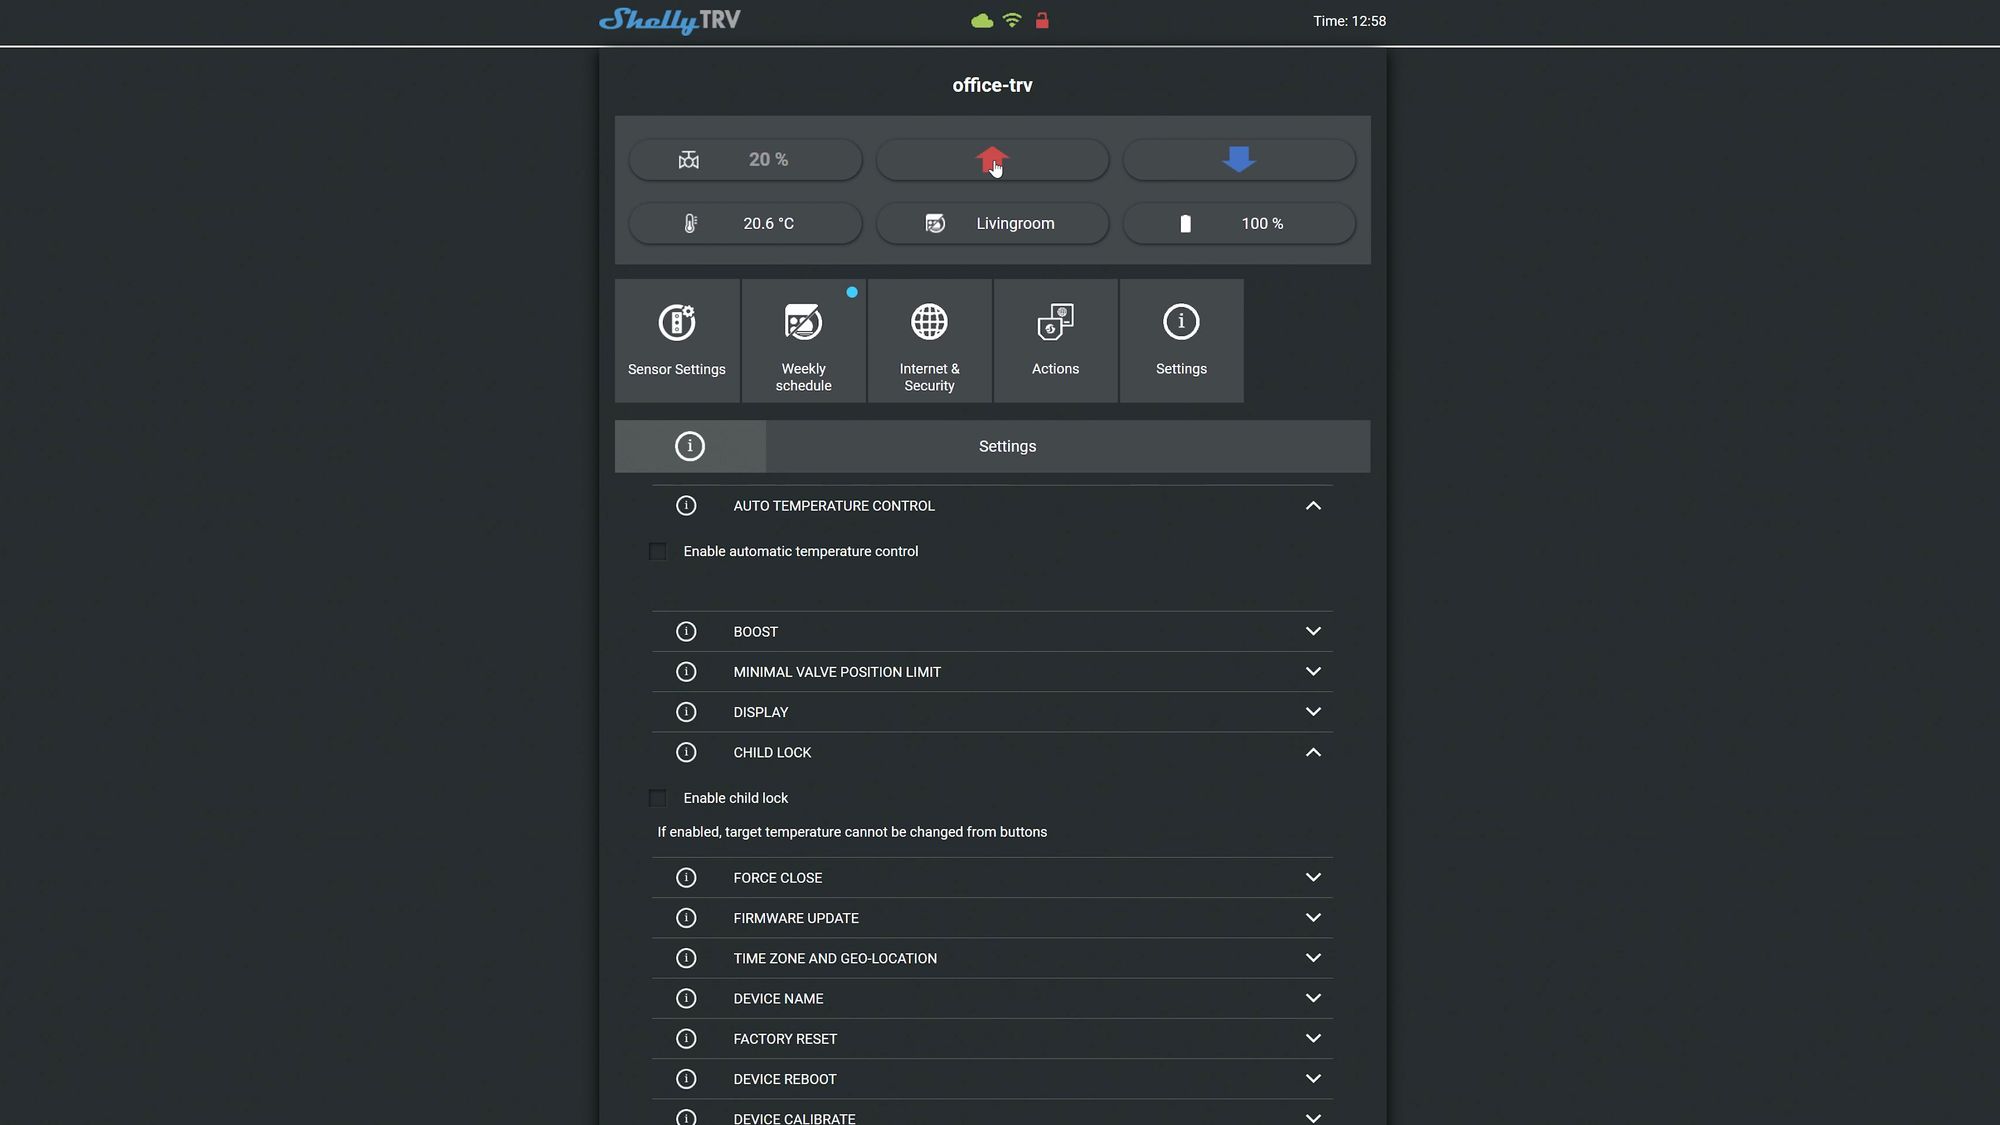
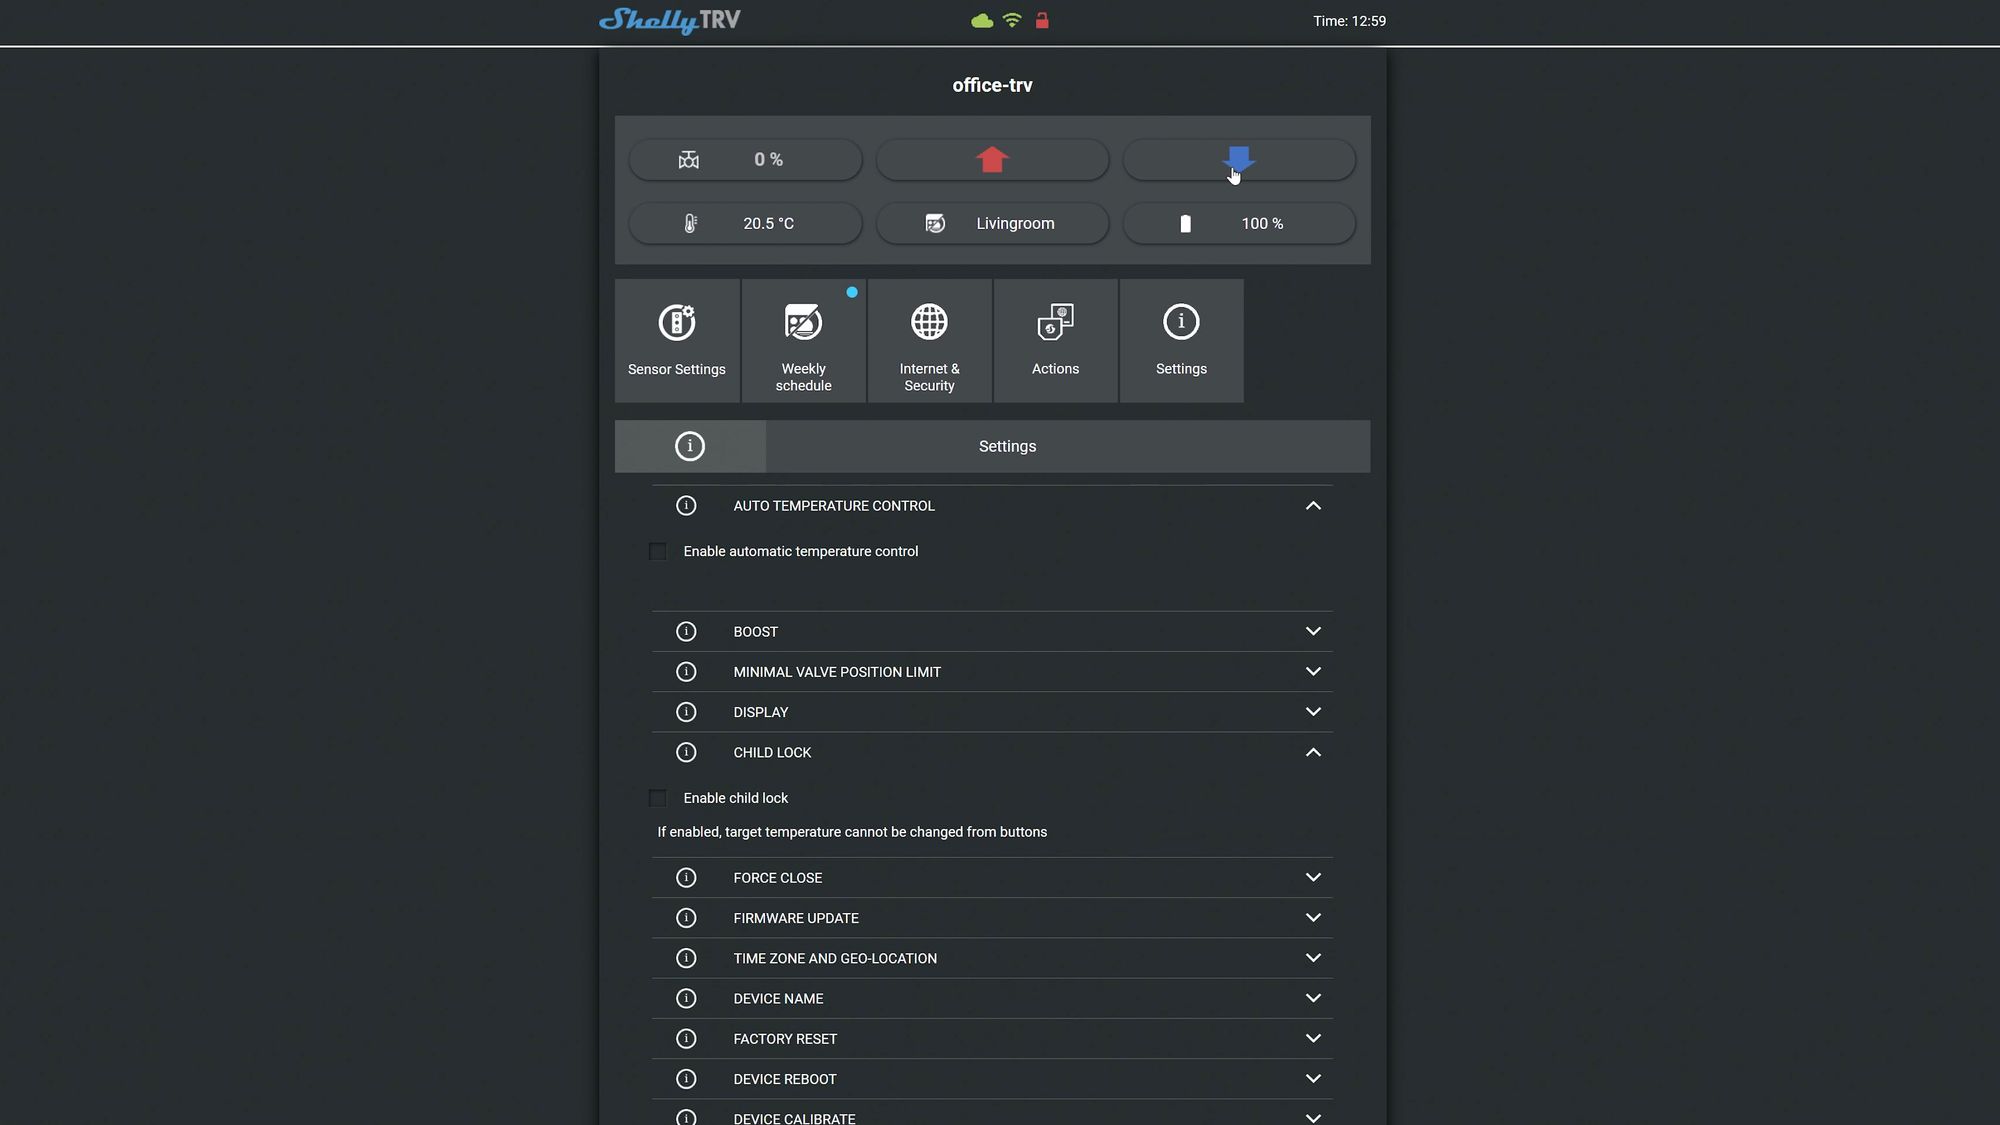
3. Or you can disable the automatic temperature and then simply control the position of the valve from 0% to 100% in 10% increments. This is useful if you want to either just keep water flowing through the radiator at all times or if you want to control it with another smart home platform instead like Home Assistant.

Additional Features
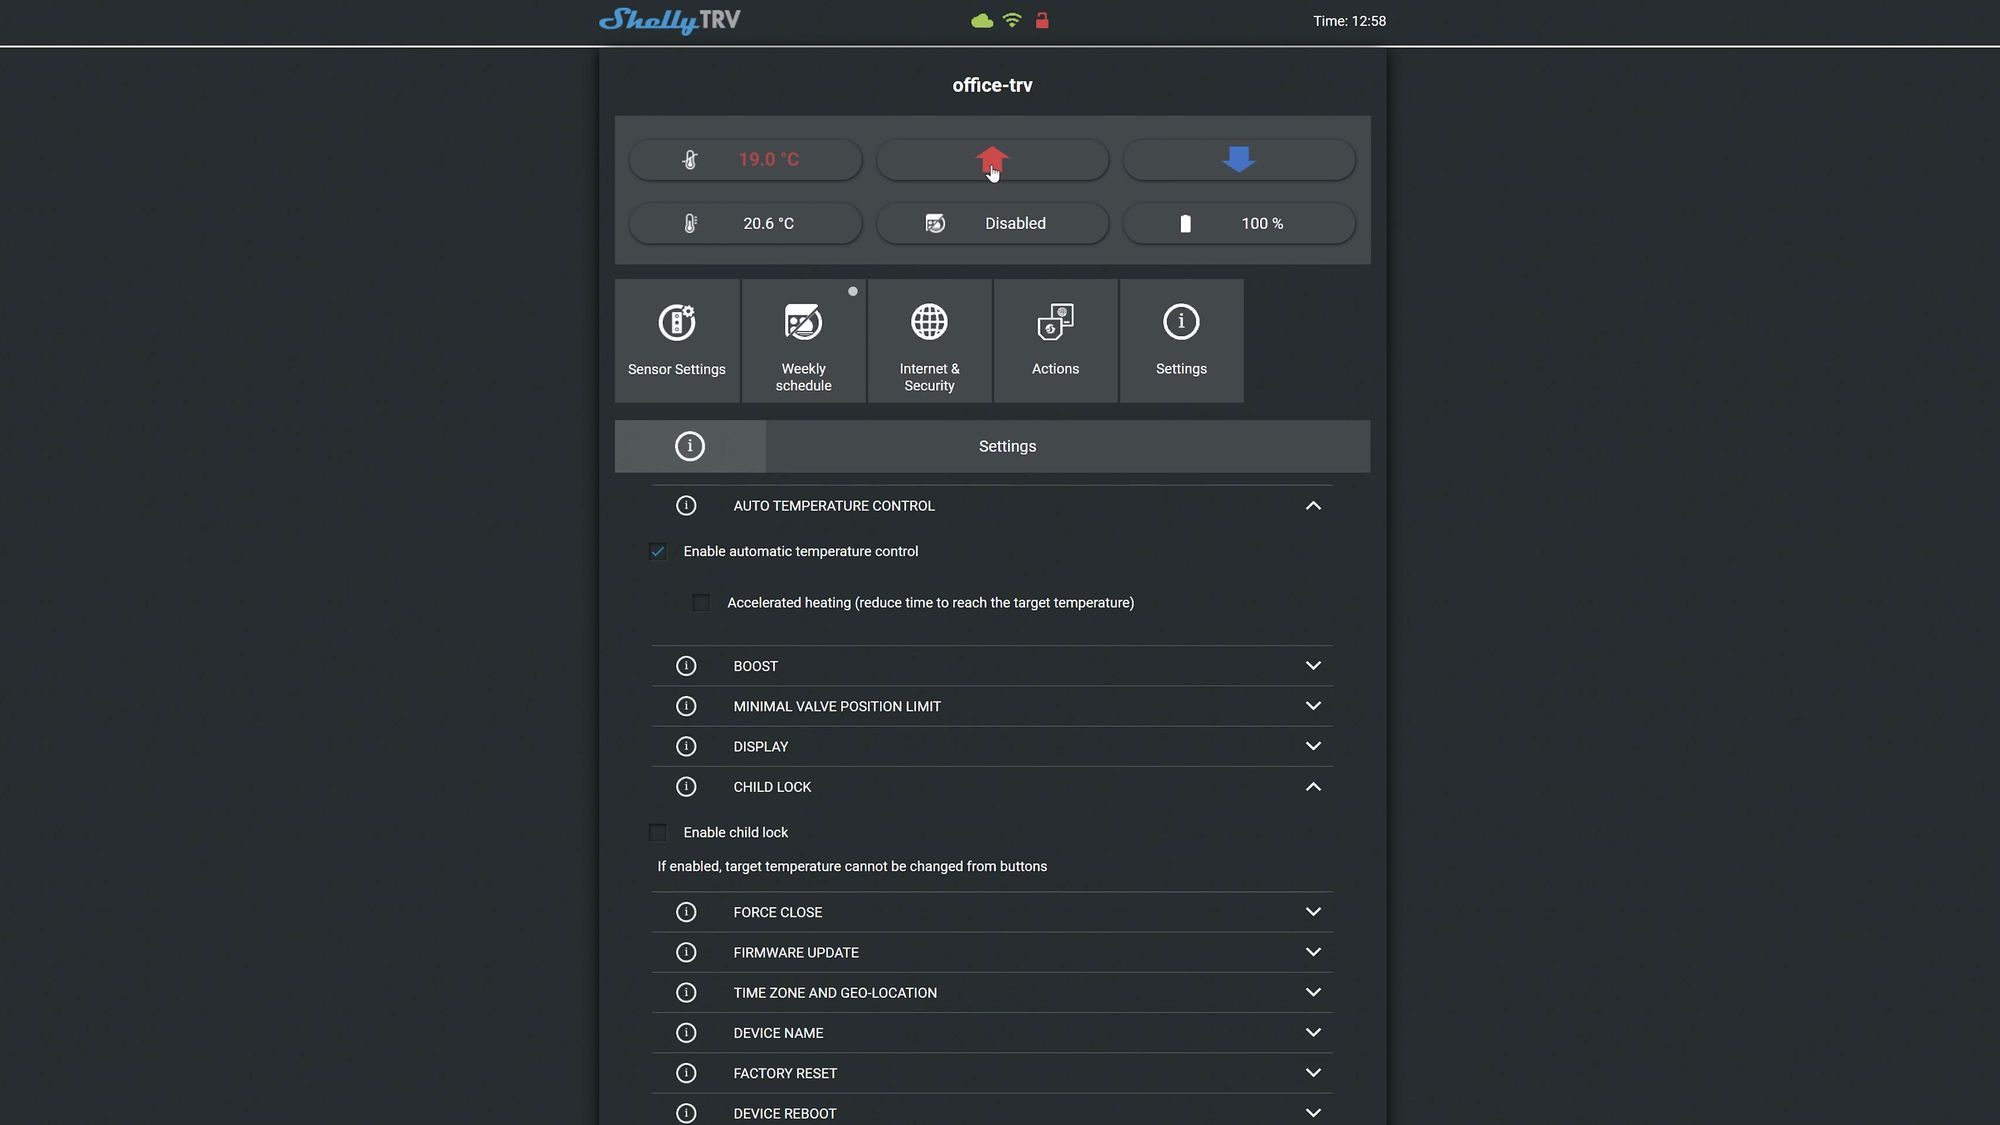
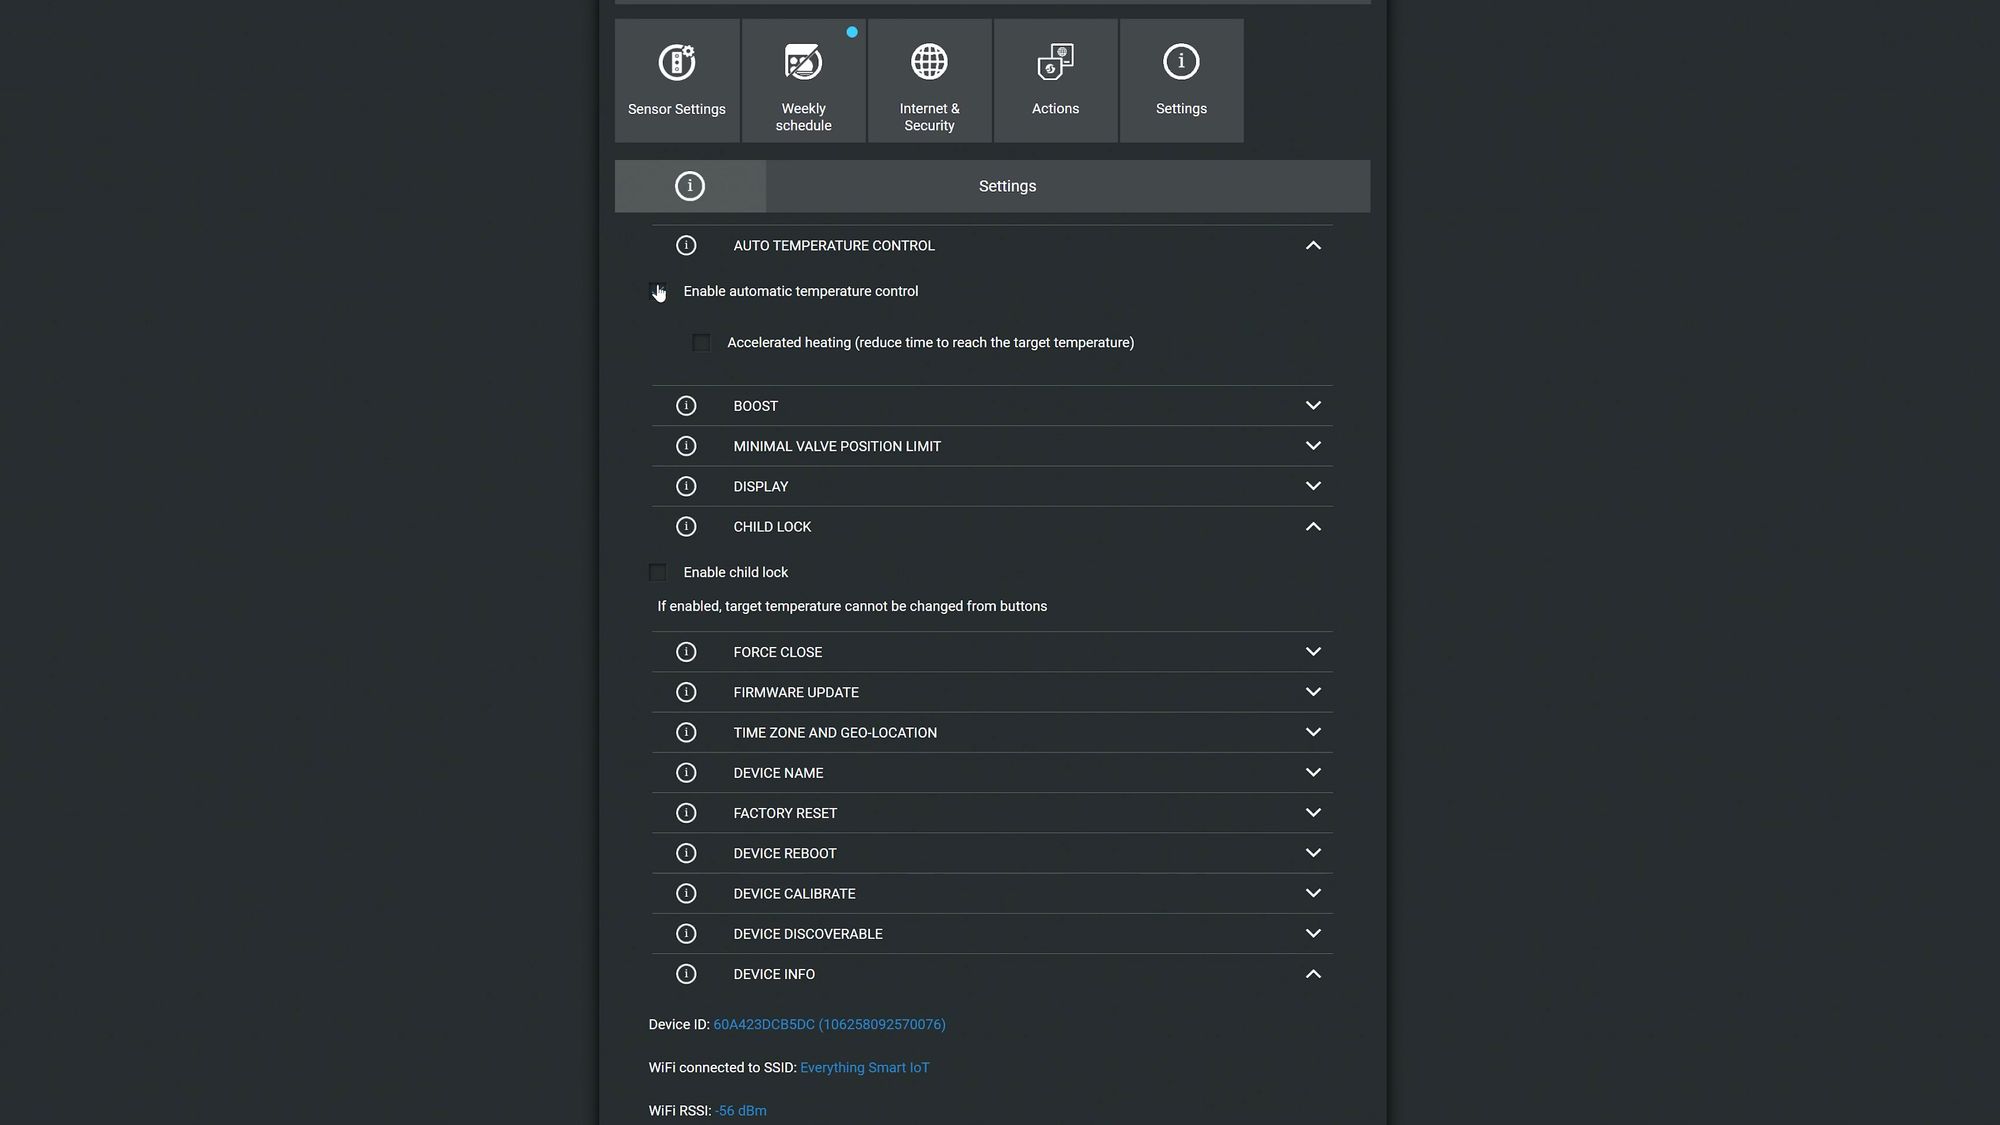
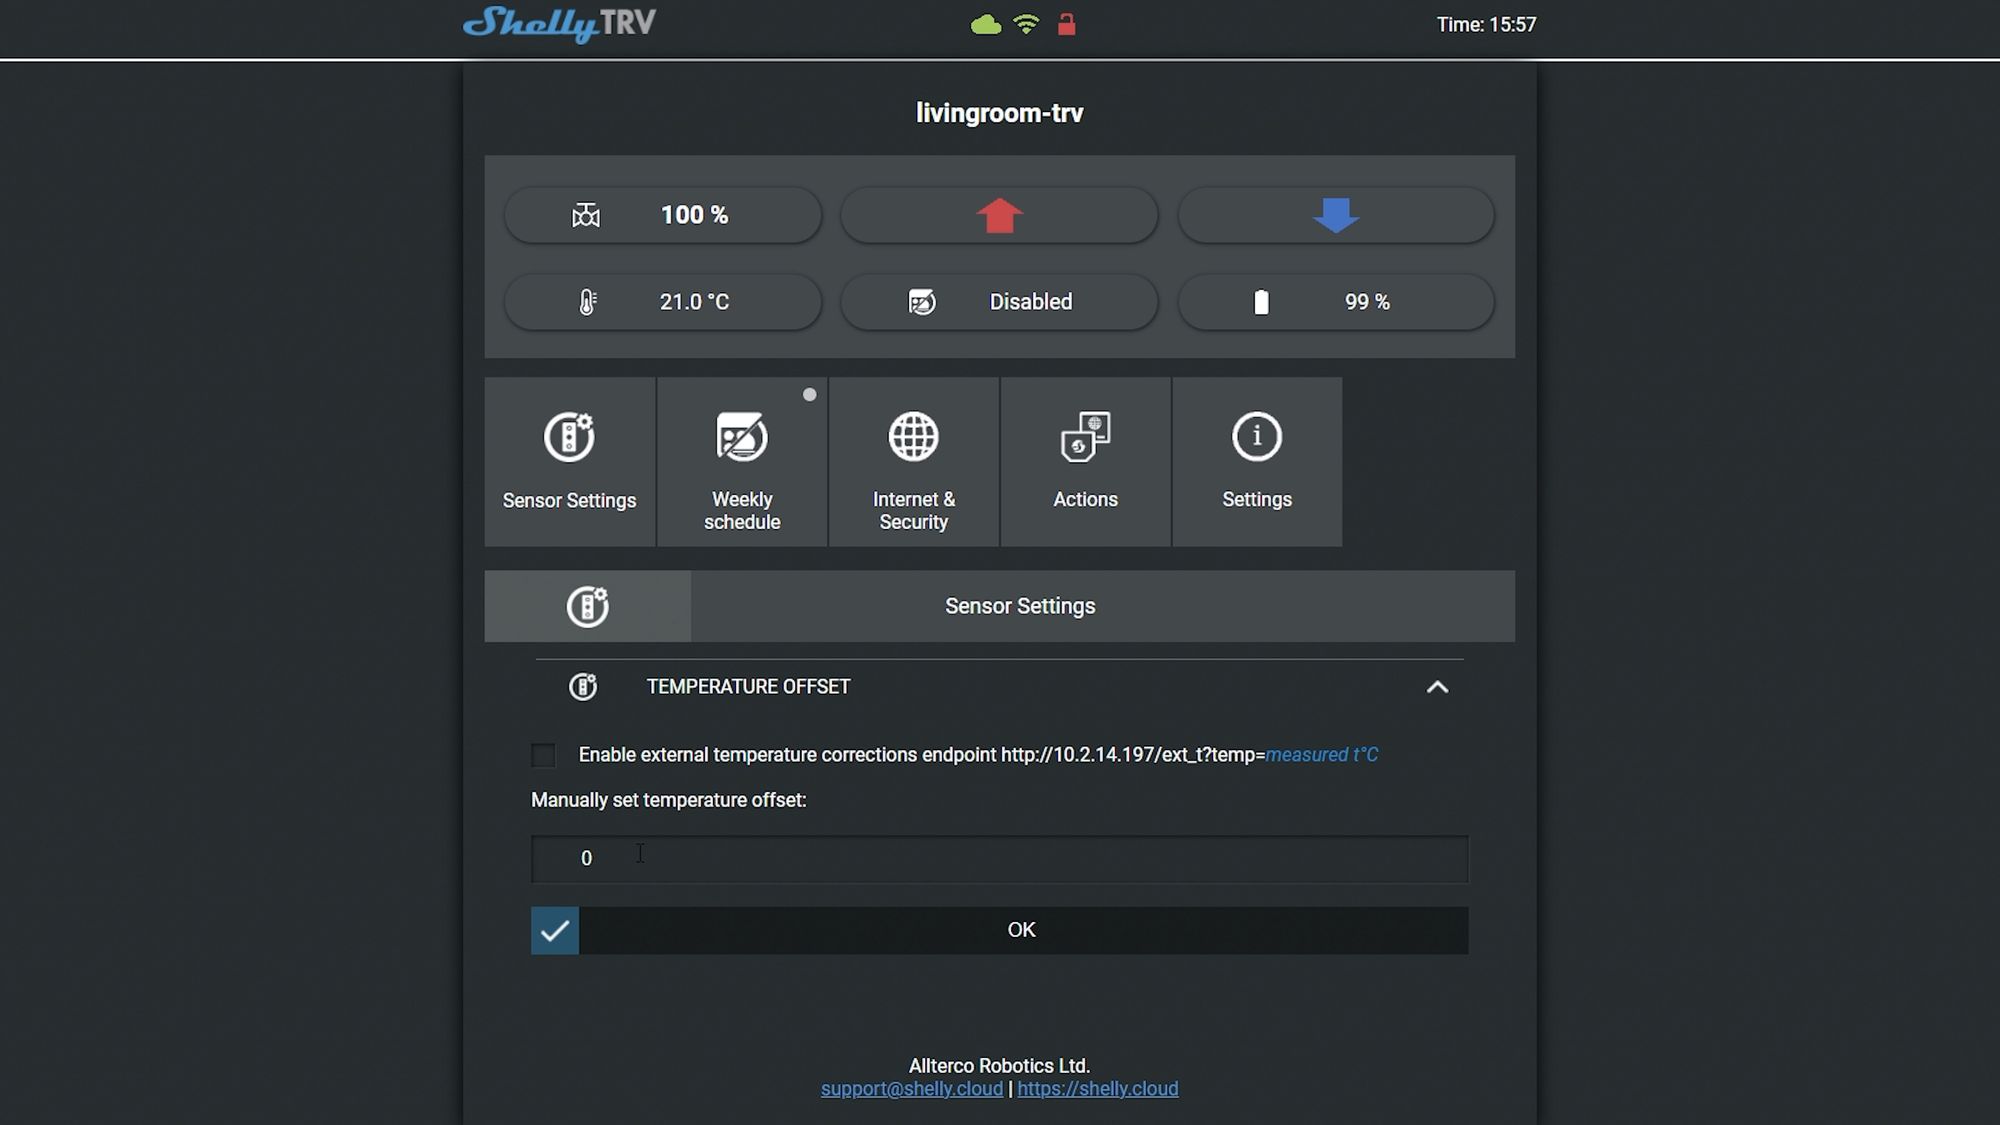
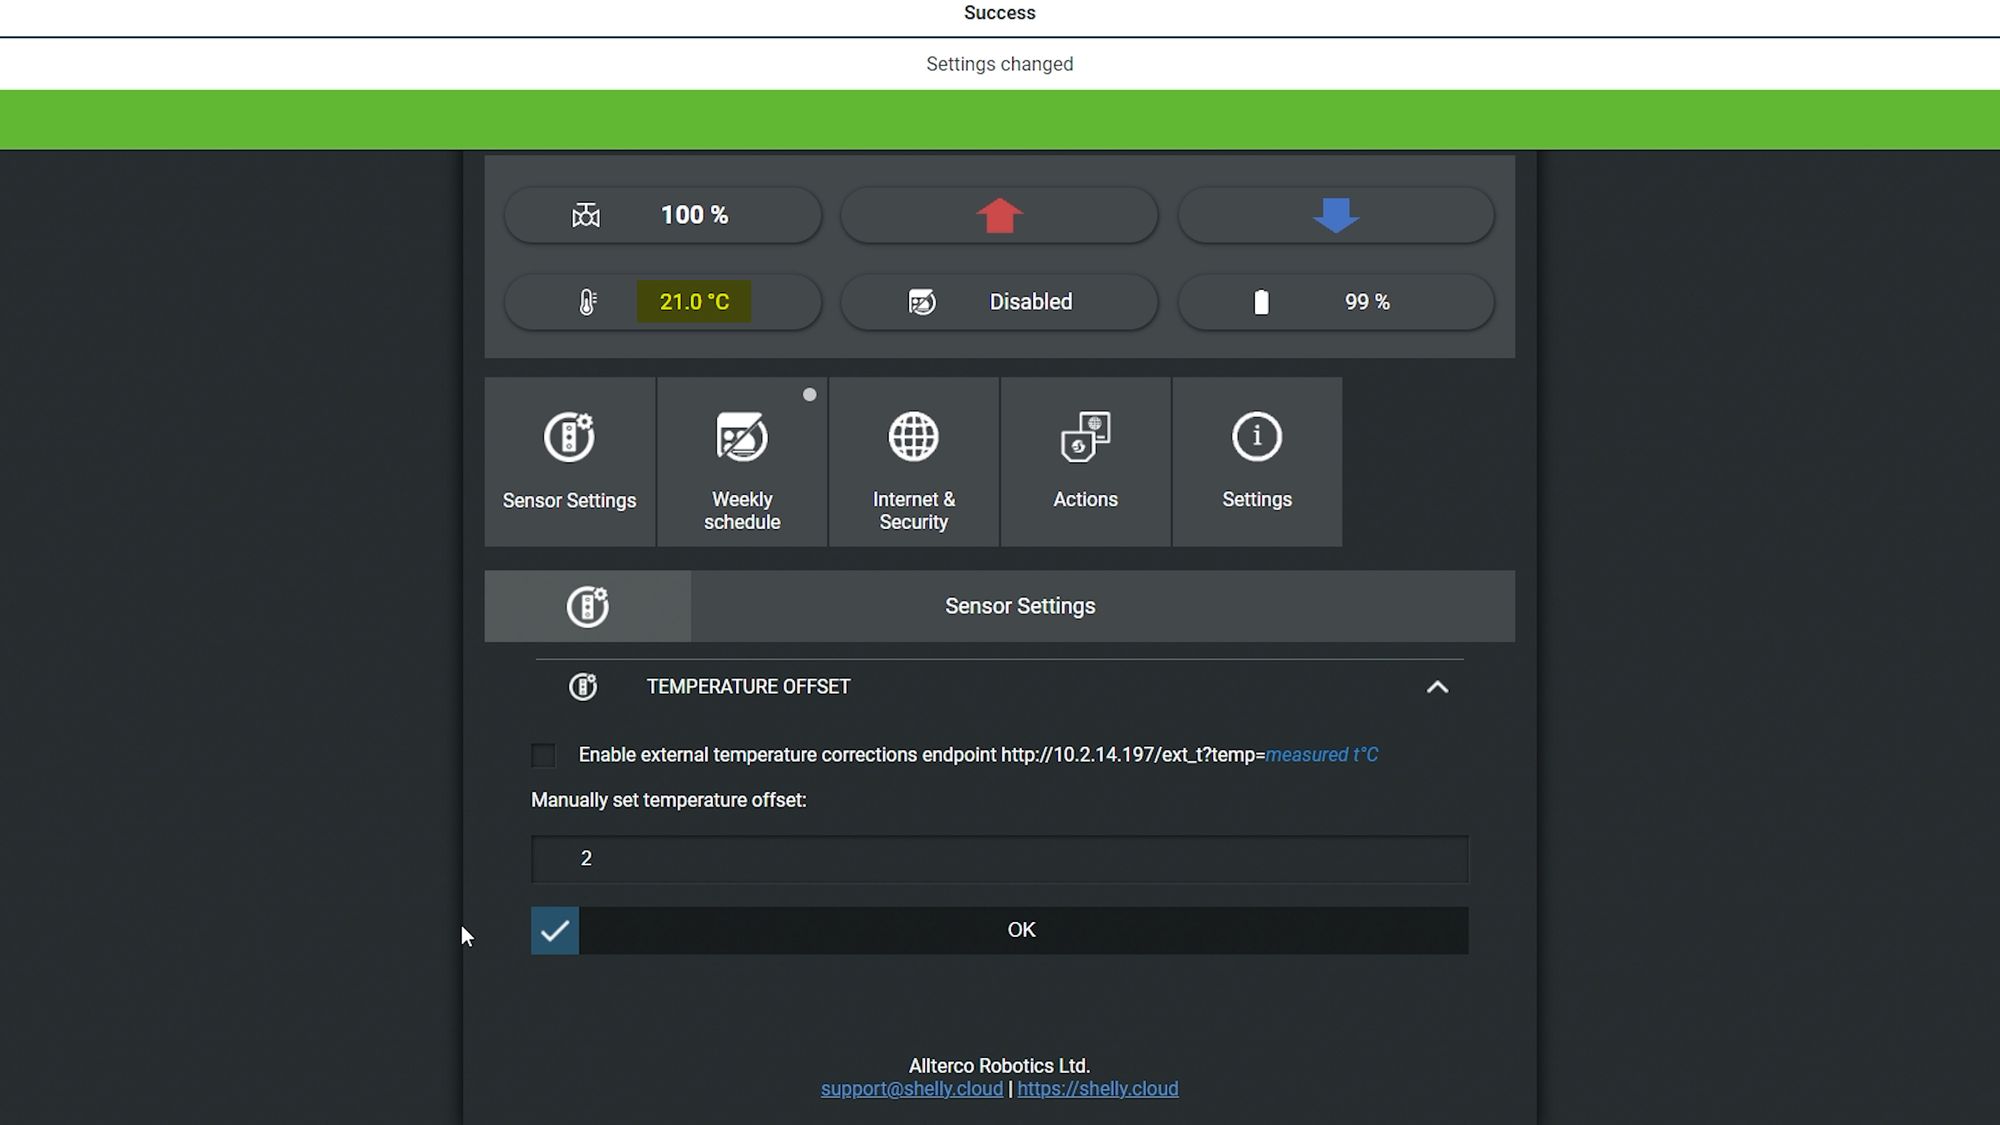
One very thoughtful feature I do like is that obviously with the TRV being mounted directly on the radiator, the heat generated from the radiator could affect the reading that you get from the temperature sensor. Shelly has obviously thought about this and even acknowledge it in their documentation, so you have the ability to offset the temperature to get a more accurate result and you can do this with both negative and positive numbers. At the moment you can only do this in whole numbers rather than being able to add decimal places - which I do think Shelly should allow - but its a nice addition. You can also hook this up to a compatible external temperature sensor if you would like for more accurate readings too.

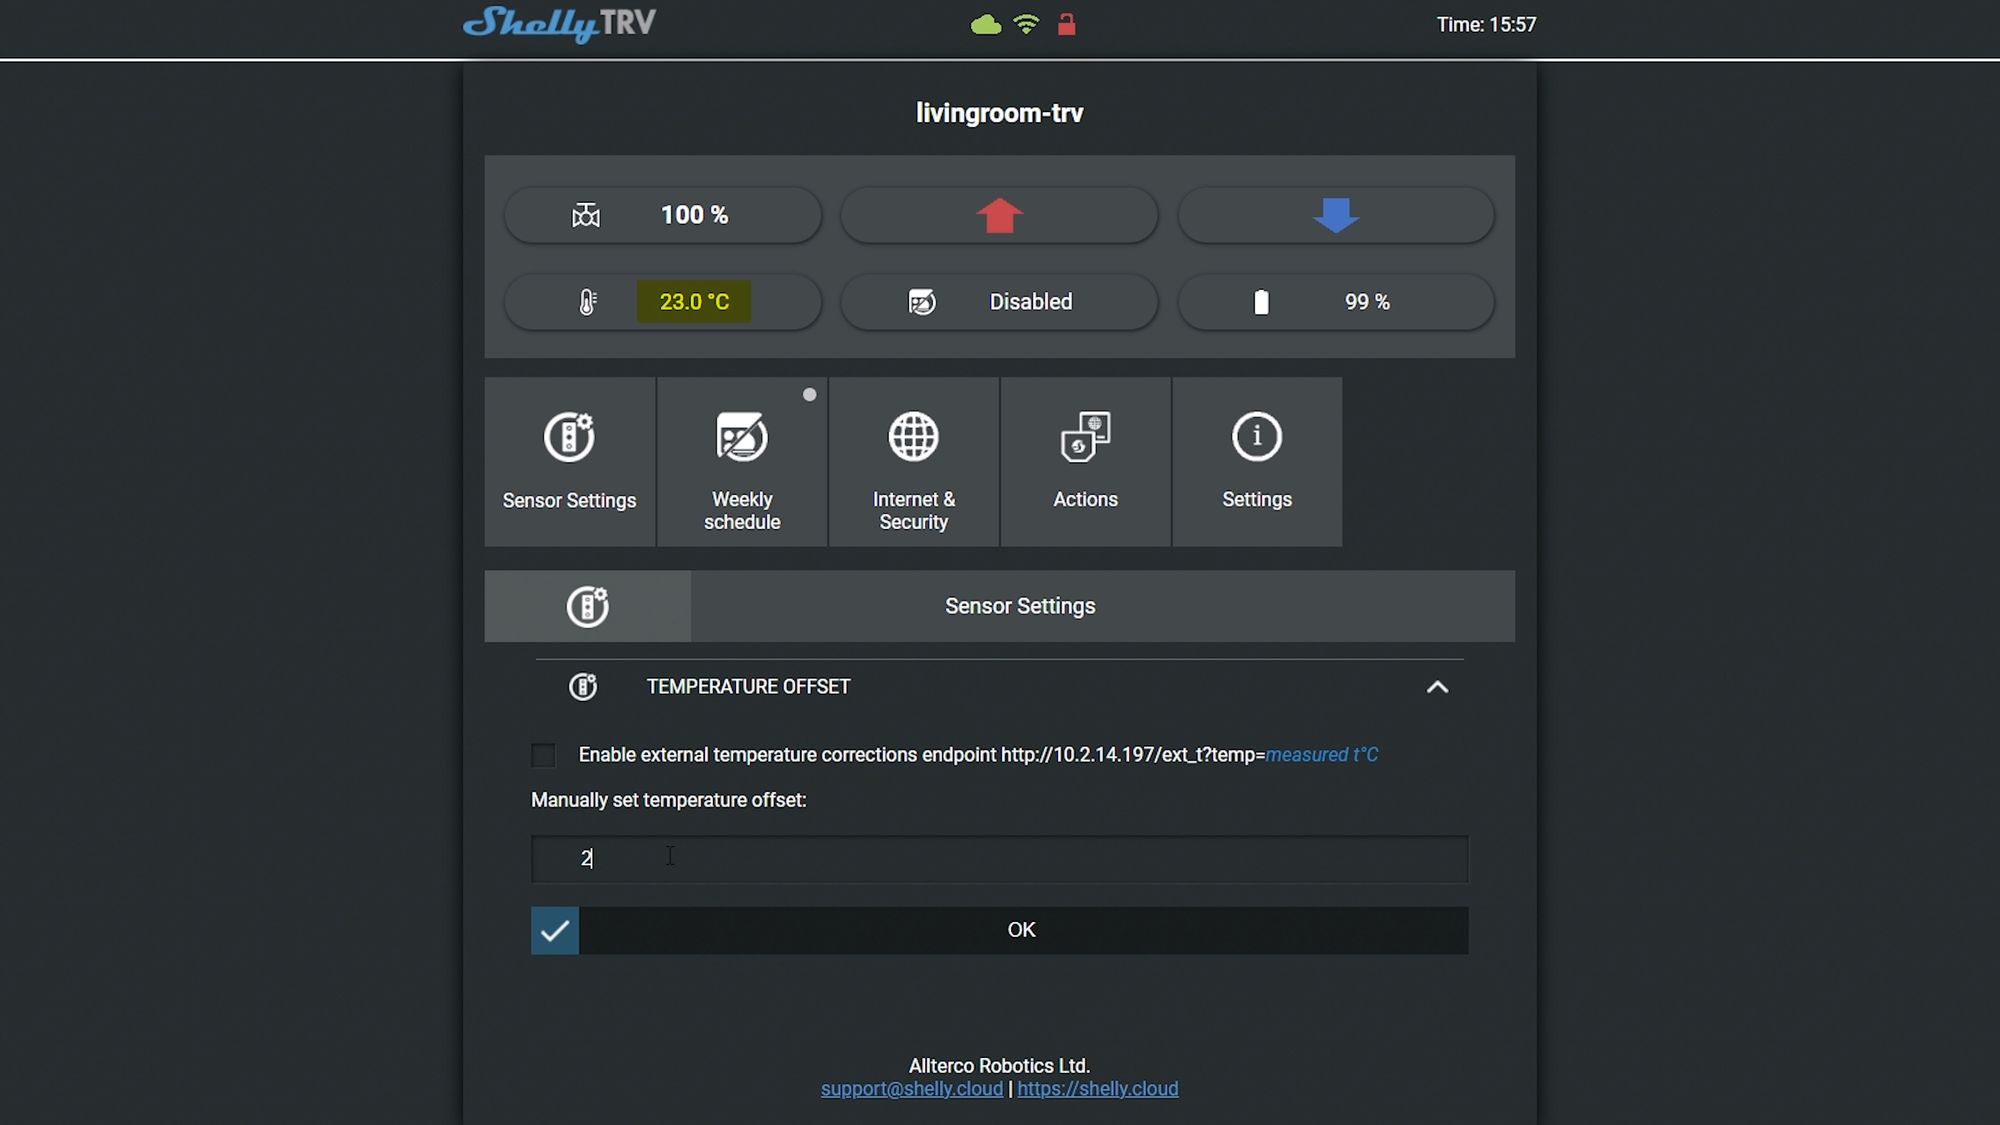
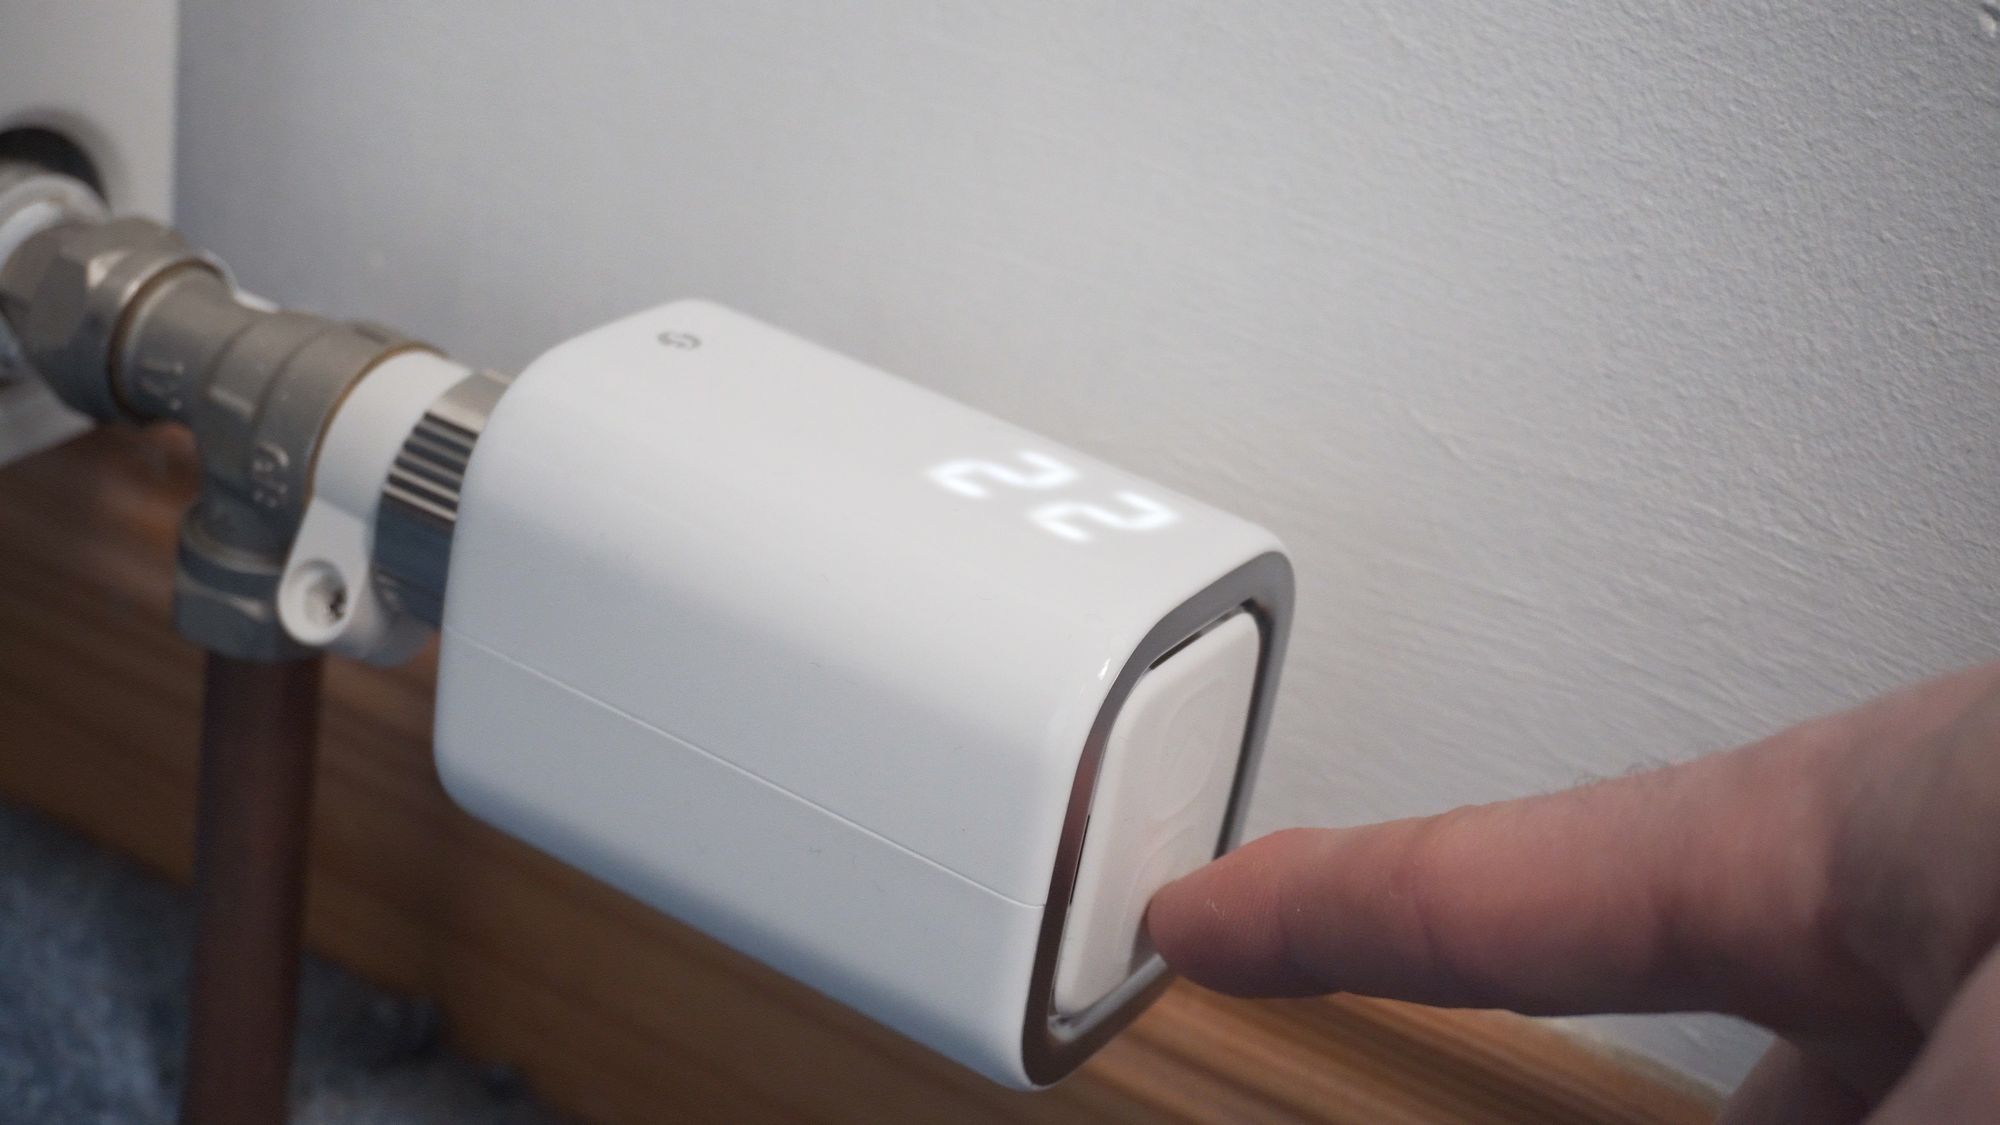
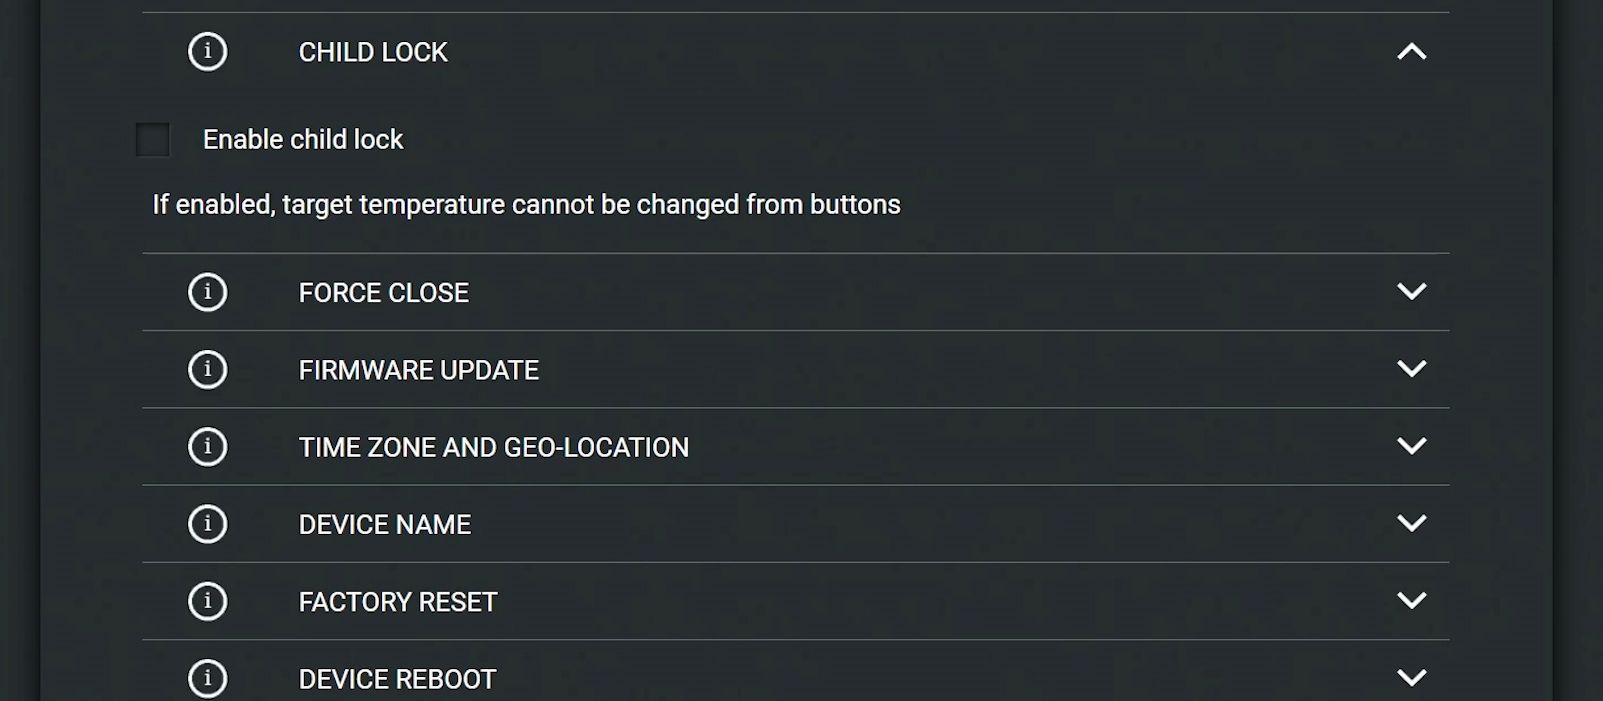
The physical buttons are also pretty handy if you don’t want to pull out your phone to adjust things and can be used to quickly and easily control the temperature its set too or the valve position. Also, if you have kids who like to mess around with the radiators, you can enable the child lock feature in the settings to disable the buttons, foiling their plans!
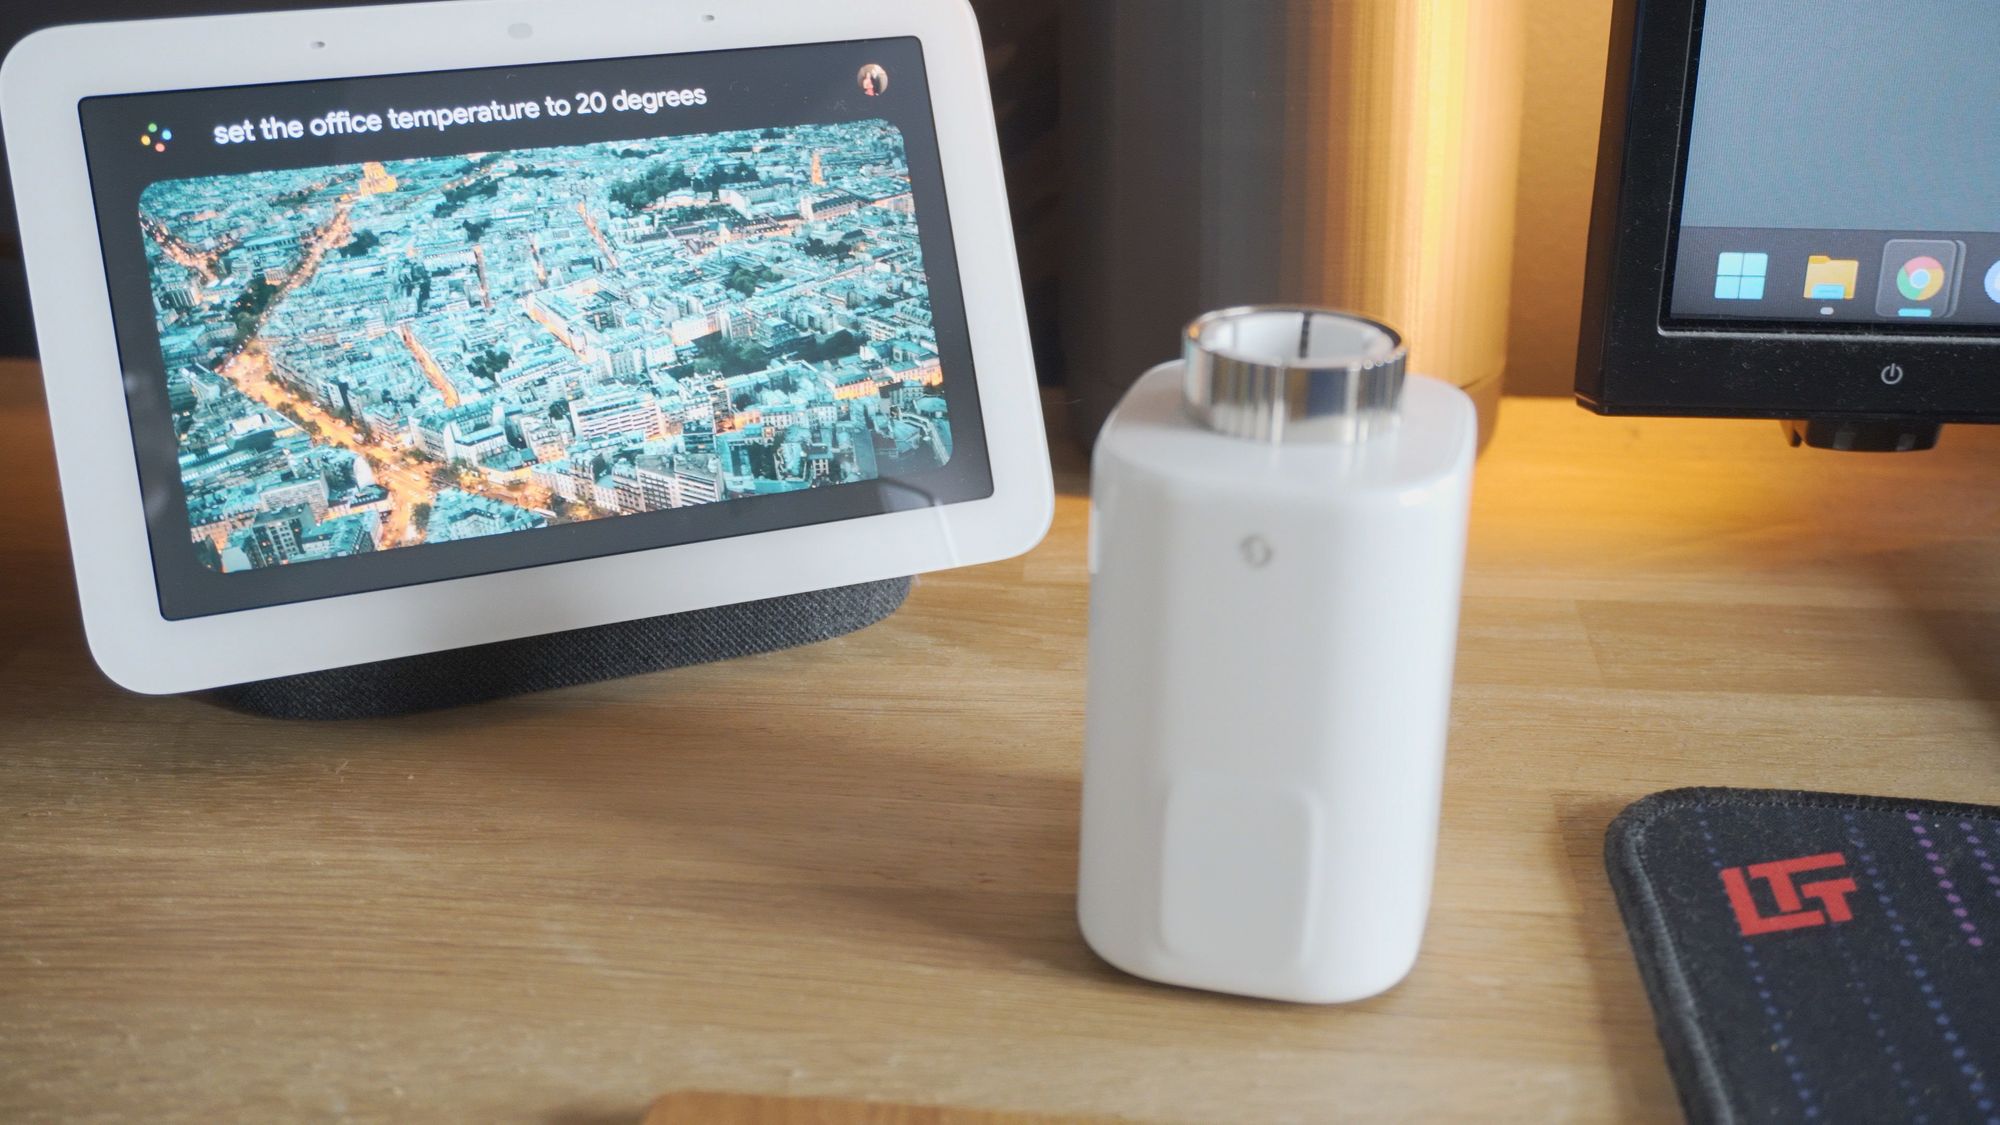
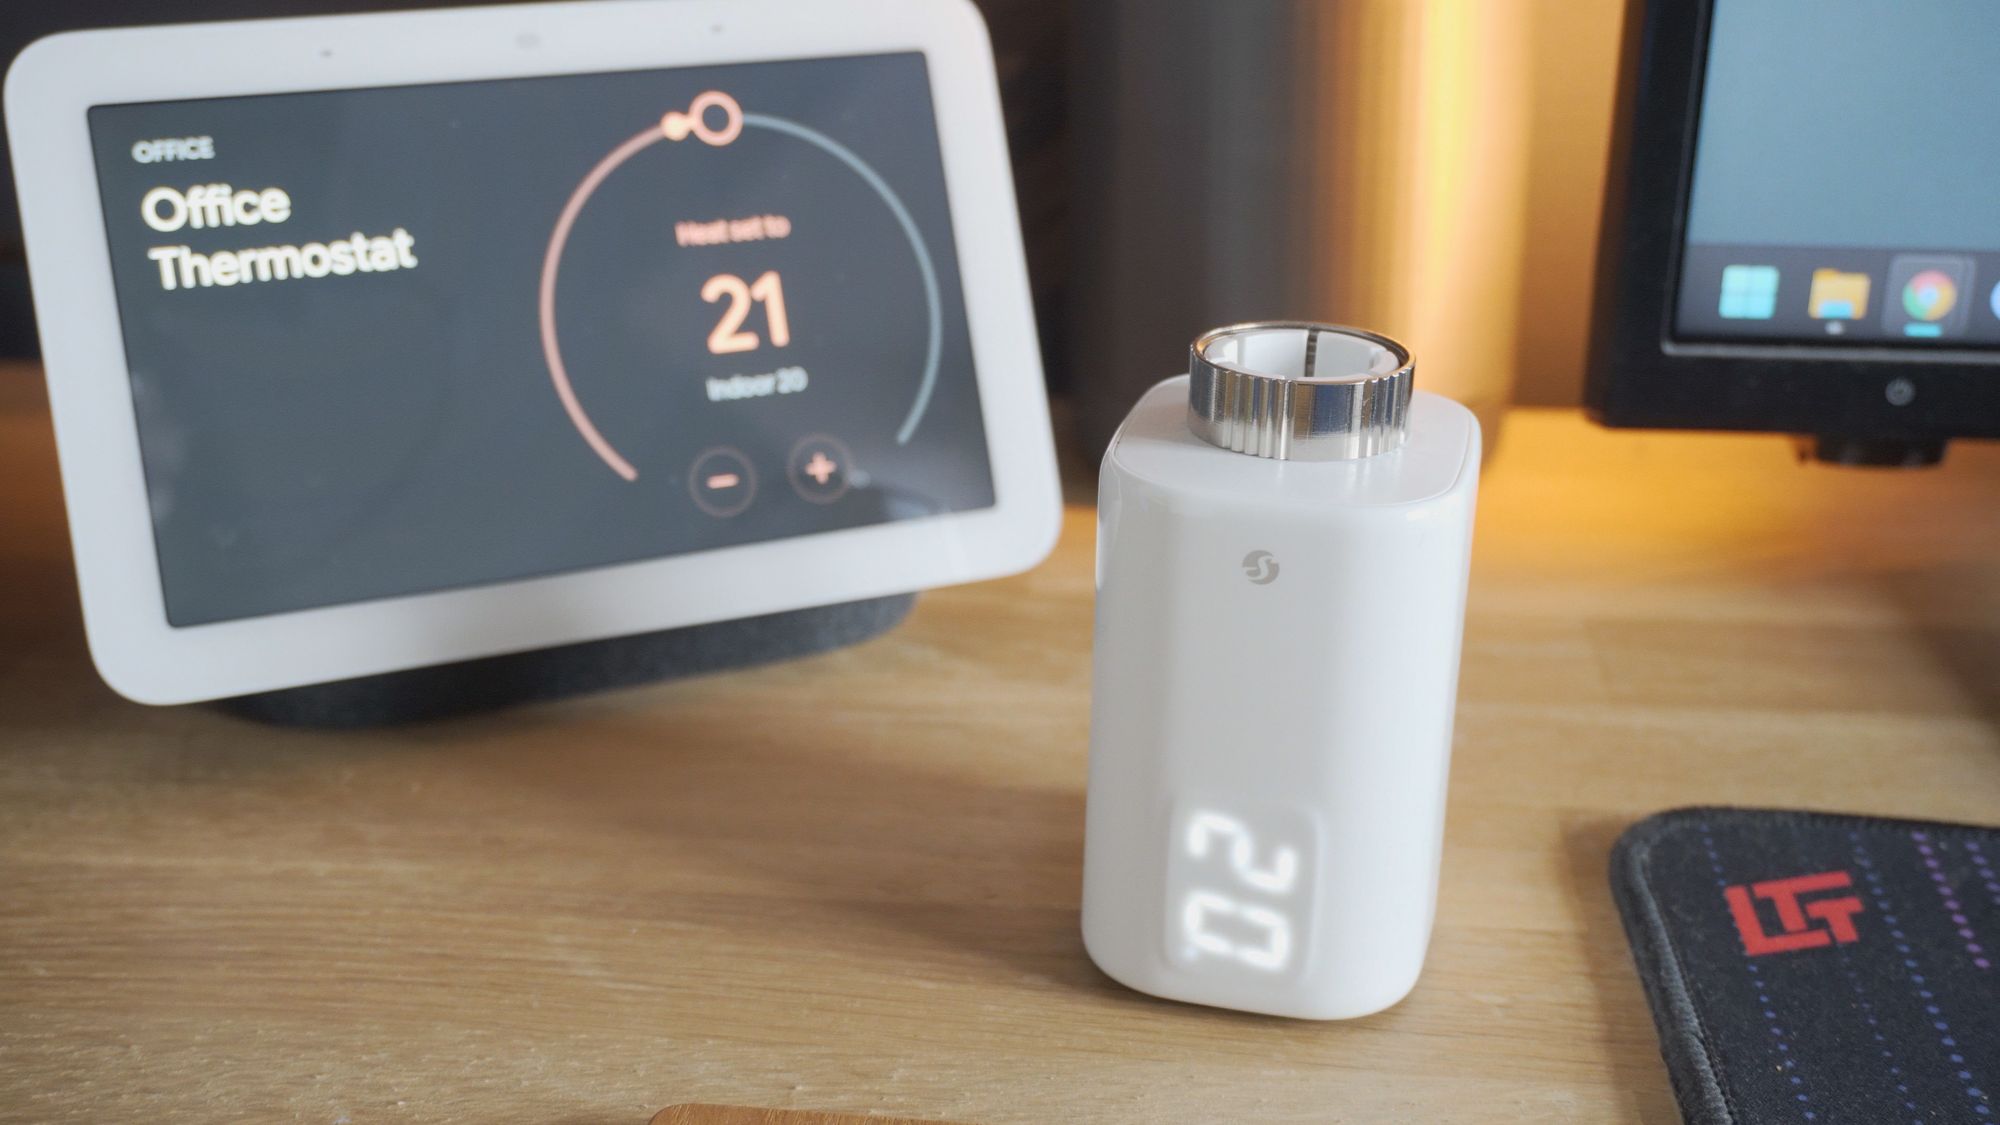
In addition, the Shelly will directly connect to Google Home or Alexa for voice commands, where you can ask it to set the desired temperature in a room.
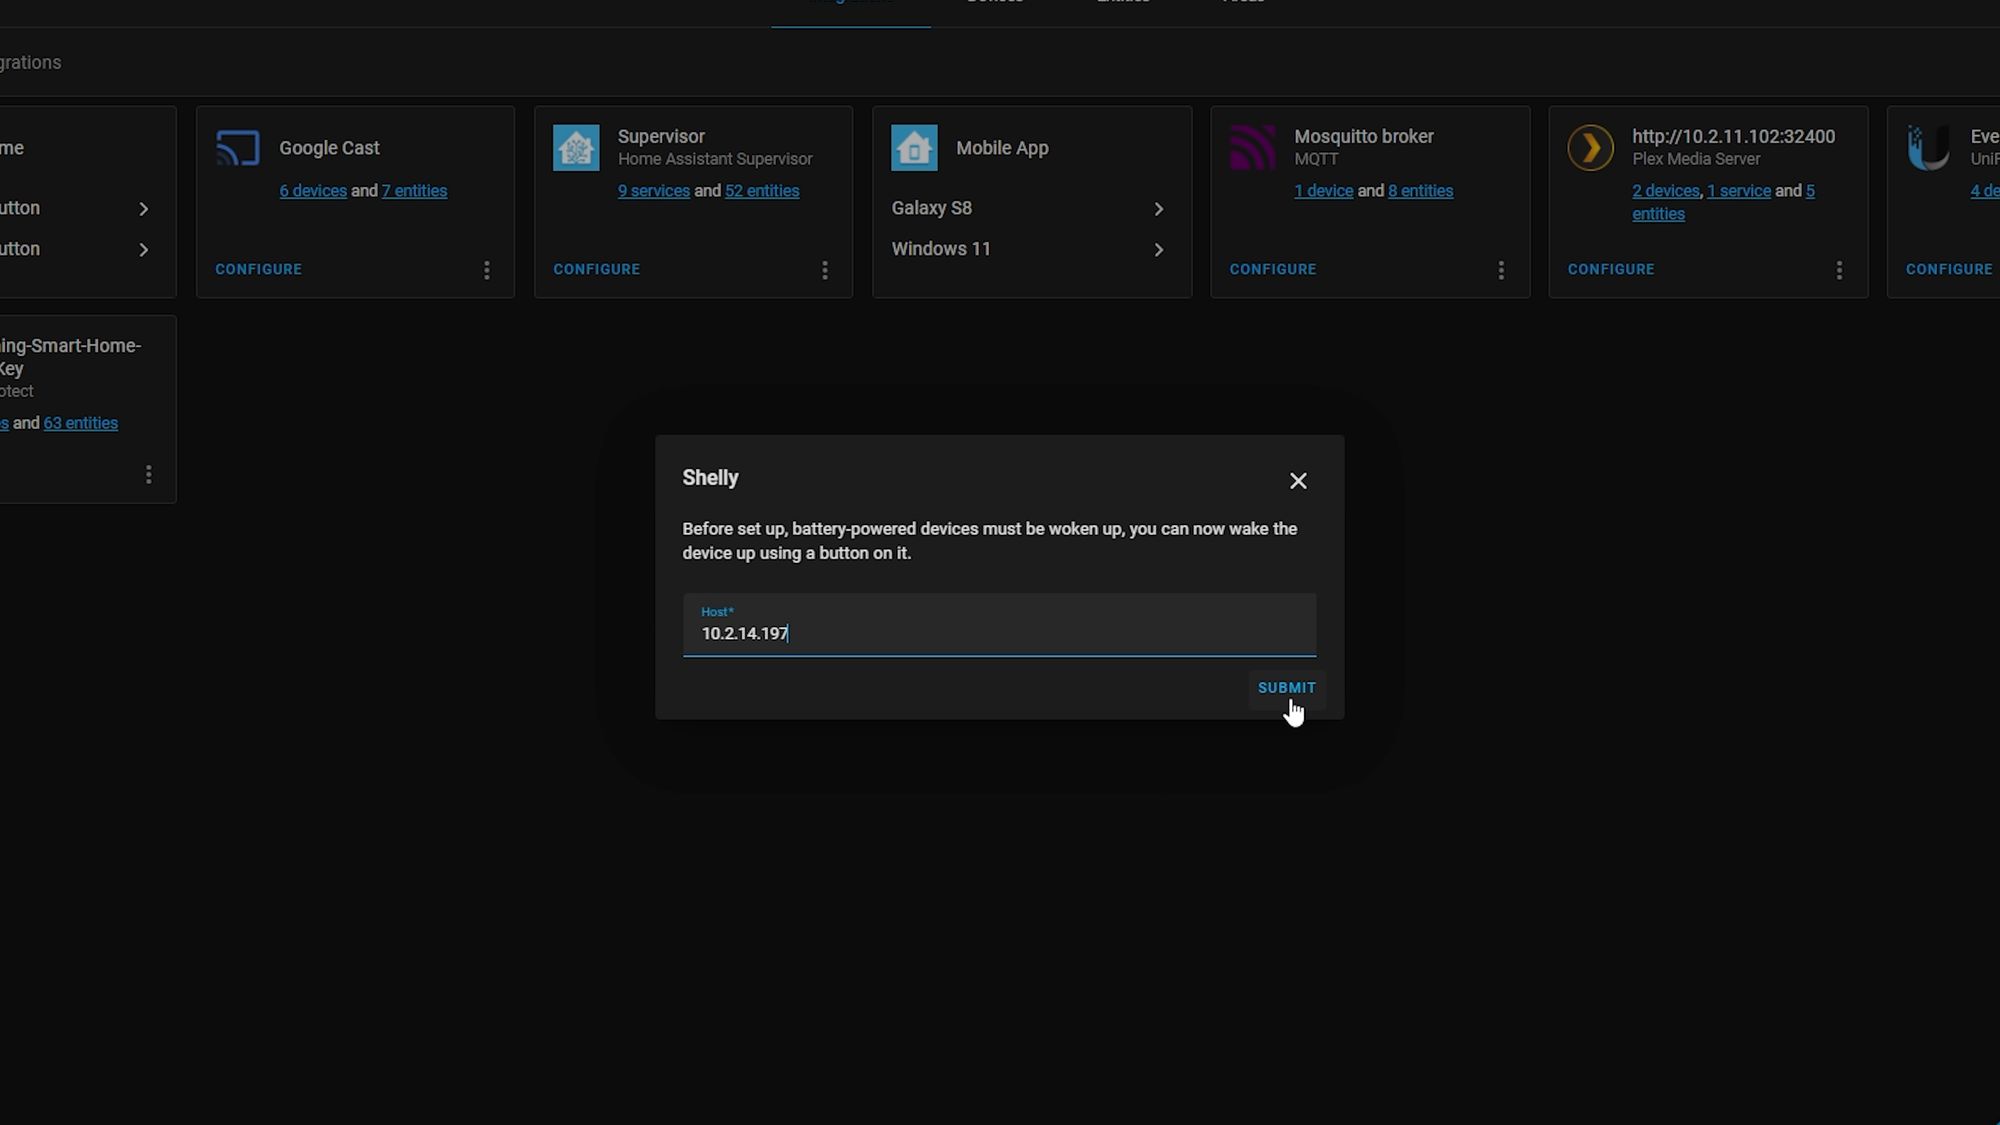
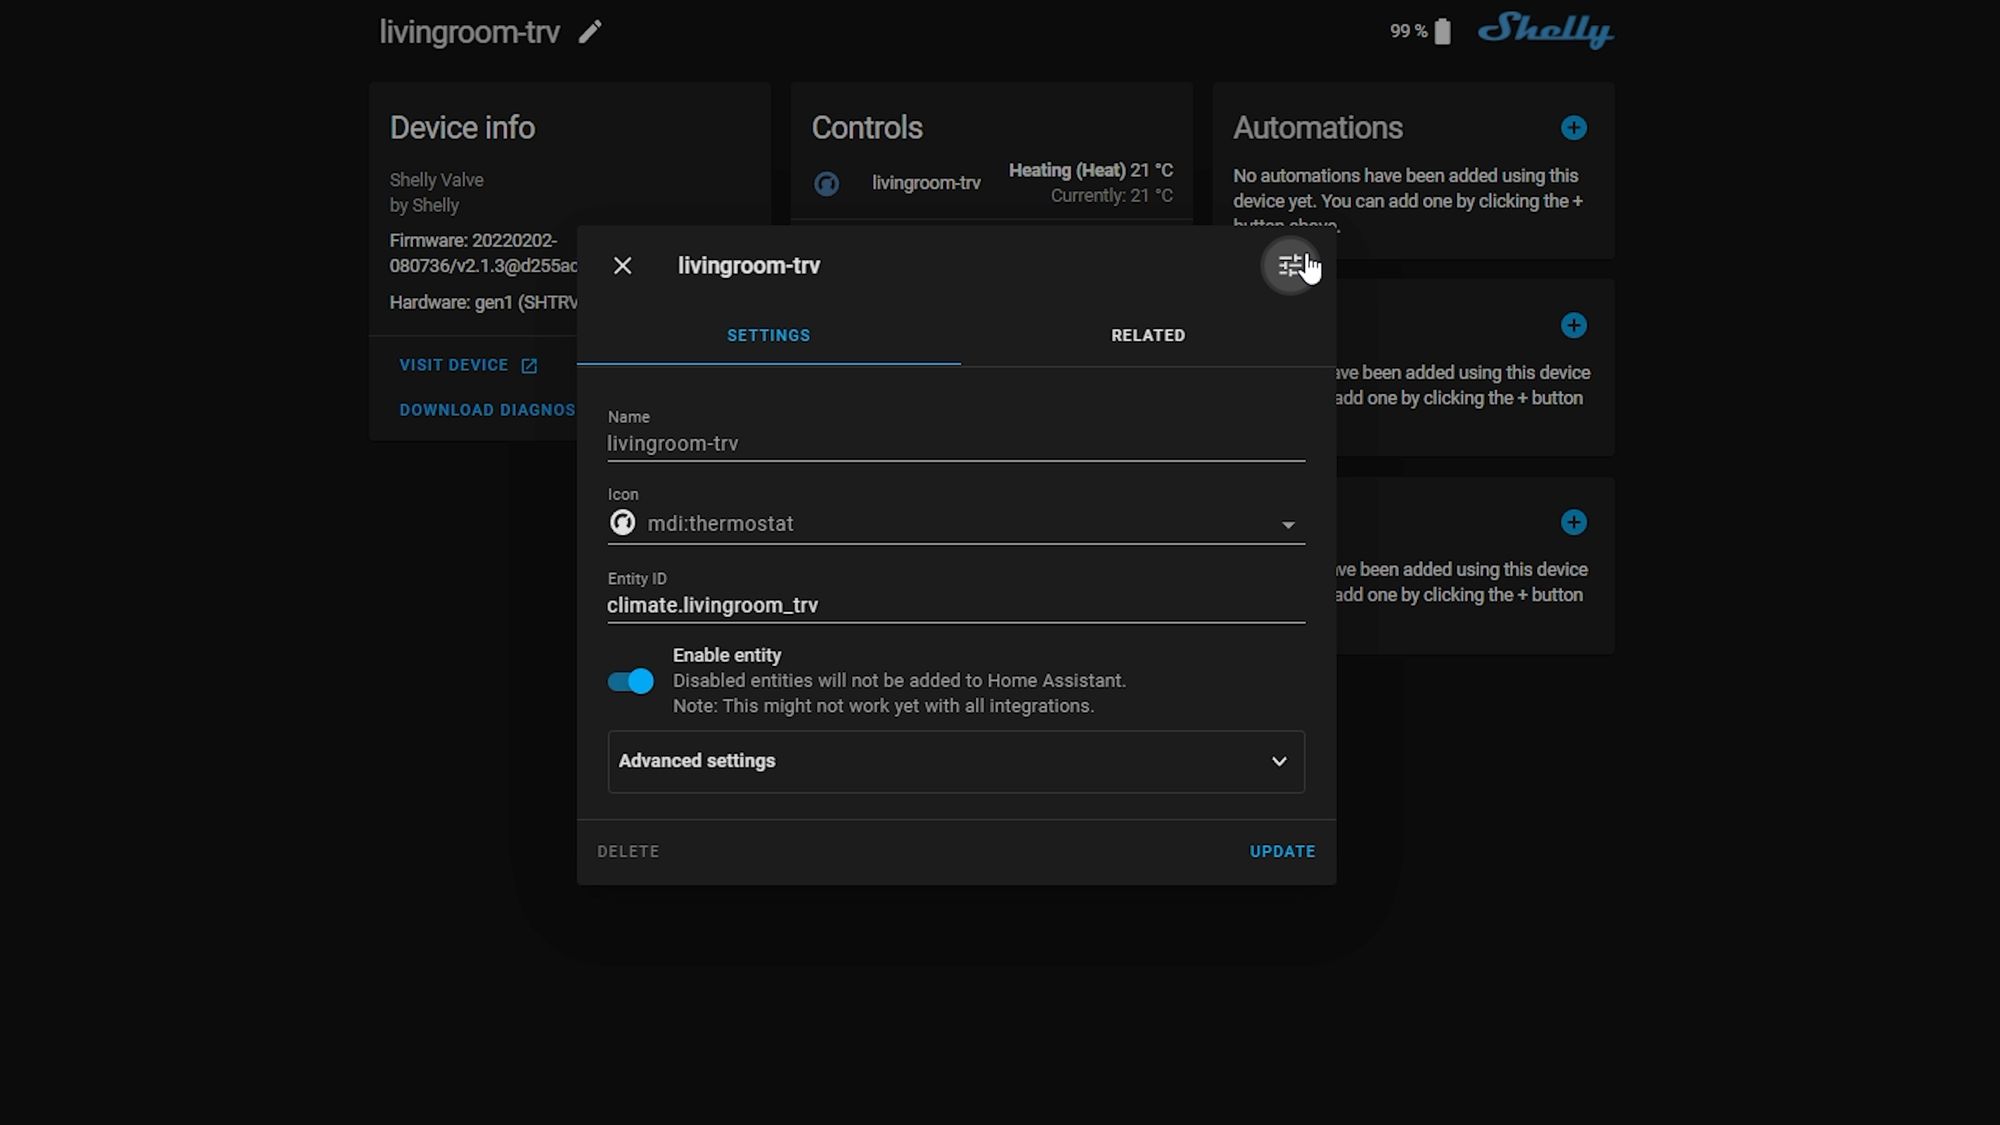
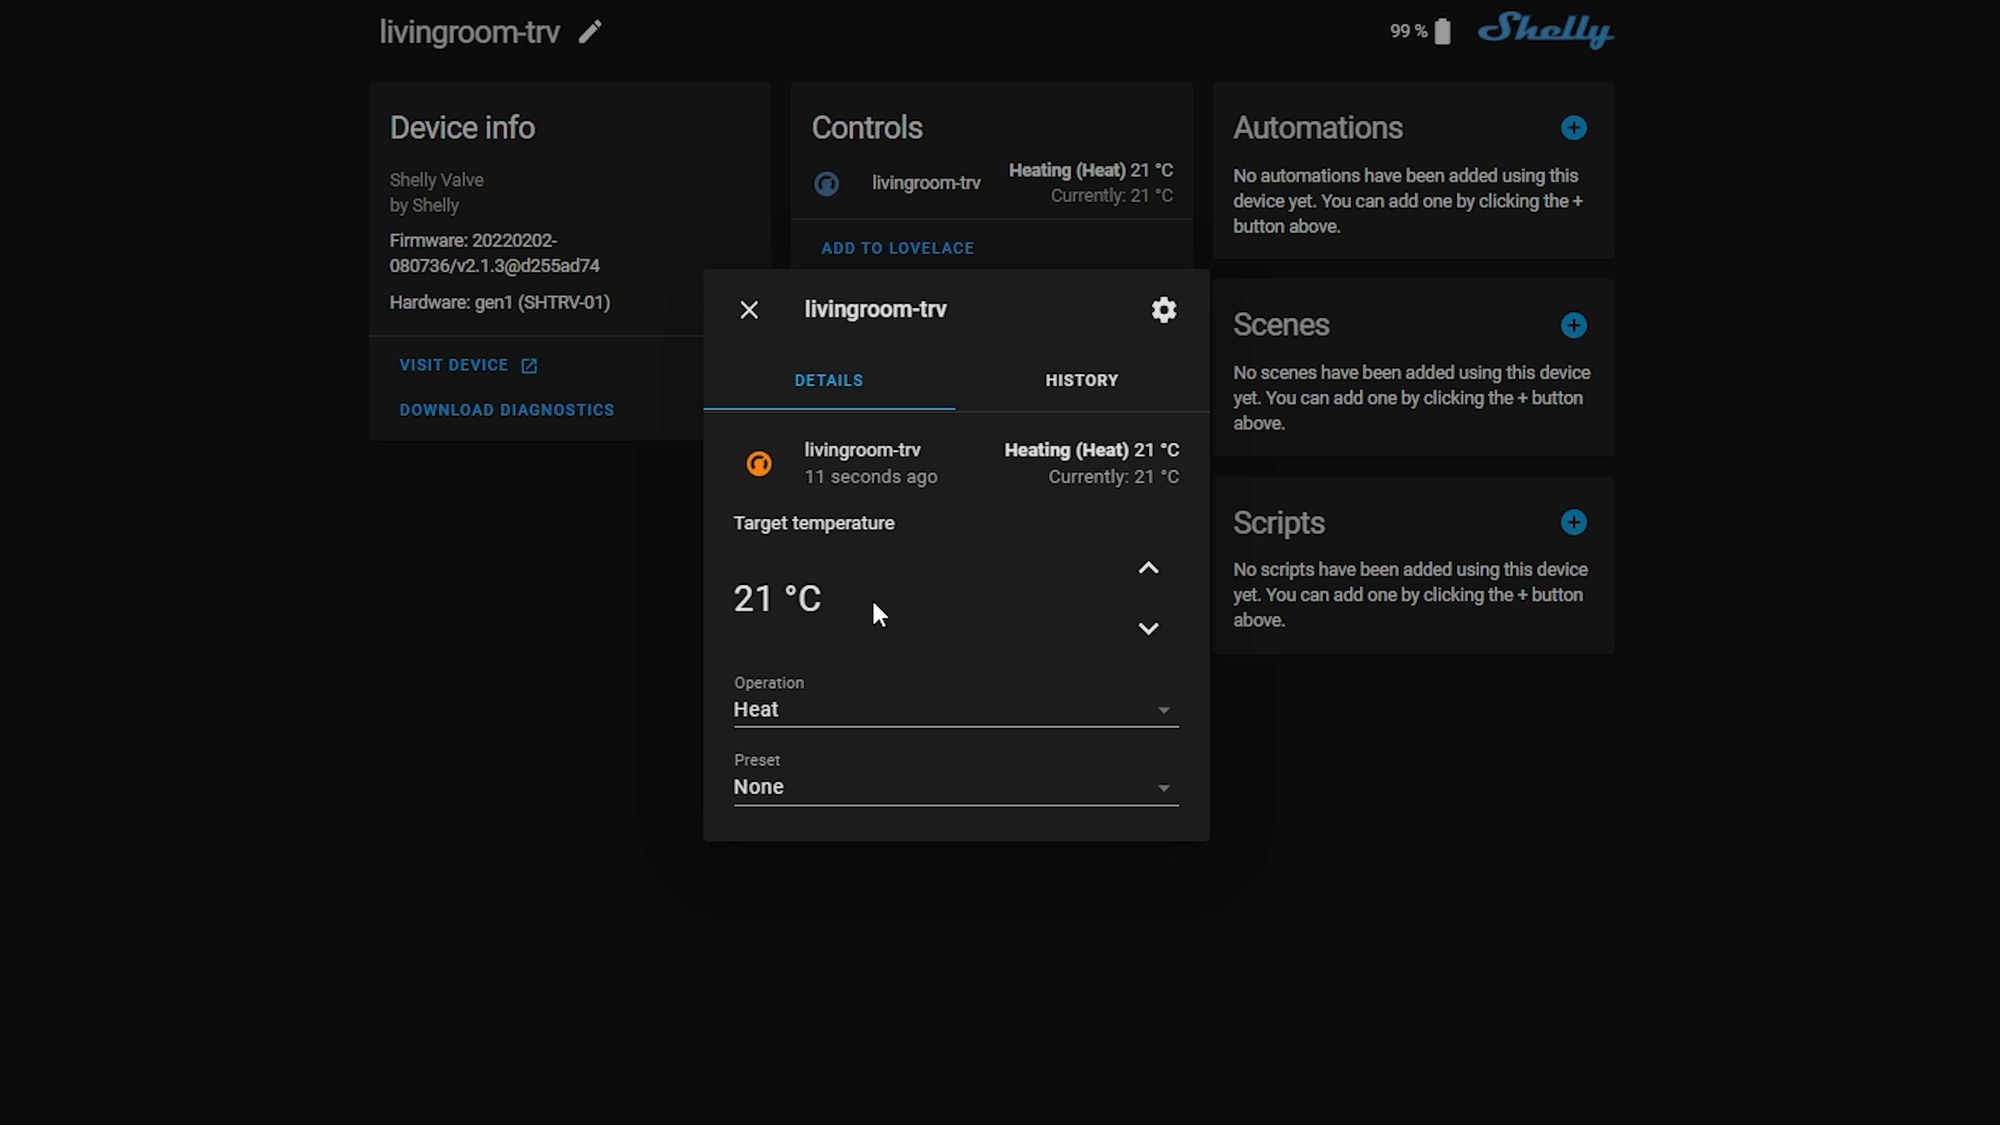
Home Assistant Integration
Connecting to Home Assistant is just as straightforward and once done, the Shelly will expose a climate entity that you can control directly, as well as view the current temperature and set the target temperature. You can also set those preset weekly schedules that you can create inside the Shelly itself and control them from Home Assistant as a preset which is pretty neat. I was actually a bit surprised that it showed up at all since this device isn’t even out yet, so really great to see it just works! One improvement here would be to add direct controls into Home Assistant to toggle the automatic or manual mode, as well as expose a sensor for the valve position and toggles to control the valve position too - I’m sure we will see those added when the device is released.
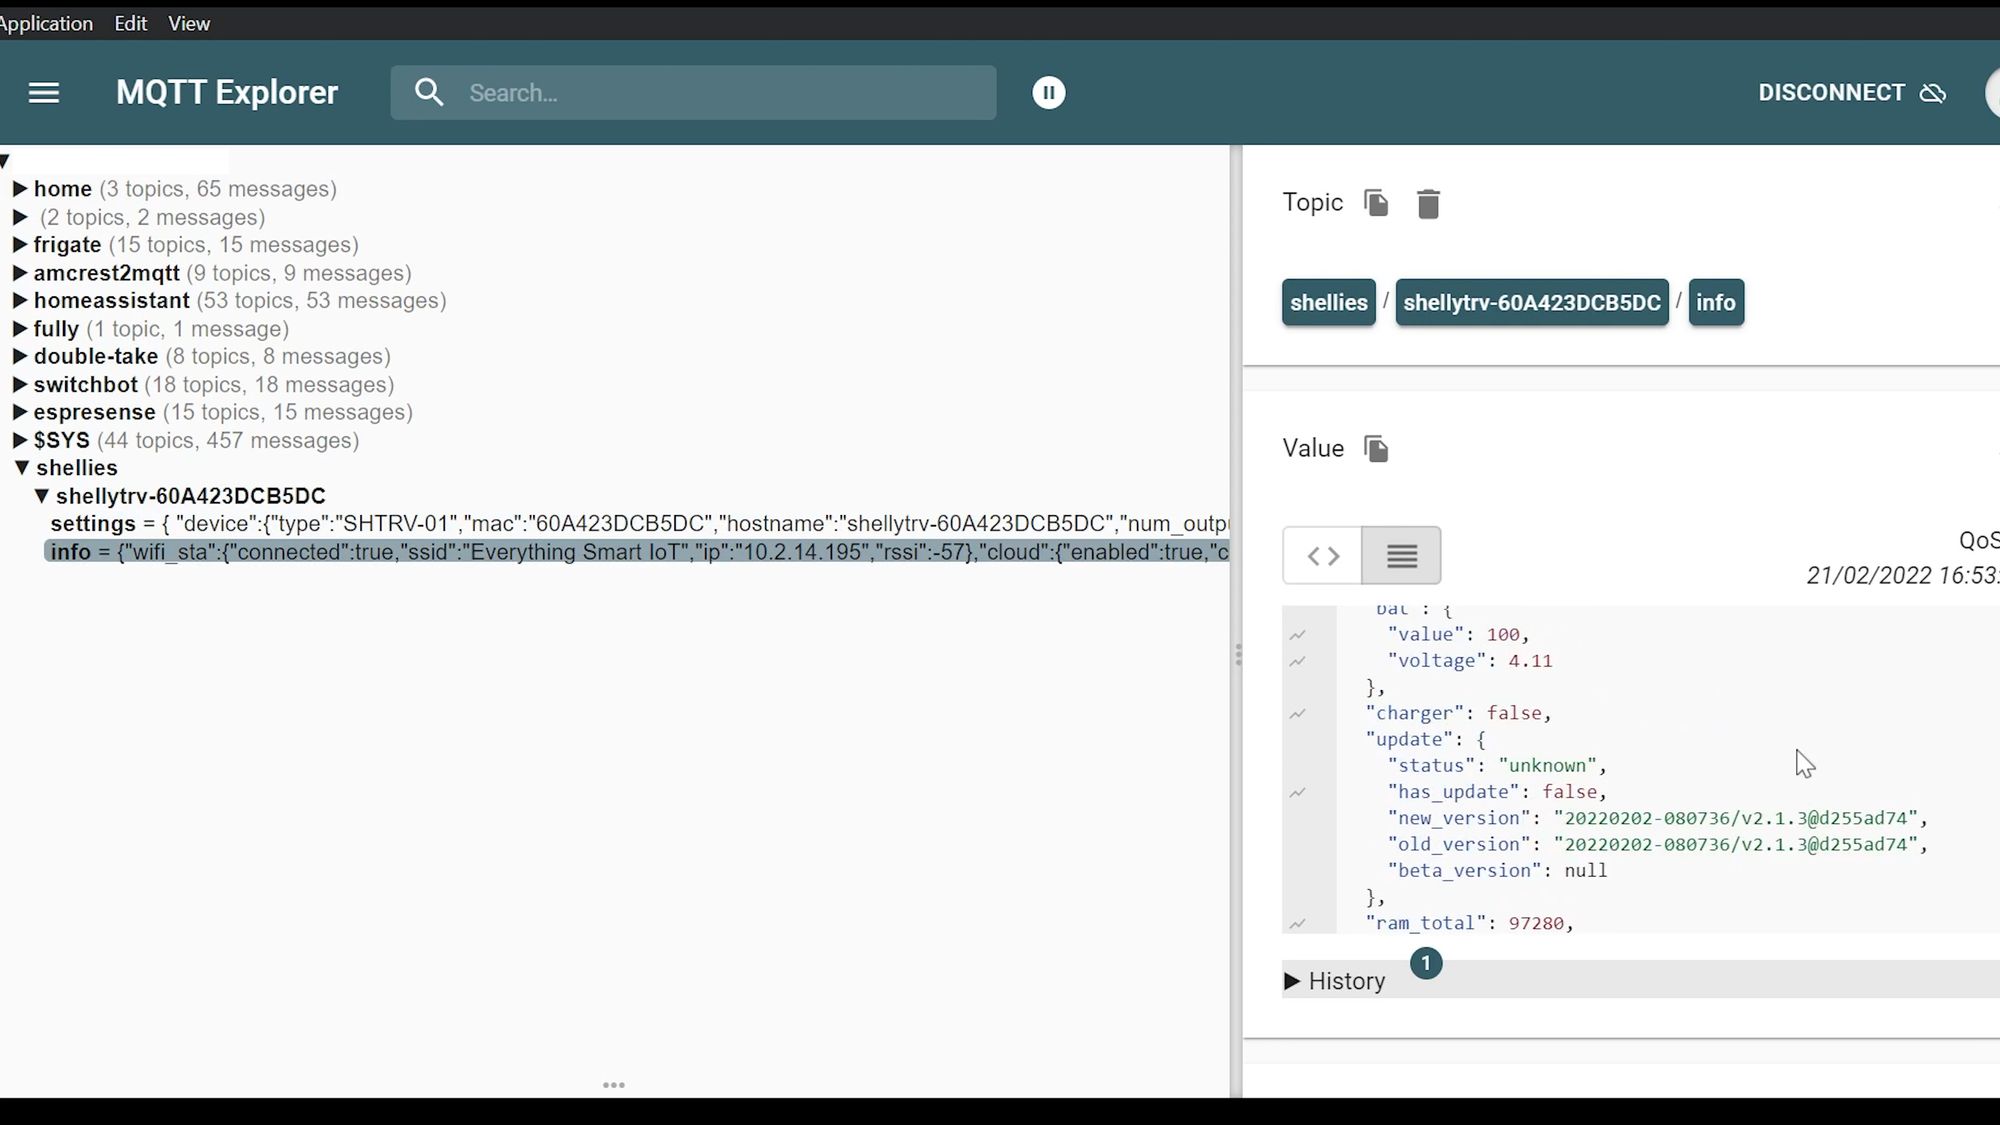
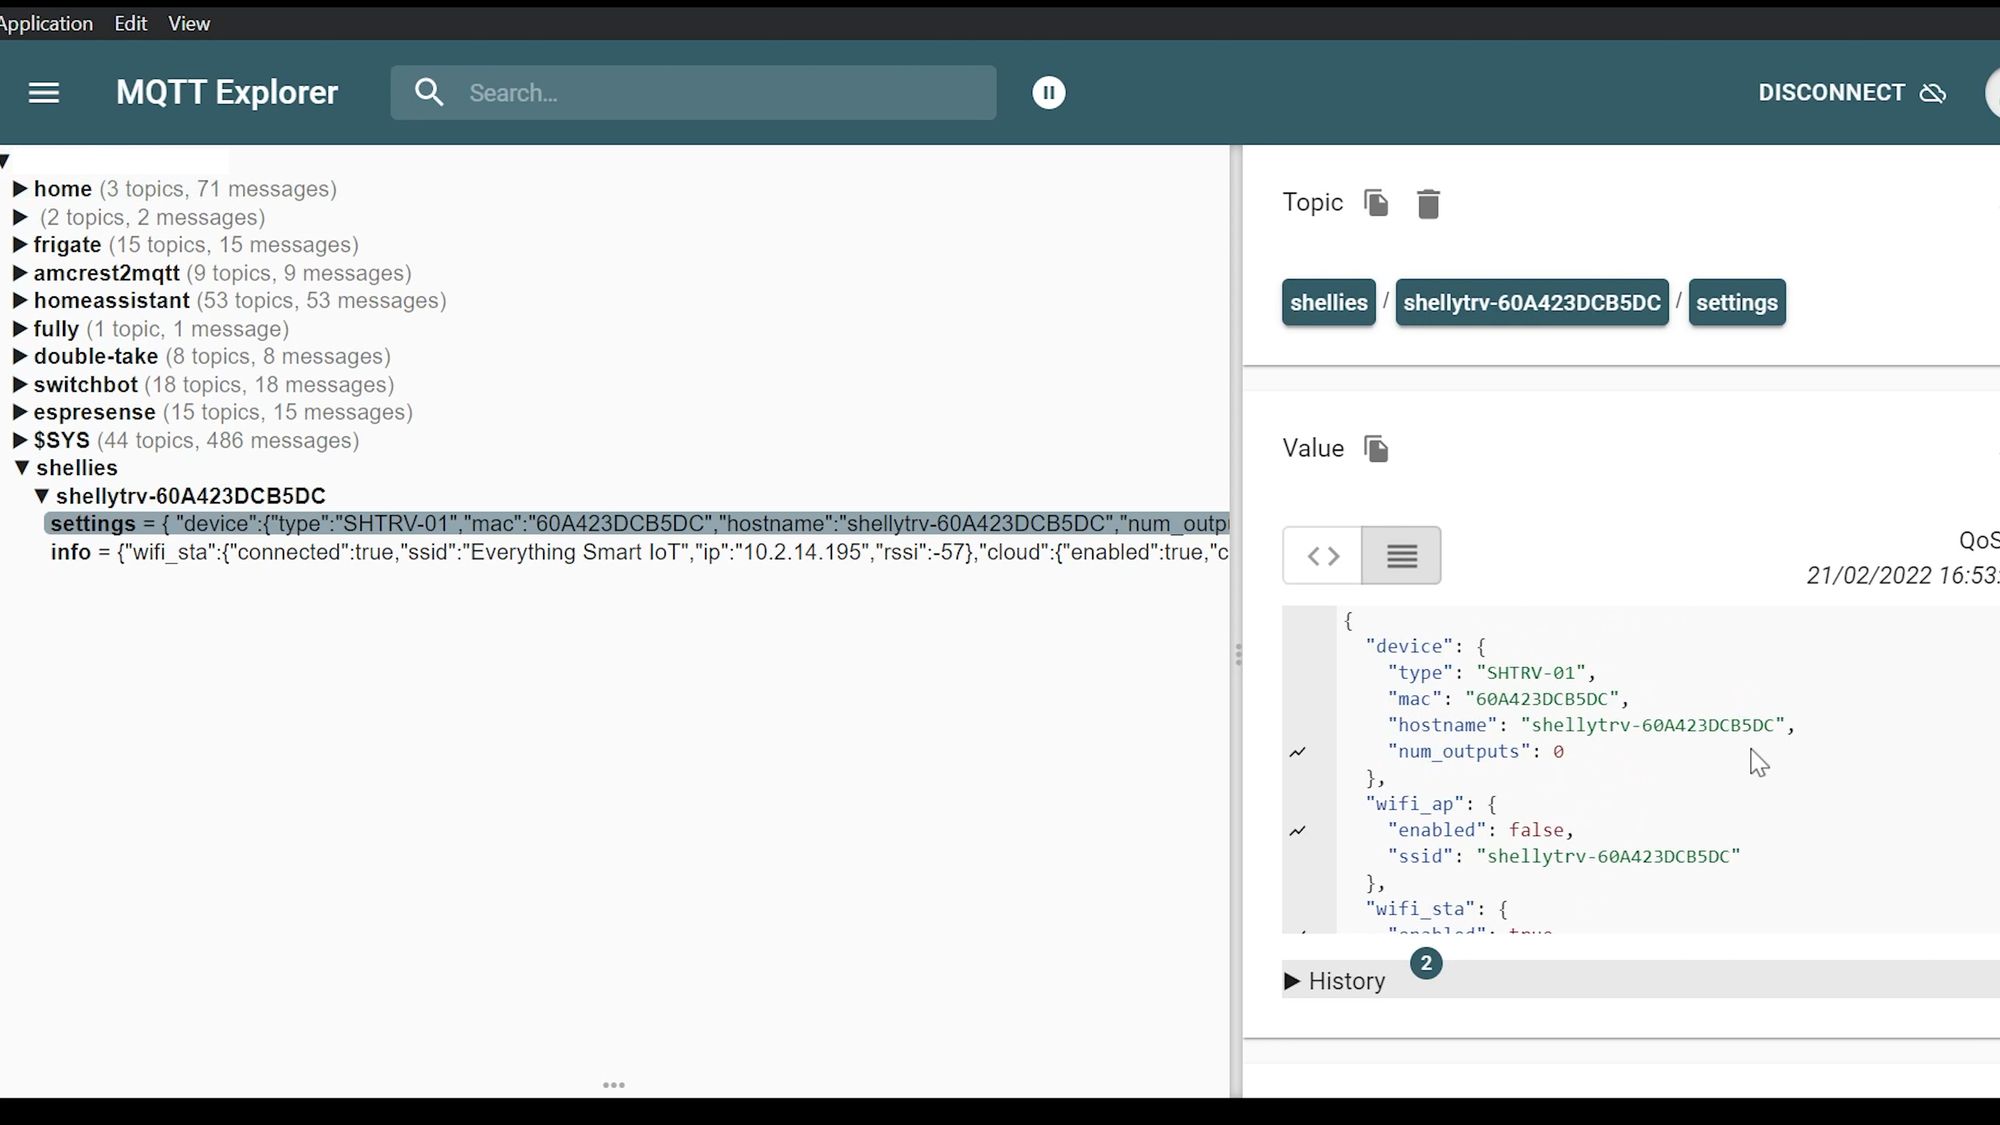
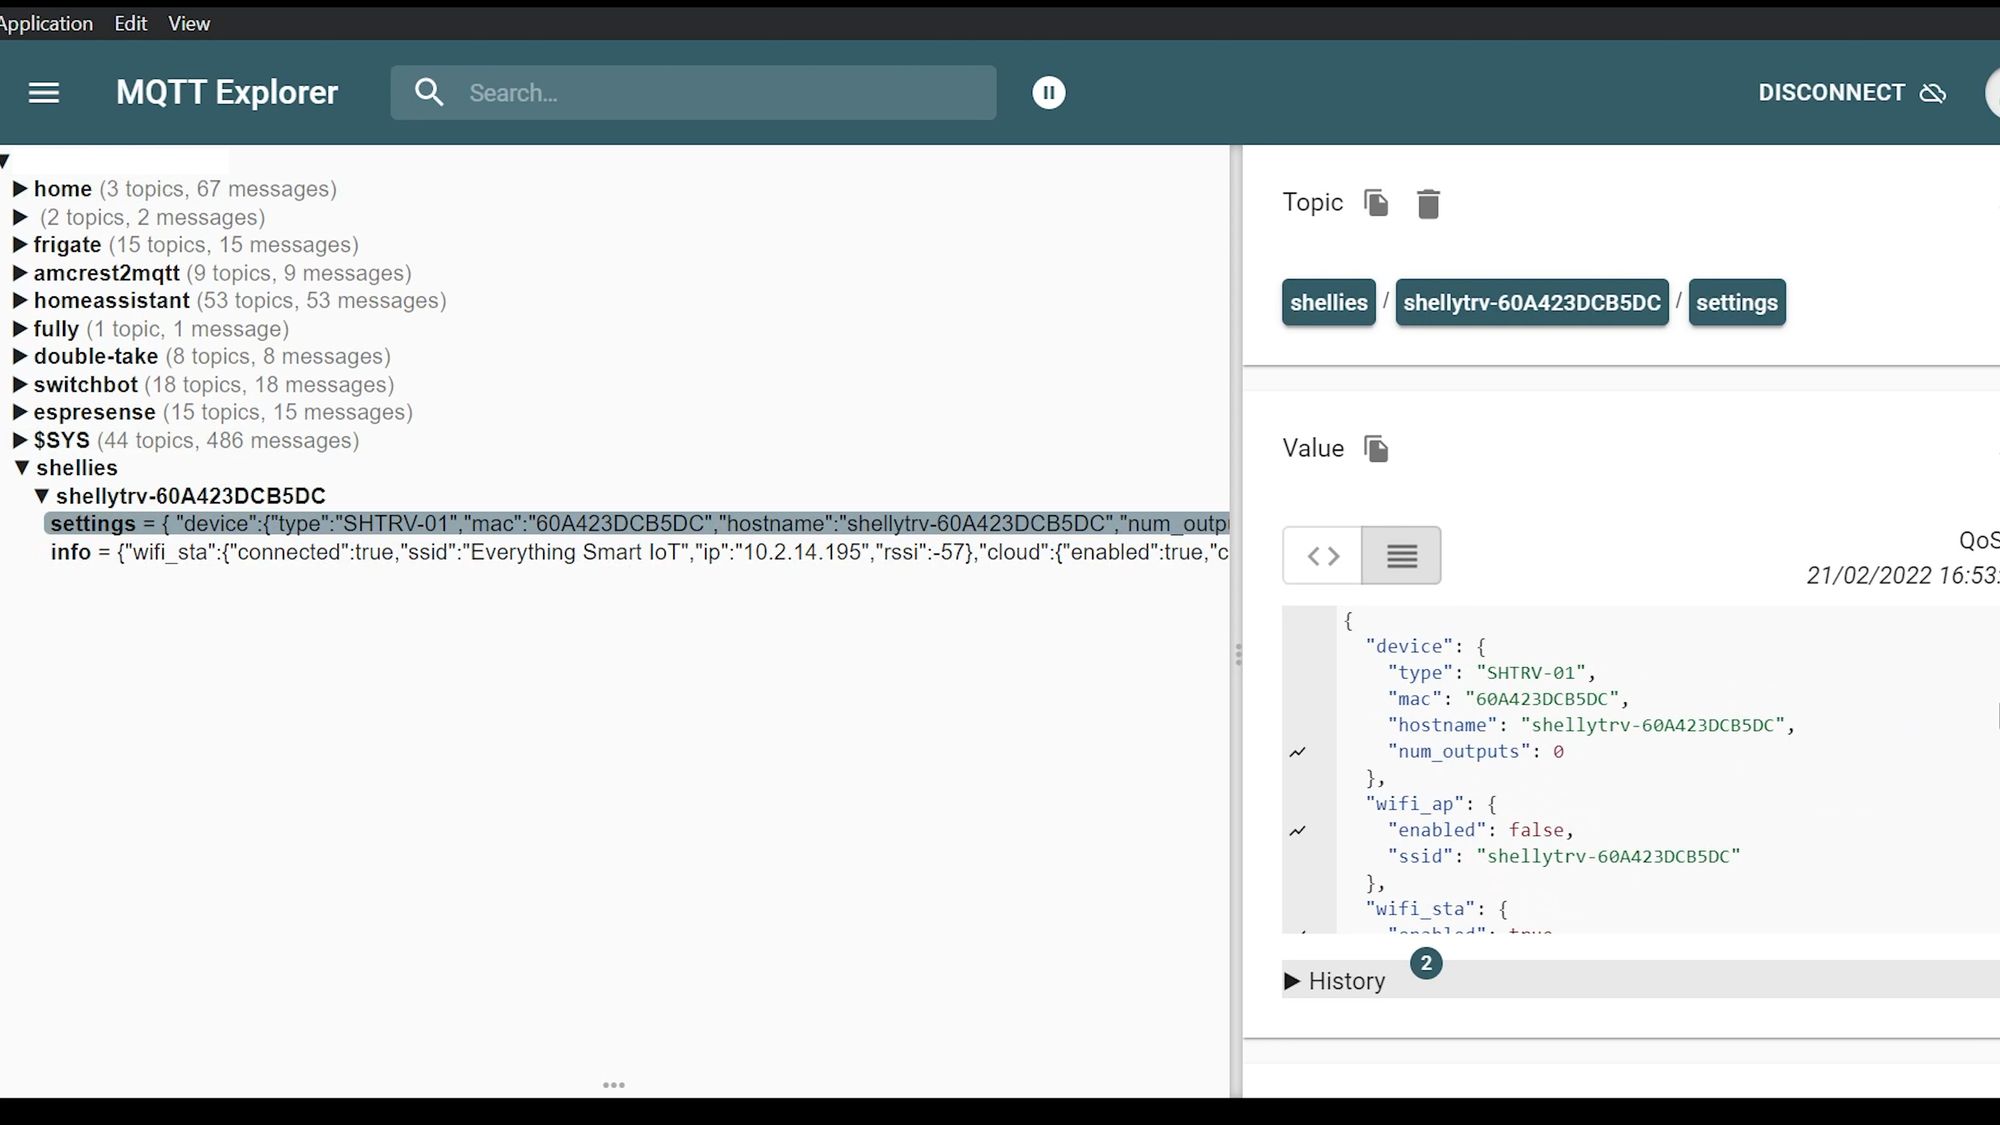
MQTT
If you don’t want to use Home Assistant and/or you prefer MQTT, then of course you have the option to use MQTT where you are presented with much more information and sensors if you need them. You can also set up manual controls for everything again if you need to.
Local Control
One thing that absolutely has to be applauded here is the local control! As with all Shelly products, they will work without internet access and don’t have to be connected to the Shelly cloud if you don’t want them to be. This is especially important for heating controls because if your internet goes down, then the heating is one of those essential things that you always want to be able to access and control if you are left in that situation.
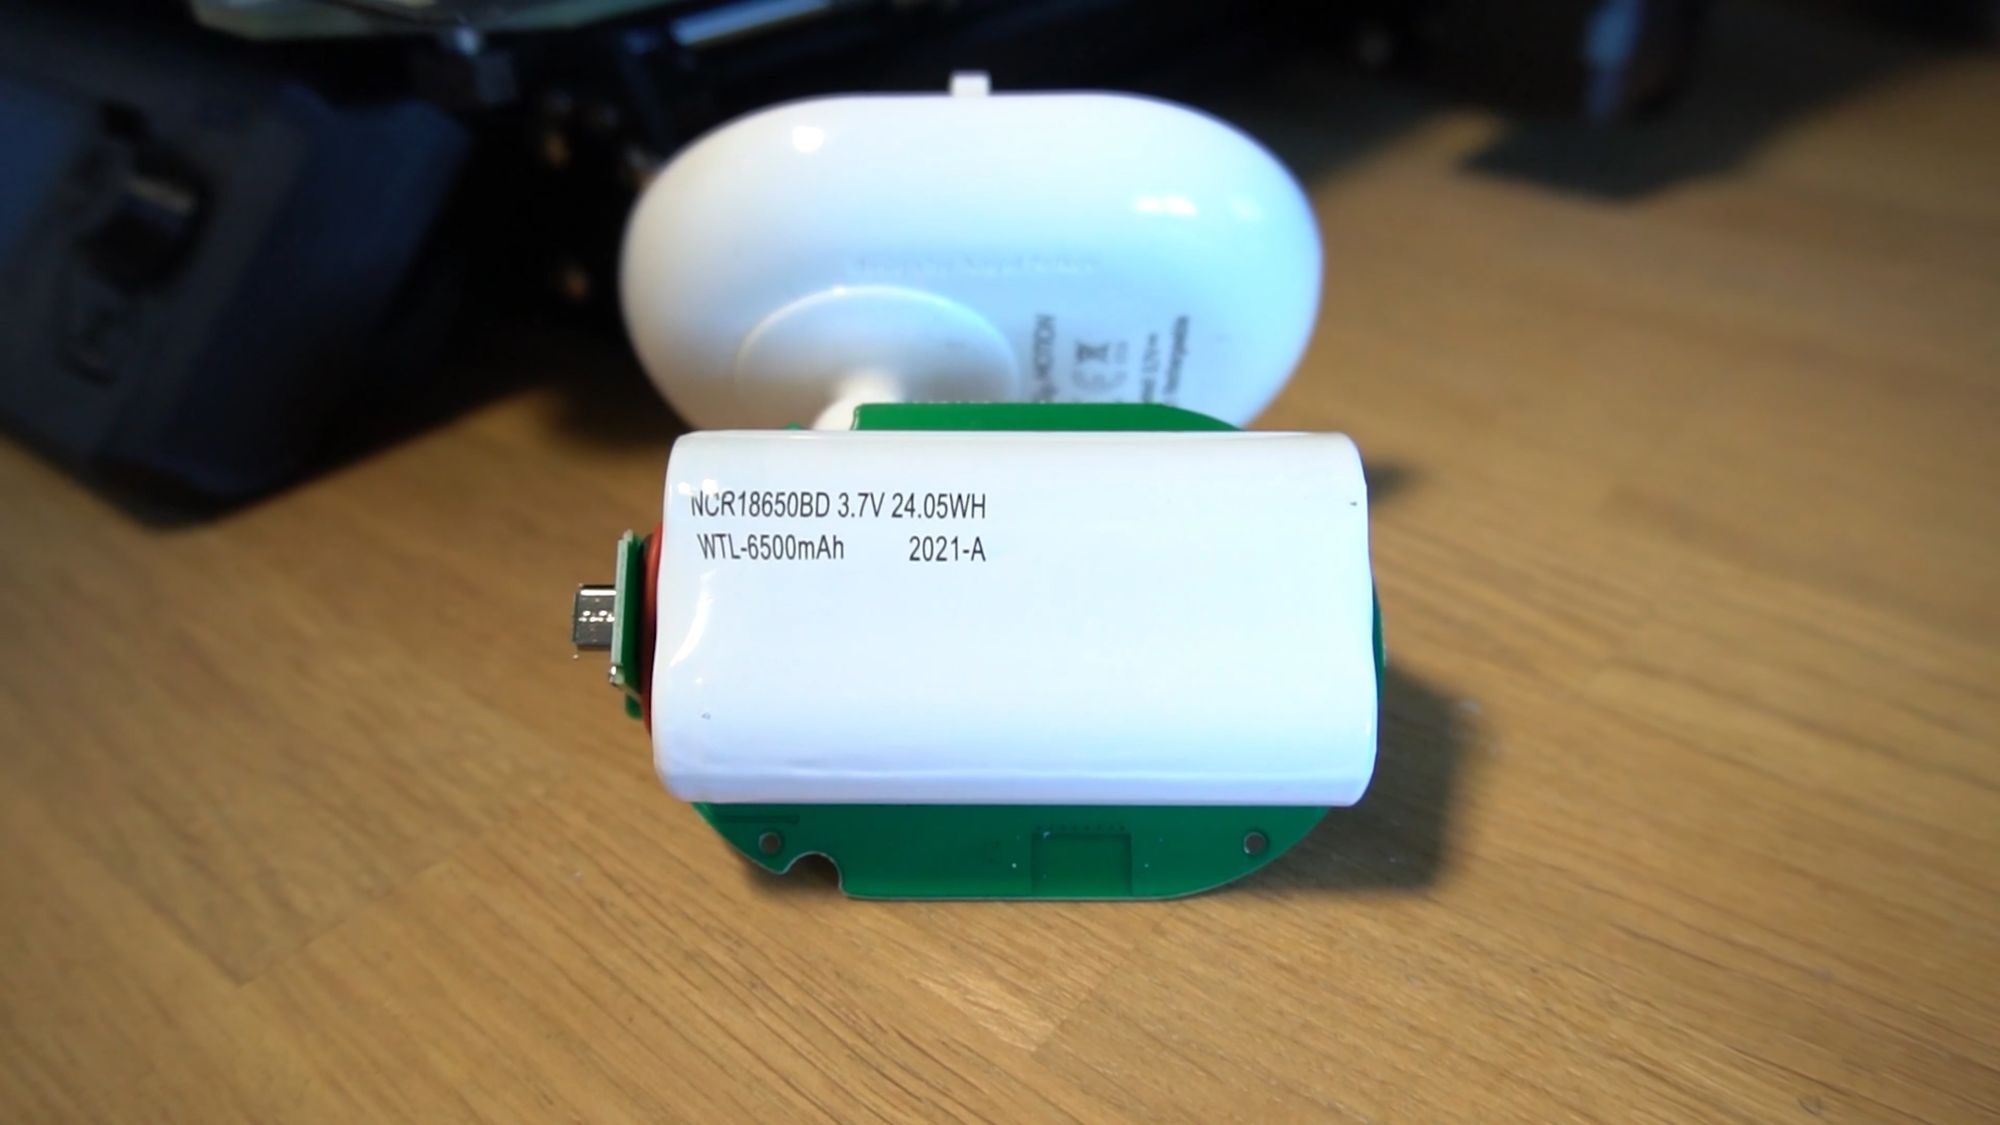
Charging/Battery Life
Battery life is quoted at 2 years, obviously that is going to depend on how much you are using and operating it, but even if I got 12-18 months out of a single charge, I’d be pretty happy with that personally! I haven’t yet confirmed this but it does seem to be that they are using the same wireless chipset that we saw in the Shelly Motion Sensor in order to get that long battery life on WiFi which is great to see. It does charge via the USB type c port that is on there and they say it will take around 5 hours to charge from 0 to 100 which is not too bad.

Final Thoughts
Genuinely, I really like these TRV’s from Shelly and I would probably put these at the top out of all the TRV’s I’ve personally seen! They are incredibly simple to install, they work very well, they use WiFi so you don’t need to buy and use a proprietary hub to use them, they are fully local control with lots of integrations to other smart home platforms, including MQTT support, they work with Home Assistant natively and they are amongst the cheapest in price that I’ve seen. Infact, they probably are the cheapest ones out there when you take into consideration you don’t have to buy a hub to use them with since they are WiFi. Certainly, if I was looking to kit out with individual zone control for heating, the Shelly TRV’s are absolutely the ones I would go for right now!
Anyway, that is going to do it for this review of the Shelly TRV - these are currently available to pre-order if you are interested in them, and they will be shipping on April 4th but if you would like to get in on these now then you can.
Thank you for reading and your continued support - I hope this was helpful to you in someway! Here is the video, just incase you missed it.