Save Power By Sleeping Your PC With Presence
Save on your energy bills by intelligently sleeping your computer with Home Assistant


Intro
I, for one, am really bad at leaving my computer on all the time when I’m not using it, so I thought, why not create an automation to automatically put the computer to sleep when it is not in use and is idle?
This is a good one for saving power and doesn't require any additional smart home devices. A notification comes up on my desktop asking if I am there and if I don't respond within 5 minutes, the computer then will go to sleep.
Before you mention it - yes, Windows does have the option to sleep, it's been around for a very long time - but it doesn't do it very intelligently.
For example, Adobe Premiere Pro is notorious for crashing, even on the best of days, and Windows will often try to put my computer to sleep when Premiere is open - then when I fire up the computer again, my projects get corrupt or keep crashing constantly. So, by using Home Assistant, I can check which windows are active and only sleep based on certain factors.
Let's get into it!
Scroll right the the bottom for the YAML code 👇🏼
How It's Done
Requirements:
- A Windows Computer - it would work on MacOS too but MacOS has a native Home Assistant app - I'll be demoing Windows in this guide
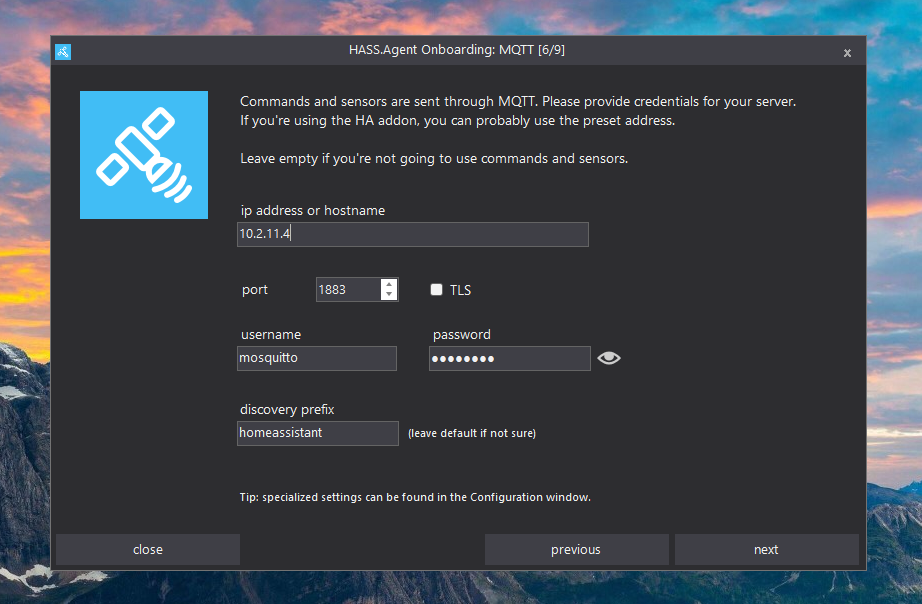
- An MQTT broker installed on Home Assistant - guide here if you don't already have one
Getting Sensors and Controls from Windows
I've tried various different projects for getting sensors and data from Windows over the past year or two, from IoTLink, SystemBridge, Hass Workstation to name just a few, but I've always found various issues with them - recently I've been trying out a new one I discovered called Hass.Agent and I've been liking it so far!
Hass.Agent gives us quite a few sensors and controls that allow us to interact pretty nicely with Windows. The two that we will be focused on for this video is the "last activity" sensor and the "sleep" control - oh, and the notification service!
To install Hass.Agent, head to the GitHub release page and download the latest version - at the time of writing its currently 2022.12 - make sure to download the exe installer.
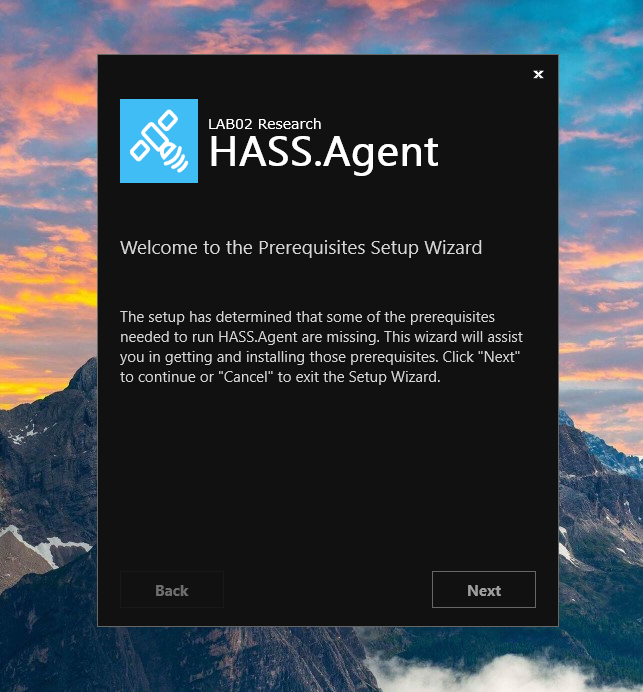
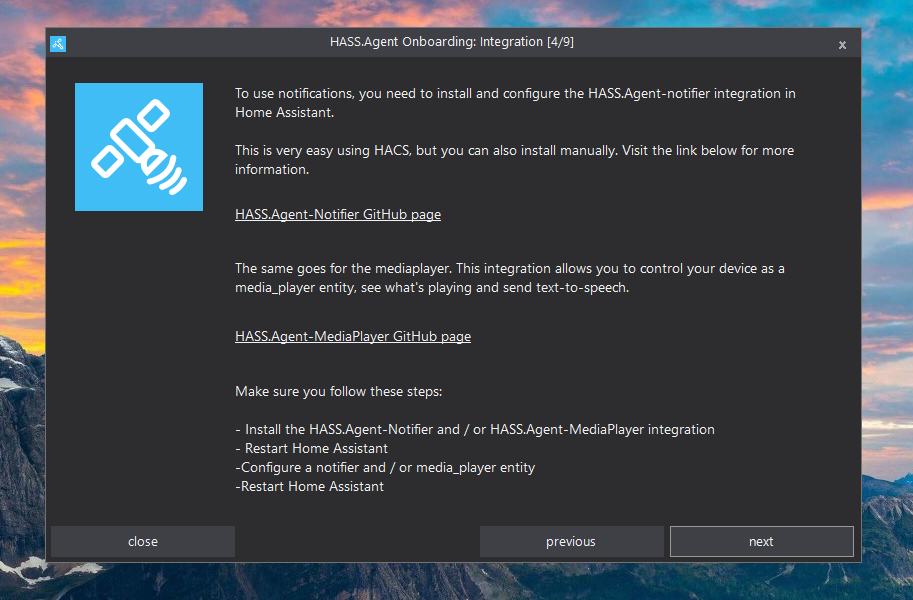
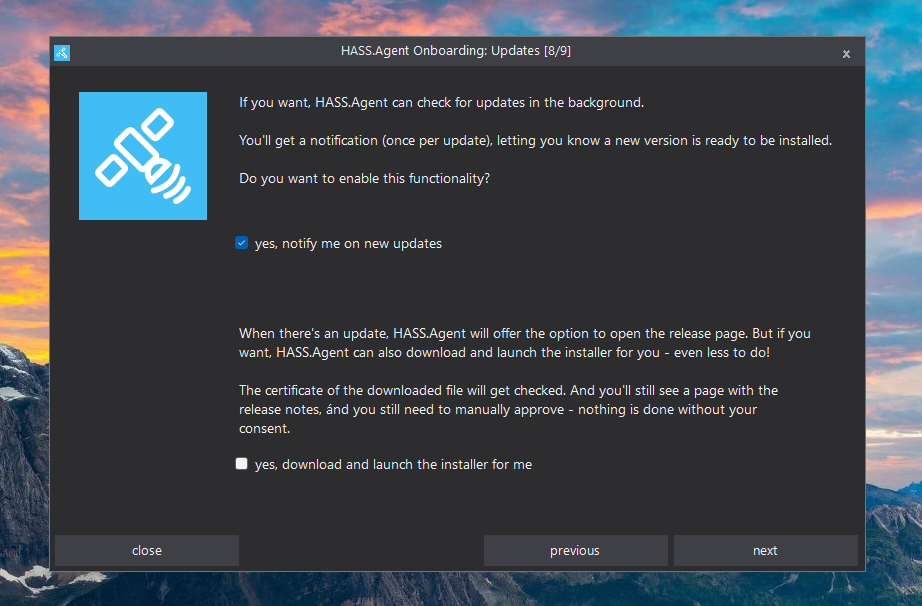
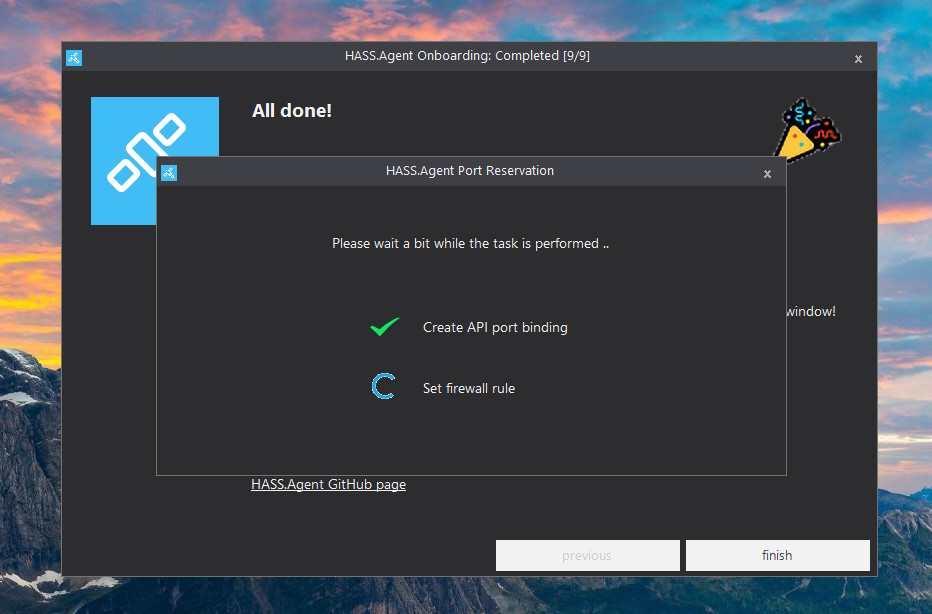
Run the installer and click through the first few screens:
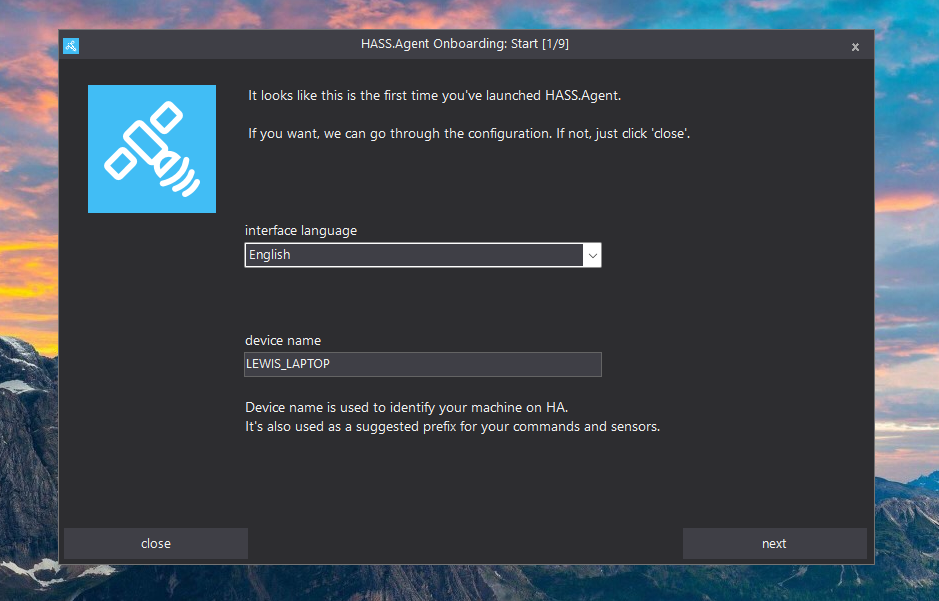


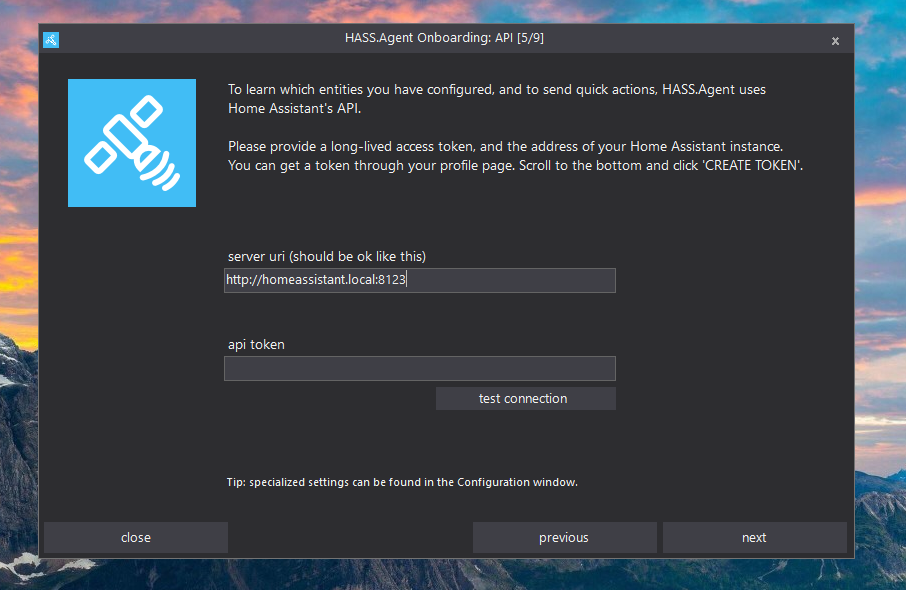
Enter your Home Assistant URL and then we need to obtain an API token.
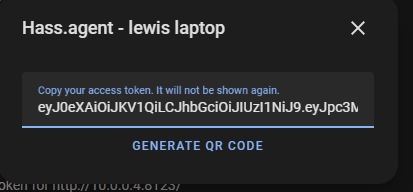
Head to Home Assistant, click your user profile picture in the bottom left hand corner, then scroll down to the bottom. In the Long Live Access Tokens section, click add and then name your token:

Hit OK and you will receive a code - make sure to copy this code as it will not be shown again:
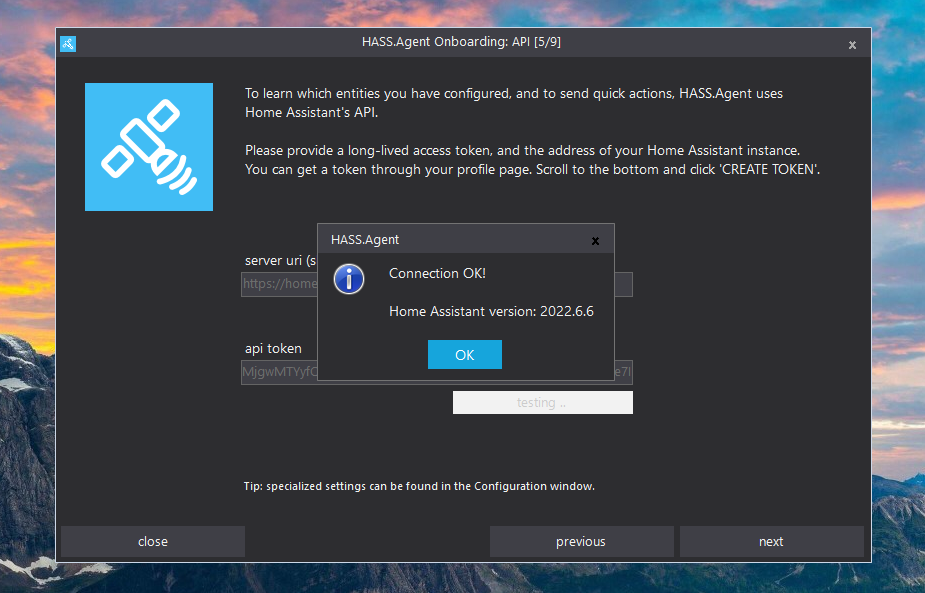
Head back to the Hass.Agent install and paste the code into the API box. Hit the test connection button and then continue on:
You will notice after setup, you now have an icon down in the tray:
Right click the icon and select "Show hass.agent" - this will open up the main window:
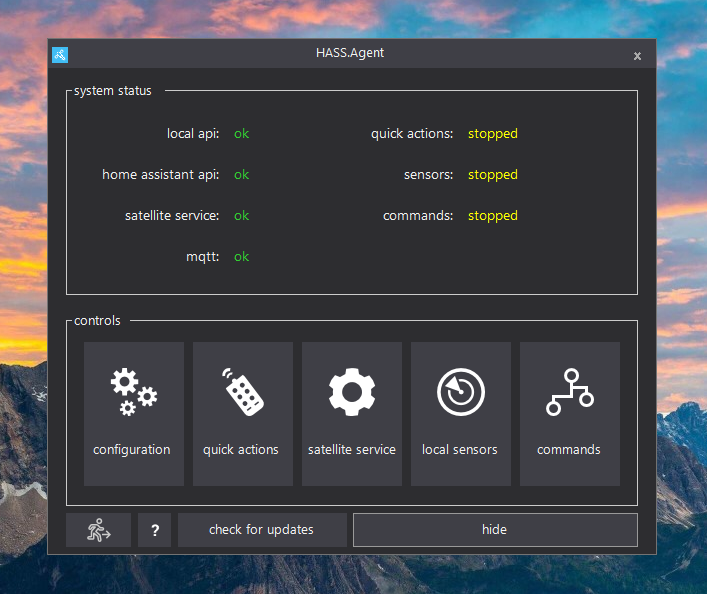
We need to configure some sensors that we want to collect first - click on local sensors, and then add a new sensor:
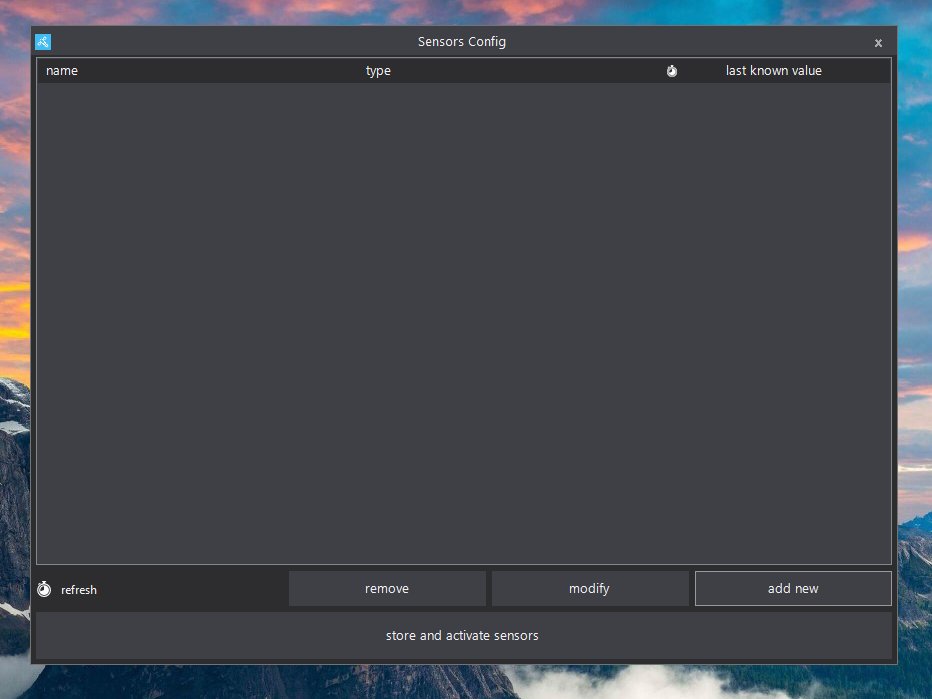
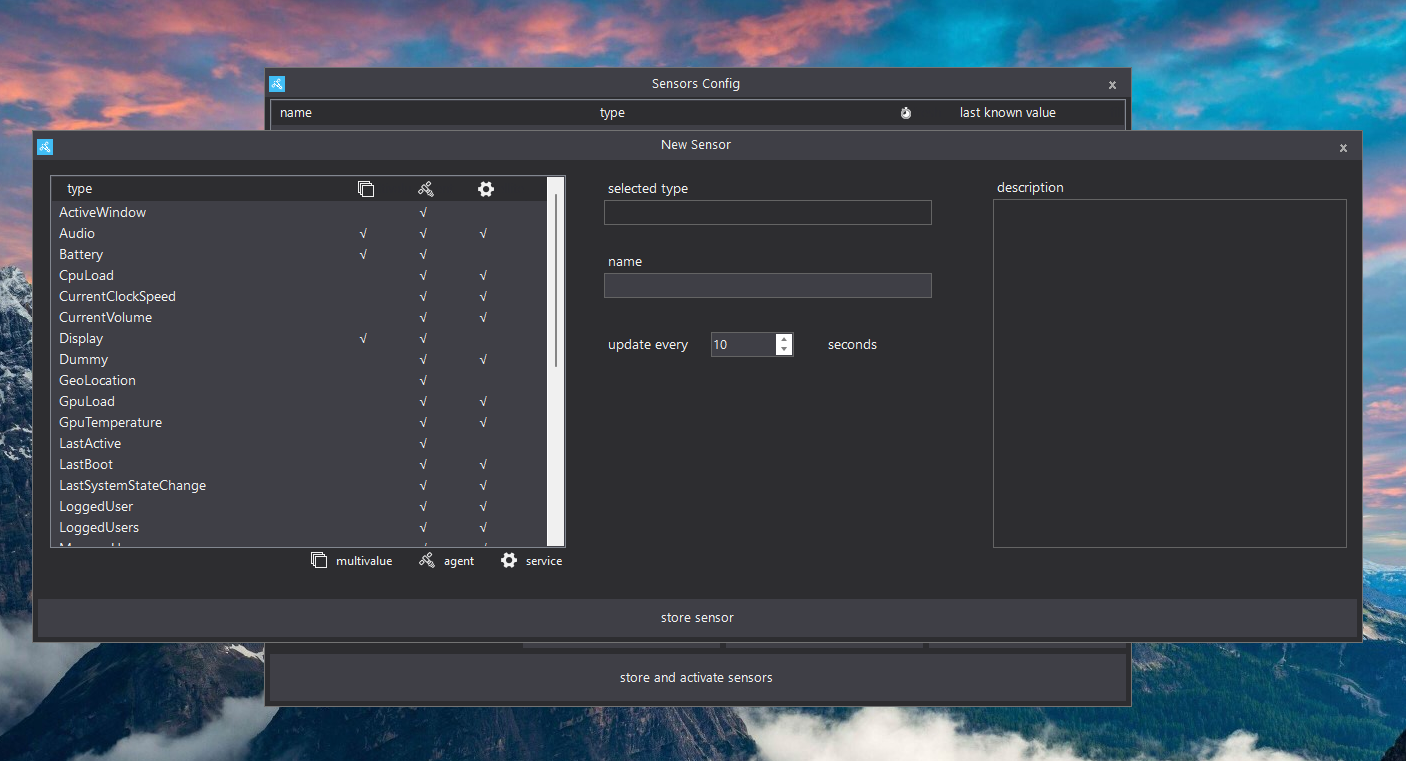
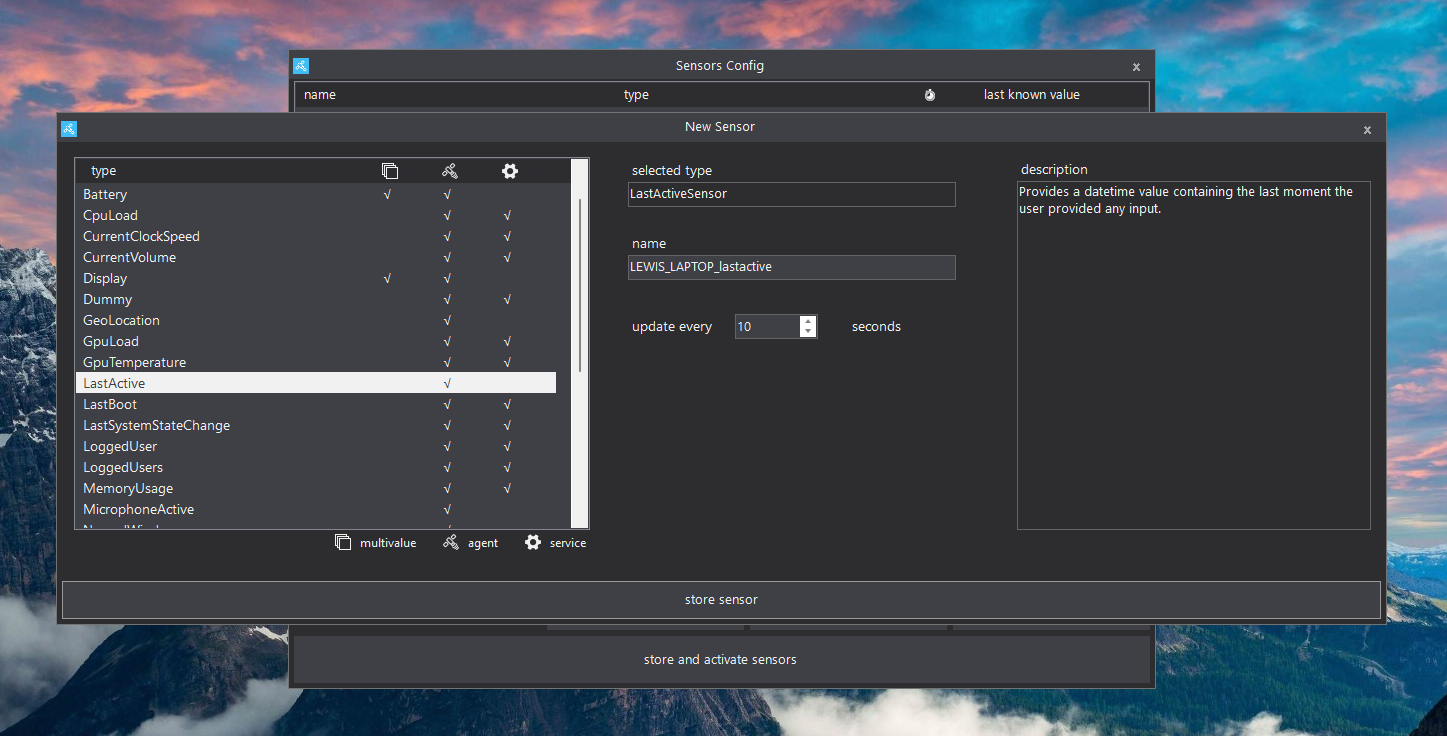
On the left hand side is a list of all the available sensors that Hass.agent currently has. There are quite a few sensors that are useful, but for this guide specifically we are going to enable the "Last Active" and "Active Window" sensor.
Select one of the sensors from the list and then hit add sensor. Repeat the same steps to add both sensors:
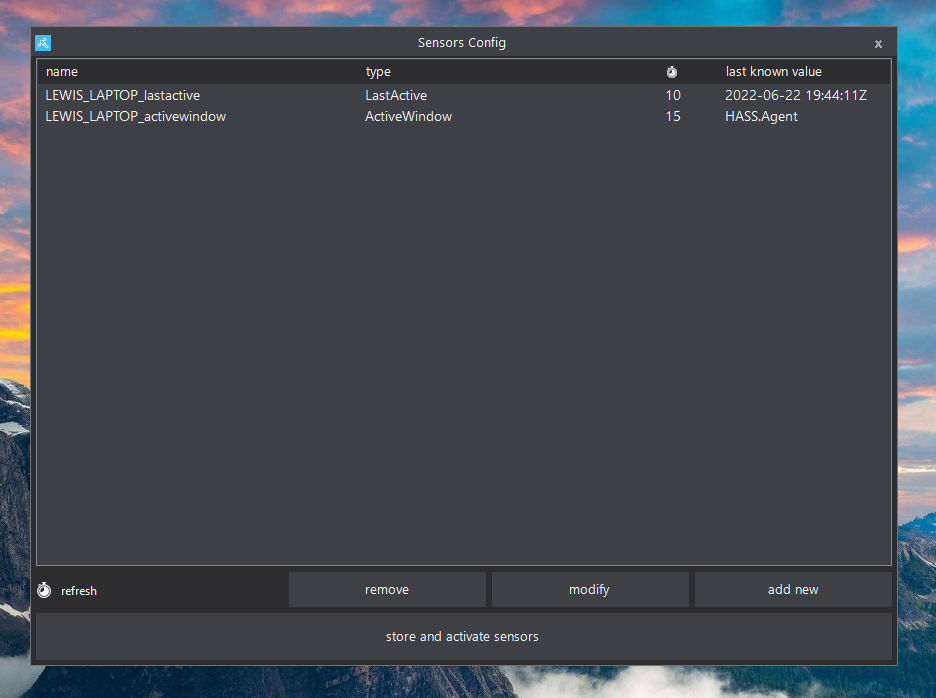
Then hit the store and activate sensors.
Back on the main menu, hit the "commands" button and add a new command. Add the sleep command as shown:
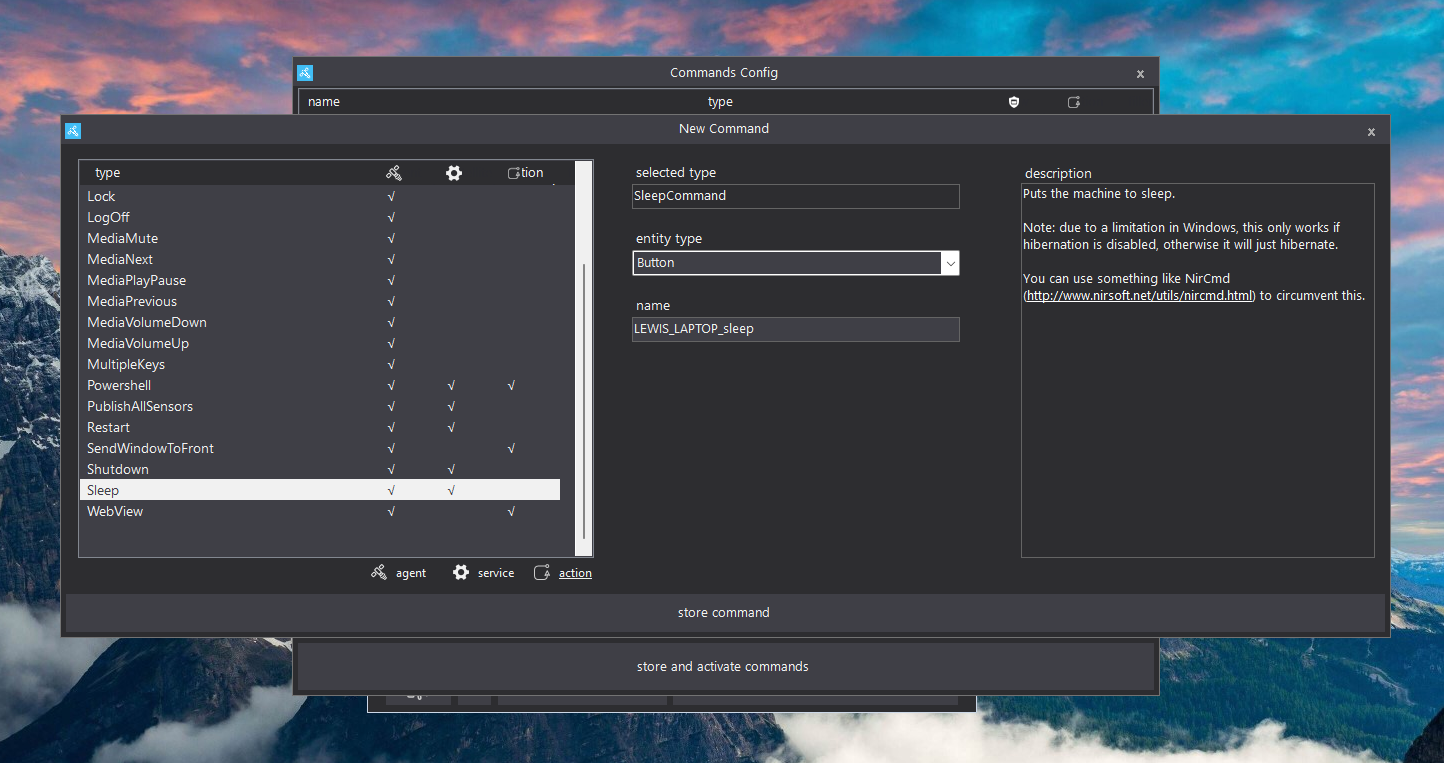
Hit save and then store and activate commands.
Now head over to Home Assistant and into the MQTT integration and find your newly added device:
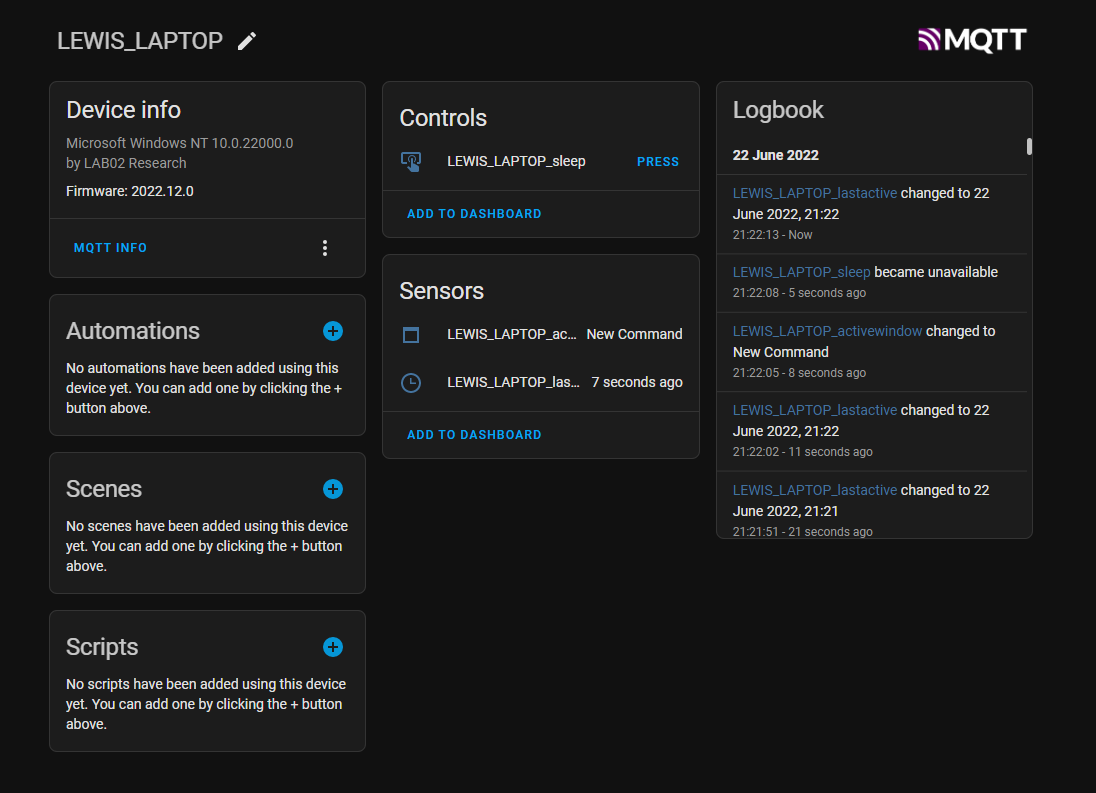
Notice you now have the two new sensors for last active and active window, as well as the sleep button - cool!
Click on the last active sensor, and take a note of the entity ID - we will need this for our automation:
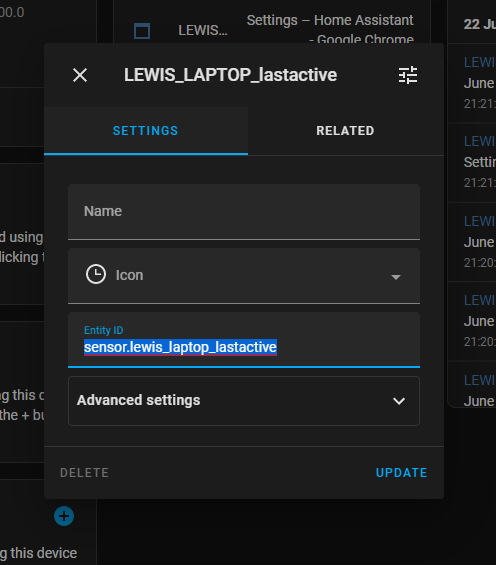
Repeat the same for the active window sensor too.
Now let's get onto the automation, finally!
The Automation
Head over to Settings, Automations and Scripts and create a new blank automation.
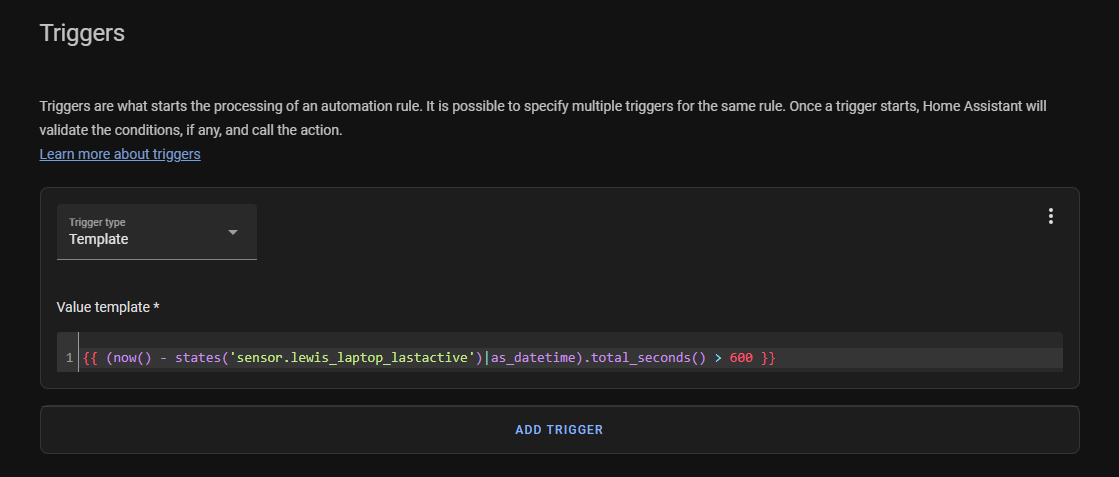
Give the automation a name, and then in the trigger section, select template as the type.
Paste in the following template into the box, making sure to replace "your entity" with the last active sensor that you noted down above:
{{ (now() - states('sensor.your entity') | as_datetime).total_seconds() > 600 }}What this template does is subtract the last active sensor from the current time and if its greater than 600 seconds or 10 minutes (aka the computer has not been used in 10 minutes) then return true.
It should look something like this:
Next under the condition, I want to add a condition that prevents the automation from running if I have Premiere Pro open in the active window - you can either choose a program of your choice if you want, or you can skip the condition completely.
To do this we are going to use another - you guessed it - template.
Before we add the template, lets again take another look at our "Active Window" sensor to see what we are working with.
You can see that when I have Premiere Pro open - it gives me the Active Window, but with a lot of extra information:
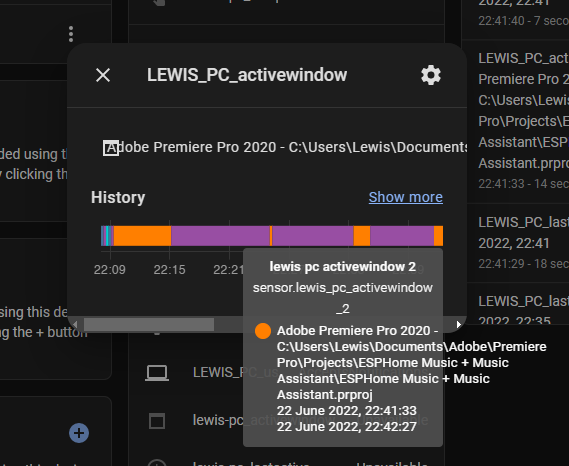
You can see that there is a lot of extra information in the sensor that would change depending what I was working on. But this is easy to fix with a template.
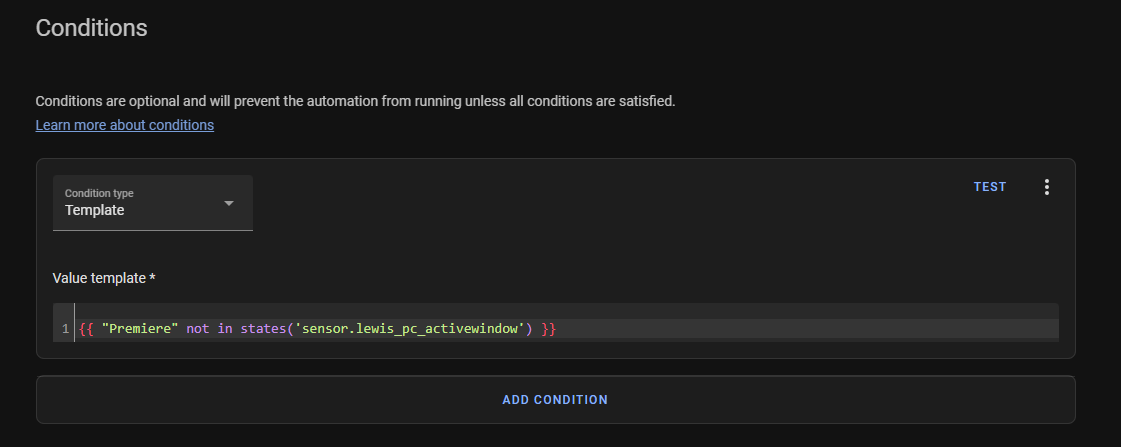
Back in our automation, add a condition and then again select template.
Paste the following template into the box, again making sure to change the "your entity" to the name of your active window entity you took a note of earlier:
{{ "Premiere" not in states('sensor.your entity') }}What this template does is make sure that the word "Premiere" is not in the active window entity - change the name of this to the active window you would like to track - and if its not, it will proceed.
It should look like this:
Finally, the action is very simple!
Select "Call Service" from the action drop down, and search for the "Button Press" service and then select your Sleep control that was created earlier:
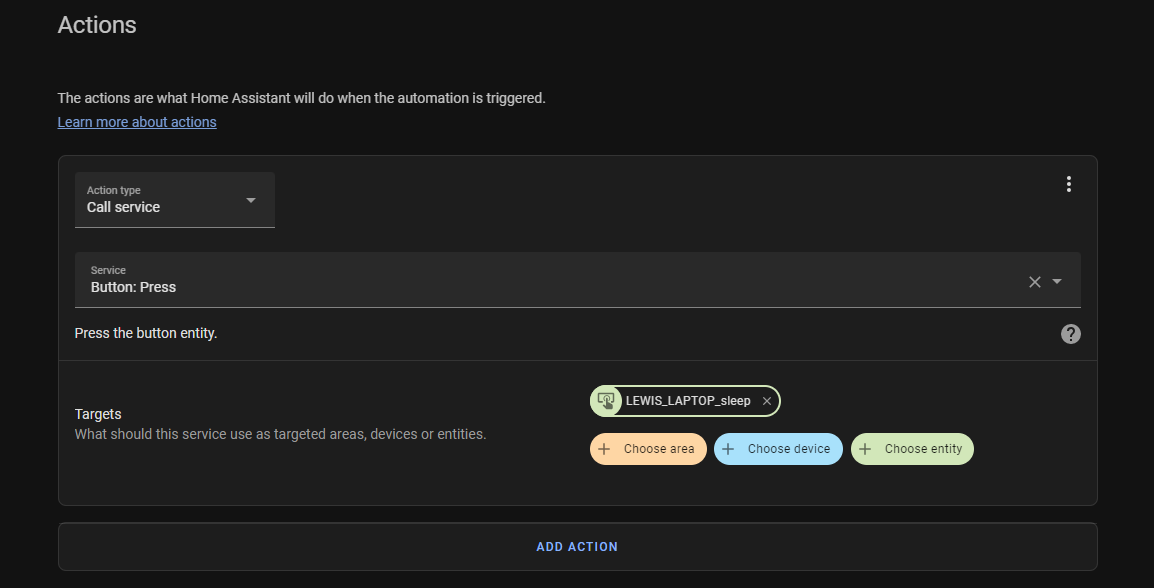
And that's it, now whenever your PC hasn't been used for 10 minutes, and your chosen window is not active, your PC will go to sleep!
The Code
Here is the final automation code for those of you who prefer YAML:
alias: Sleep PC
description: ''
trigger:
  - platform: template
    value_template: >-
      {{ (now() - states('sensor.lewis_pc_lastactive') |
      as_datetime).total_seconds() > 60 }}
condition:
  - condition: template
    value_template: '{{ "Premiere" not in states(''sensor.lewis_pc_activewindow'') }}'
action:
  - service: button.press
    data: {}
    target:
      entity_id: button.lewis_pc_sleep
mode: single