Ubiquiti Unifi Protect Review - Scalable Video Security

Introduction
If you’ve spent any time researching Wi-Fi solutions, you’ve probably came across Ubiquiti at some point, a major player in the enterprise space and now making serious inroads into the homes of many enthusiasts with their latest offering – Unifi Protect – their video surveillance platform which is in for review.
As a user of Ubiquiti’s Unifi line of products for a number of years, I was really keen to check out their Unifi Protect surveillance system to see if it could live up to their excellent Wi-Fi solutions – and as you will see it did not disappoint.
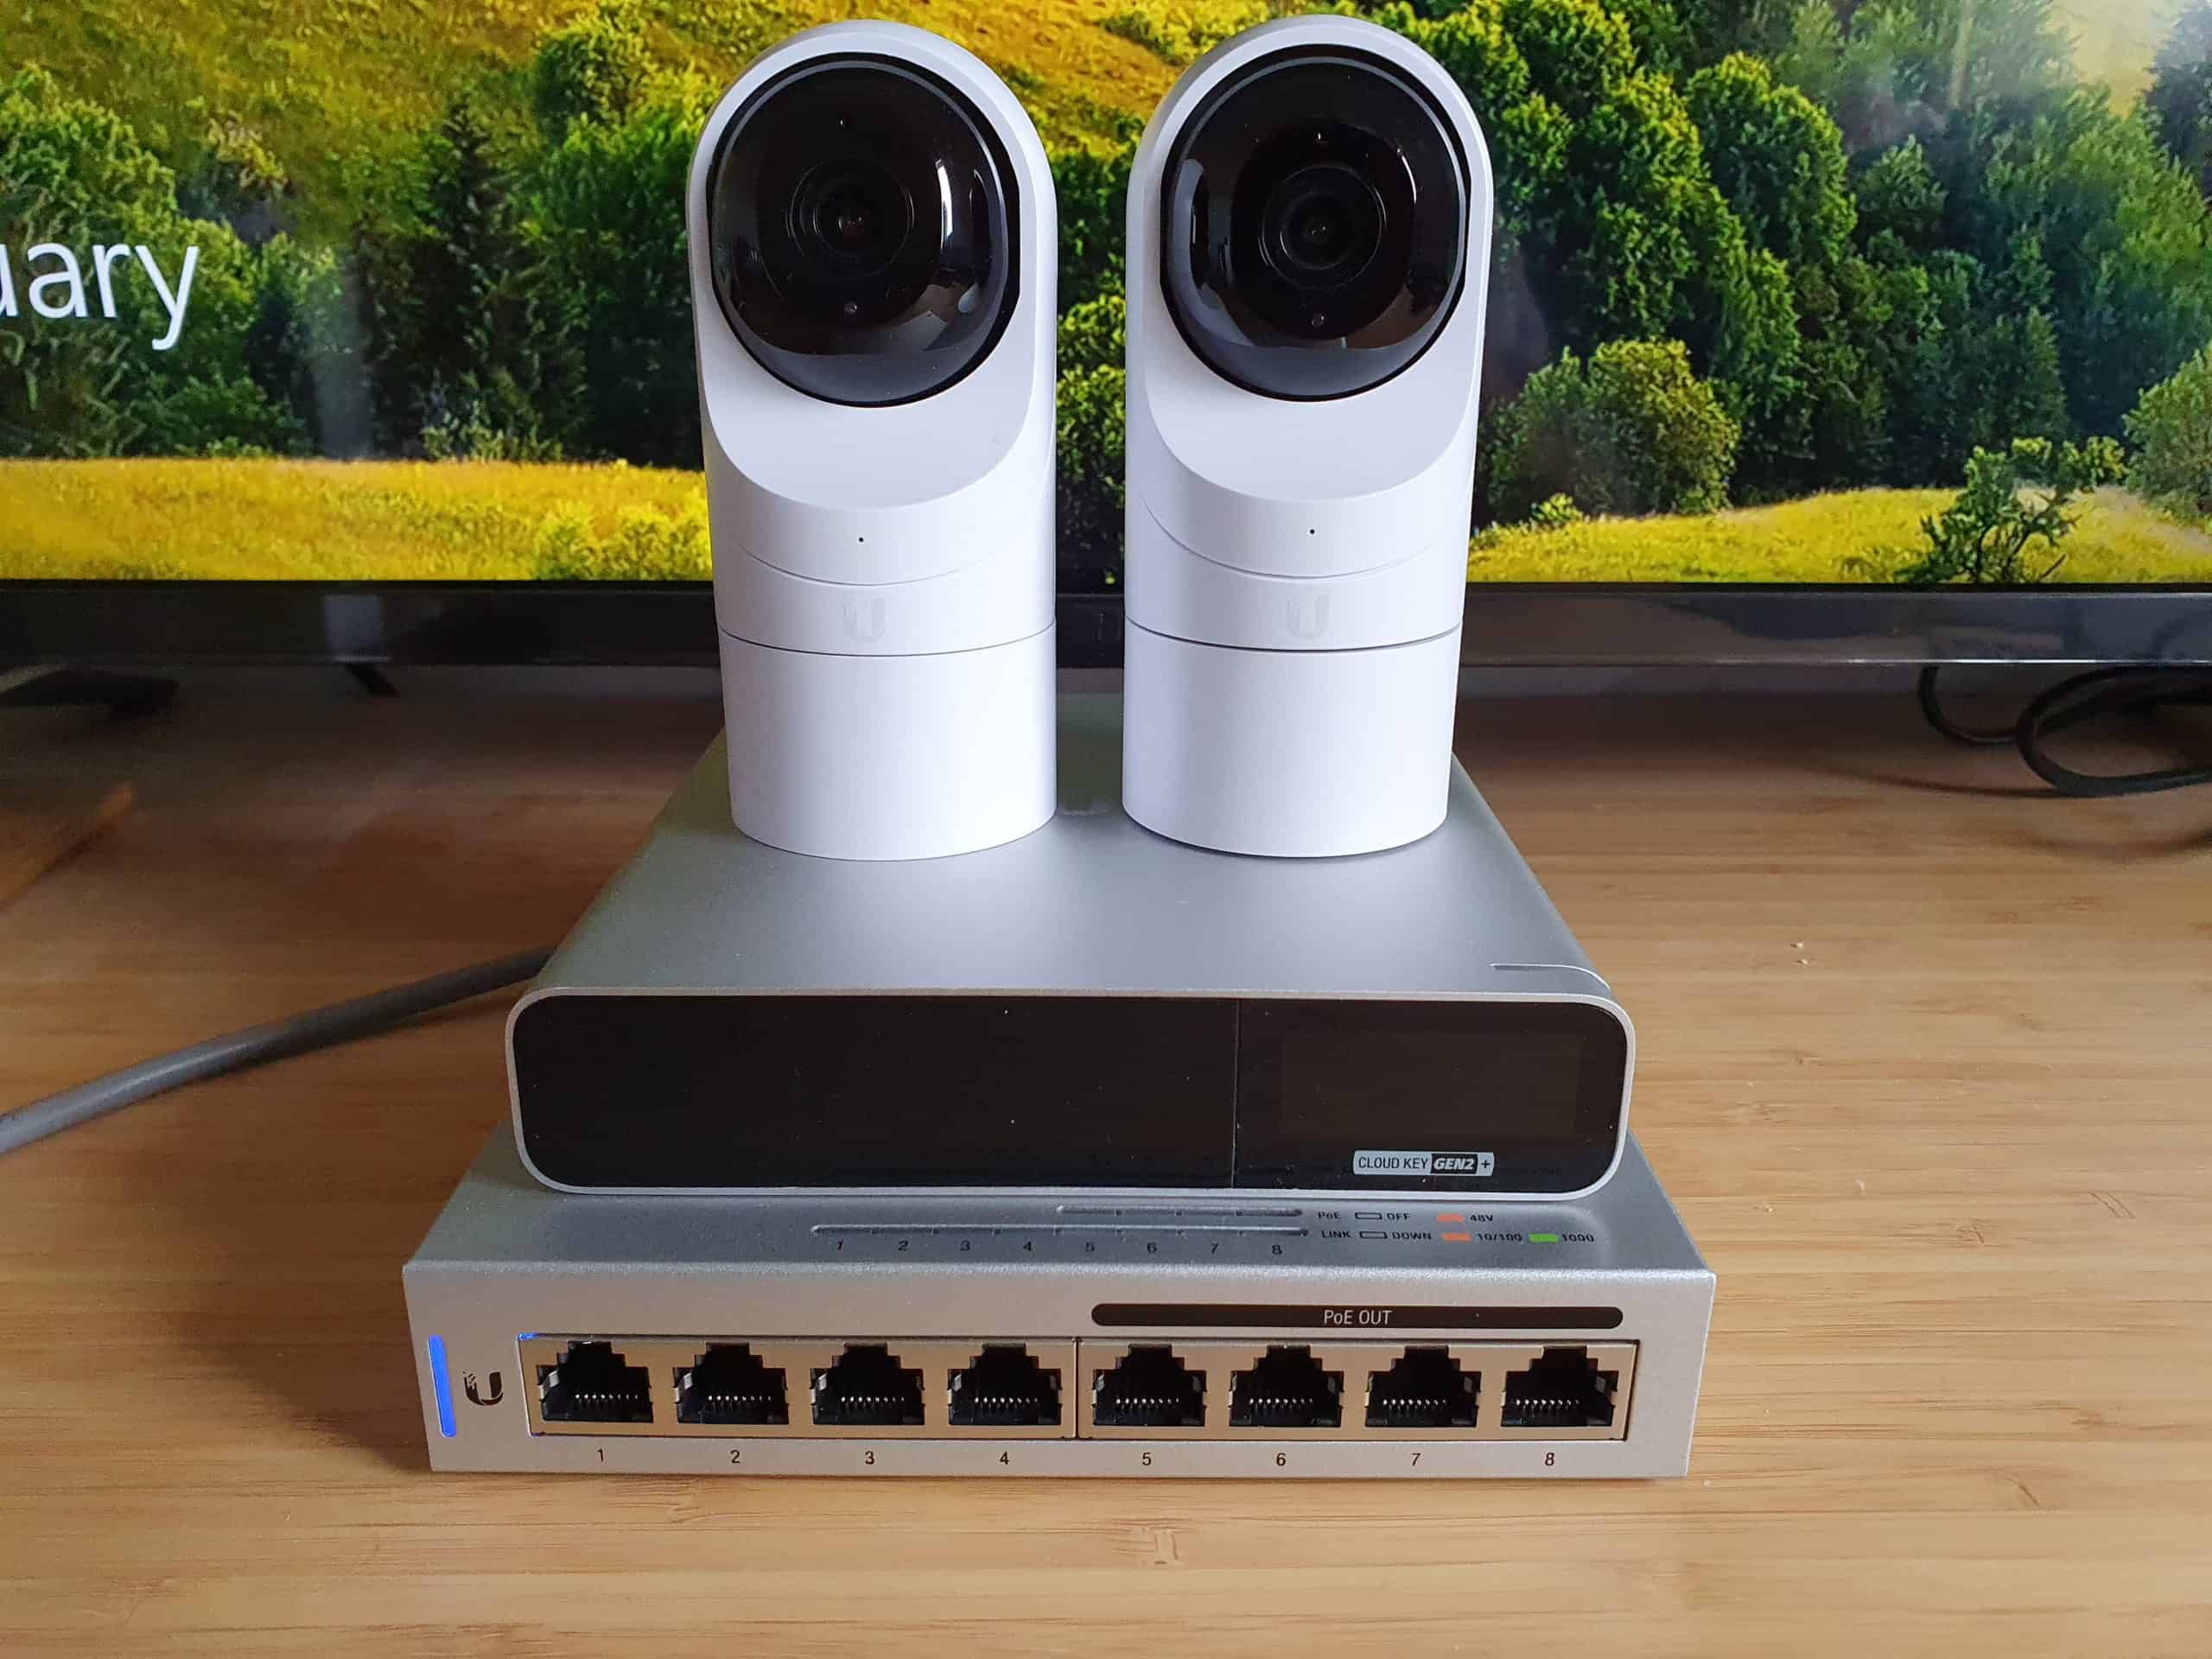
I reached out to LinITX who were gracious enough to provide their Unifi Protect Kit for review, which consists of:
- 1 x Unifi Cloud Key Controller Gen2 Plus with 1TB HDD
- 1 x Unifi 8 Port 60W PoE Gigabit Network Switch
- 2 x Unifi G3 Flex Video Cameras
This kit consists of everything you need to get your Unifi Protect surveillance system up and running in a matter of minutes - literally!
Overview
Unifi Cloud Key Controller
At the centre of the Unifi Protect install, we have the Unifi Cloud Key. The Cloud Key is an all in one central management device for both Unifi Cameras and other Unifi products (Access Points, Switches, Secure Gateways, etc). It features a 1TB 2.5” HDD (user upgradeable to 5TB) that the cameras record directly to, supports up to 20 Unifi cameras and can be accessed from anywhere in the world with internet access.
It supports 802.3af Power over Ethernet (PoE) or USB-C and has an internal battery that can shutdown the device safely in the event of sudden power loss.
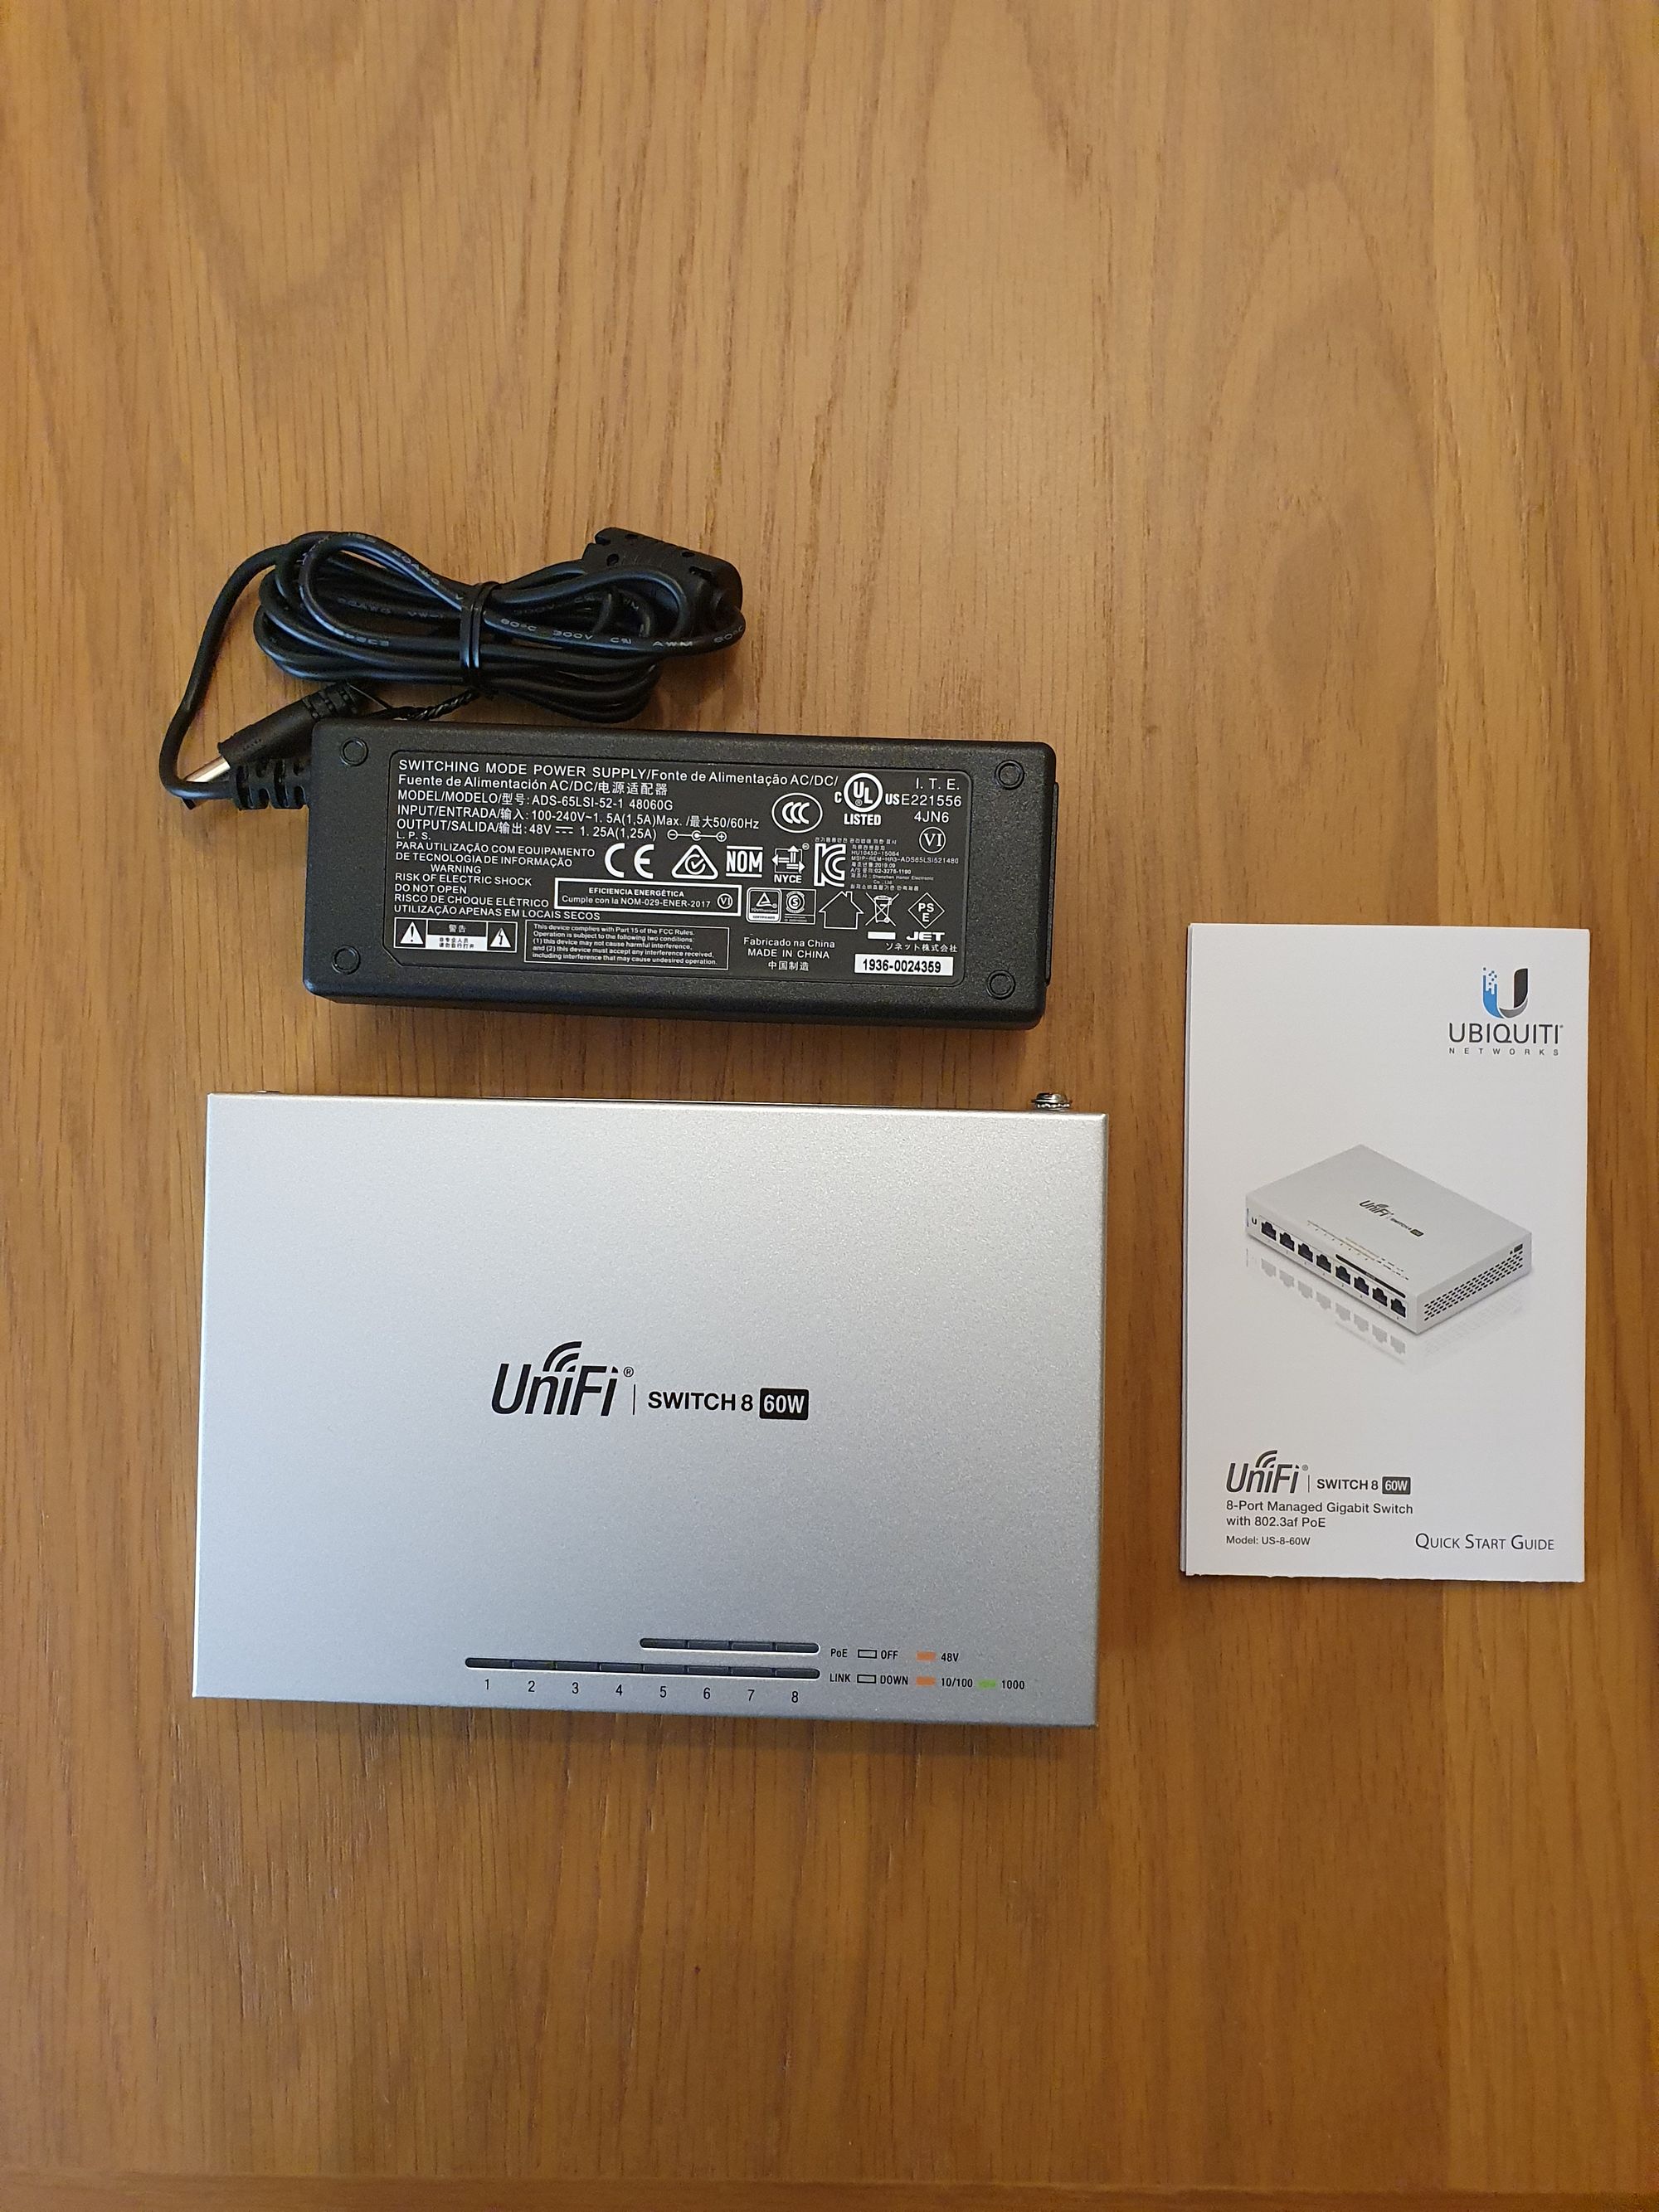
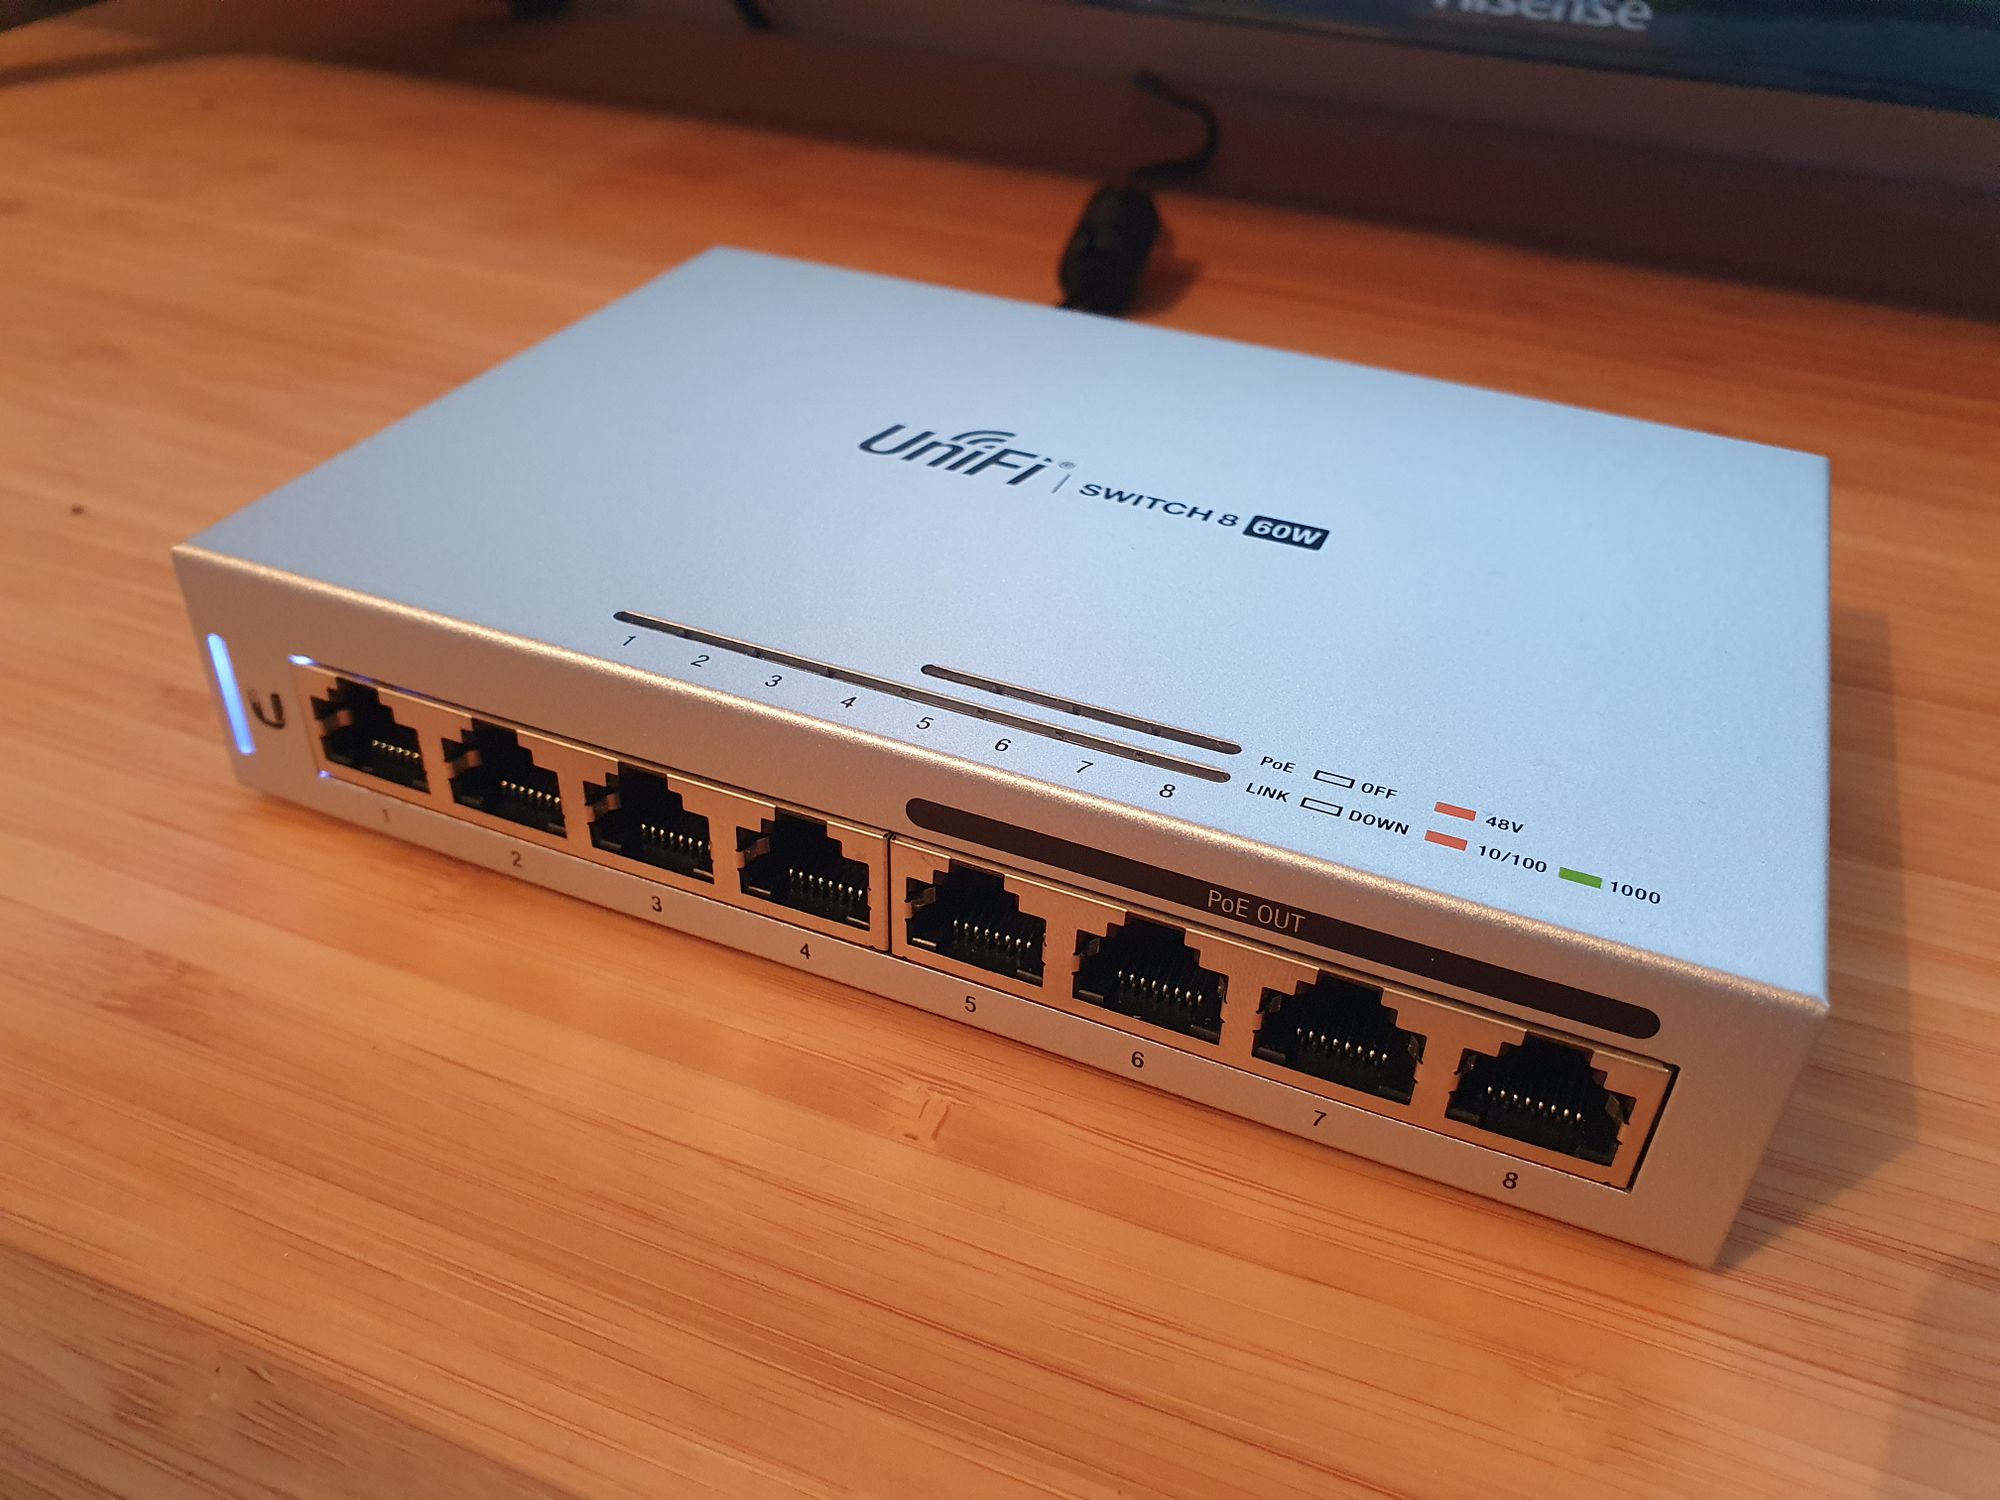
Unifi 8 port 60W Switch
Next, we have the Unifi Switch, which is technically physically at the centre of the install. It features 8 Gigabit (10/100/1000) ports, 4 of which are 802.3af PoE Ports.
The switch will provide power to our Cloud Key and both cameras, with room for an additional camera. Larger models are of course available, which you can check out on the LinITX site here.
Cameras
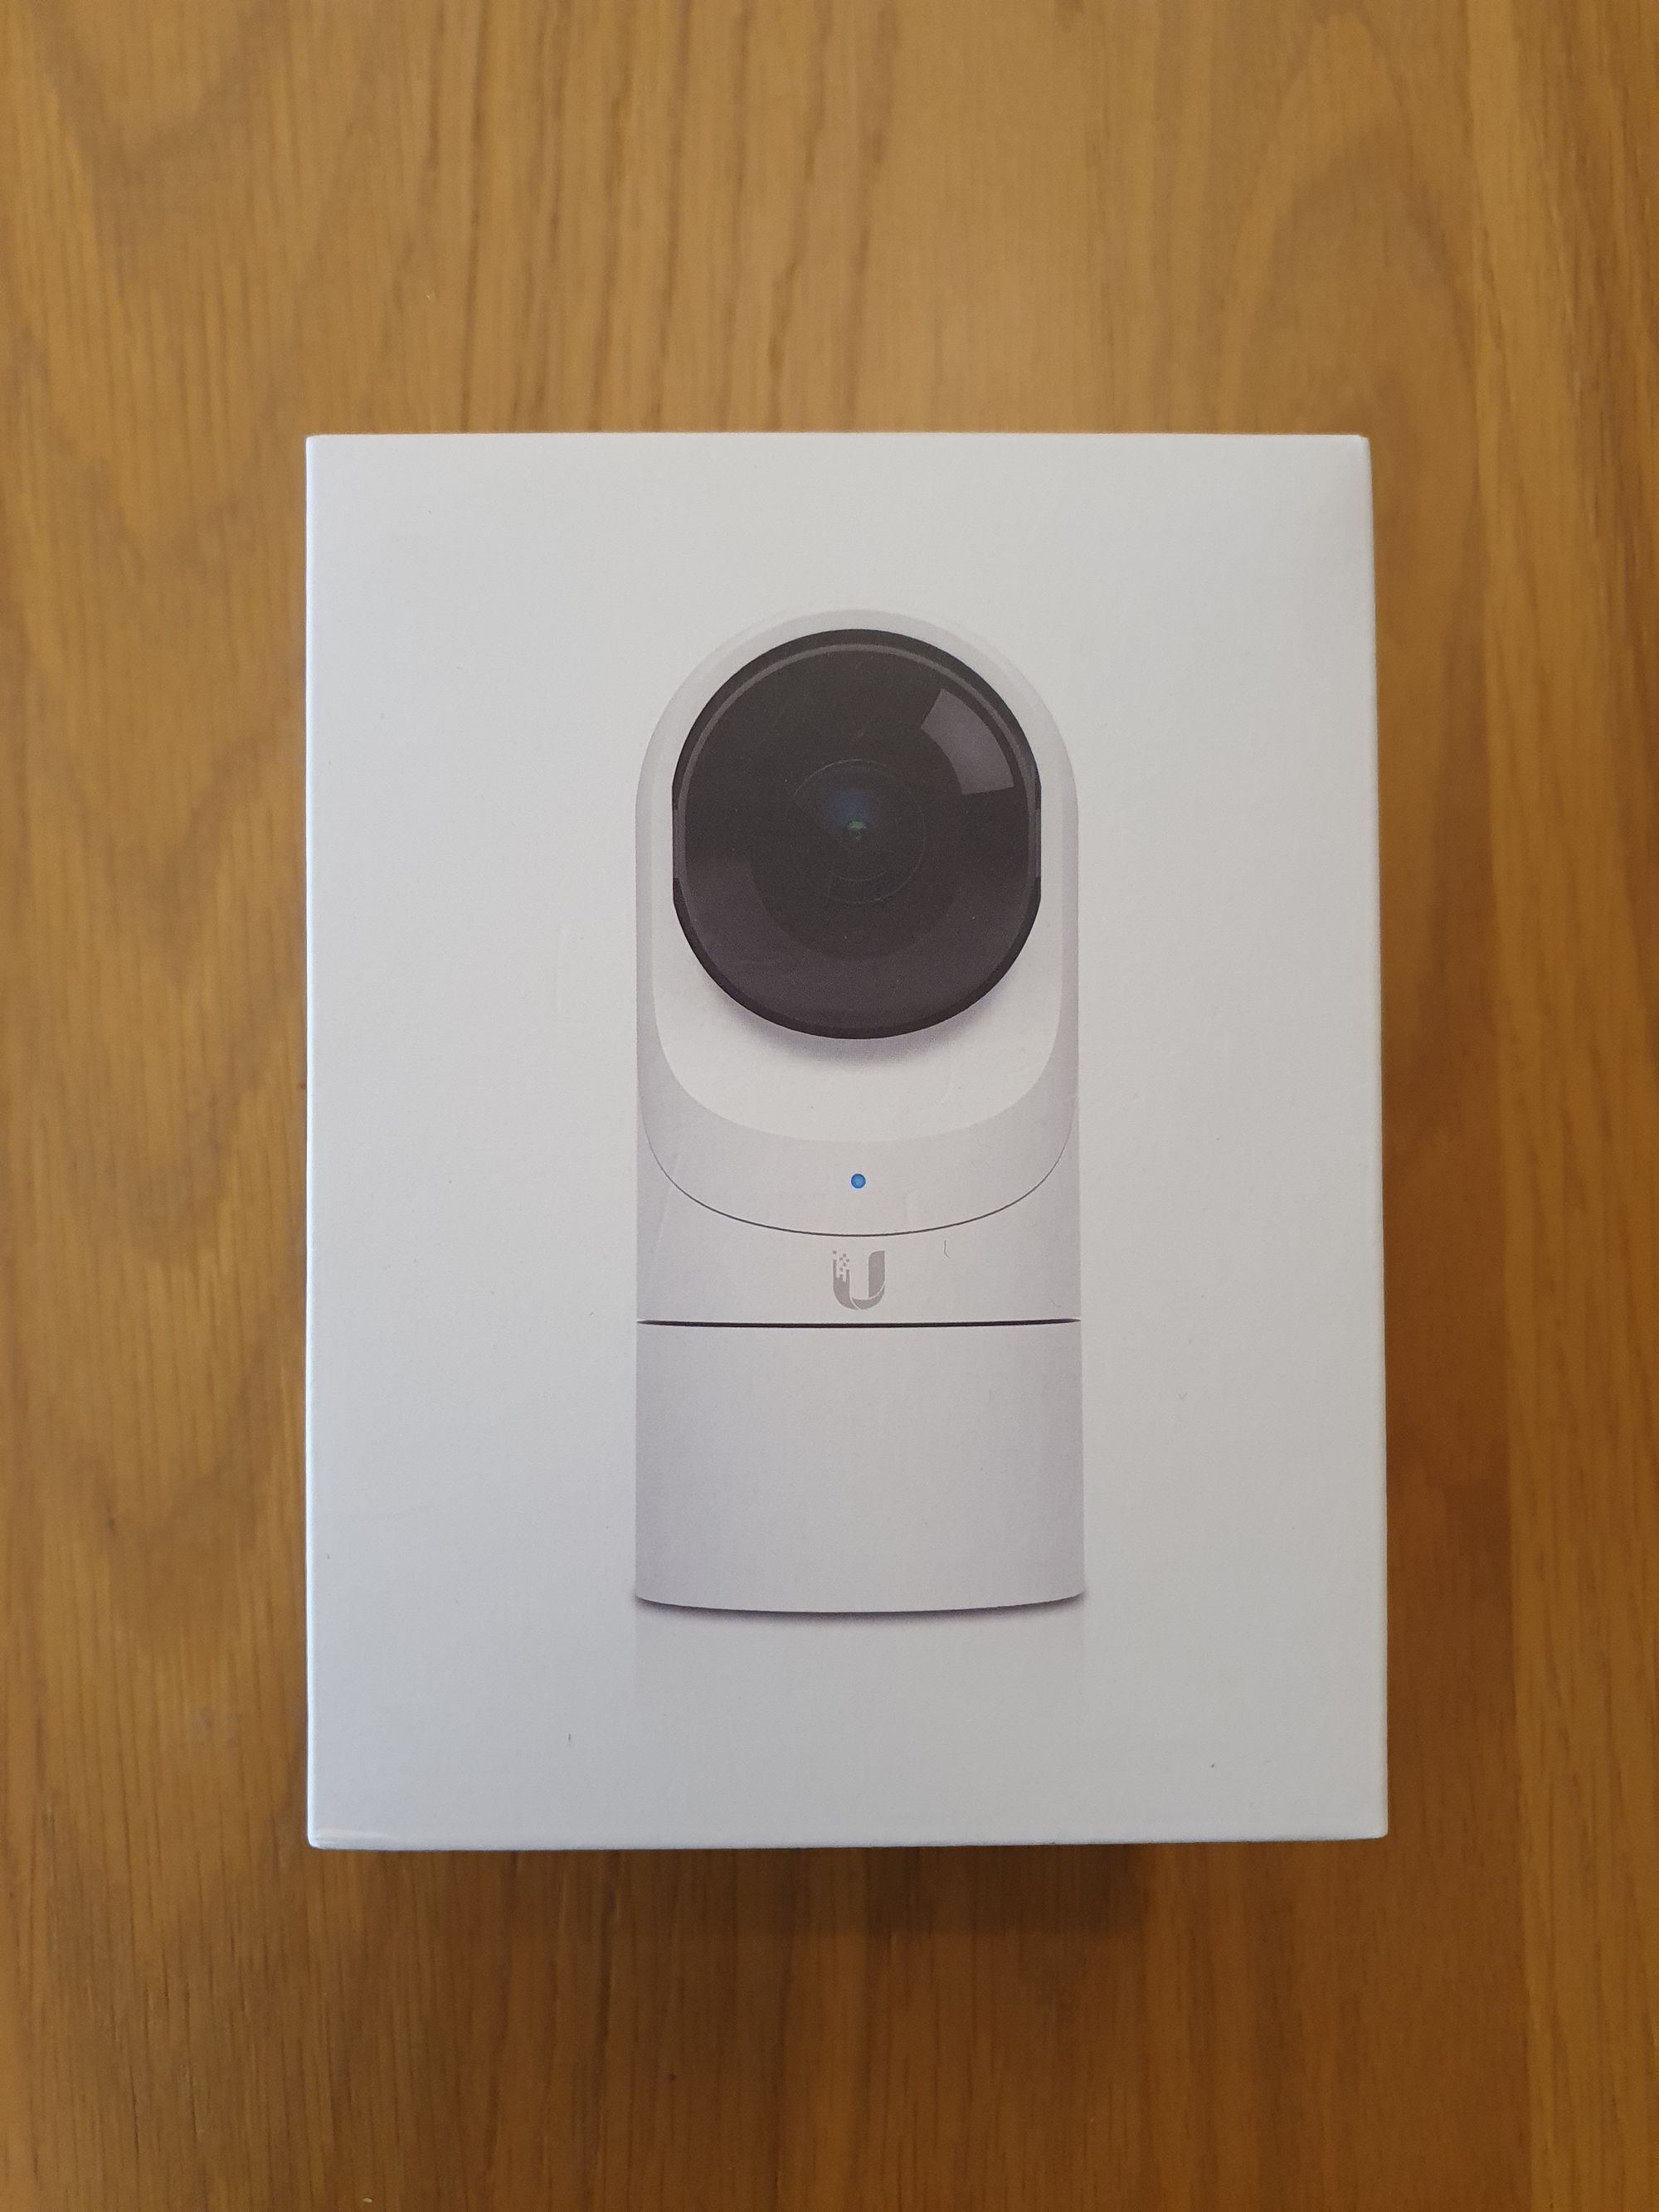
Finally we have the Unifi Cameras, of which there are currently 6 models available in the current line-up.
In this review, we are taking a look at the G3 Flex model which is capable of recording in 1080p (1920 x 1080) at 25FPS, has built in infra-red for night recording, can record audio through its microphone and is powered via 802.3af PoE.
Hardware, Technical Specs and Packaging
Unifi Cloud Key Controller

| Technical Specifications | |
|---|---|
| Processor/RAM | APQ8053 64-bit 8 Core ARM processor; 3GB RAM |
| Storage | 1TB 2.5" HDD (user upgradable to 5TB); 32GB on-board eMMC slash |
| Device Capacity | Unifi Protect Mode only: Up to 20 G3 Cameras Up to 10 G4 Cameras Unifi SDN + Protect: Up to 15 Unifi Cameras and 50 Unifi Devices 7 G4 Cameras |
| Connectivity | 1 x 10/100/1000 Ethernet; Bluetooth |
| Power method | 802.3af PoE; Quick Charge 2.0/3.0 via USB C |
| Dimensions/Weight | 131.16 x 27.10 x 134.20 mm (5.16 x 1.07 x 5.28"); 582g (1.38 lbs) |
| Pricing/Link | £192 - LinITX |
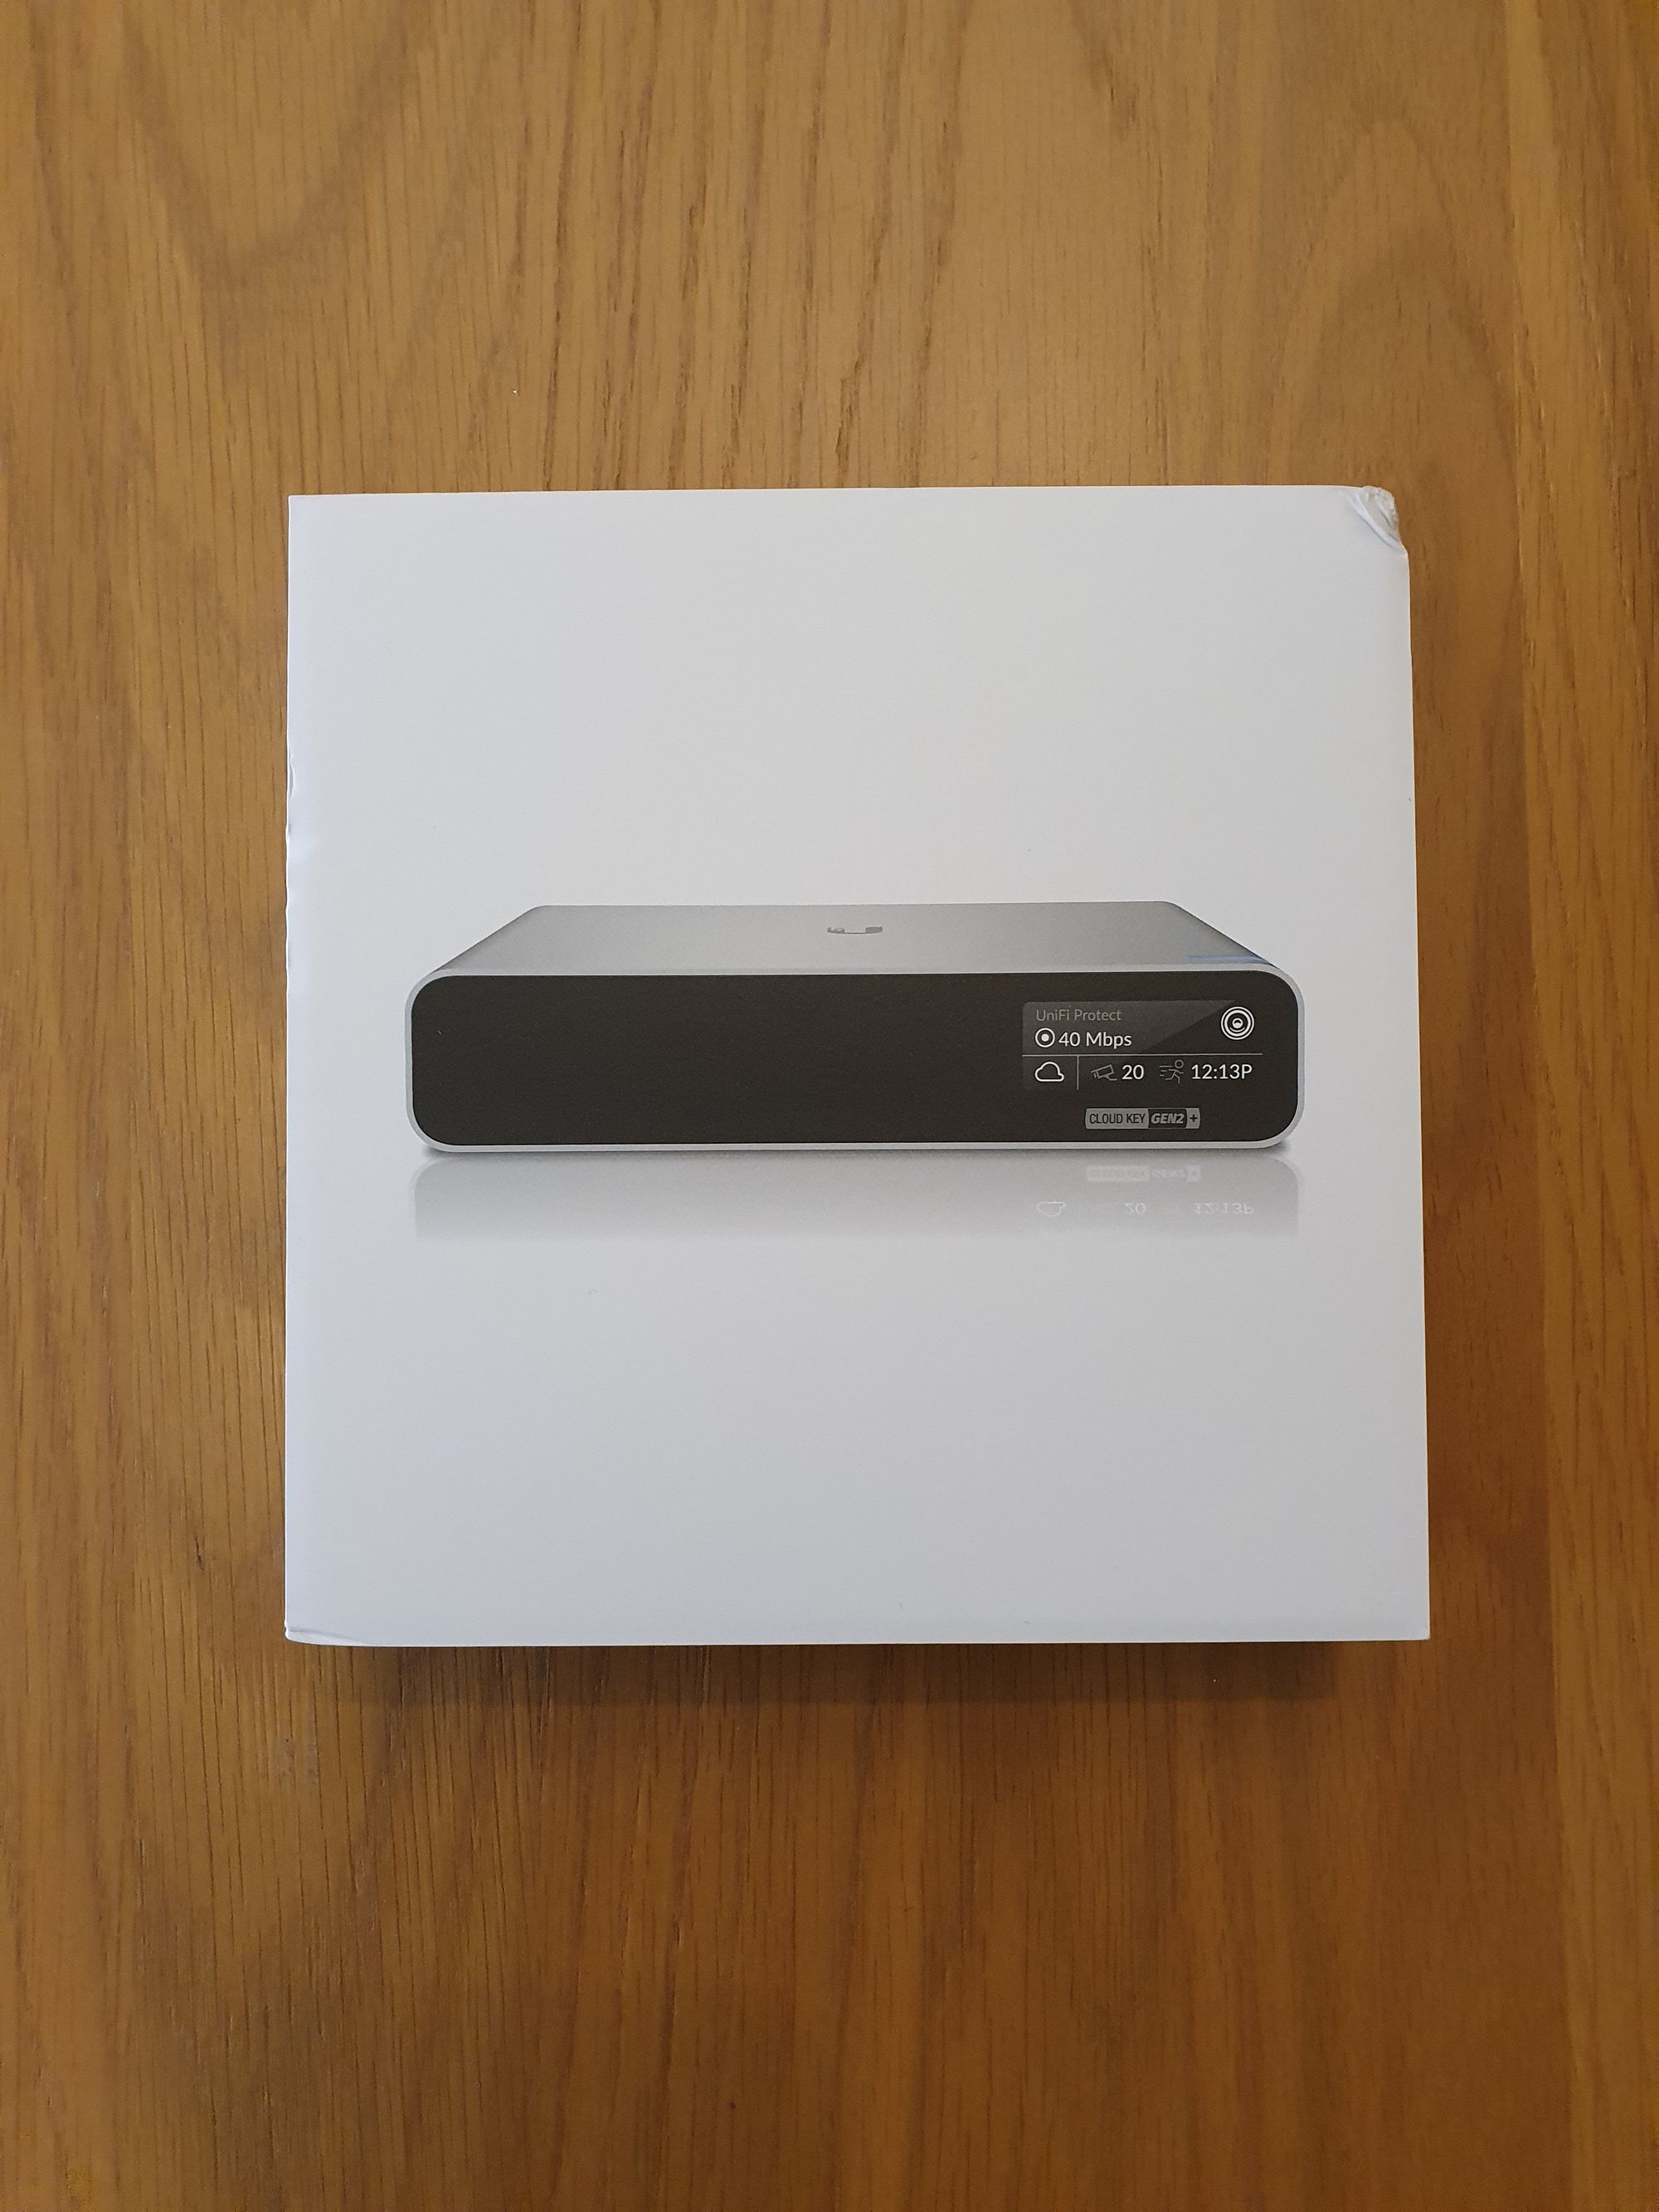
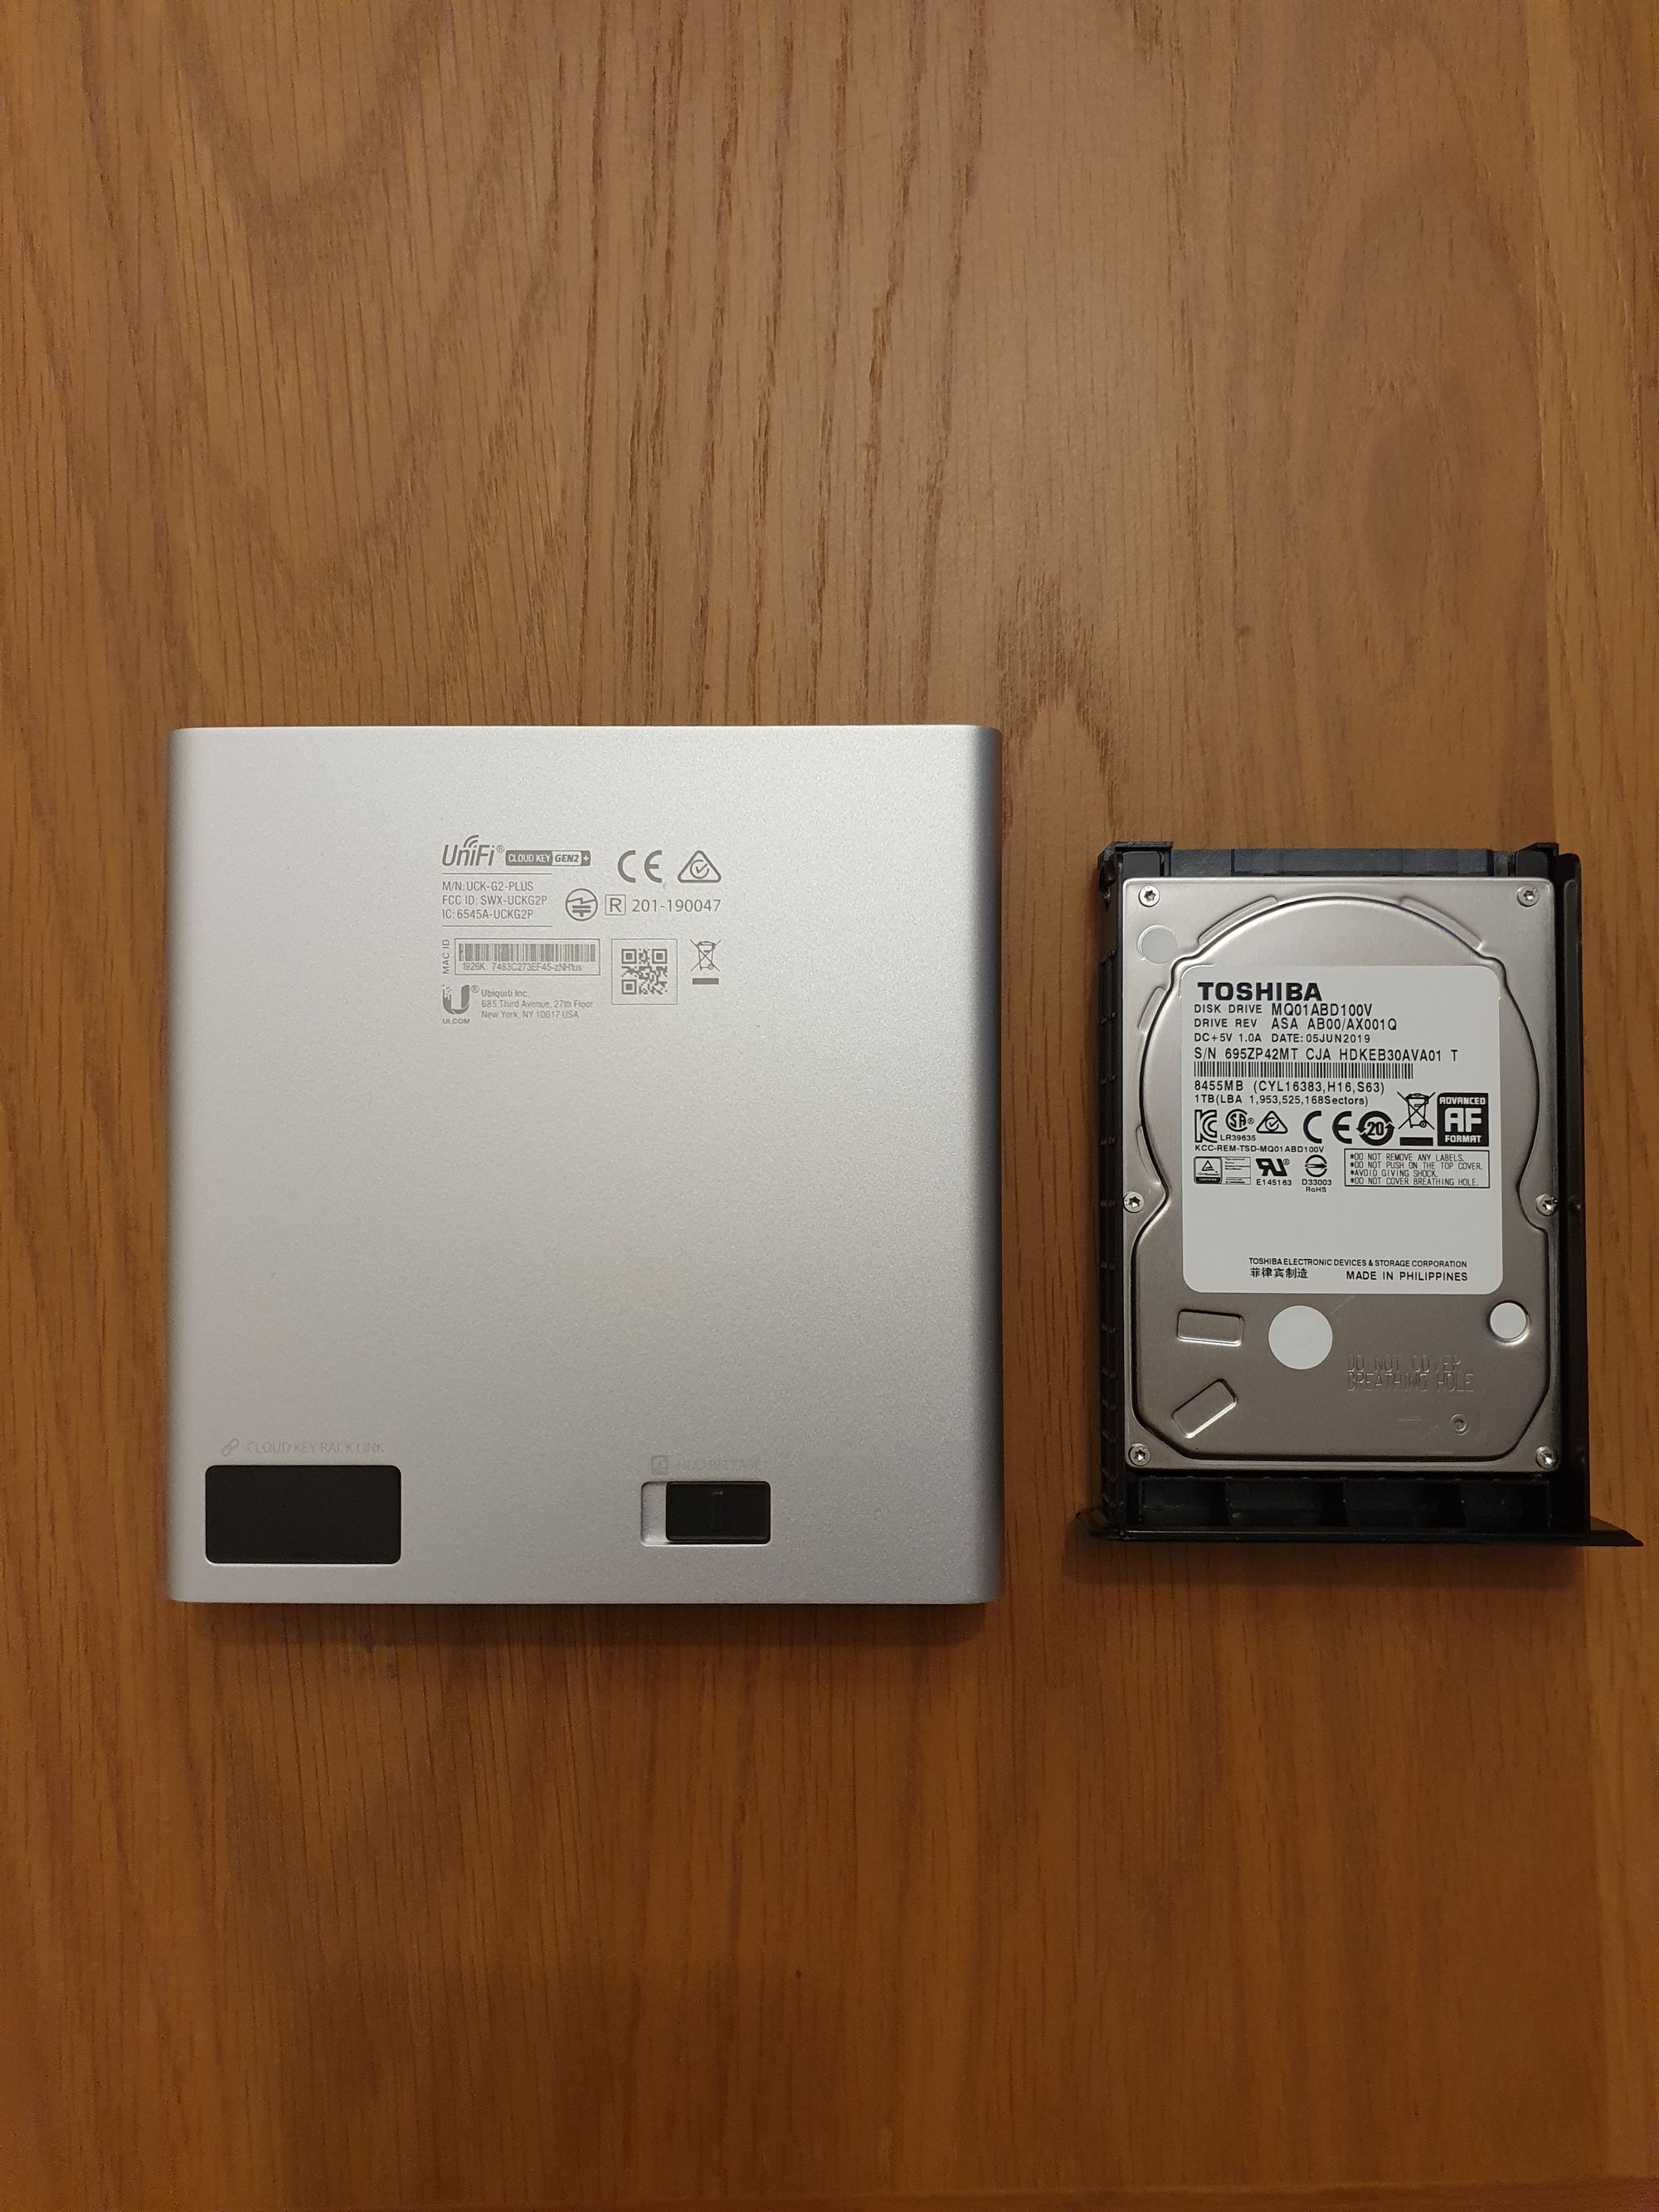
Inside the Unifi Cloud Key Controller box, there is a quick start guide, 2 x Unifi Protect stickers and the Unifi Cloud Key Gen2 Plus itself, that’s it!
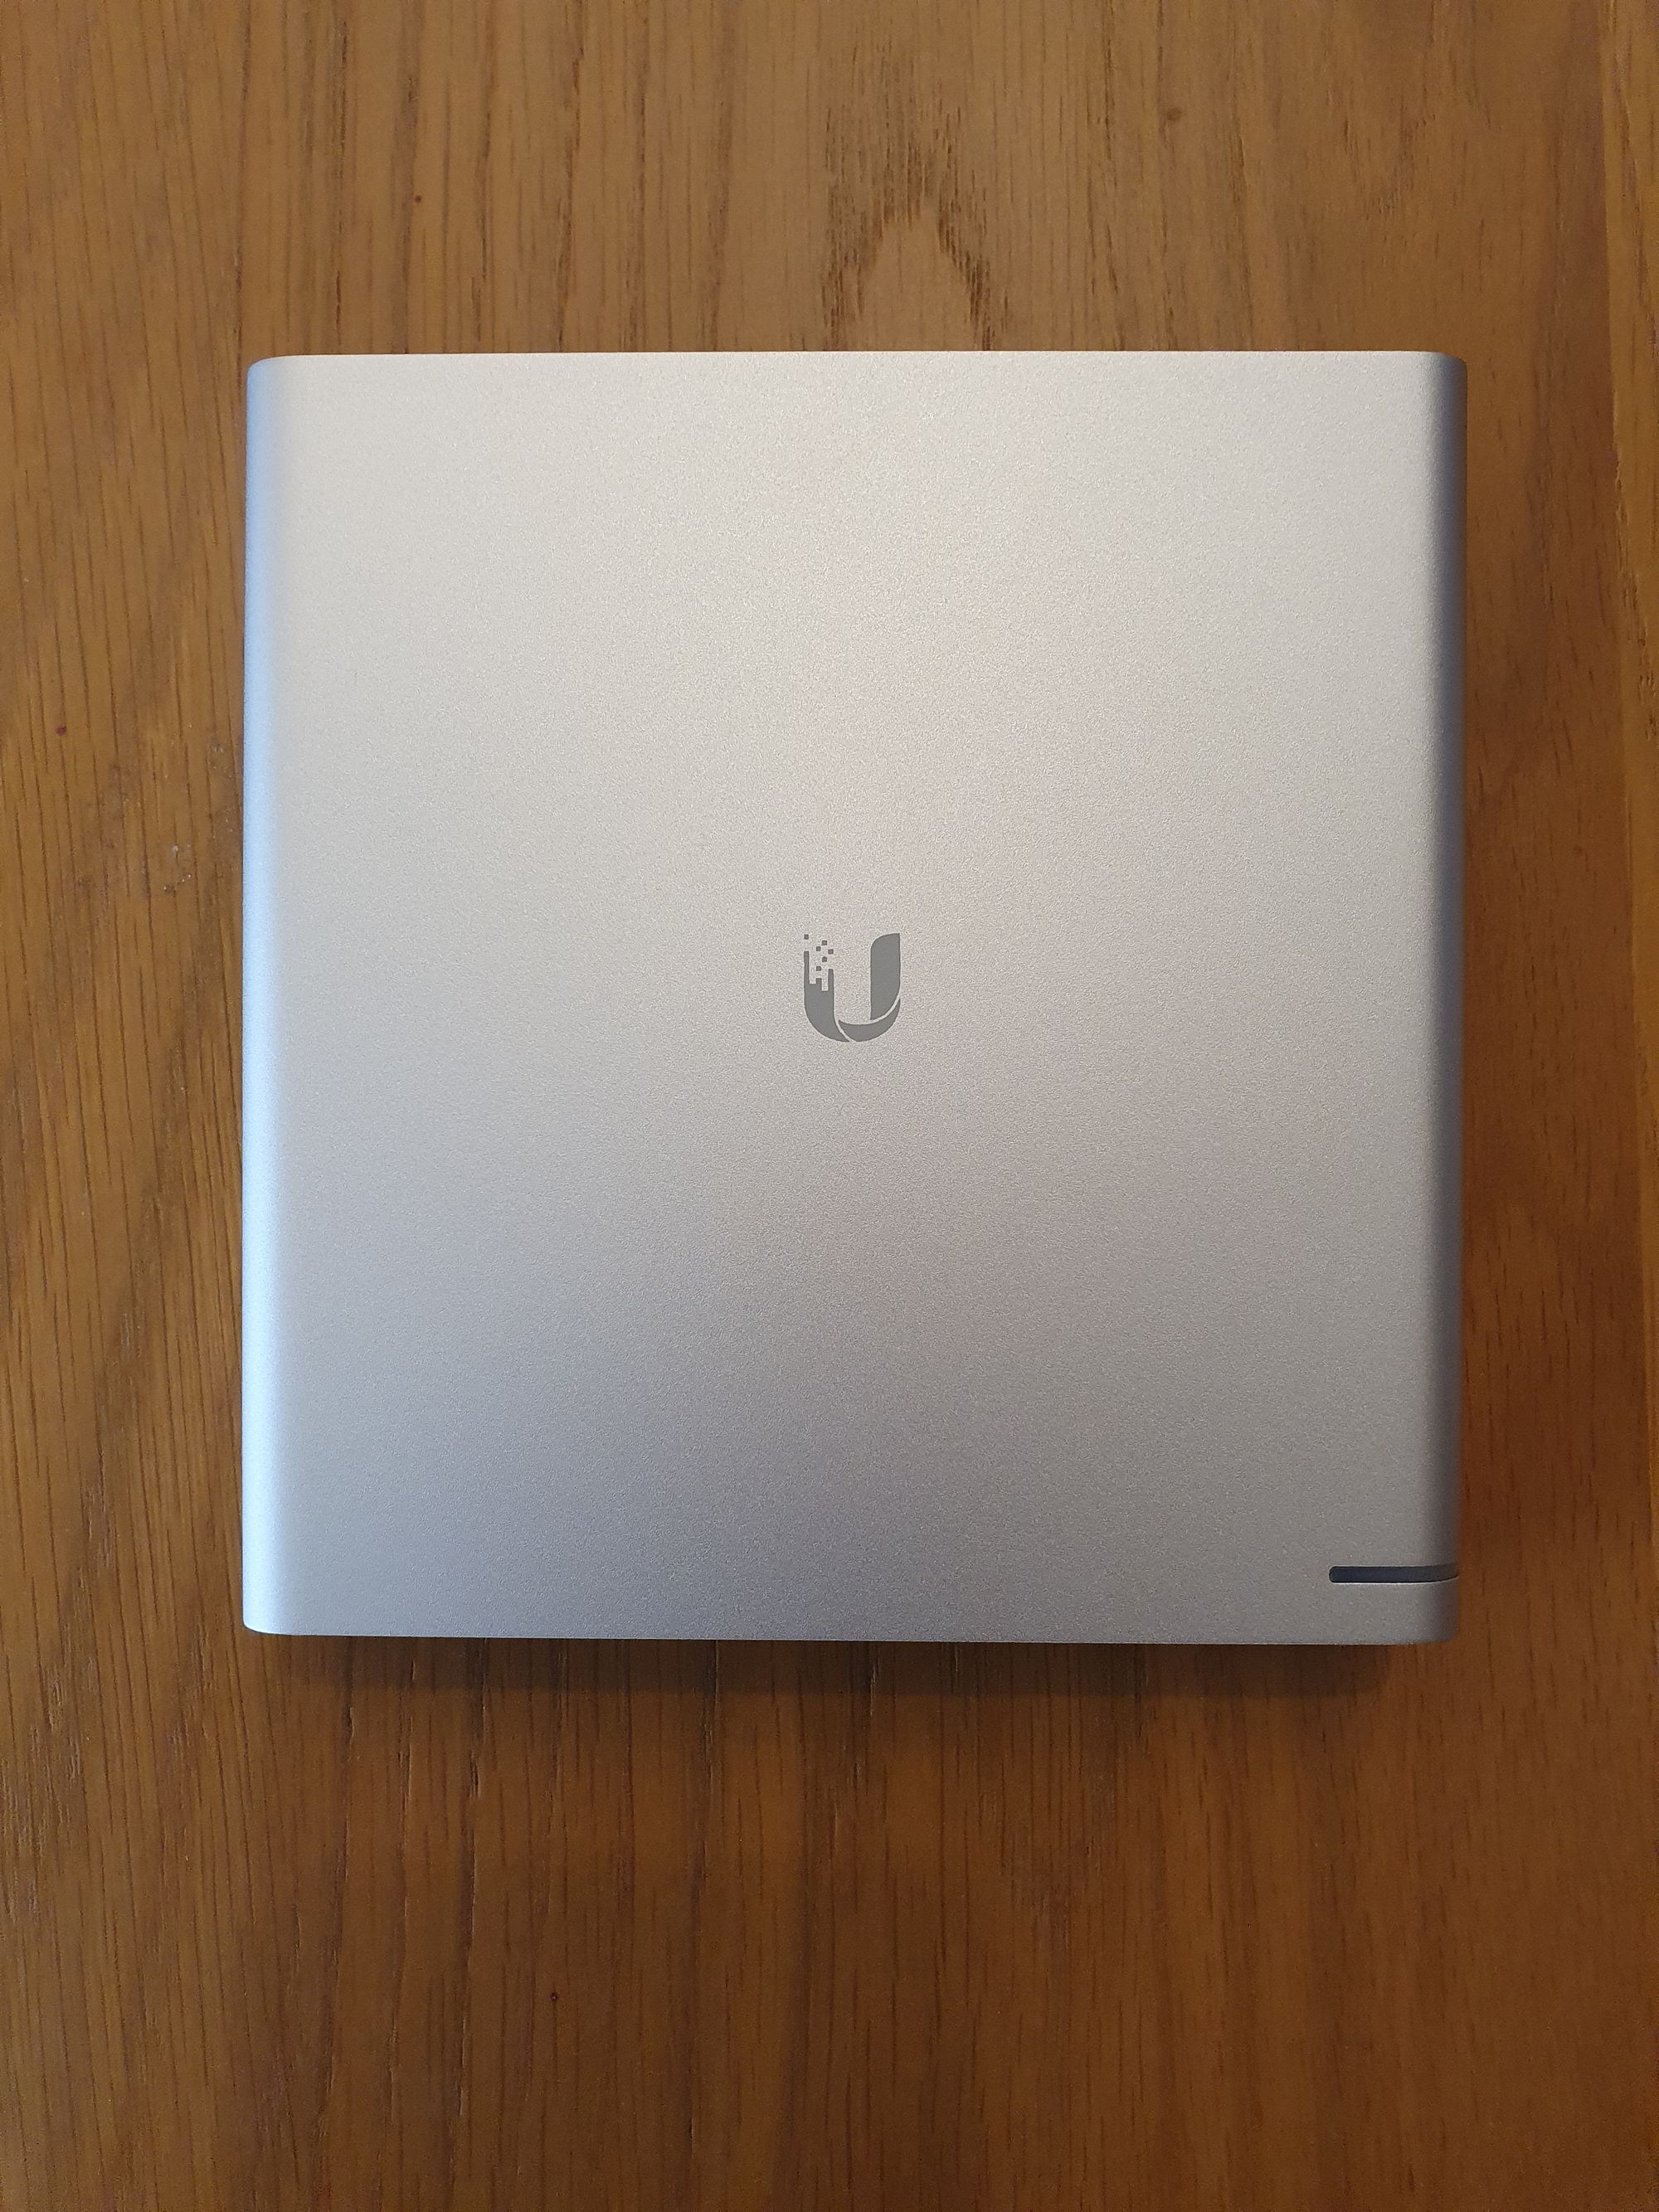
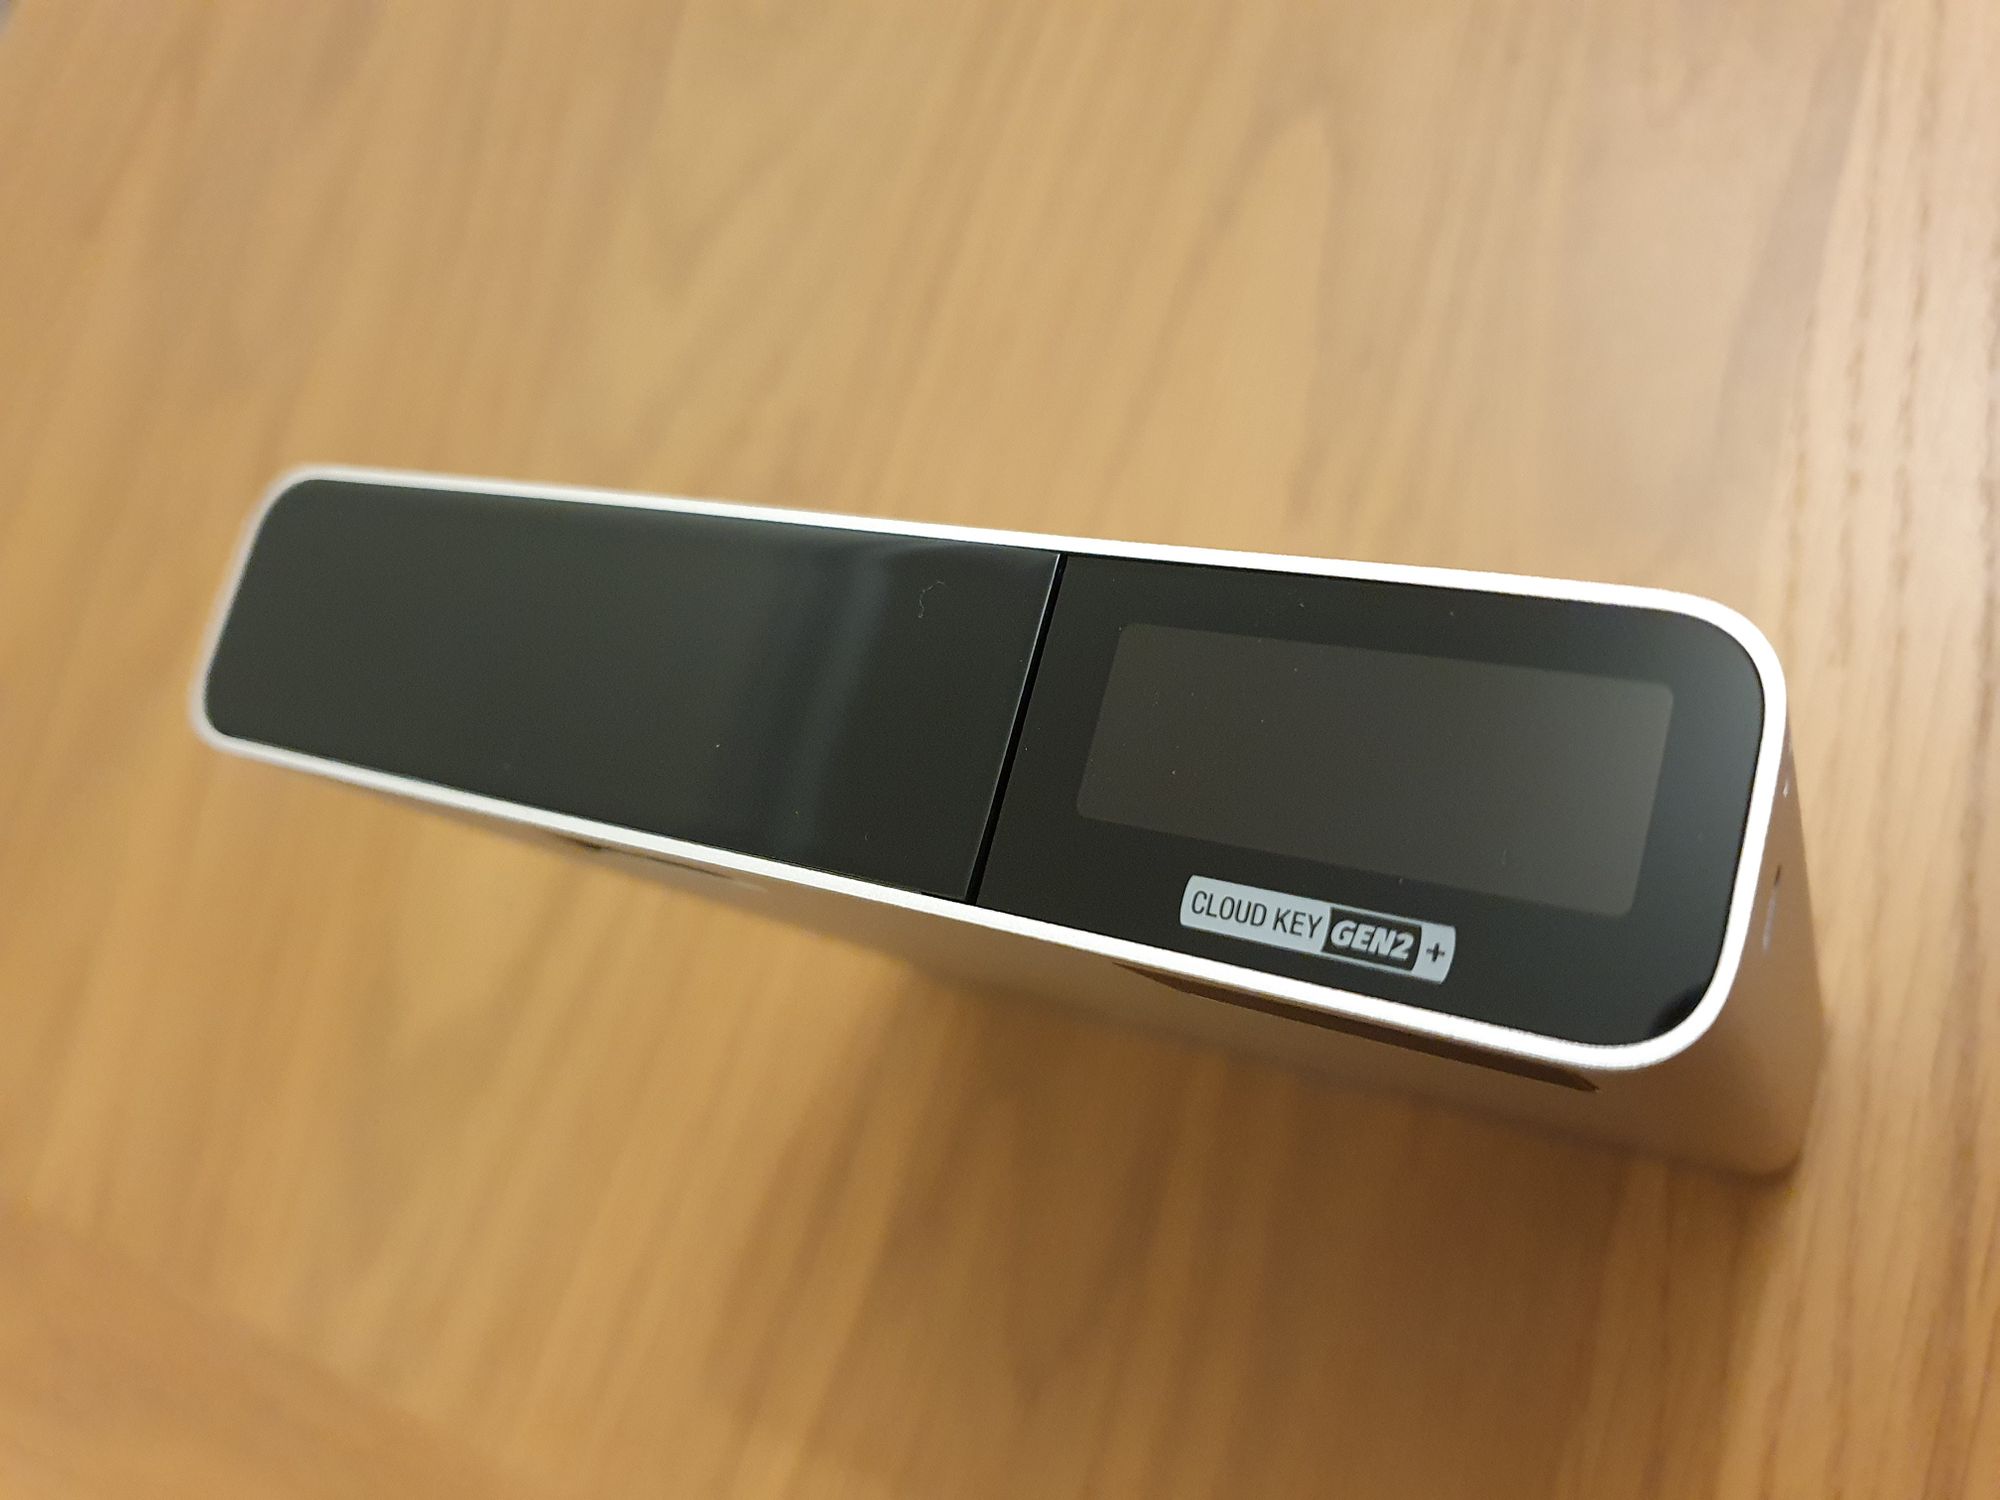
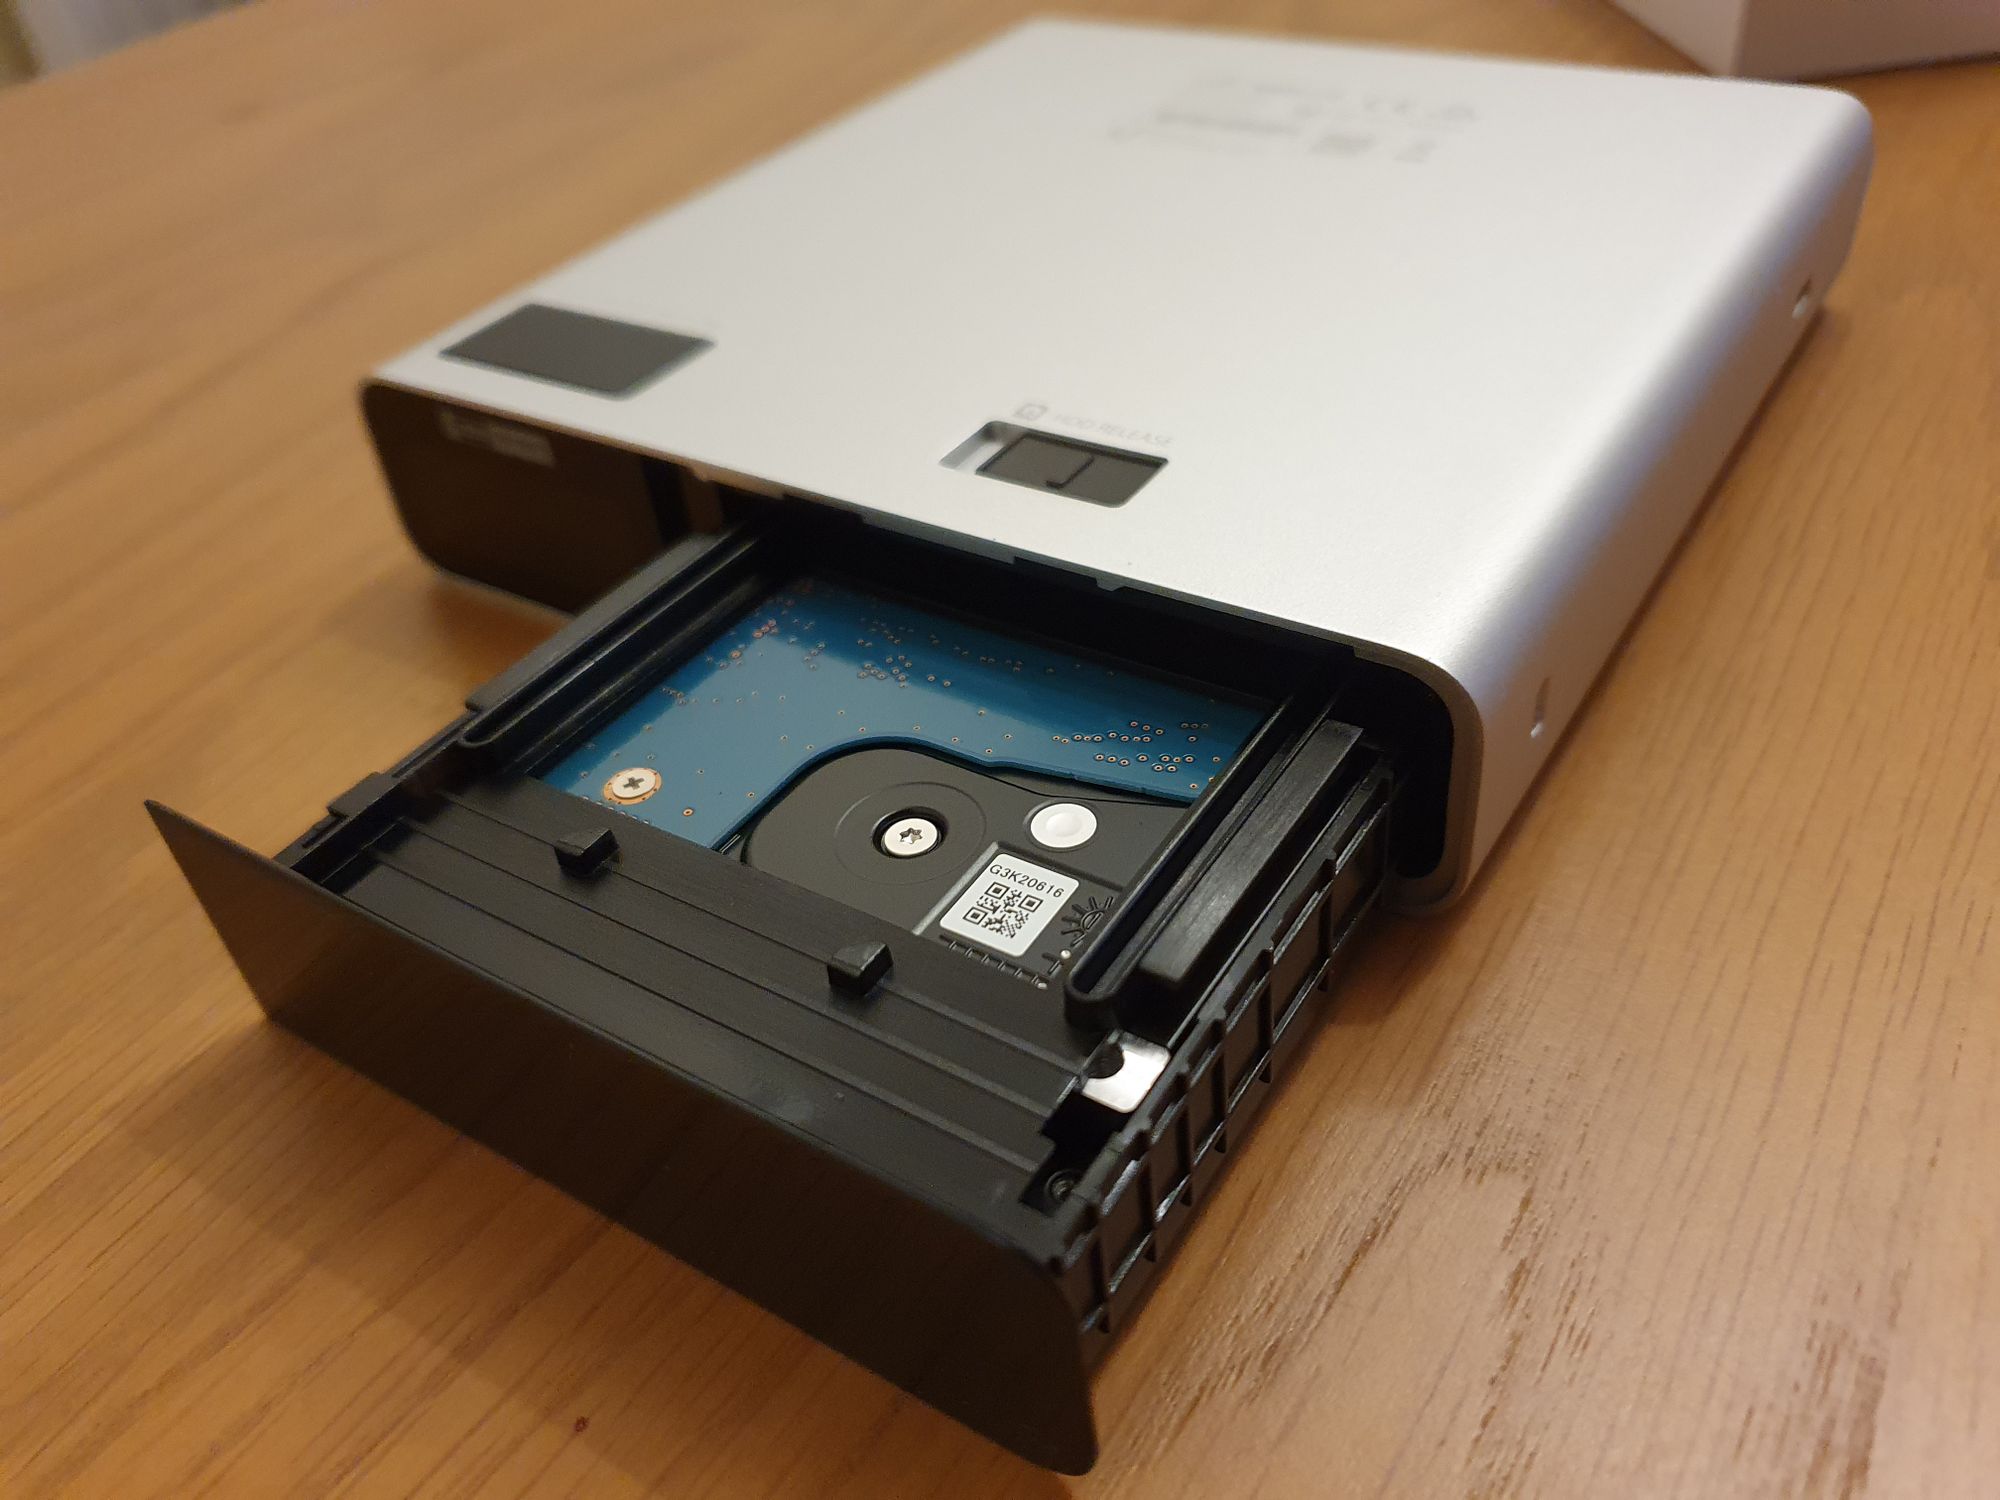
Taking a look at the Cloud Key, we find a rather beautiful anodized aluminium chassis with the Ubiquiti logo featured on top, and an LED status indicator. It feels extremely solid, premium and well built, which we don’t generally see from most other vendors in this market. The front of the device features an LCD screen and a small, barely noticeable, slot where the internal 1TB HDD resides.
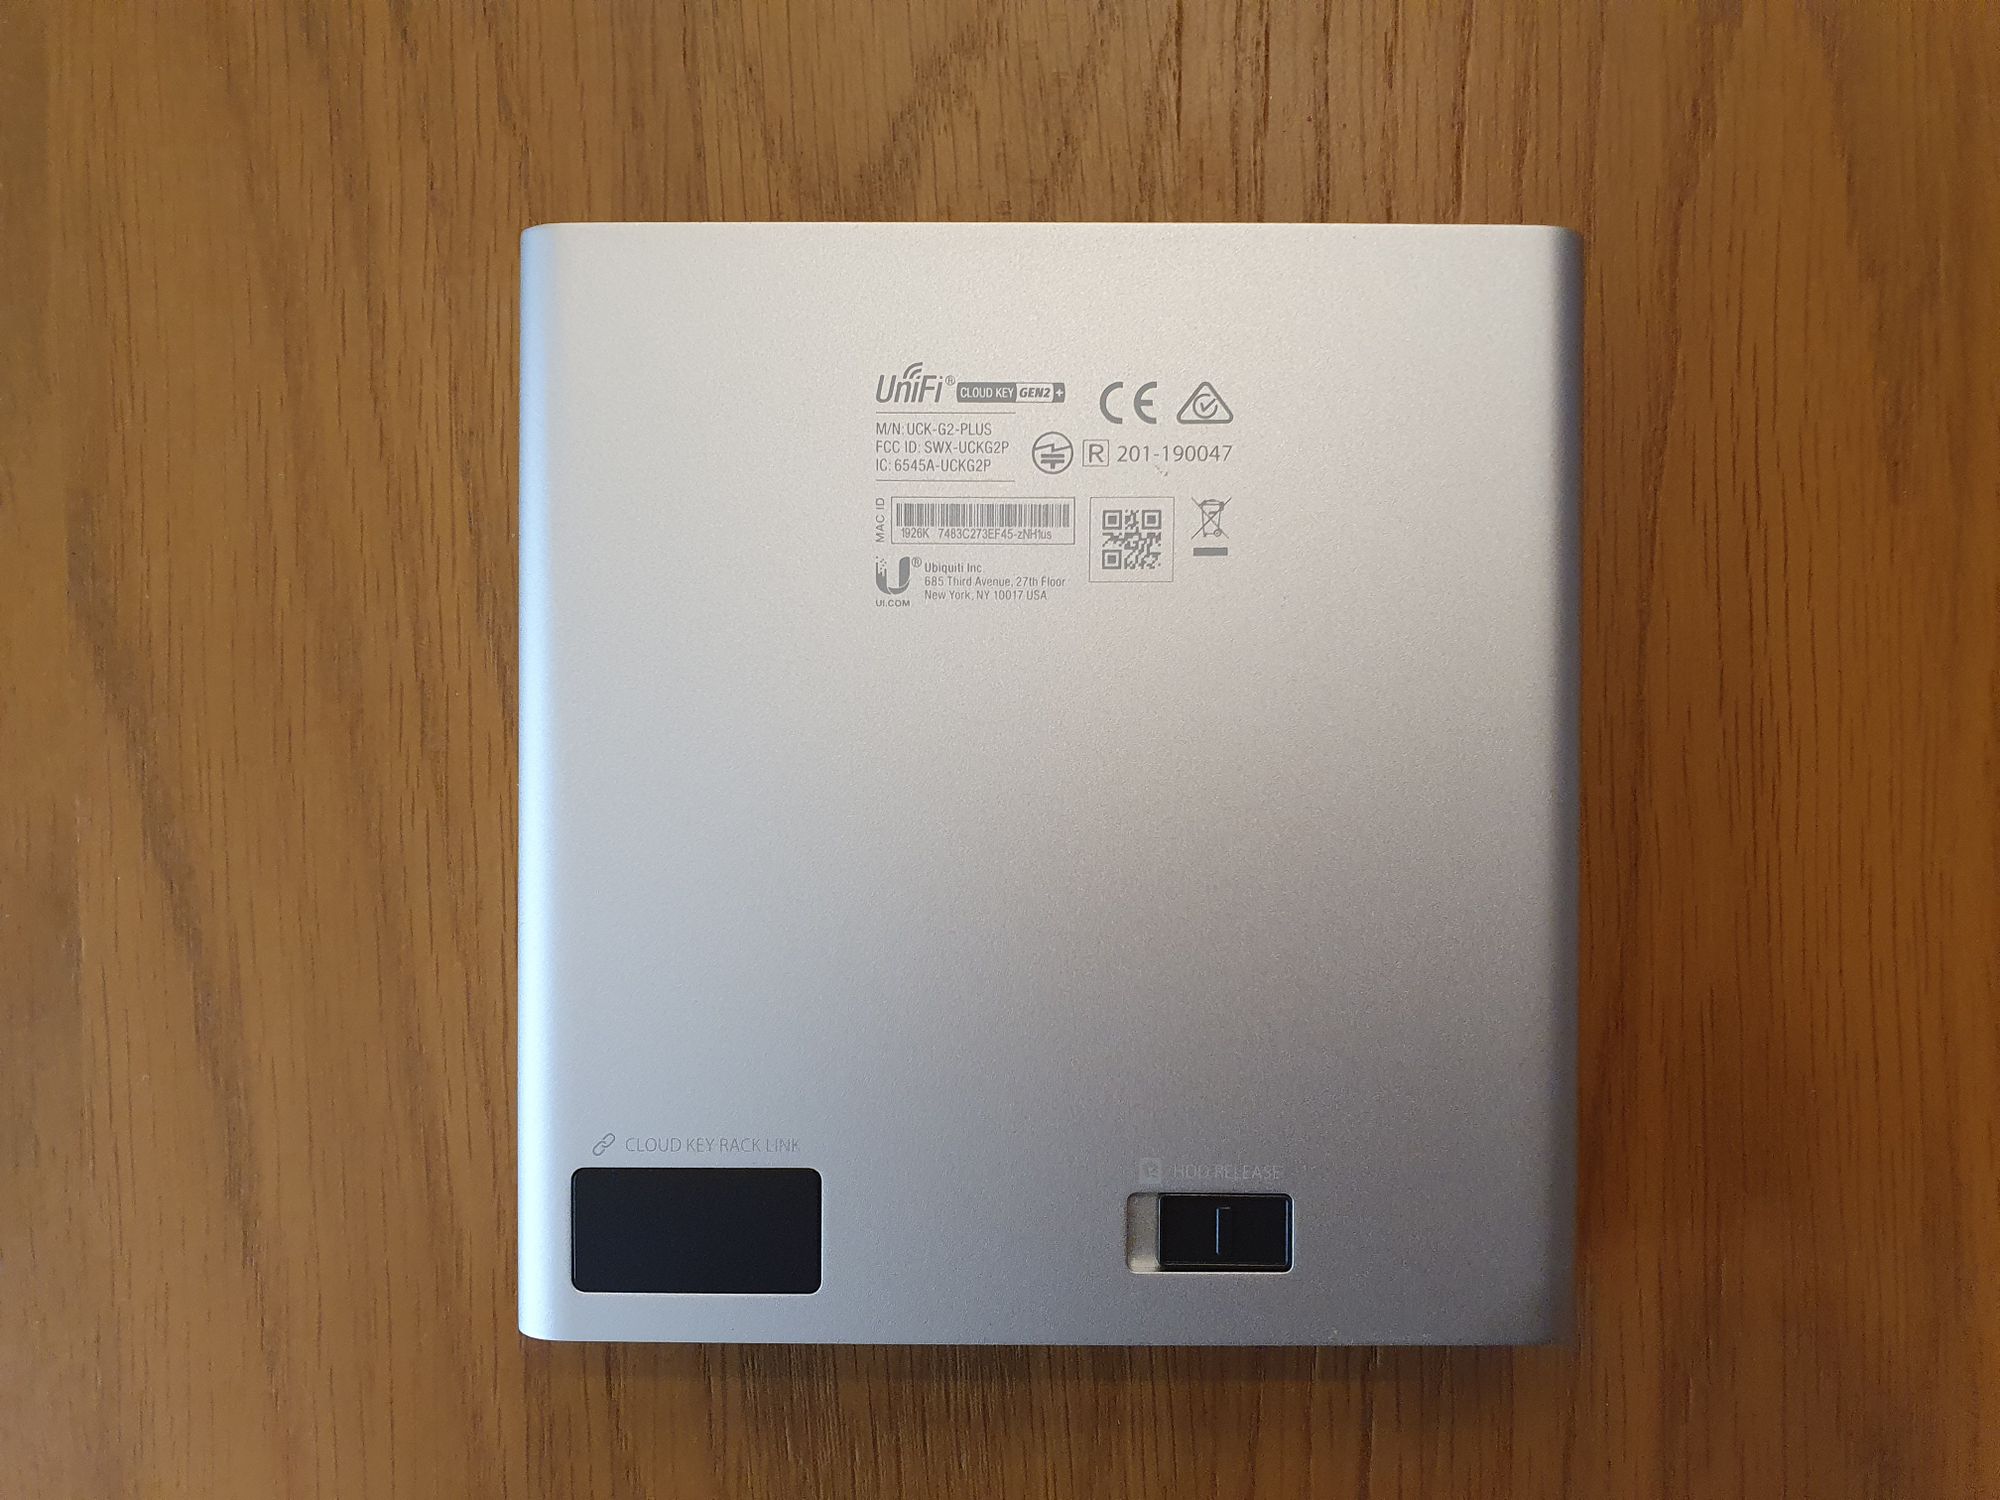
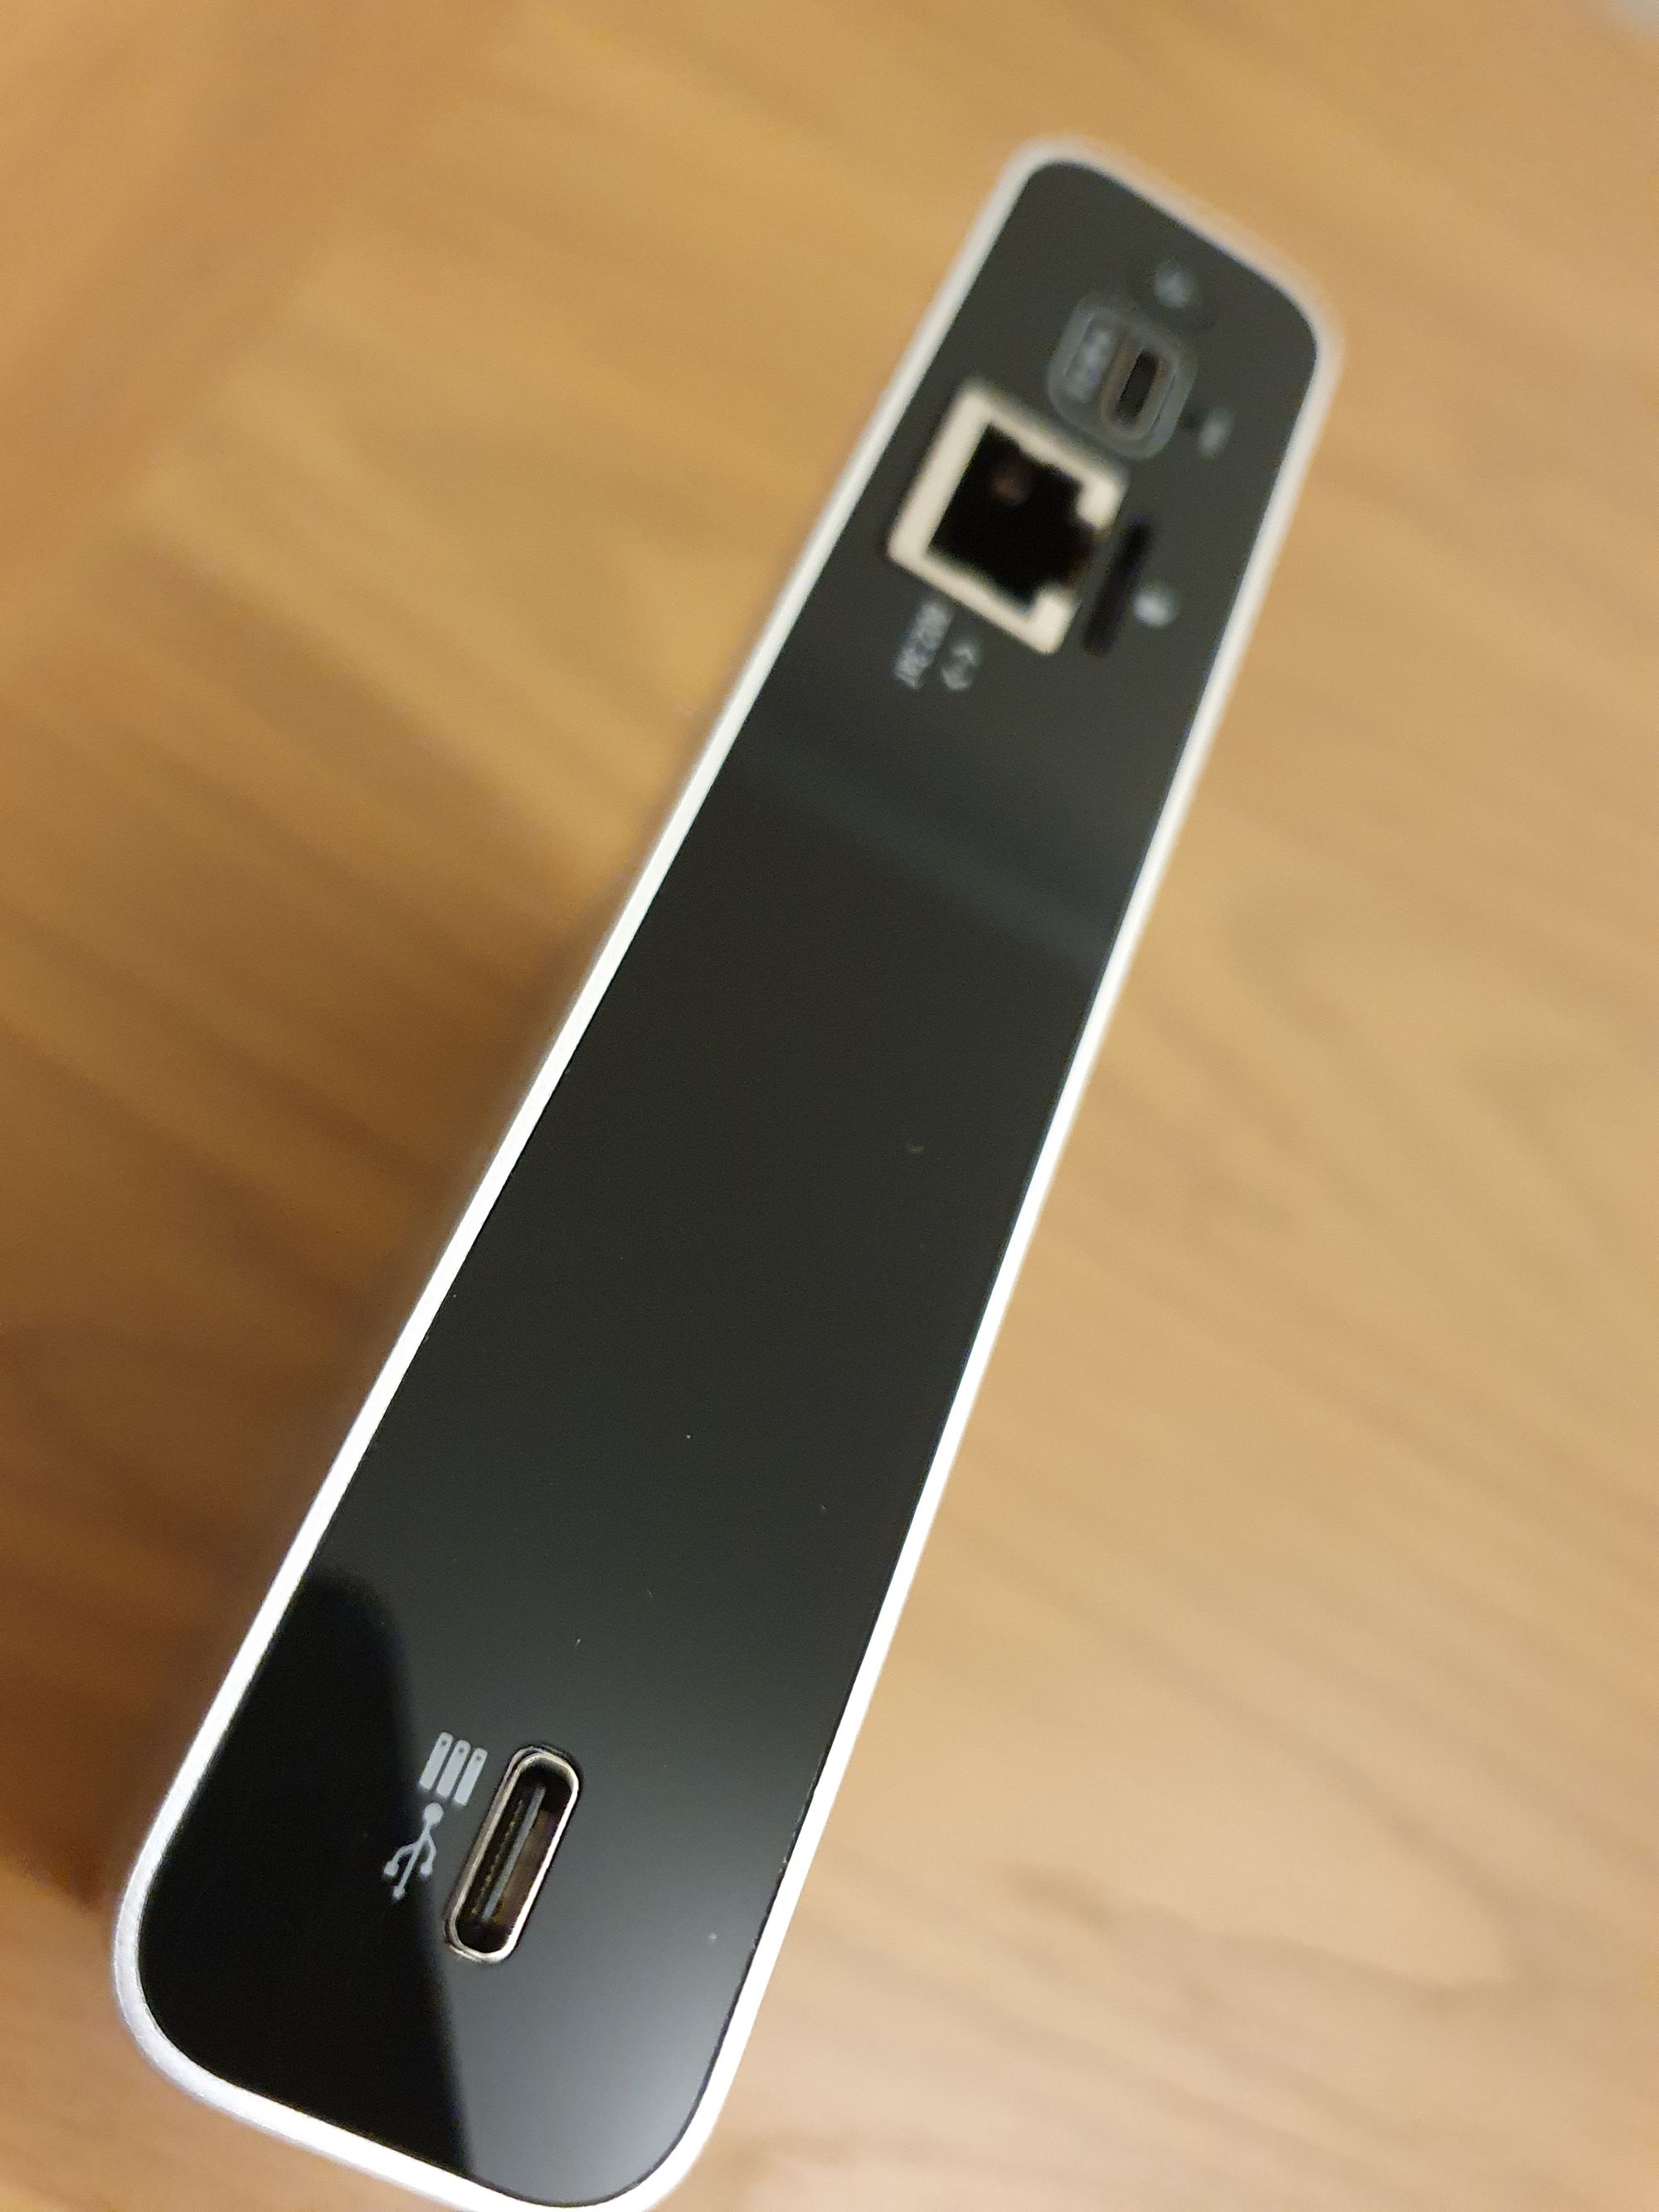
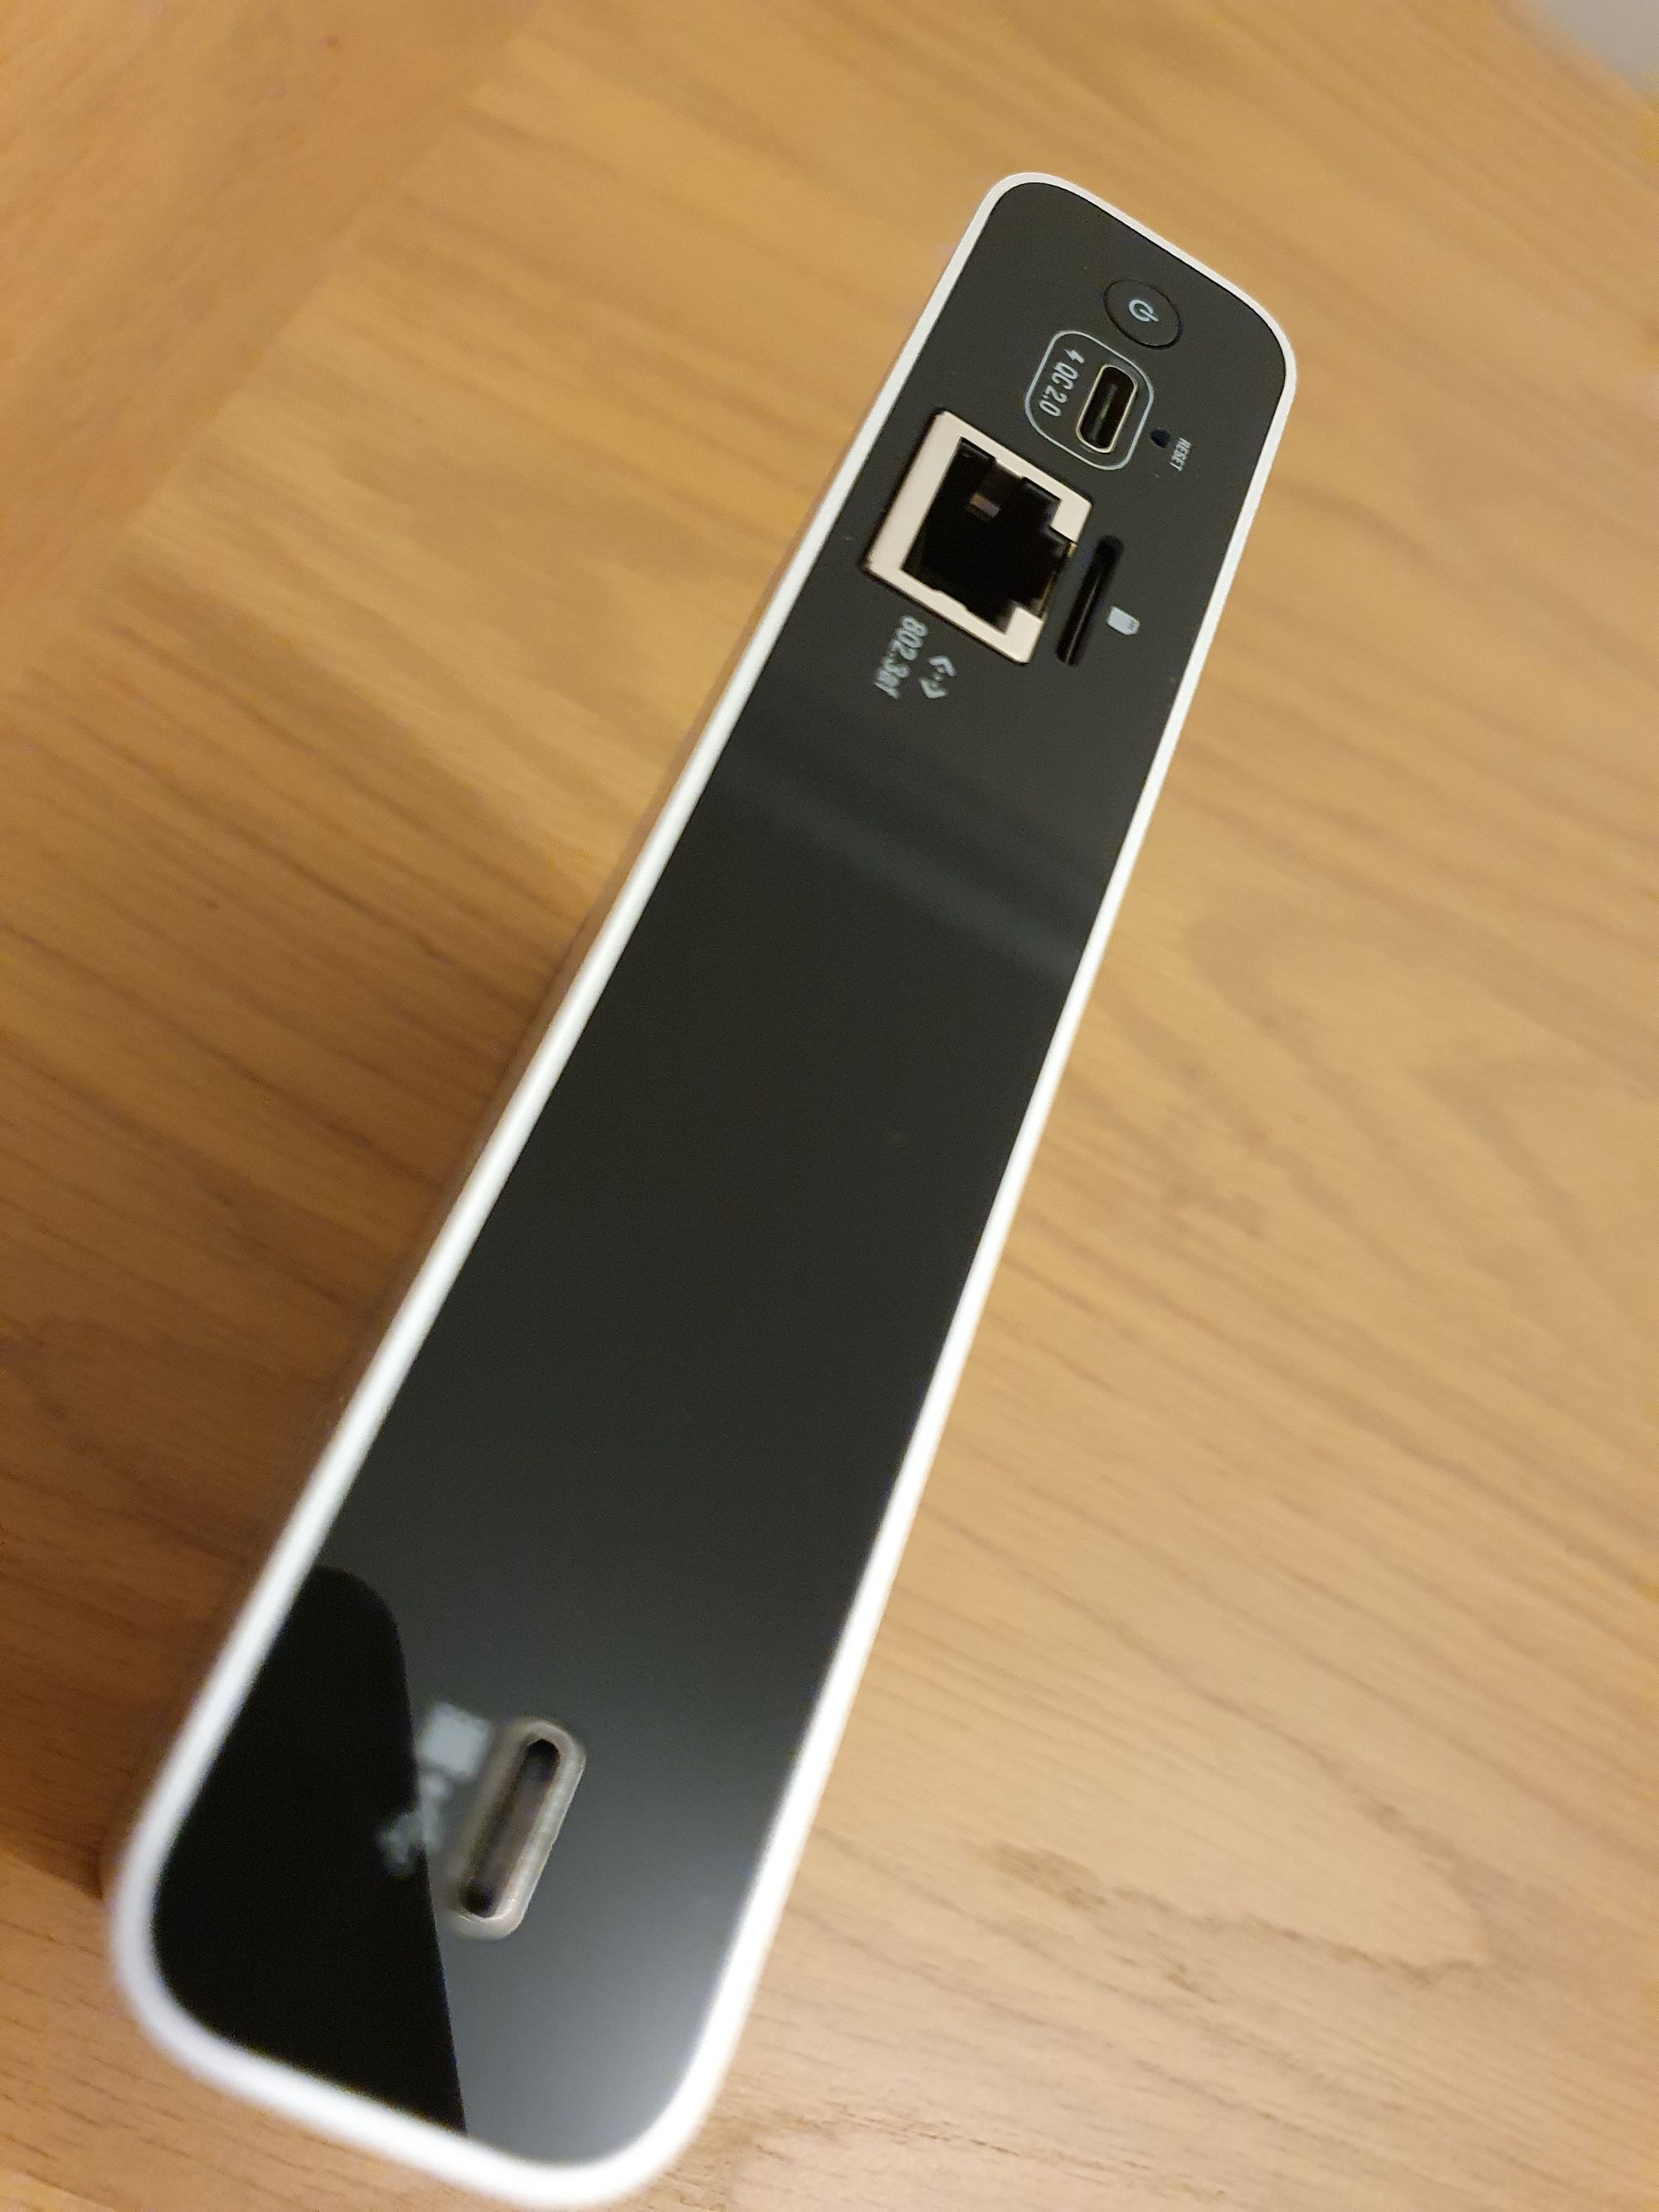
The back of the device sports a single 1 x Gigabit Ethernet port which is 802.3af PoE compatible, as well as a 2 x USB C port, one that is QC 2.0 compliant for powering, the other for expansion with other Cloud Keys. There is also a power and reset button. The underside is where you will find the HDD release latch, sliding this will pop the HDD out of the front.
The Cloud Key Controller has a tool-less user replaceable HDD, it takes less than 30 seconds to replace, I love this feature and have to applaud how easy they have made it.
Unifi 8 Port 60W Switches
| Technical Specifications | |
|---|---|
| Ports | 8 x 10/100/1000 RJ45 ports |
| PoE Interfaces | Ports 5, 6, 7, 8; IEEE 802.3af |
| Total Non-Blocking Throughput/Switching Capacity | 8gbps/16gbps |
| Power Method/Power Consumption | 48v DC; 12W (excluding PoE output) |
| Dimensions/Weight | 148.0 x 99.5 x 30.7 mm (5.83 x 3.92 x 1.21"); 432 g (15.24 oz) |
| Pricing/Link | £108 - LinITX |
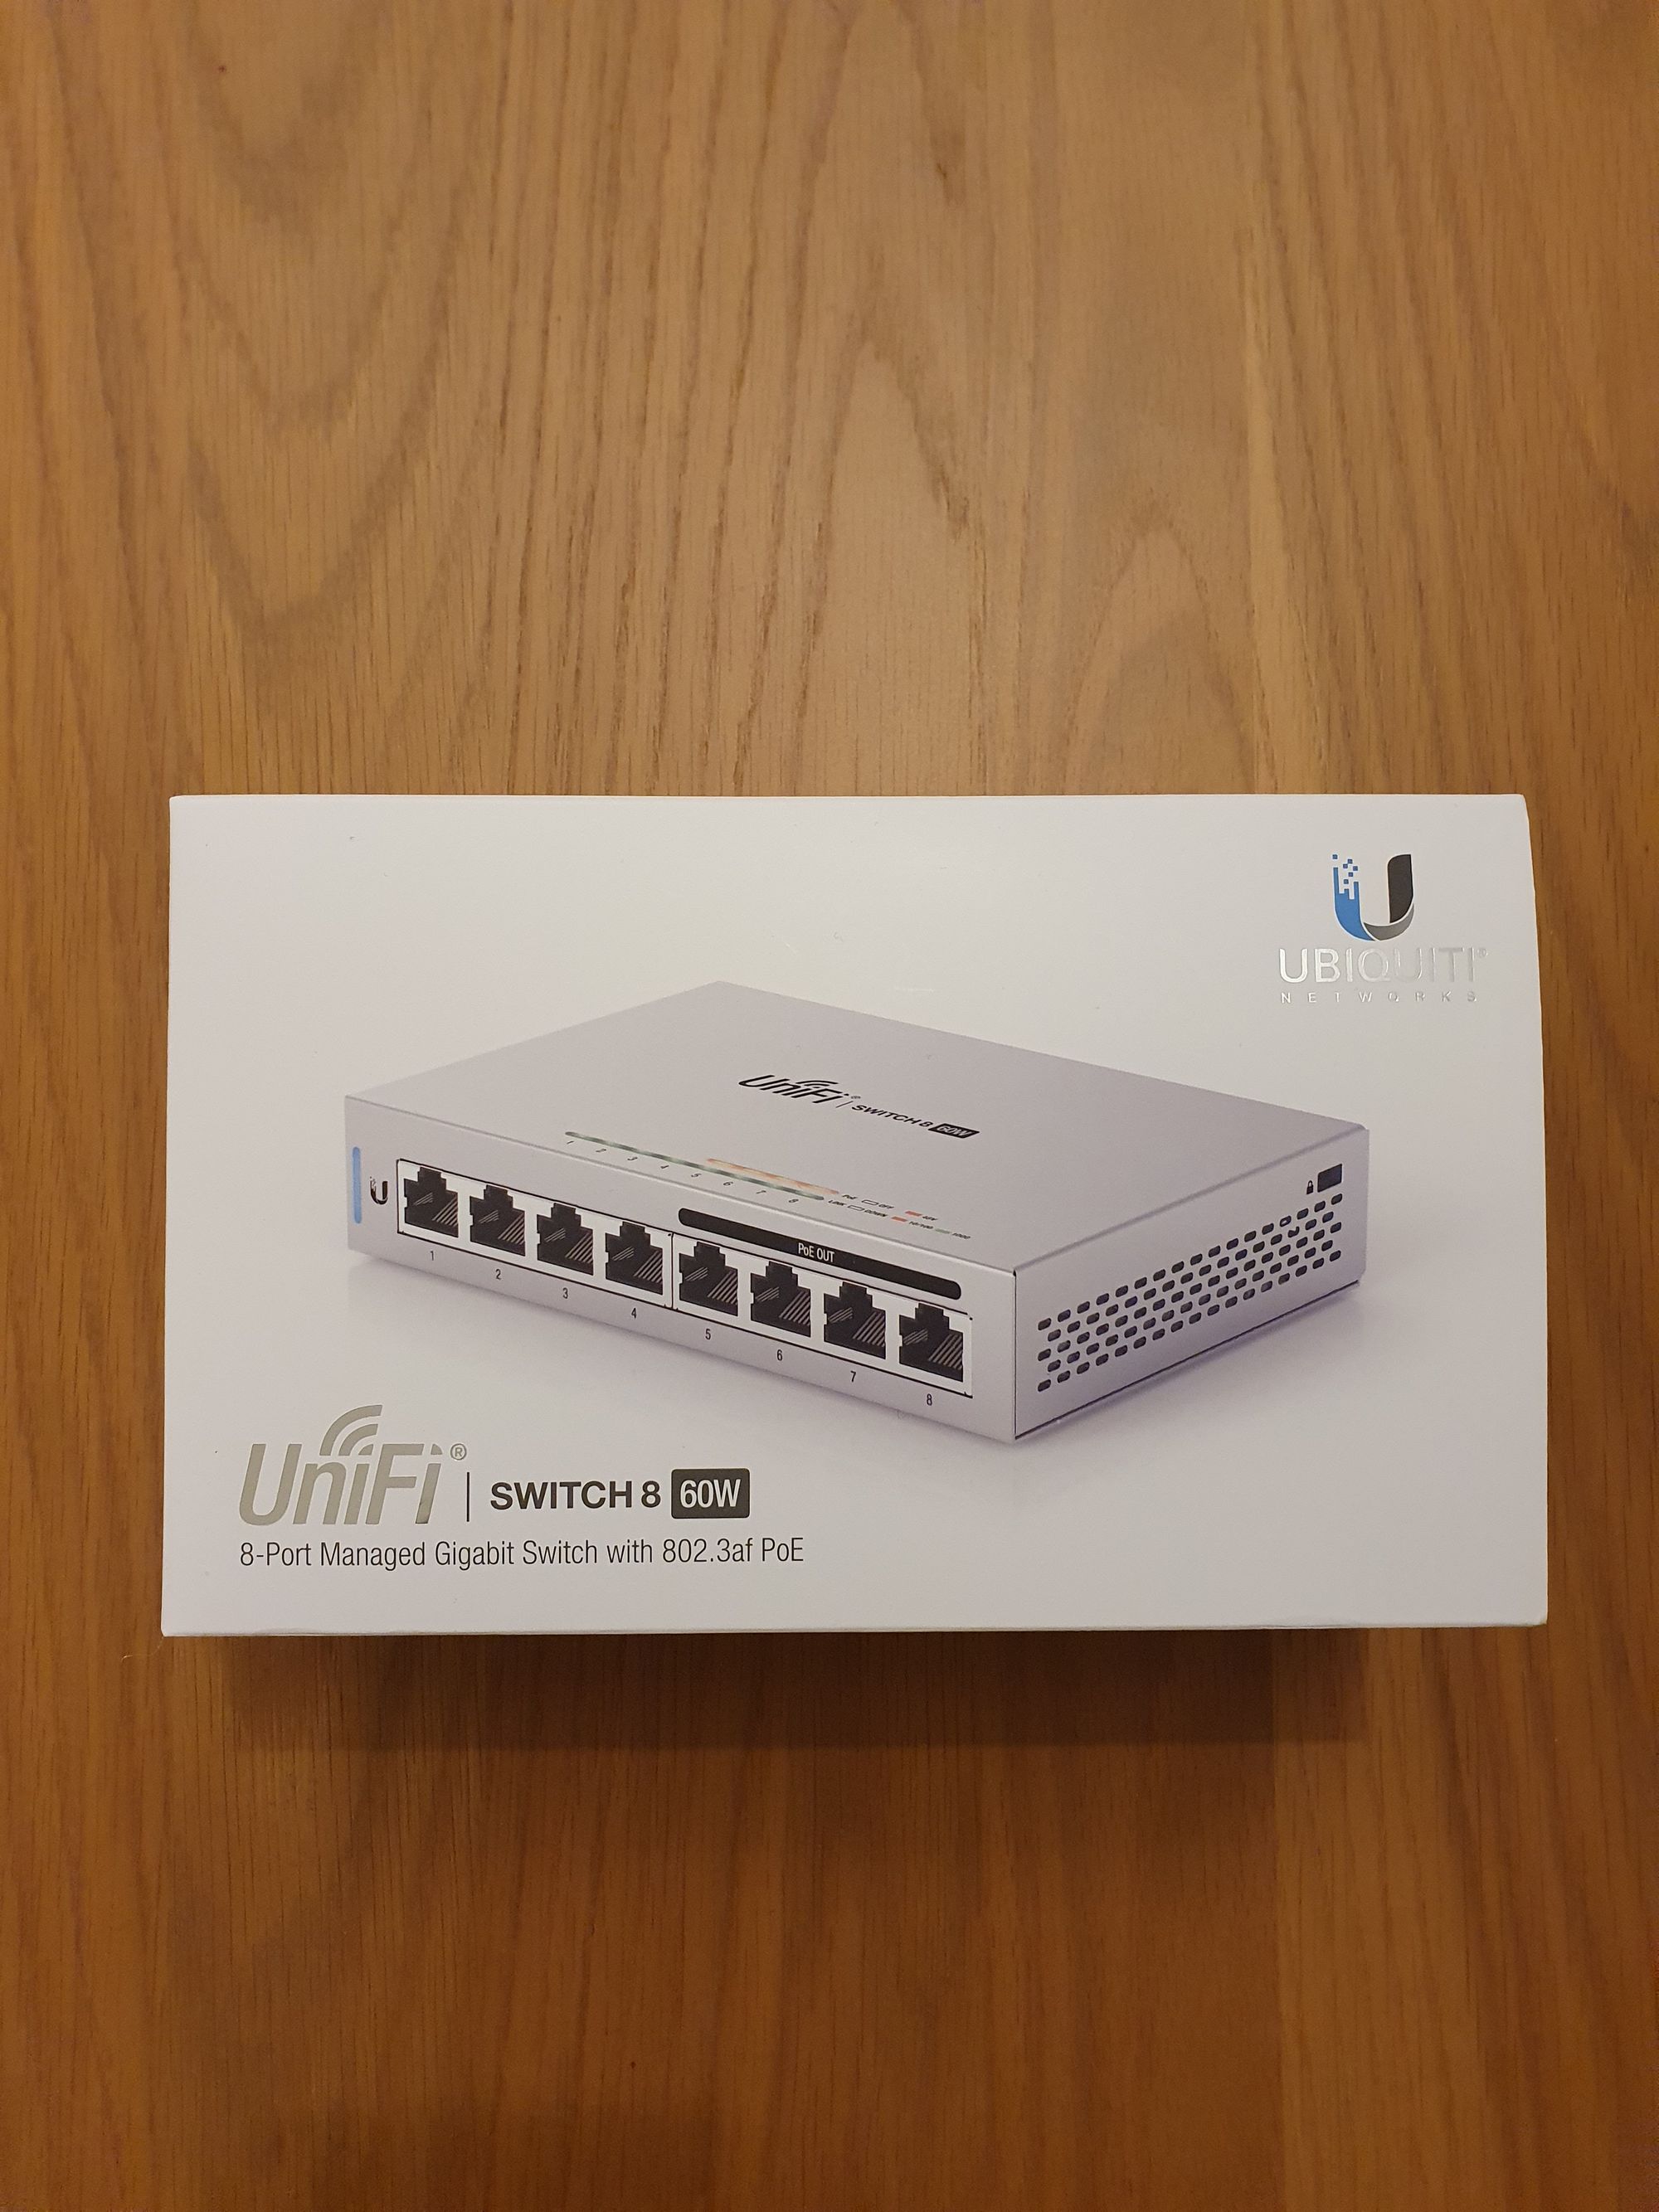
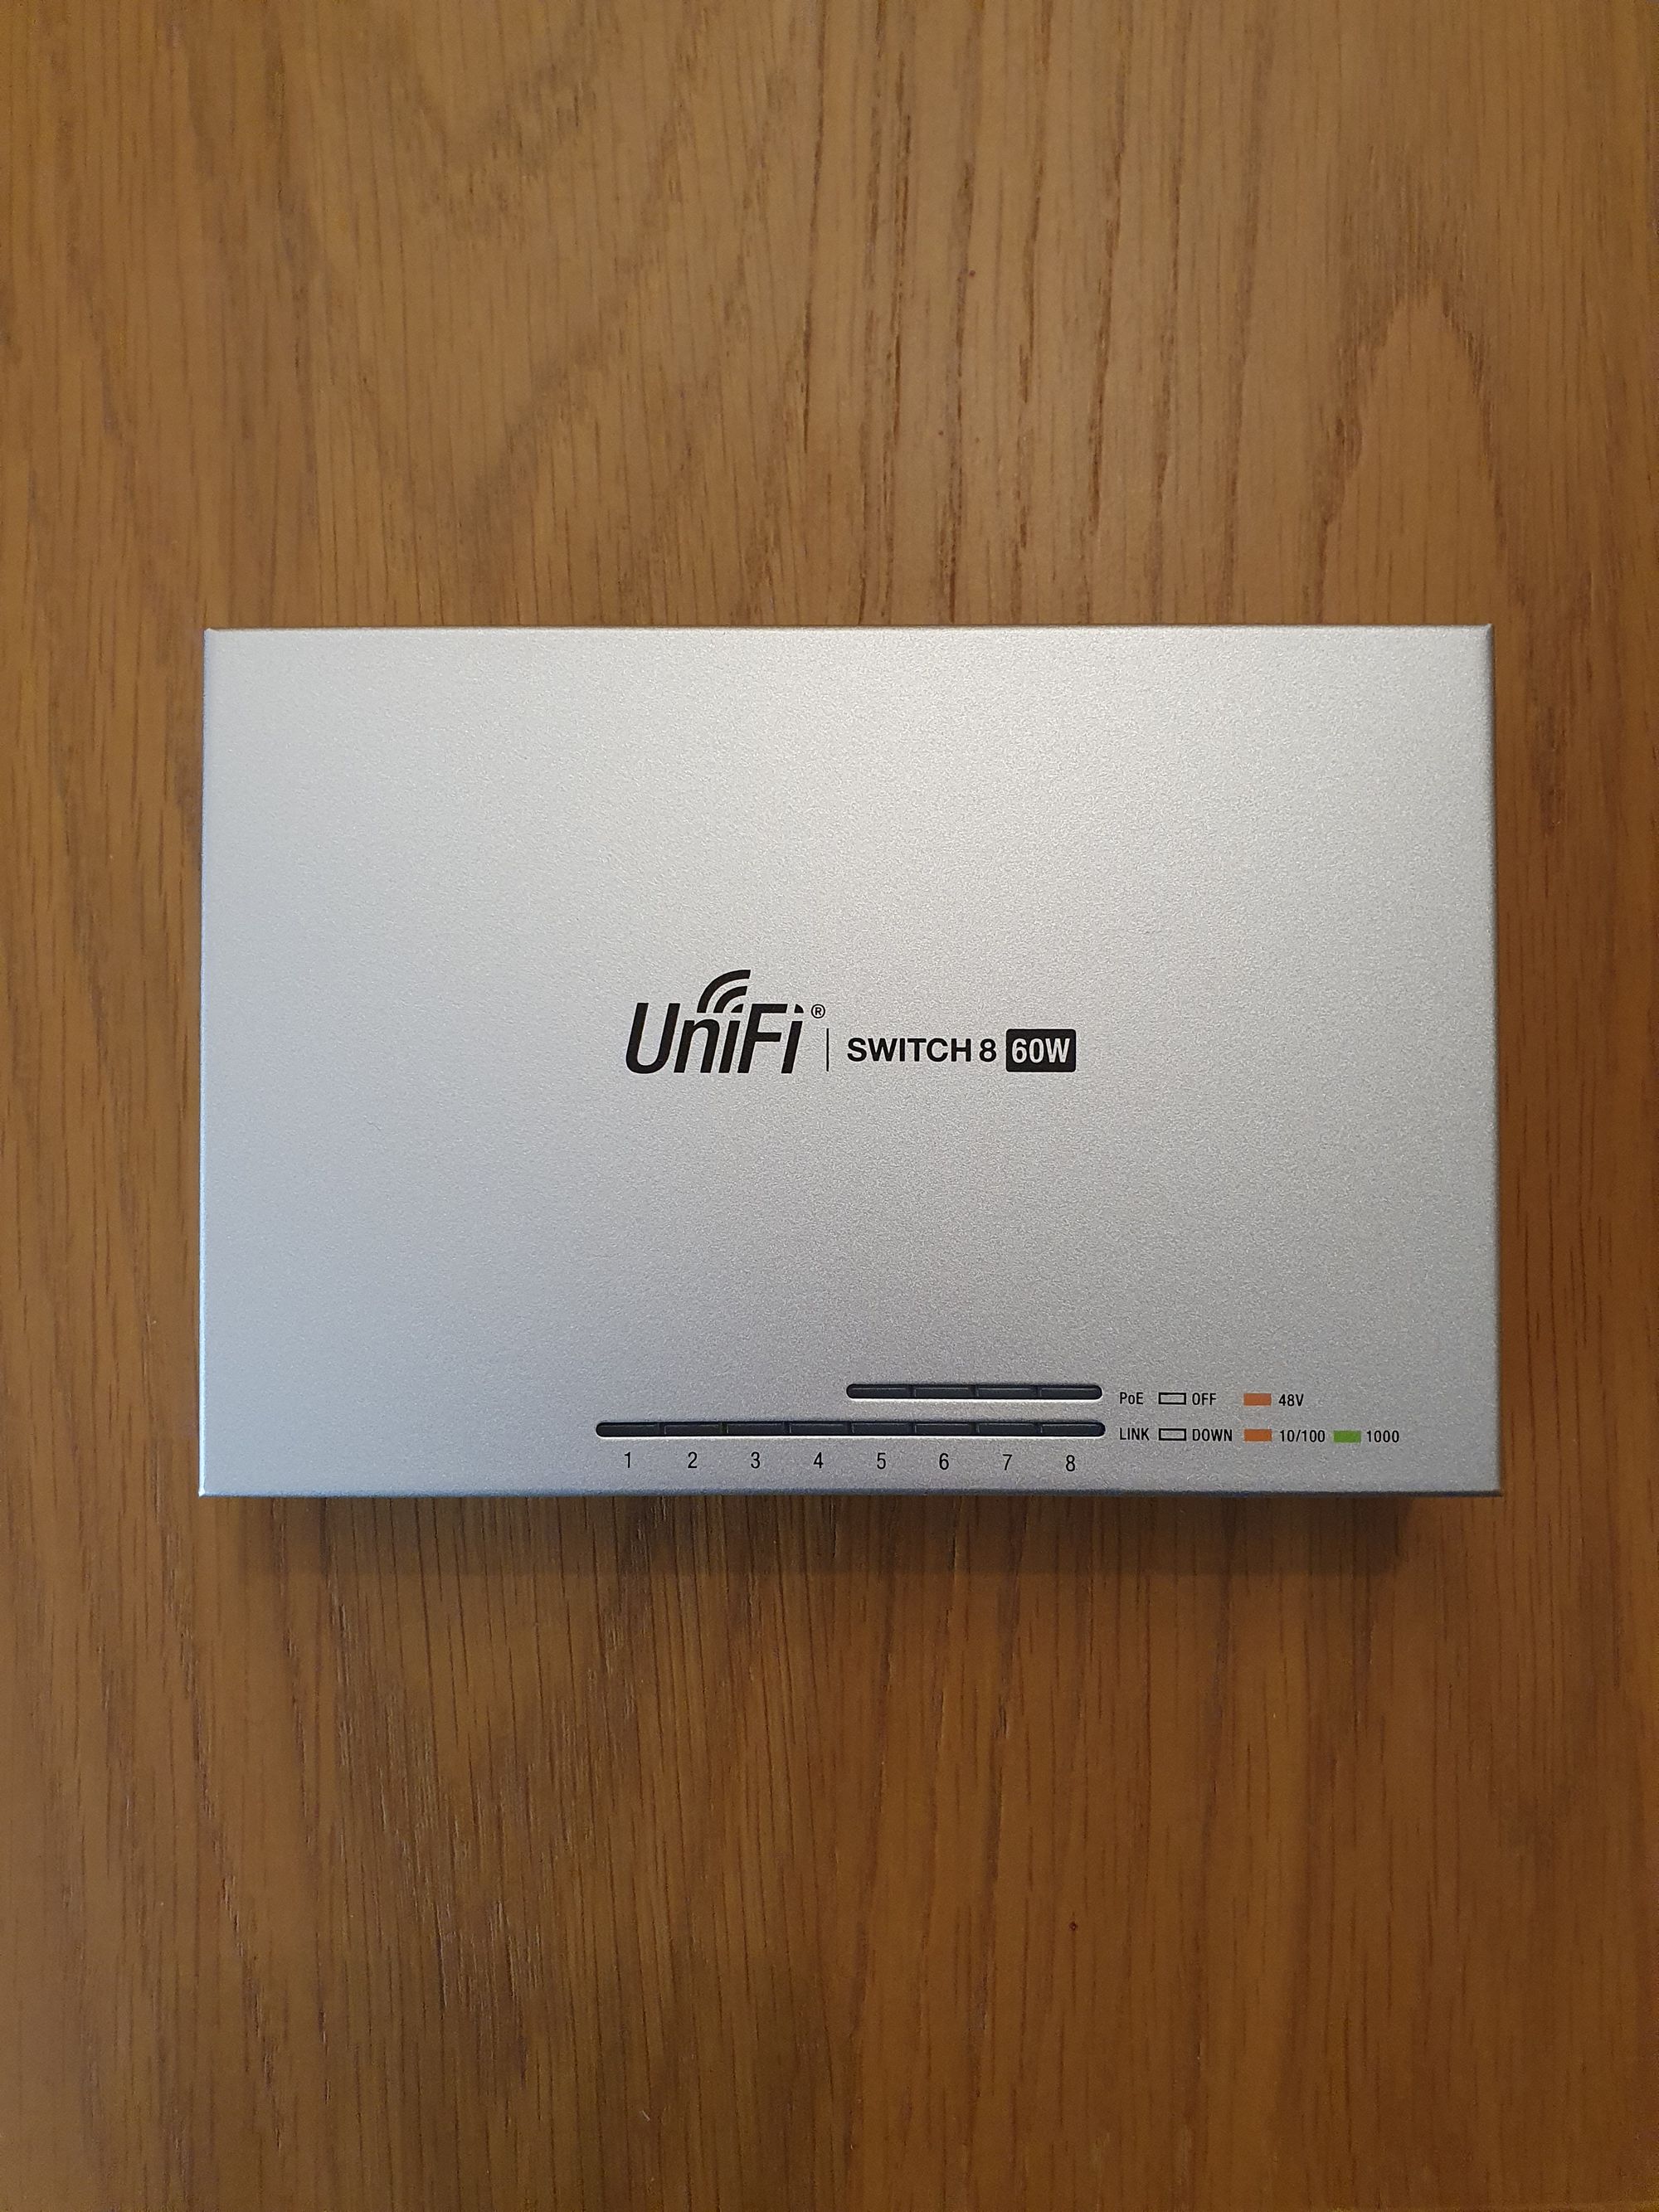
Opening the switch box, there is a quick start guide, 48V DC power supply and 8 Port switch.
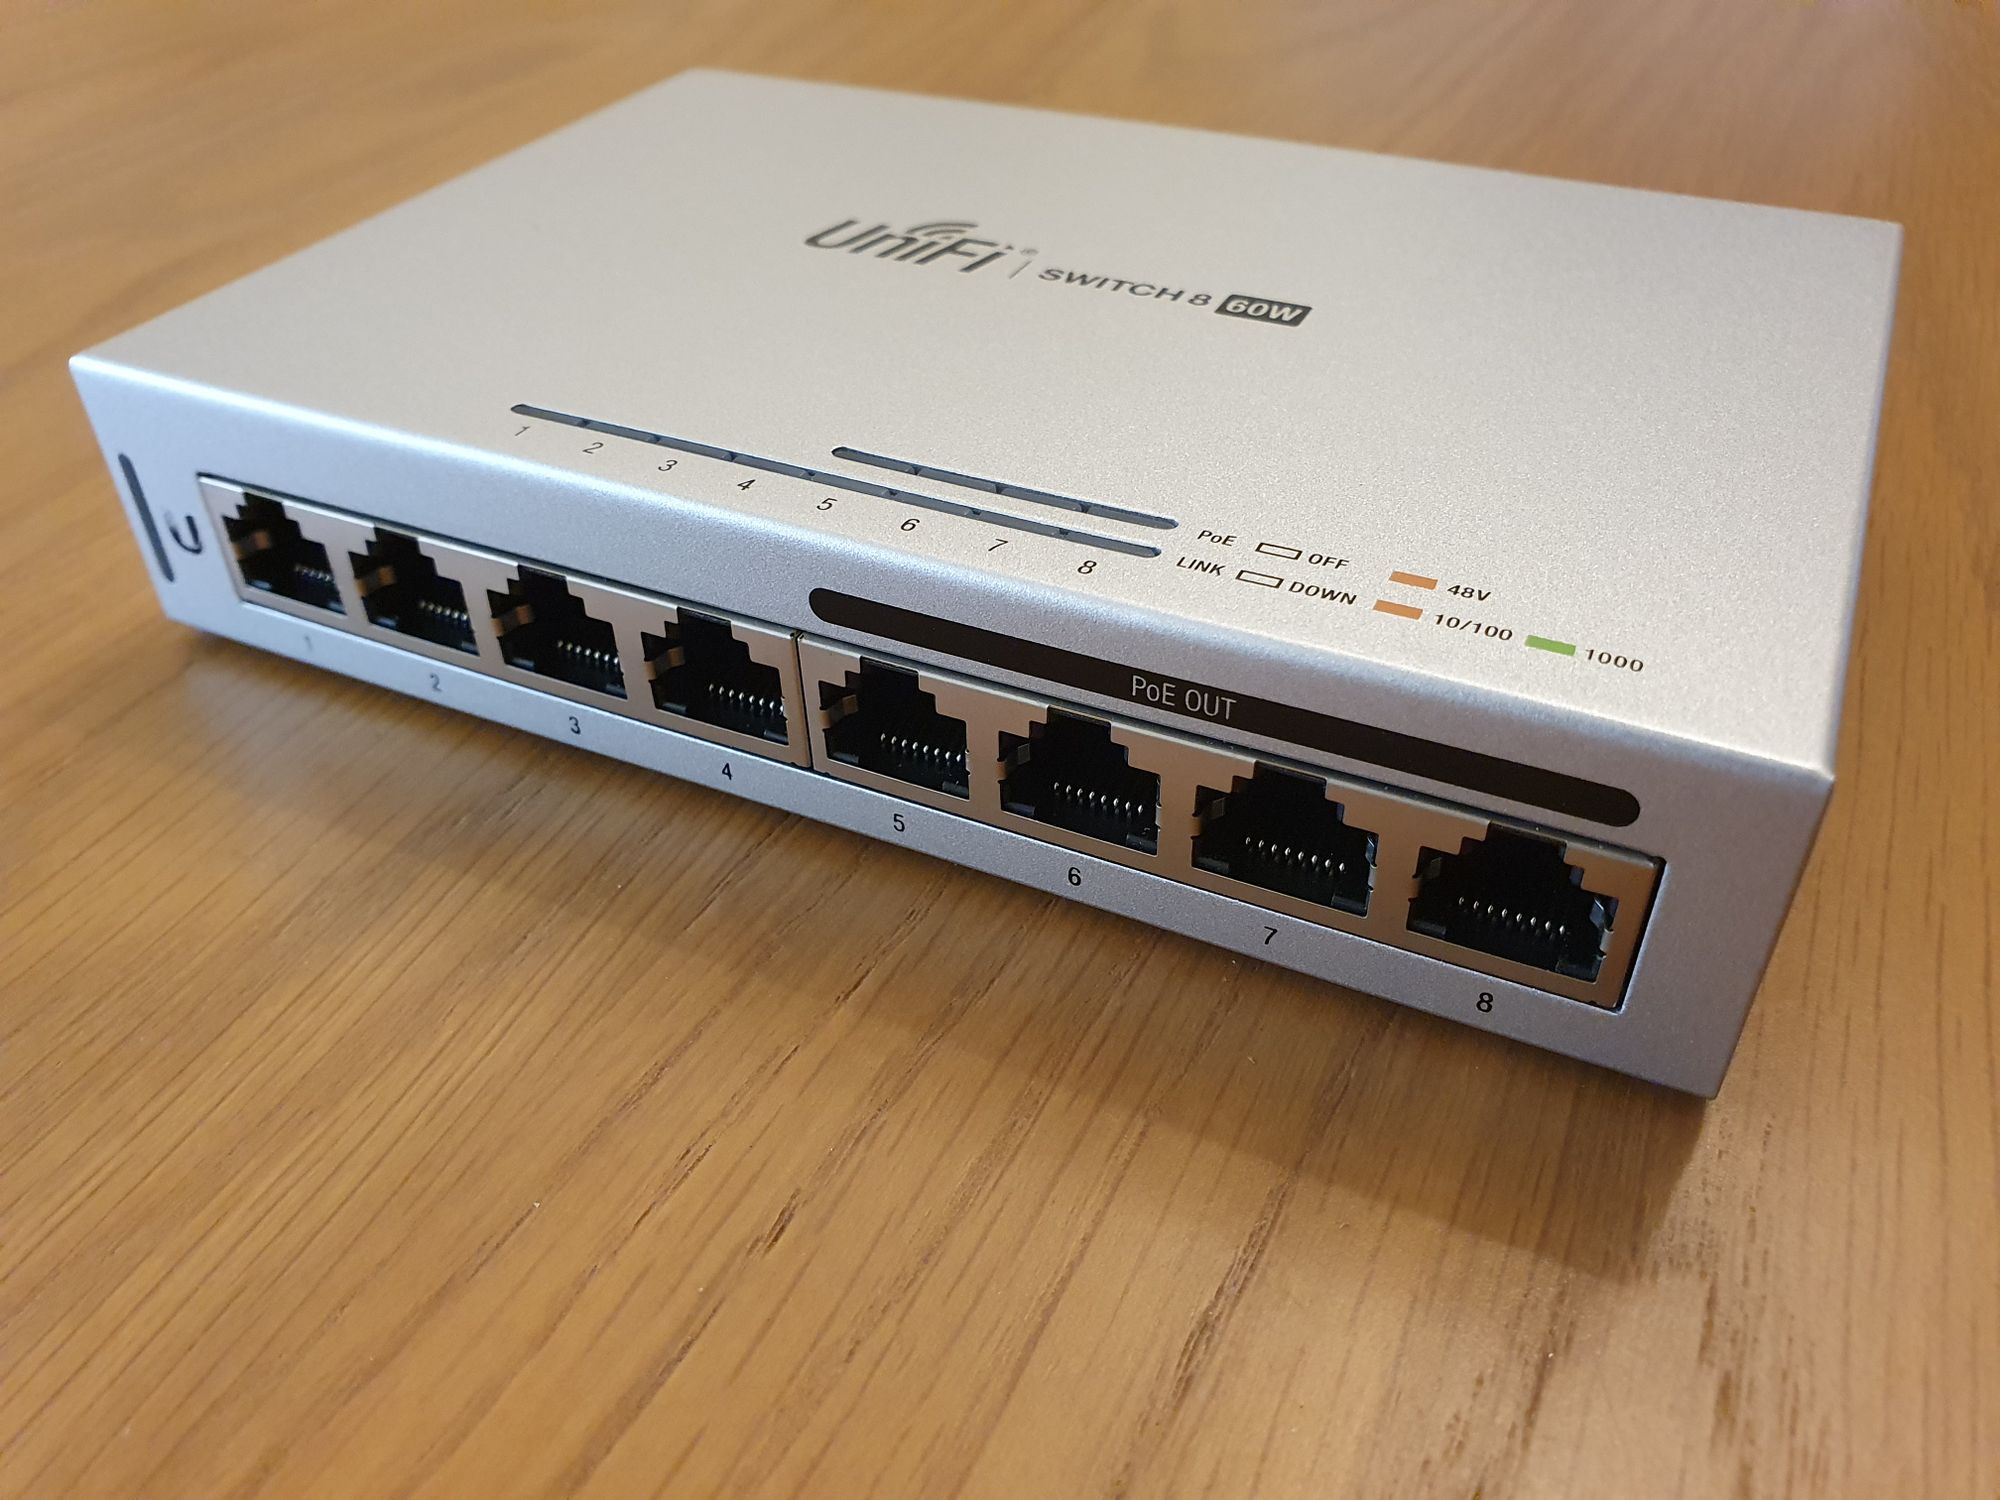
Once again the switch sports an anodized finished chassis, this time constructed from steel, but as before the top sports the Unifi logo and 2 rows of LEDs to indicate port speed and PoE status. Up front features 8 x Gigabit ethernet ports, with ports 5-8 being auto-sensing IEEE 803.2af PoE compliant, capable of supplying up to 15.4W of power per port. To the left hand side is the switch indicator LED.
Round the back is where we find the input power port and a grounding point, and on the side there is a Kensington lock.
Again, its hard not to take note of the premium design and construction.
This switch is also fanless, making it silent even under full load.
Unifi G3 Flex
| Technical Specifications | |
|---|---|
| Sensor/Lens | 1/3" 2-Megapixel HDR Sensor; EFL 4 mm, f/2.0; 90 degree FoV |
| Recording Features | IR LED's with Mechanical IR Filter; Microphone; 1080P Full HD 25fps |
| Connectivity | 10/100 Ethernet |
| Power Consumption | 4W |
| Mounting Options | Table/Wall/Ceiling/Pole Inside and Outside |
| Dimensions/Weight | Ø 107.5 x 48 mm (Ø 4.23 x 1.89"); 170g (6oz) |
| Pricing/Link | £75.60 - LinITX |
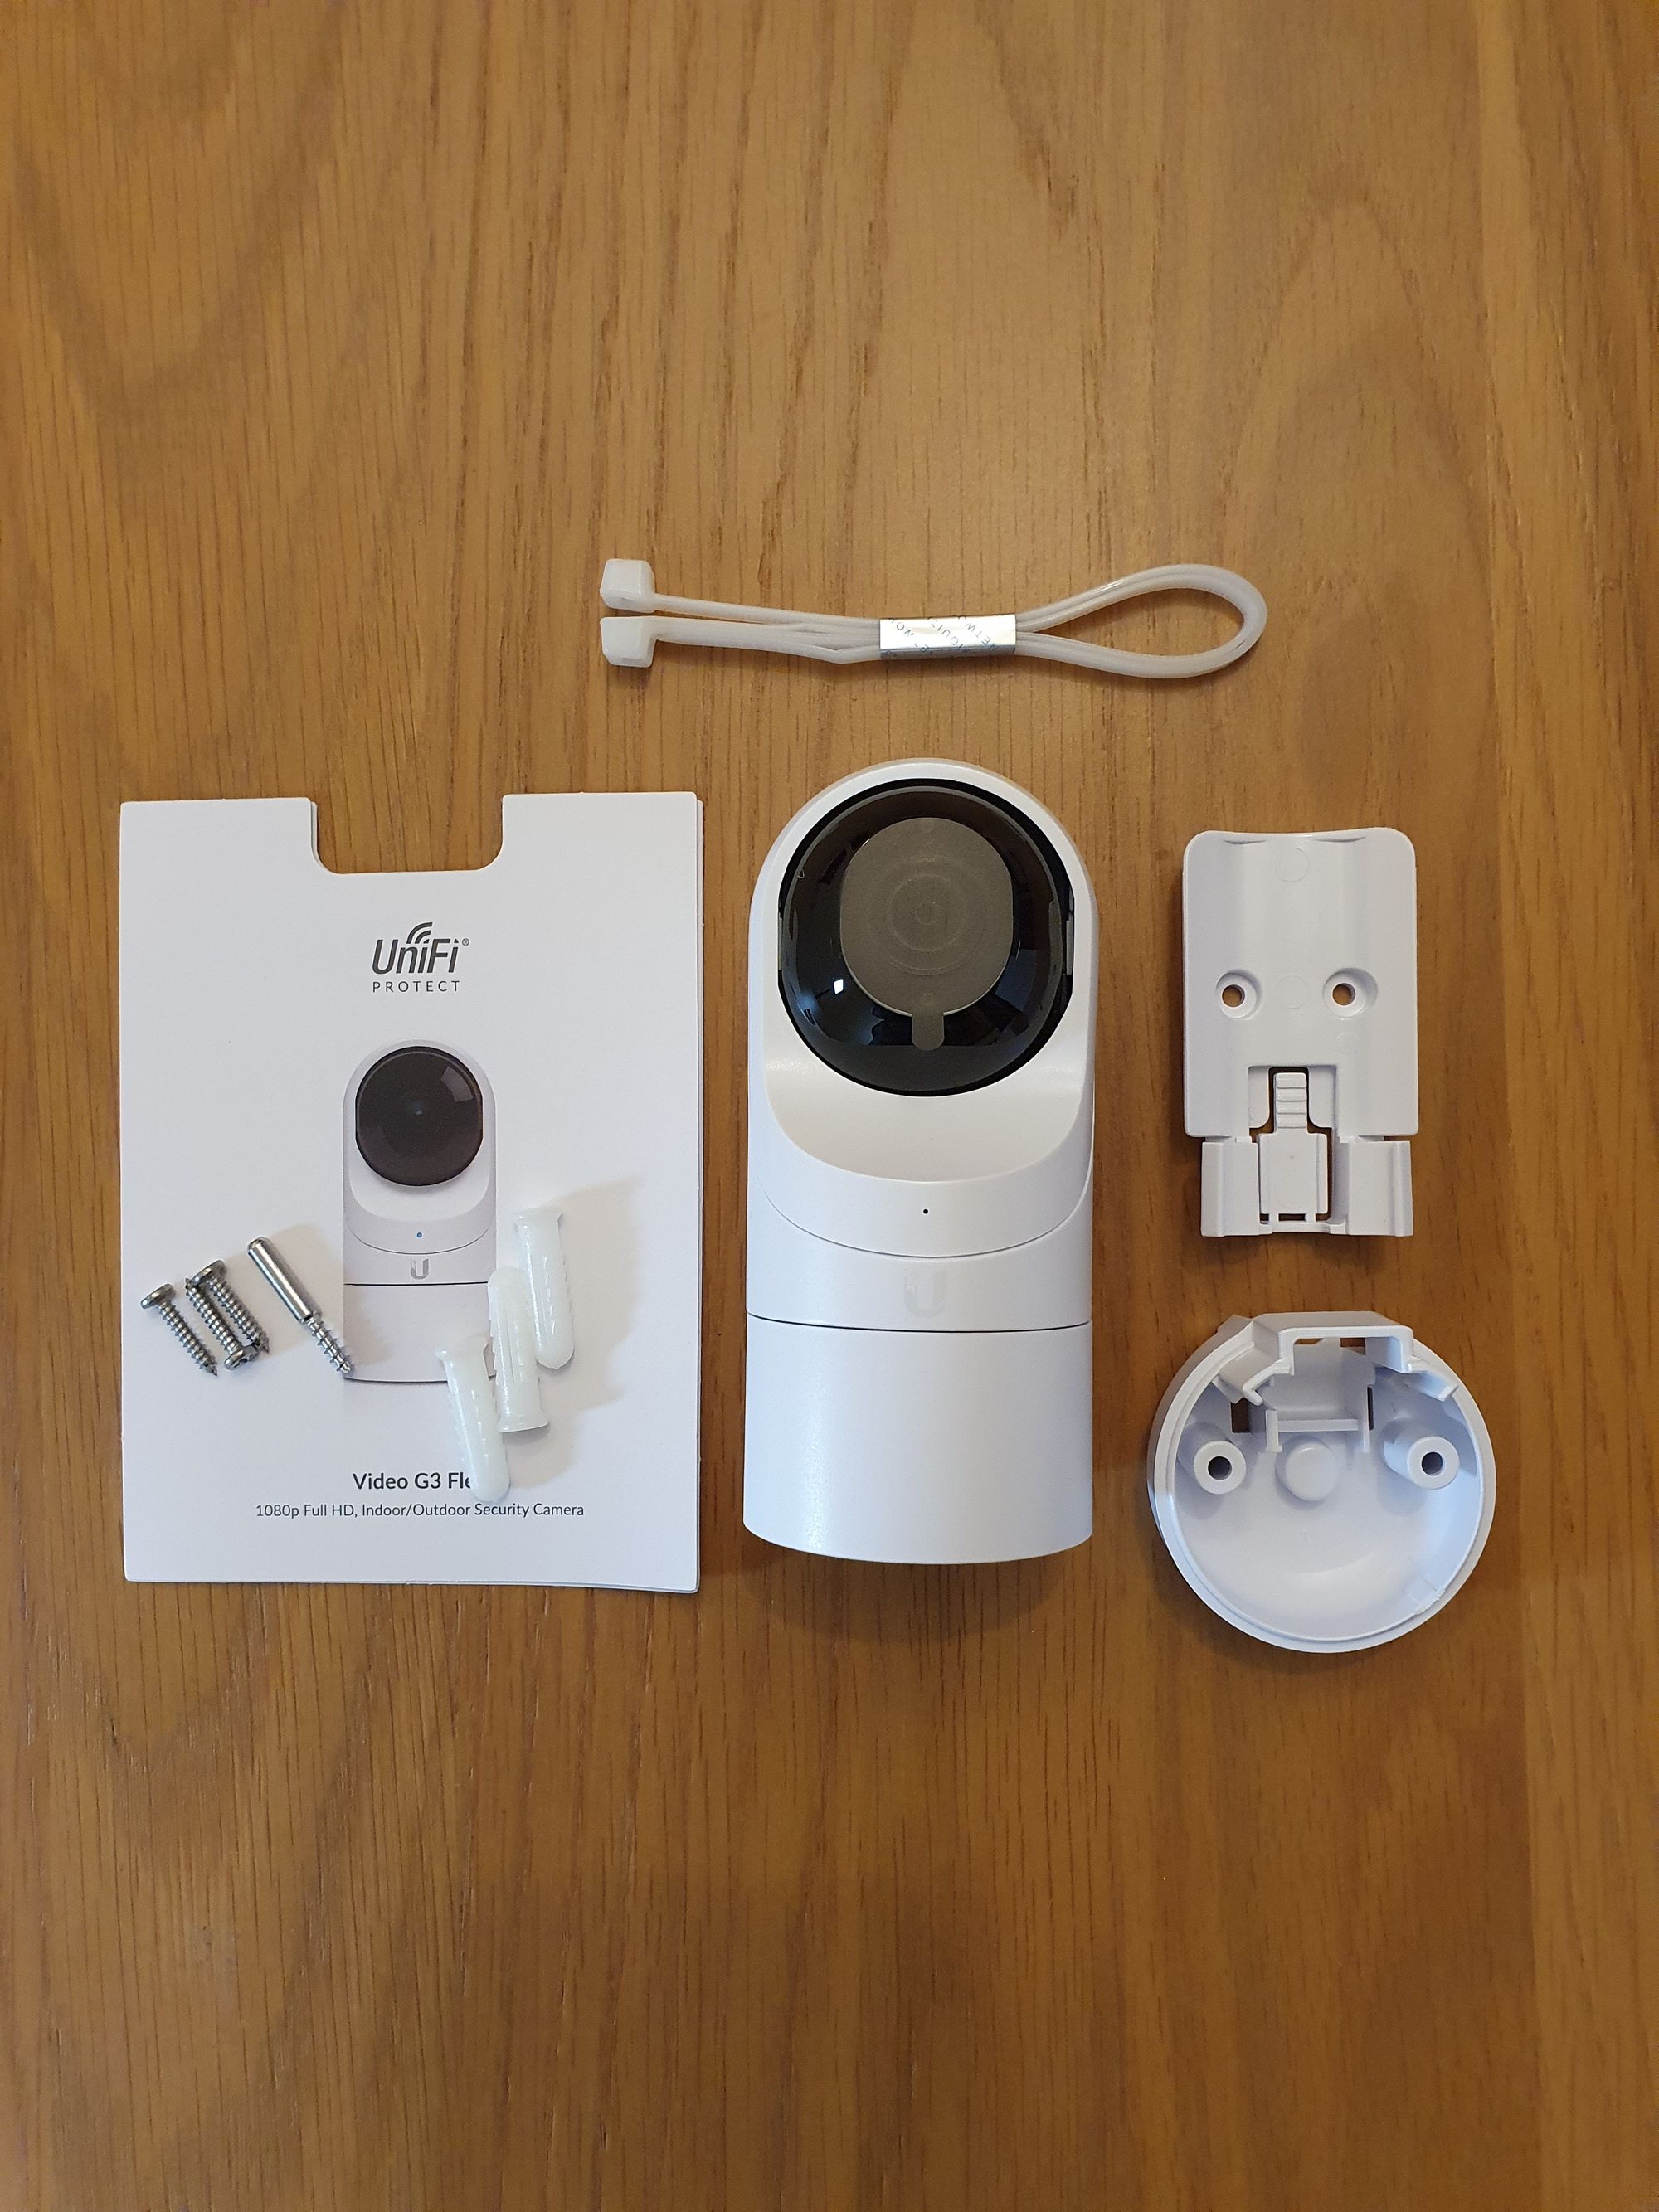
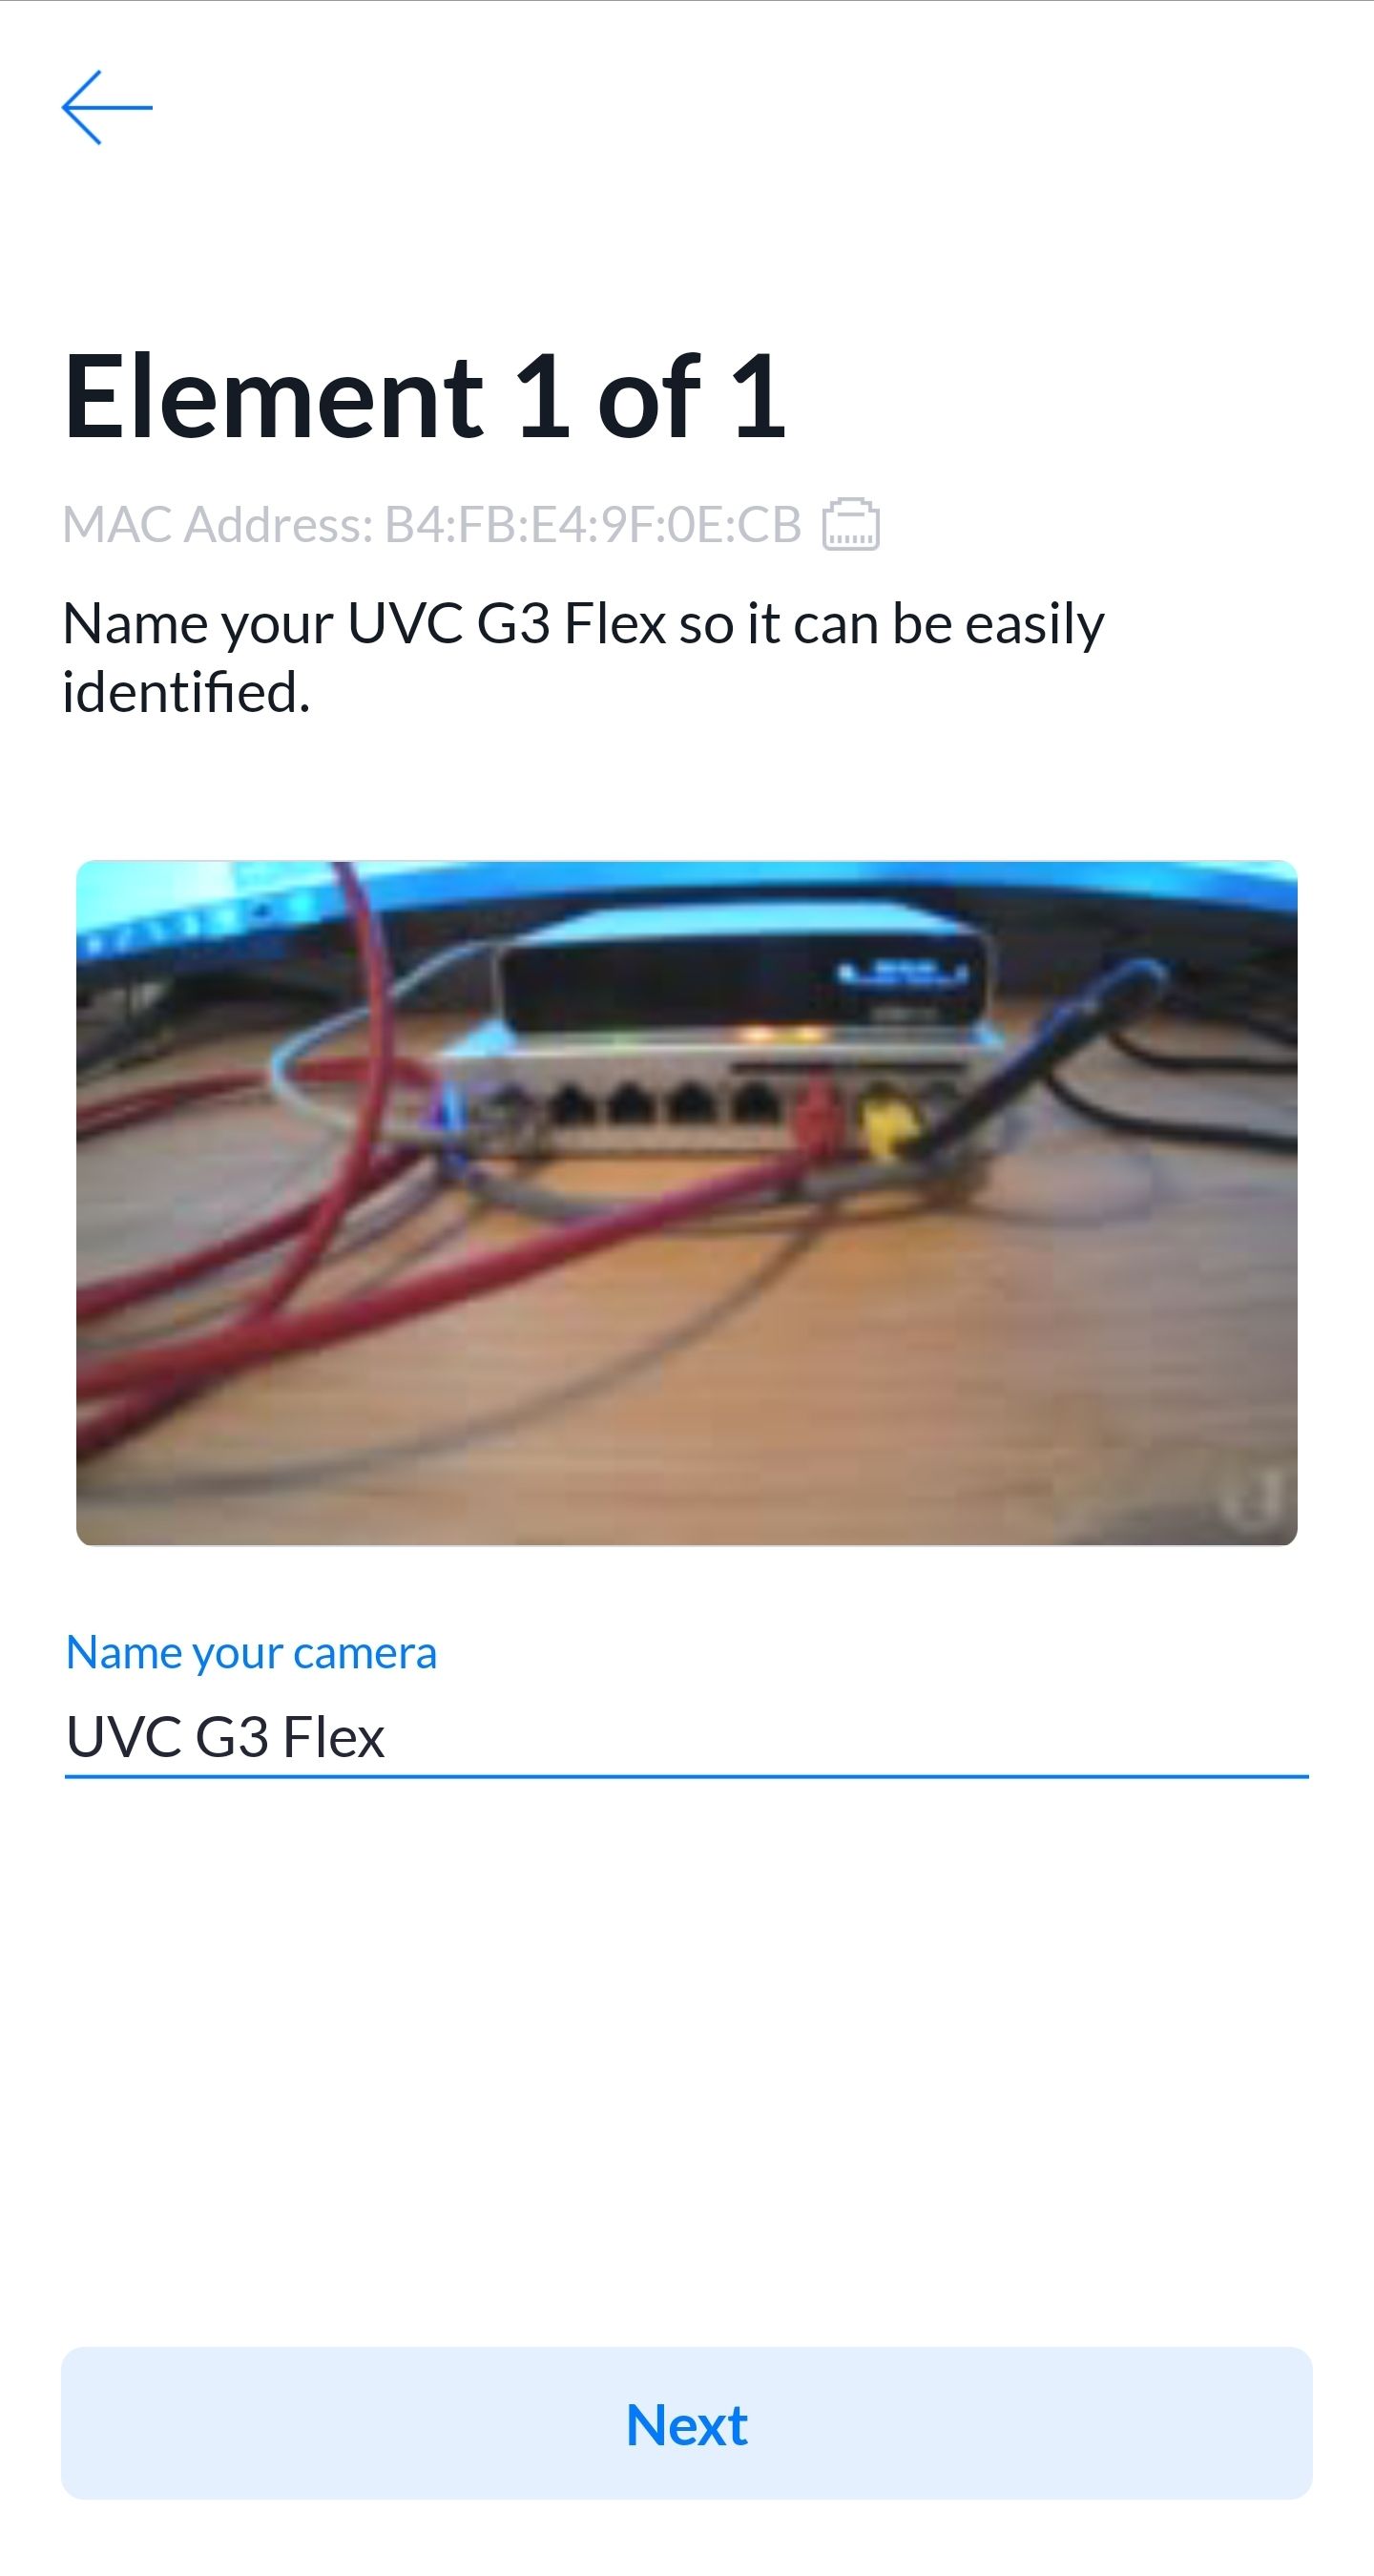
Finally we have the G3 Flex. Inside the box there is 3 different mounting hardware for mounting the camera in different spots, guides on how to mount in different scenarios, 2 wall plugs and 3 screws, a couple cable ties and the G3 Flex itself.
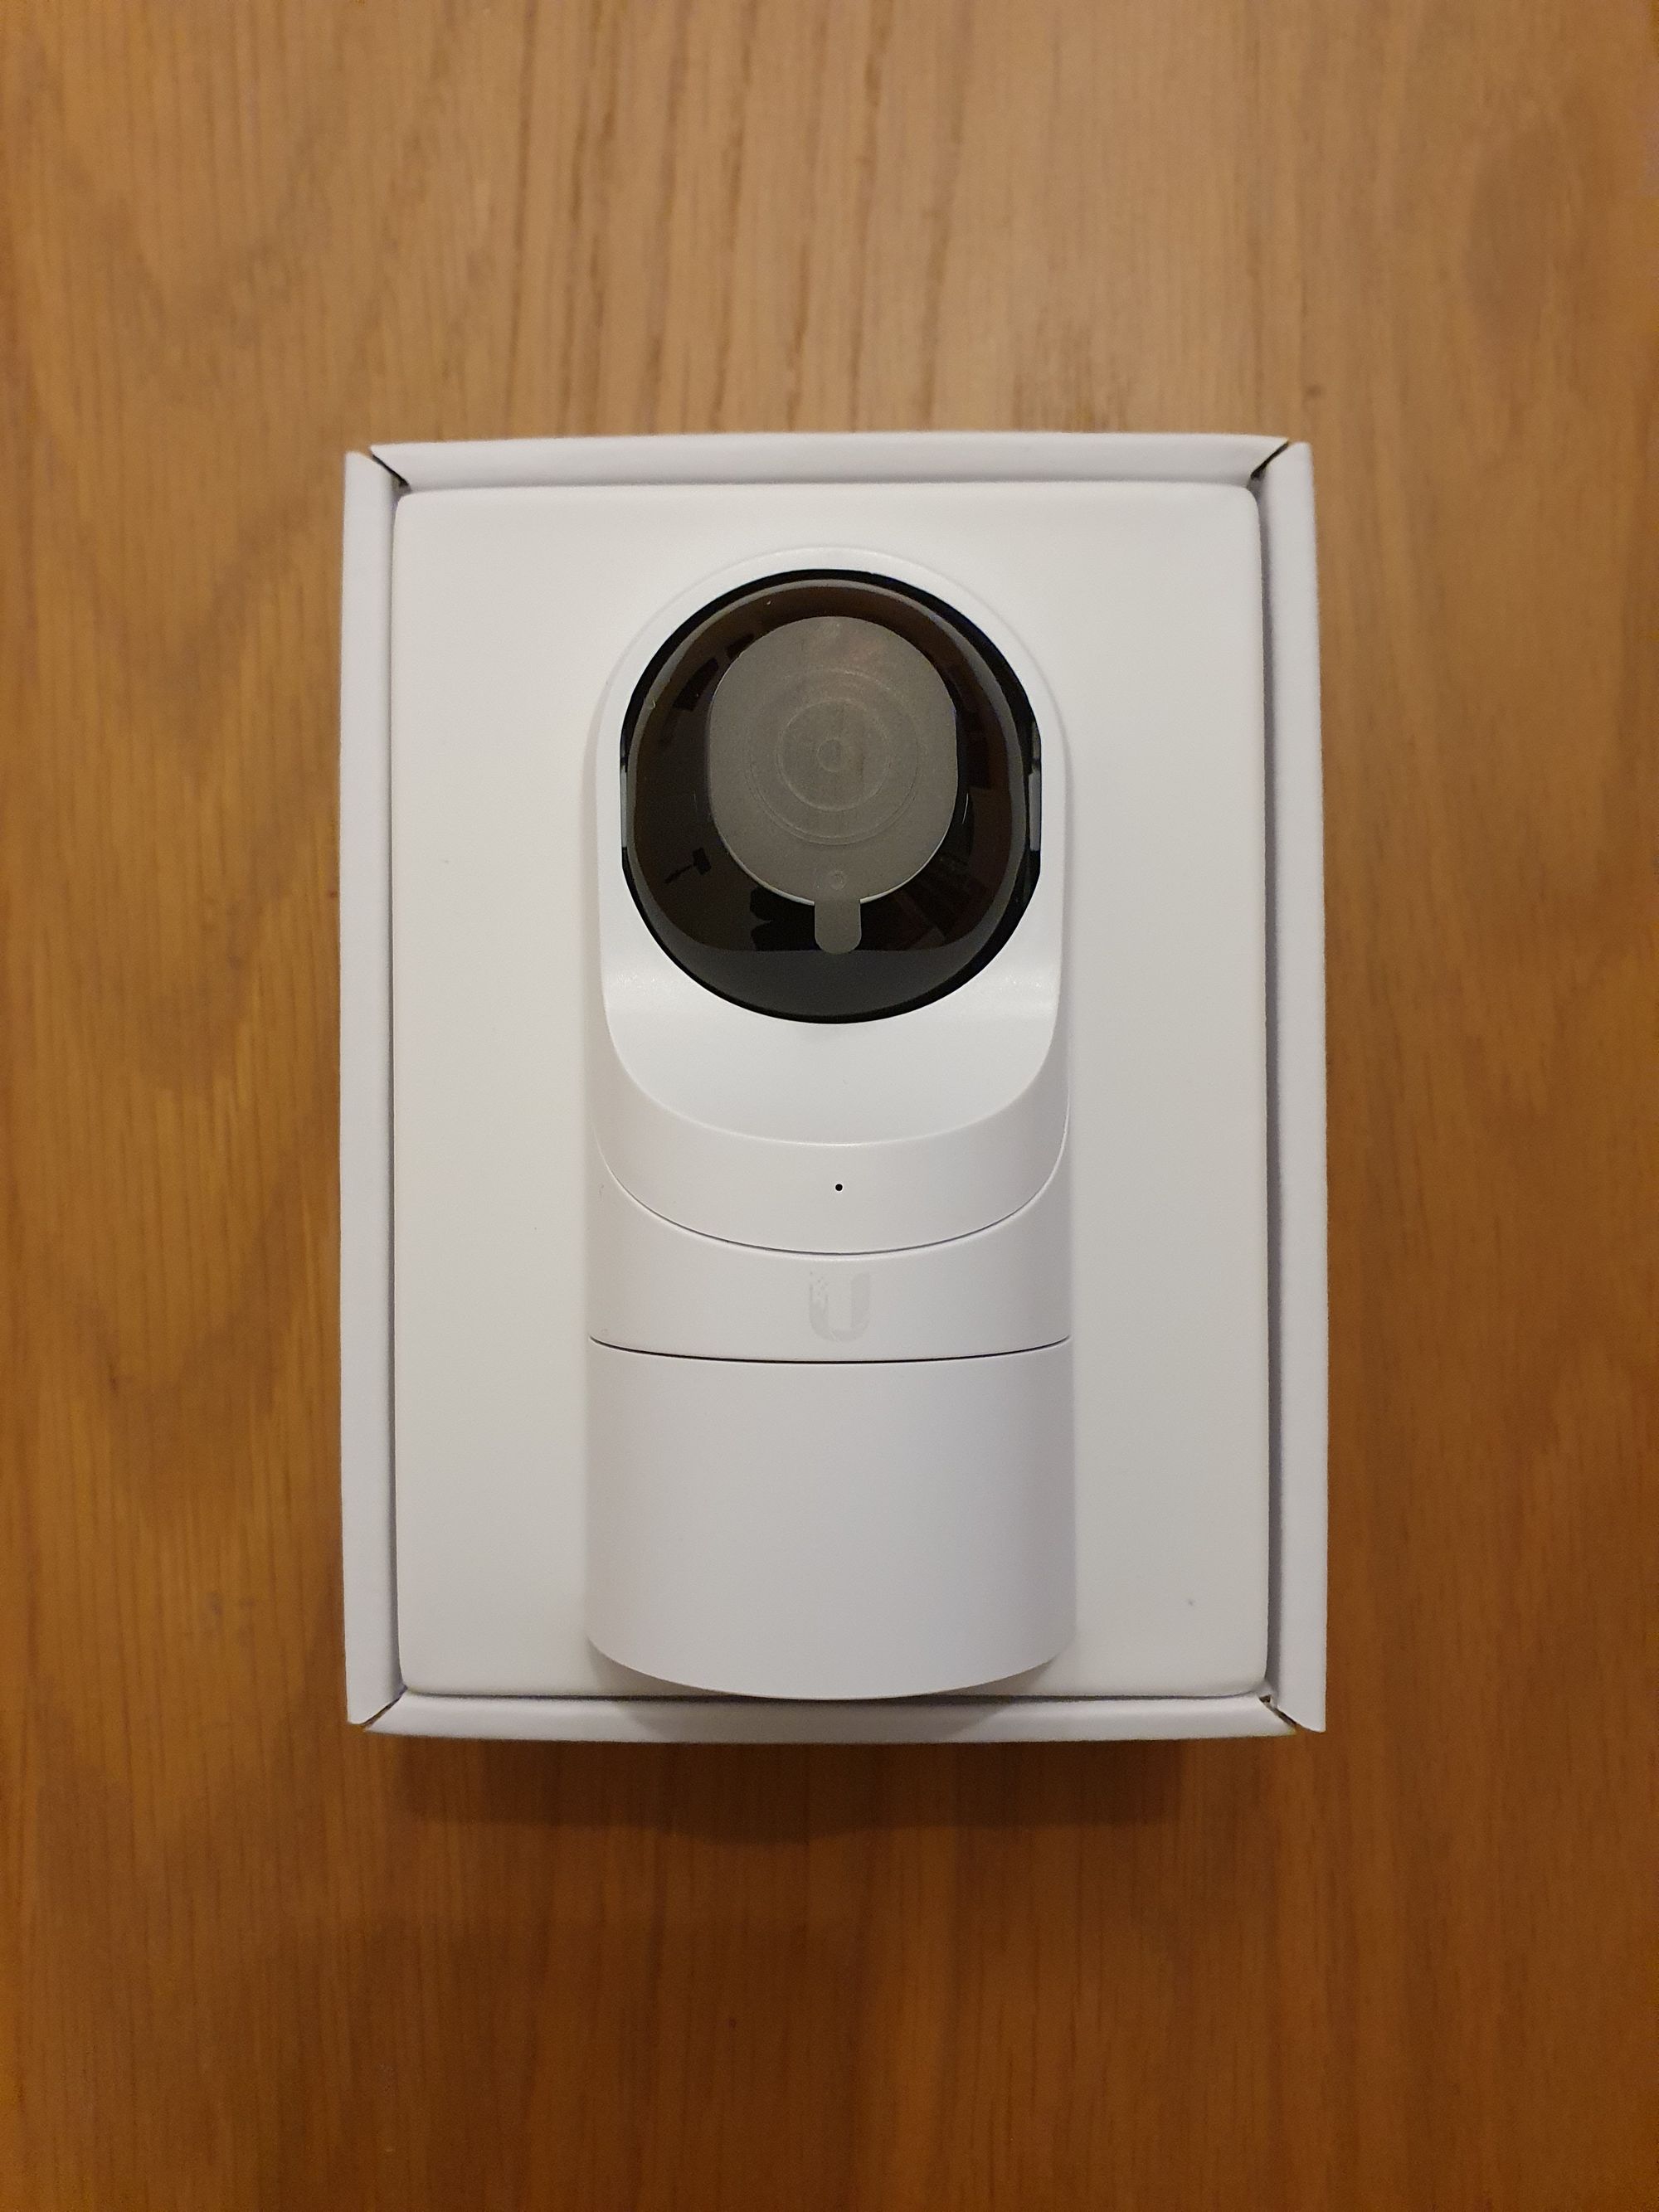
The first thing I noticed about the G3 Flex is just how small, compact and lightweight it is. It comes pre-installed with the desk/table mount, which slides off easily to reveal the Ethernet port underneath.
The G3 Flex is split into 2 discreet halves, which allows the top half to rotate left and right in order to make mounting easier. The top half contains the lens itself, which can also tilt up and down to provide the perfect recording angle.
Packaging
One thing I feel I need to bring up is the packaging – it’s excellent. Ubiquiti has carefully designed the packaging to ensure that everything slots in perfectly and compactly, no space is wasted which in turn means no materials are wasted either.
Features
The Unifi Protect system boasts a number of great features:
- Always on recording or motion recording
- Motion and privacy zones – you can setup multiple motion zones all with their own sensitivity for more challenging environments, and privacy masks which adds a black overly to the image for anywhere you don’t want recorded
- Night mode – Infra-red LED’s built into the camera with a mechanical IR filter helps you see more clearly at night in poorly lit areas, with adjustable sensitivity of when to kick in
- Local recording – No cloud recording, keep your video locally stored meaning no continually growing subscription fees to worry about
- Remote access – access from anywhere in the world.
- Instant exporting – export clips instantly that may need to be permanently retained
- Alerts – you can tailor alerts for when events happen, get instant notifications when motion is detected or a camera goes offline, you can set custom schedules for when to receive alerts, like only during the night or only when everyone is away from the location which leads me onto..
- Geofencing – Unifi Protect now supports geofencing which will automatically detect when you are home and not home, which allows you to tailor your notifications and alerts to stop alerts happening when you are moving around at home
- Timelapse – quickly scroll through the day and see a timelapse view of all the events that happened that day, makes for some really cool videos if you have the sky included in the camera, watch those clouds fly by!
- Audio recording/Talk back – record audio as well as video, you can see how this would be really useful in potentially identifying people sneaking around where they shouldn’t. Some models have built-in speakers that you can also talk back through.
Setup
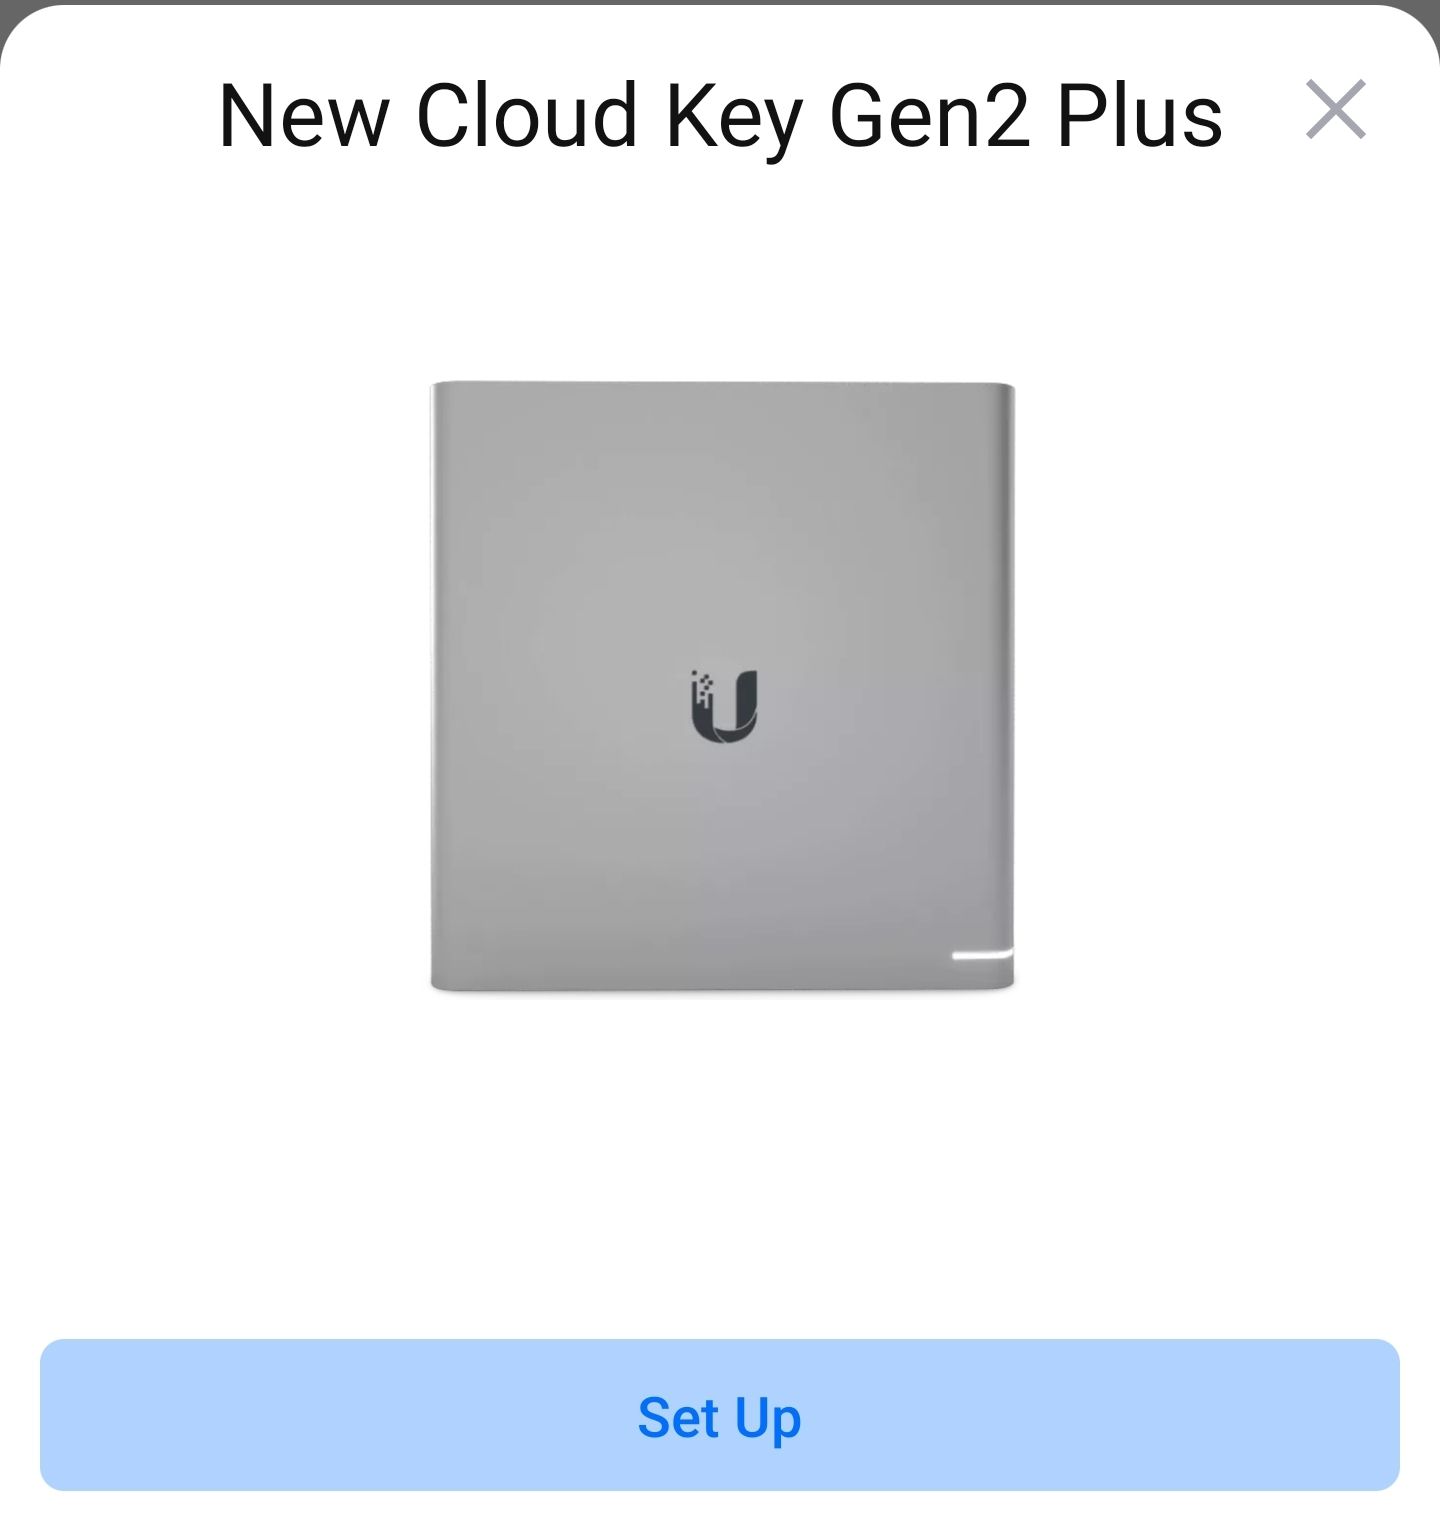
I’m going to spoil things right from the get go, the setup is incredibly easy. Even as a long time Ubiquiti and Unifi user, I was even surprised at how easy the setup was.
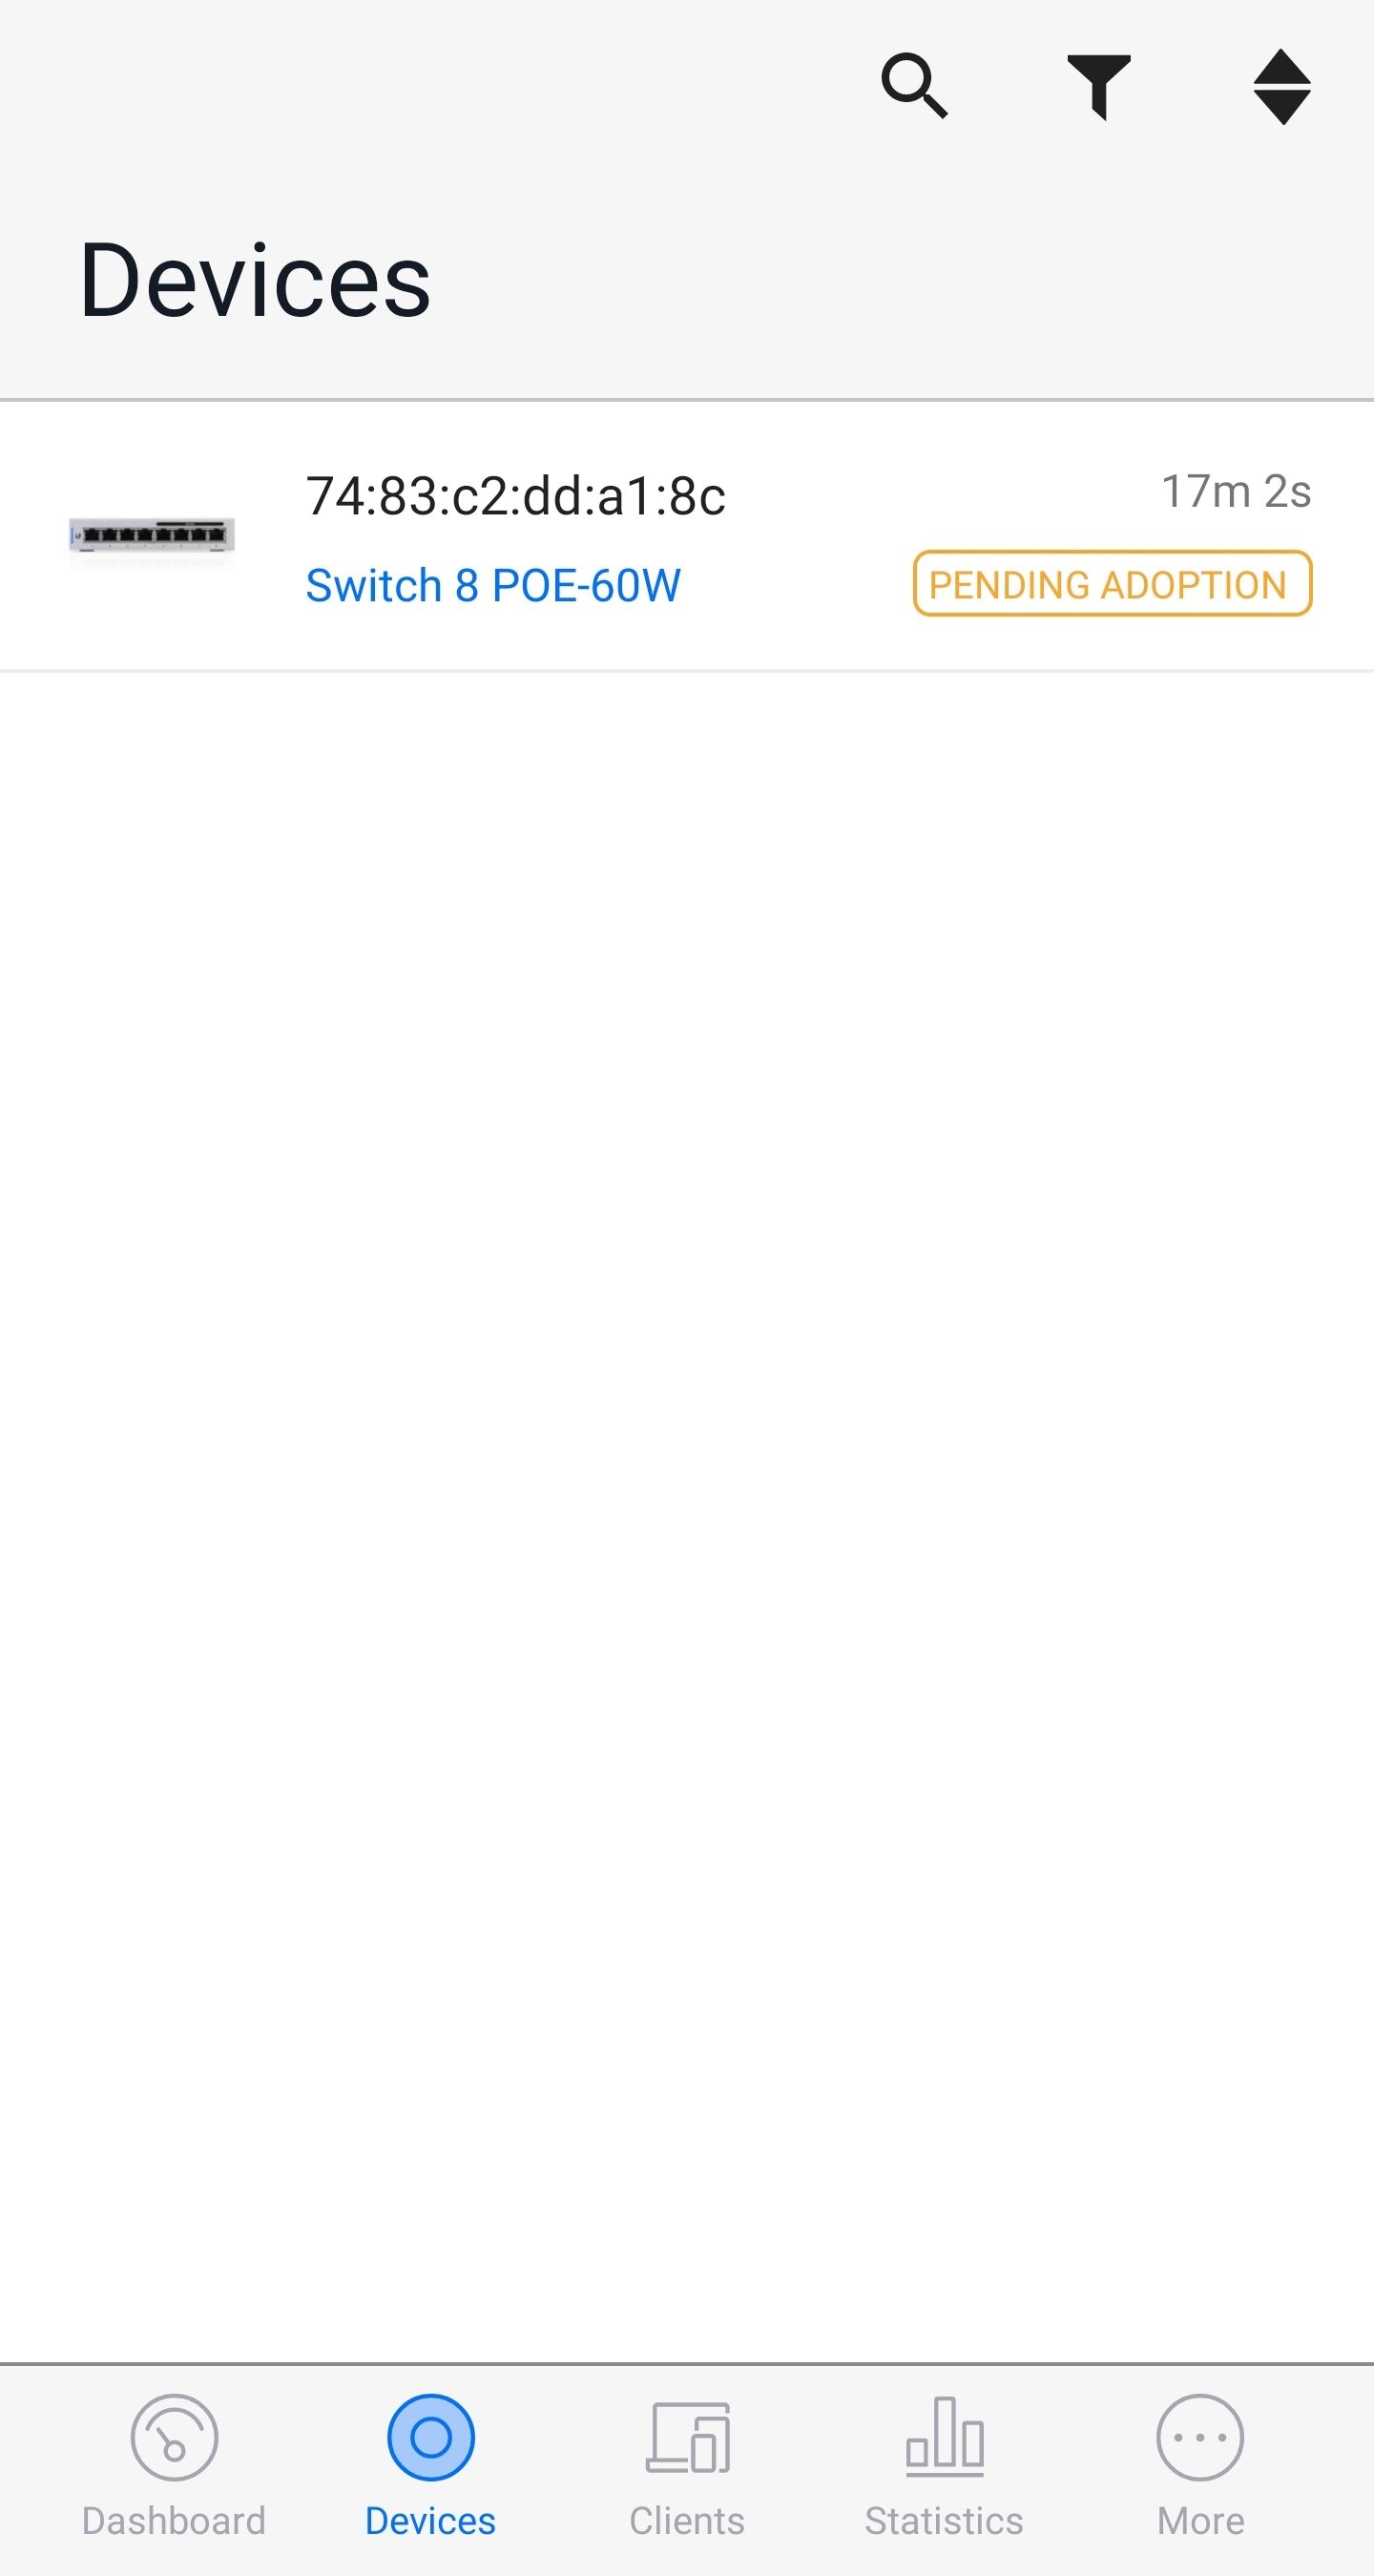
First step is to power the switch on, and connect it to your router or main switch, it will then automatically pick up an IP address from DHCP. The indicator LED may flash since it has not been adopted by the controller yet but this is normal.
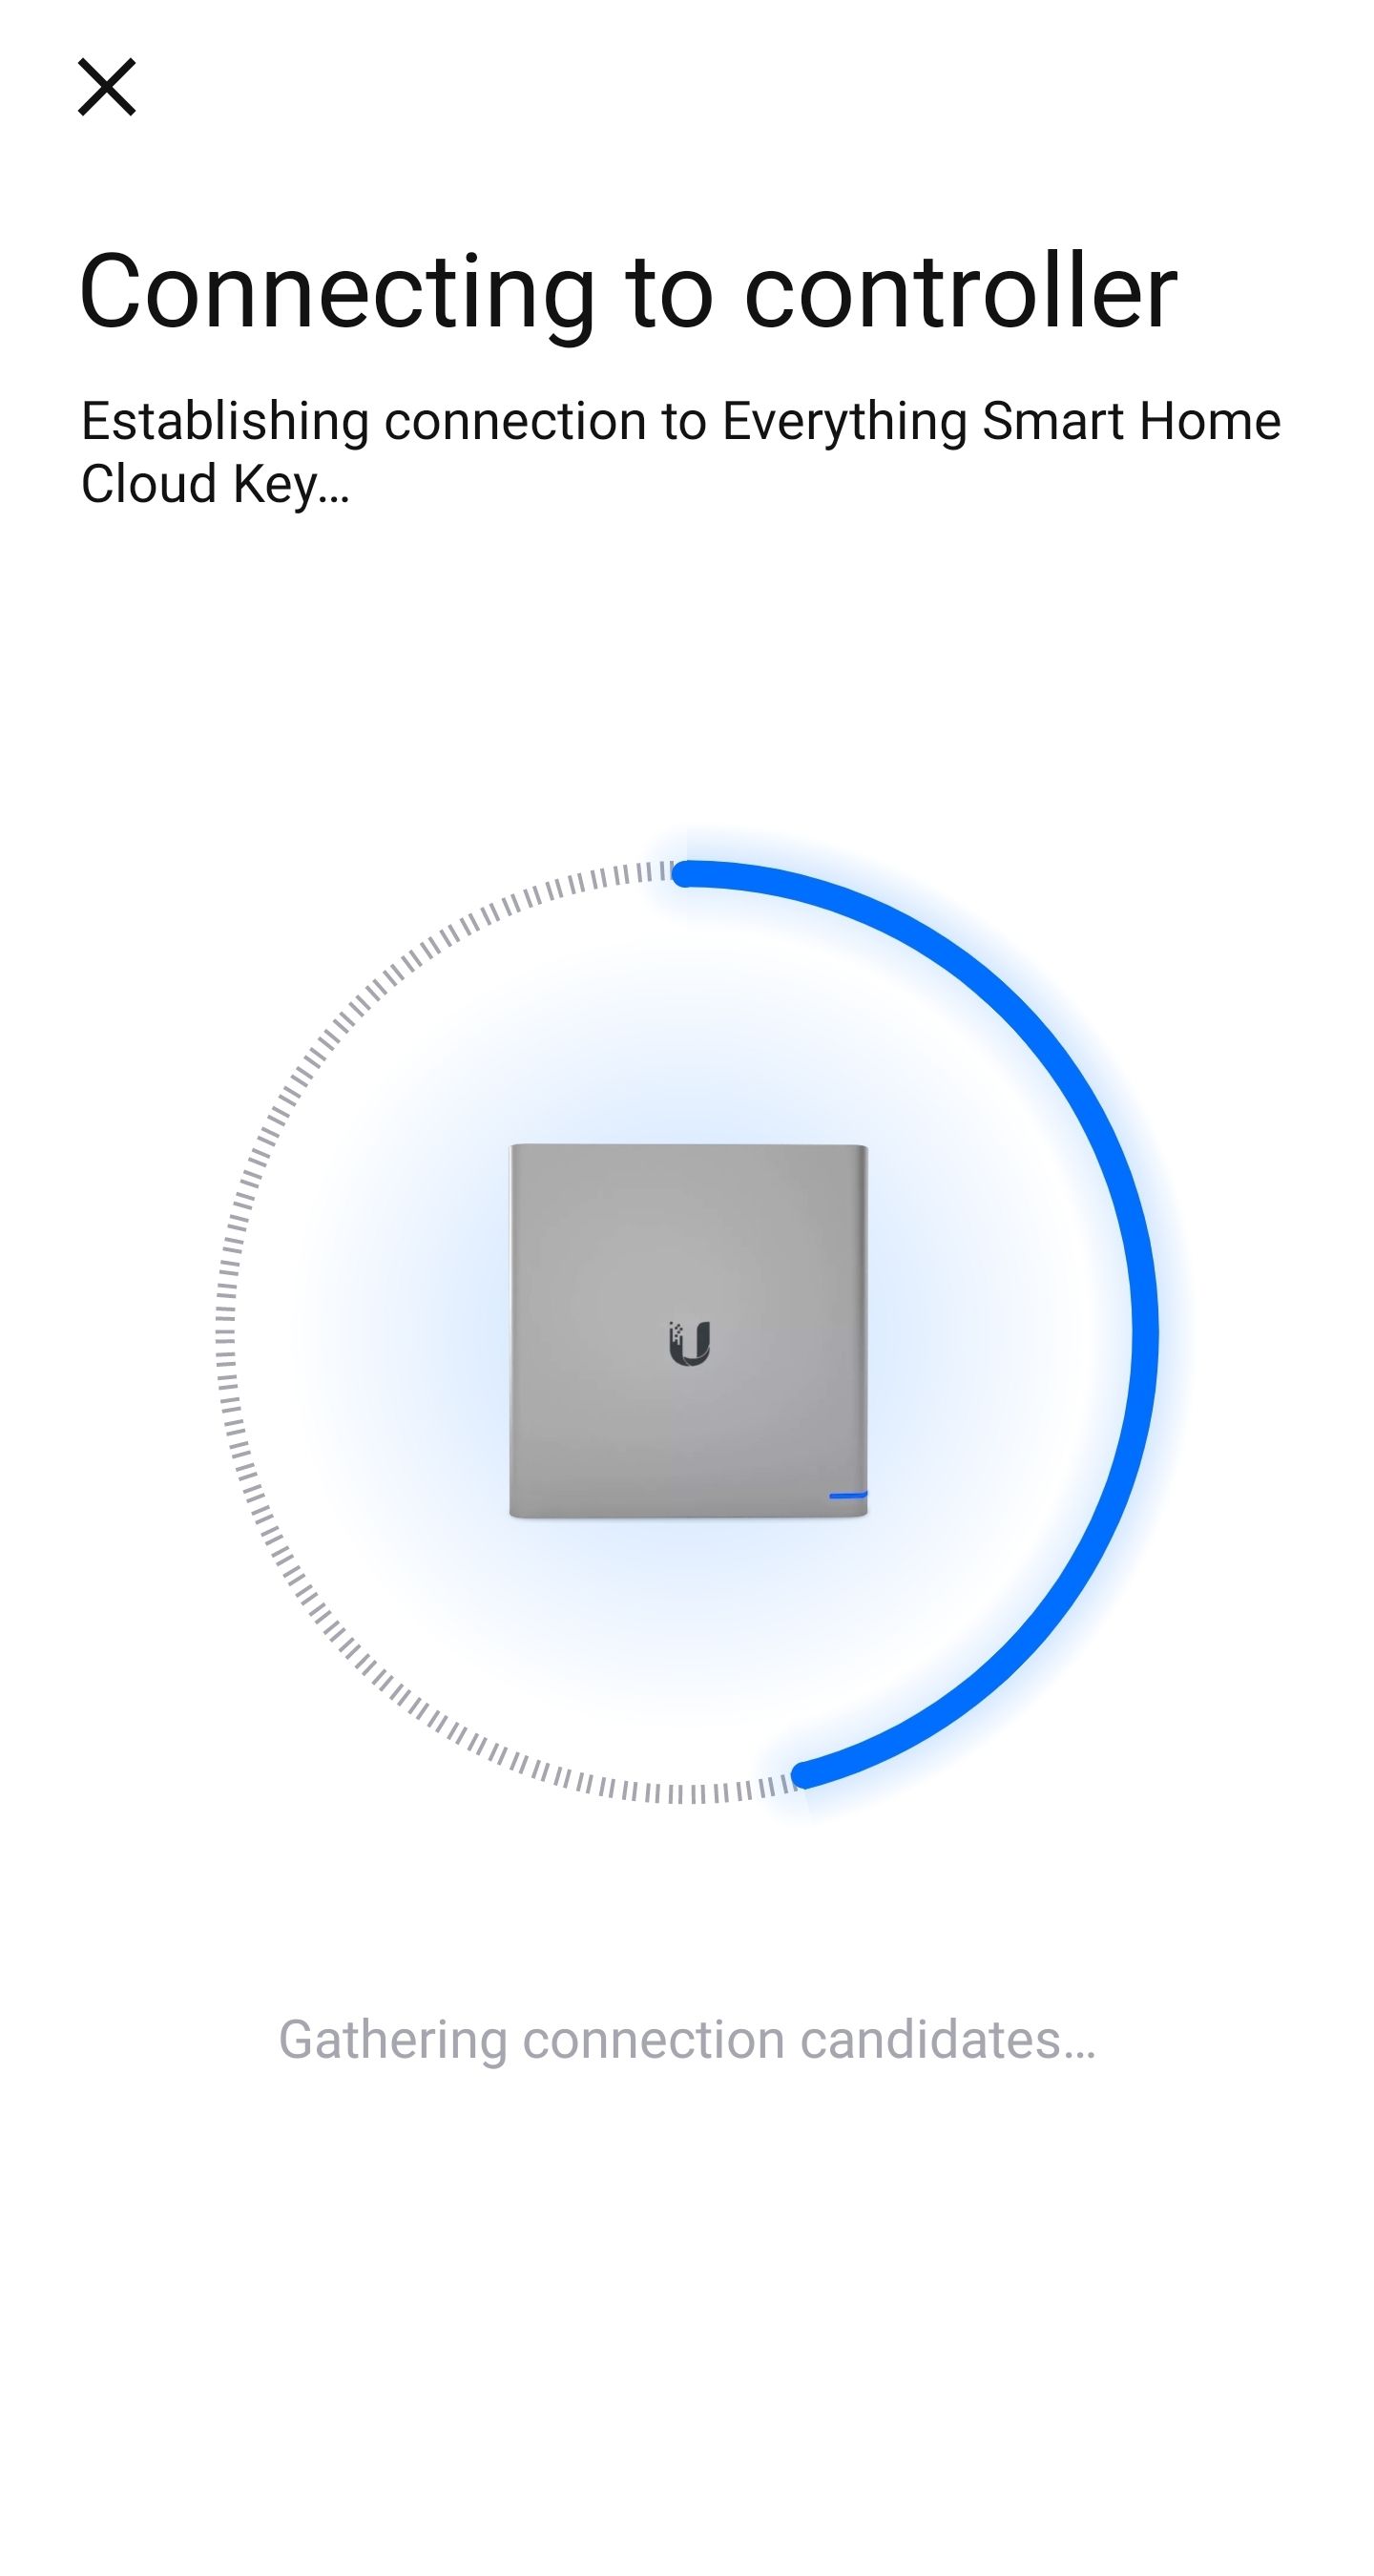
Next, plug in the Cloud Key Controller to one of the PoE ports on the switch, it will automatically come to life and the LCD display on the front will show you the boot up progress:
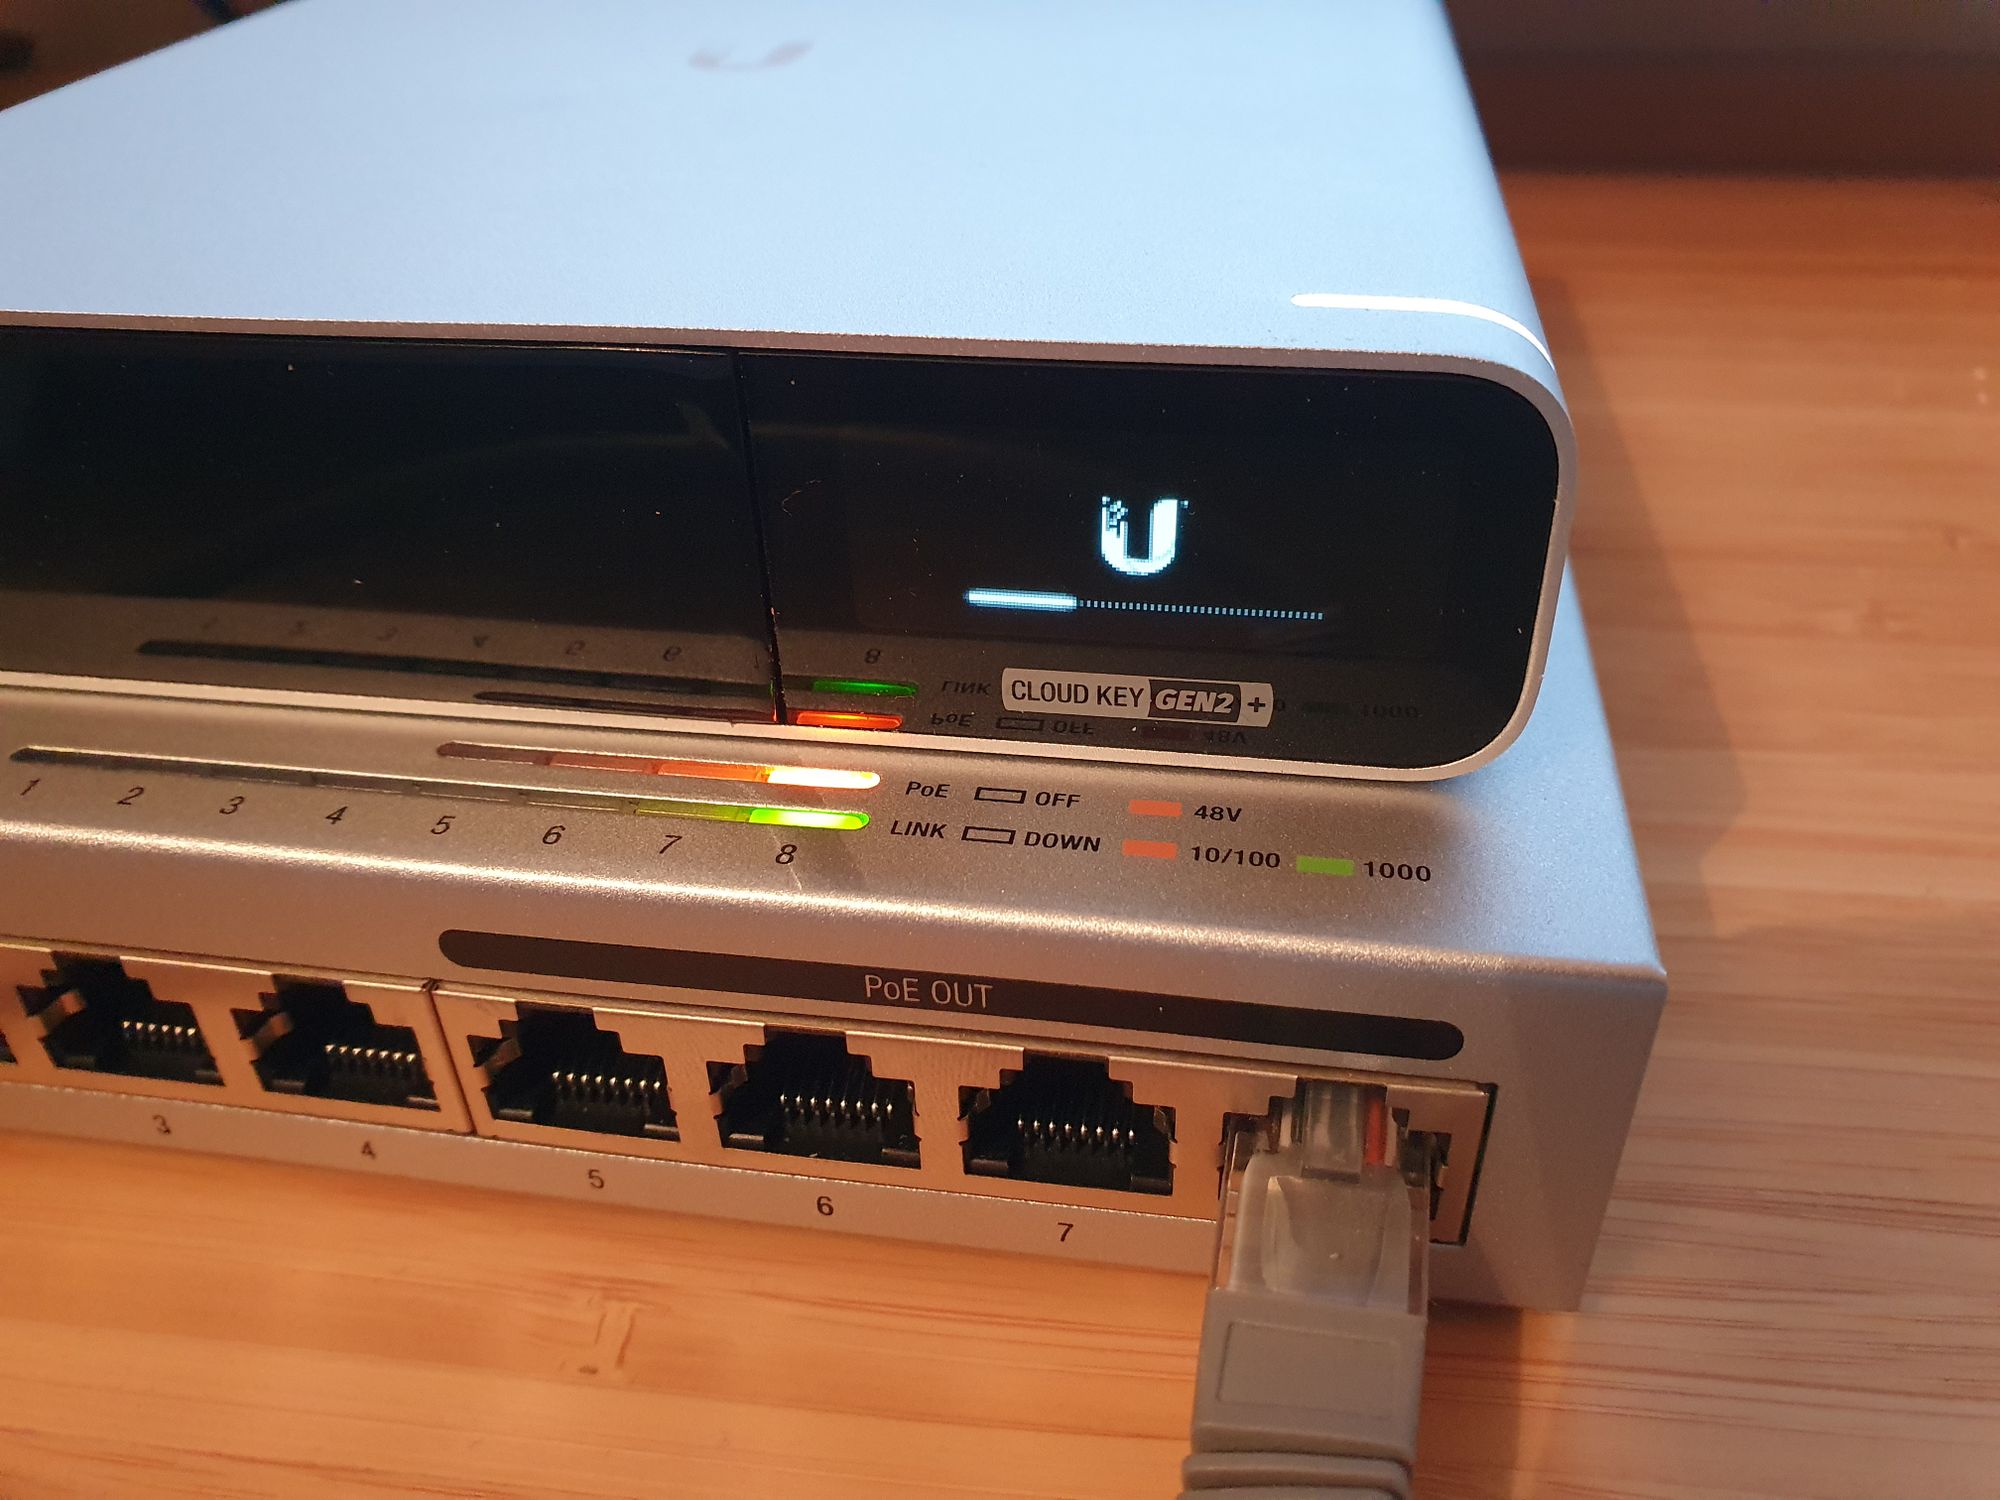
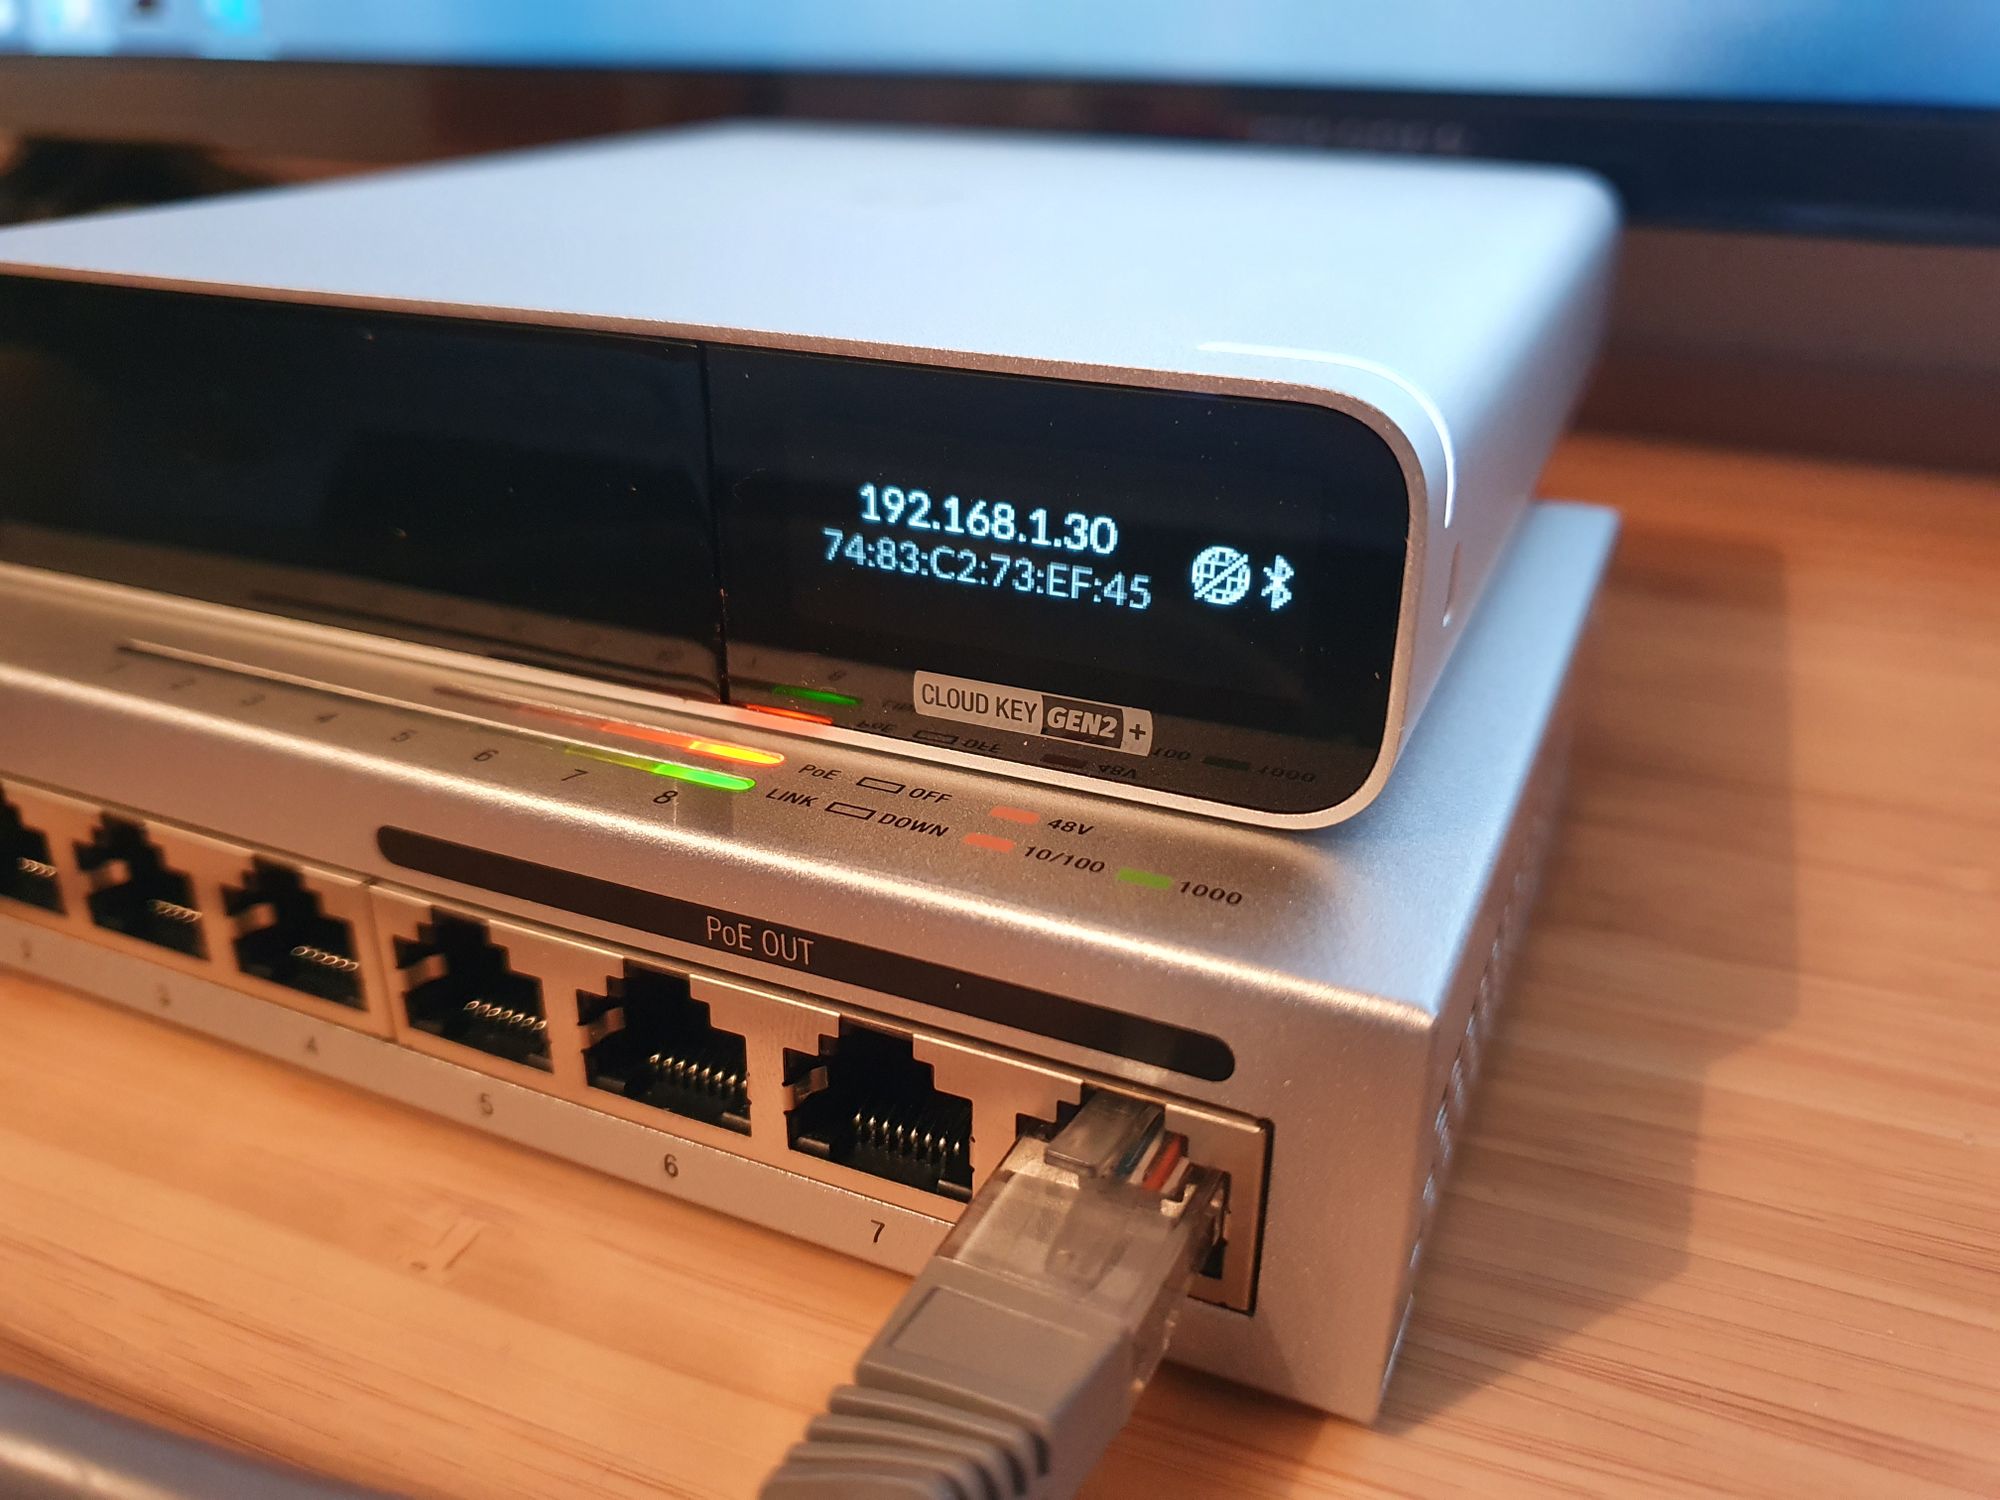
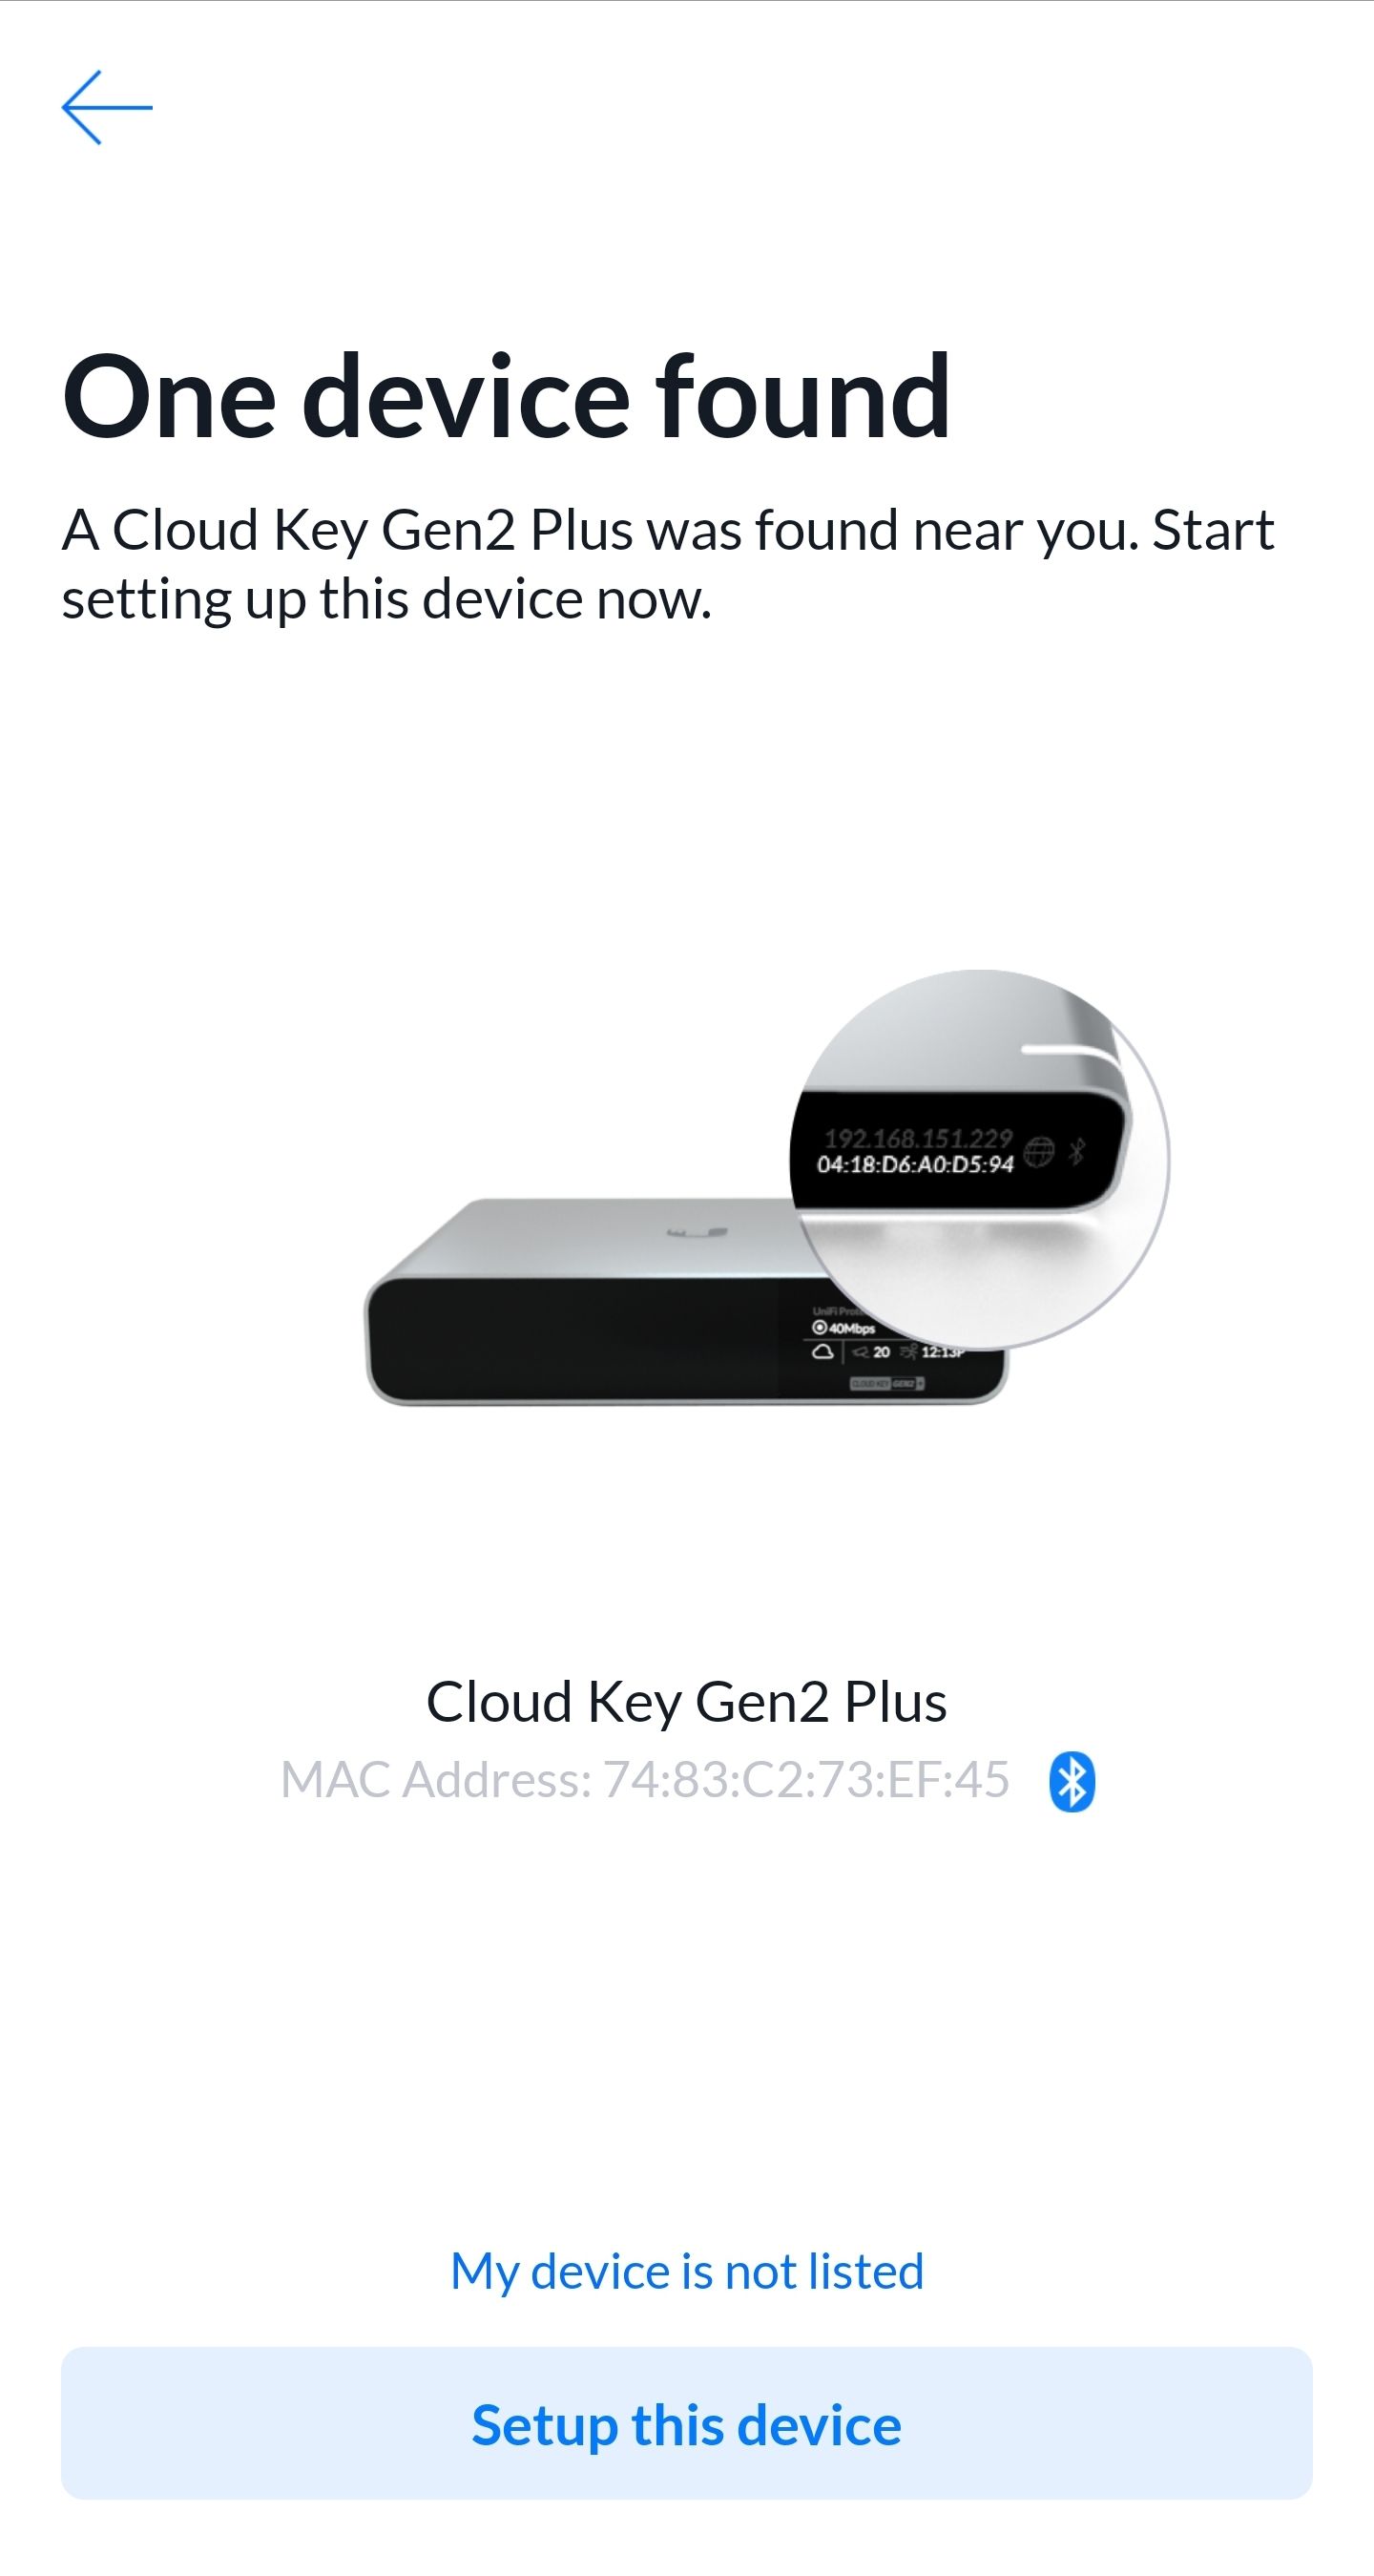
Once booted, the Cloud Key Controller will show you the status of the controller right on the front of the display, including its IP address:
Next plug in the G3 Flex to a second PoE port on the switch and leave it to automatically boot up, a tiny LED on the front indicates it has power:

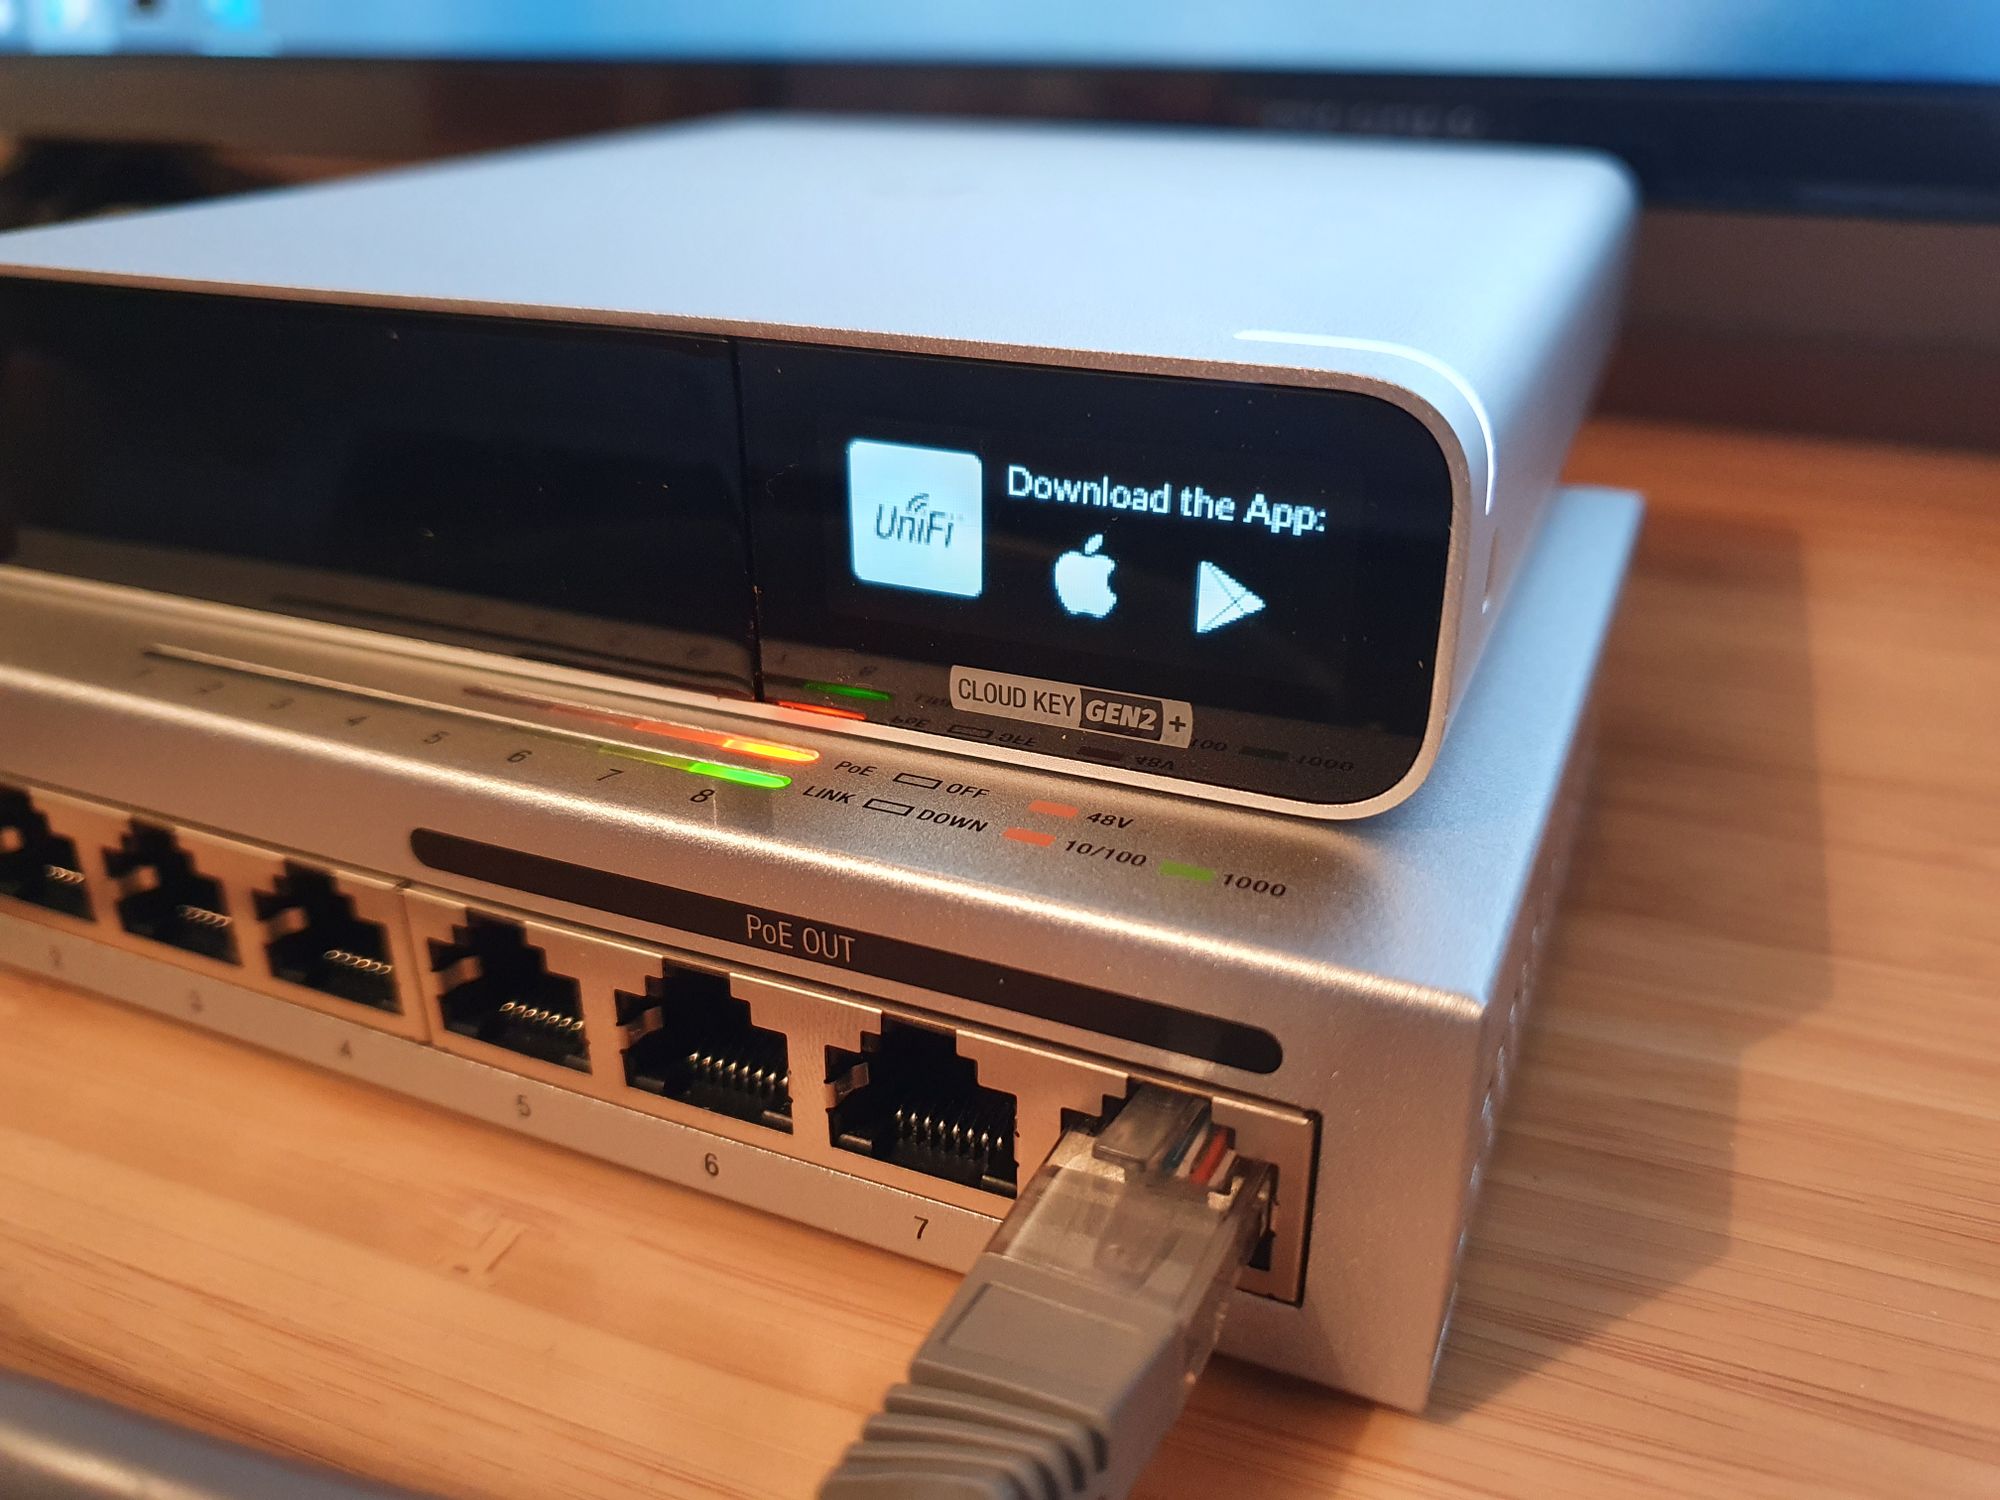
Download the Unifi Network and Unifi Protect App from the App Store or Play Store.
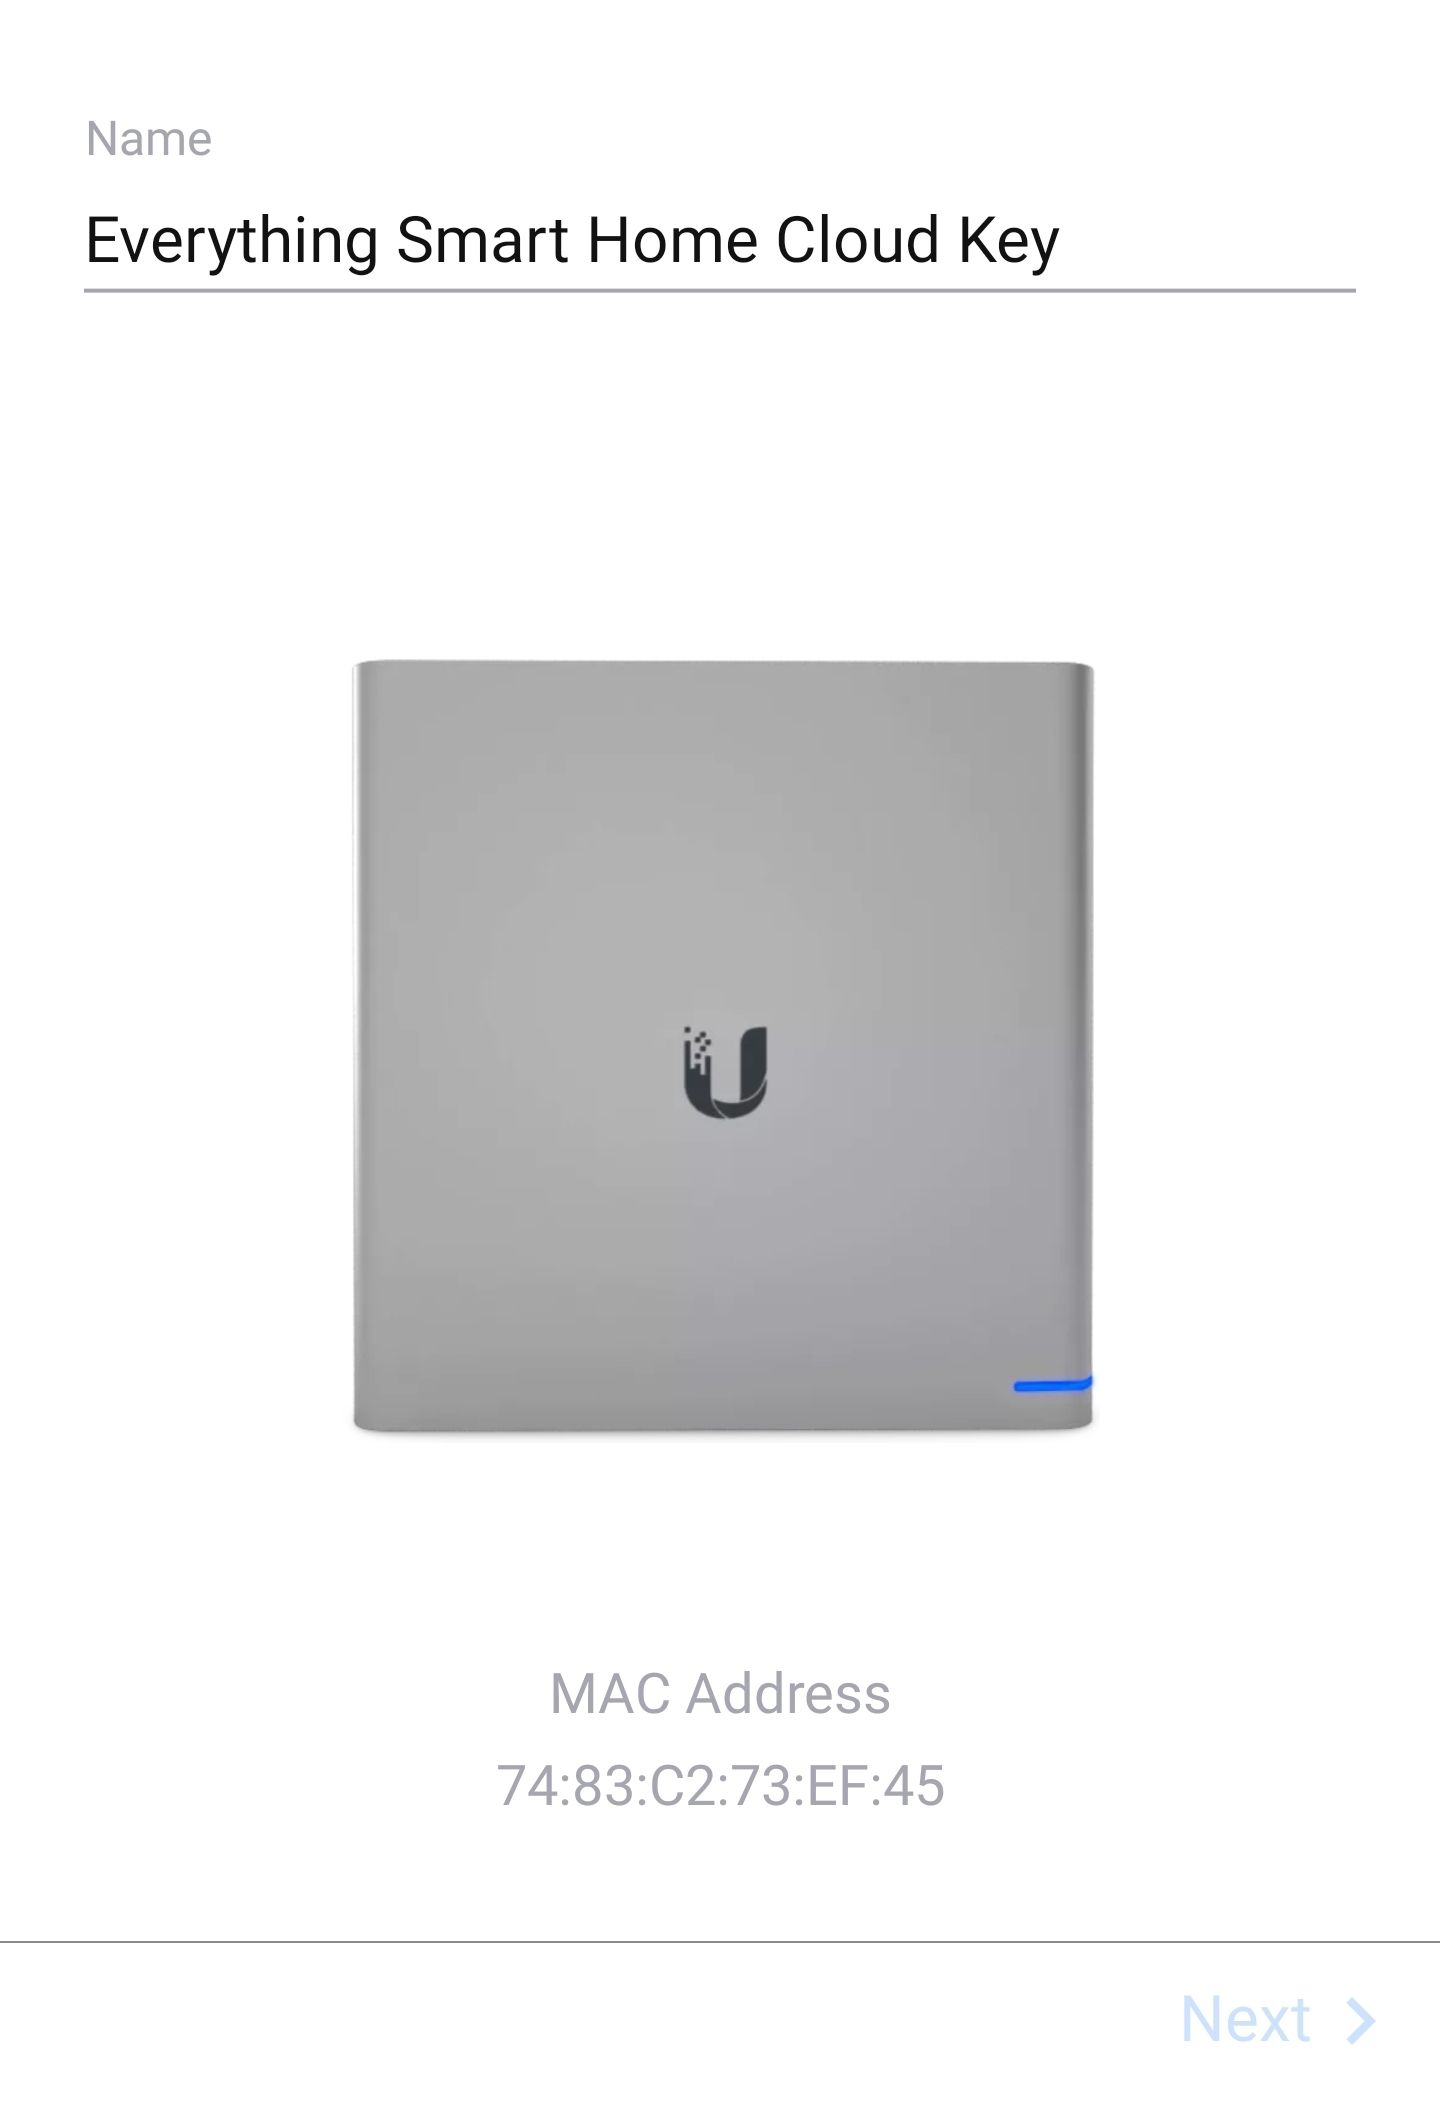
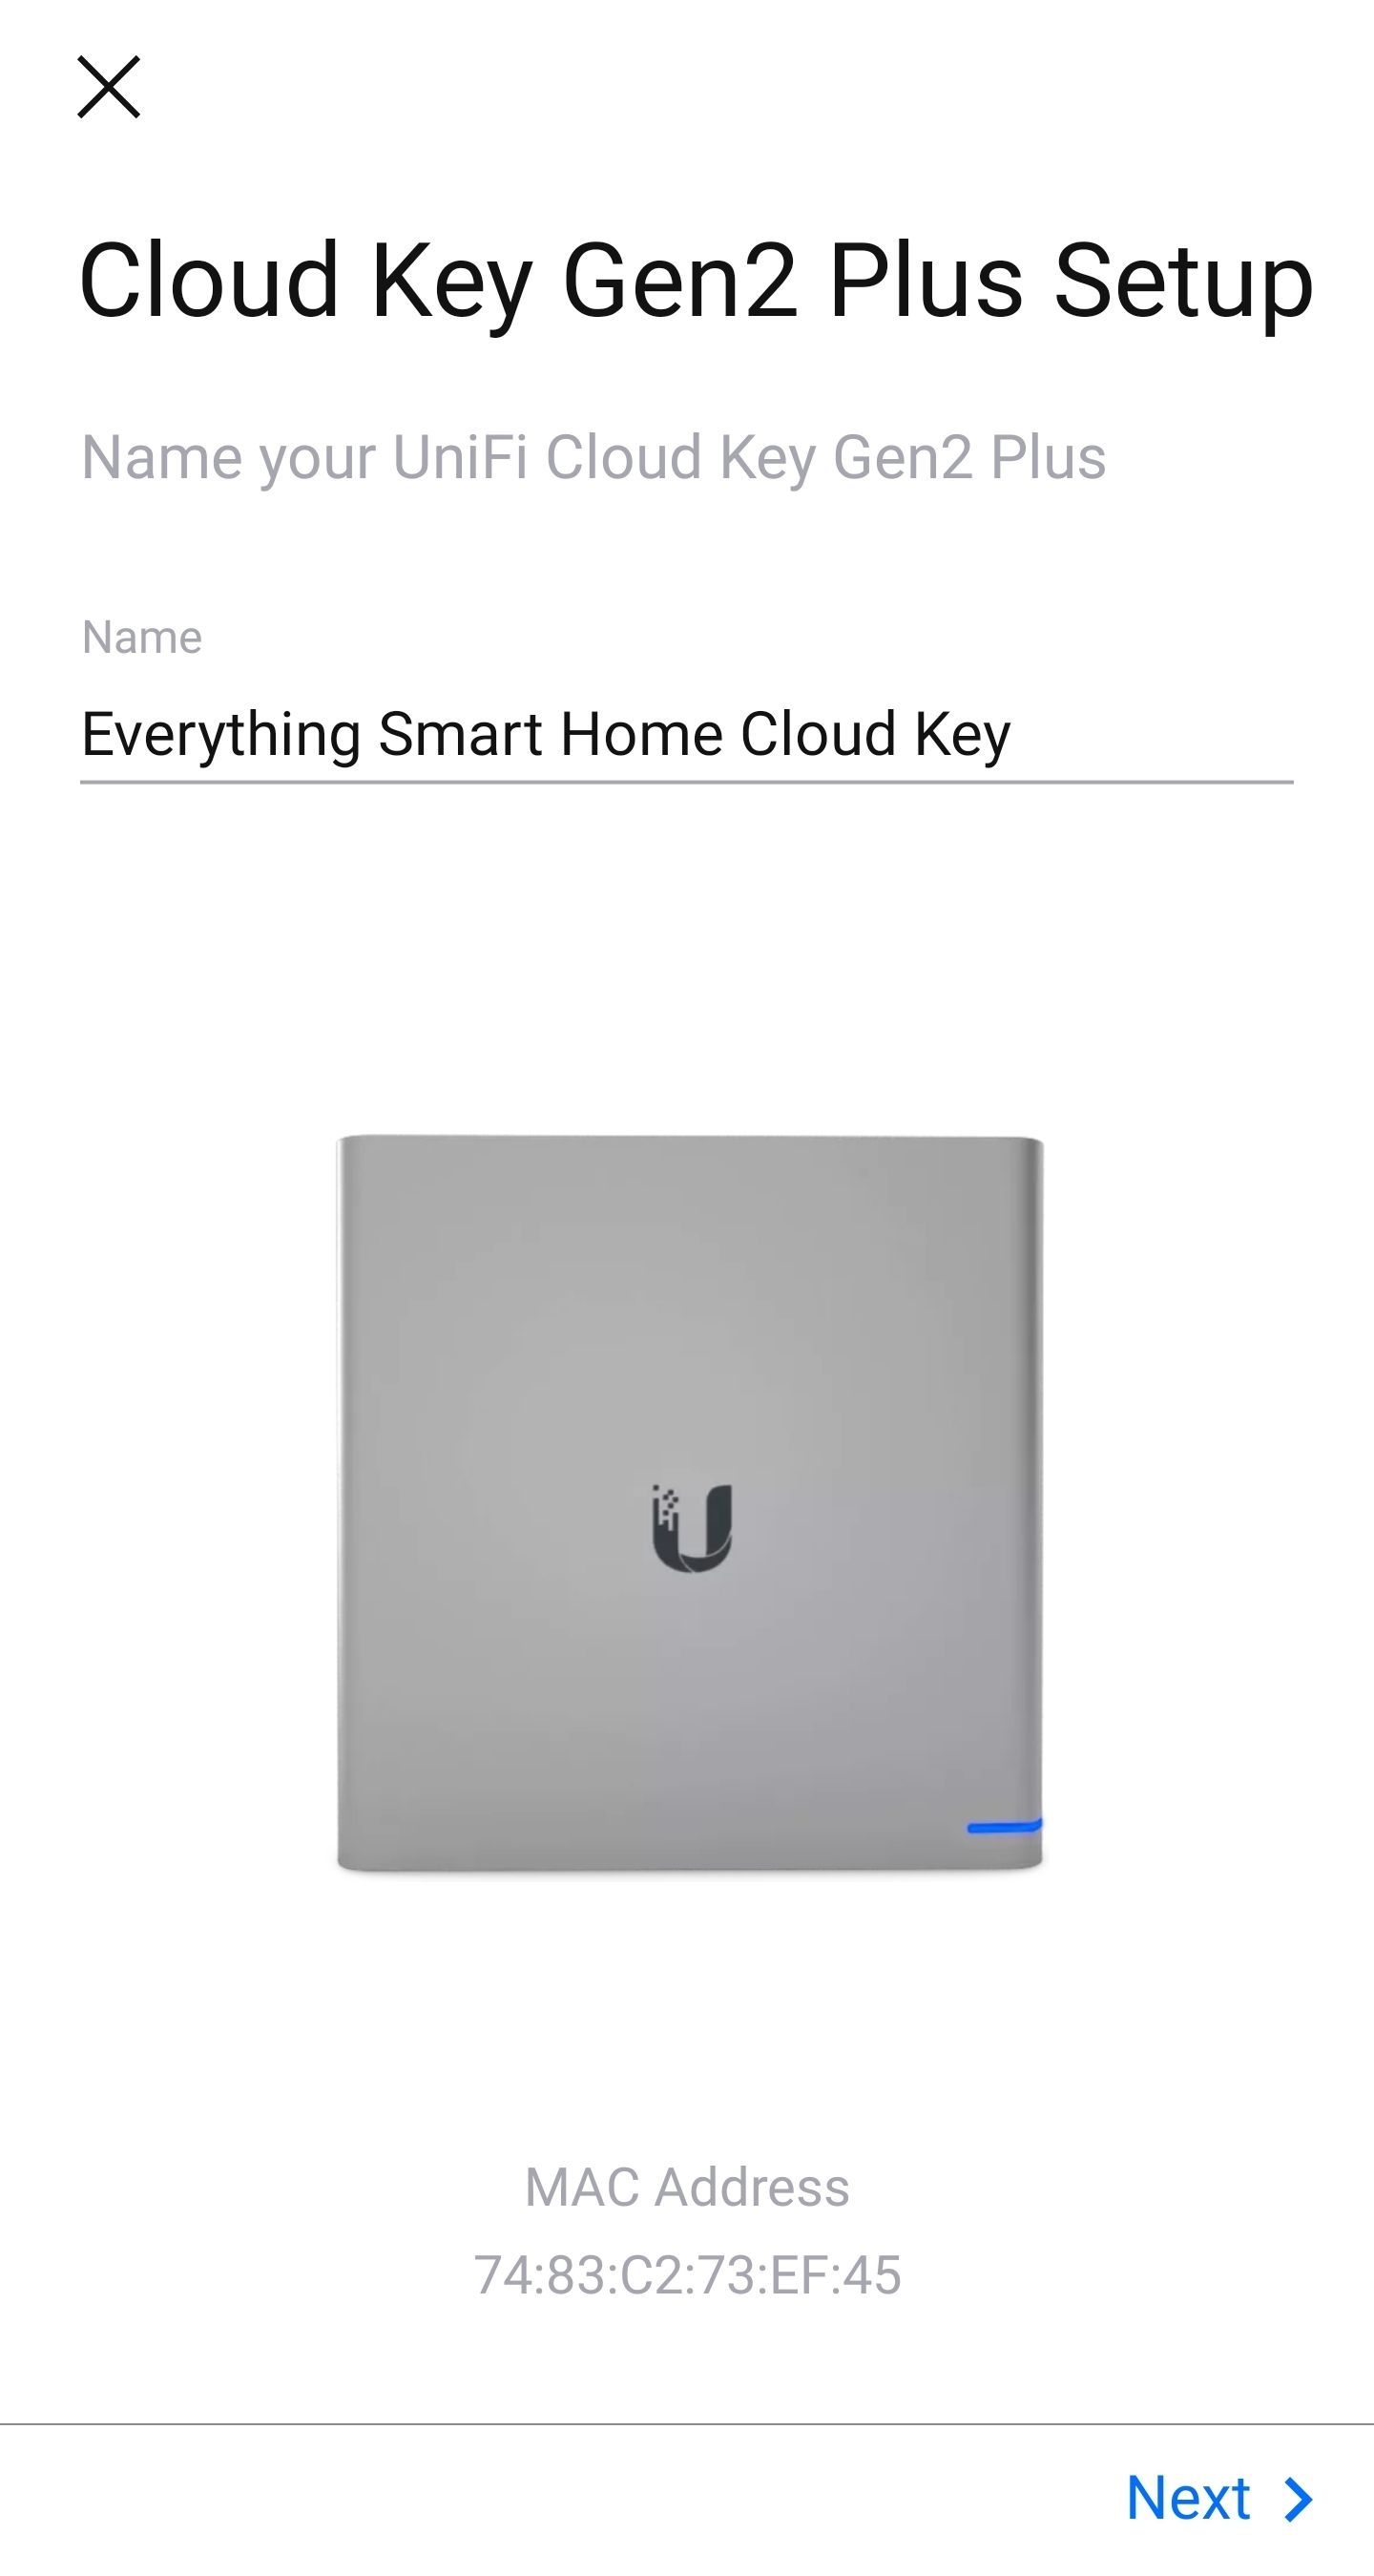
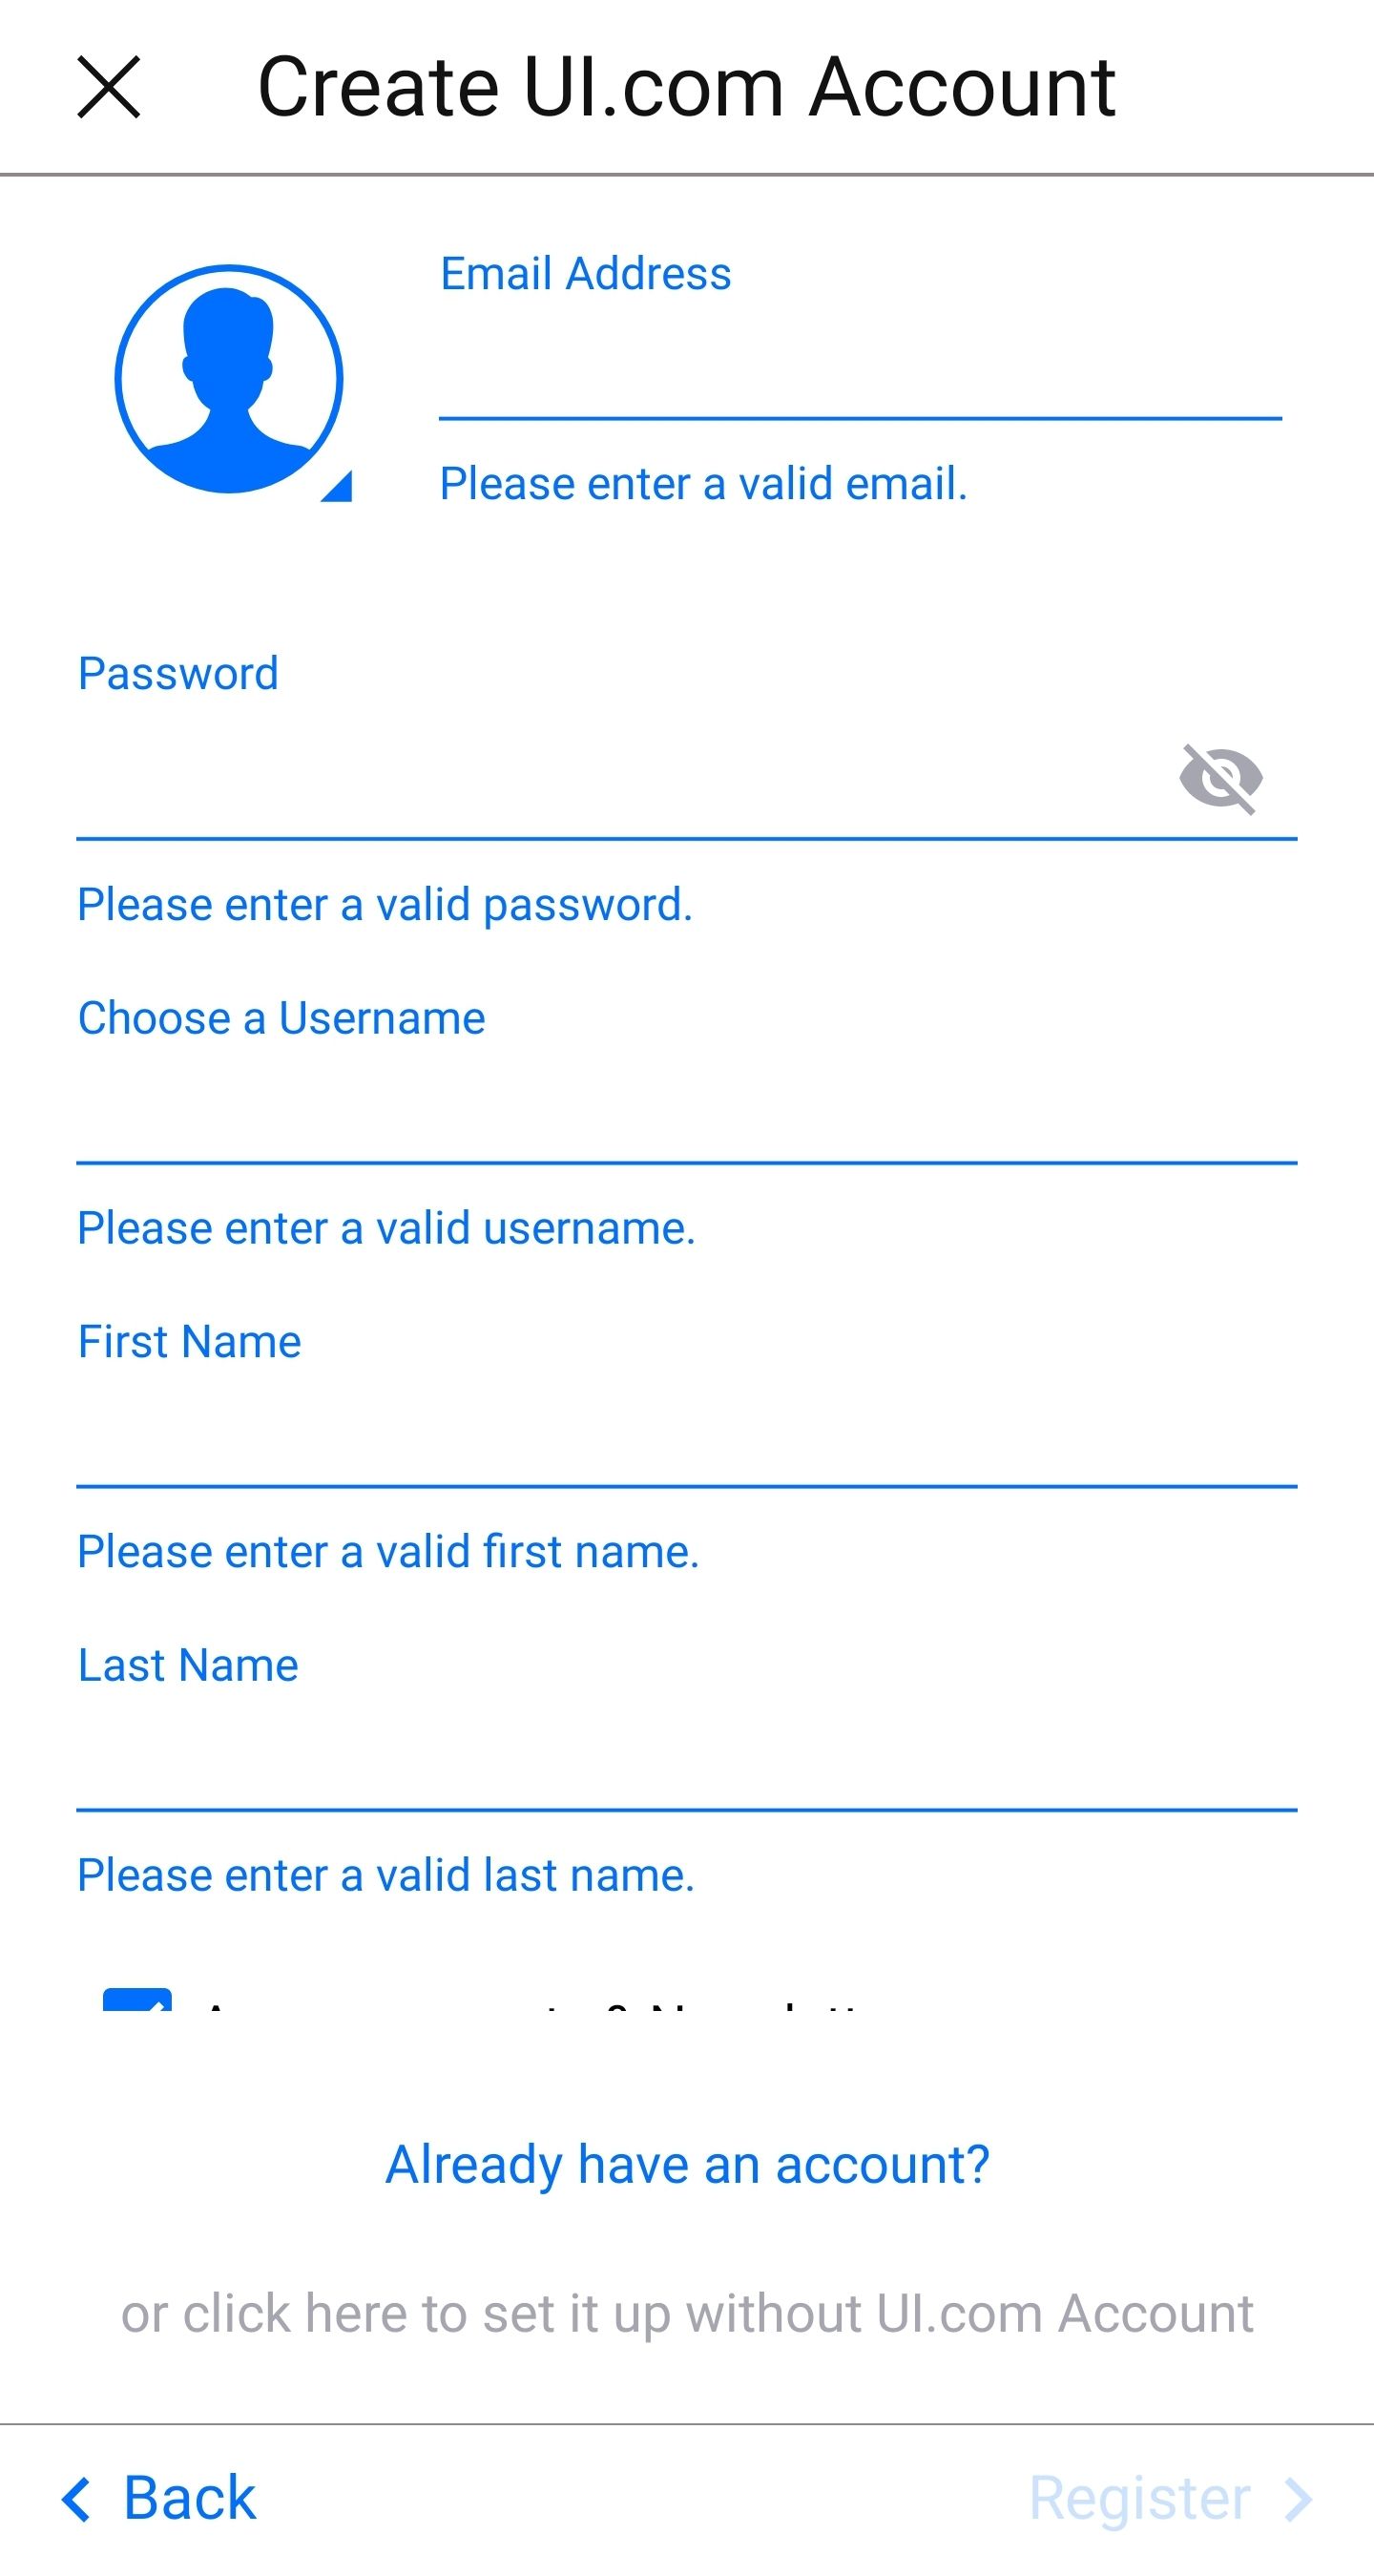
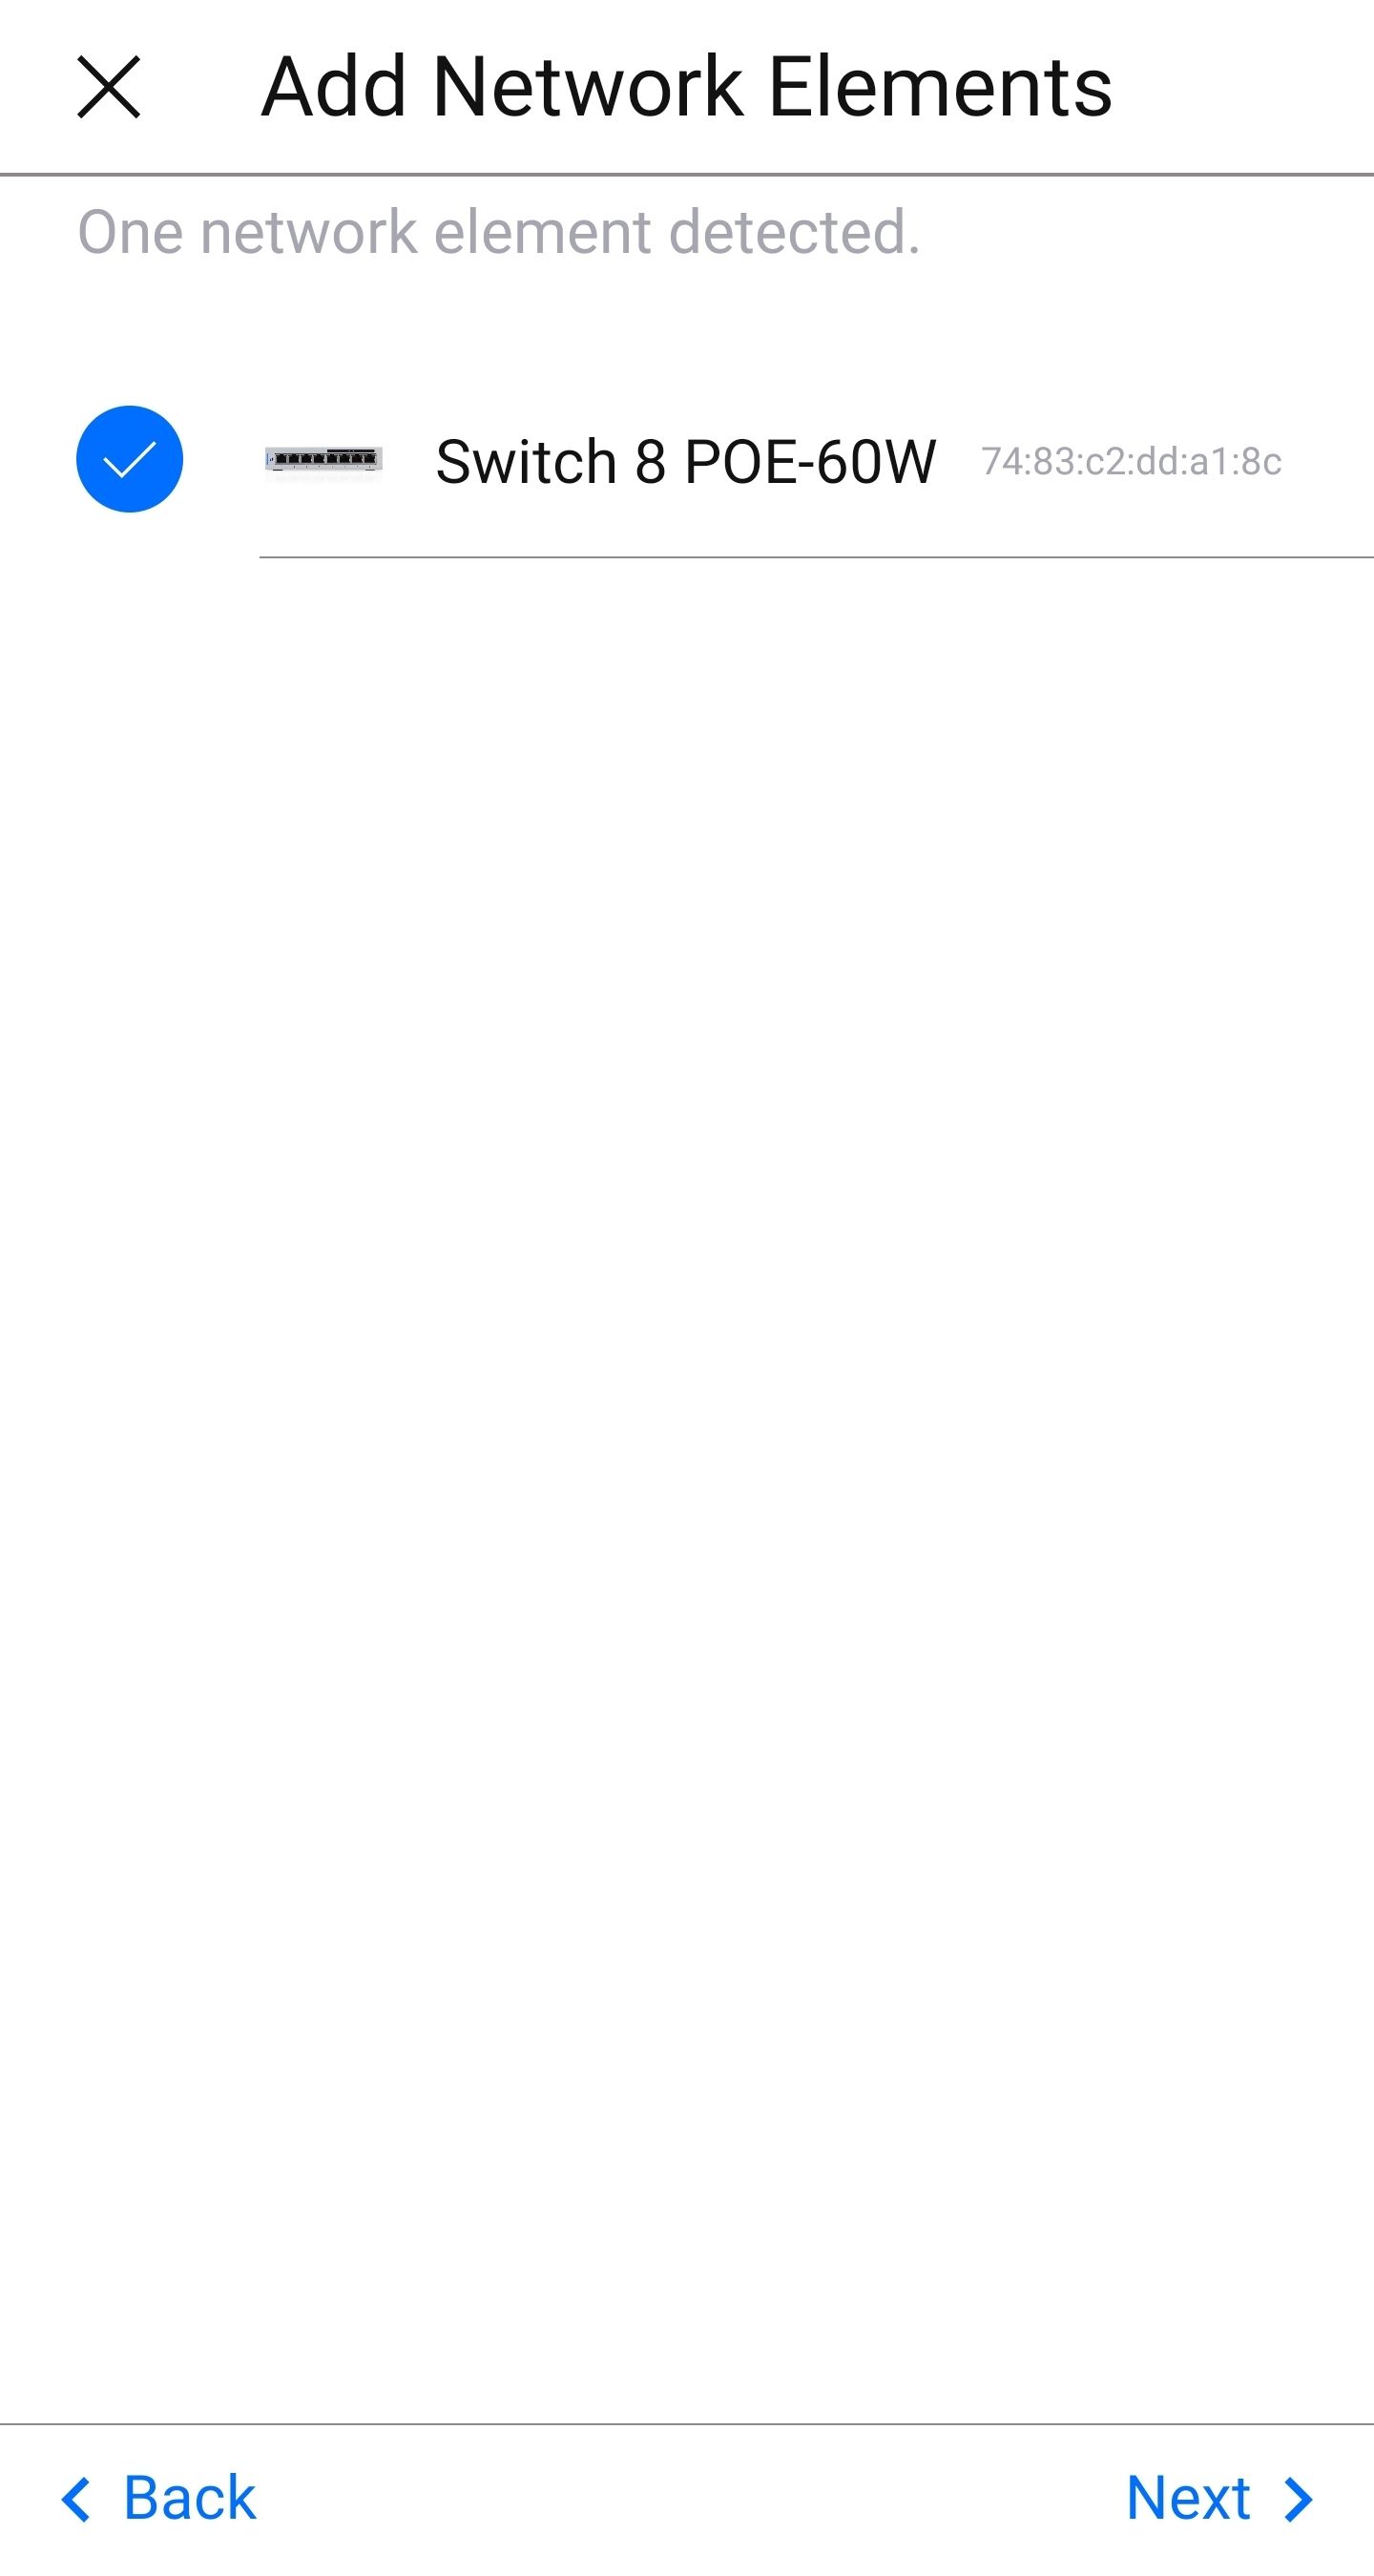
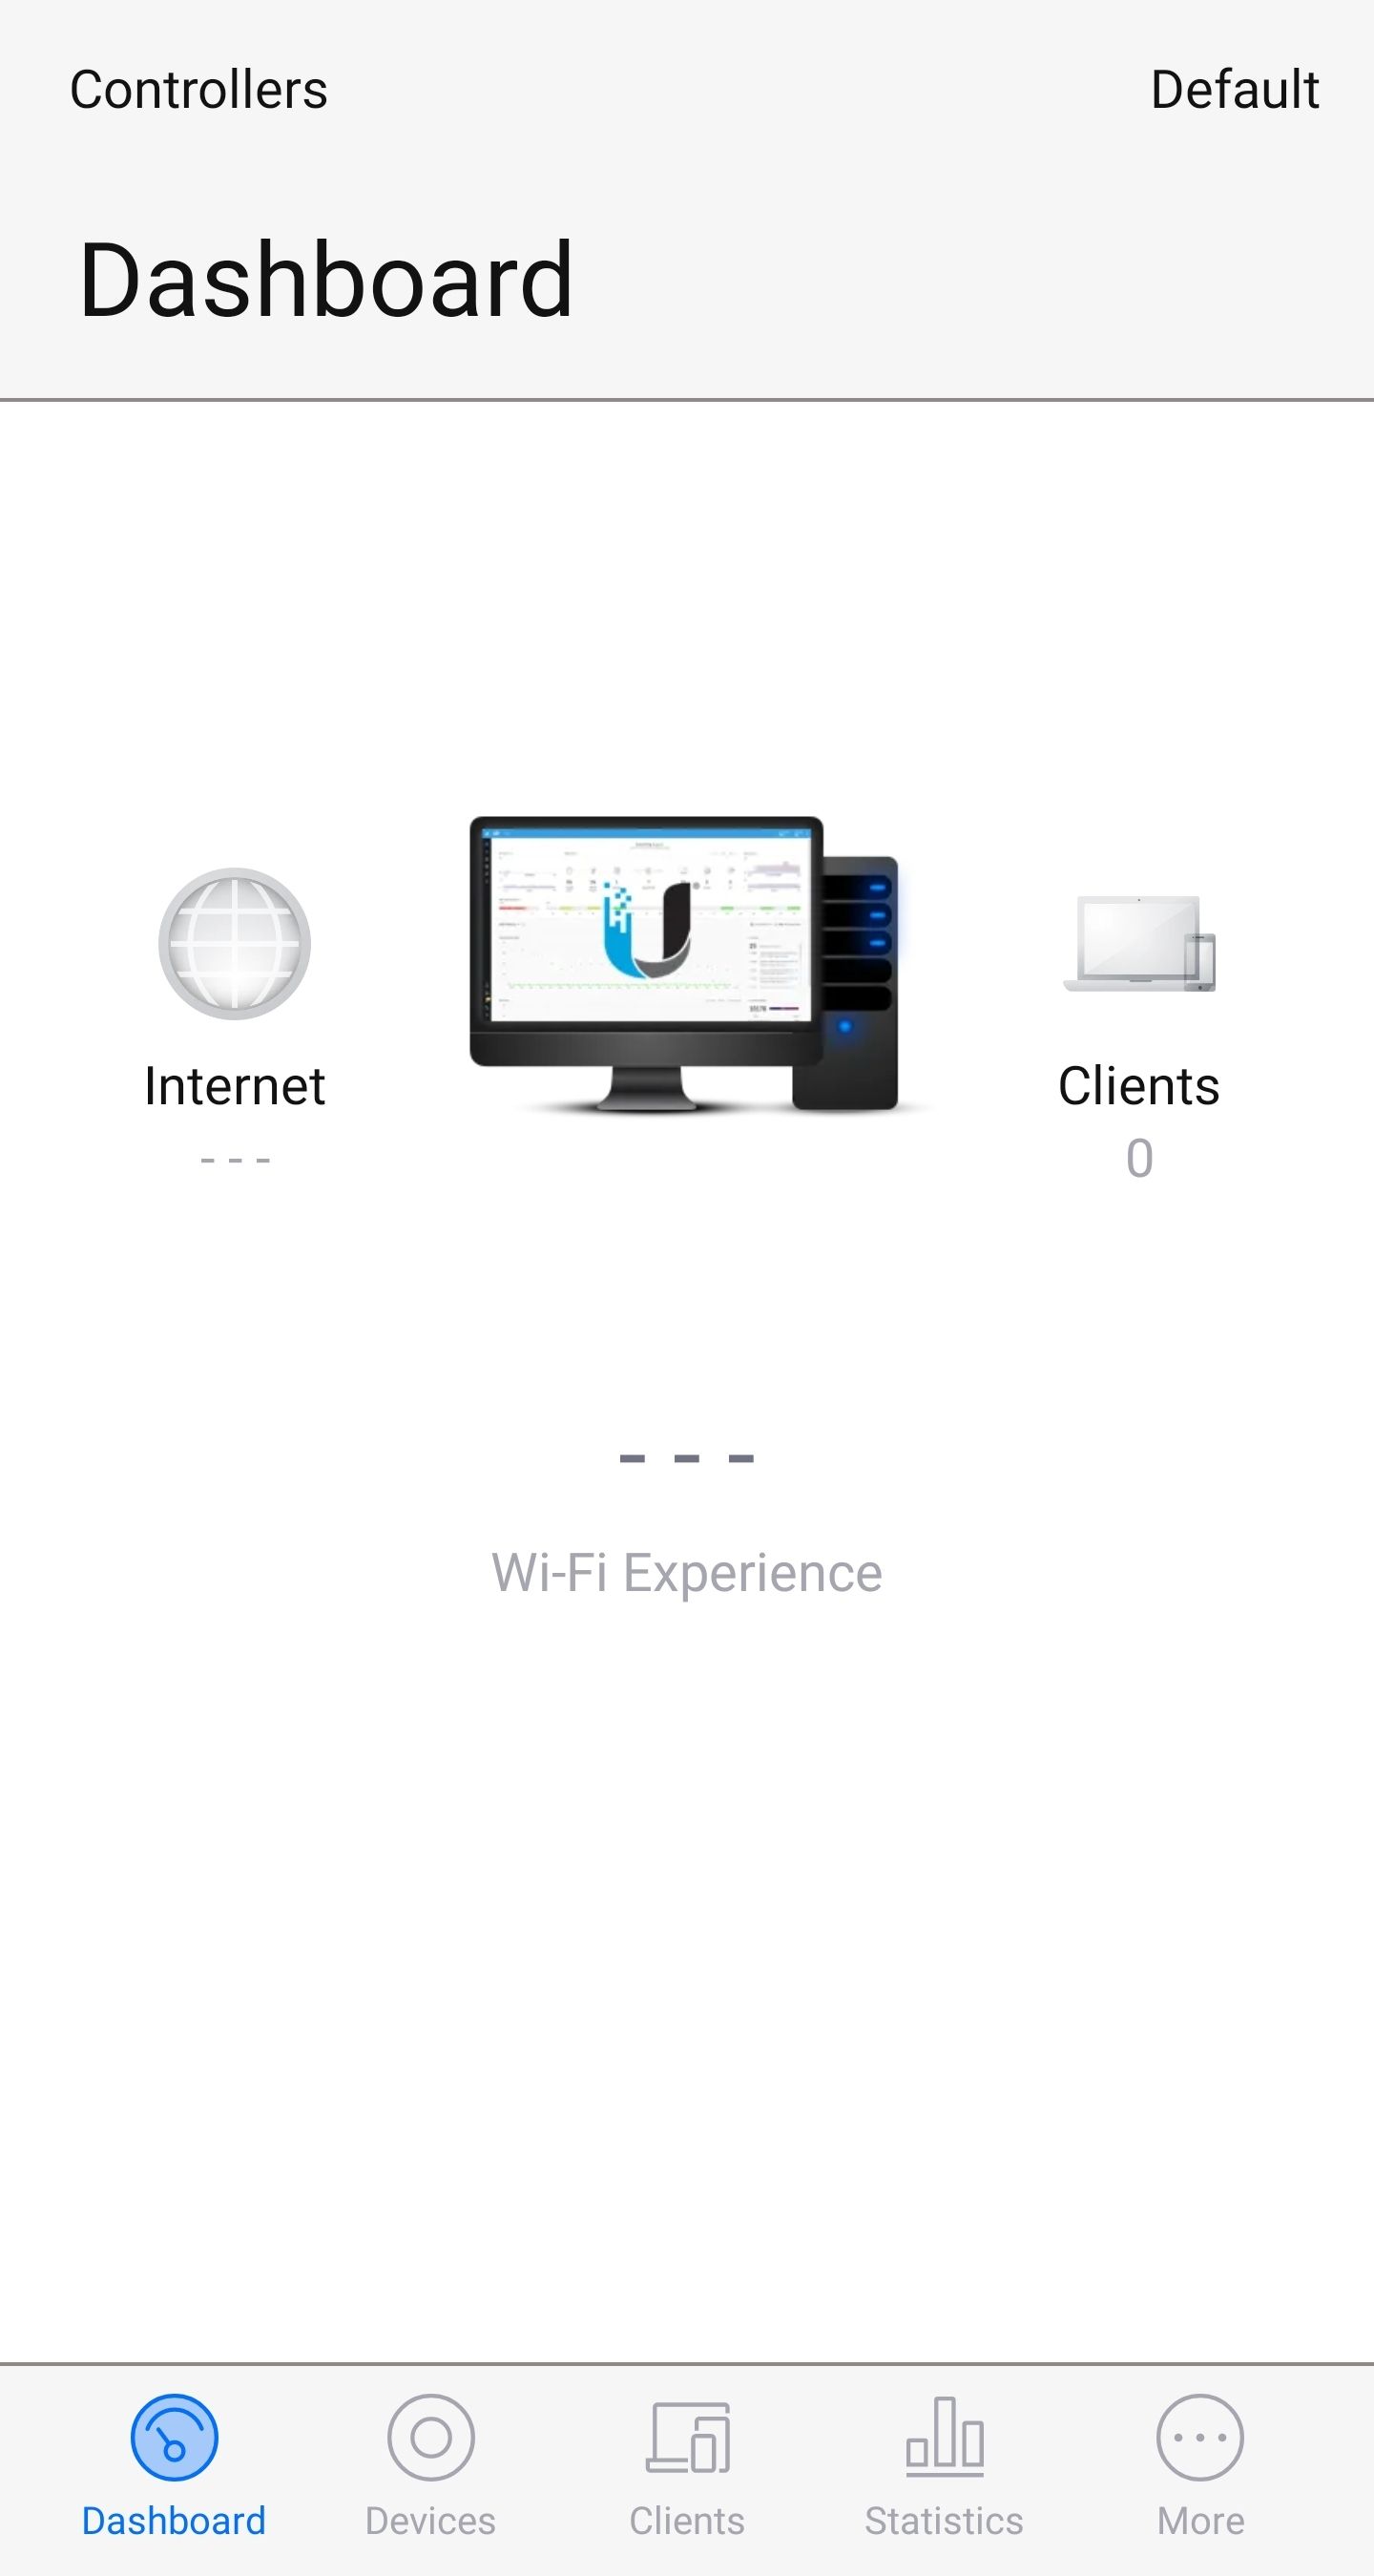
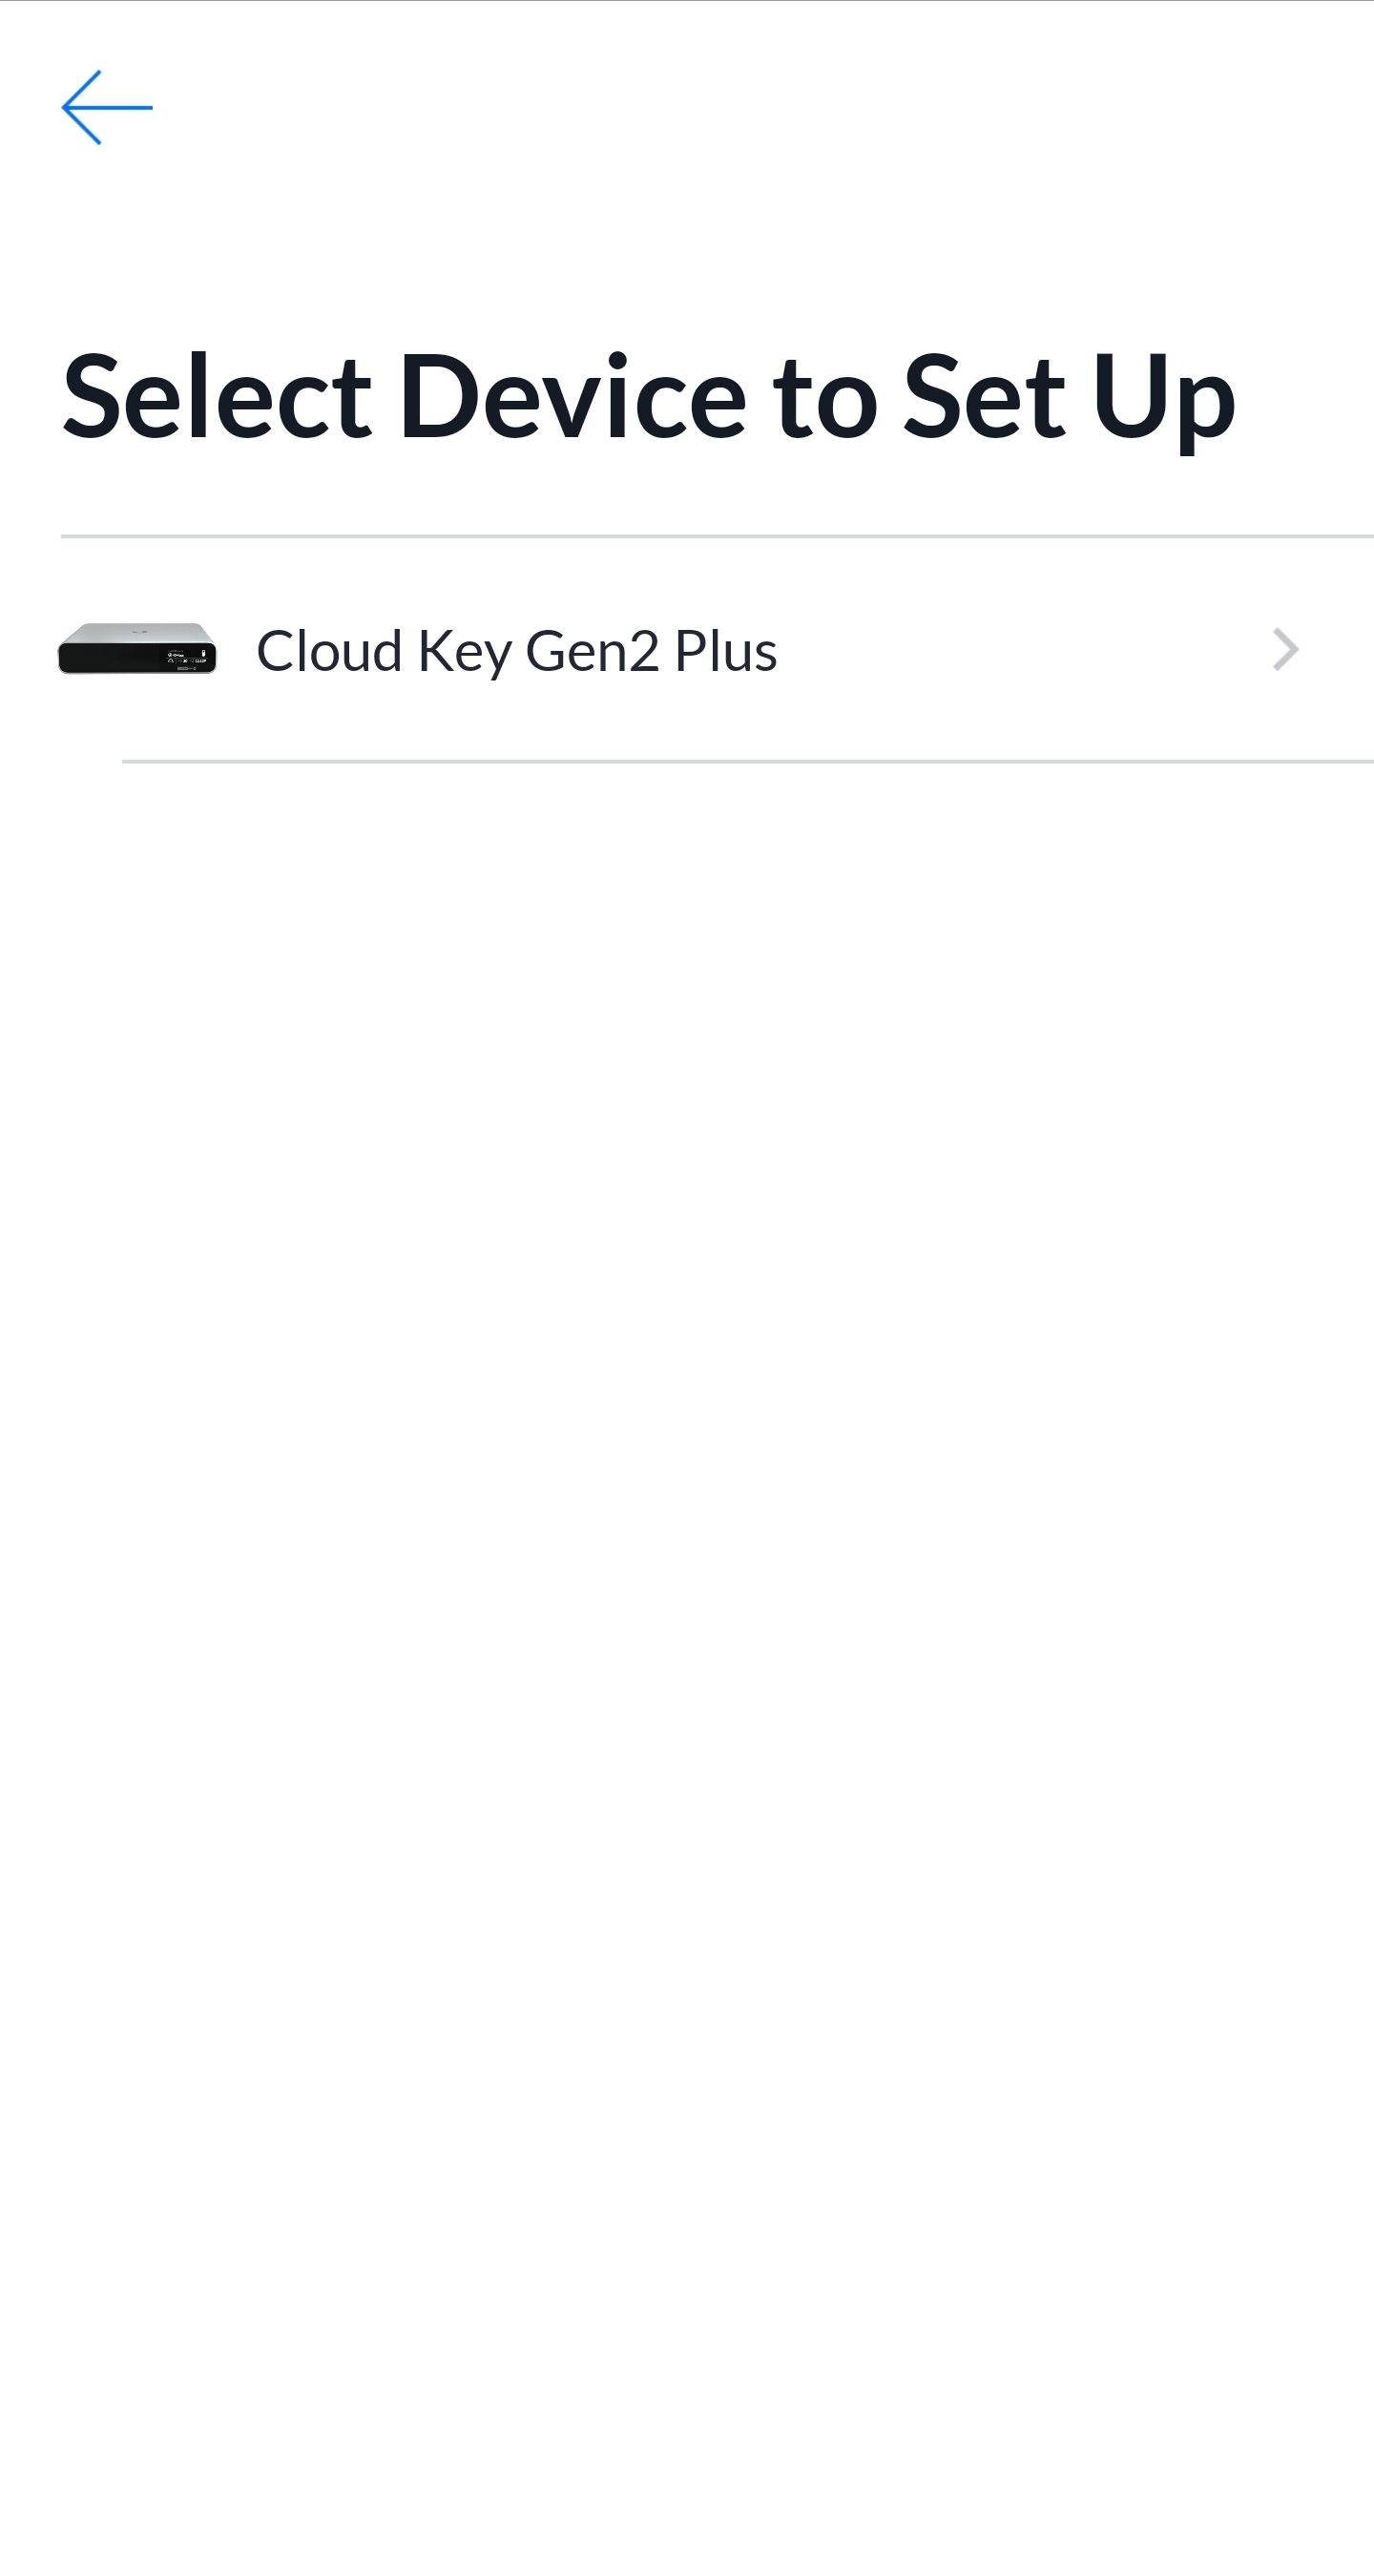
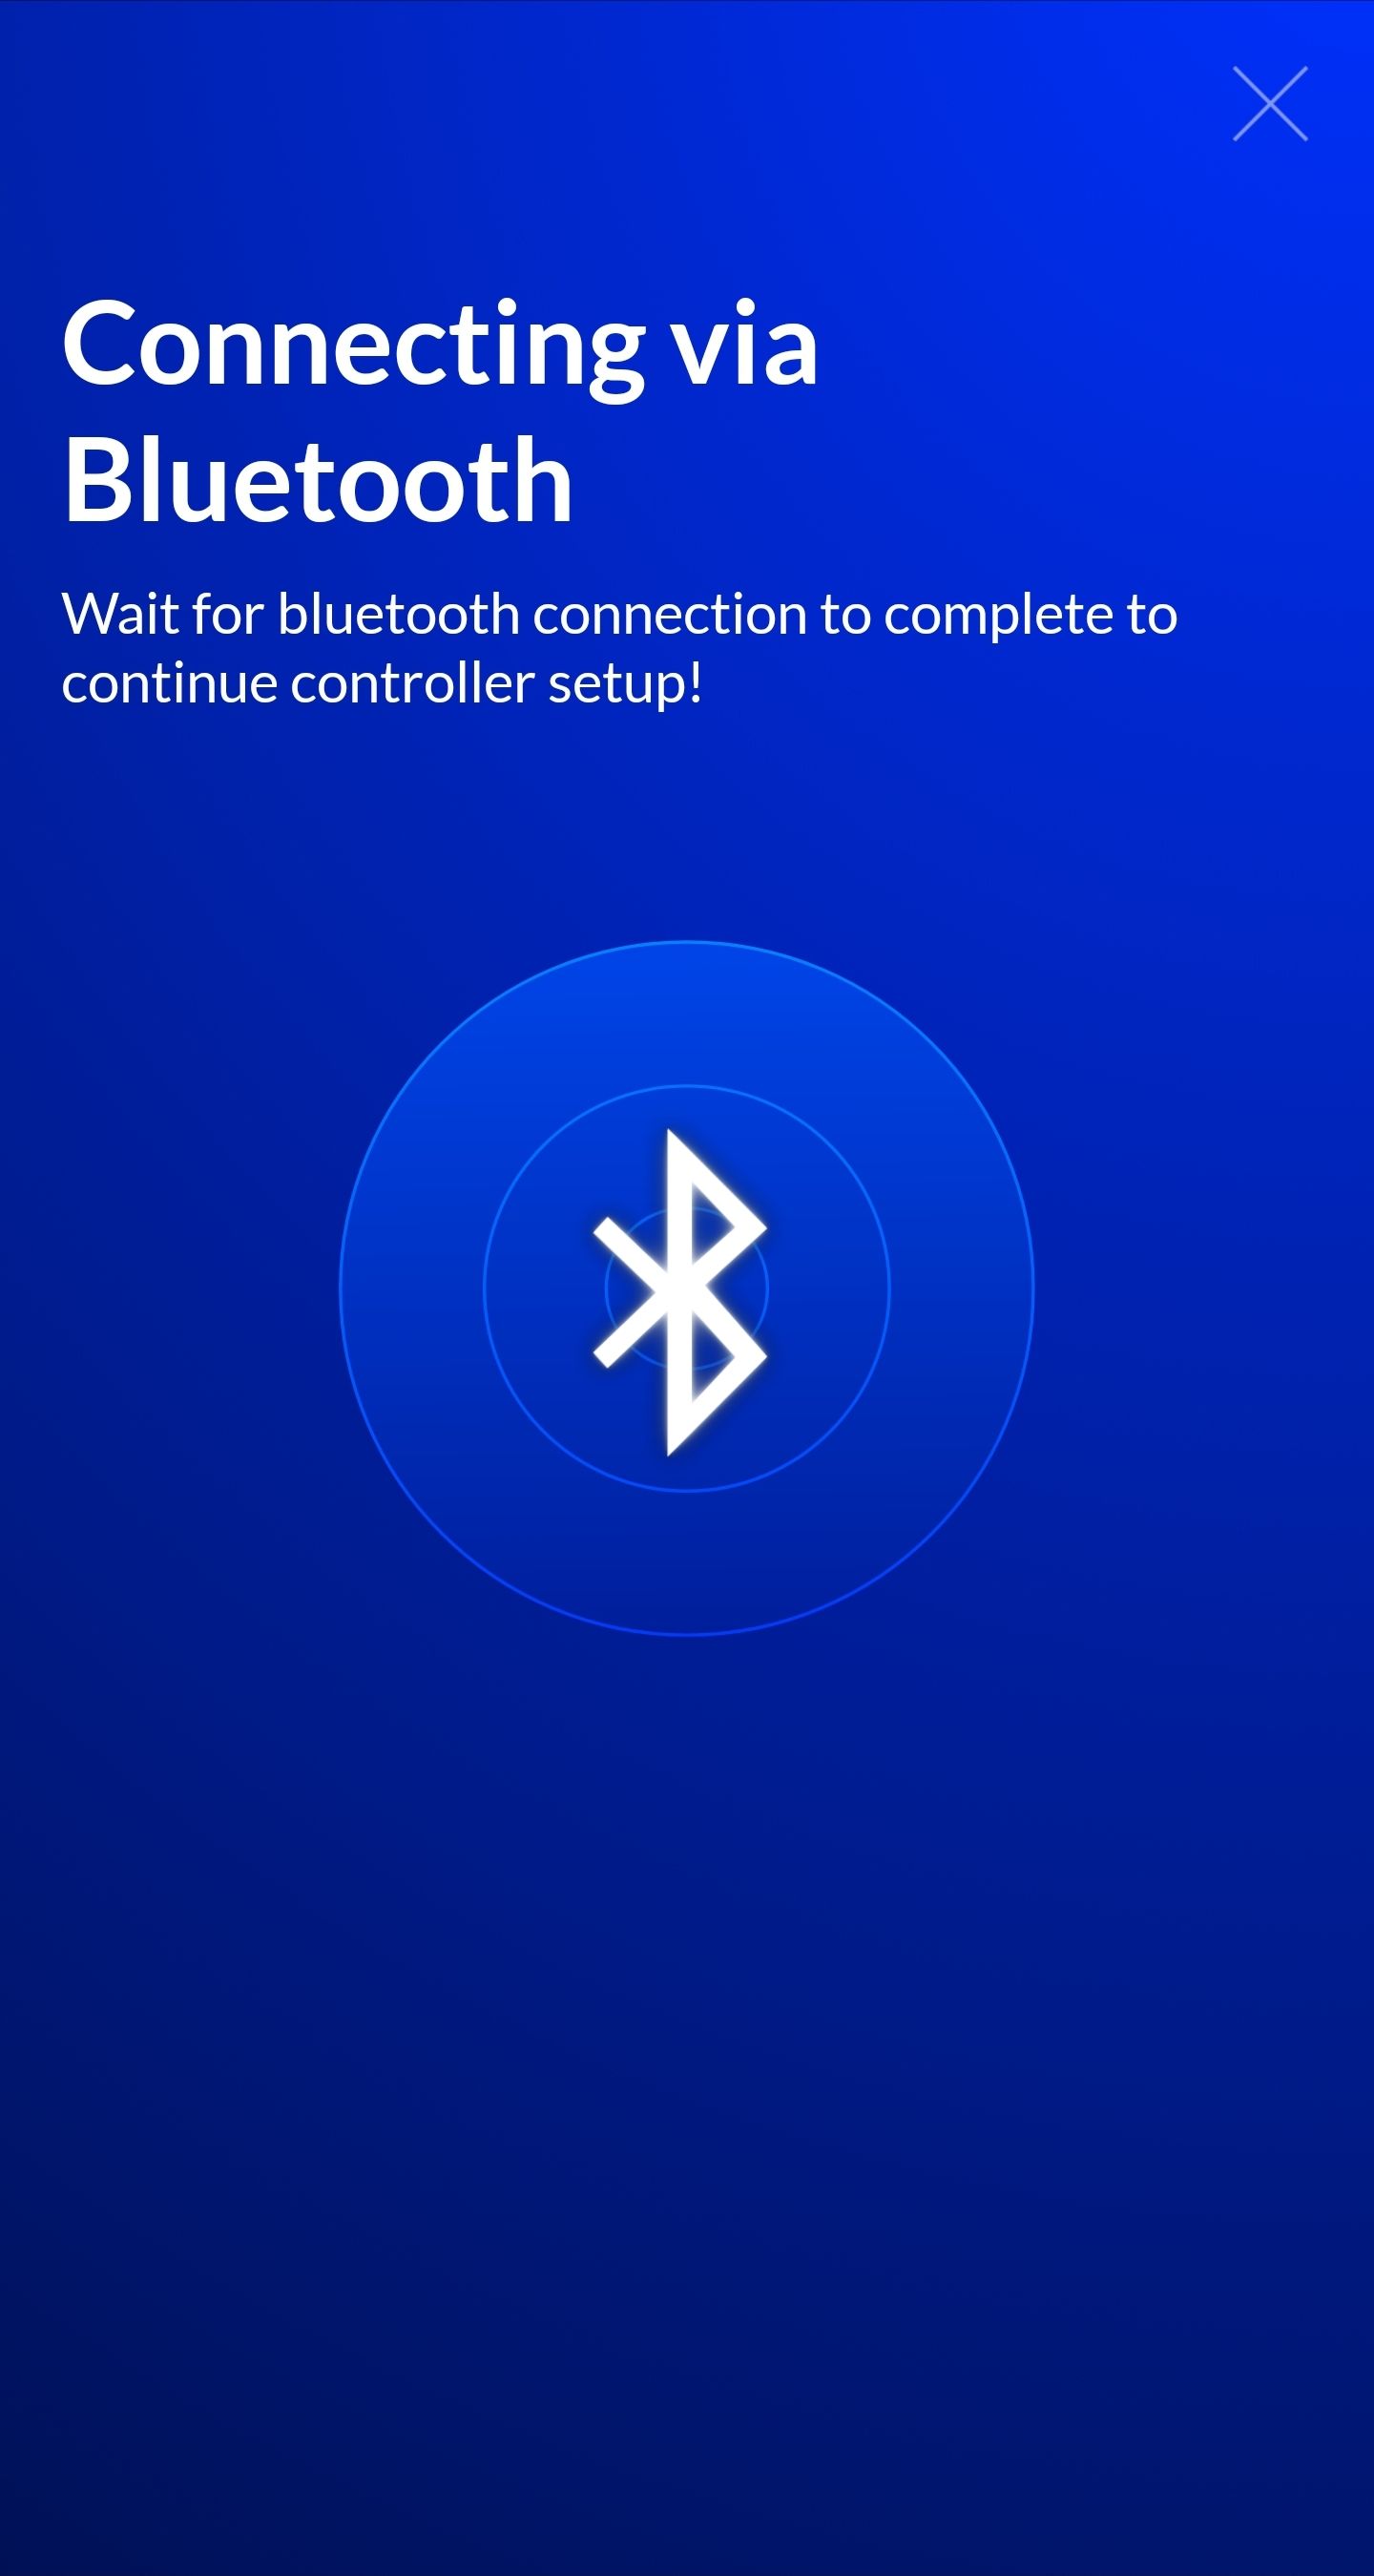
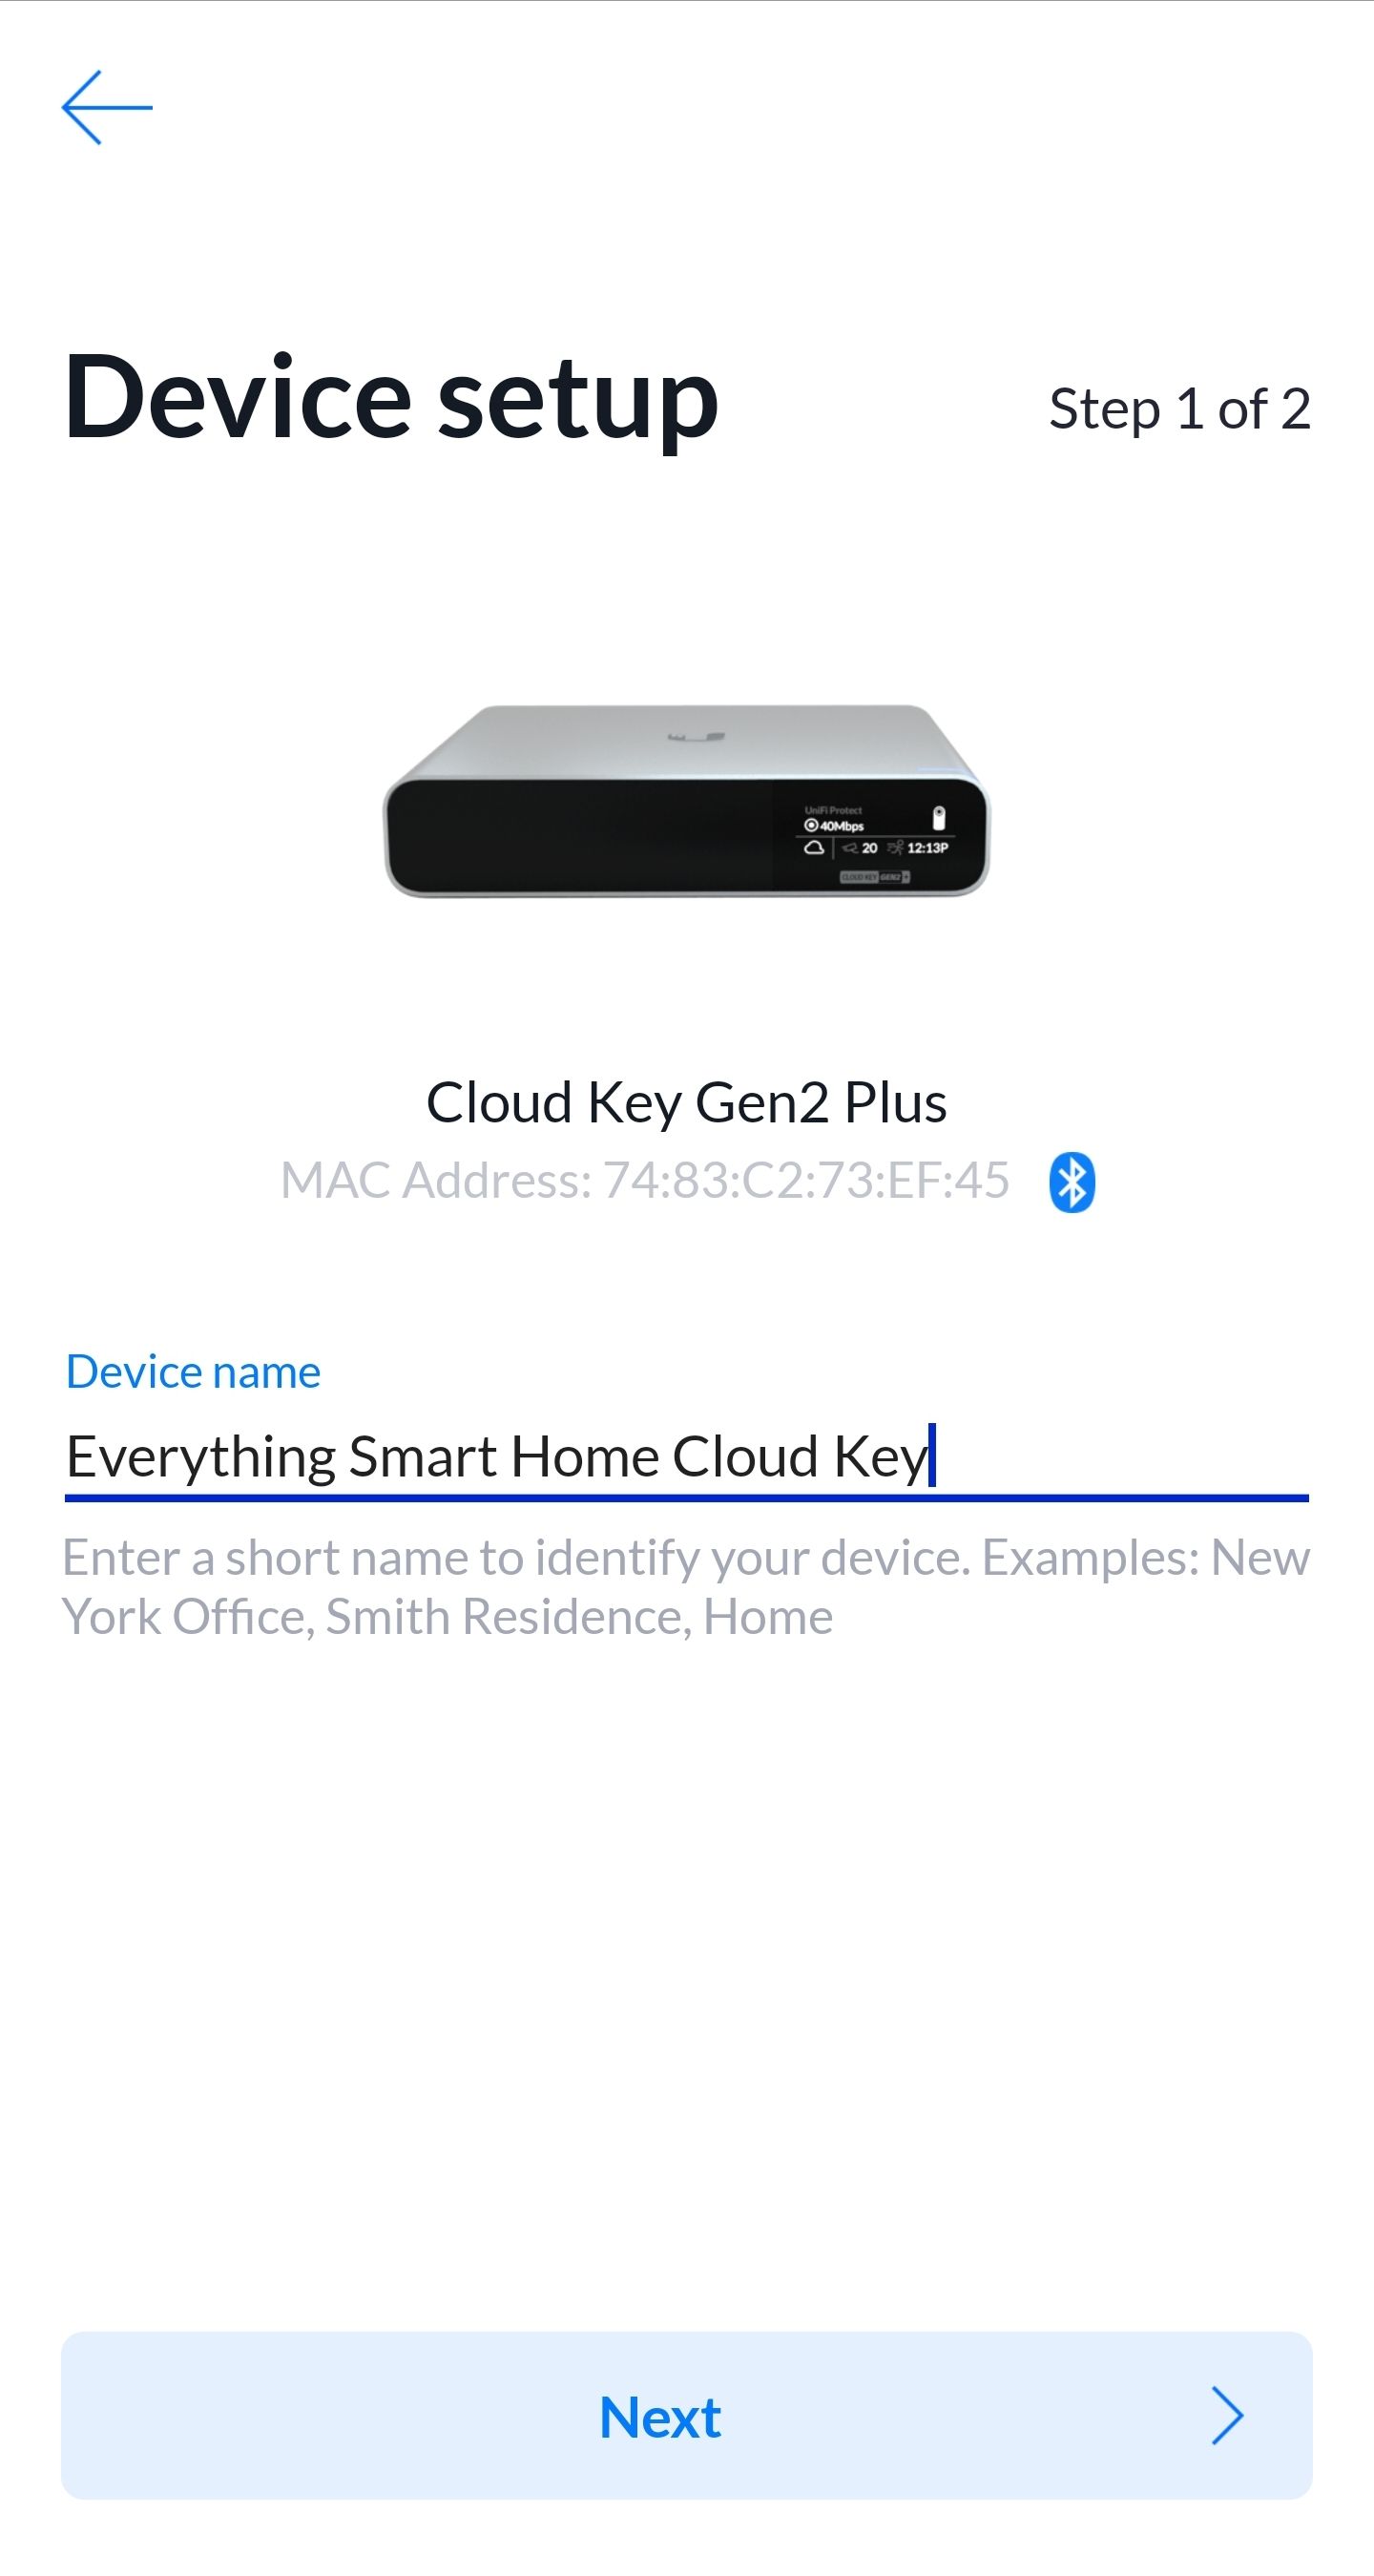
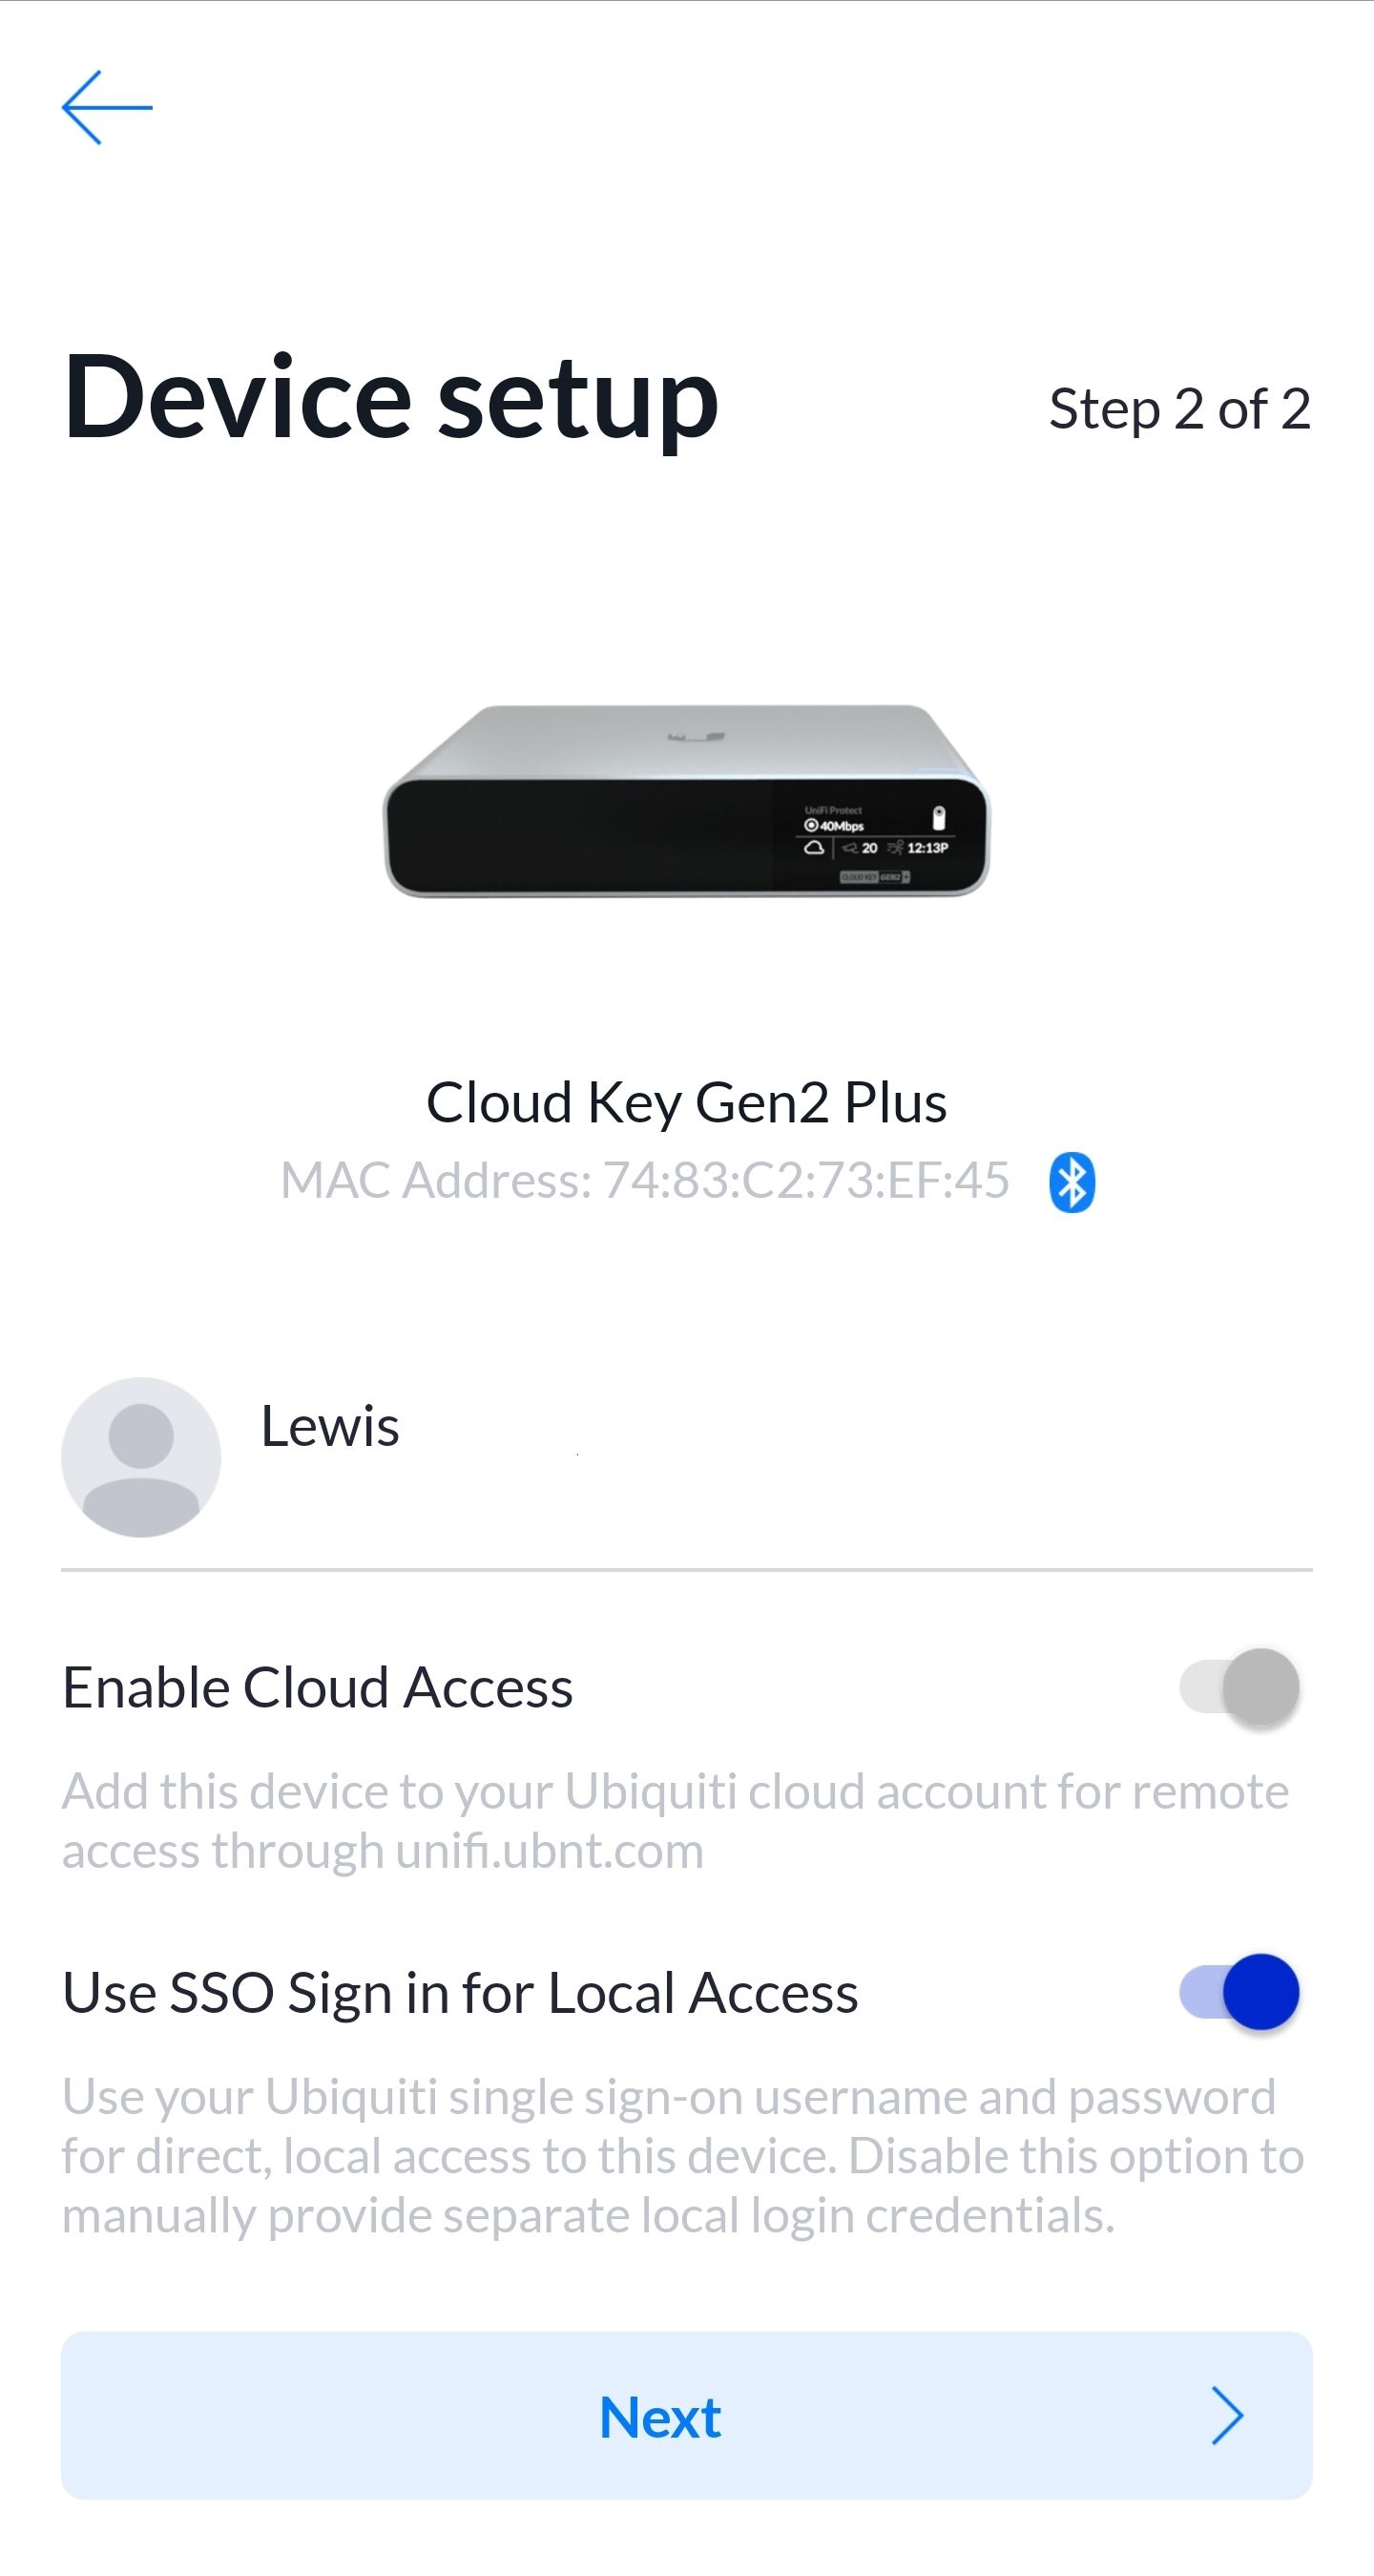
Opening the Unifi Network app first, you should register for a Ubiquiti SSO account first. Once logged in, the cloud key should appear automatically as a new device to add (if not press add controllers in the top right), at which point you can go through the setup. Once the controller is setup, it will also automatically detect your switch and begin adopting that:
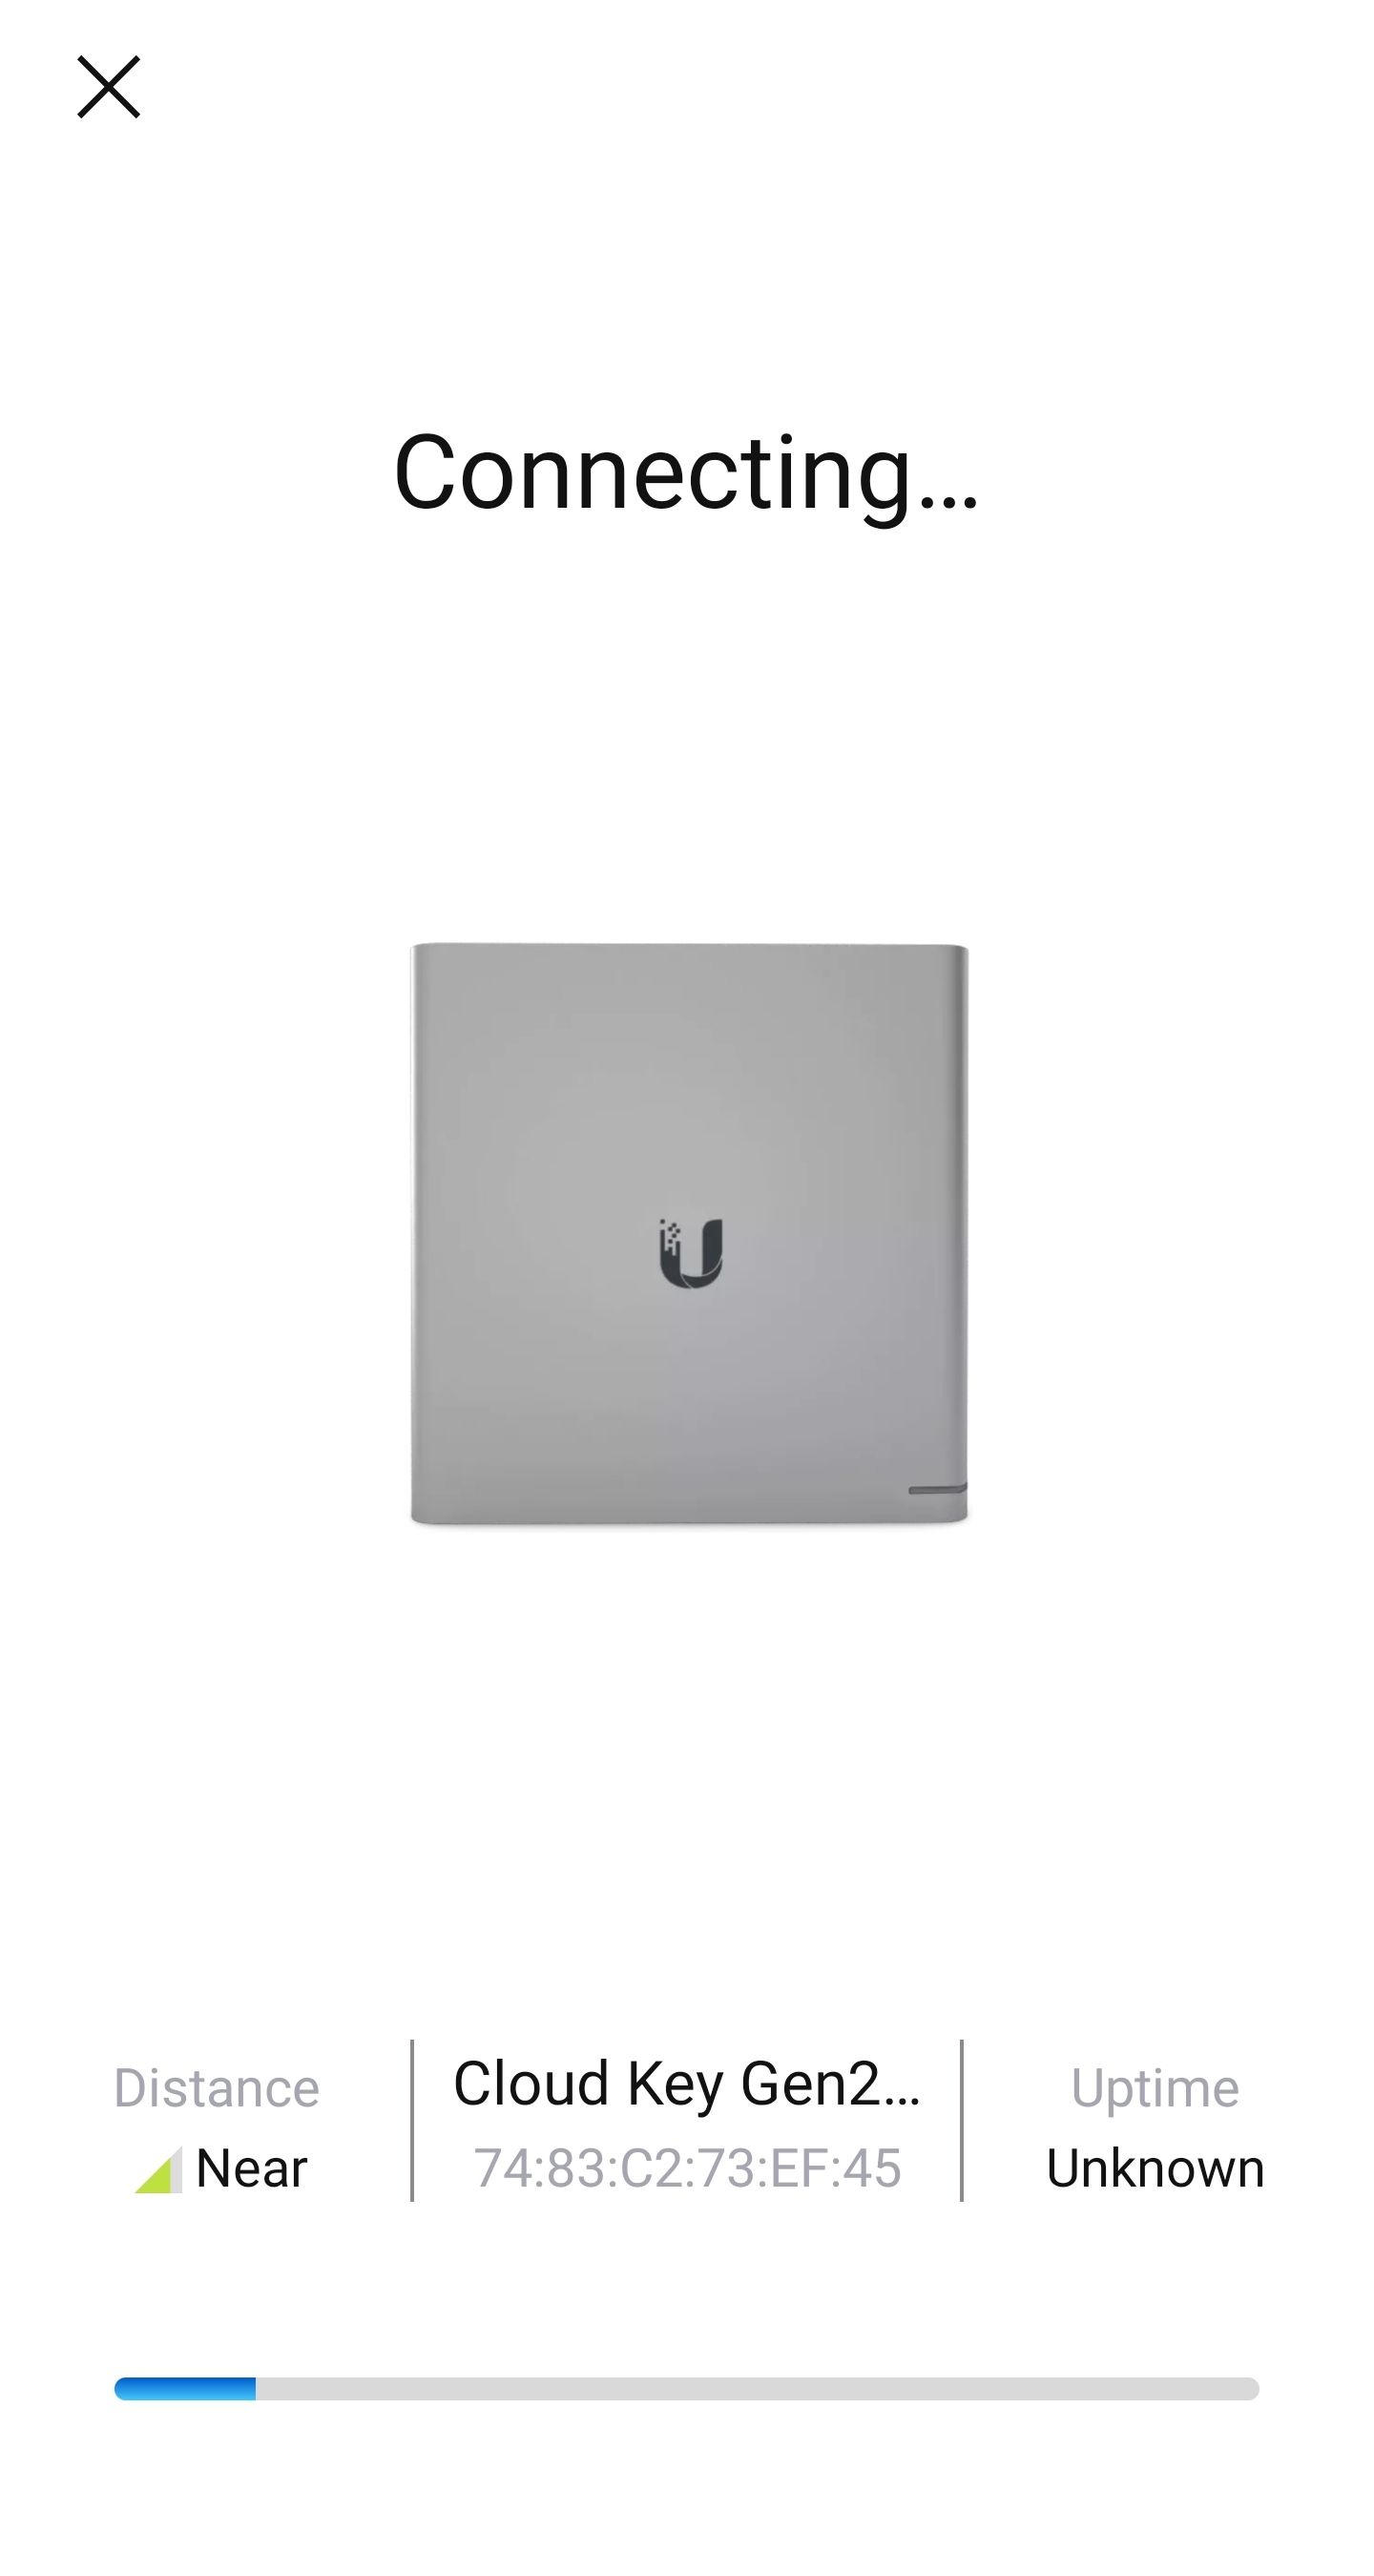
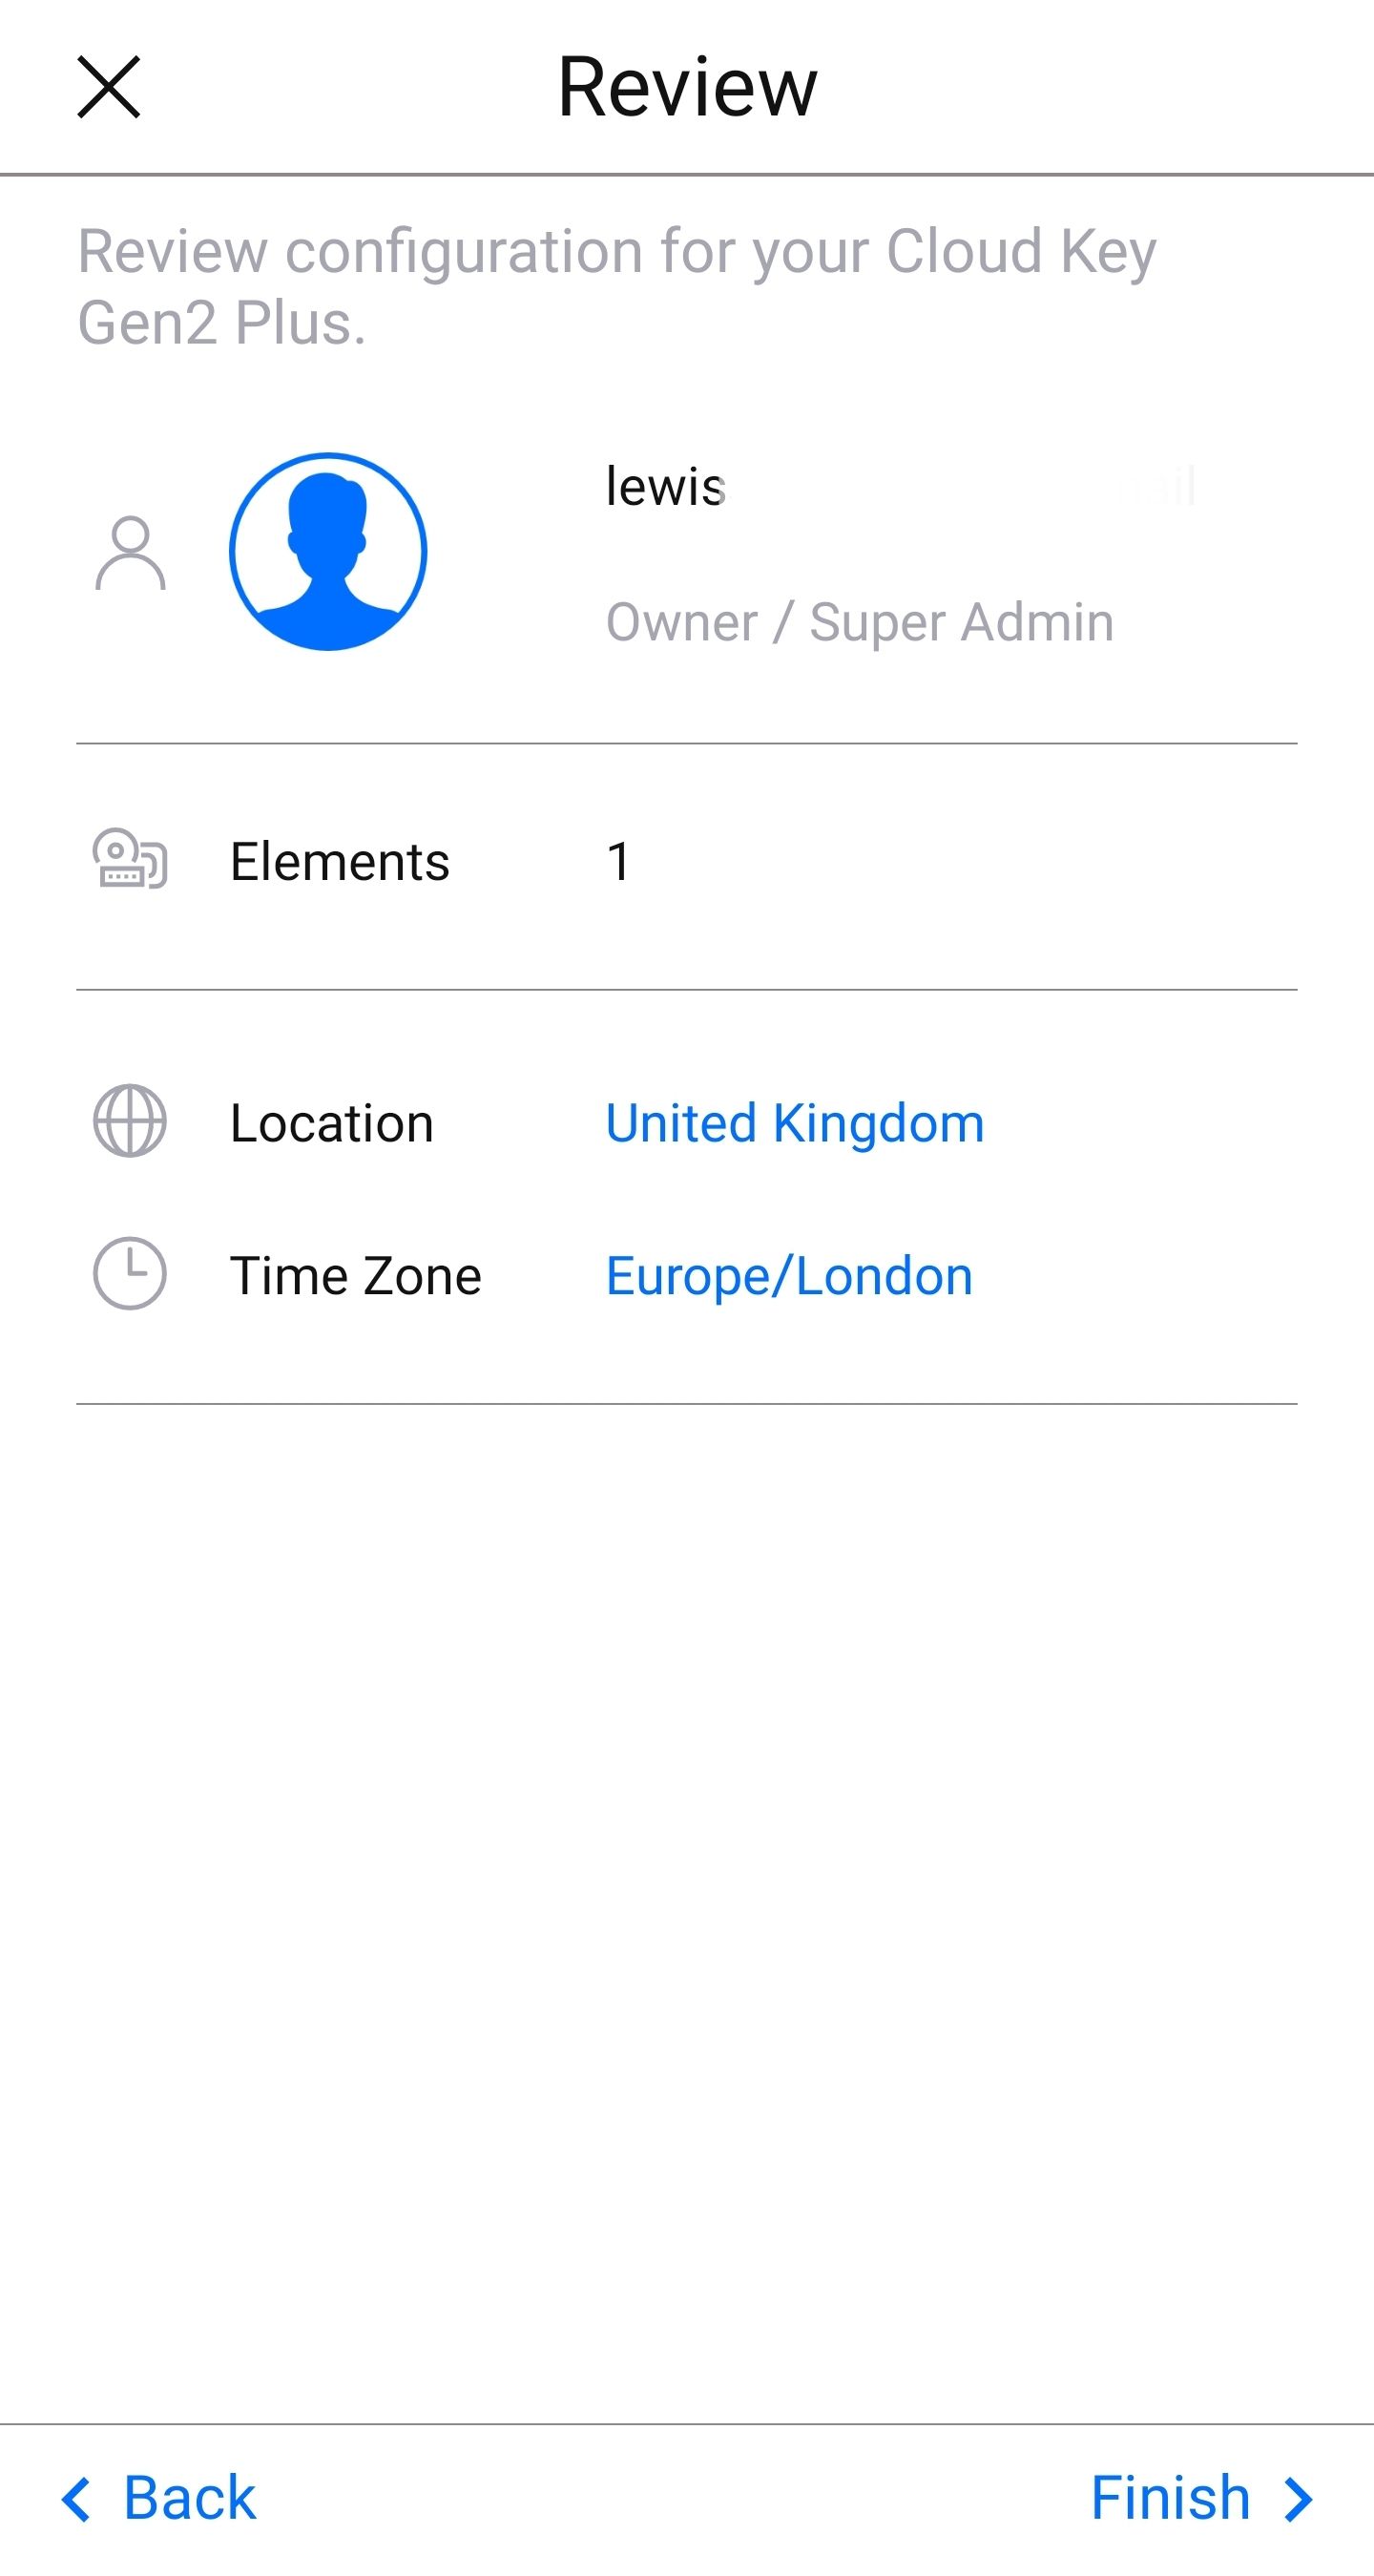

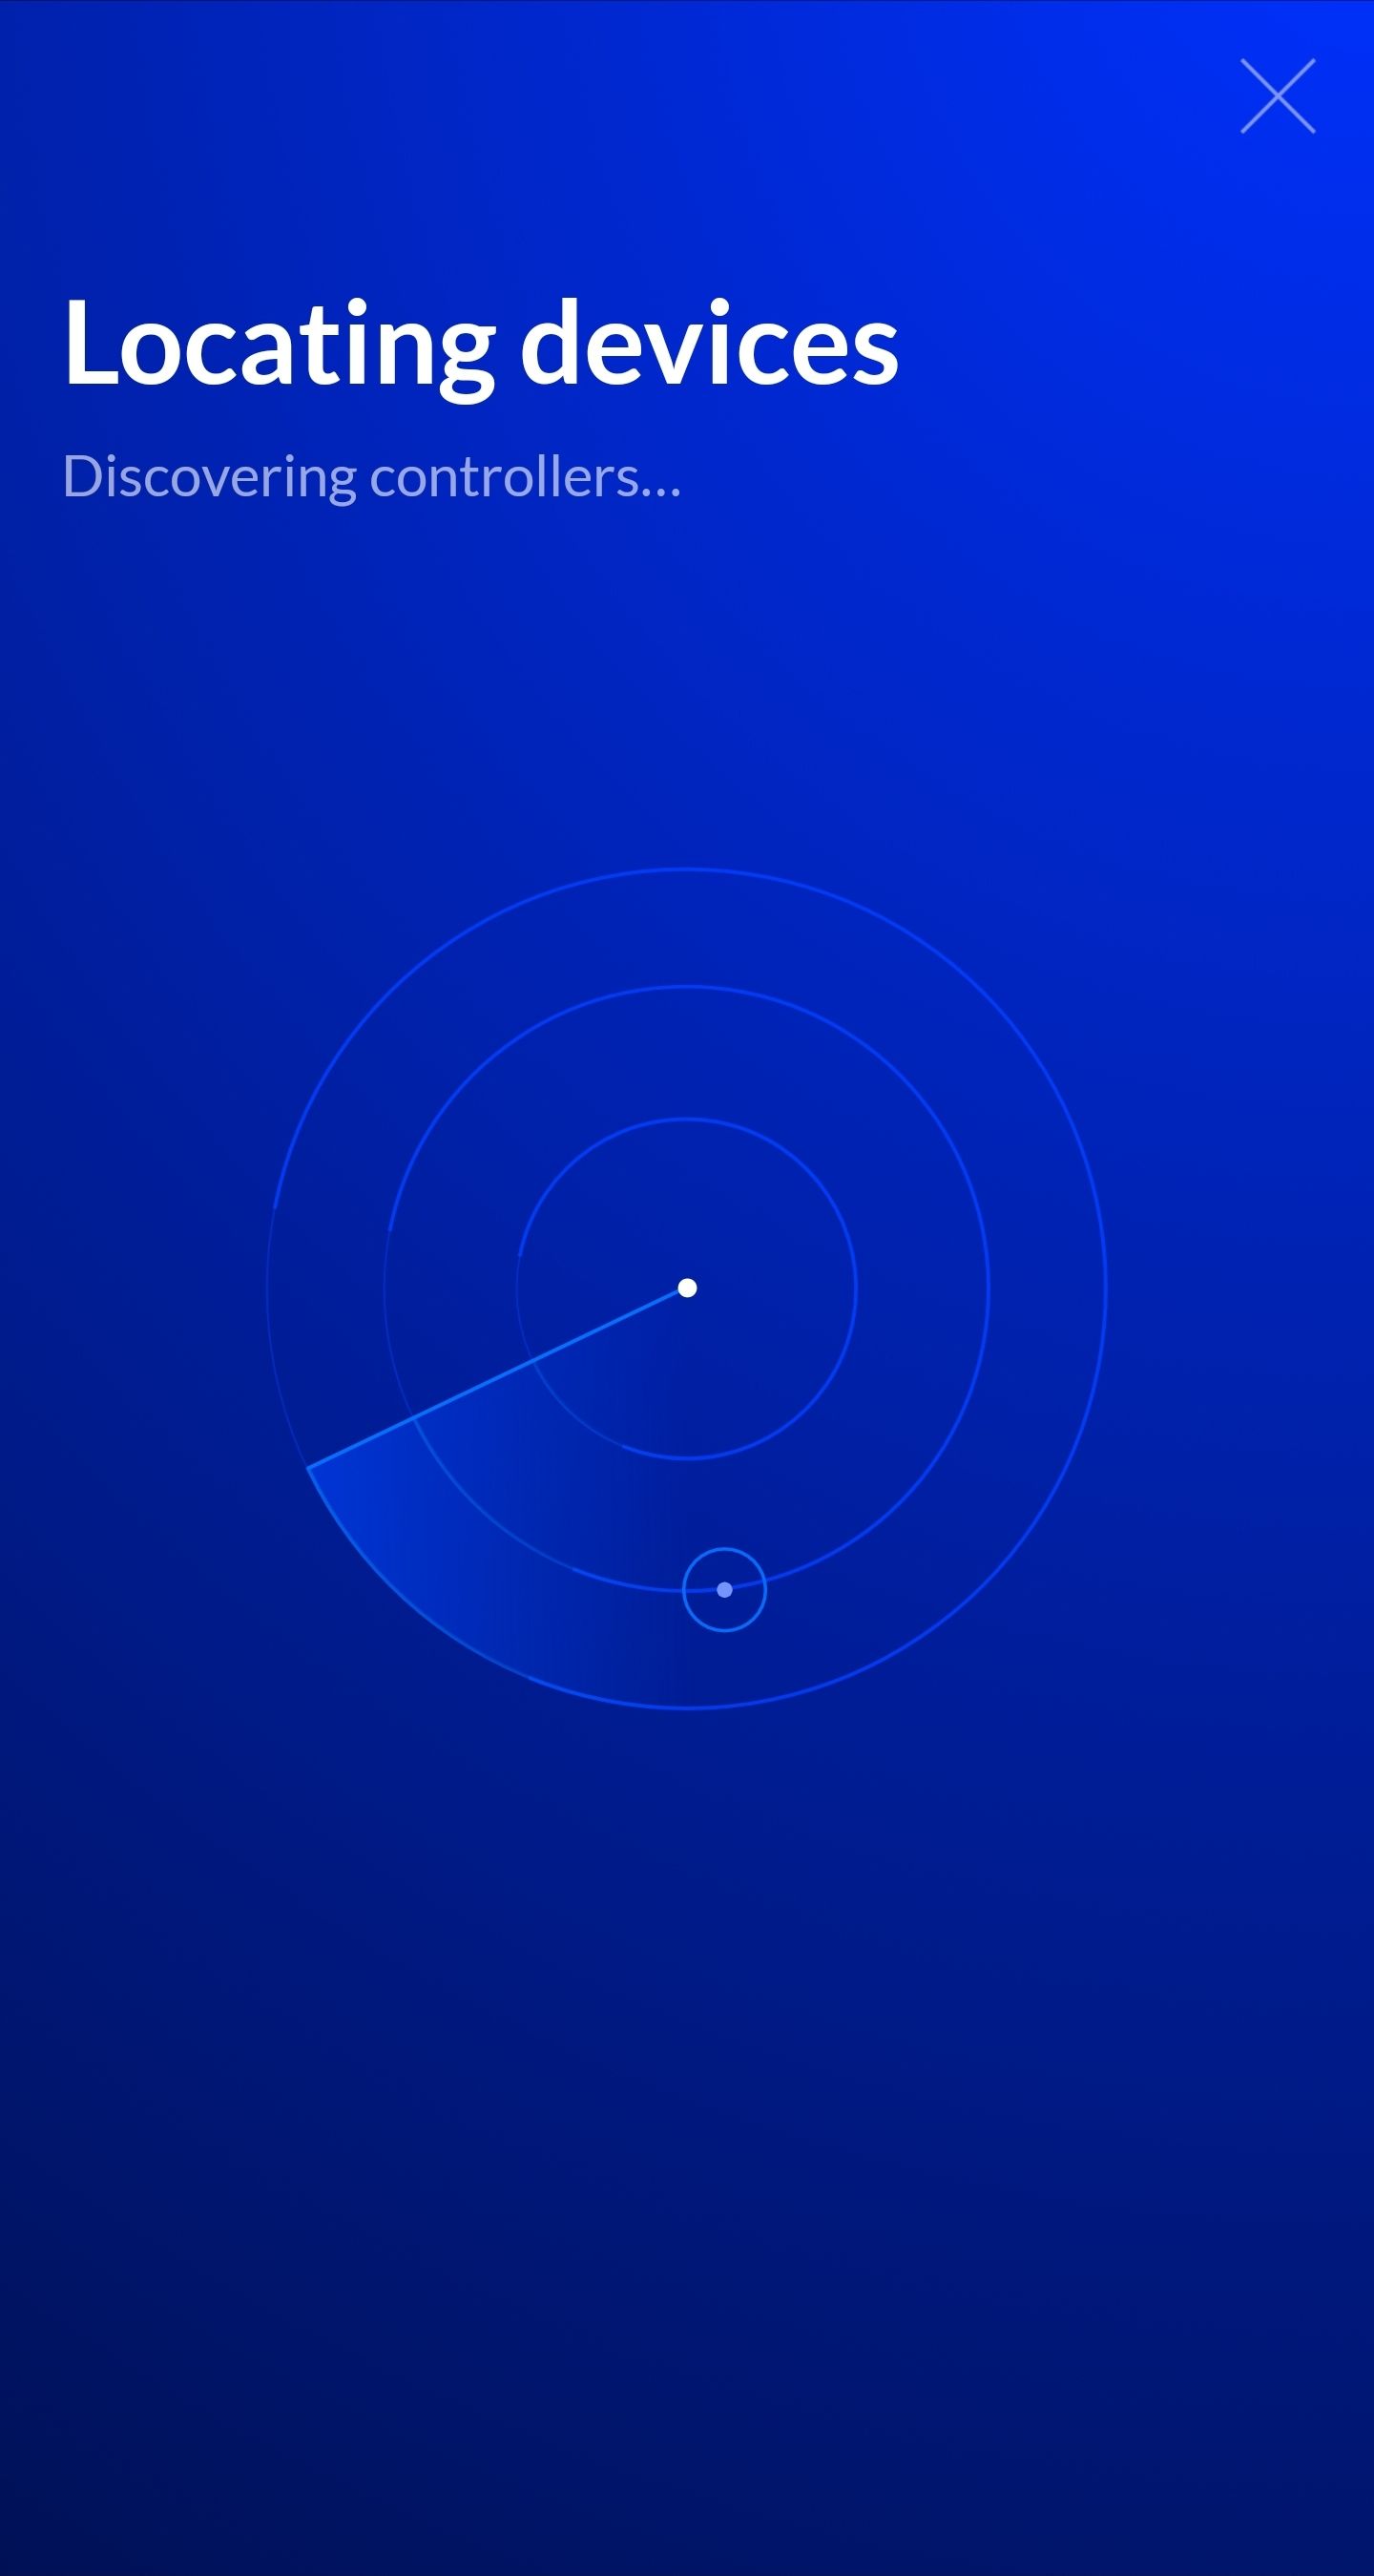
Next open the Unifi Protect App and sign in. Unifi protect will then begin searching for the Cloud Key Controller and automatically start the setup, you will be asked if you want to add the camera at the same time:
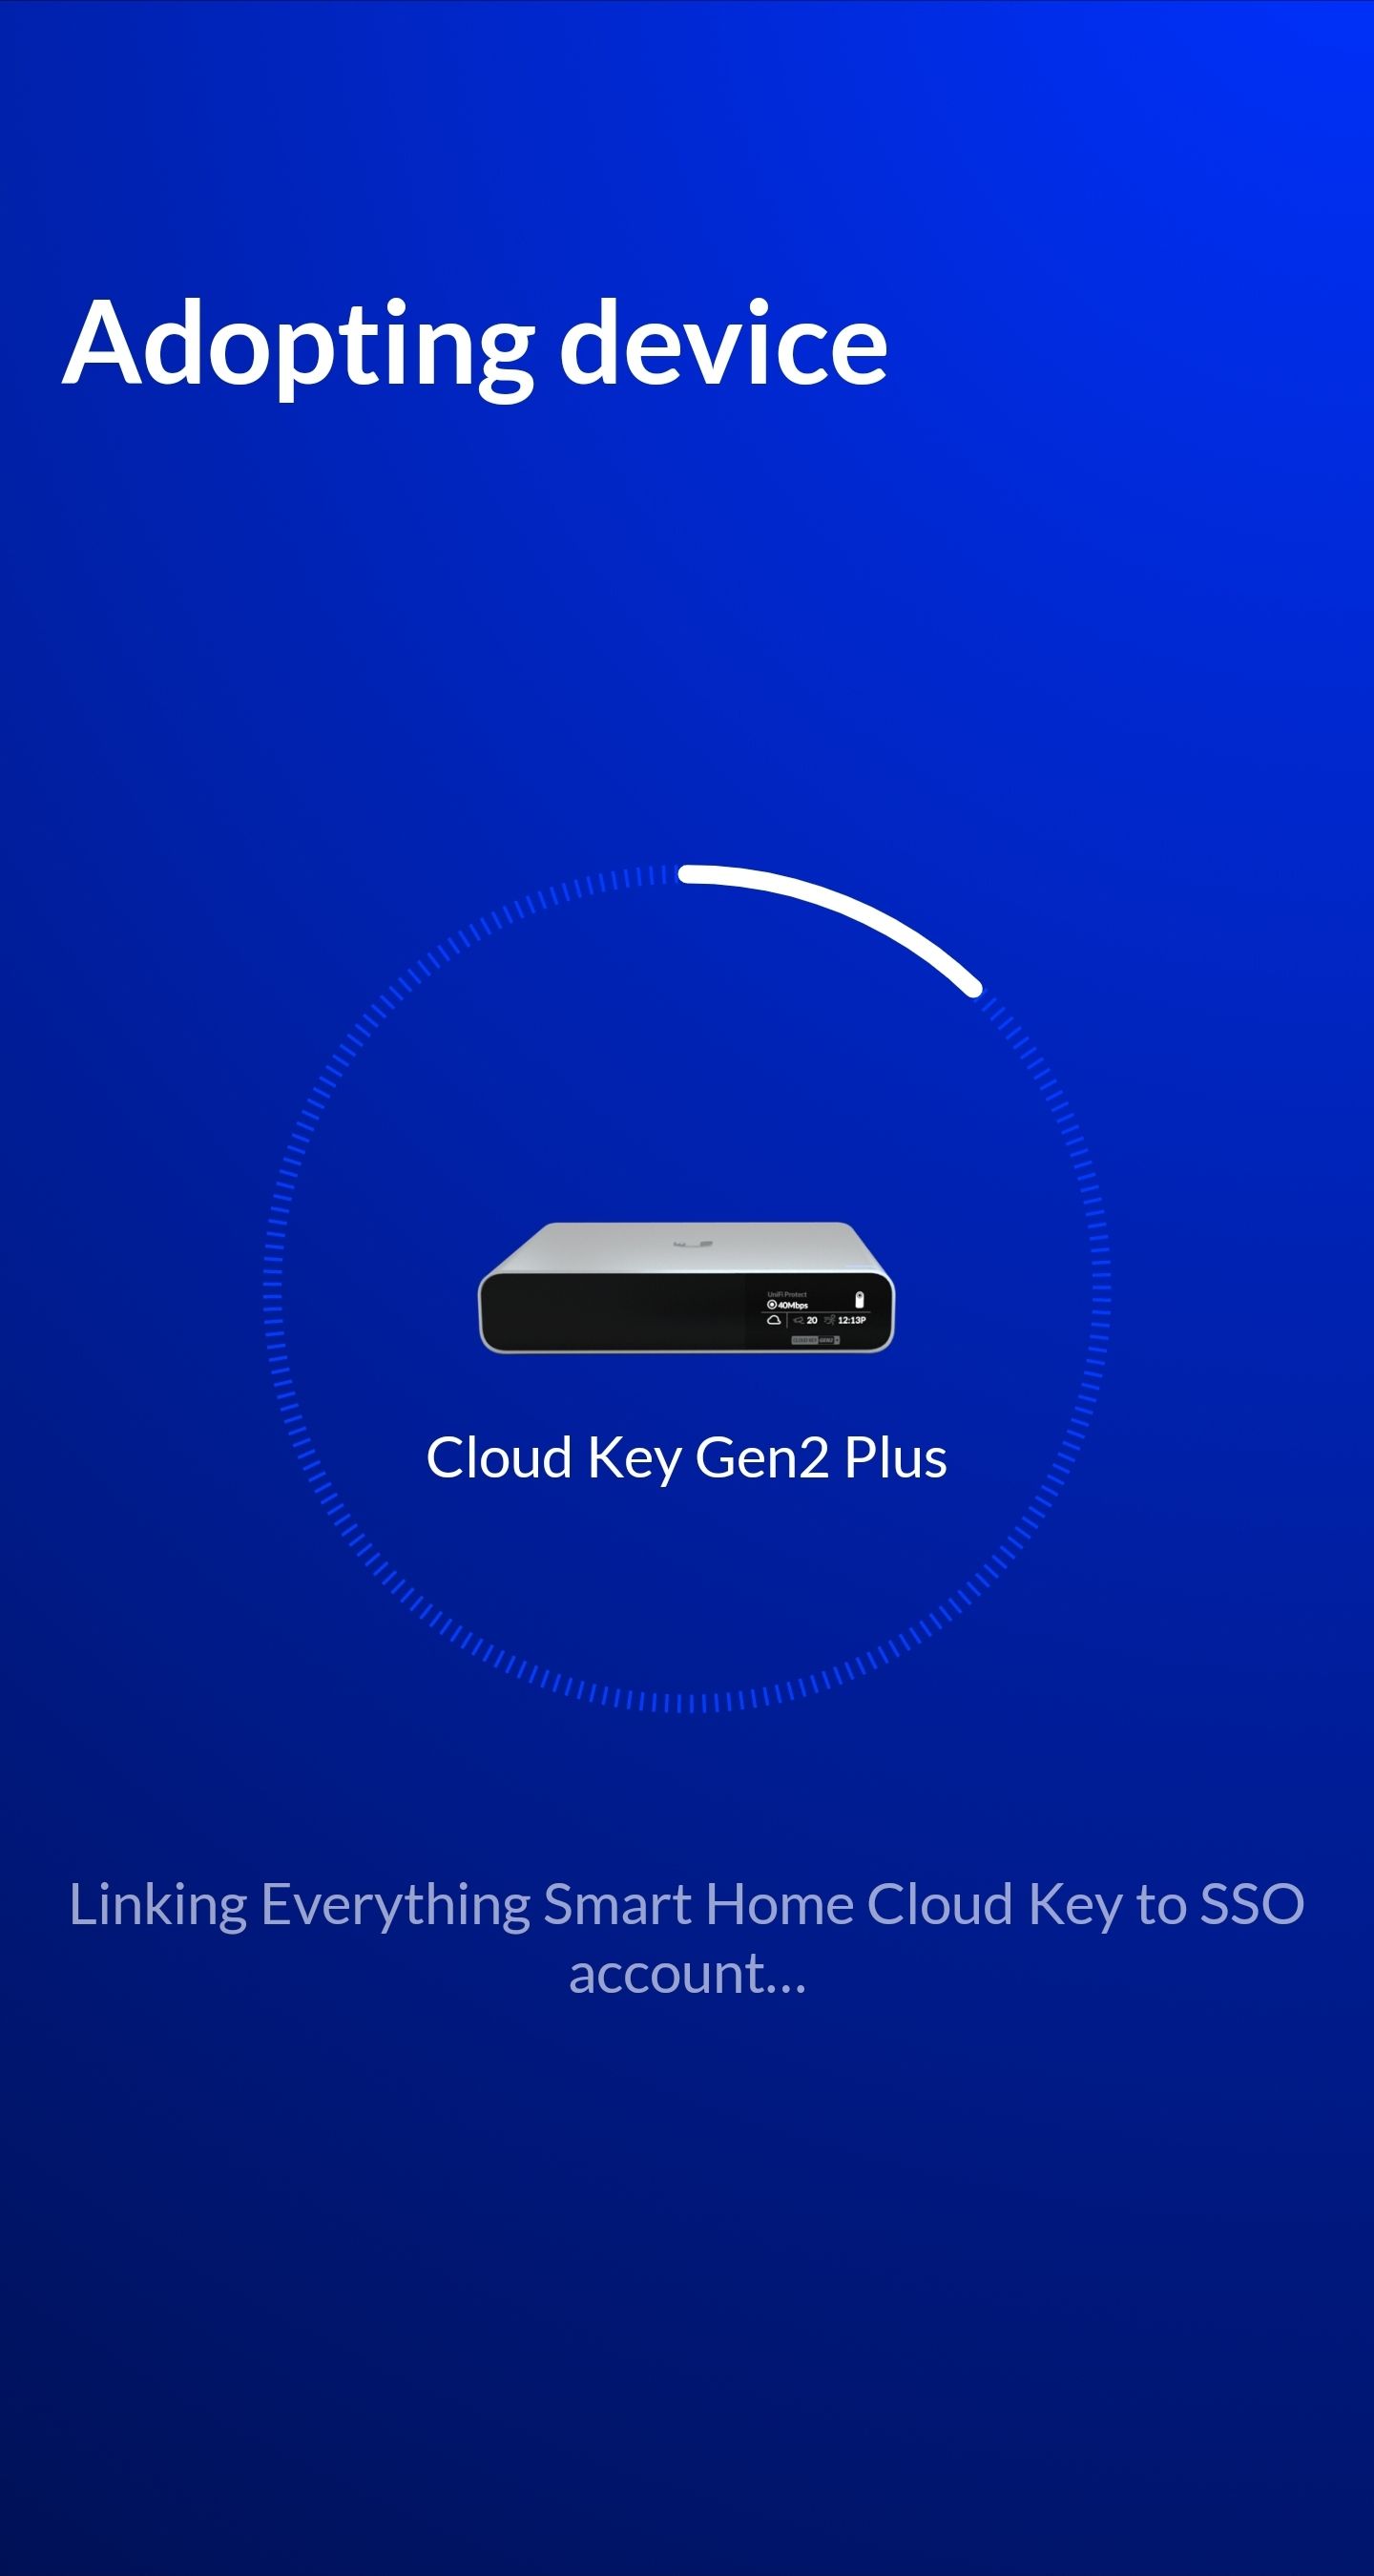
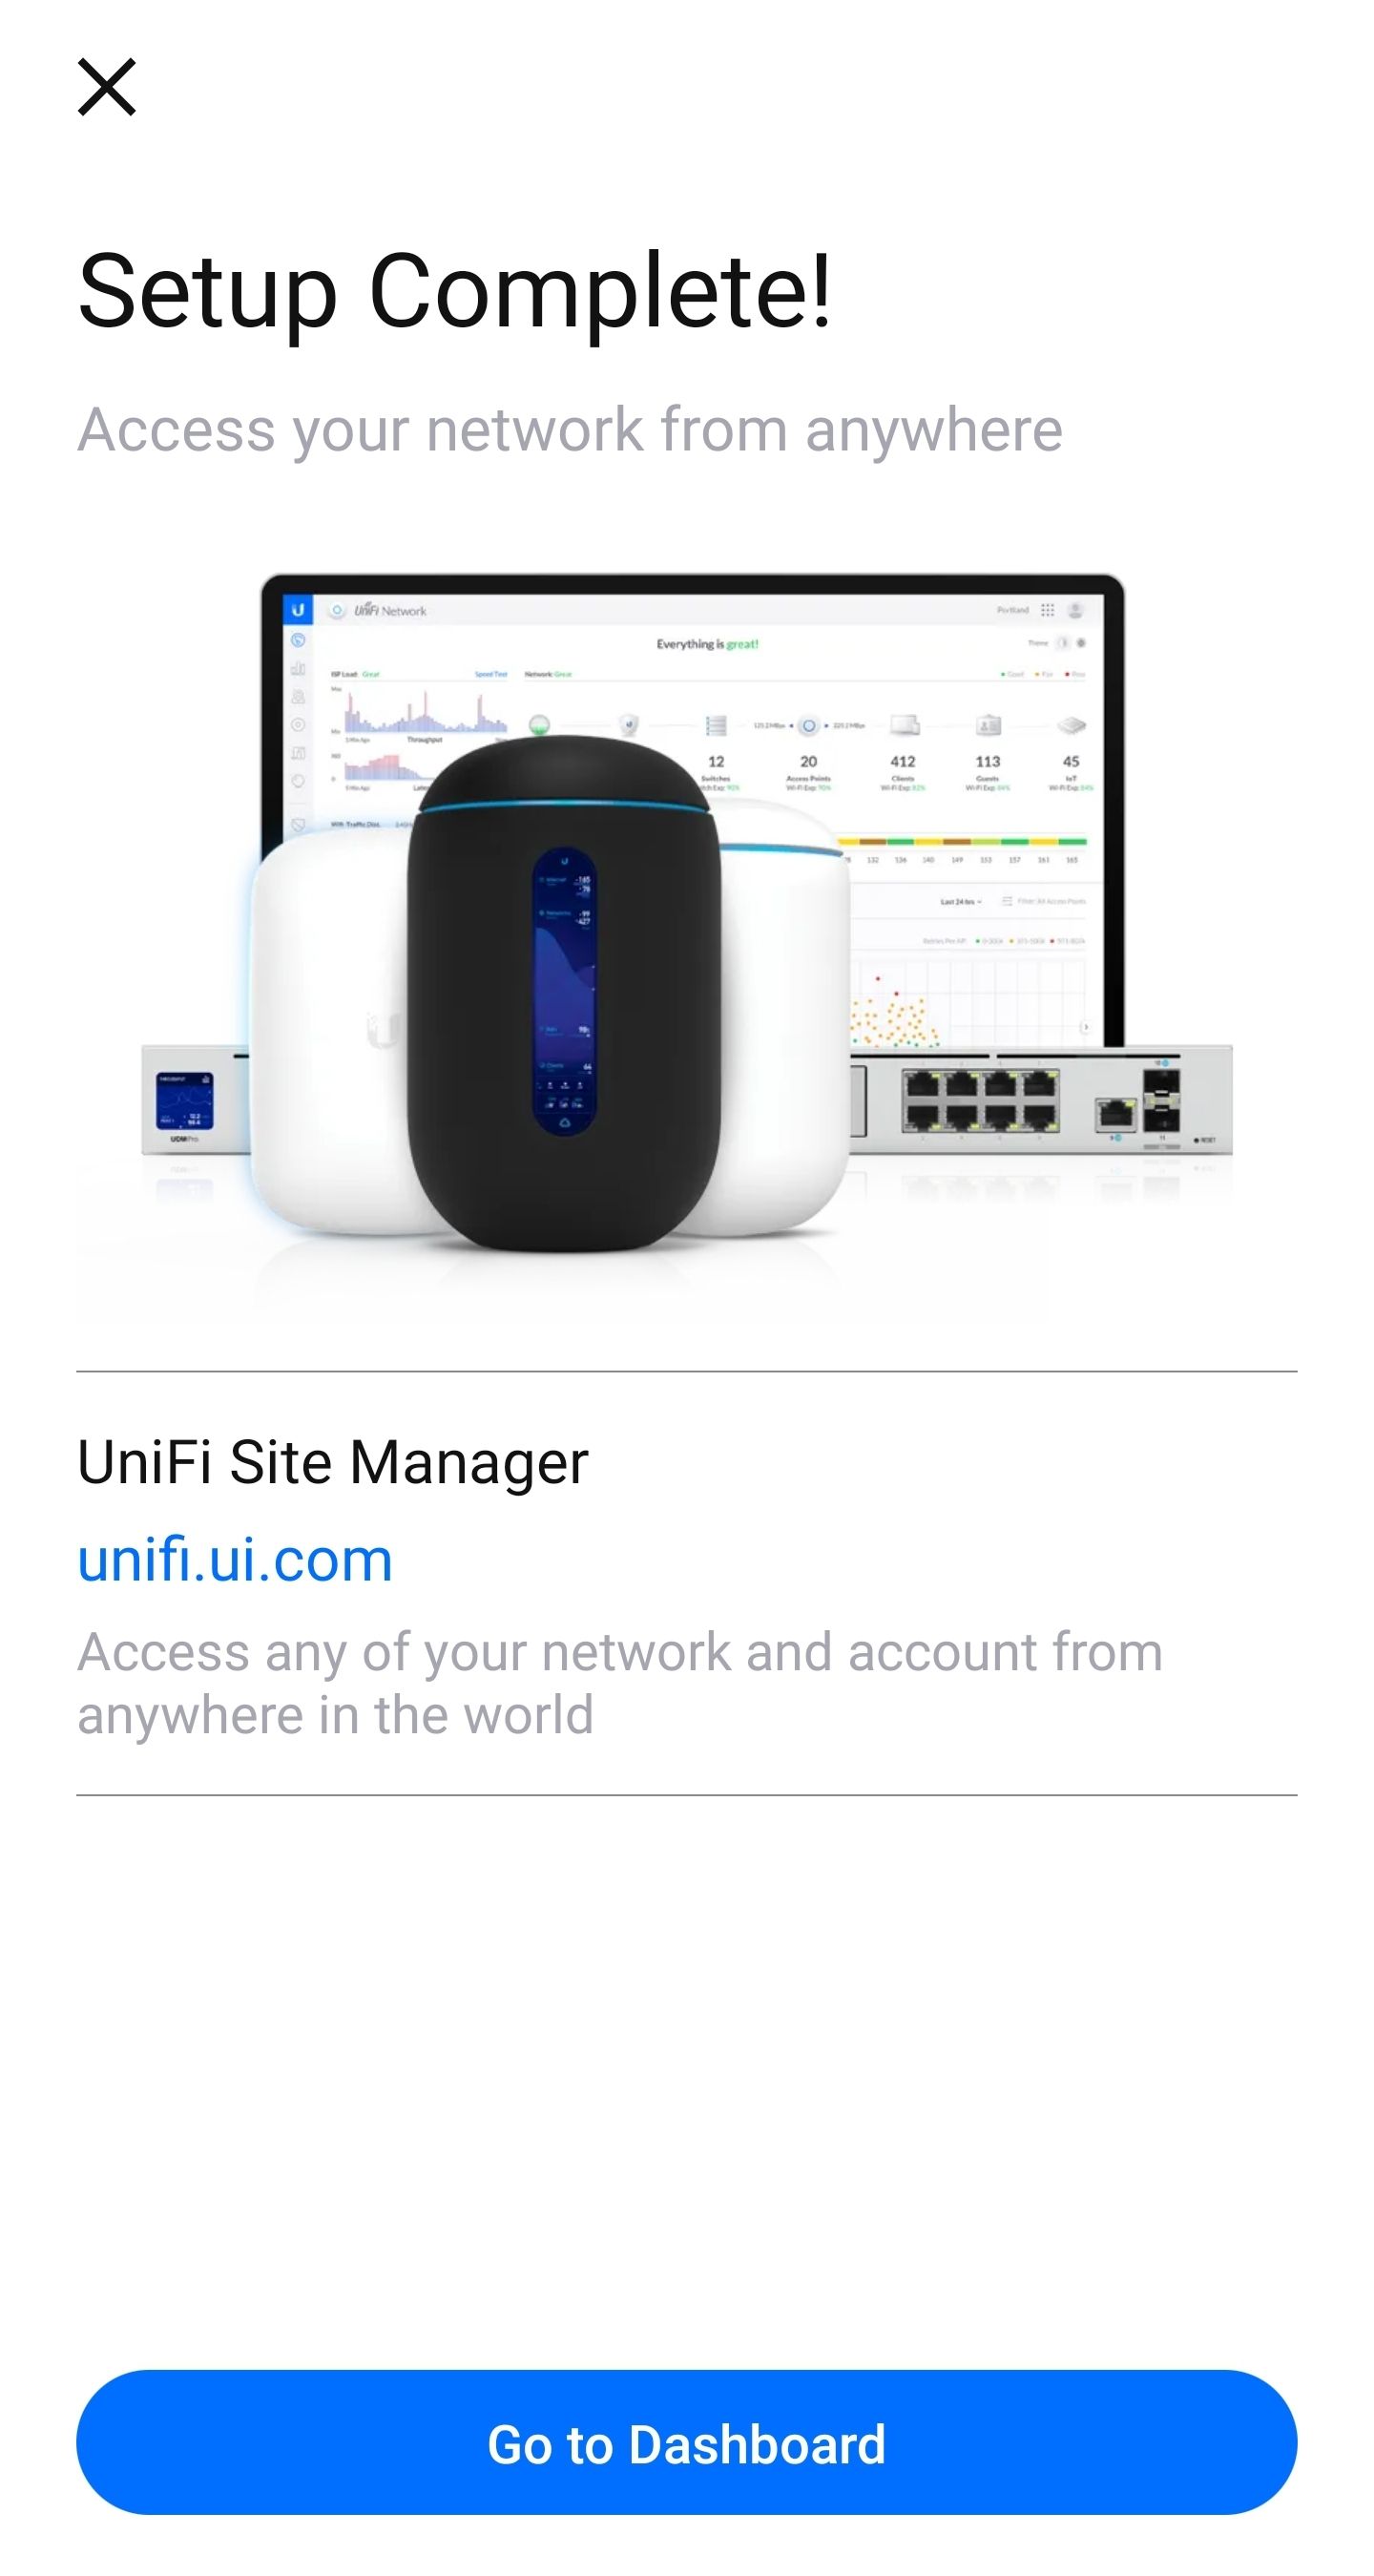
Genuinely this setup took 5 minutes and was incredibly slick. Huge props here, I don’t see how Ubiquiti could have made this any easier.
The Unifi Protect App experience
Usability
The aforementioned features are all good and well, but they mean nothing if the app is clunky and cumbersome.
Thankfully that’s not the case, the Unifi Protect App is extremely clean, polished and responsive. It’s super simple to use and in my experience just works.
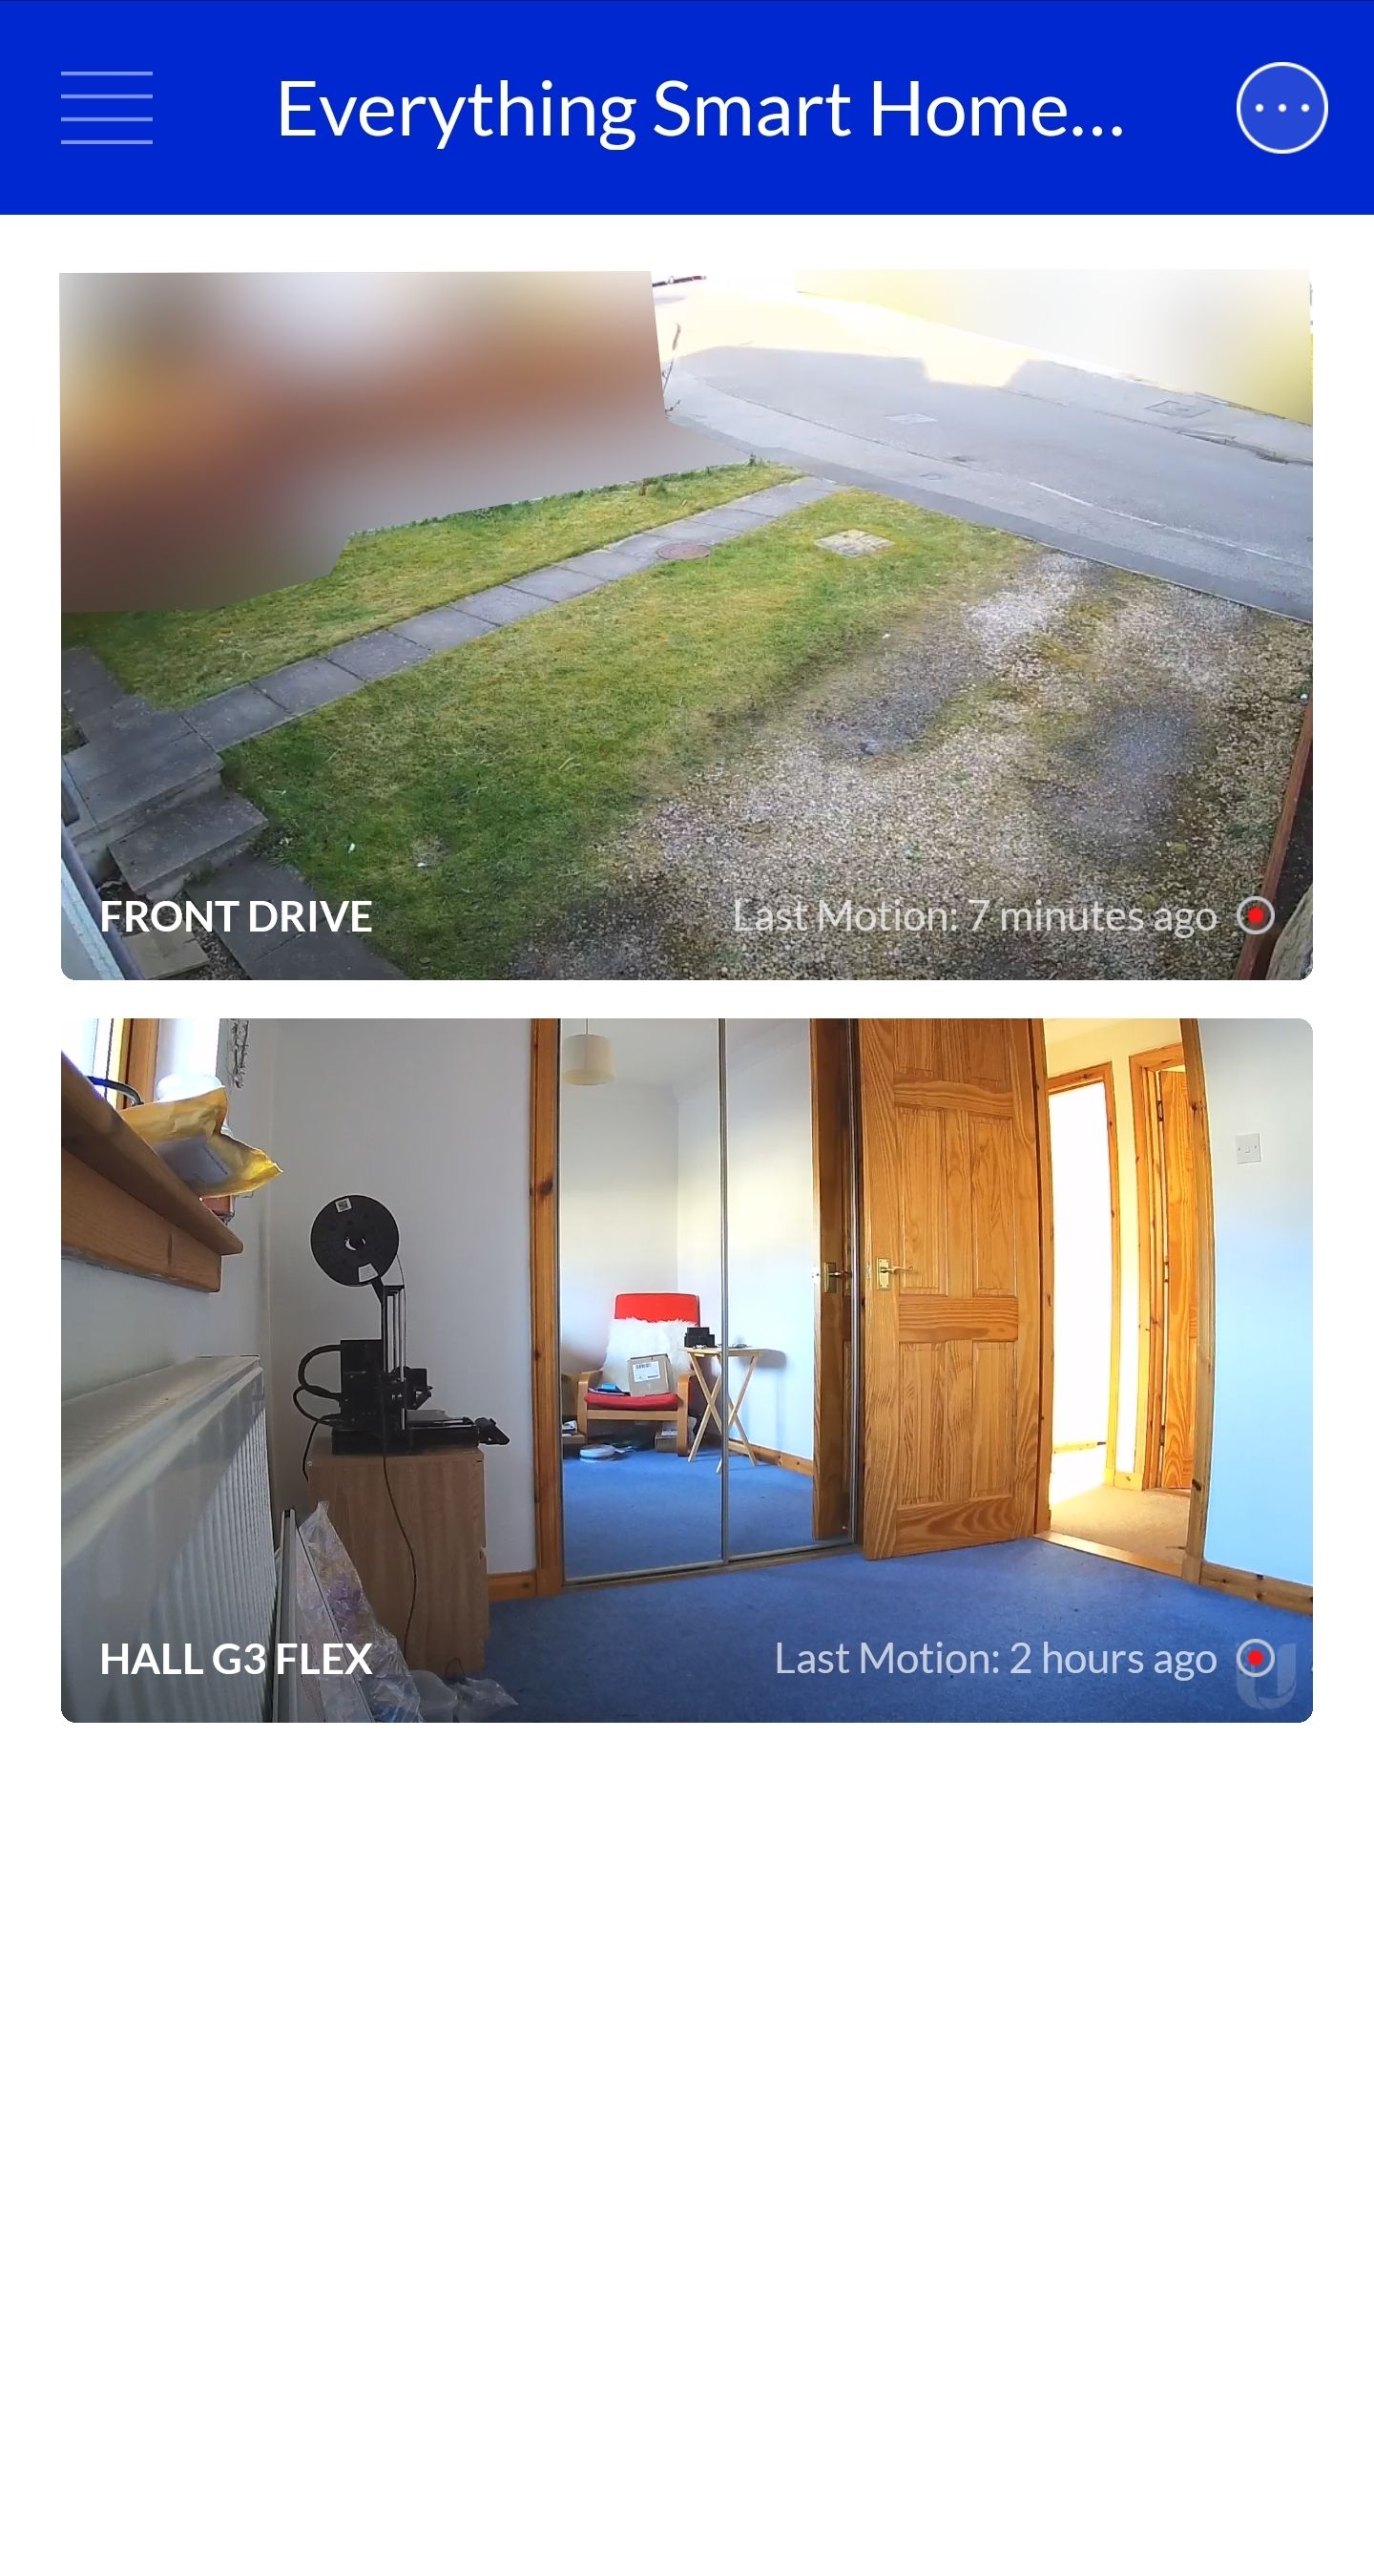
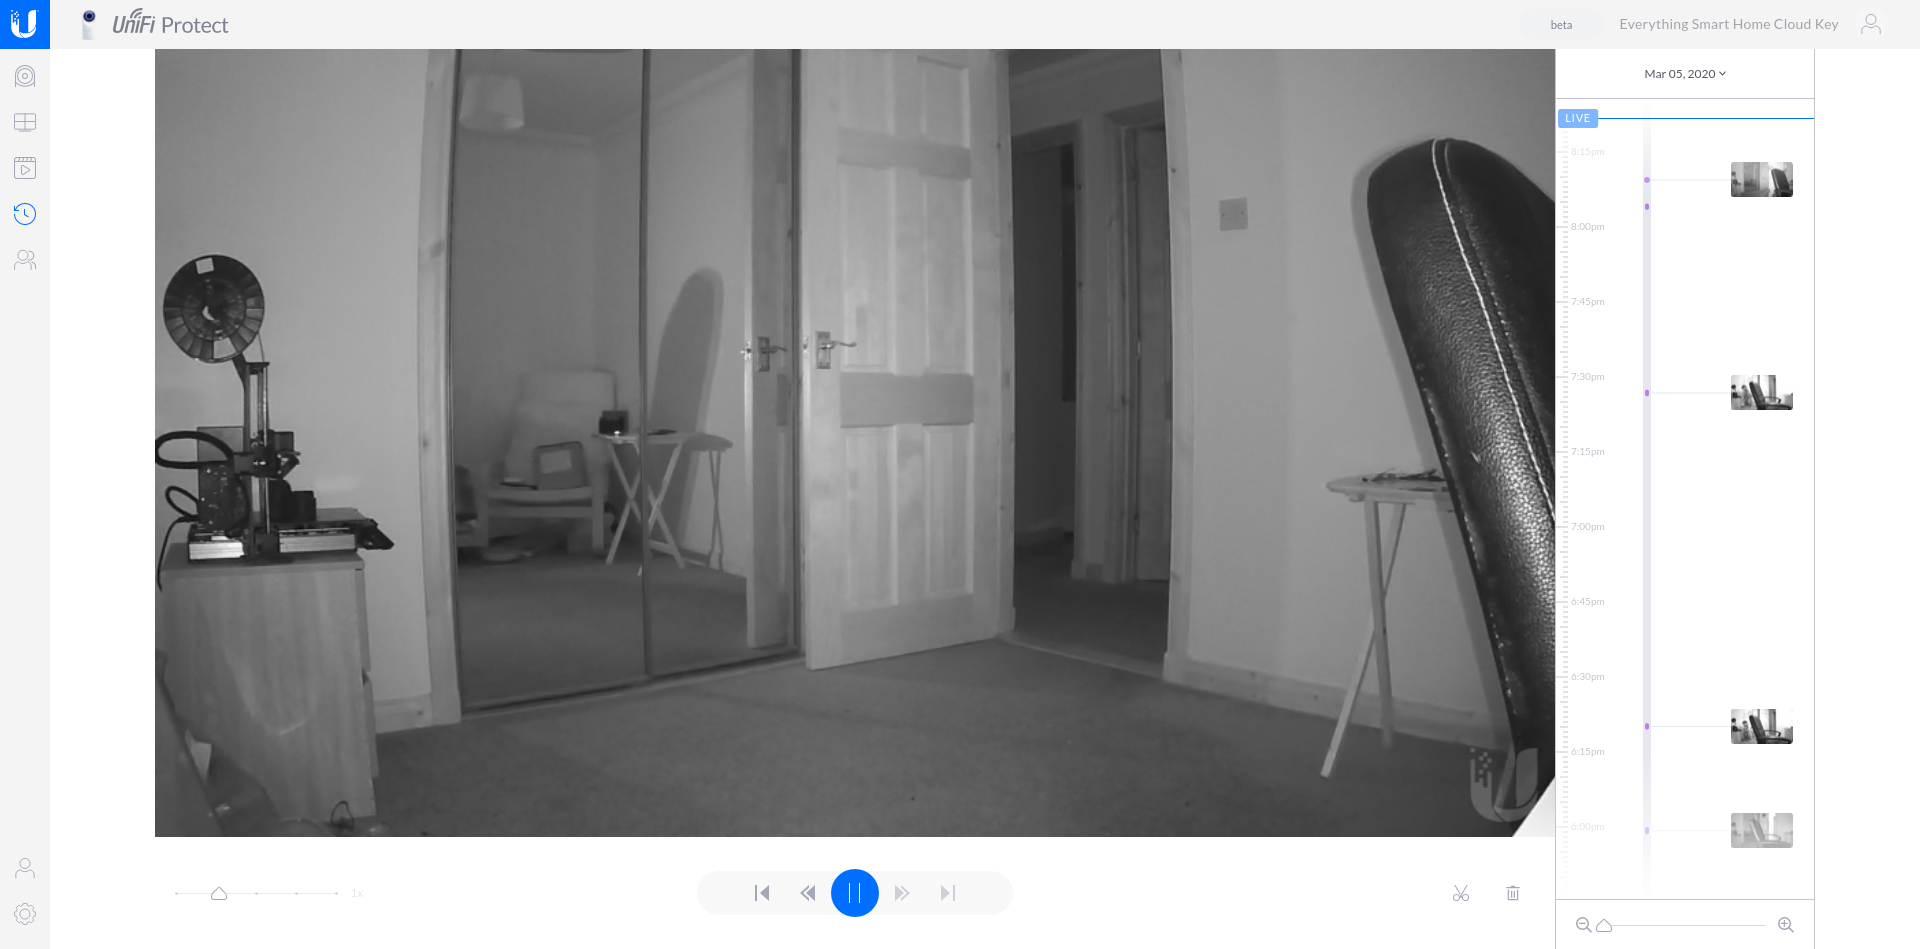
Firing up the app, you will automatically be greeted by the live views of all the cameras you have installed:
Tapping one of the cameras takes you into the timelapse view, where you can automatically scroll through the timeline and quickly identify any events, as indicated by the blue dots. You can tap to view that event and it will immediately start playing that event:
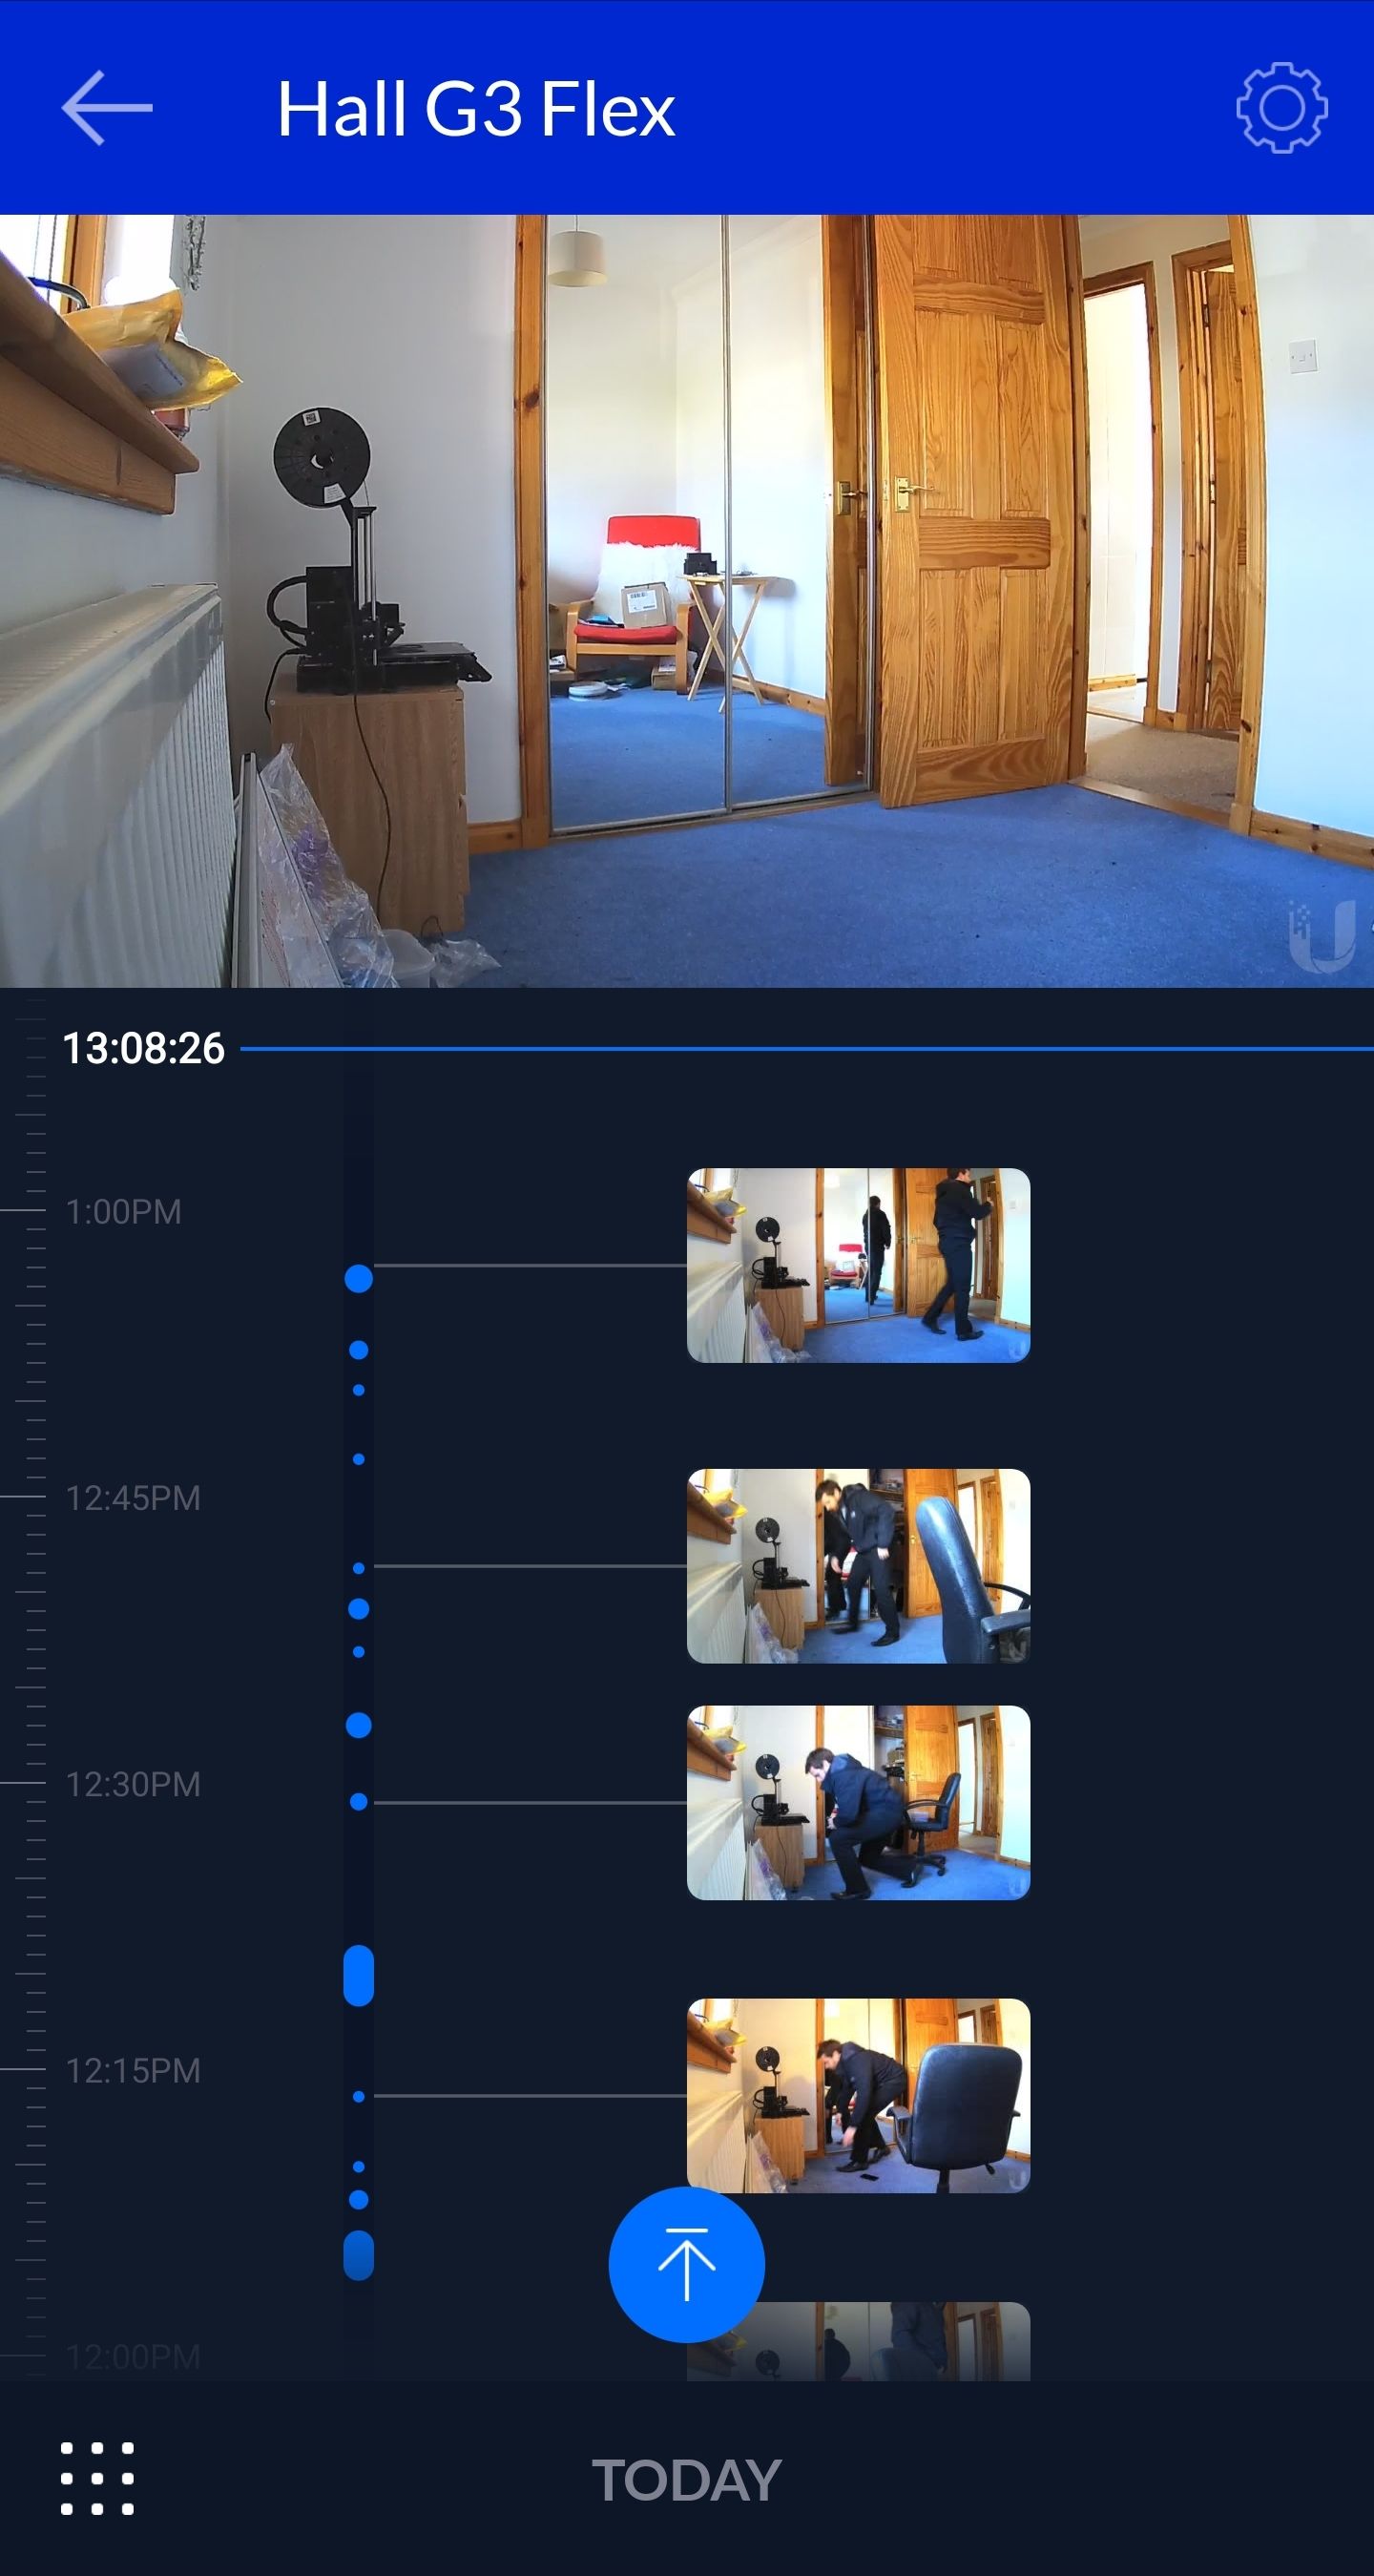
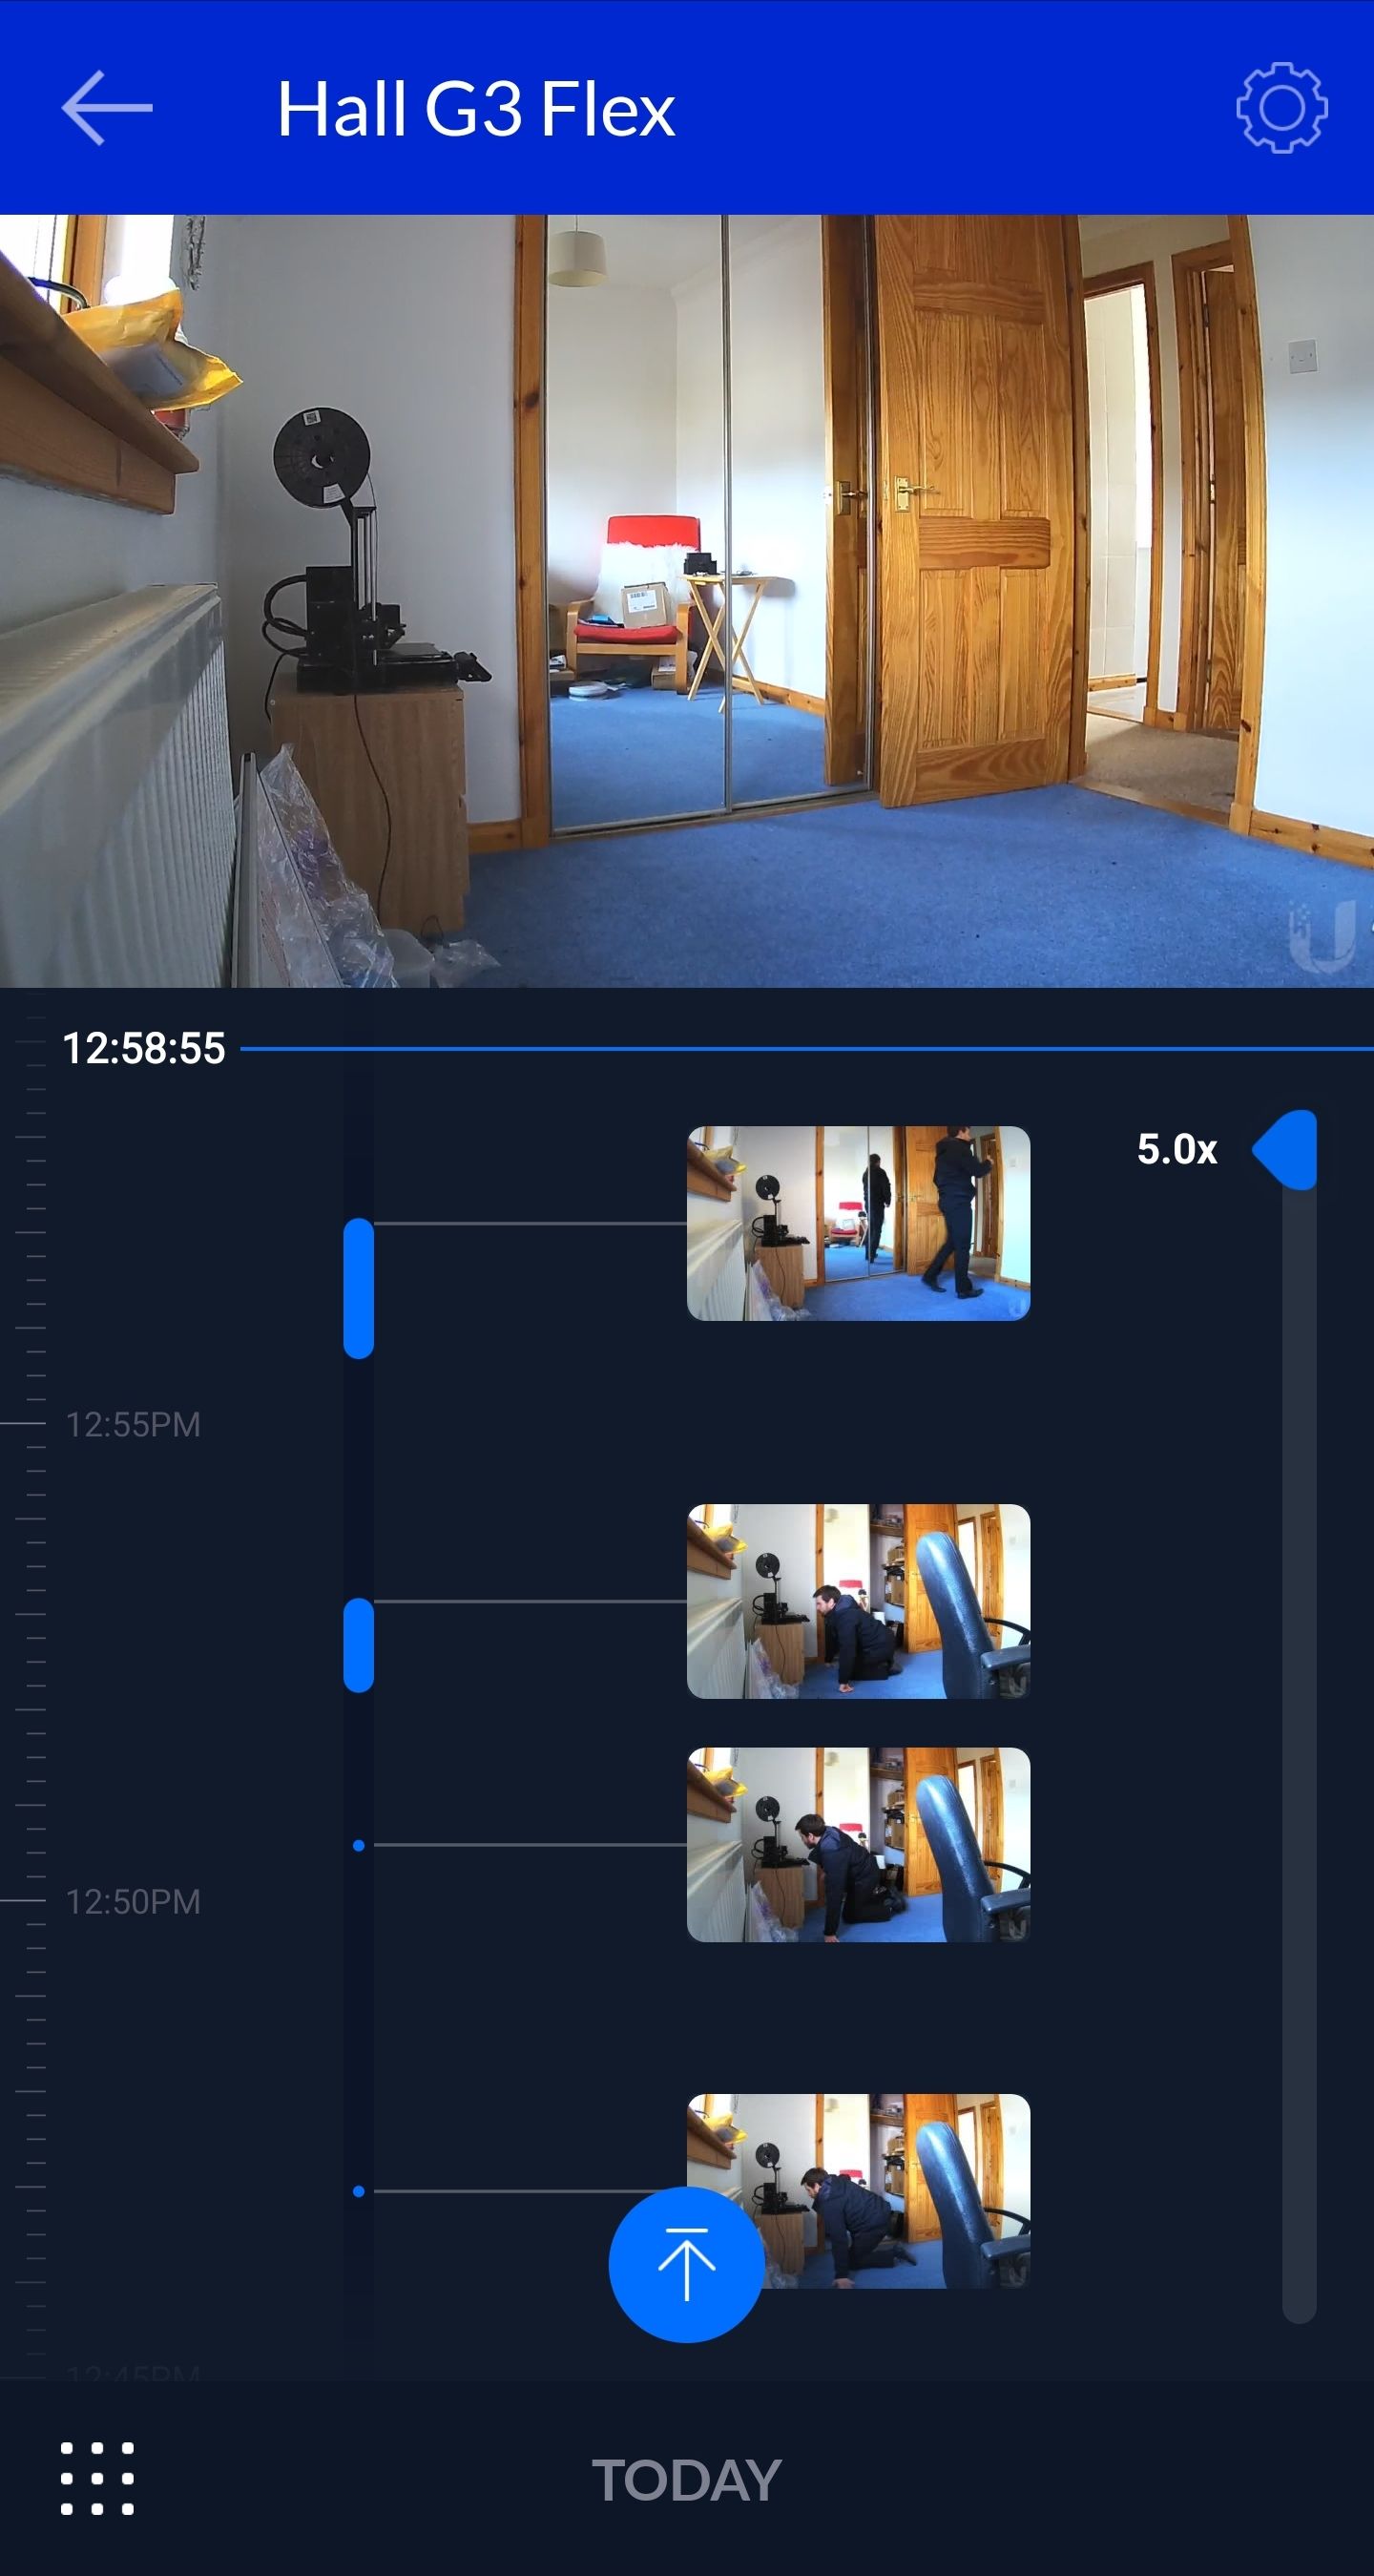
You can pinch to zoom on the time to make the timeline larger which makes it easier to view multiple events happening within the same minute:
From here you can export clips straight to your device for retention. This worked great on iOS and worked every time, unfortunately on Android I recieved an error and it wouldn’t download. This should be fixed in the next Android update.
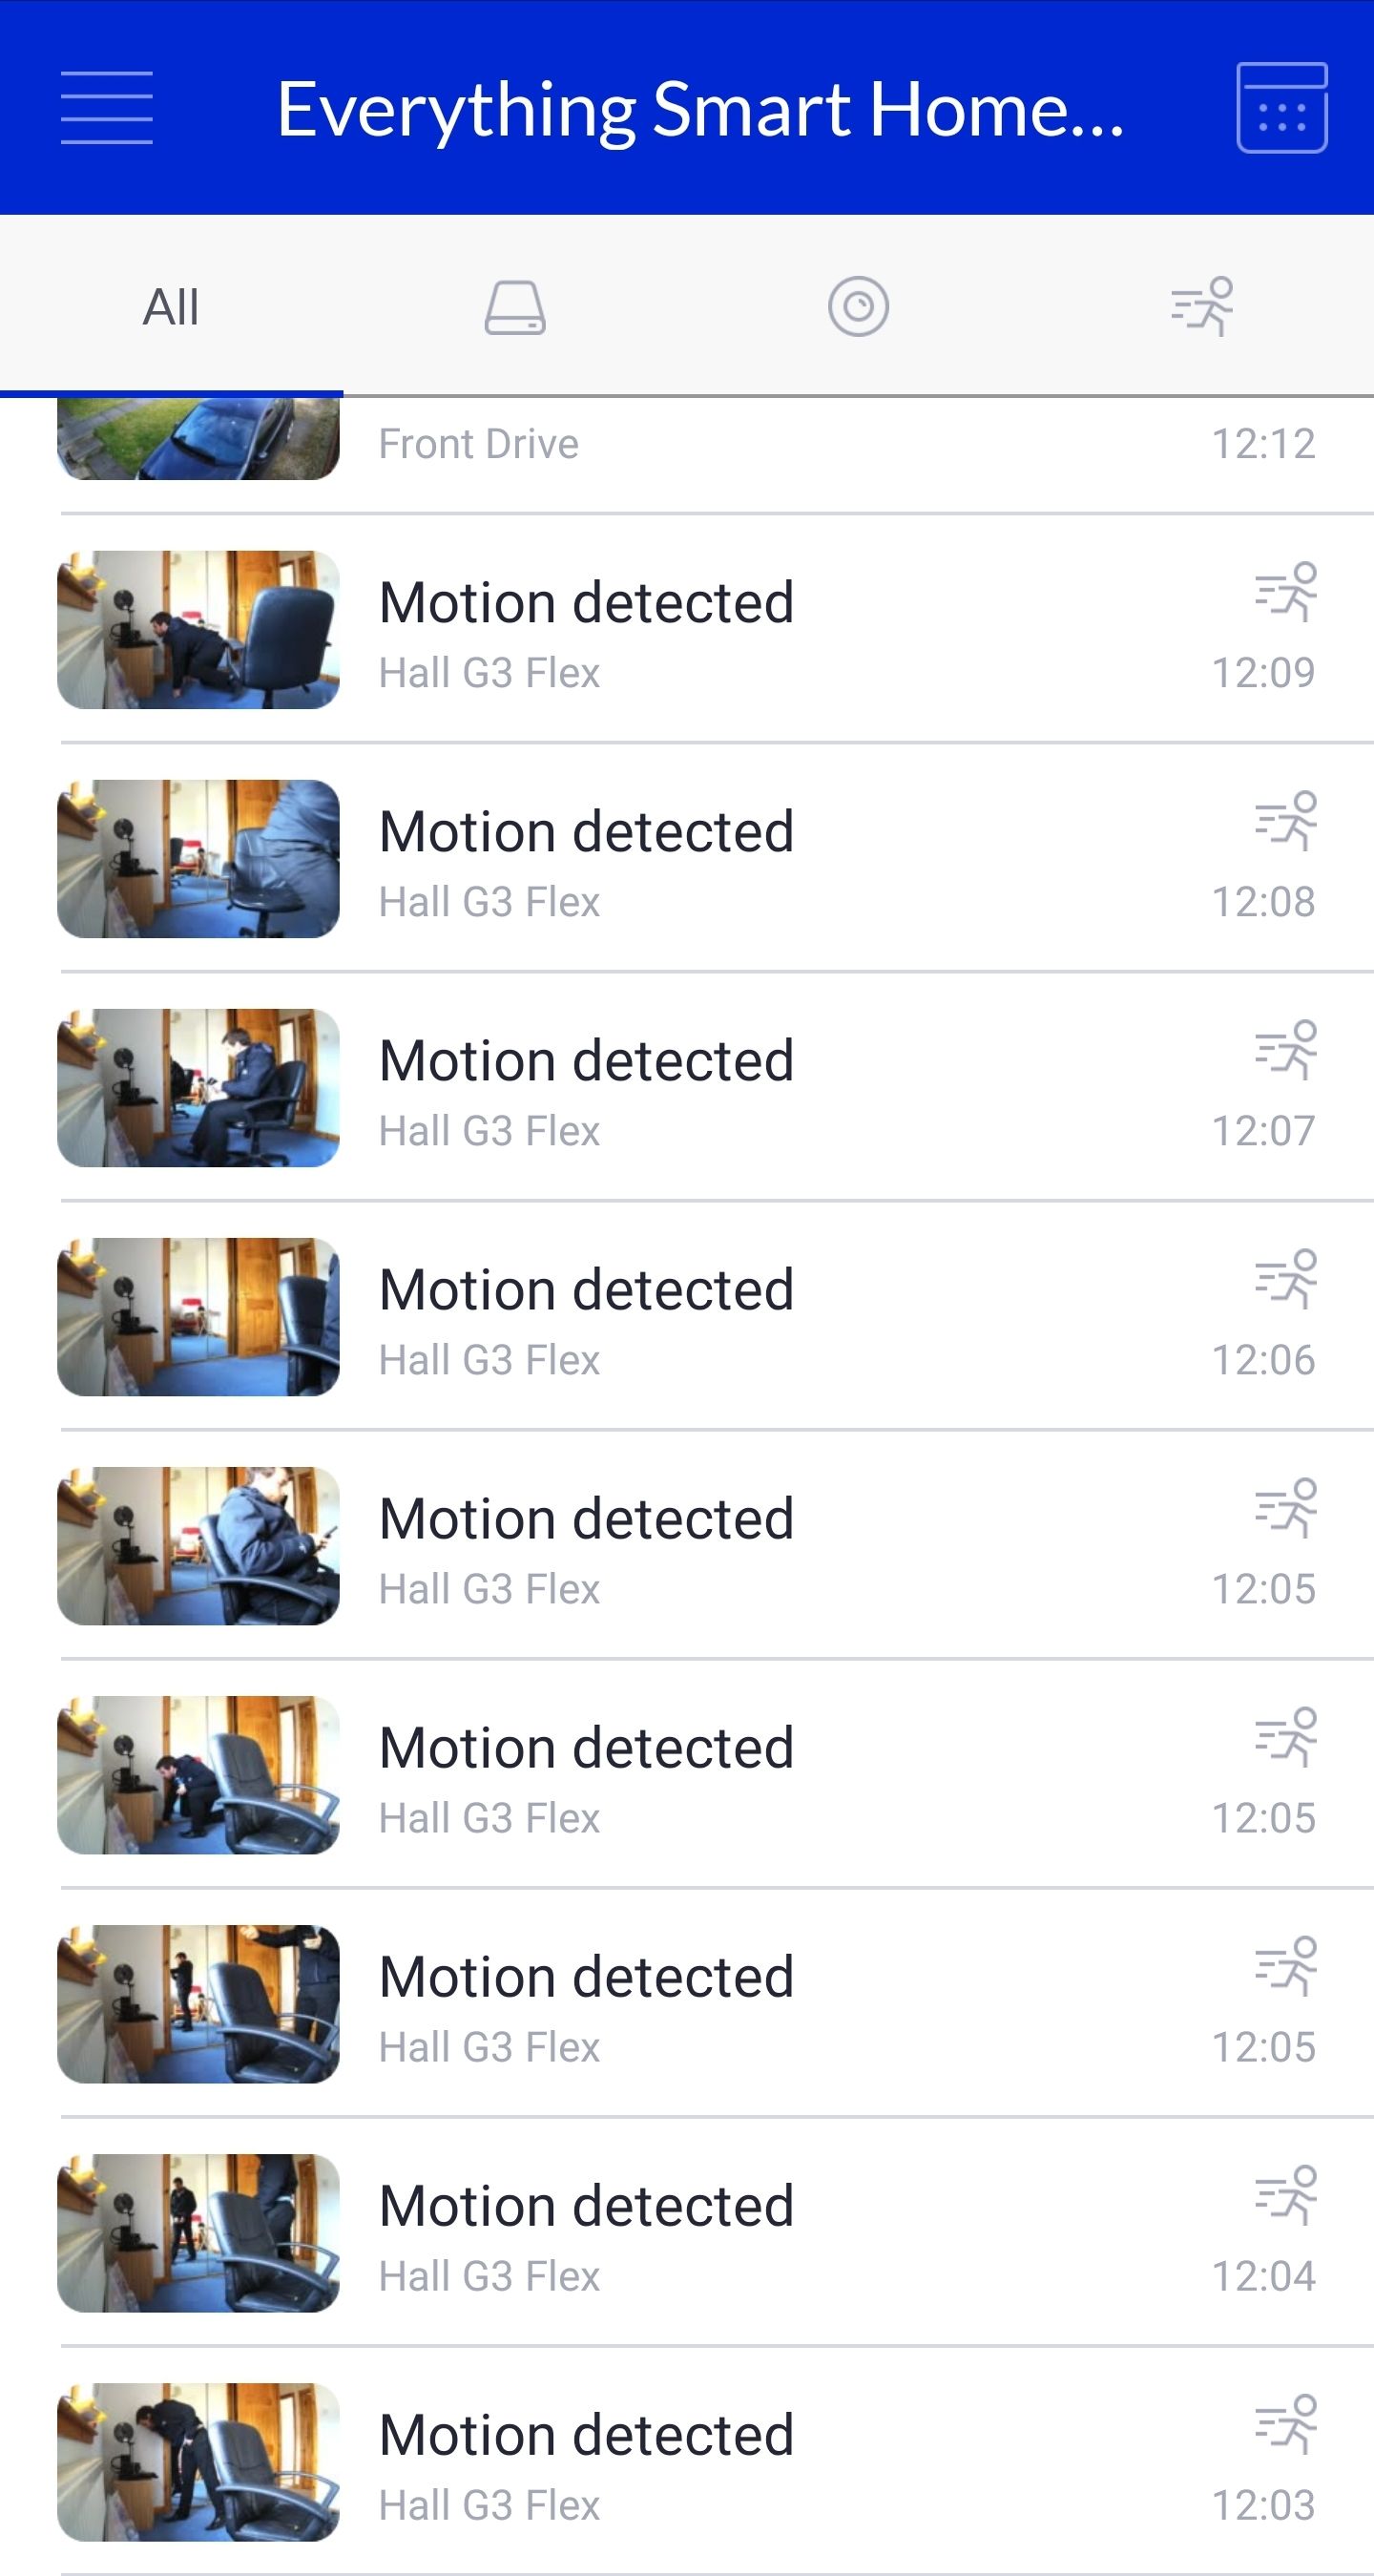
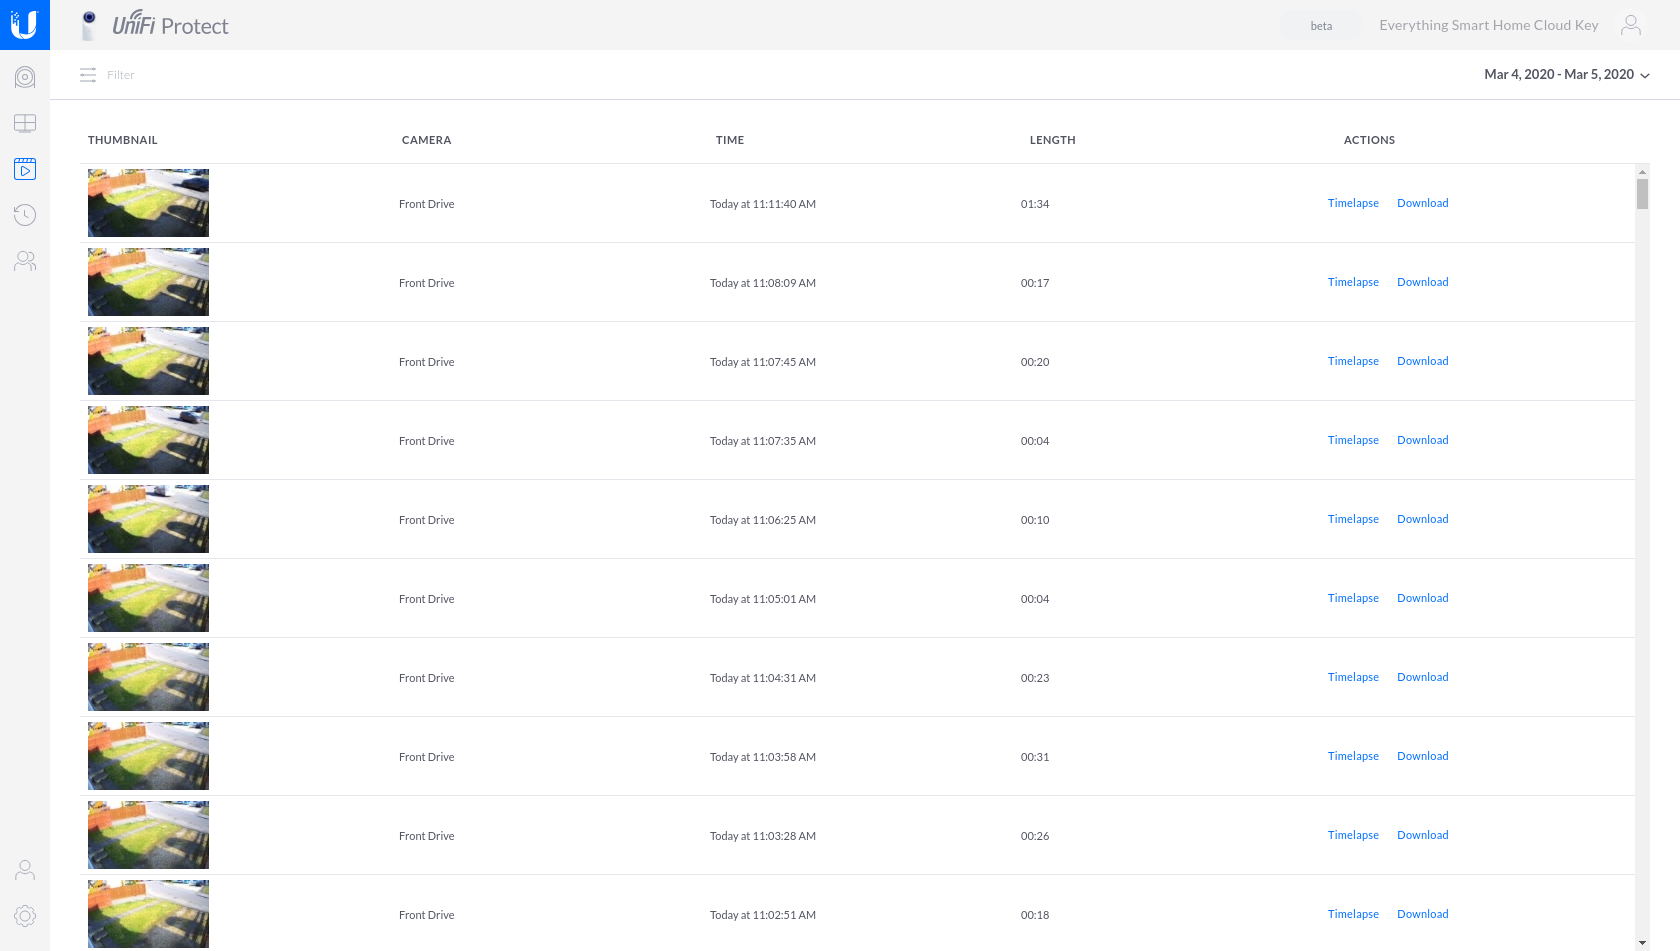
There is also the Events menu, that gives you an aggregated list of all notifications from the Protect system. You can filter by motion events, system events and camera disconnect/reconnect events if you wish. It is really great form giving you a list of all events at a glance, it shows you a thumbnail of the motion events, the time it happened and which camera it happened on:
Settings
Almost all of the settings available in the desktop are available in the mobile app which is great, you can adjust all of the options you would expect such as motion/privacy zones, when to record, image adjustments, night mode settings, microphone settings etc:


The only thing I’d like to see here would be the inclusion of record quality, FPS and bitrate which does not seem to be in the app, only the desktop. No big deal but would be nice to have.
Notifications and Alerts
Notifications and alerts are an extremely important feature for many users, so they need to be done right. I’m happy to see some pretty customisable alerting here.
You can set the alerts to receive notifications on several criteria:
- Camera motion, you can enable this for all cameras or select cameras
- Camera connects/disconnects
- Cloud Key Controller offline/online or update available
- User leaves/arrive on site
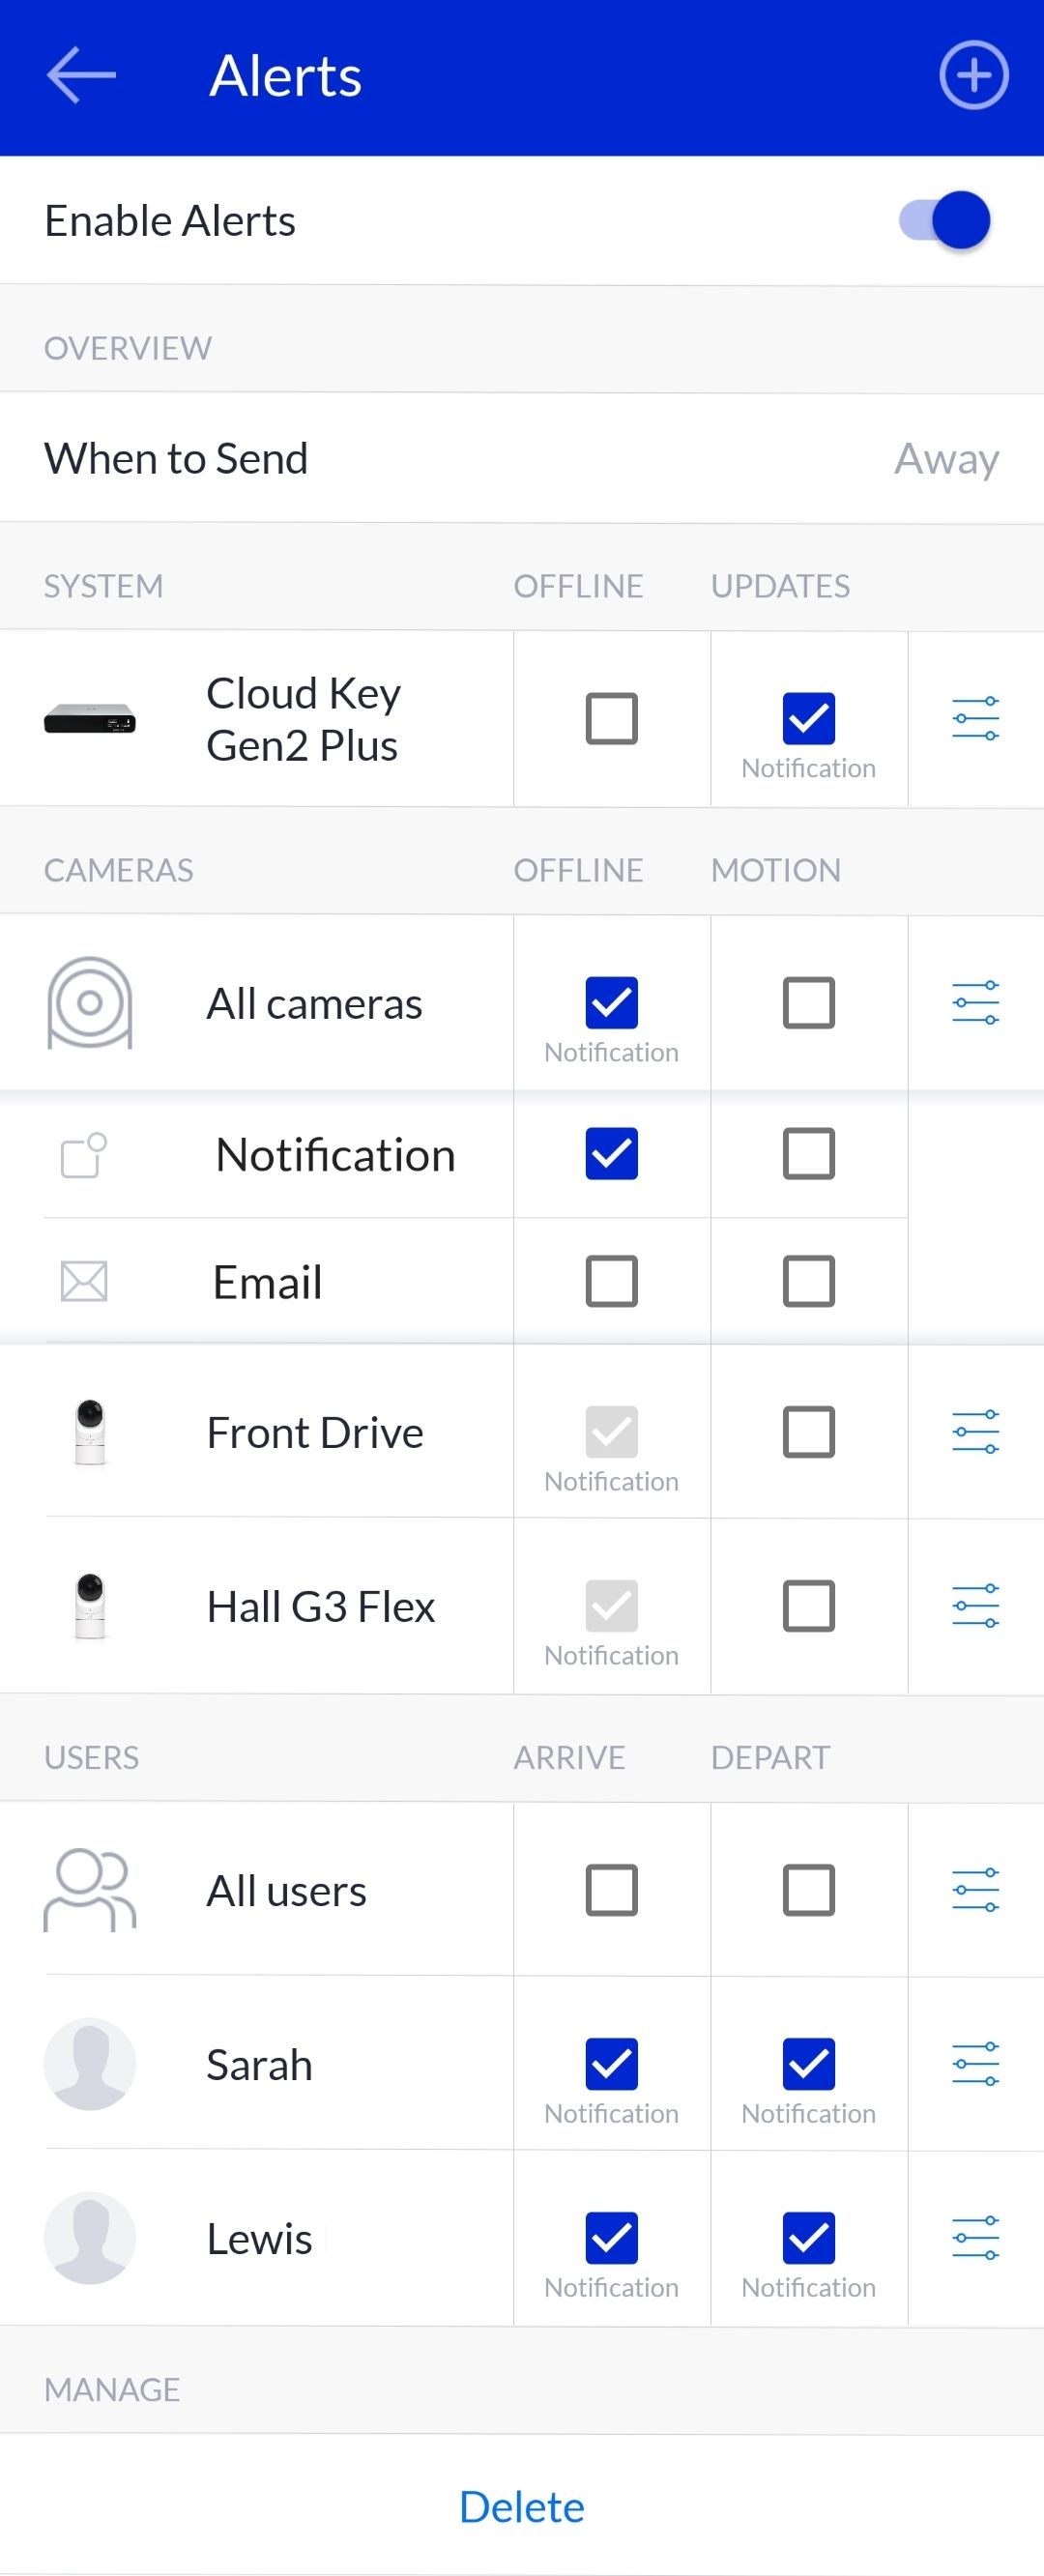
Notifications are in the form of either emails, push notifications or both.
You can also set different alerting schedules, and only receive alerts for if you are away or different time schedules.
The notifications worked well from my experience and I like how customisable they are. One thing I would like to see here is the inclusion of a motion image on the push notifications which currently it does not do, but it is included in the email notification. Tapping the notification does take you straight into the event in the protect app but it would be cool to see the motion event right from the notification in future.
I had a couple issues with notifications, often I wouldn’t receive a notification when disconnecting a camera, but I would receive one when it came back online. I always received motion notifications, so just a minor issue there and luckily one that can be fixed with an update.
The Unifi Protect desktop experience
Usability
The desktop experience is just clean as the mobile experience, incredibly simple to use and really snappy.
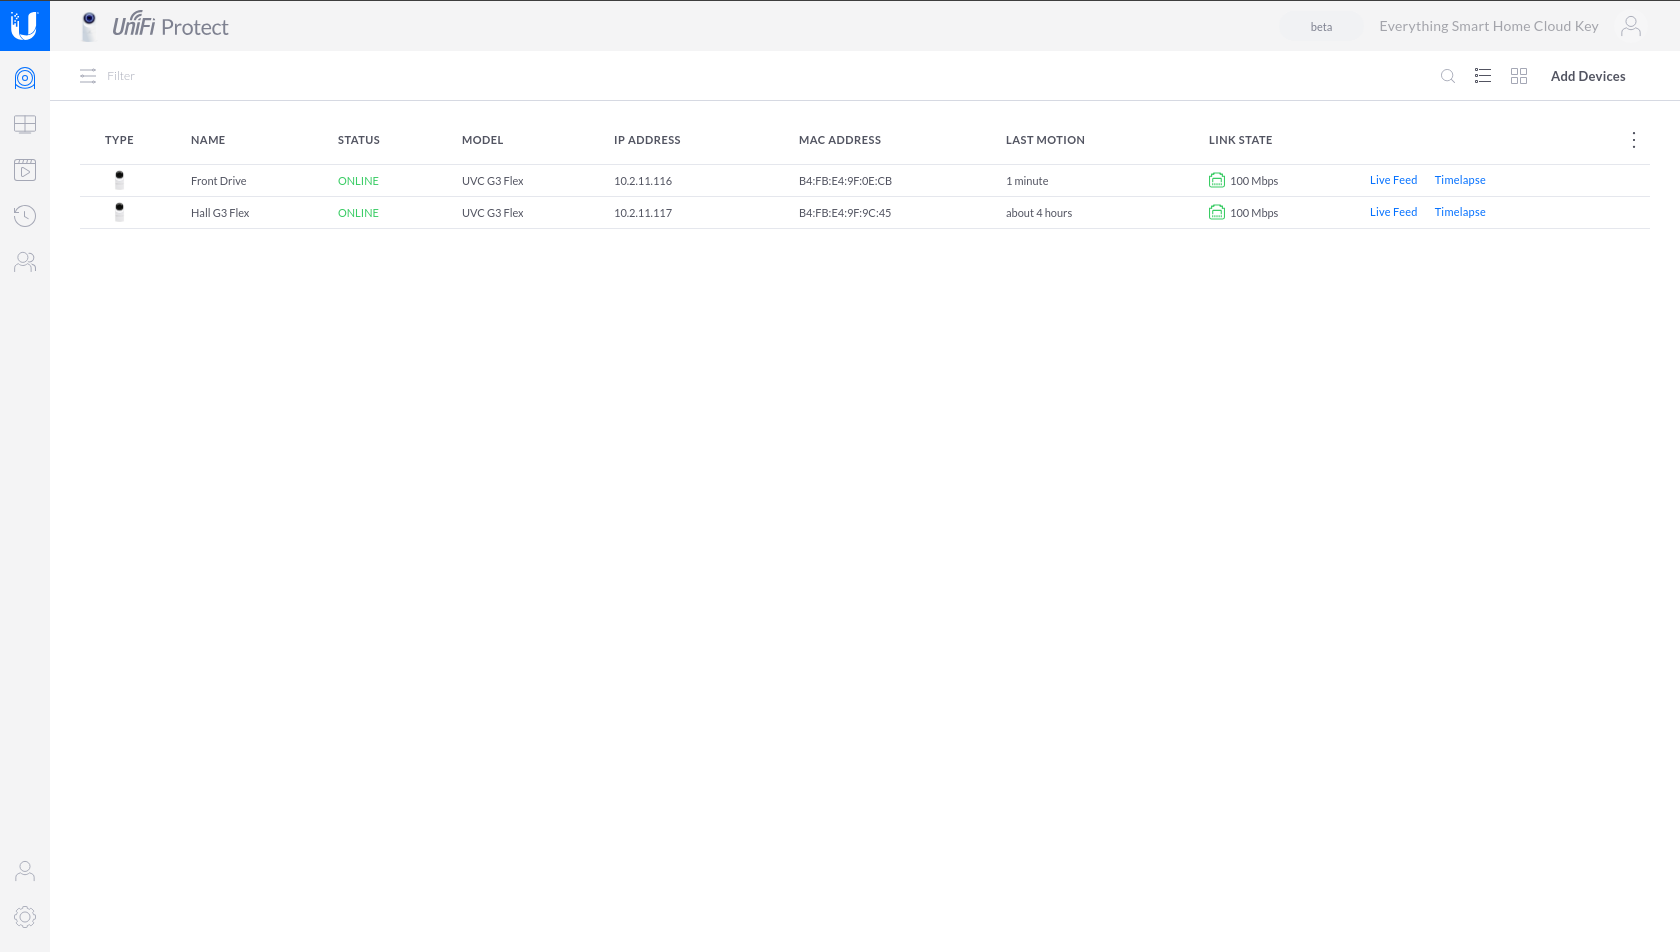
The home page displays a list of the cameras you currently have installed where you can jump into the live feed or timelapse of each one:
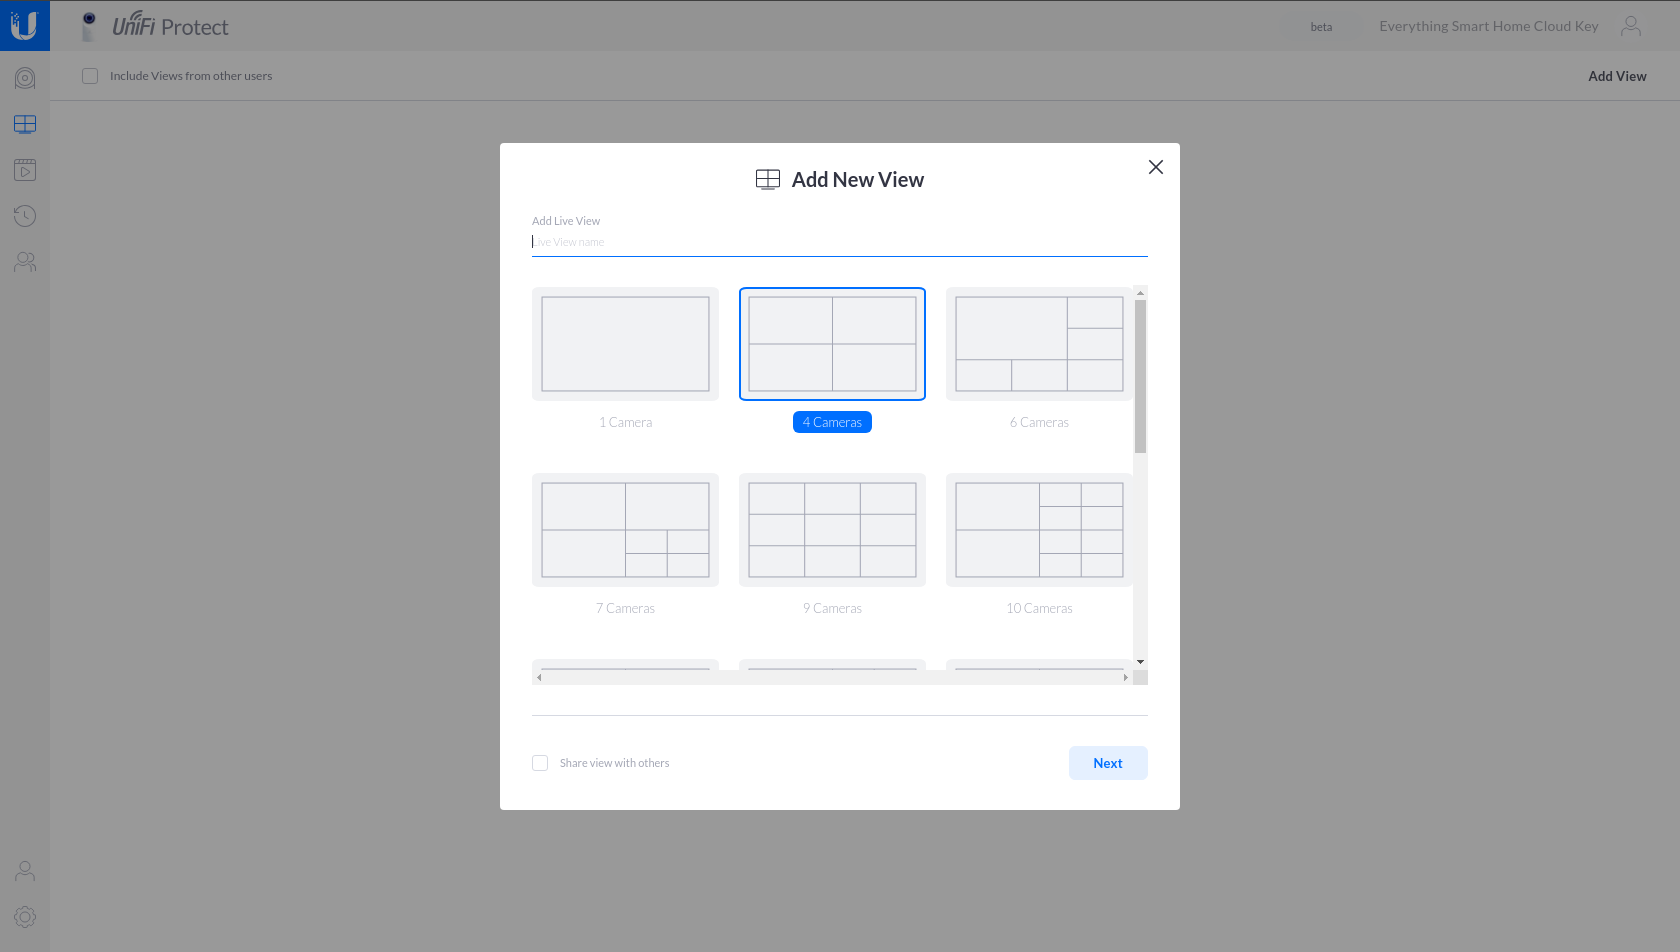
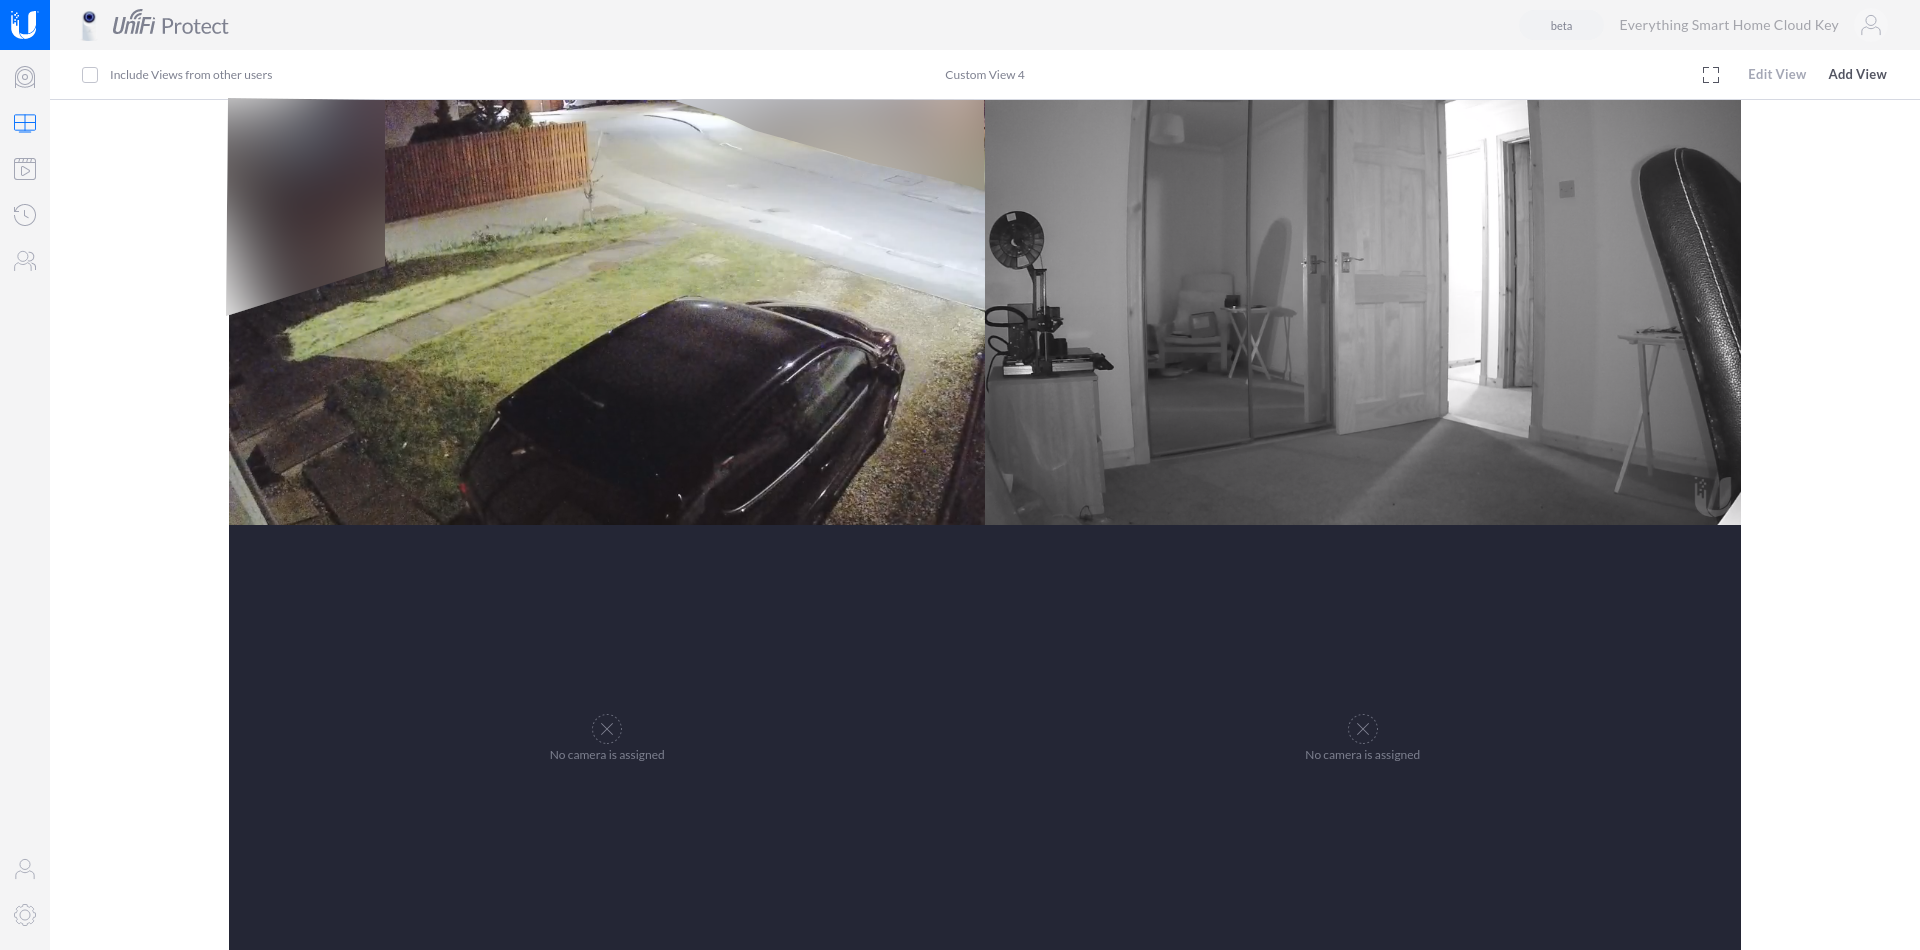
The desktop app has an additional feature called Live View which allows you to orientate all your cameras on one display however you would like, up to 26 cameras:
Timelapse also makes an appearance here, allowing you to quickly scrub through and view all the events for the day:
From here you can export clips, save screenshots and also delete clips.
Again we have the events menu, giving you a quick glance at all the events happening within the Protect system. It gives you the option to download any clips and jump straight into the timelapse feature also:
Settings
All of the settings are exposed as before with the mobile app, except this time we have the ability to change record resolution, bit rate and FPS which is nice to have.
The nice thing is that you can view the live results as you change the settings, because the live view is open. So as you change the settings, you see how it affects the image instantly on screen, which is super handy for determining if you made a better or worse change since comparisons are easy.
Performance
Now for the big one, how does the G3 Flex perform? A surveillance system at its very core can have all the features under the sun, if the images produced from the cameras are terrible, it becomes a non-starter.
I’m going to break the images into 2 categories, indoor and outdoor performance, then further split them into day and night performance.
The images produced from the G3 Flex are very good considering its £76 price point, as mentioned previously, it is capable of recording at 1920 x 1080 (Full HD 1080P) @ 25FPS.
These images are taken directly from the export button within the UI, saved and uploaded here. There is an element of lossless compression happening via the website.
Please note, some images are intentionally blurred to respect privacy.
Outdoor Performance
For reference, the camera is mounted about 2.5m up from the ground.
Daytime
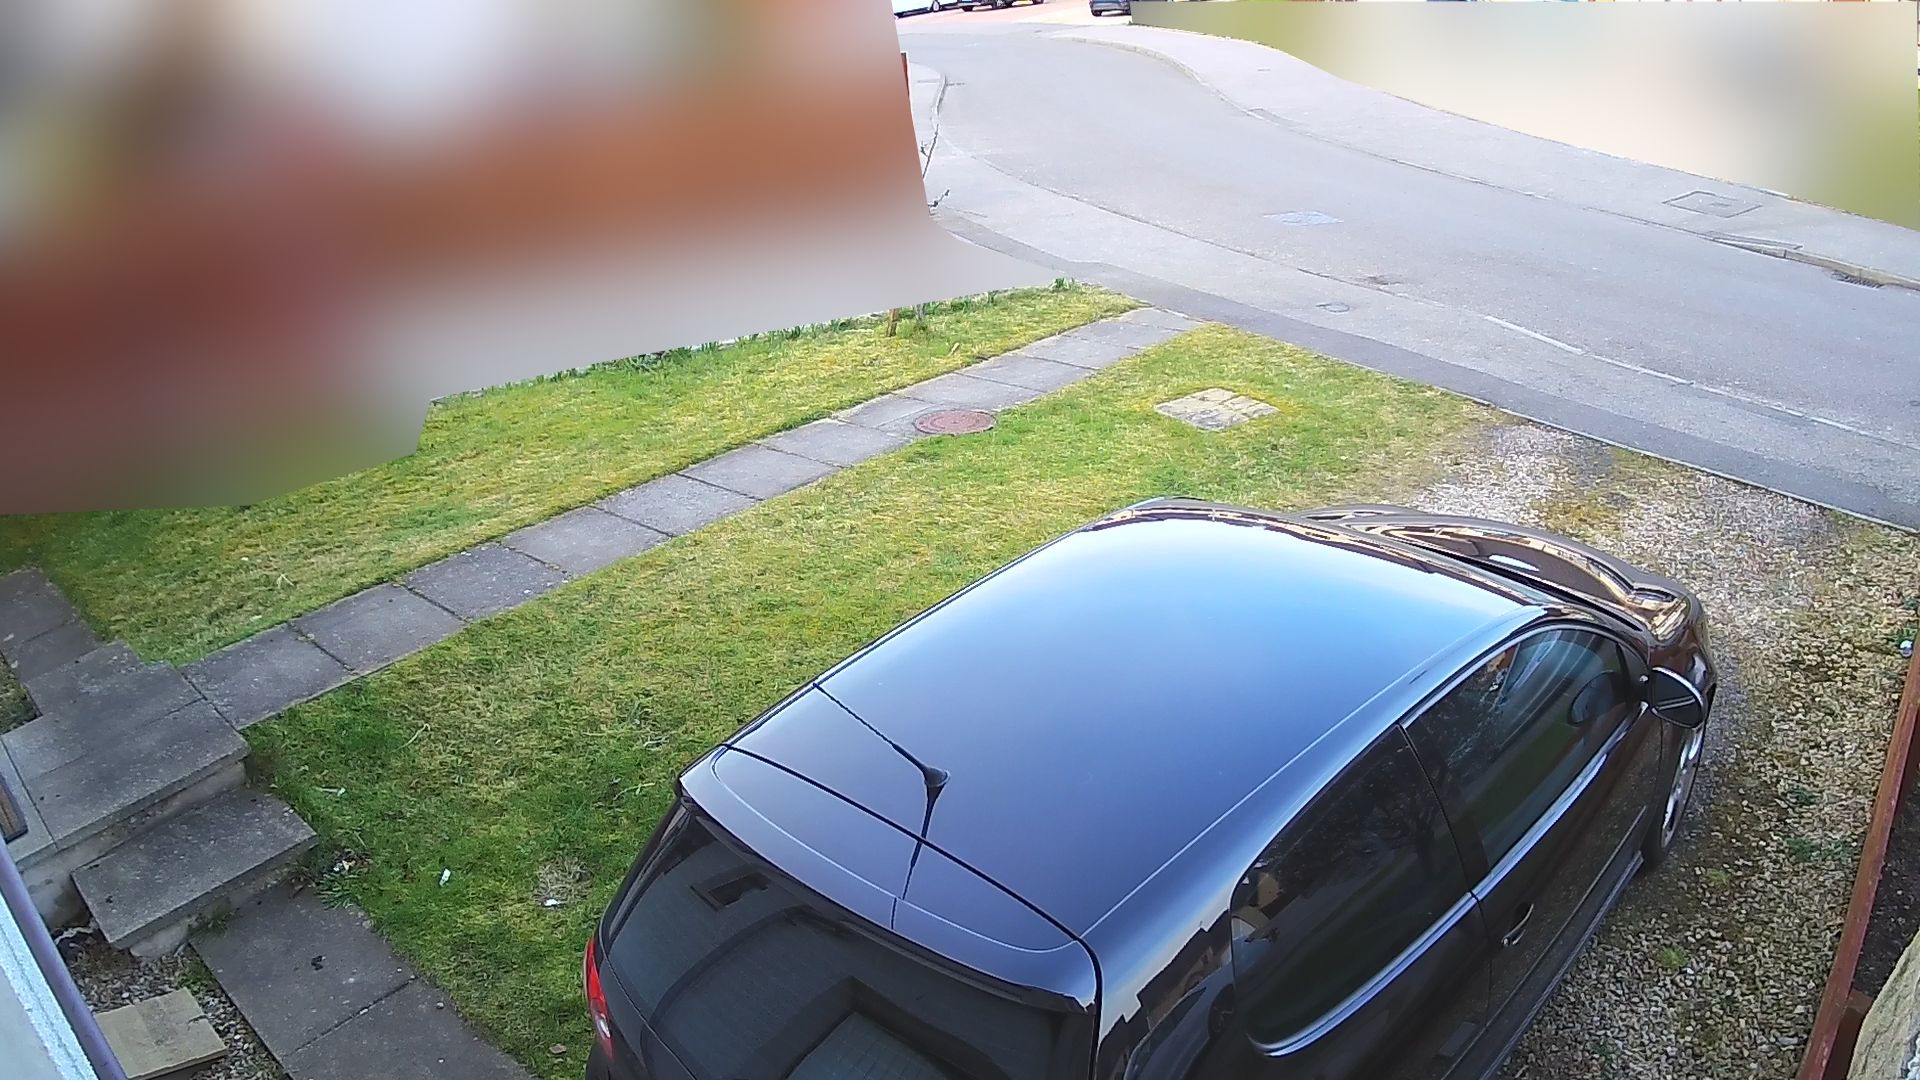
Daytime is probably ideal conditions for the G3 Flex, plenty of light for it to work with. You can see there is quite a good amount of detail all things considered, with the image being pretty bright without being too overexposed and colours are pretty accurate. All in all I would say a pretty good quality image, given the price point.
Night time
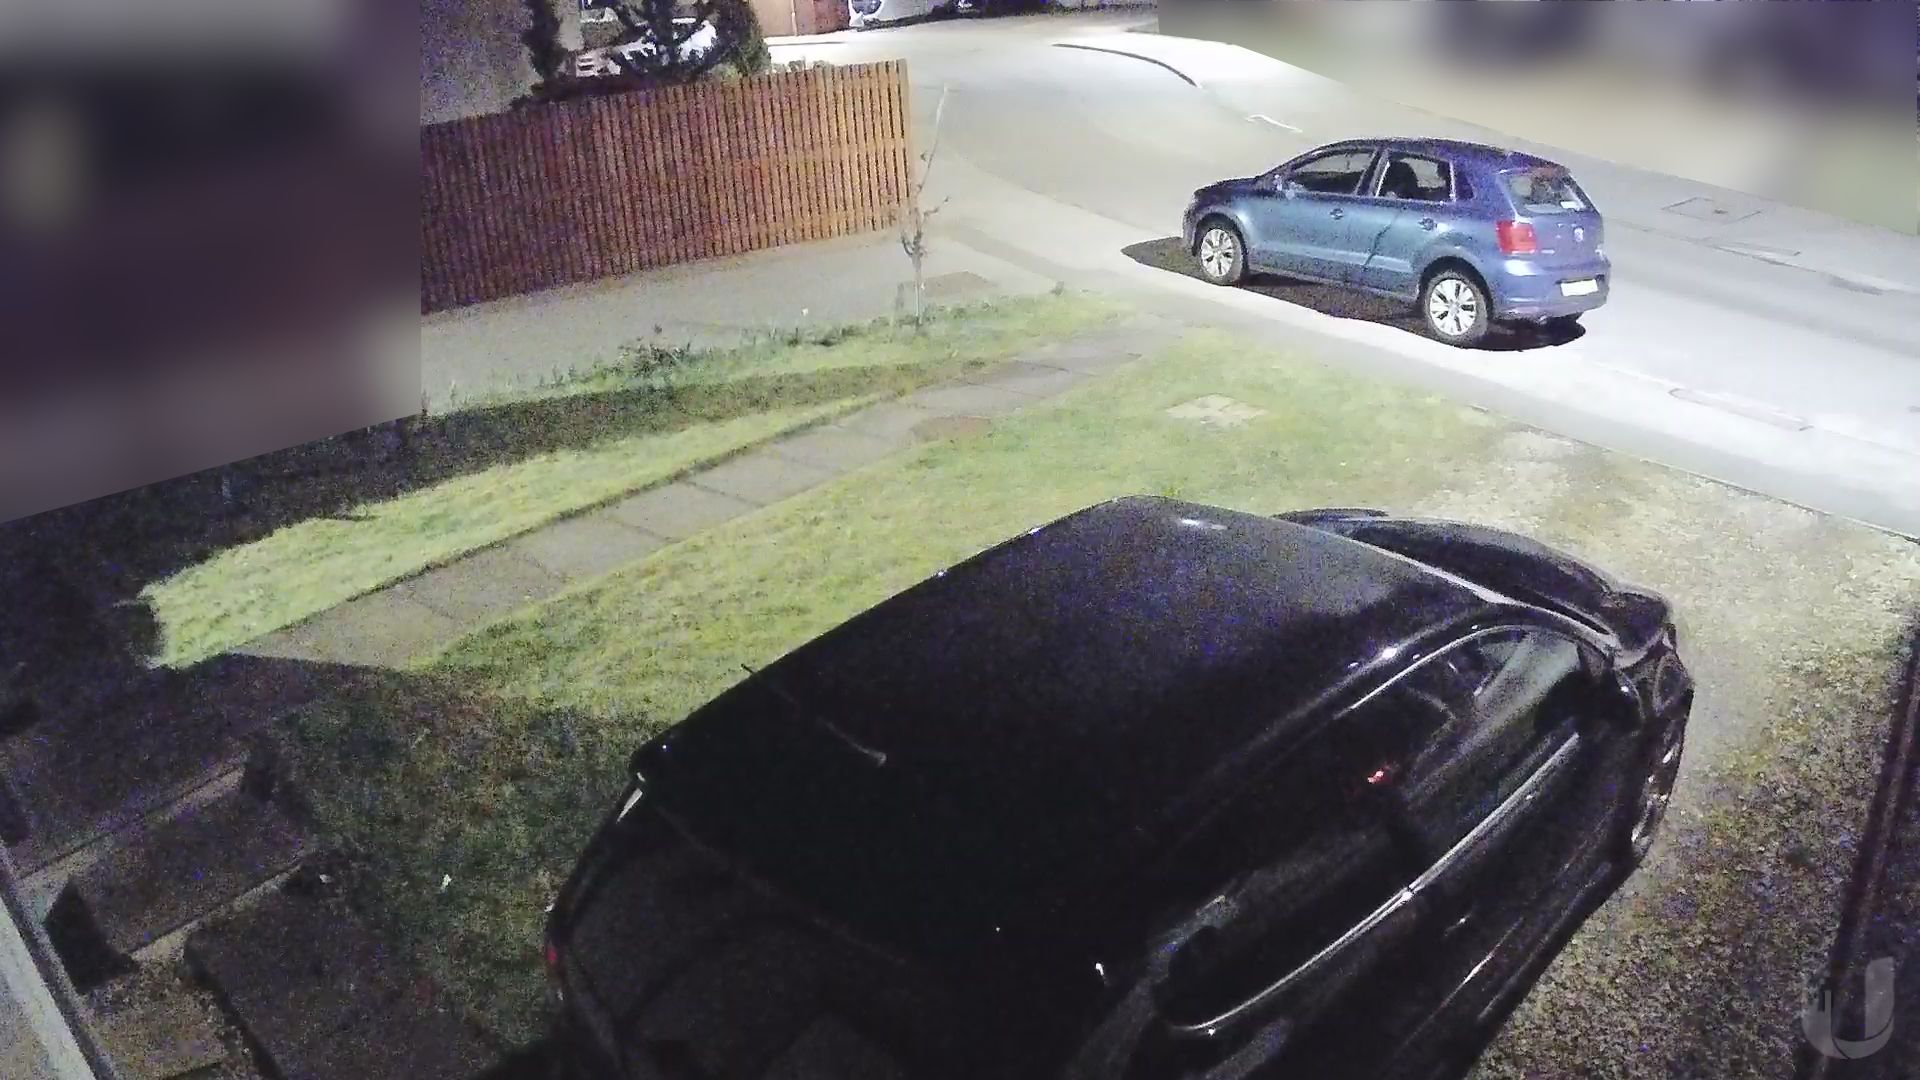
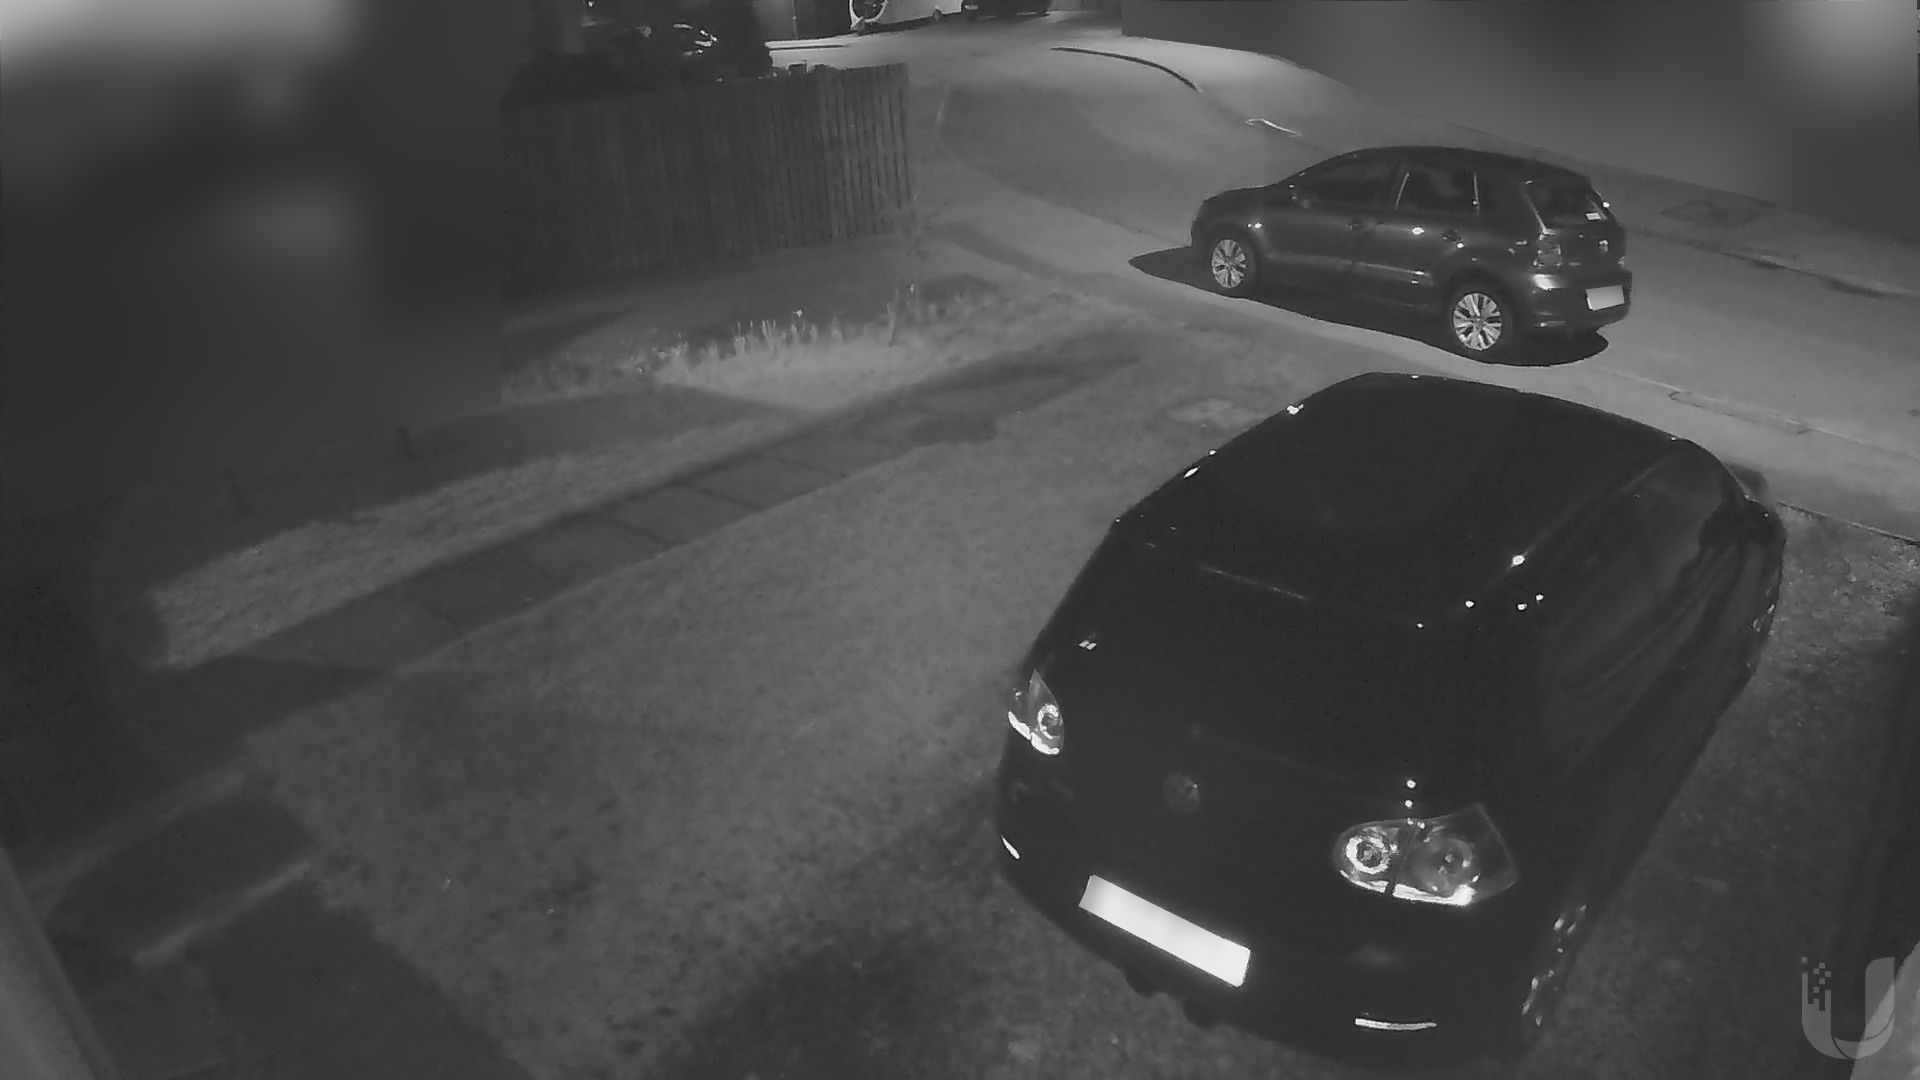
The G3 Flex again does pretty well here all things considered. In the shot with night mode deactivated (the light is coming from street lamps), there is a bit of noise but nothing bad, and the images are certainly really good given the environment and again, the price point.
With night mode on, the G3 struggles a little bit due to the small amount of IR LED’s it has. The image is by no means bad, still easily useable to catch people sneaking around, but you can see that the objects further in the distance become a bit dimmer, but again I think all things considered, the G3 Flex does really well here and I’d be happy with that image.
I personally use night mode disabled in this particular environment since there is enough light coming from the street lights.
Indoor Performance
For reference, the G3 Flex is using the table mount and is sitting on a desk.
Daytime
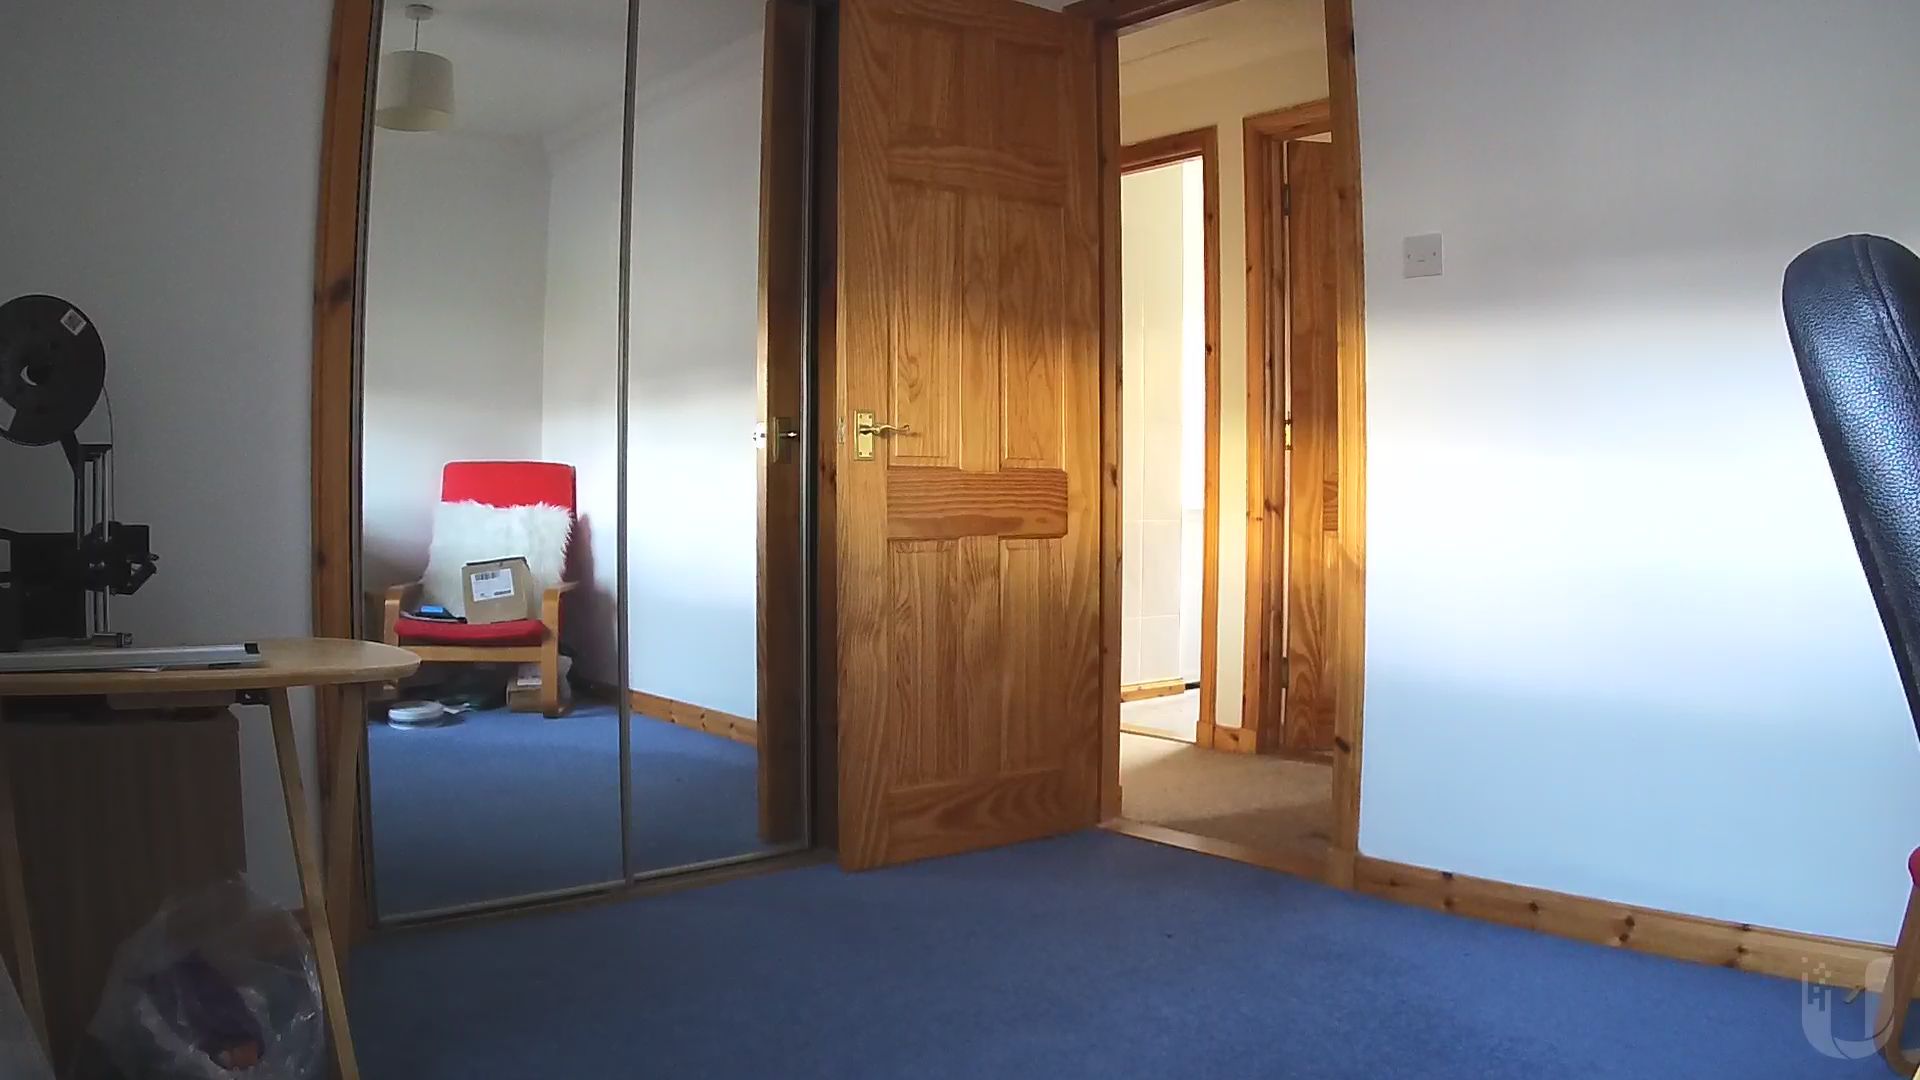
Again, we have nearly perfect conditions for the G3 Flex here and it shows, the image is really great, plenty of detail, light and great colour in this image. There is a little over exposure happening through the door in the distance, where the sun is coming in through along with a bright light being on, with a little tweaking of the image settings this could be resolved.
Night time

There is no shots with night mode disabled this time – there is just simply no light so the camera cannot see anything.
The G3 Flex produces a good image here with night mode enabled, this is a fairly small room so the IR is able to bounce of the walls and does a great job of illuminating the room.
Motion performance
Unifi Protect has quite a good amount of customizability when it comes to motion recording, you can define multiple motions zones per camera, all with their own sensitivities.
Within the latest version of Protect, there is also a button on the recordings (desktop only) that shows you where motion was detected.
Once dialing in the motion settings for your particular environment, you should find that Protect does well here, it didn’t miss a single event from my testing and seemed to capture everything.
I did have a couple of issues where it would record for motion outside of the zones I had set, but I’d rather that than missing events completely. Thankfully this is an issue that can be resolved in software, and Ubiquiti releases updates often.
Conclusion
My experience and review of using Ubiquiti’s Unifi Protect system has been exceptional, it offers a great number of features at a pretty attractive price.
Unifi Protect offers seems to offer all the features you need – motion recording, night mode, geofencing, instant notifications, local recording and remote access – and the price of entry isn’t high, especially when considering the cost over time with zero subscription or software fees.
Ubiquiti offers a wide range of cameras for different environments, making it a pretty versatile setup, not to mention the inclusion of PoE included across the range, making it more accessible for anyone to get these up and running, without messing around with power outside. The range of mounting options is impressive too.
In terms of pricing, initially it may seem a little higher, however once you have the Unifi Cloud Key Controller and Unifi Switch, you can easily expand by just adding cameras, which come in at a great price. The Cloud Key and Switch are one off purchases.
The only slight issues I have are minor software bugs, which is actually great news as it means they can all be fixed. Again, these were only minor annoyances.
If you are looking to take your home security to the next level, Ubiquiti’s Unifi Protect should definitely be high on your list to check out.