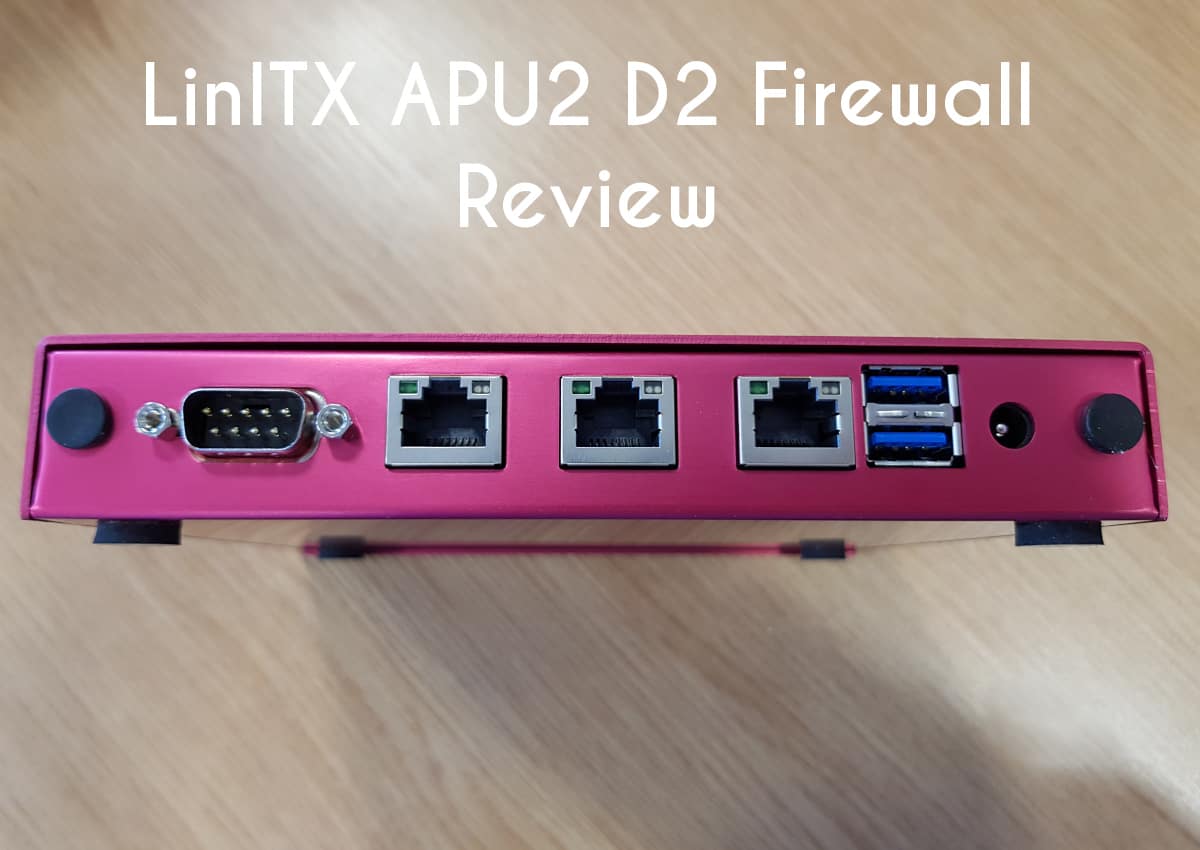
LinITX APU2 D2 Review - An exceptional Home/SMB Firewall

Netgate’s pfSense has surged in popularity over the last few years and has grown to be the most popular open source firewall out there, and it’s easy to see why – it can be installed on a wide range of hardware, it’s very feature rich and most importantly it’s incredibly stable.
However, that first point can also be the roadblock for most users getting started – what hardware to choose?
Enter LinITX and their range of APU2 firewalls, of which I have one for review. The APU2 range is built on the extremely popular PCEngines APU2 platform, which is a barebones APU board. LinITX takes this barebones board and turns it into a complete system including a nicely finished enclosure.
The APU2 features an embedded AMD GX-412TC 1GHz 64-bit quad core processor with AES-NI support, along with 2GB or 4GB of DDR3-1333Mhz RAM. Power draw is rated at between 6 and 12w depending on usage.
LinITX has many configurations available:
- 2GB or 4GB variants
- Standalone or Rackmount
- Single or Dual systems (for failover)
- 16GB, 30GB or 60GB flash storage
- Optional Wifi with antennas
- Available in Red, Silver, Blue or Black.
The APU2 configuration we are taking a look at today in this review is the following:
- APU2 D2 2GB
- Standalone single system
- 30GB MLC SSD
- Finished in Red
The total cost for this particular configuration is £239.40 (at the time of writing) with free shipping.
We aren’t going to take a look at pfSense directly in this review, this is more a review of the APU2 hardware and hardware performance rather than a software review.
Disclaimer
In the interest of being transparent, the APU2 unit I have for review was purchased and paid for by myself, it was not supplied for review.
Design and Ports
First impressions of the construction of this firewall are excellent, the whole chassis is completely made from aluminium and feels incredibly rugged despite its very light weight.
The unit takes up a very small footprint with dimensions of just 168mm (W) x 157mm (D) x 30mm (H), making this incredibly unobtrusive. If you opt for the black version, this really wouldn’t look out of place in a home setting.
On the front of the unit, there is absolutely nothing other than three very small LED indicator lights.
Around back we have our I/O. The APU2 has the following ports:
- 3 x Gigabit NICs, all 3 of which are Intel i211AT
- 2 x USB 3.0 ports
- 1 x Serial DB9 port for console
- 1 x input power (barrel jack connector)
- 2 x antenna slots for optional wifi (blanked off on my configuration)
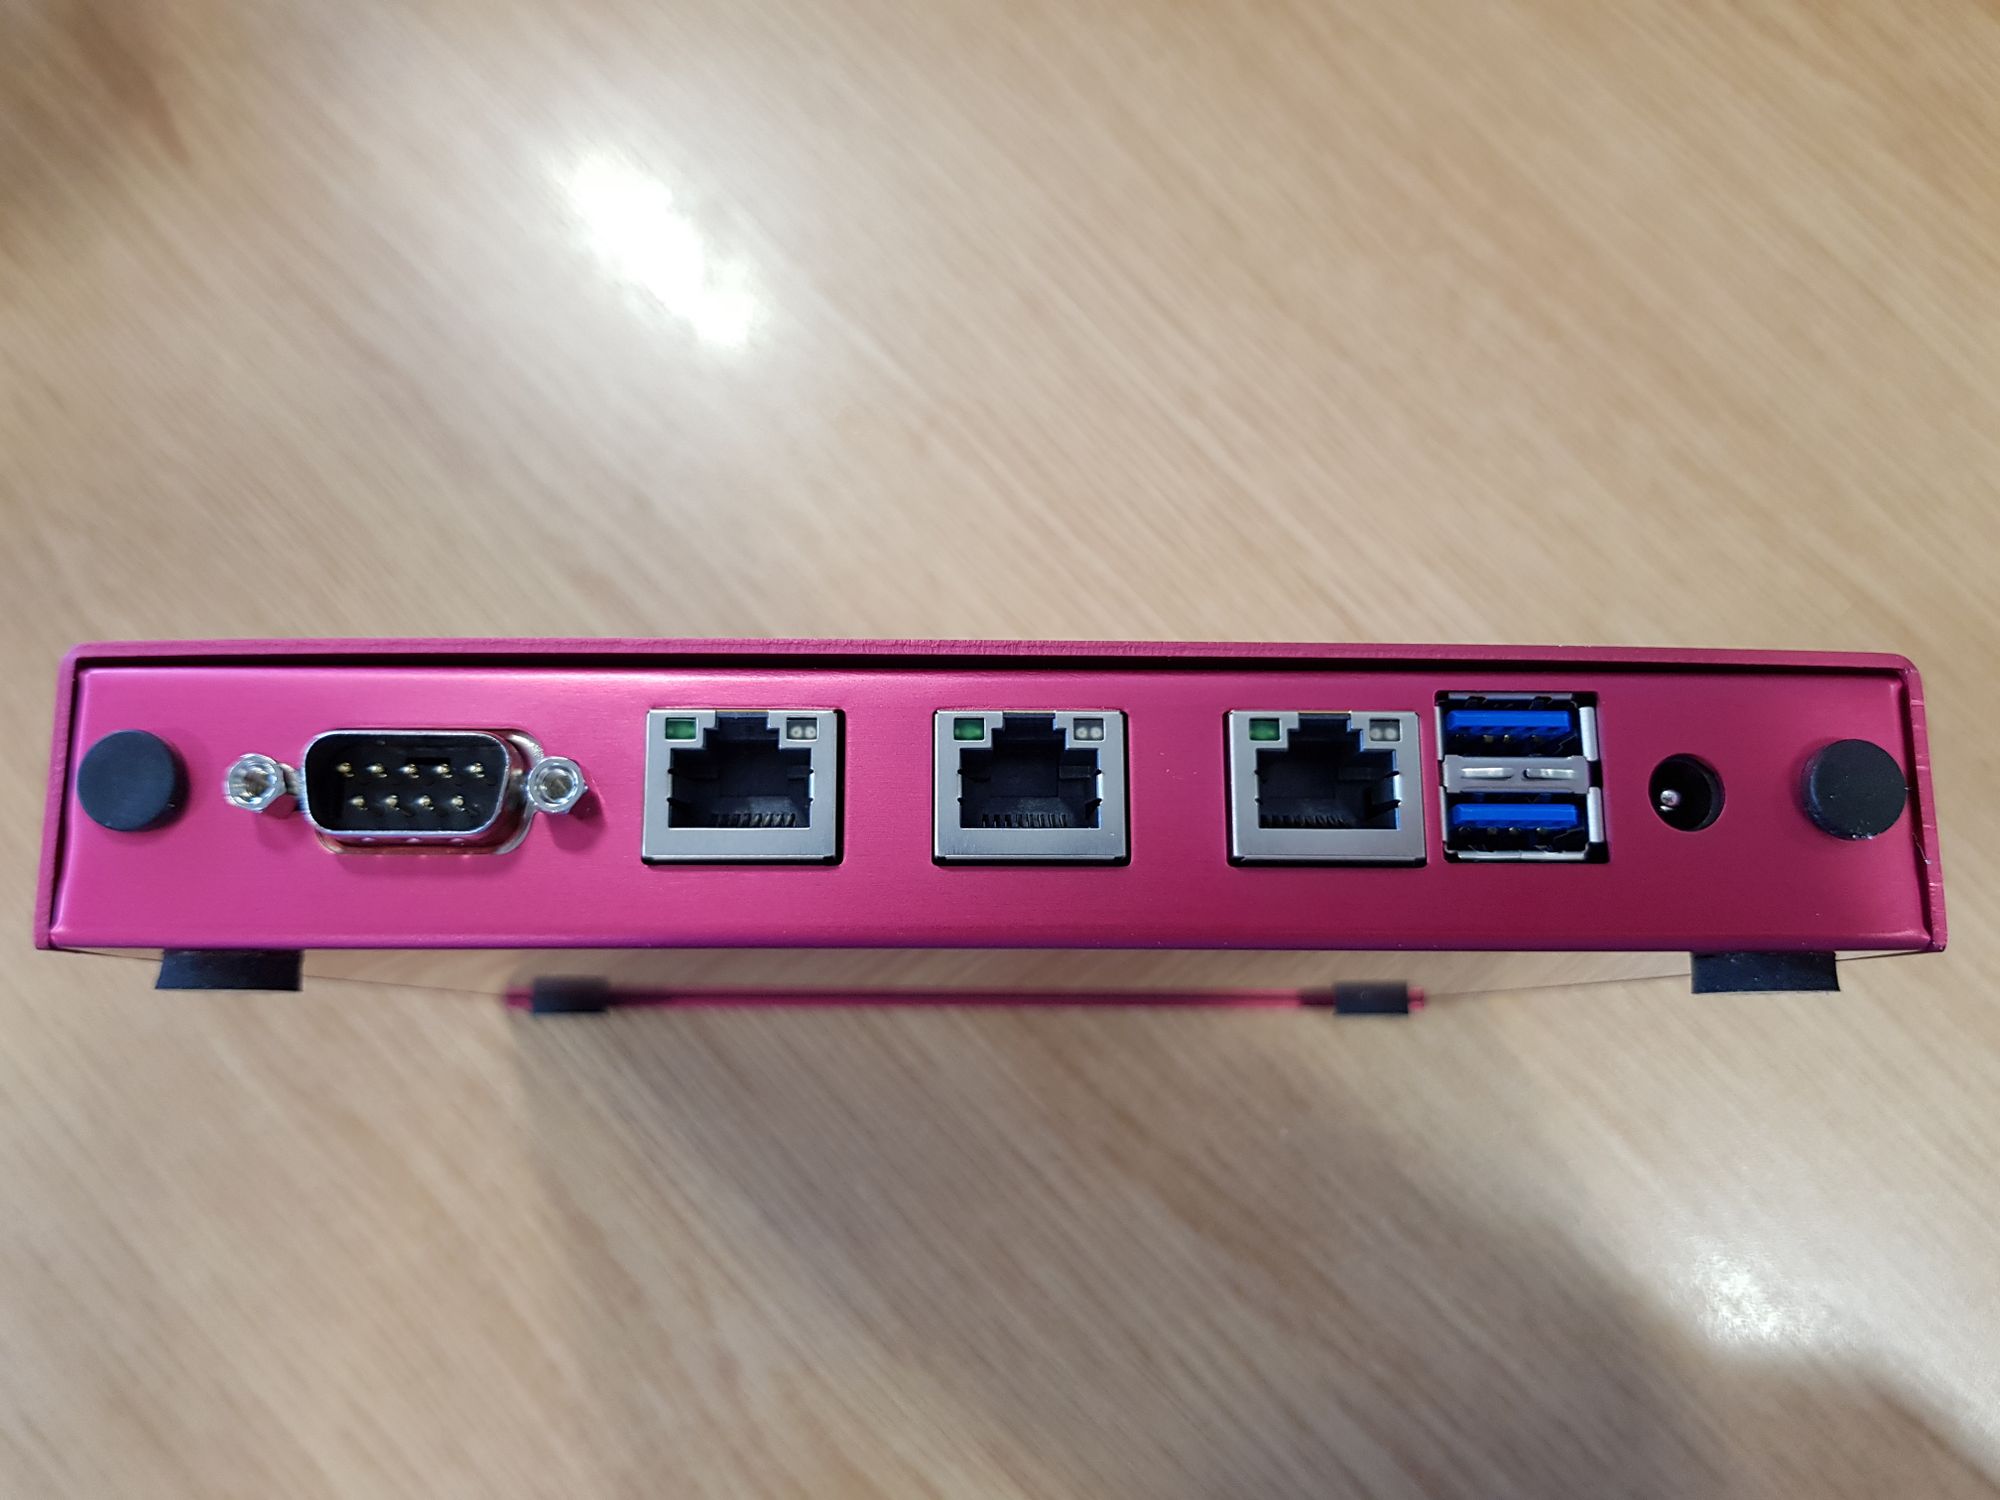
Having 3 gigabit NICs is excellent, as it allows you to have a WAN, LAN and optional port to use for a DMZ for example. It is also great to see that these are Intel NICs too which have traditionally been the best choice for FreeBSD based systems. They just work without any hassle.
Gaining access to the inside of the system is incredibly easy, just 4 small screws and the lid will slide off giving us a look at the internals:
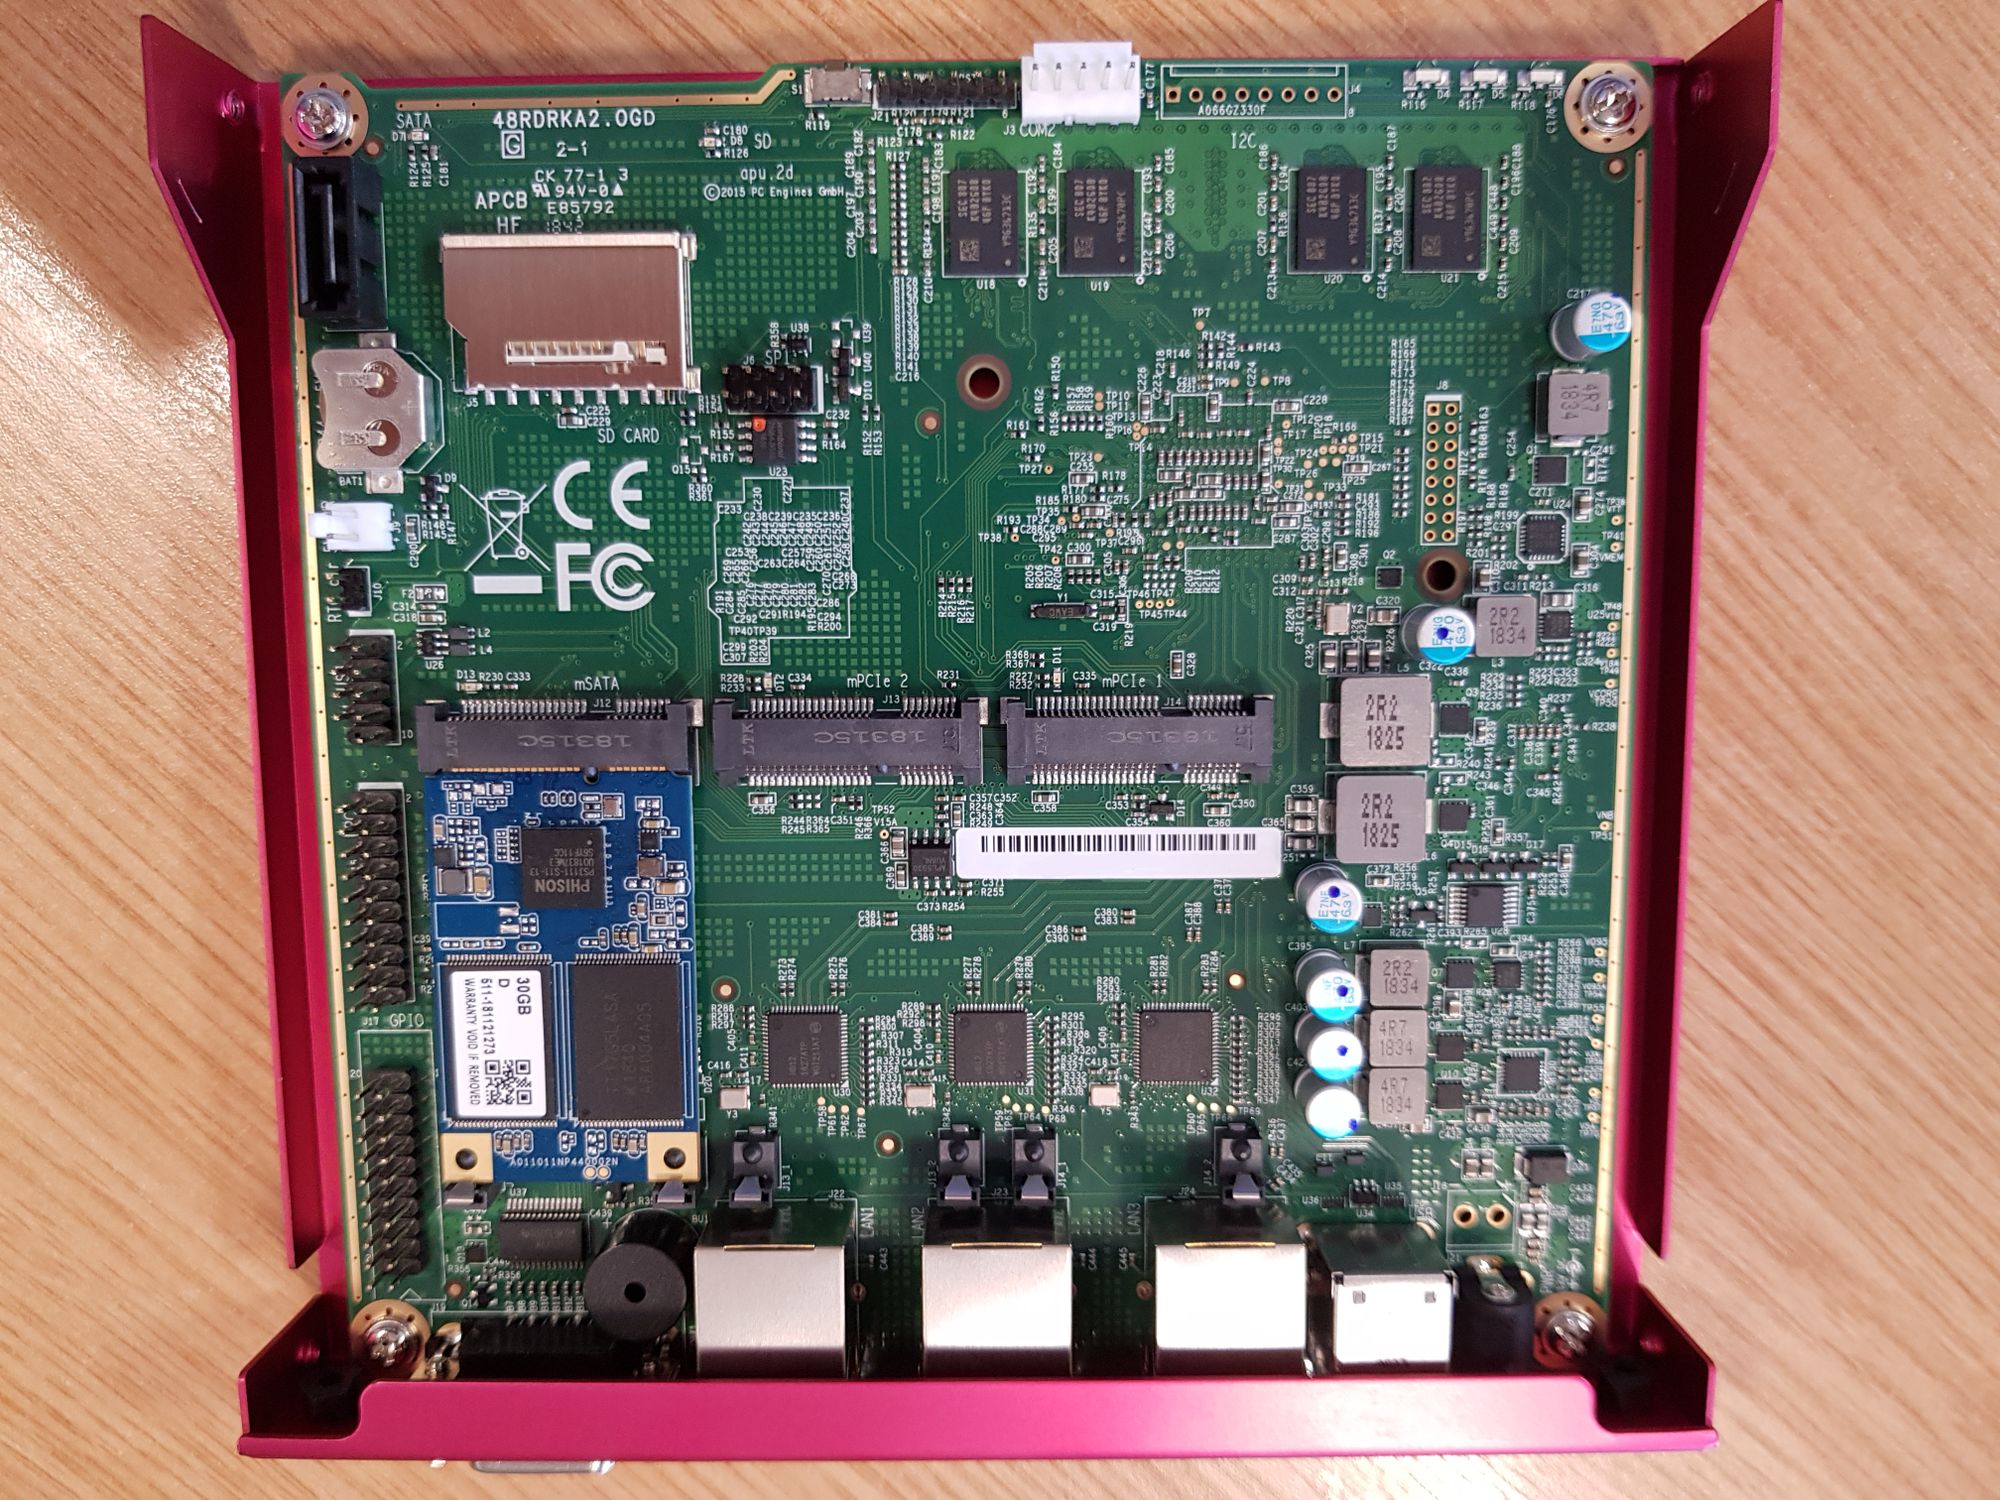
You will notice we have a few ways of expanding the system, firstly we have very easy access to swap out and upgrade the SSD if needed in the future, but also we have 2 free miniPCI express (mPCIe) ports, one of which has SIM support. One of these ports will be populated if you have the optional Wifi installed.
In the top left corner we also have an internal SD card slot which you can boot from meaning you could load the OS to the SD card, saving space on your SSD for other tasks. Next to that you can just see an internal SATA port too.
Great to see quite a few options for expansion here, and I love how easy LinITX has made it to access the internals.
First boot and initial setup
LinITX has pre-loaded these units with the latest pfSense for us (2.4.4 at the time of writing) meaning you can dive straight into the pfSense setup. Boot time is great, around 90 seconds from powering on to being fully loaded.
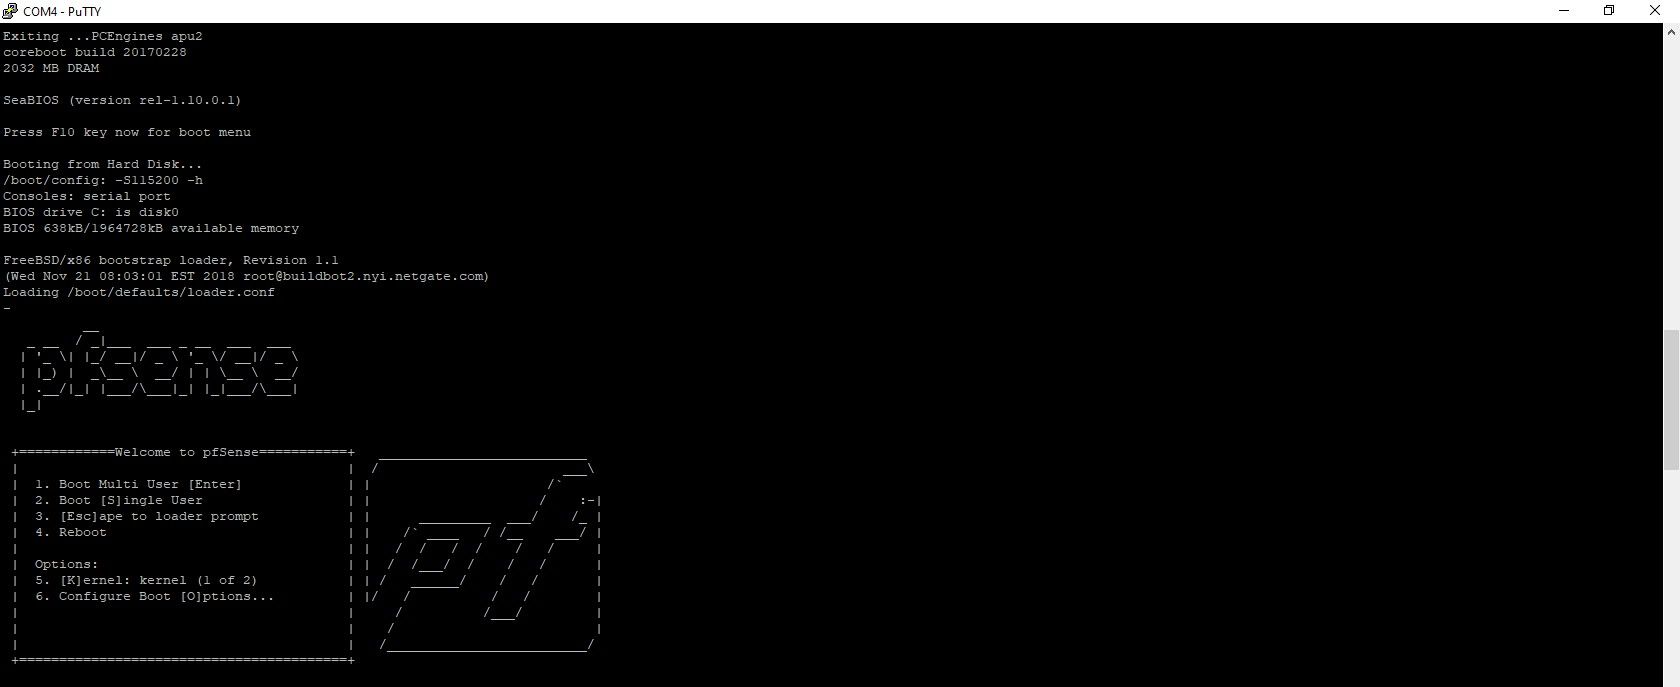
Using the serial port gives you direct access to the console screen so you can see your appliance starting up:
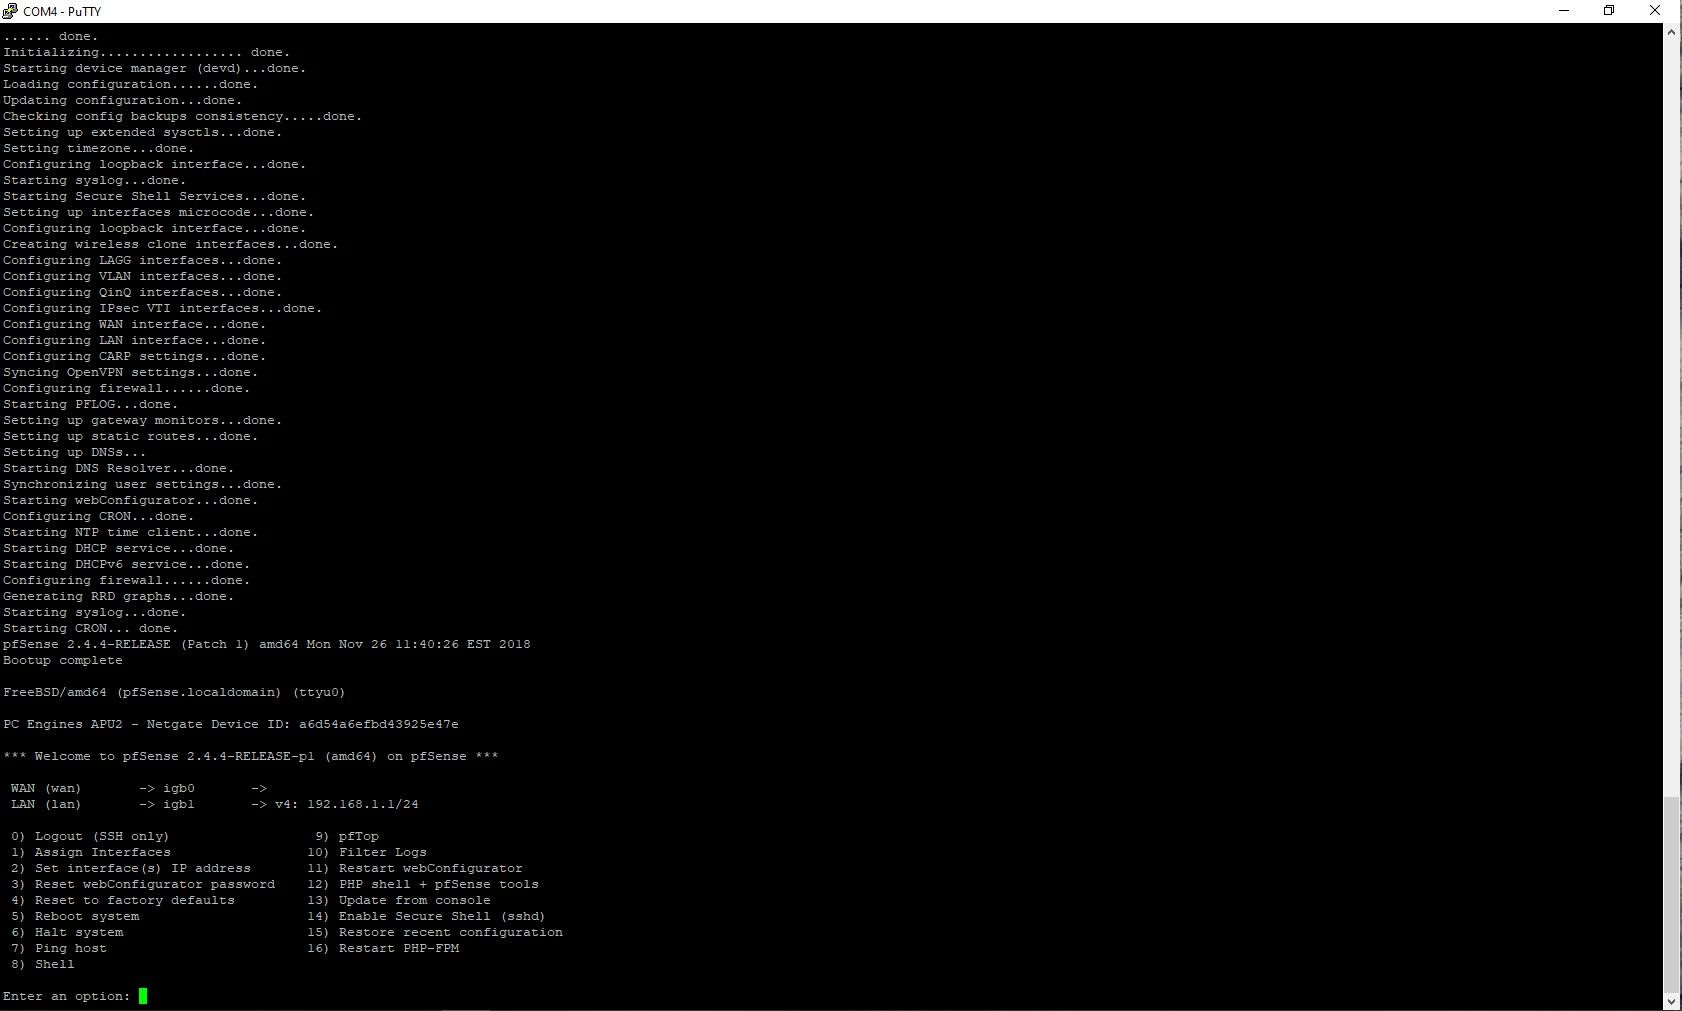
If you do not have a console cable, and let’s face it, most people don’t these days, don’t fret! You do not need to access the console at all to setup the device. You will be greeted to a little jingle from the device to let you know that it has finished booting.
The device is configured with a default IP address of 192.168.1.1 which you can use to connect to the web UI, so you do not need to have a console cable to do any of the setup.
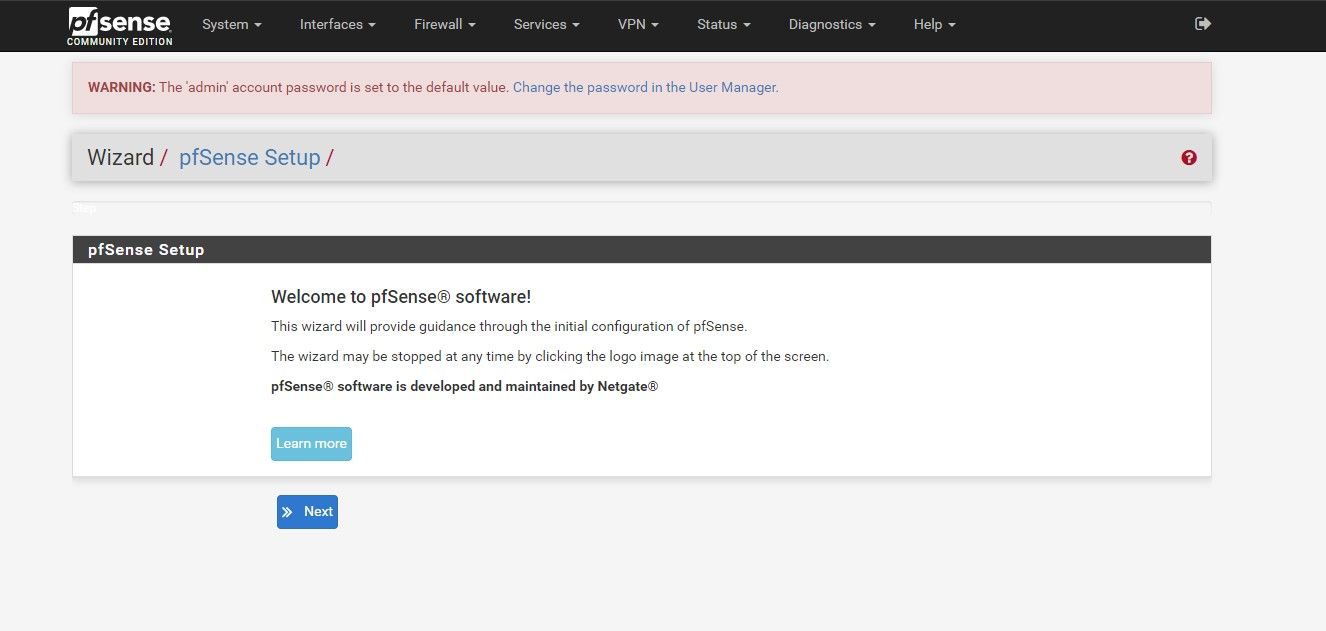
Once connected to the web UI, you will immediately be shown the initial setup wizard:
Once the setup is complete, you will land at the dashboard:
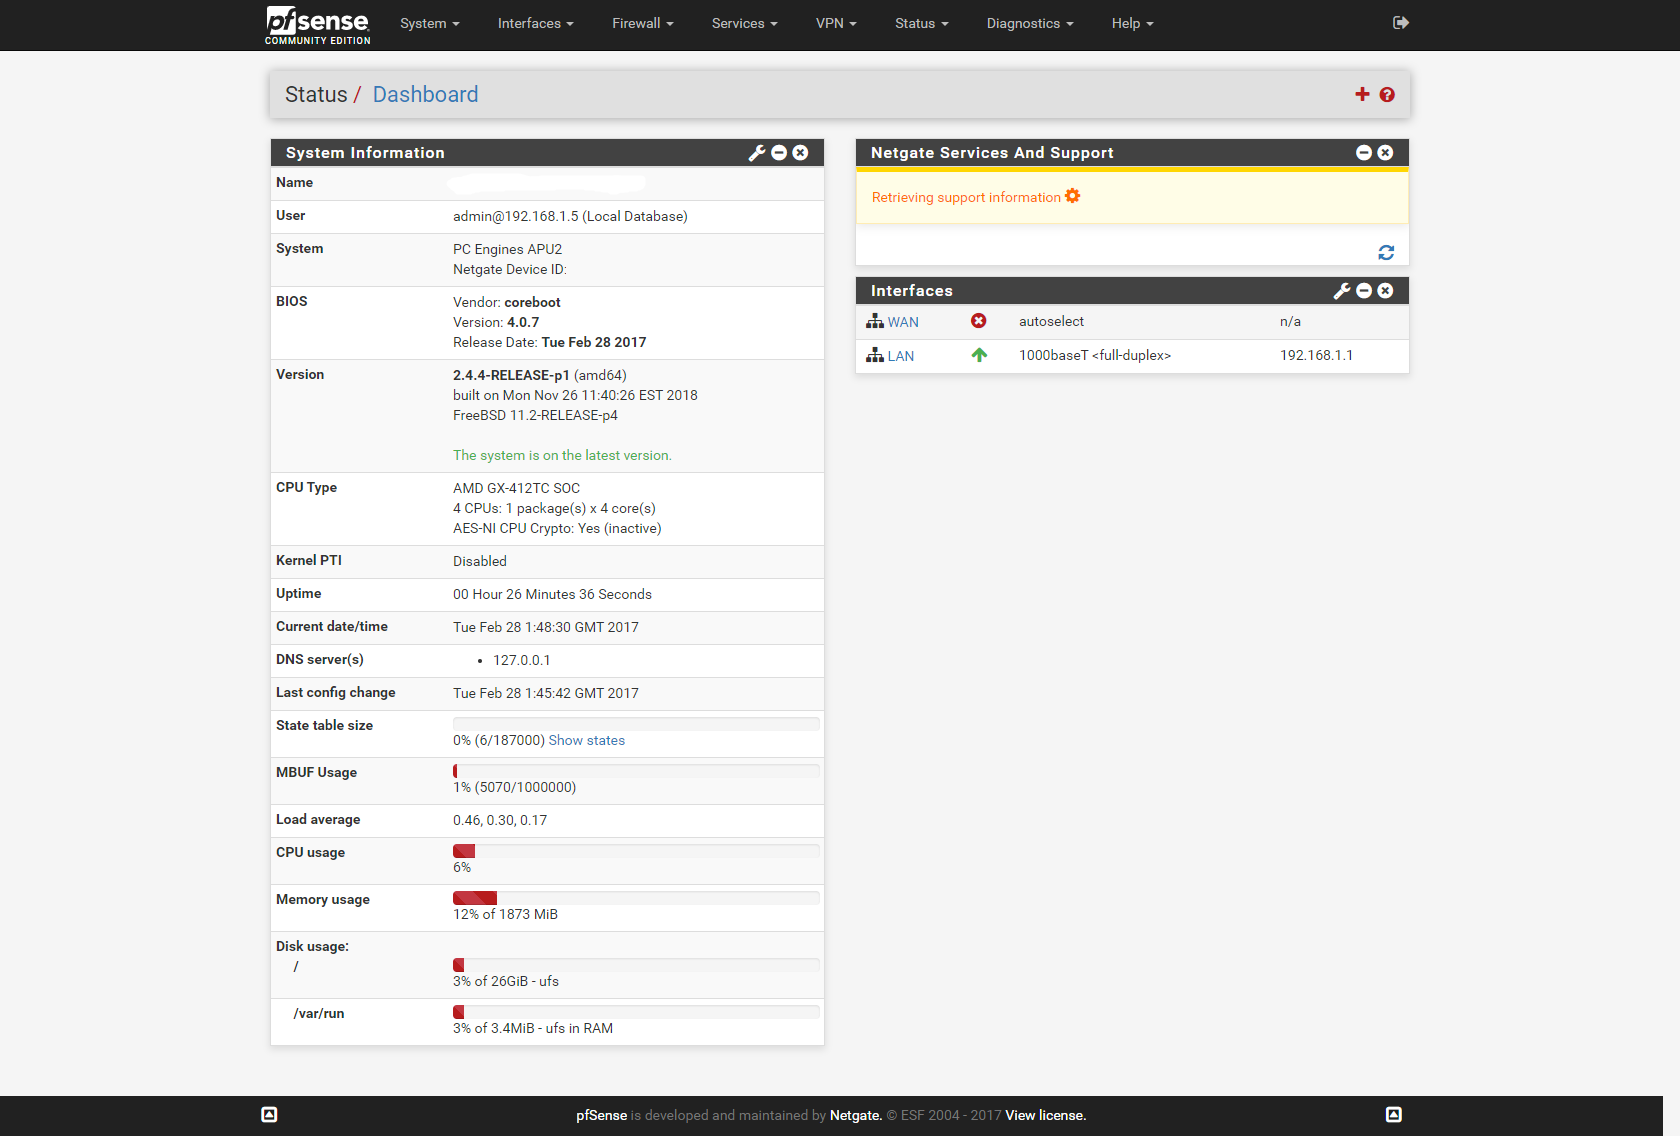
As you can see from the above image, our BIOS firmware is 4.0.7. Taking a look on the PCEngines Github site, we can see that 4.0.7 is incredibly old. This is an area I think LinITX could improve on, it would be great for them to ship a newer BIOS on these since some users won’t be comfortable with updating them. It’s not a big complaint, but something that I think LinITX could address.
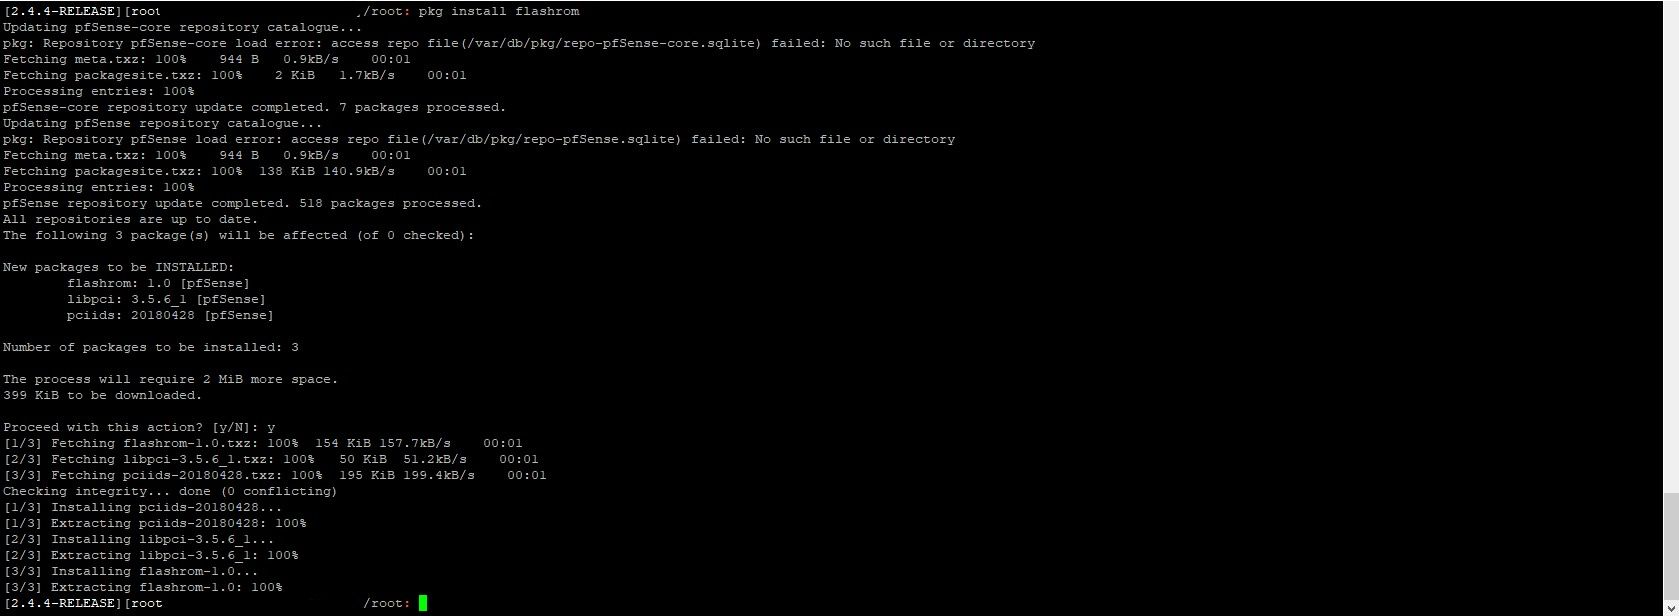
Updating the BIOS is pretty easy, you simply download the BIOS version from PCEngines, install the flashrom package and run the flashrom command. Then power the device off for a few seconds and back on:

Here is the commands you will need (you need to enable SSH in the advanced menu or console access):
cd /tmp
curl https://3mdeb.com/open-source-firmware/pcengines/apu2/apu2_v4.10.0.2.rom -o apu2_v4.10.0.2.rom
#The next command will output the checksum of the file, compare this to the checksum on the download page
shasum -a 256 apu2_v4.10.0.2.rom
pkg install flashrom
flashrom -w apu2_v4.10.0.2.rom -p internal:boardmismatch=force
On powering off and on my device, the BIOS has been updated as seen in the console:
OpenVPN Performance
A popular use for these firewalls is for OpenVPN and as such, OpenVPN throughput is a popular metric for measuring performance, since it is often the bottleneck. A super quick test of the OpenVPN performance on a 1Gb up/down link yields 102Mb/s. Those results were achieved on BIOS 4.10.0, pfSense 2.4.4, AES-NI enabled and using the AES-256-GCM + SHA256 cipher.
Switching to AES-256-CBC + SHA256 cipher lowered the throughput to 83Mb/s so performance was definitely better with AES-256-GCM cipher, so would recommend going with that.
Final Verdict
LinITX has done a fantastic job of taking an already great APU2 board and packaging it into a full system that is ready to rock out of the box.
I was very impressed by the APU2 unit I have for review, the performance is definitely up to spec for many home users/small businesses.
It’s a very attractive package all in all – a very small footprint device with a solid build, excellent performance and low power consumption – and is certainly more than up to the task of being an excellent firewall for most home or small business users. With prices starting at £227.40 shipped, it might be a little higher entry than most people want to spend but I think the hardware, performance and form-factor justifies that cost.
Highly recommended!