Tuya-Convert guide - OTA flashing of smart bulbs and plugs

There is an updated version of this Tuya-Convert guide, check it out here.
In one of the previous posts we looked at how to flash ESPHome/Tasmota onto a Tuya based smart bulb using the soldering method. I explained that Tuya-Convert is a much easier method assuming you can get a bulb that has not been updated. Well I finally managed to get my hands on a bulb that was on the correct firmware so finally I can show how to use the much easier Tuya-Convert method to flash your bulb!
Tuya-Convert is a very easy method of flashing your esp8266 based smart bulbs with custom firmware, so that you can remove the need for your IoT devices to speak to Chinese cloud servers and allows you to integrate with Home Assistant, OpenHAB or Domoticz.
Prerequisites
For this guide, you need the following:
- Linux computer with wifi
- Another wifi compatible device (smartphone or laptop)
- Smart Wifi bulb or smart plug with compatible firmware
If you have a Raspberry Pi with Wifi this is a valid method to go down, however I used the Kali Linux Live CD on a laptop which worked well for me. I’d highly recommend using Kali Live or a Raspberry Pi for this, other distros might not work properly, I tried Fedora which didn’t work since it does not label the network adapters how Tuya-Convert expects. This is an easy fix but I’d just go for one of the above methods.
Most importantly, for the highest chance of this working, I’d strongly suggest against connecting your Smart Bulb to the Smart Life app. As soon as you do this, it will update the firmware and Tuya-Convert will no longer be an option, meaning you’ll have to go down the solder method.
Finally you might want to check out the compatibility list on the Tuya-Convert GitHub page where the community has kindly posted their results with certain bulbs. It’s located here.
Guide:
Firstly we need to be booted into our Linux environment. Then open a terminal and issue the following commands:
apt install git
git clone https://github.com/ct-Open-Source/tuya-convert
cd tuya-convert
./install_prereq.sh
This will install Git if not already included in your distro, then will download Tuya-Convert. The final step will update your distro and install the required package for Tuya-Convert to run. This can take a few minutes to complete depending on your hardware.
Once complete you can run the following command to start the process:
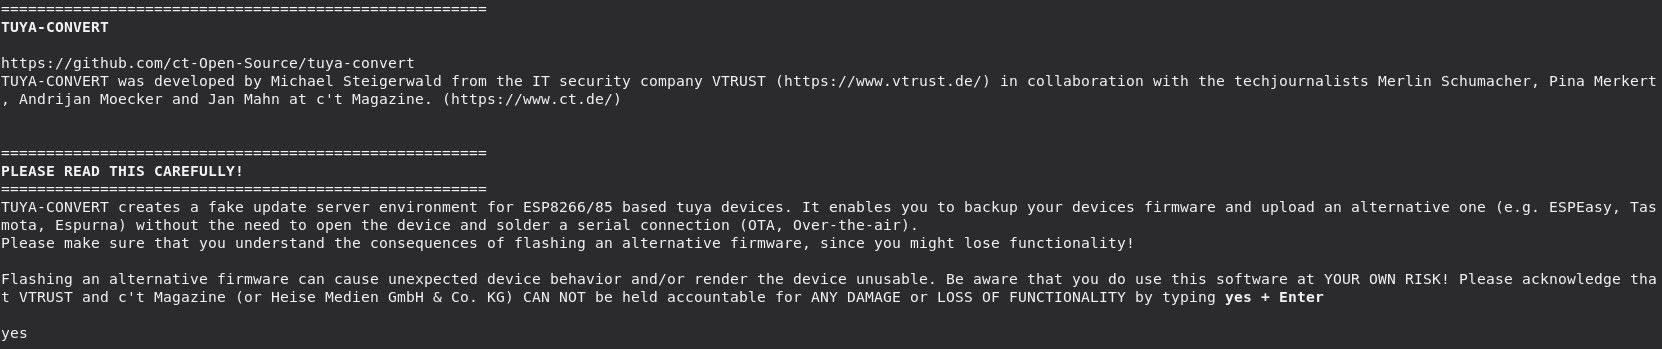
./start_flash.shThis will launch the Tuya-Convert flash process, you will be prompted at the first screen, type “yes” and hit enter to proceed:

After proceeding it will then give you a couple of steps to complete:
- Connect your smart phone or second laptop to the new wifi device, with the password being “flashmeifyoucan”.
- Put your smart bulb or plug into pairing mode, this is important. To do this, you physically turn the device on, off, on, off, on. Then wait a few seconds and the light should begin to flash.
Once both these steps are done, you can hit enter and wait. This can take a minute or two to complete. Your device should stop flashing and the light should be on constant. Your terminal window should look similar to this which will indicate a success:

Now run the following command to flash Sonoff-Tasmota onto the device:
curl http://10.42.42.42/flash3If successful, the device should now have a Sonoff-Tasmota 6.5.0 firmware on it.
Connect to the new device by searching for its SSID and connecting, it will look like “sonoff-xxx”. Once done, you can then connect to the web page of your device to continue setup. It should hopefully be on http://192.168.4.1
Congratulations, you just successfully flashed your smart bulb or plug! You have a ton of options now for integrations and are free to flash any firmware you desire!
A backup of the original firmware is automatically saved so keep this safe incase you ever want to go back for some reason. You will find it in the tuya-convert folder. If you are using a Live CD ensure you copy this to a USB stick or similar before shutting down!
Troubleshooting:
The most common issue you will run into is that your device has a new firmware on it which prevents this procedure. You know if this is the case if when you start the flash procedure, your device exists pairing mode and stops flashing, but nothing happens in your terminal window. Unfortunately the guys behind the tuya-convert project have been unable so far to get around this, hopefully they can in the future. Please consider creating an issue on github in order to help the community know which ones to avoid!
Your only option at this point is to follow our other guide and solder directly.
The other common issues are not joining a secondary device to the vtrust-flash SSID first, or not putting your device in pairing mode before pressing enter. Make sure to follow these steps carefully!
Let me know in the comments if you run into any issues and I can try to assist!