Getting Started with Home Assistant – Part 5 – Notifications

Welcome back to part 5 of the “Getting Started with Home Assistant” series after a short hiatus – we saw some changes coming with regards to the mobile app which is why we held off on this part so we could cover the best way to do notifications.
Home Assistant Companion App for Android 1.7 was just released last week, which had some big changes to notifications which gave us the green light to go ahead with this part of the guide!
If you haven’t checked out parts 1-4 of this guide, I’d suggest following them first before coming back to this part:
- Getting started with Home Assistant – Part 1 – Installation
- Getting Started with Home Assistant – Part 2 – Setup and Lovelace Overview
- Getting Started with Home Assistant – Part 3 – Configuration/Adding entities
- Getting Started with Home Assistant – Part 4 – Automations and Templates
In this part, we are going to cover notifications using the official Home Assistant mobile apps for Android and iOS, including actionable notifications.
There are many many ways to send notifications using Home Assistant – see here for the full list – but we are going to focus mostly on the mobile apps for this segment as we feel they are now feature rich enough to do 99% of the things most people will want to do. Of course if you’d like to see others – hit us up in the comments!
Prerequisites
For this part of the guide, we are assuming the following:
- You have a Home Assistant environment installed with at least one entity or sensor you can use
- You know how to create Automations – see part 4 for a guide
- You have access to a mobile device running the official Home Assistant app (version 1.6 or greater required for Android, any recent version of iOS should work)
Guide
Configuring the mobile application
Android
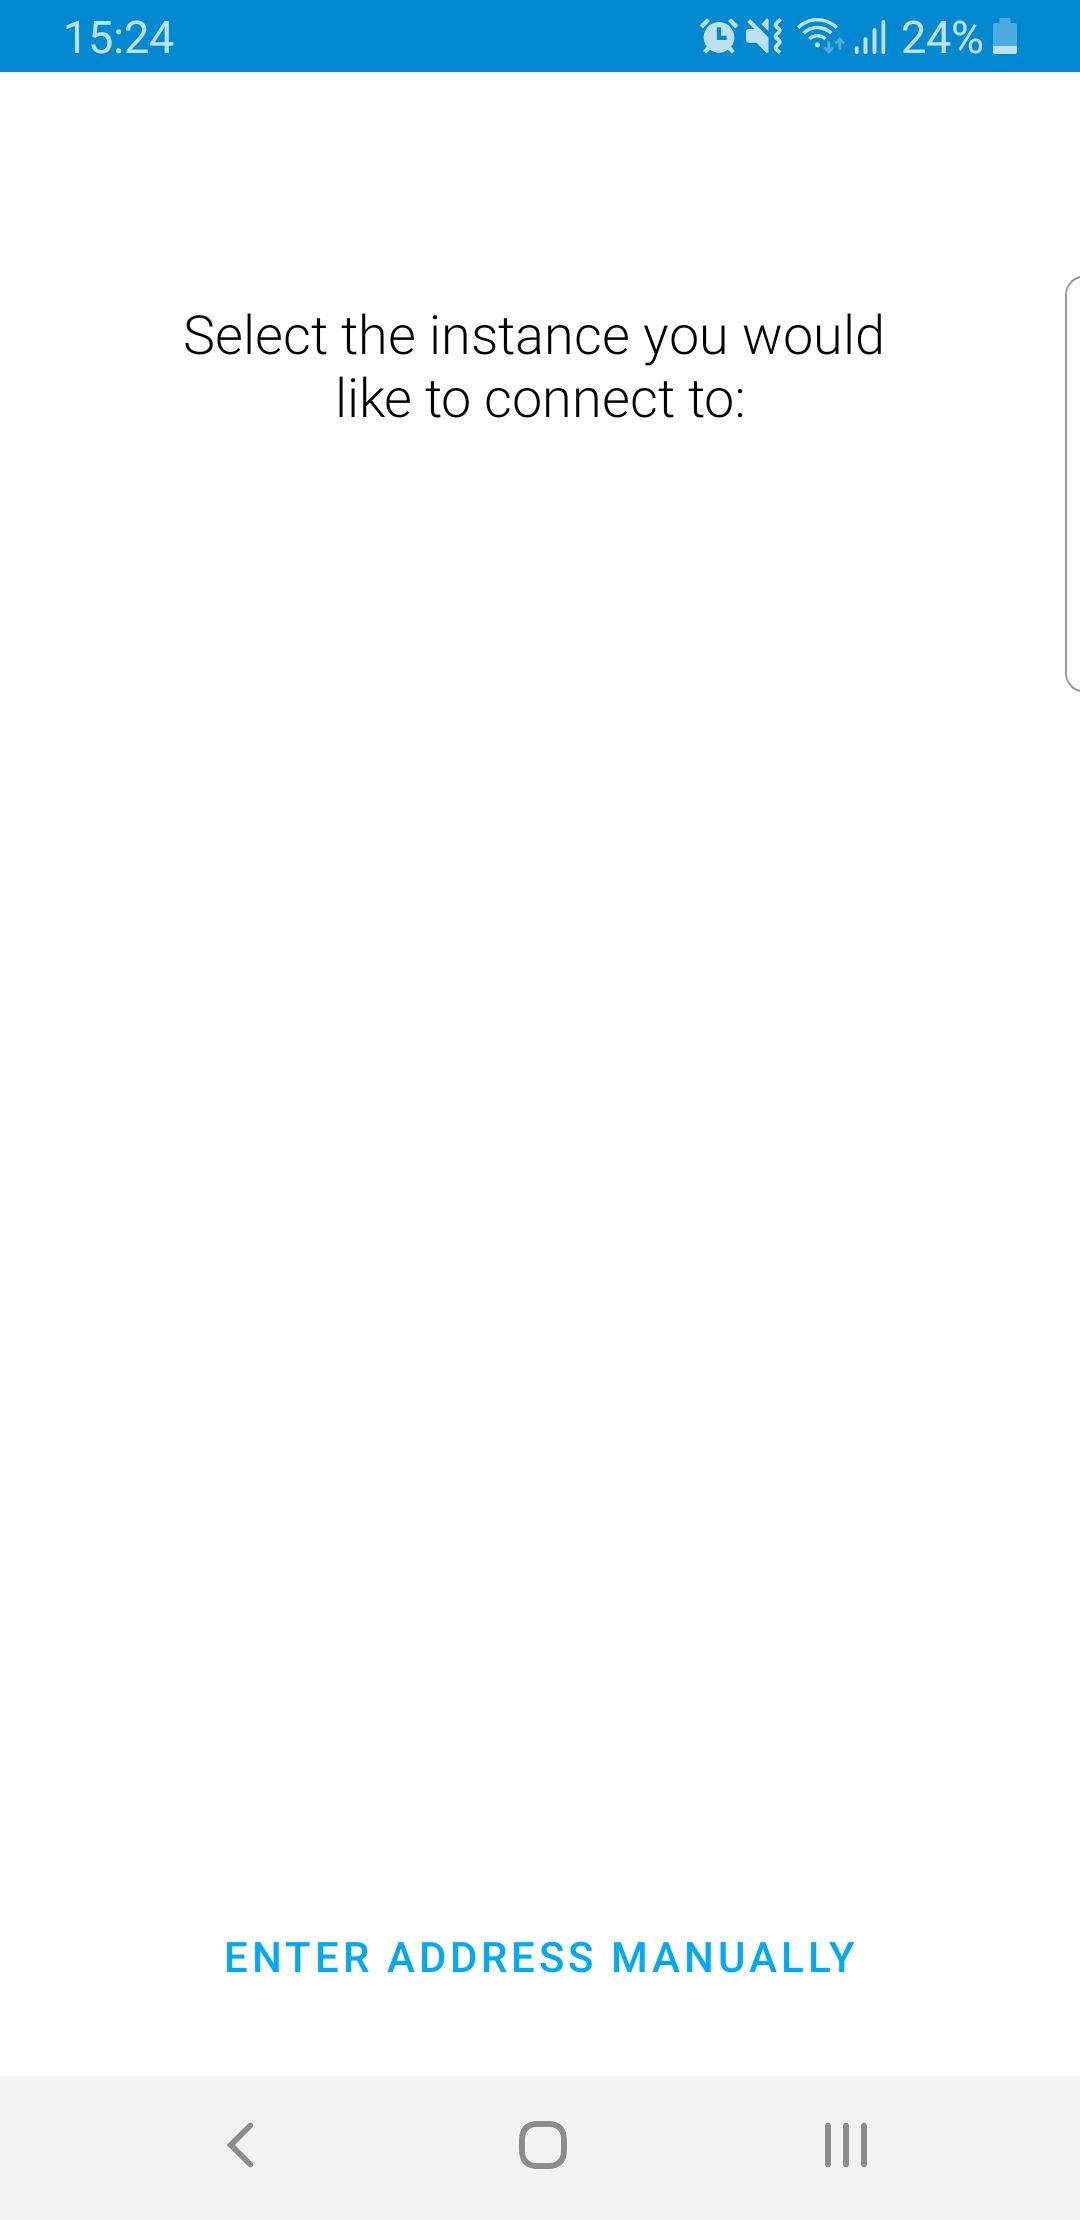
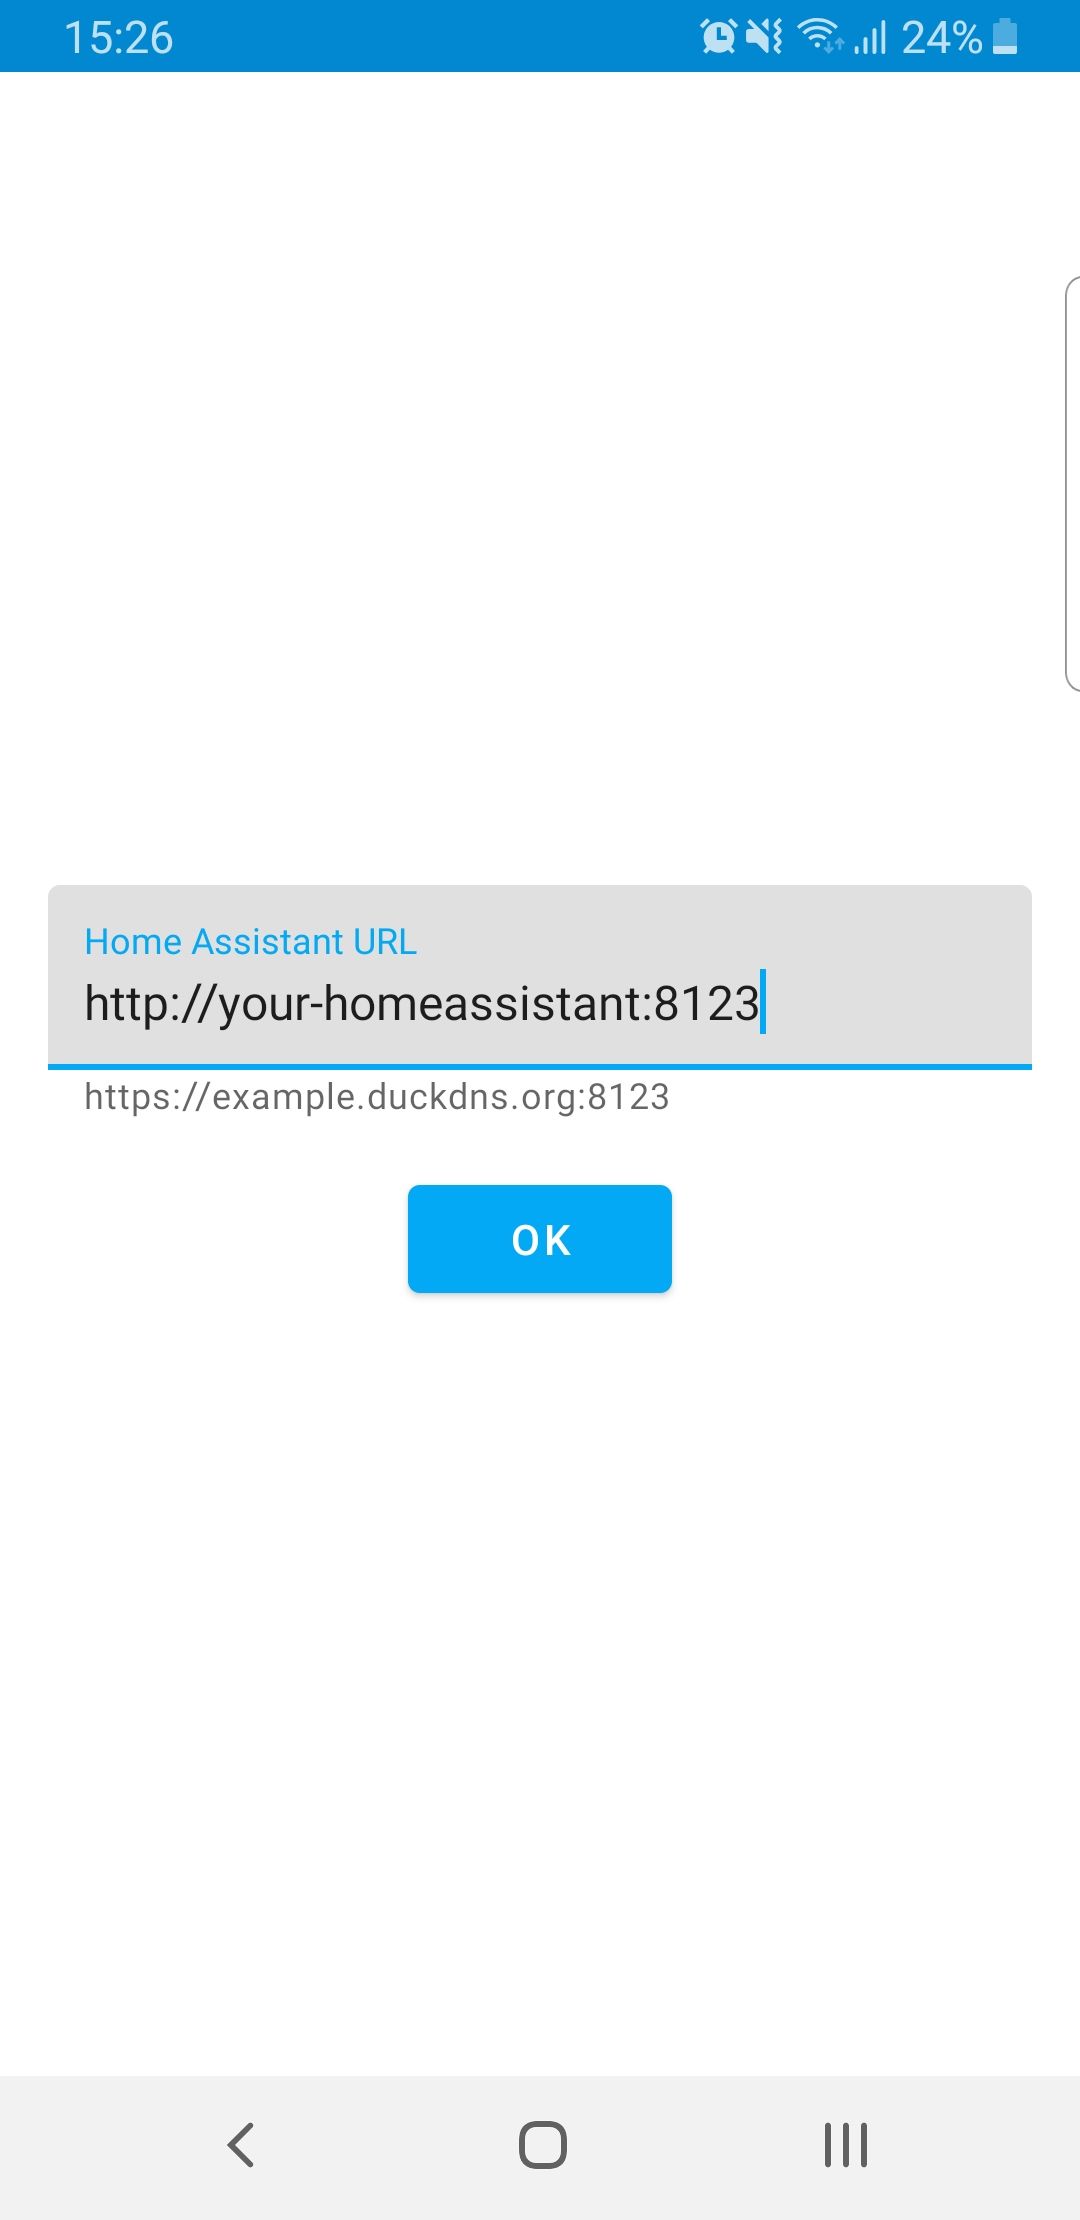
Open the Home Assistant App, your Home Assistant server may automatically show up as a discovered device, if it does not hit enter manually and enter your full Home Assistant address, including http/https and the port number (8123).
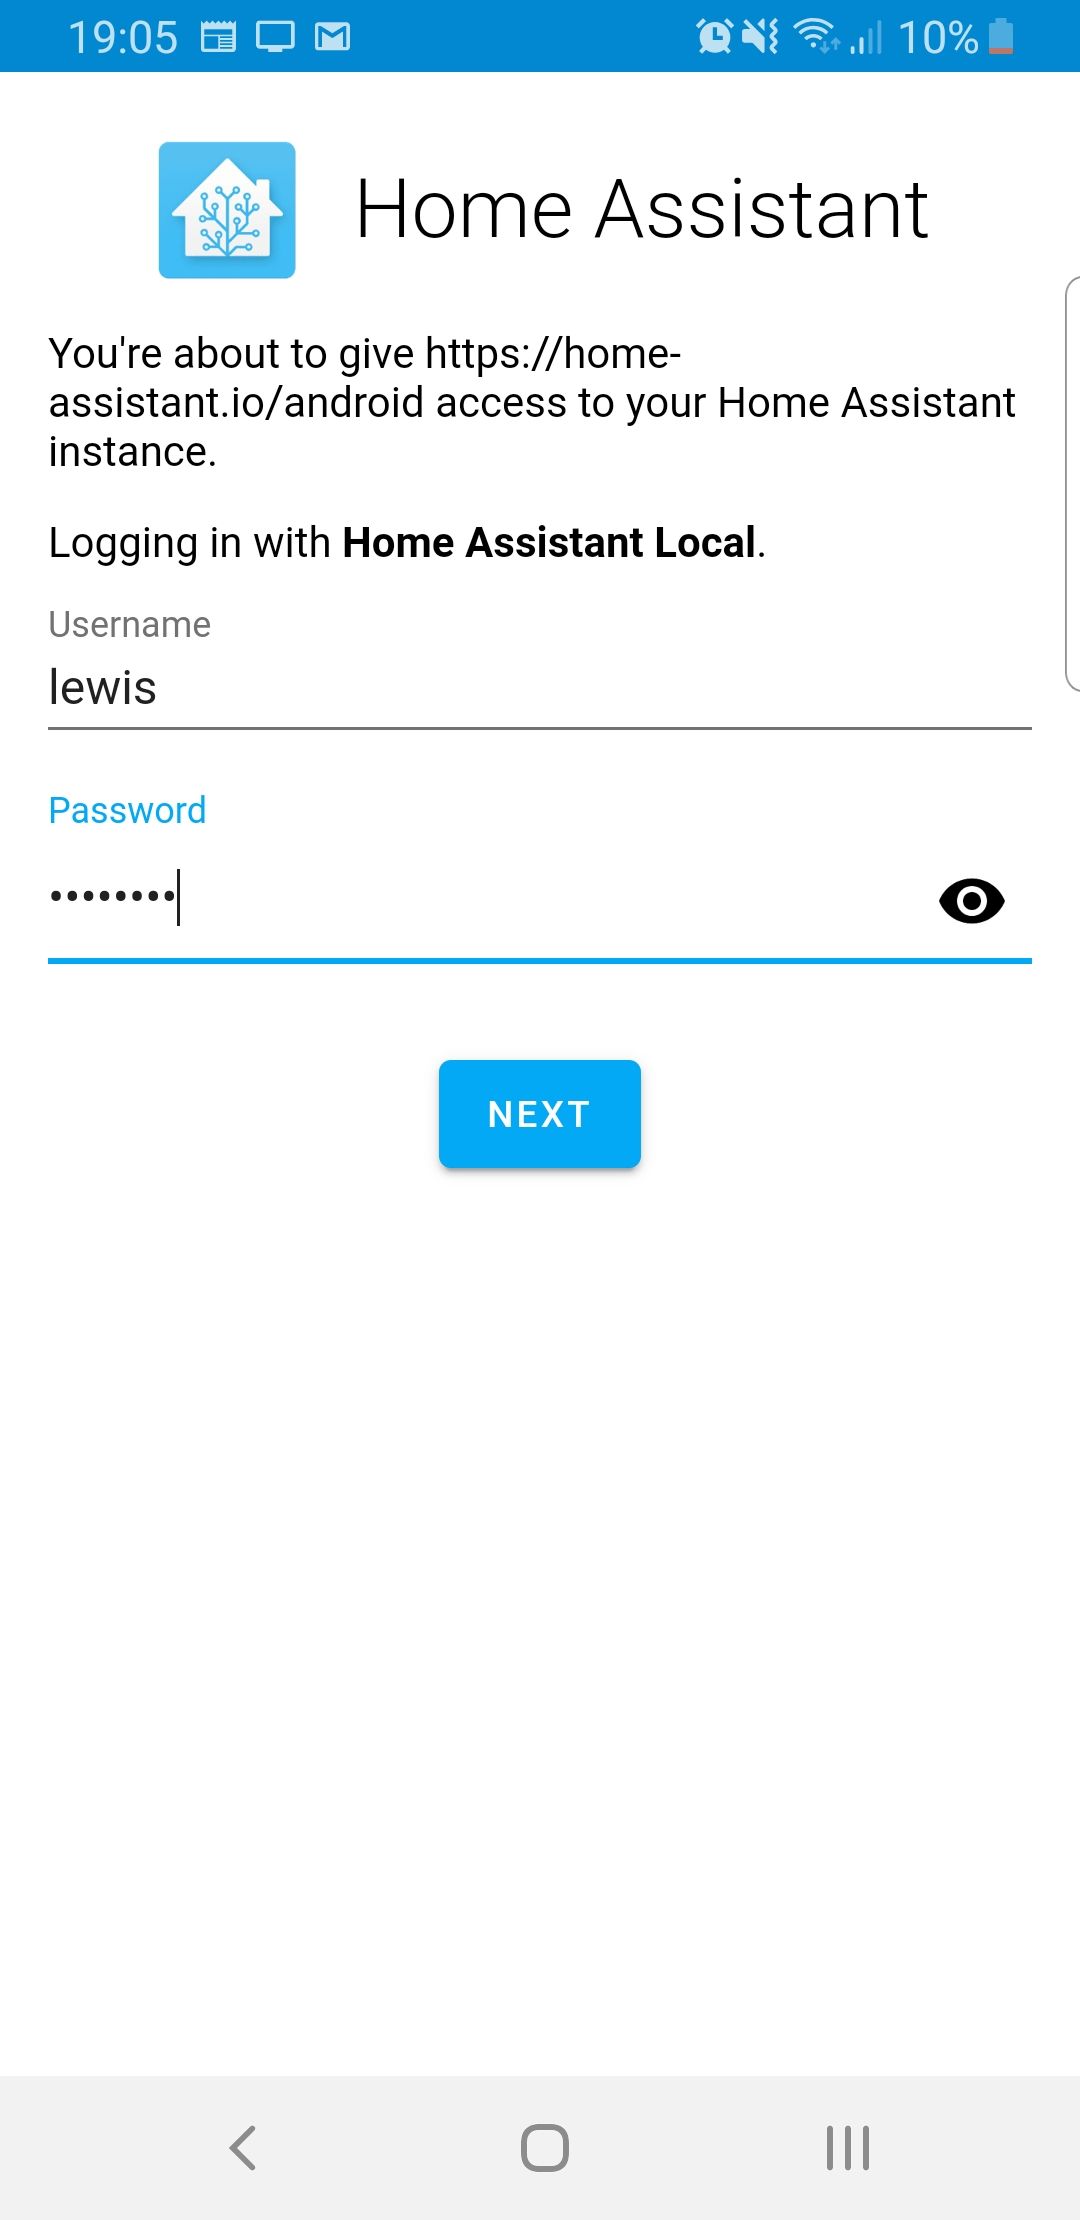
Hit connect and enter the username and password for your instance.
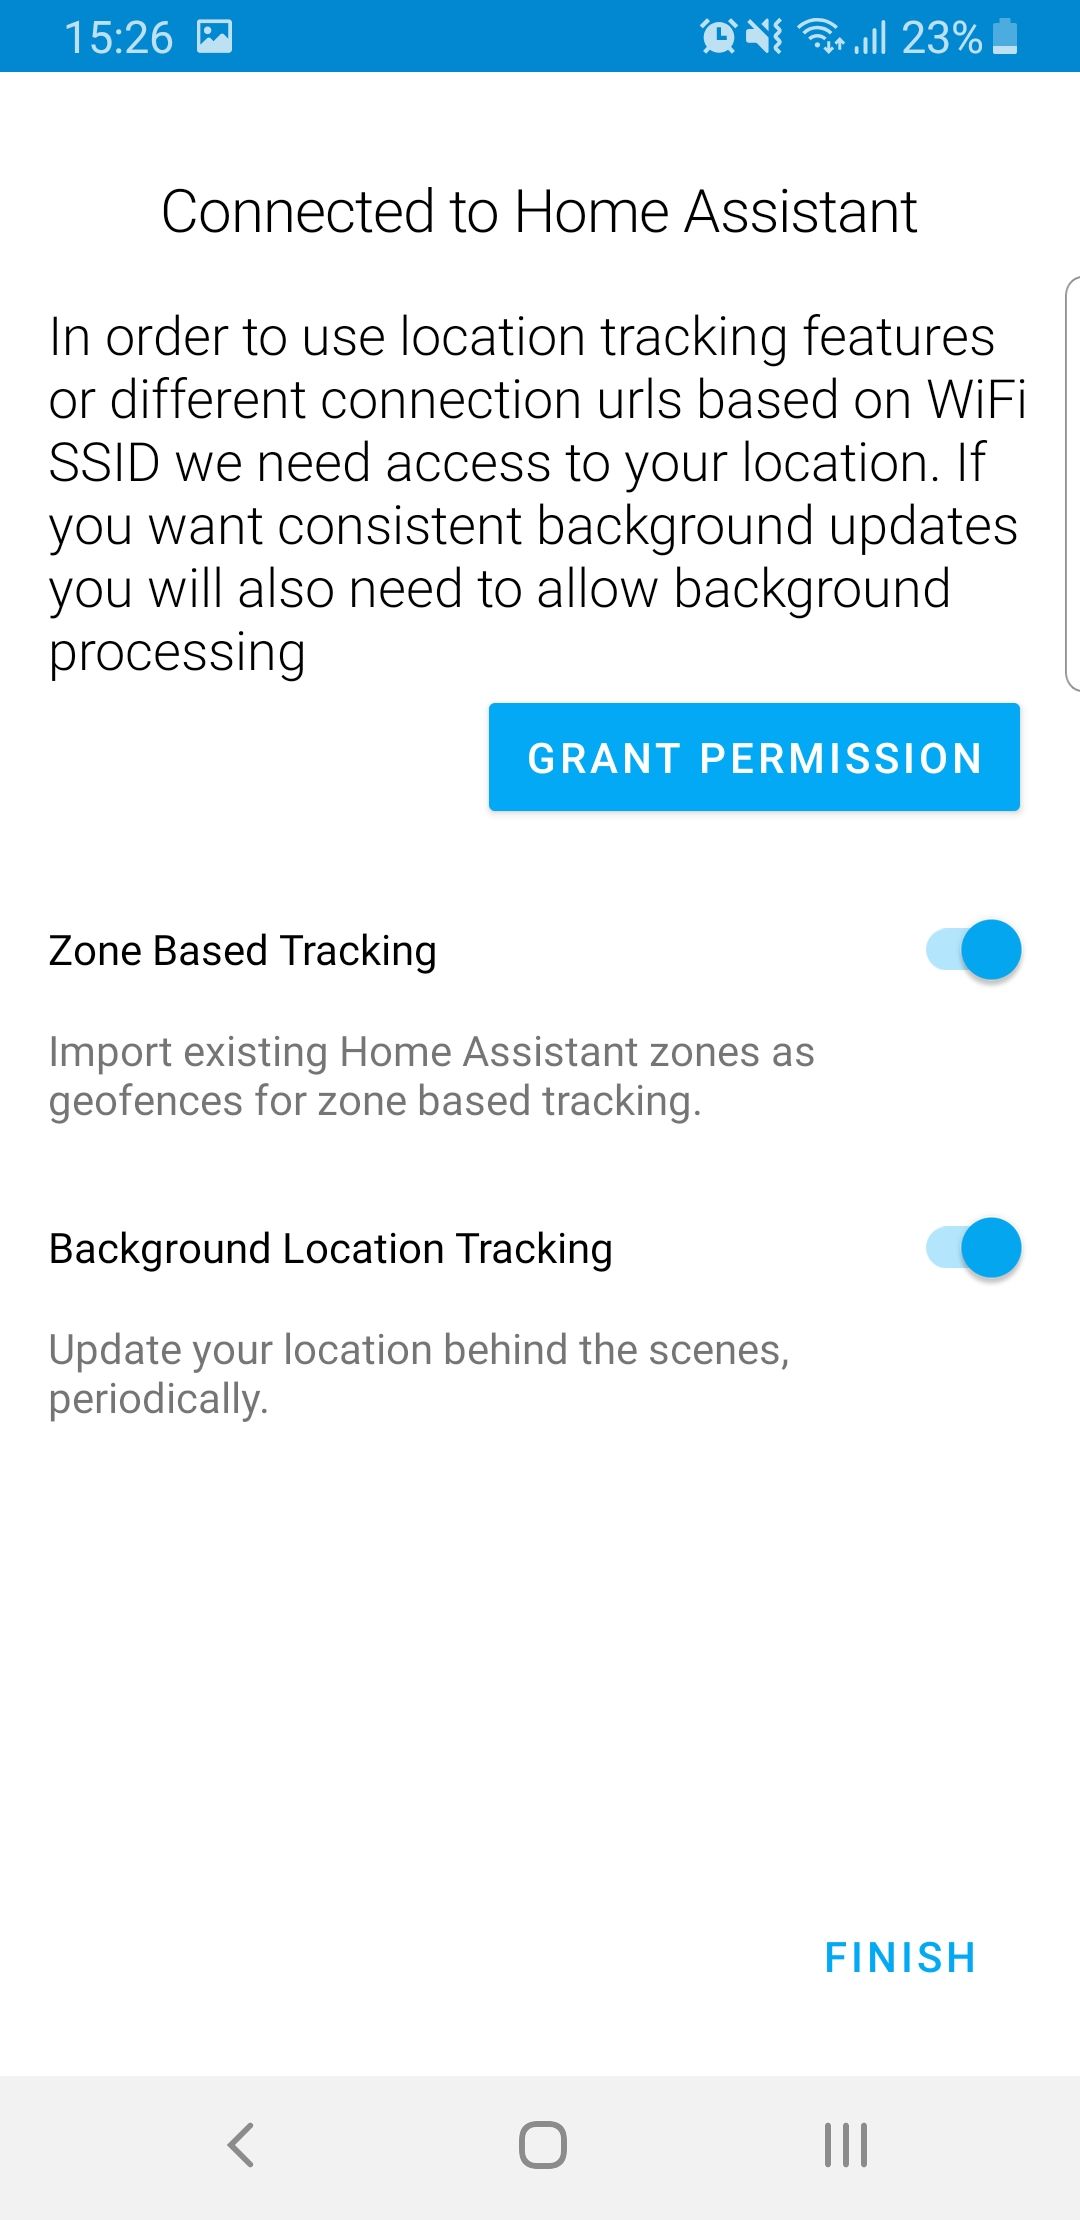
Hit grant permissions and allow location services to be used and press finish:
At this point you should also restart your Home Assistant instance in order to generate the notify service.
Once done, go to Developer Tools, states and go to device_tracker.your_device, it should now have some information:

Finally, go to Developer tools and services. From the drop down ensure that you have a service called “notify.your_device_name”.
iOS
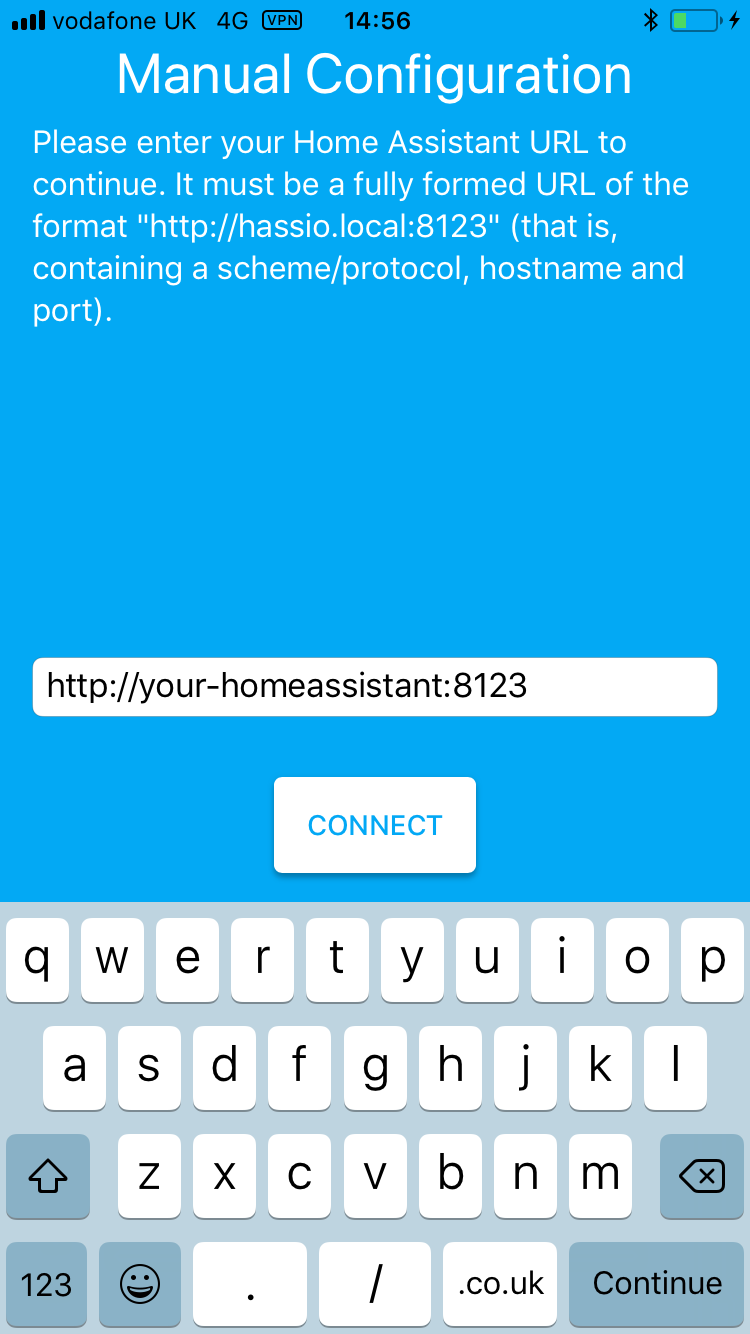
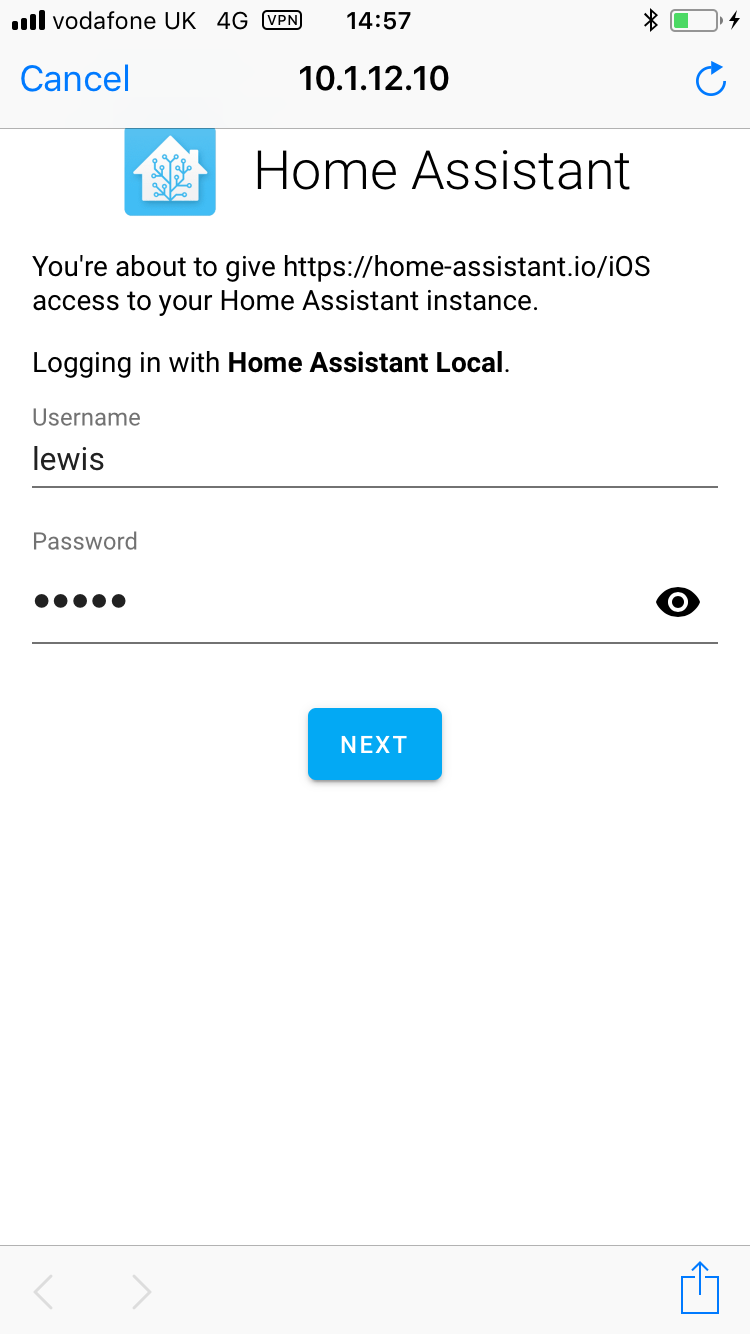
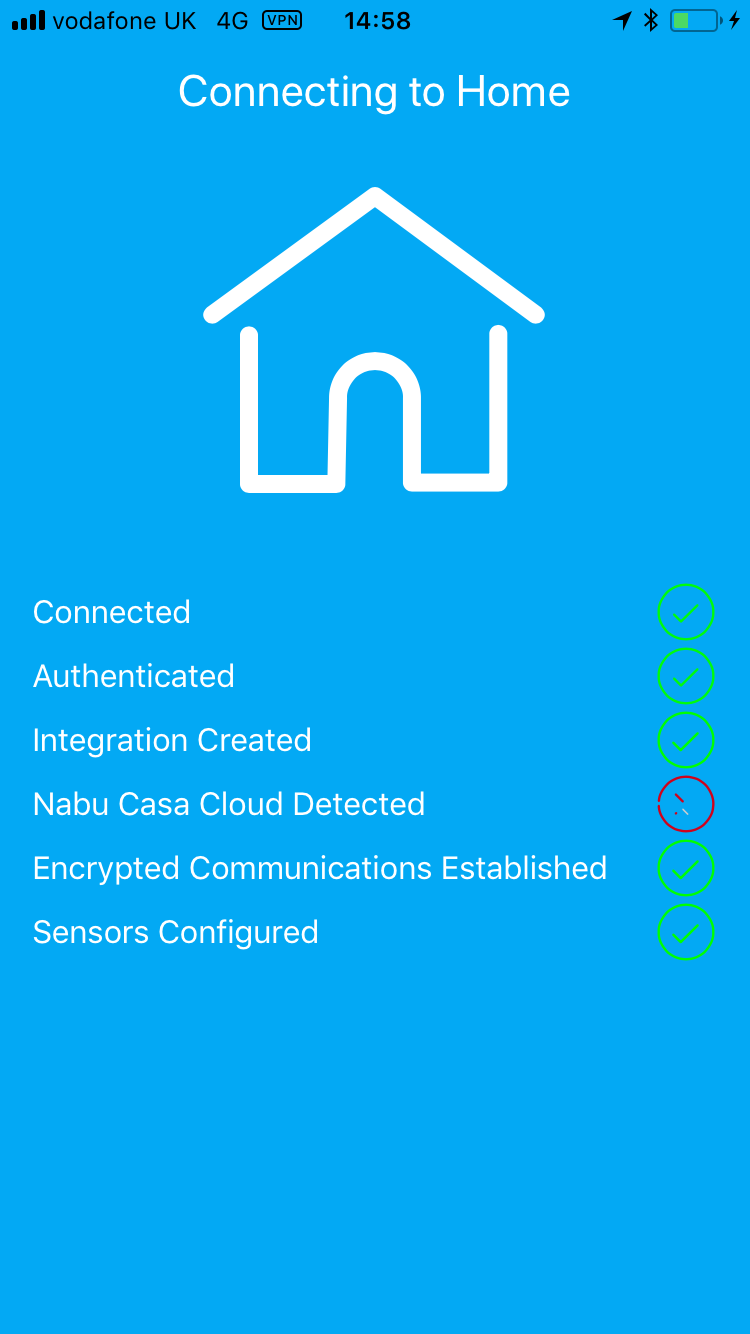
Open the Home Assistant App. You need to enter the full URL of your Home Assistant instance, including http/https and the port number (usually 8123).
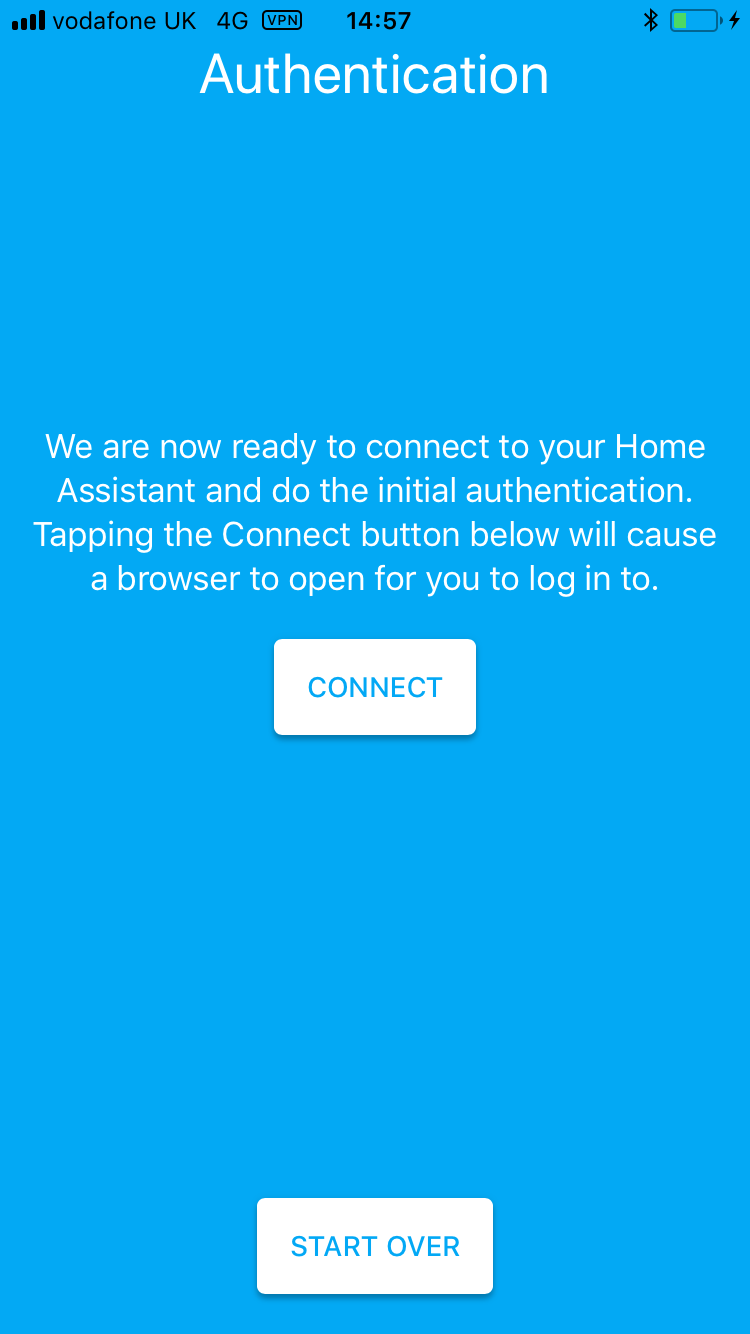
Hit next and enter the username and password for your instance.
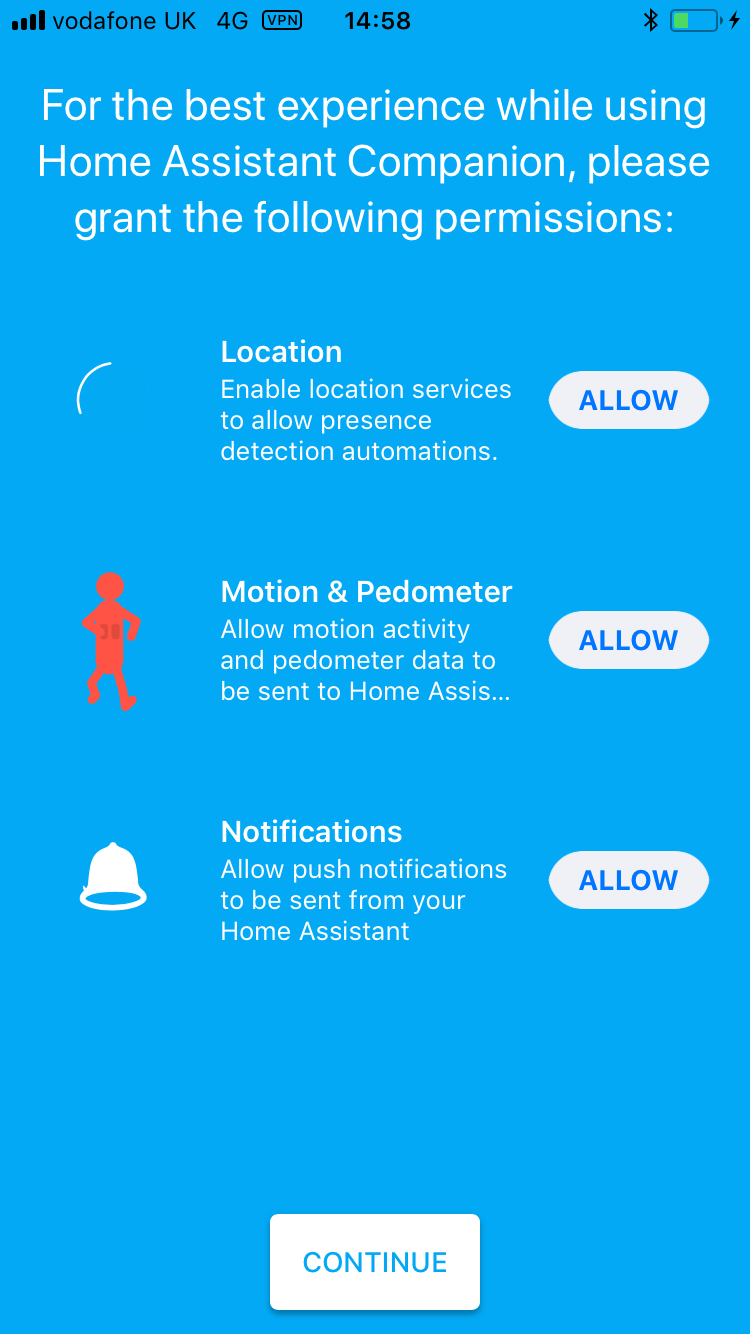
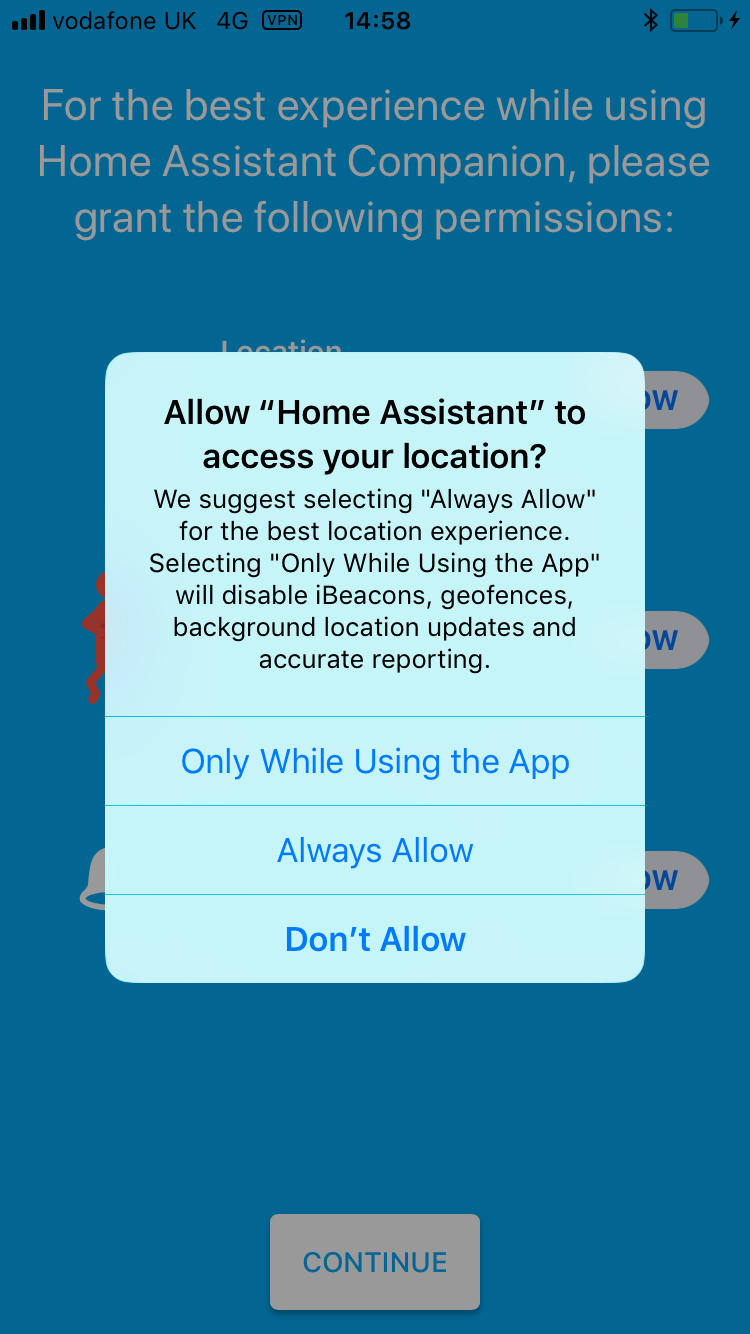
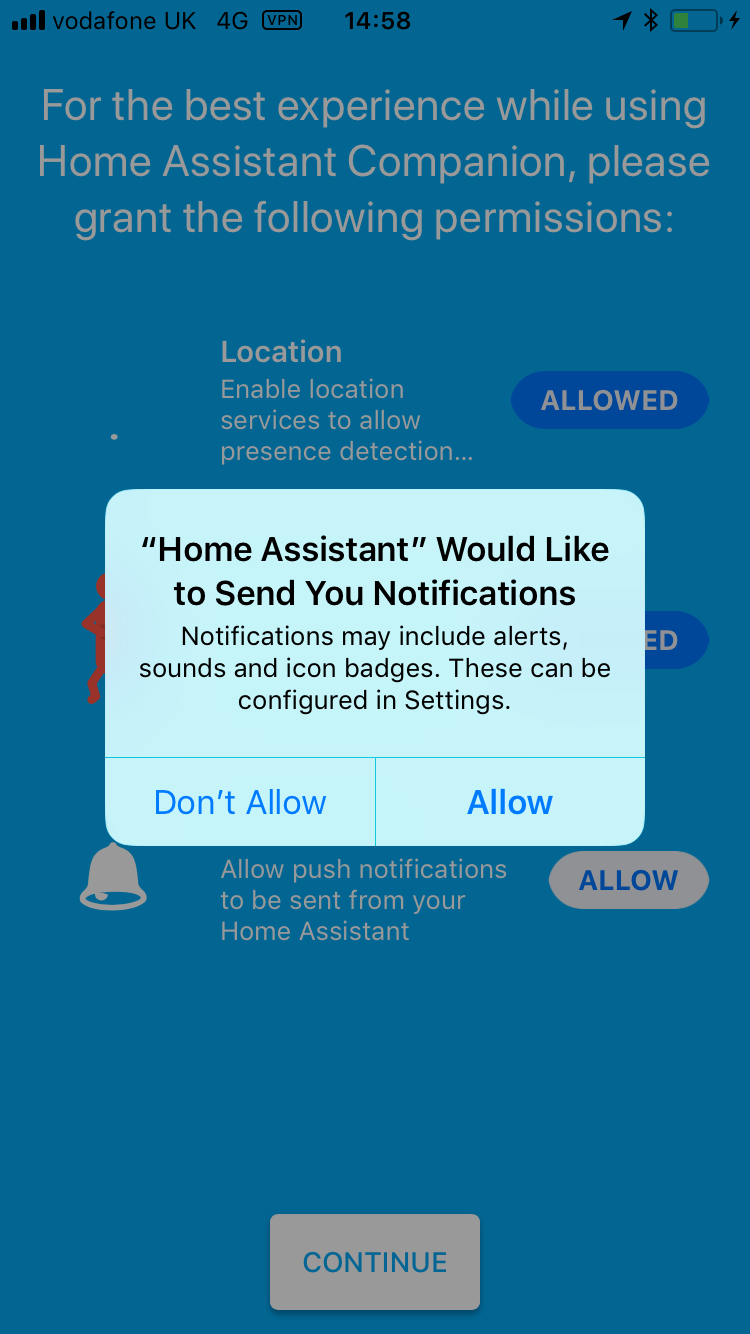
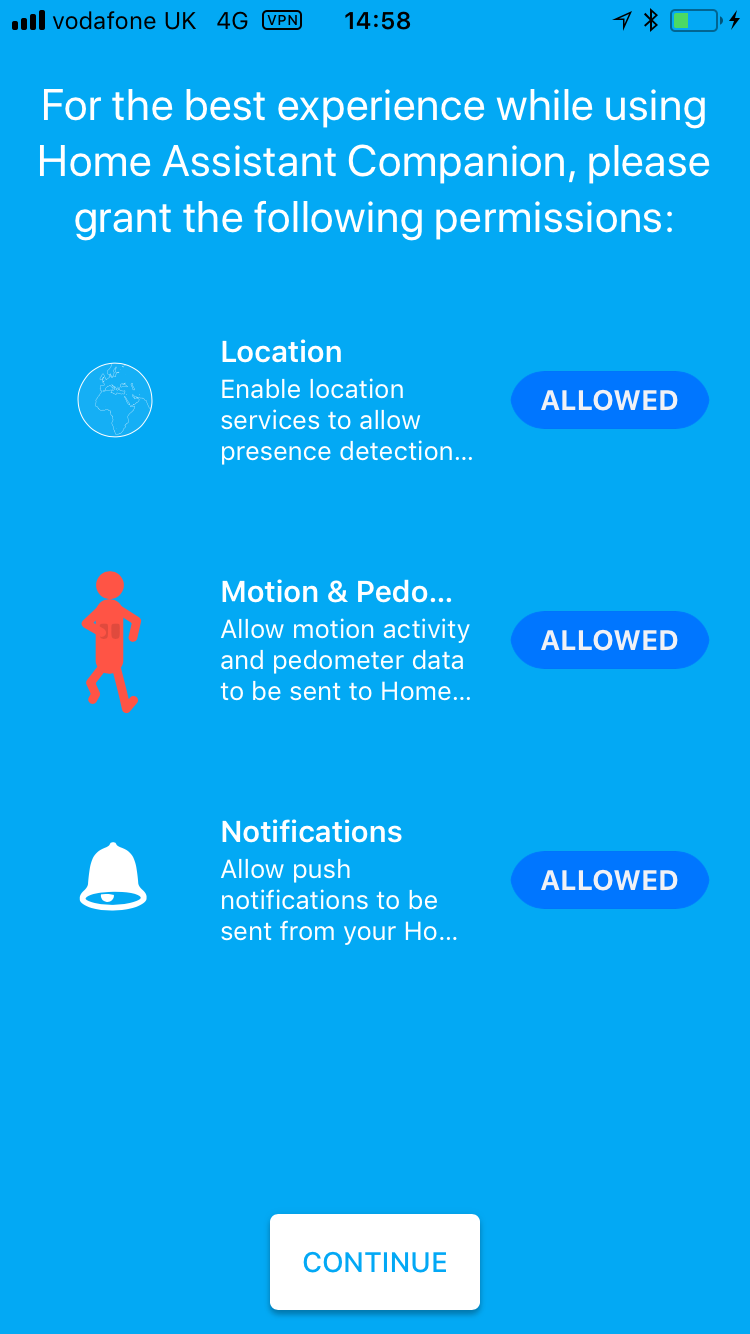
Next, allow location permissions, motion sensors and notifications.
Once done, you should drag down from the top of the app to refresh home assistant and generate an initial location.
At this point you should also restart your Home Assistant instance in order to generate the notify service.
Once done, go to Developer Tools, states and go to device_tracker.your_device, it should now have some information:

Finally, go to Developer tools and services. From the drop down ensure that you have a service called “notify.your_device_name”.
A simple notification
First we are going to create a real simple notification, one that simply provides us with an alert when an automation runs.
A great example would be if you have left a light on after leaving the house.
For this automation we need two entities – a light and a person entity that has my mobile app assigned to it as a tracker.
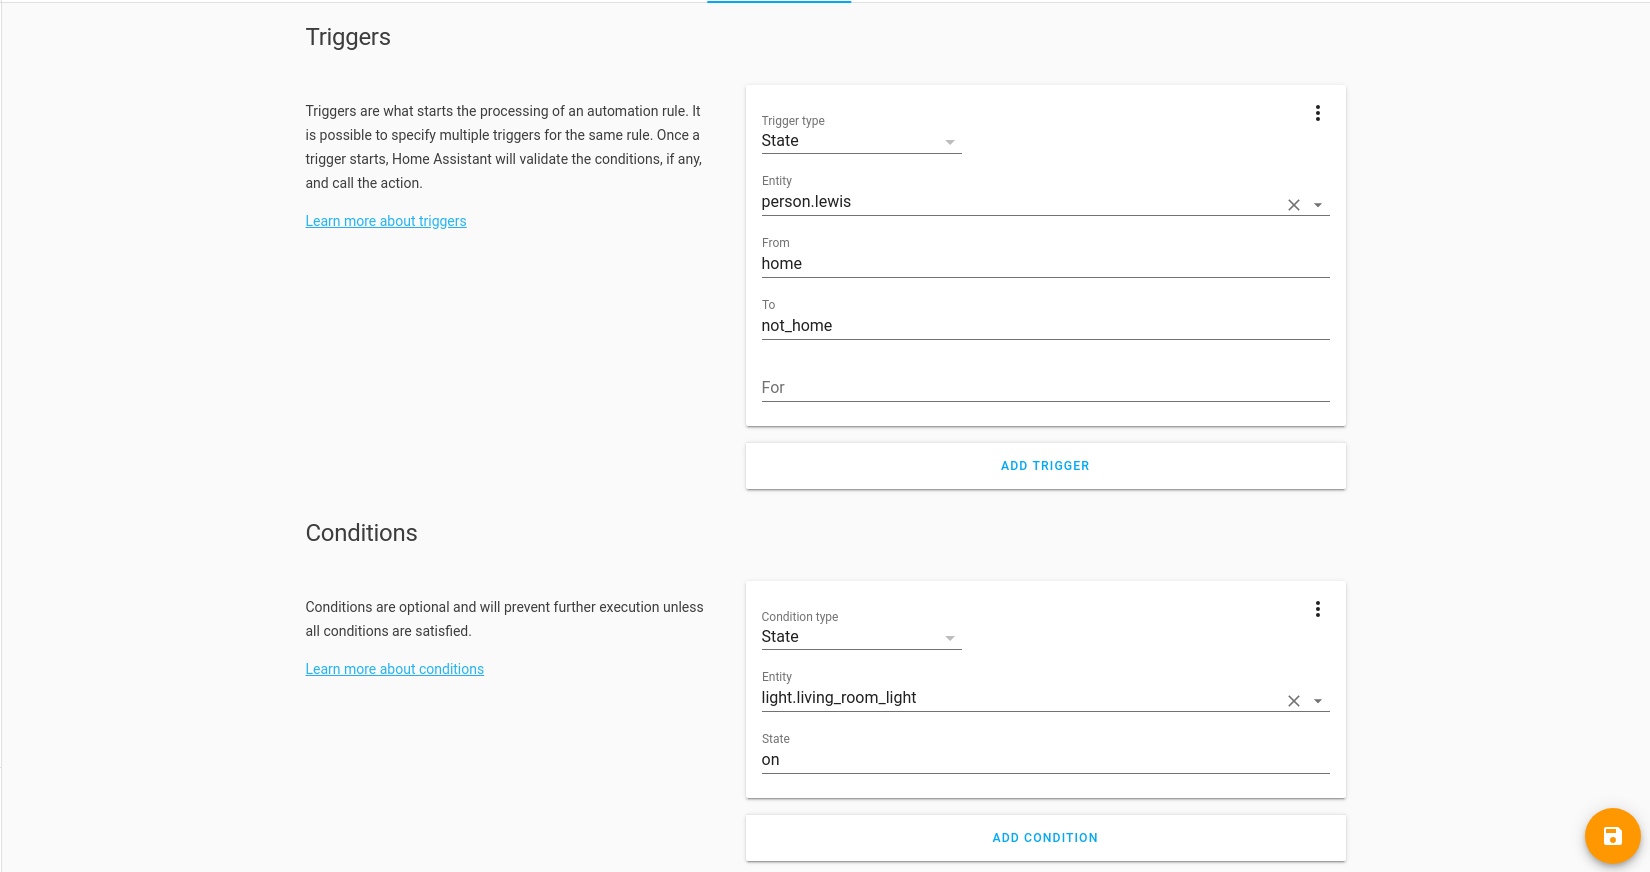
Head over to Configuration, Automations and create a new automation. Give it a name and description, we are going to use our person entity as the trigger moving from home to not_home, and our light being on as the condition:
#iOS and Android
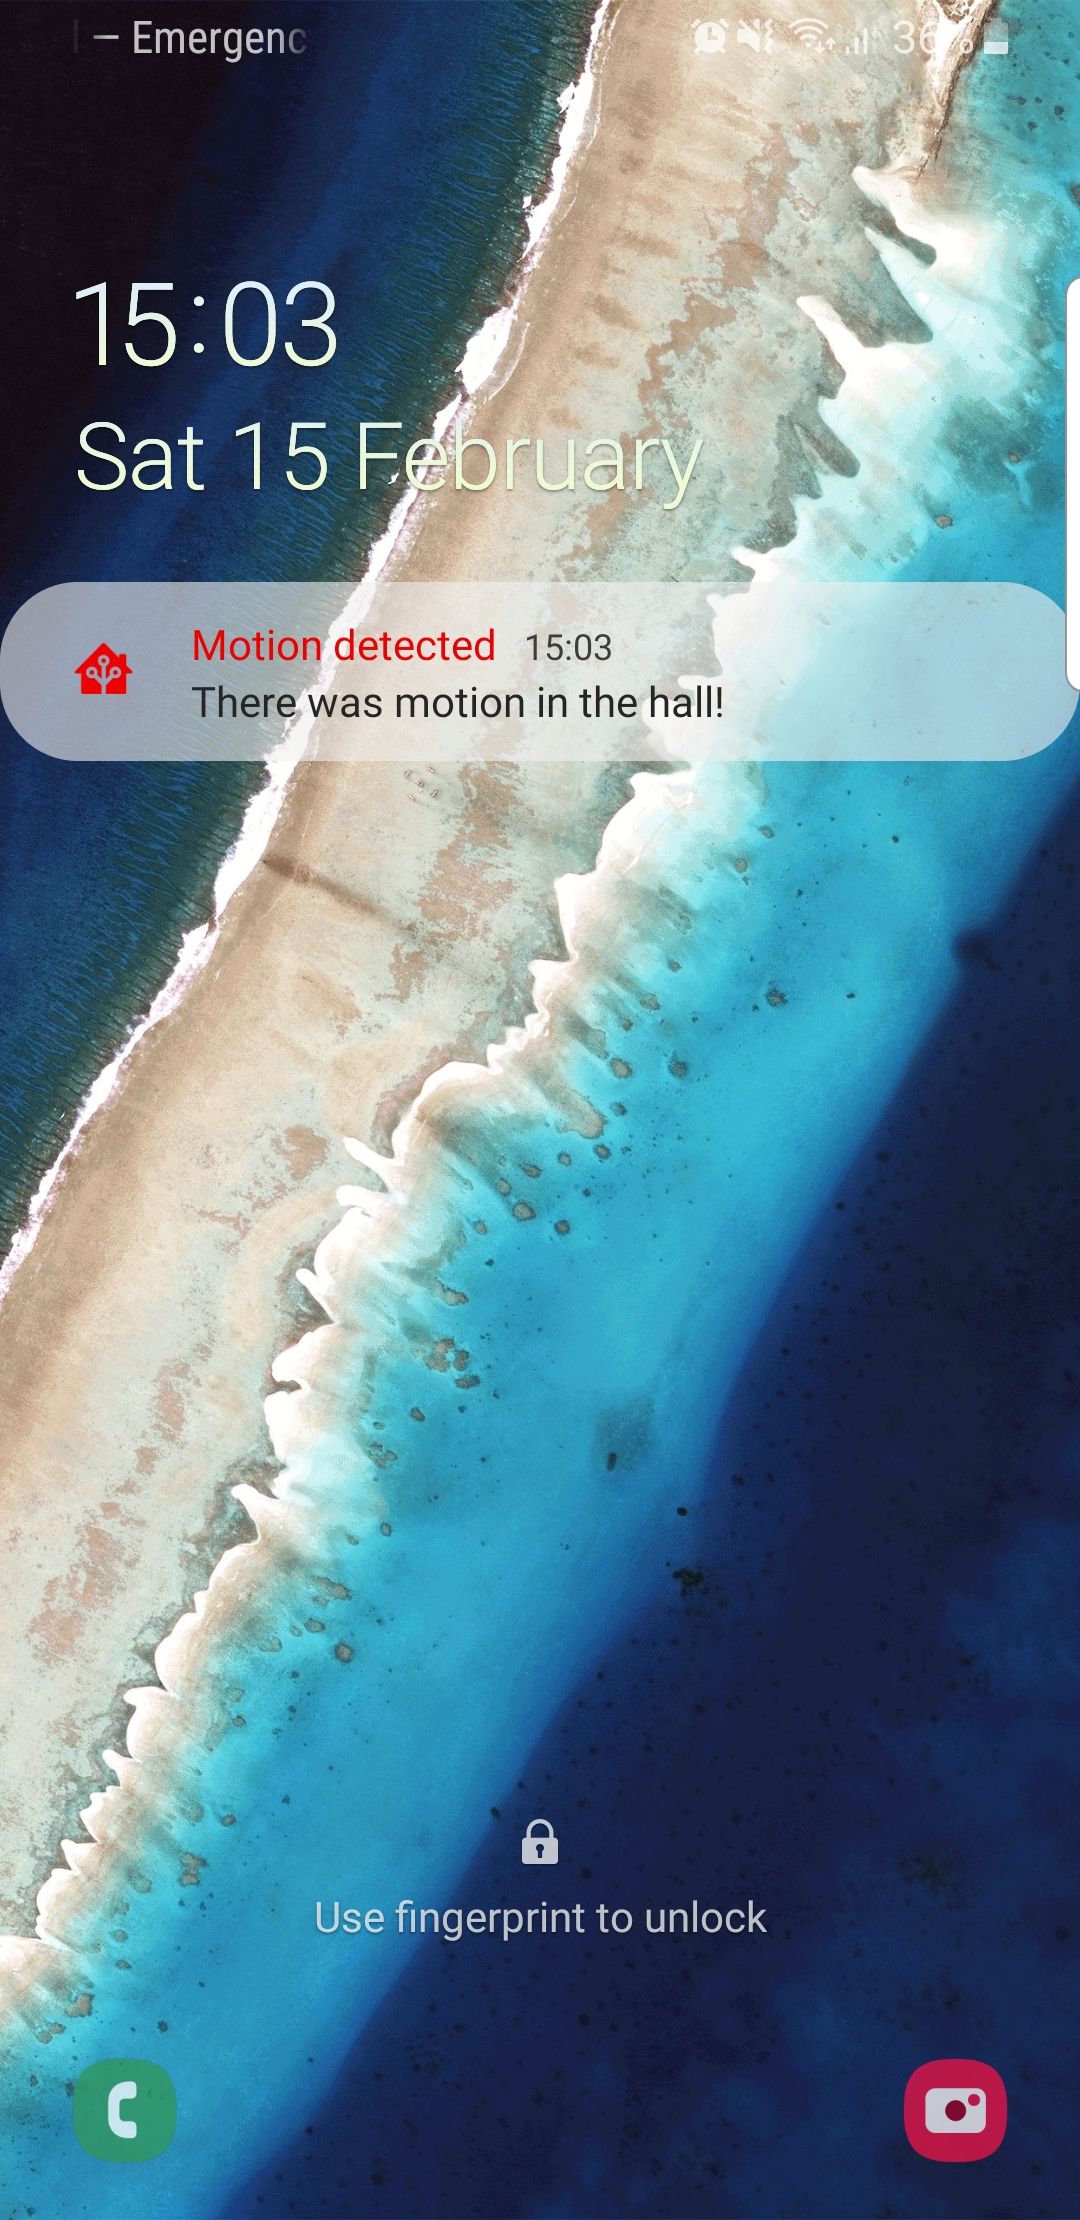
message: 'There was motion in the hall!'
title: 'Motion Detected'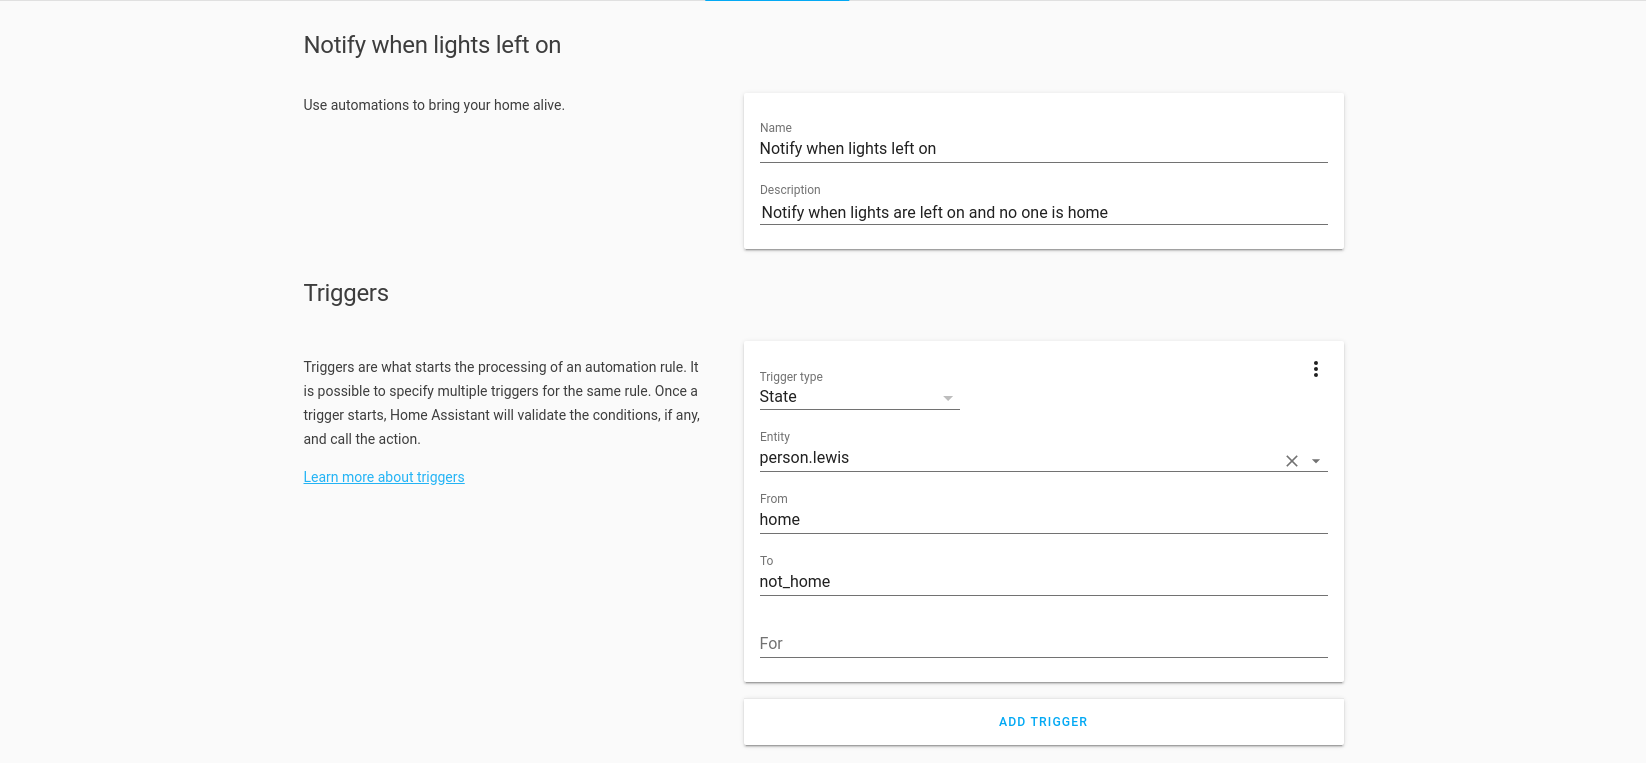
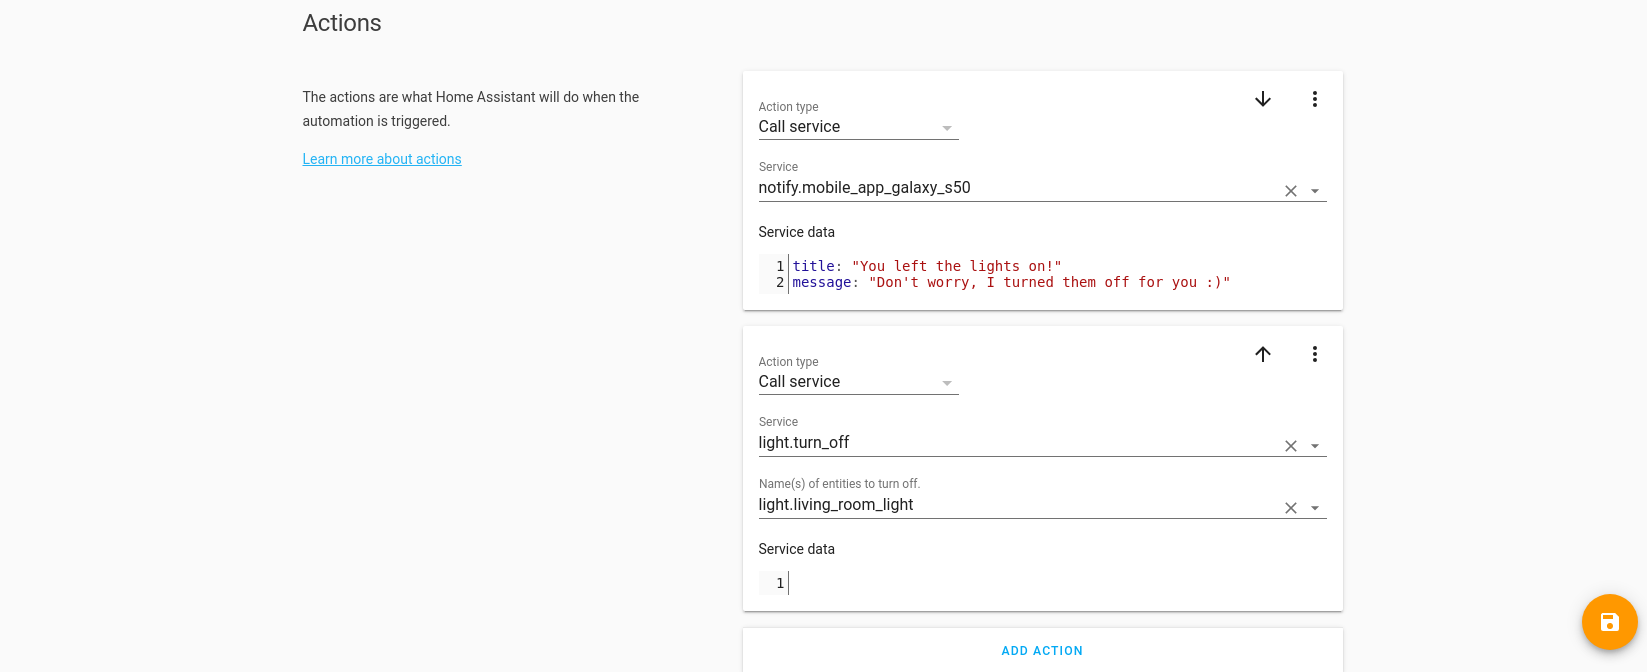
As you can see we have two actions – one we set as notify to our mobile device with a simple title and message, the other we are turning off our light.
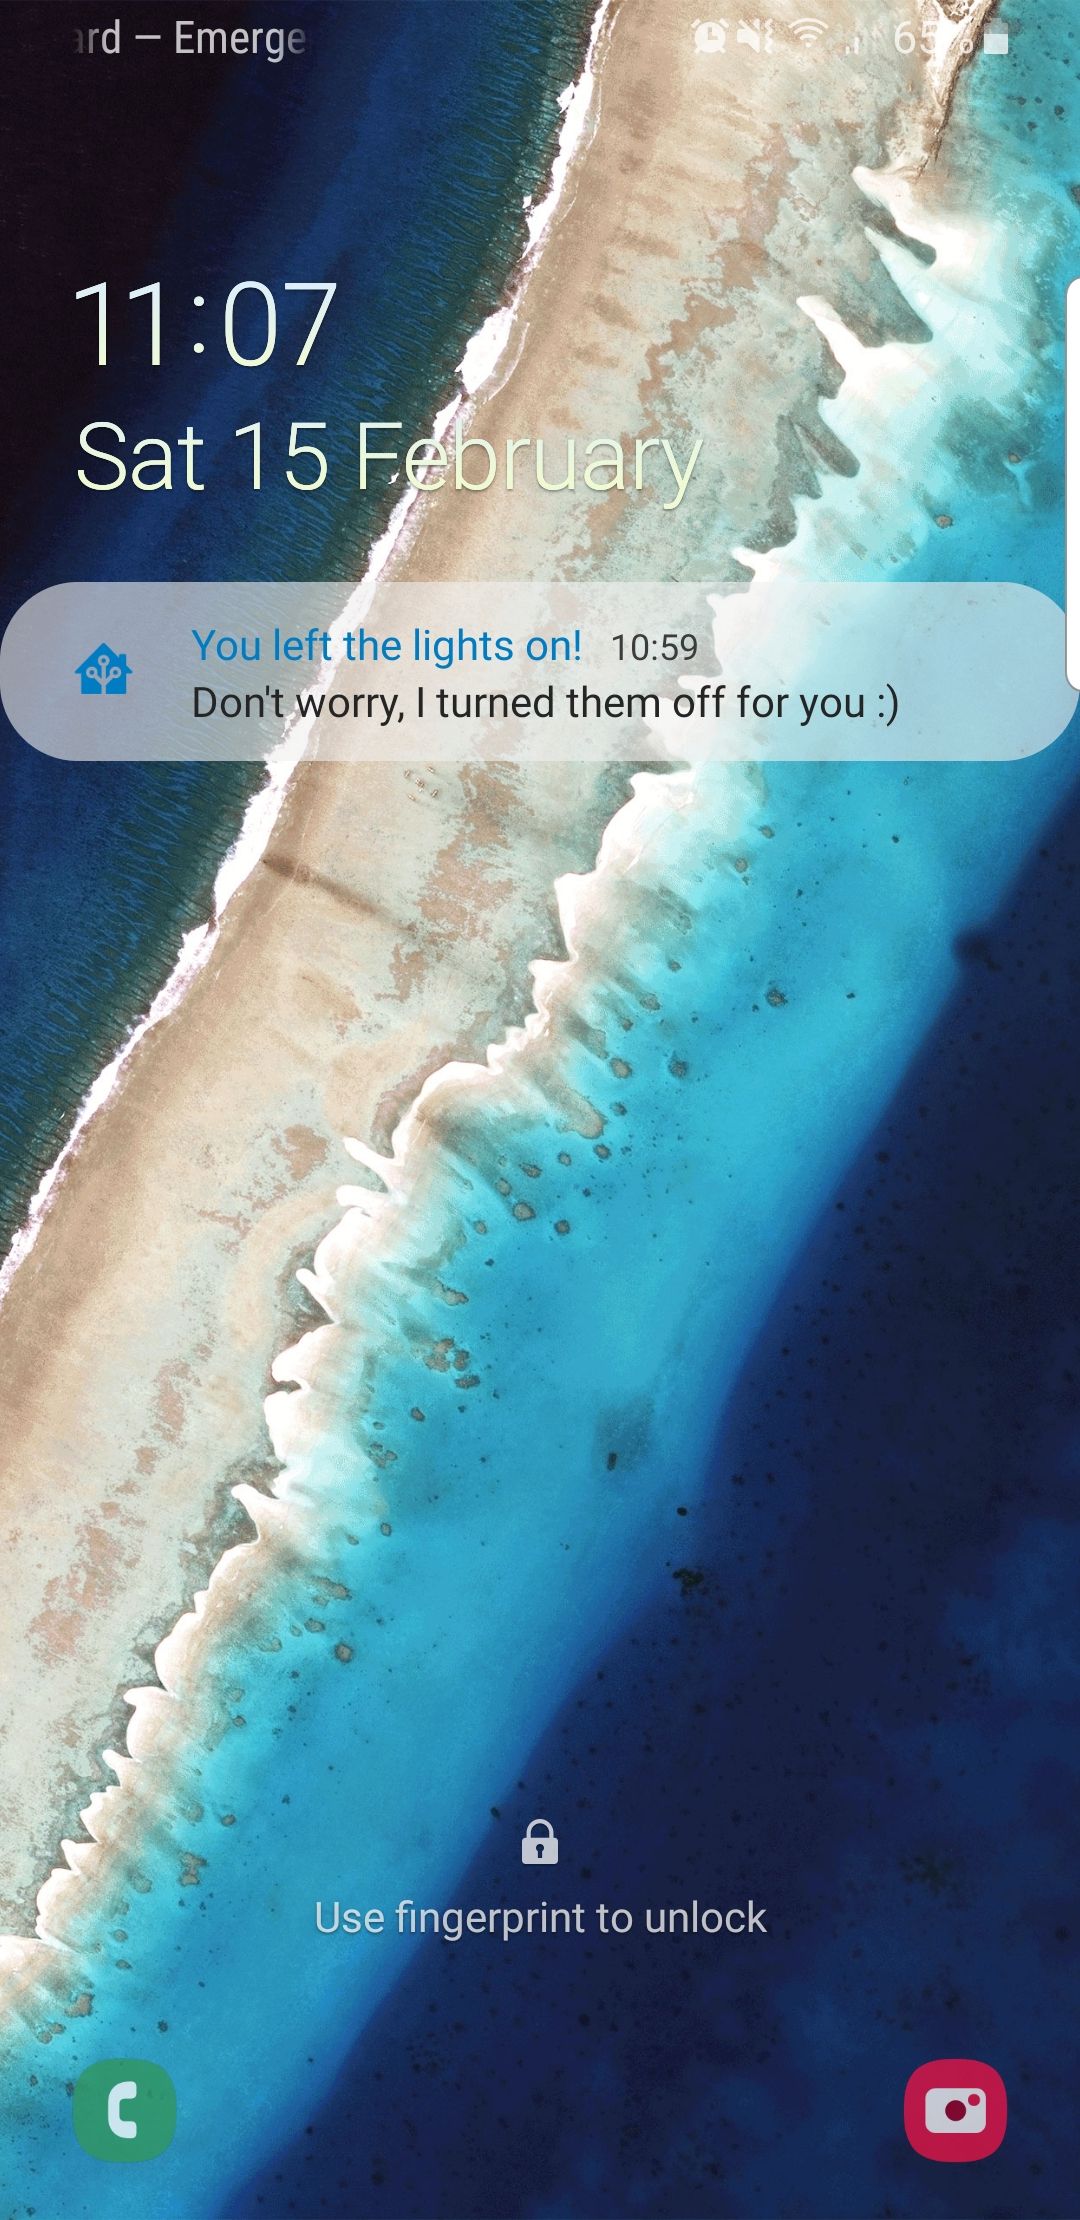
If we trigger this automation, we get the following notification on our mobile device:
This is great for displaying simple information to let us know something happened. We can also change the colour of the notifications depending on the event, perhaps we might want a red alert for notifications from the alarm system. Do to this we use the ‘color’ attribute:
#iOS and Android

message: 'There was motion in the hall!'
title: 'Motion Detected'
data:
  colour: red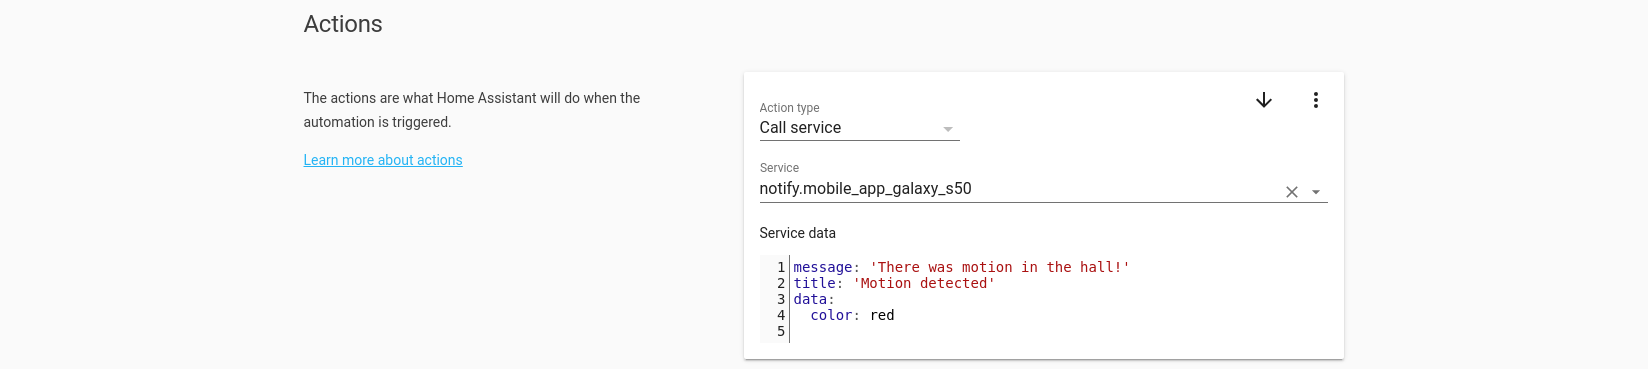
Which displays like this (this could differ between OS):
This is great for being able to quickly distinguish between high priority notifications at a glance.
Dynamic notifications
The above is great for static information that tells us when something happened or an automation triggered, but what if we want to get information that is a bit more dynamic, i.e to notify us of the value of a sensor. To do that we can send notifications and automatically have home assistant grab the live value of a sensor and inject it into the notification.
Let’s create another new automation, this time I want home assistant to send me the temperature inside the house every hour that I am not home, between the hours of 9-5. This may seem a little pointless but it will come into play in the next section.
Create a new automation with the usual name and description. For this automation, we are going to use the time pattern setting in order to have this automation trigger every hour.
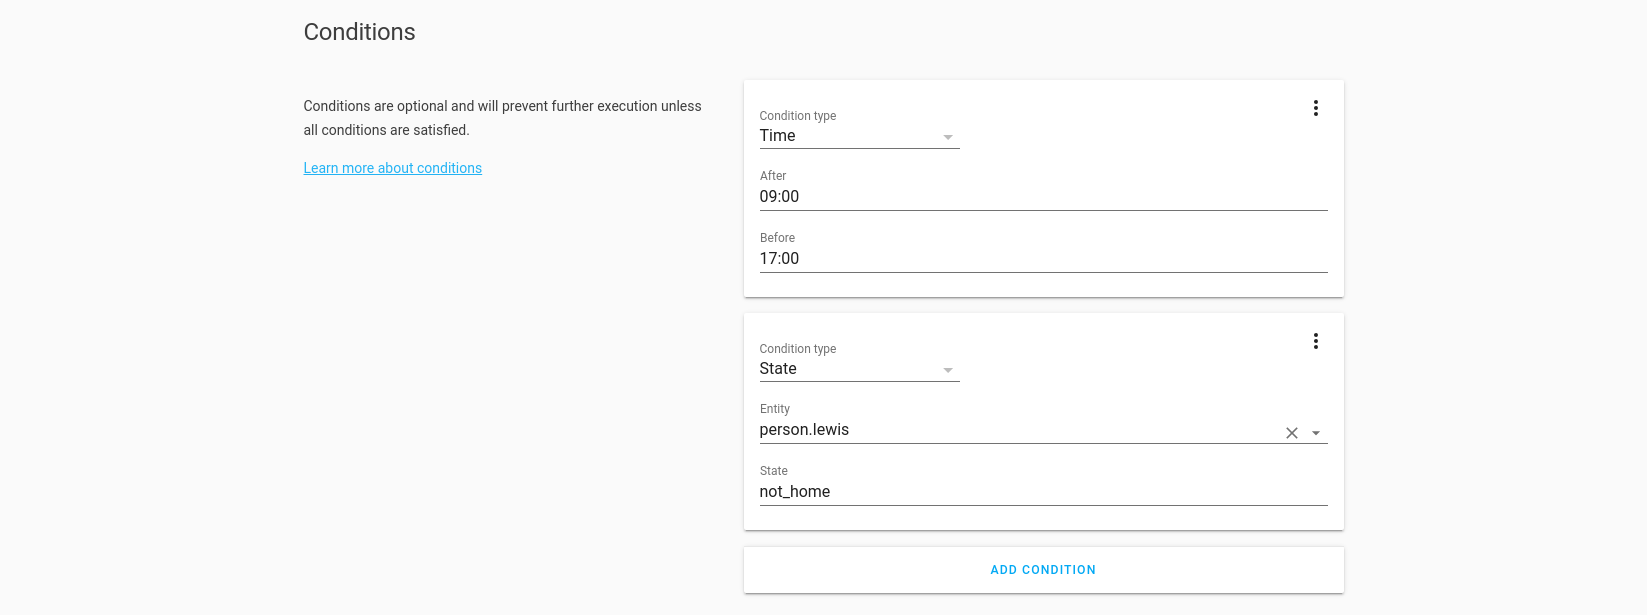
For the conditions, we add a time condition for after 9am and before 5pm, and another condition for my person entity to be not home.
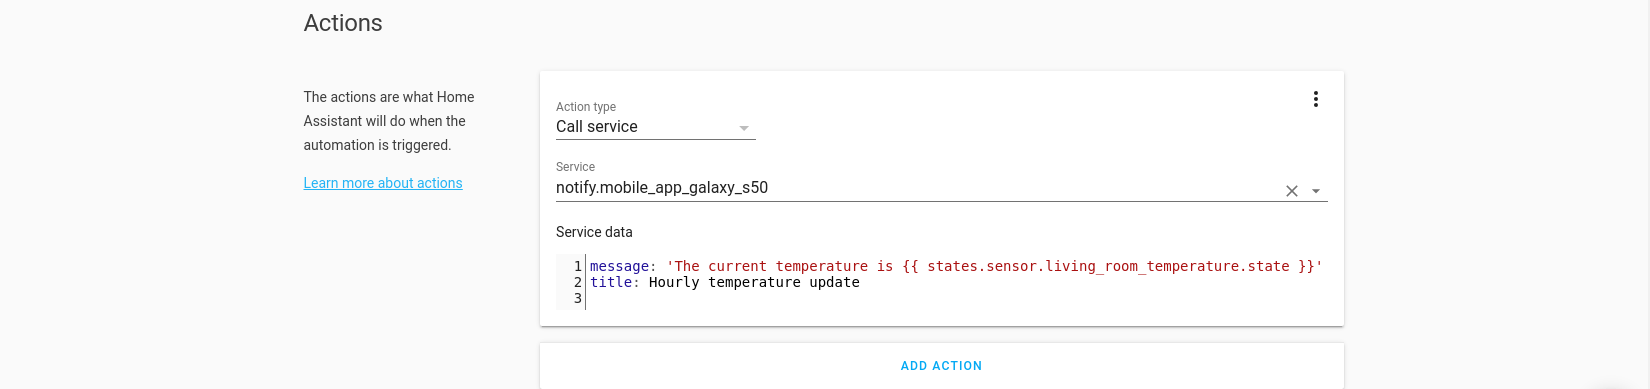
In the action, we send a notification but this time we use the template syntax to input the value from a sensor:
#iOS and Android

message: 'The current temperature is {{ states.sensor.your_sensor.state }}
title: 'Hourly Temperature Update'
A quick note on the time pattern – note I use the wildcard ‘*’ on the hour, this allows it to run at every hour of the day. 35 is in the minutes, this means it will run at 35 minutes past the hour, and 0 is in the seconds meaning it will run at 0 seconds for that minute. In other words, this will run at exactly 35 minutes passed the hour, every hour.
When it runs, it gives us this notification:

Great, now we can notify with dynamically changing information. But what if we want to act on that information?
Let’s move on and create an actionable notification!
Actionable notifications
This section of the guide will now split into Android and iOS sections since they differ a little bit.
Android
As the name suggest, actionable notifications allow us to receive a notification that has options attached to it that allow us to send an action back to home assistant to perform. You can attach multiple options to the notification depending on what you want to do.
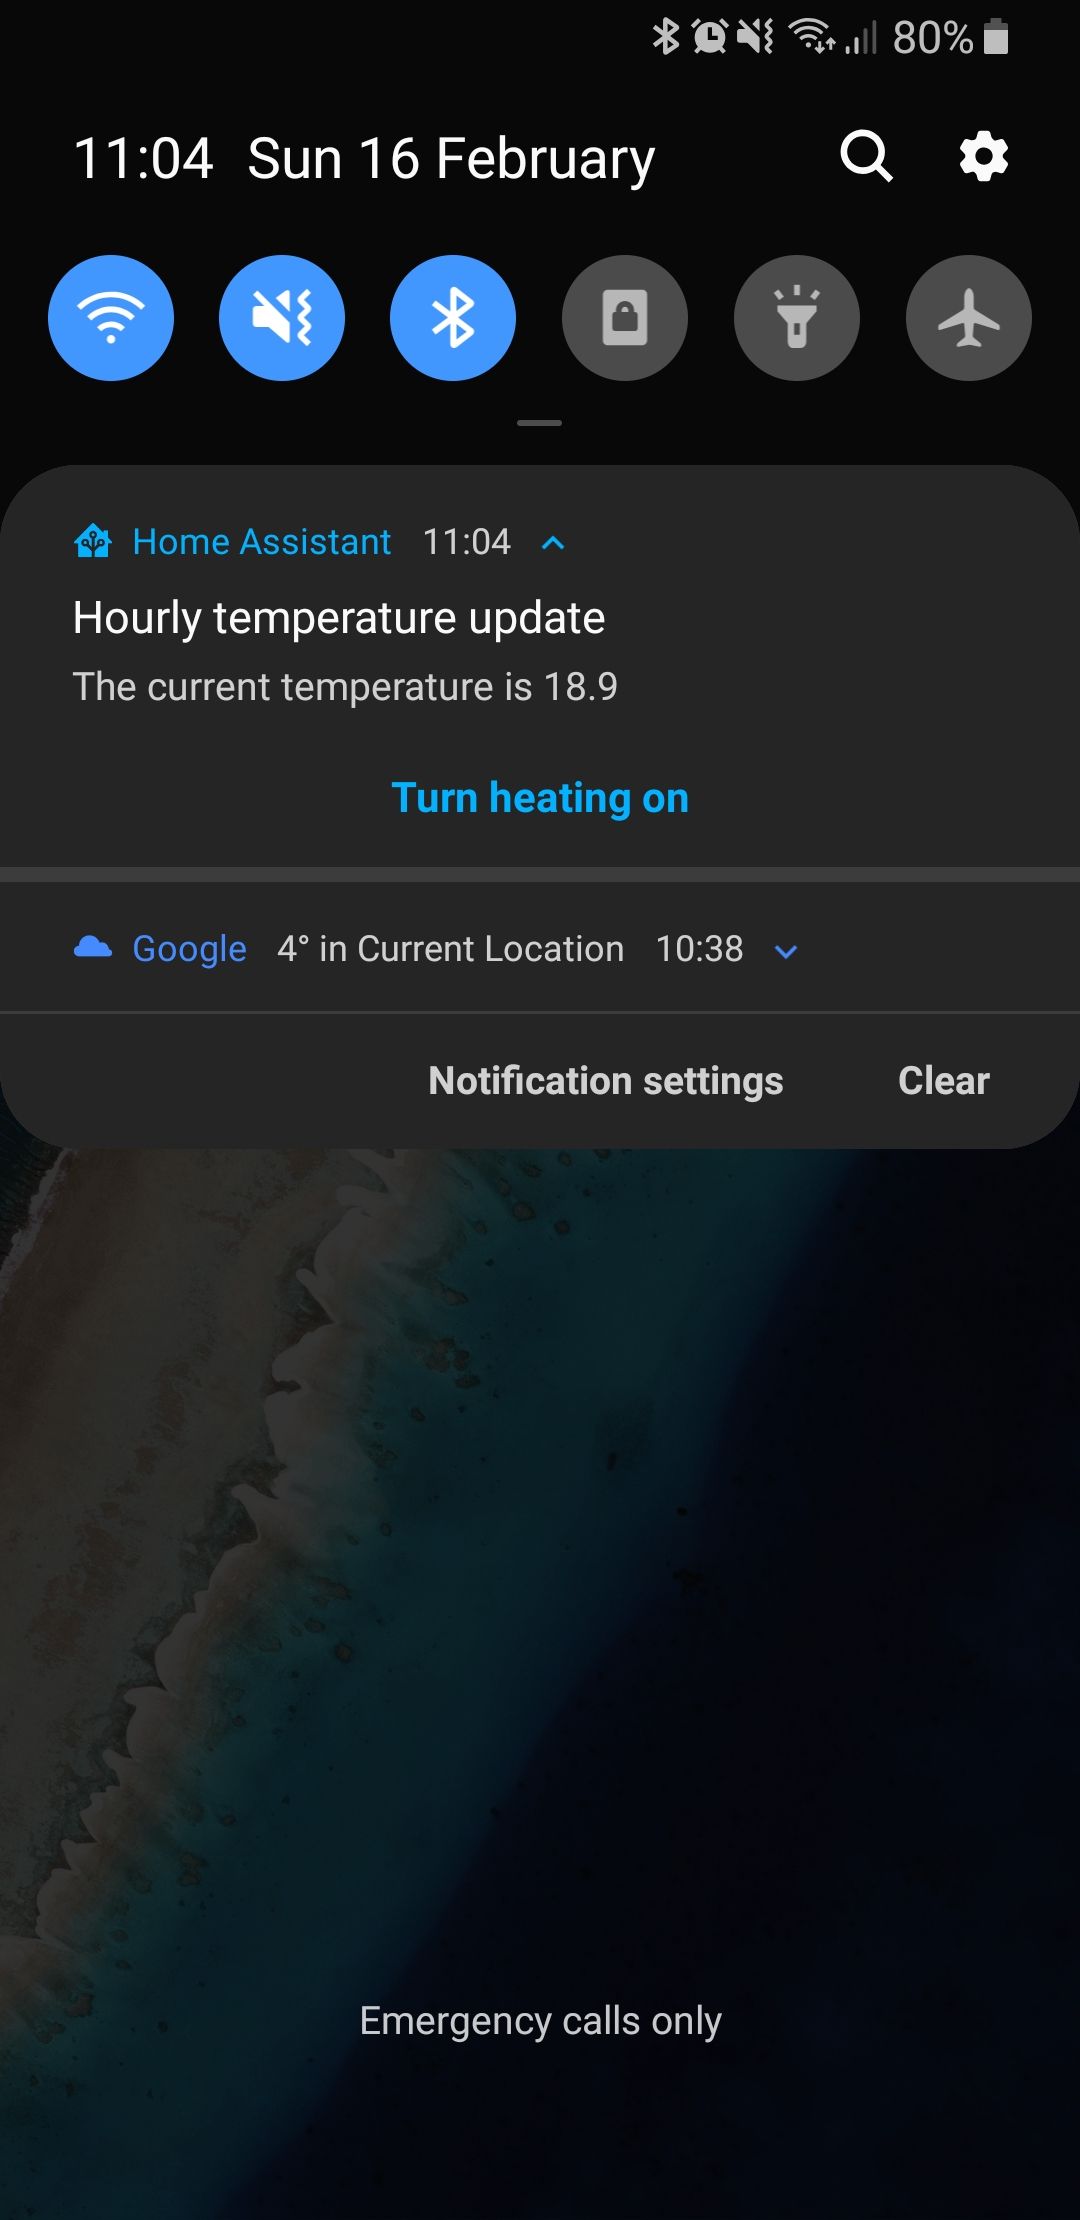
We are going to be expanding the above notification into an actionable notification that allows us to turn on our heating system with a single press, rather than having to open up the app.
To do so, we need to modify the notification a little bit, and create a second automation which handles the actions.
Edit the last automation we created to send us the temperature, we need to add our action button to it like so:
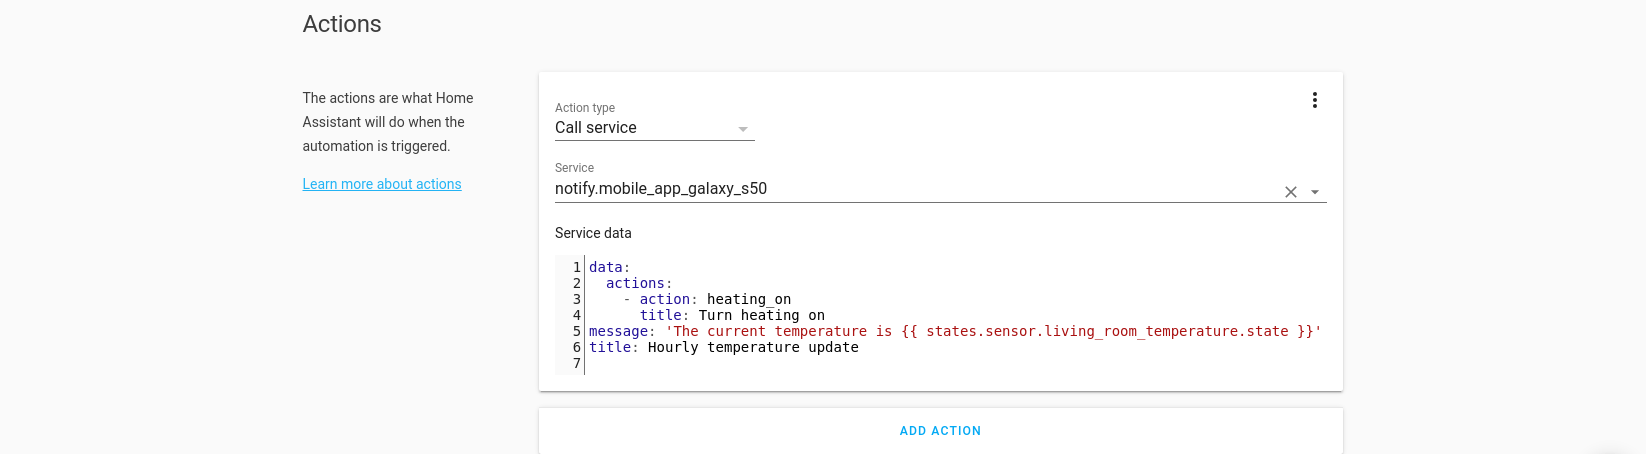
Take note of the ‘action’ which is the name of the action. We need this for later, mine is ‘heating_on’.
And if we trigger it, you can see we now get a nice button within the notification:
Clicking the button will do nothing for us, we haven’t told Home Assistant how to handle it yet! Let’s go ahead and do that now.
Let’s now create a second automation that will handle the button press.
Go ahead and give it a name and description. This time for the trigger we are going to select Event as the trigger type and enter ‘mobile_app_notification_action’ in the event type.
Add action to the event type with the name we gave in our first notification, so ‘heating_on’ for this example:
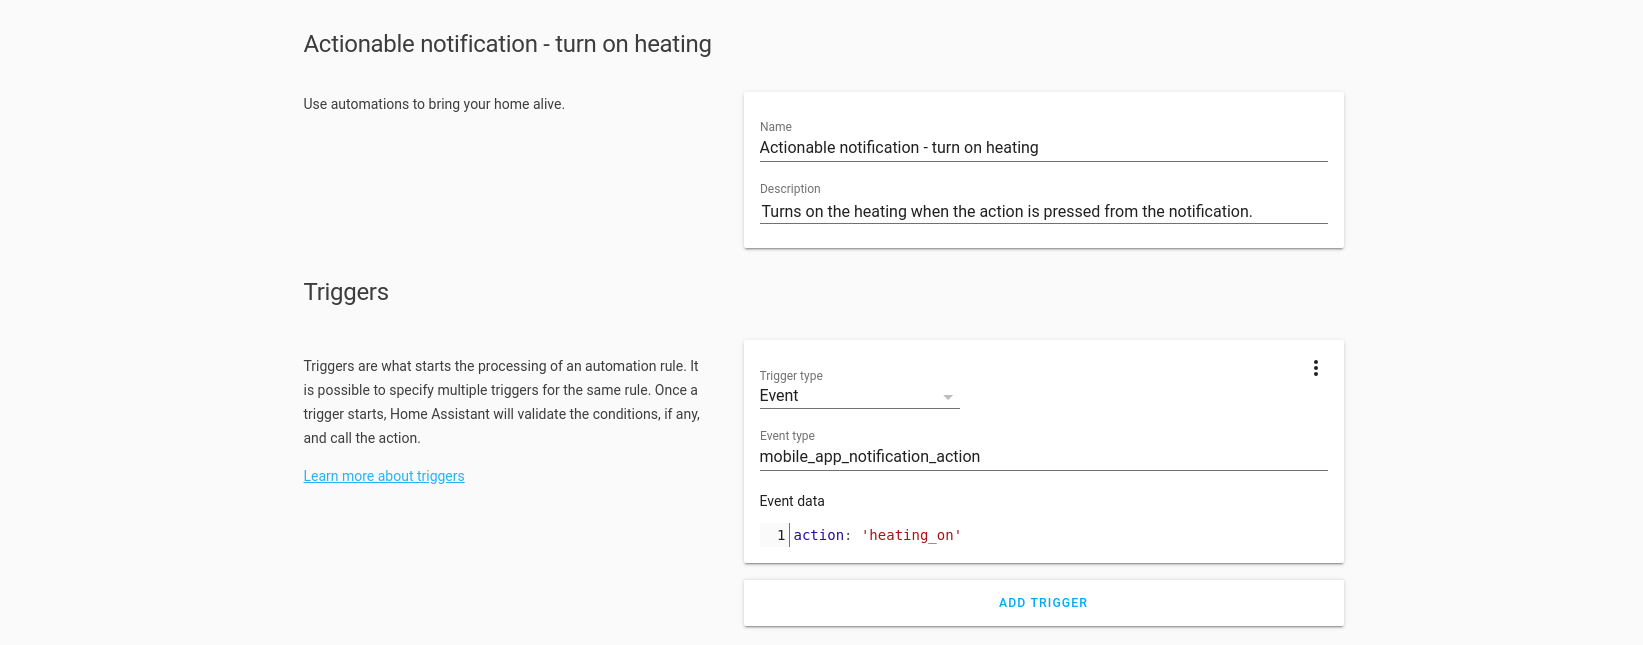
We do not need any conditions for this.
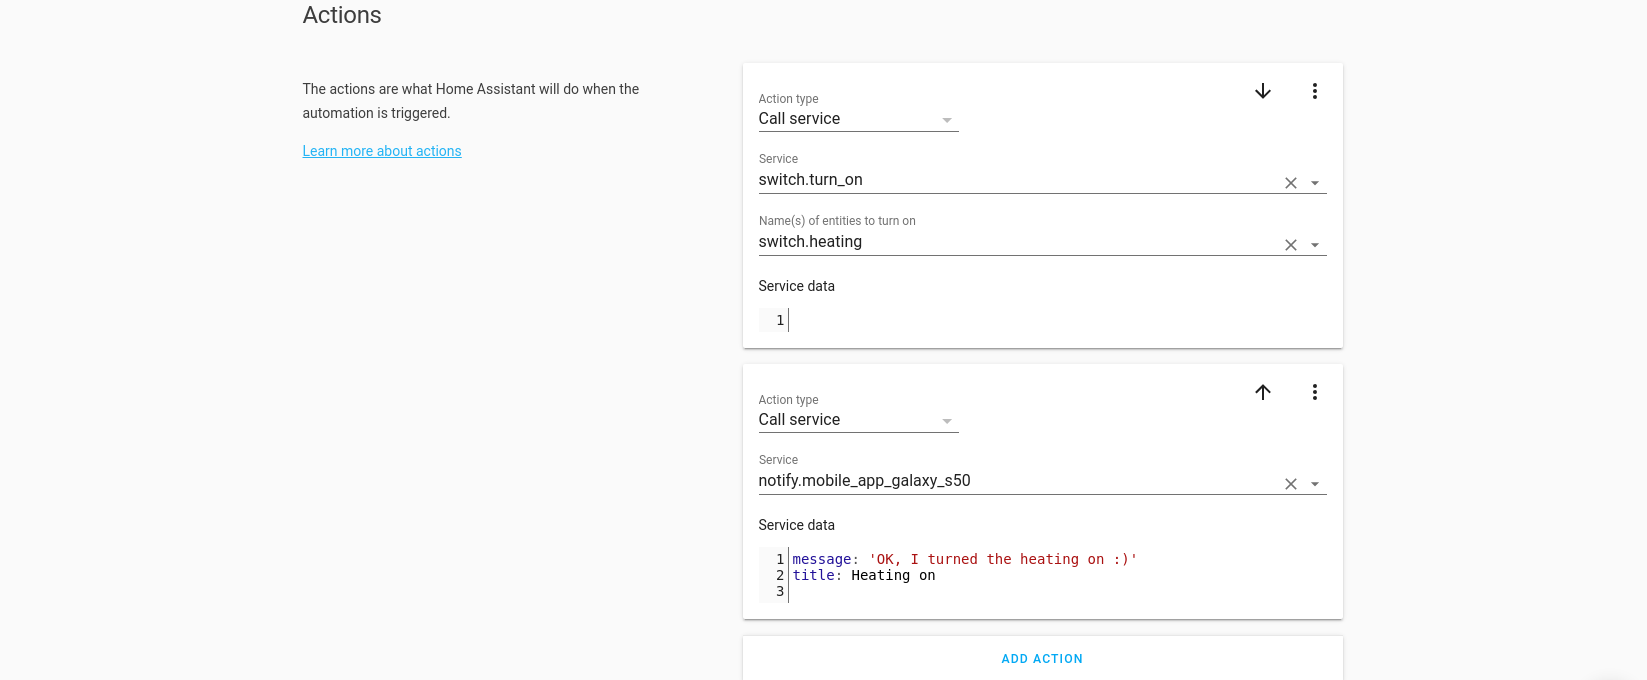
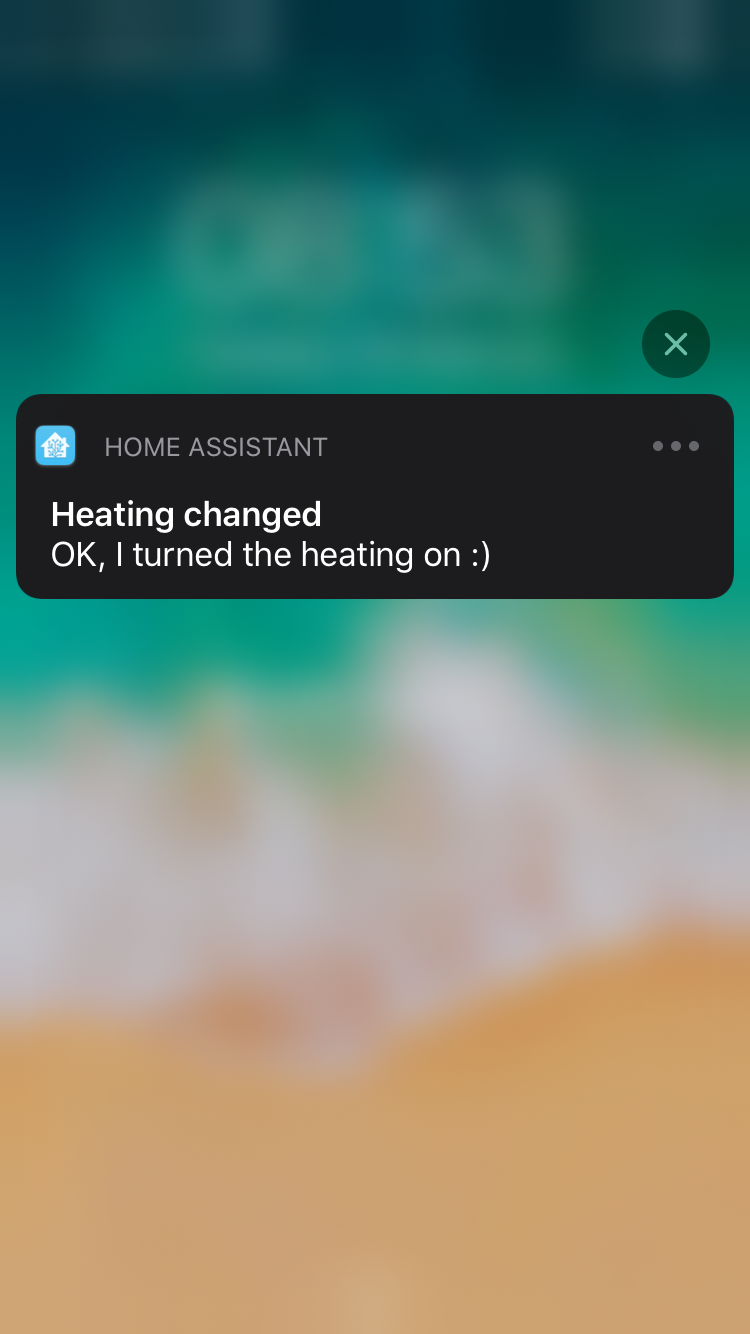
Next add the service you want to control, I am switching on the heating and I’m also sending a second notification in order to acknowledge the action has been received and processed:
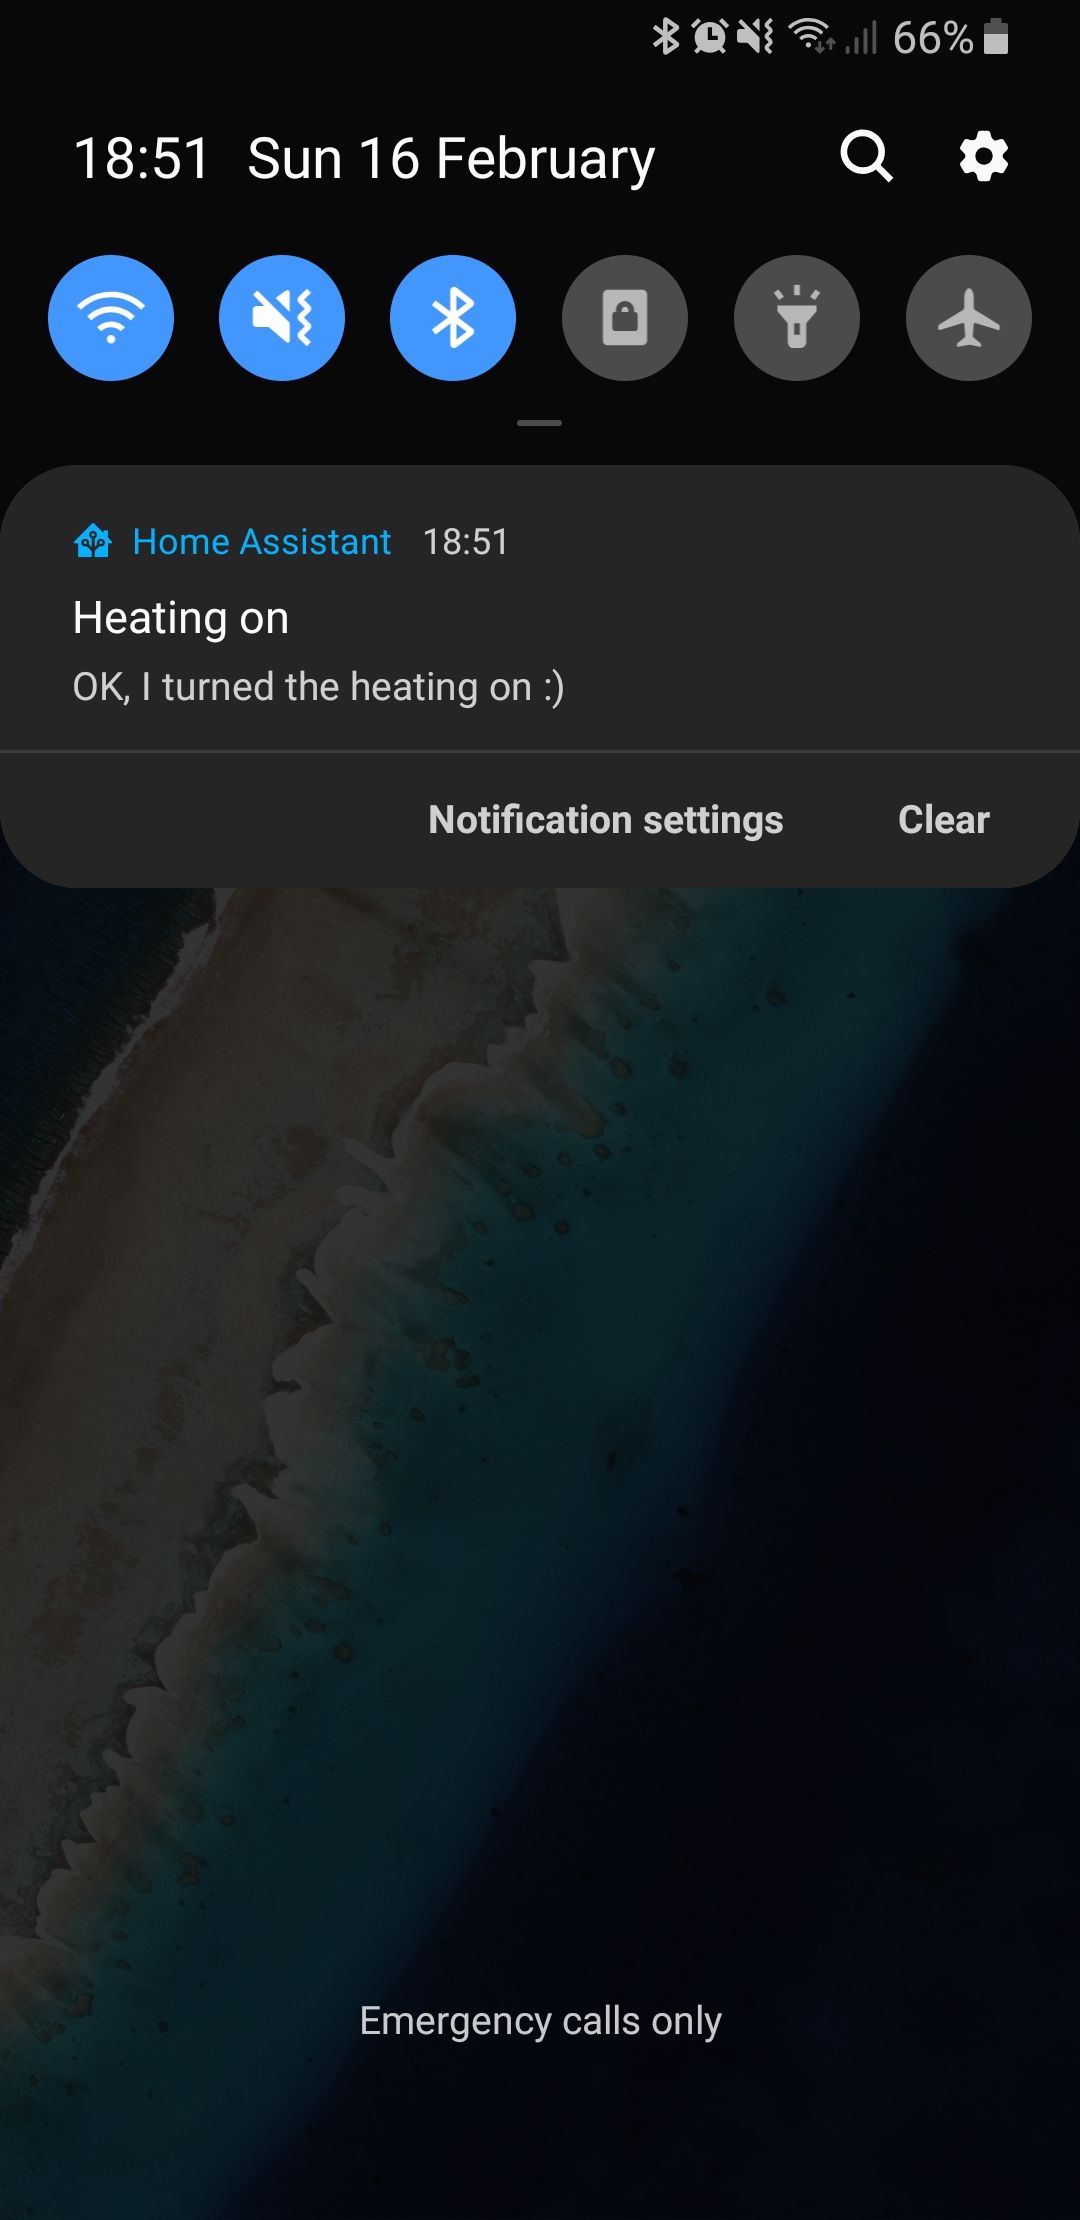
Test the entire process, it should now successfully toggle your switch right from your phone, and you will receive a notification like so:
Great, we just created our first actionable notification!
We can take this a little bit further and turn it into a toggle switch instead rather than just an “on” switch, allowing us to toggle it on and off depending on what the current state is.
To do this we edit the notification automation and add the current state of the sensor, add a toggle button. Take note that we edited the name of the action from ‘heating_on’ to ‘heating_toggle’:
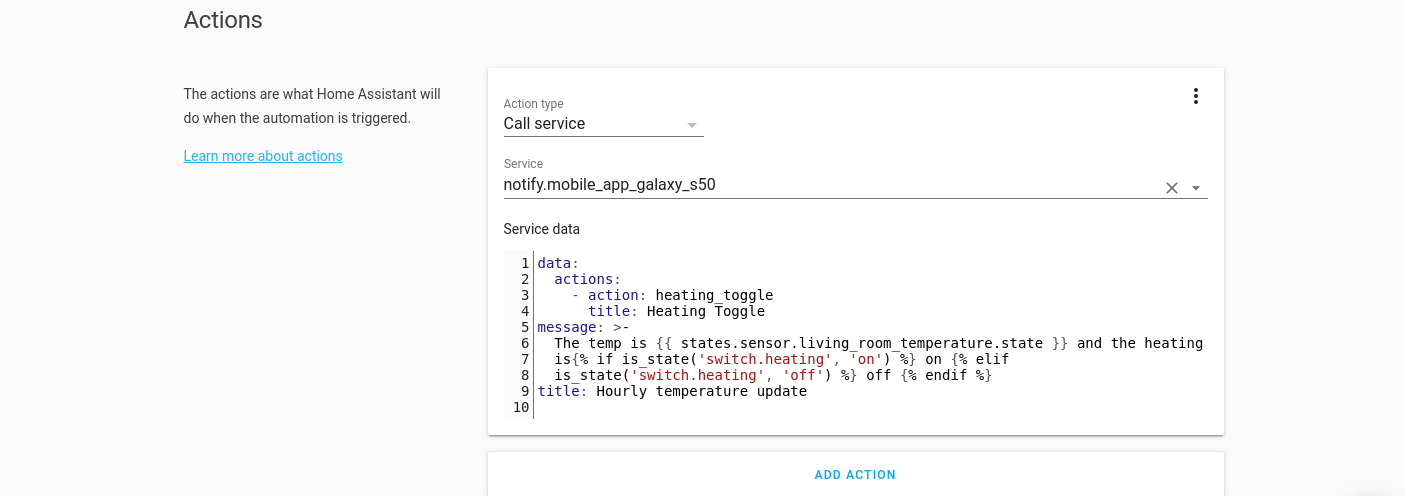
Notice how we are using an if template to display the state of the switch.
This gives us this:
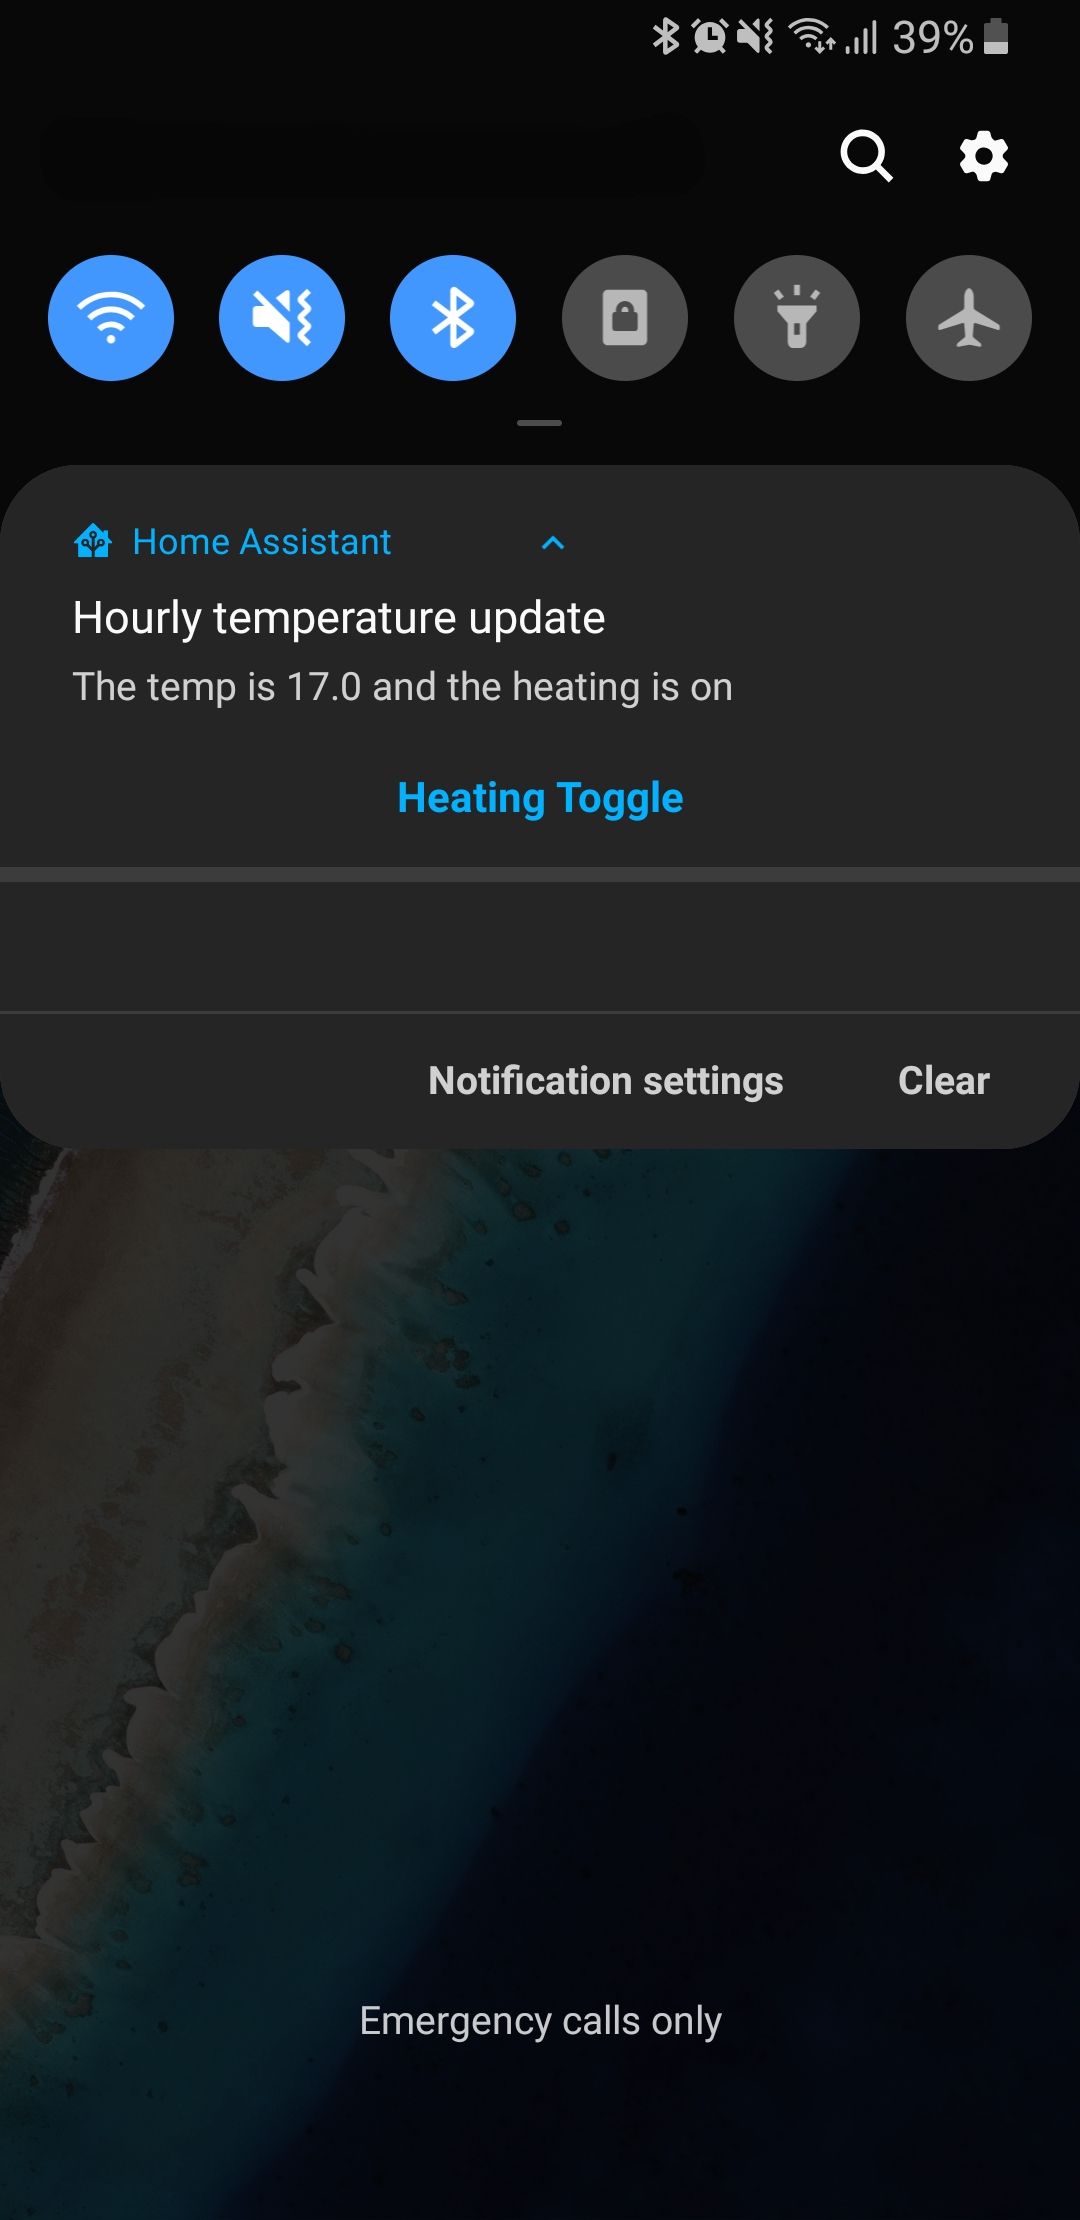
Then edit the action automation, make sure to change the name of the action in the trigger to heating_toggle, and change the action to switch.toggle rather than switch.on:
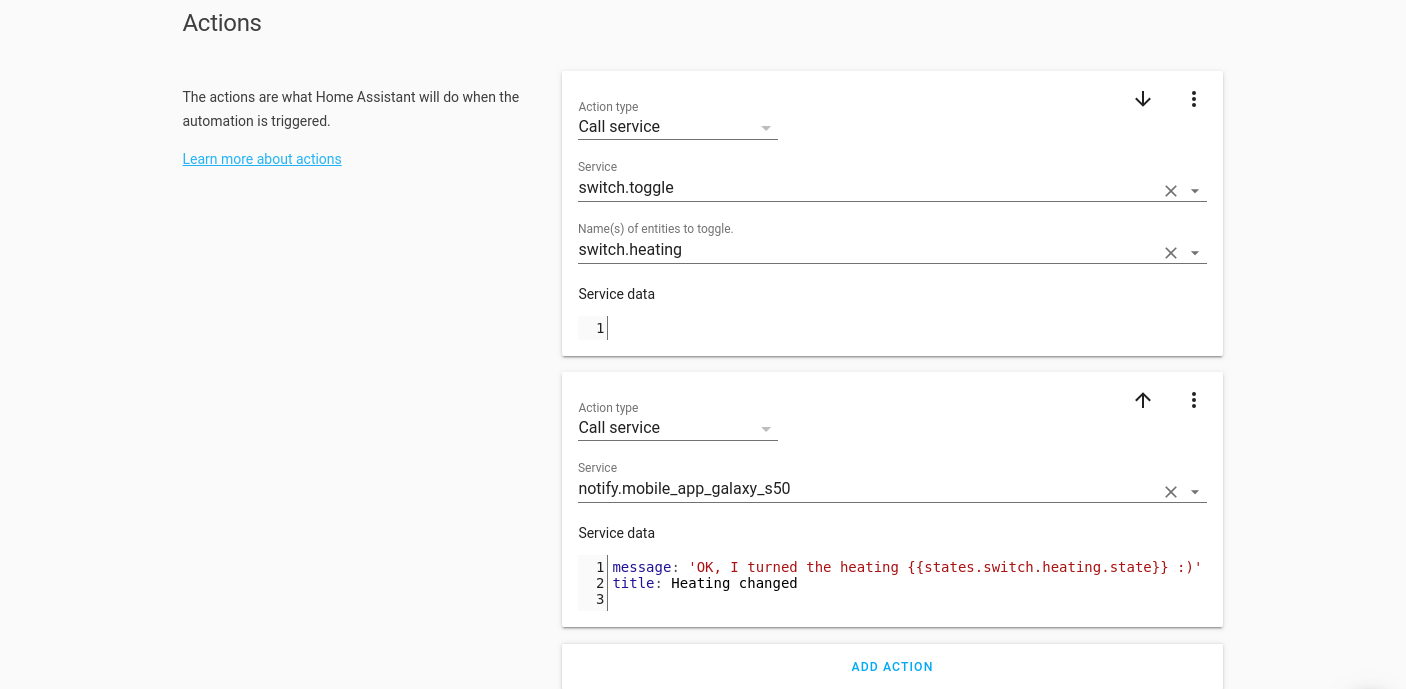
And when we press the toggle button on the notification we then get a response saying:
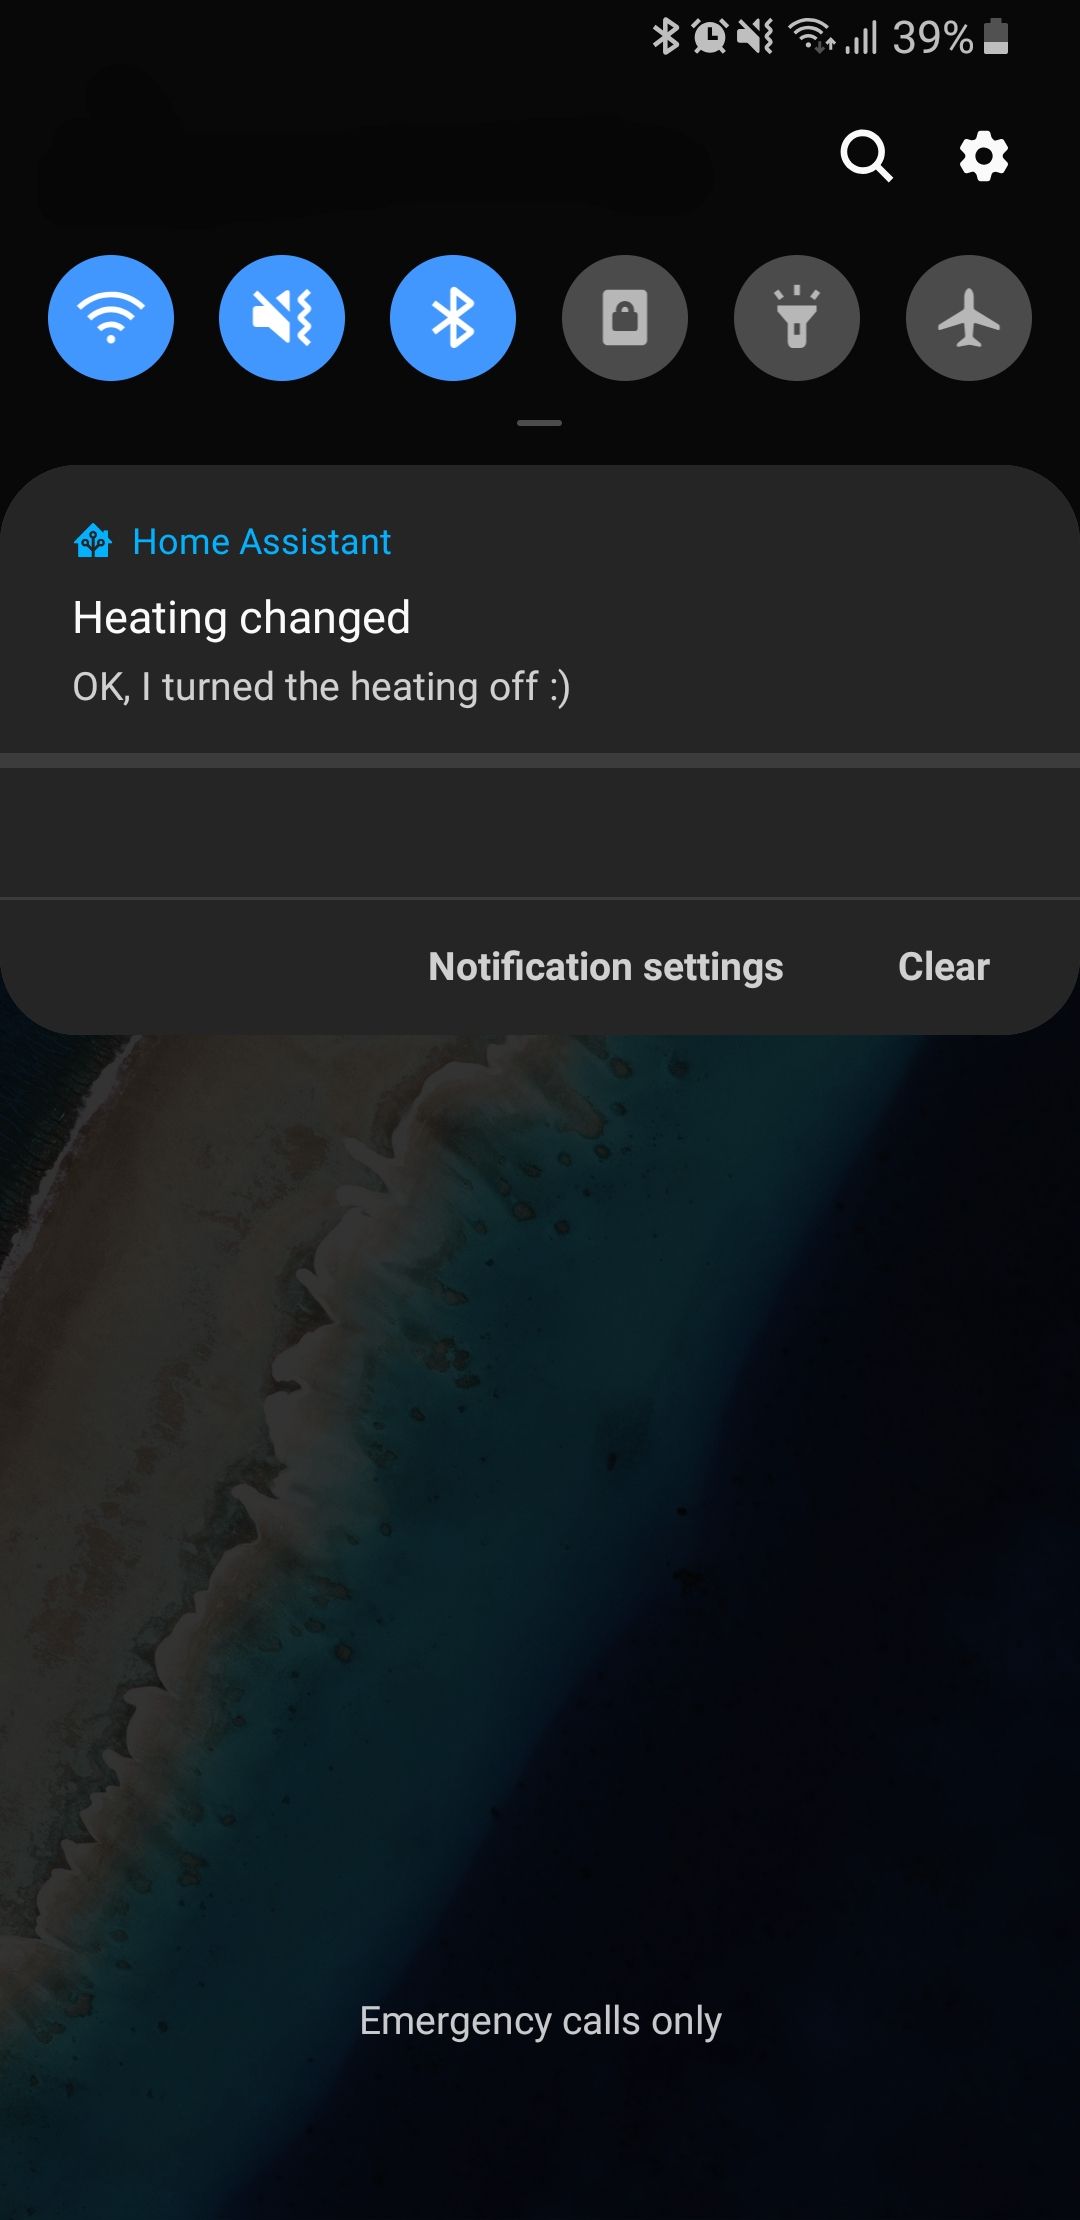
Now we know how to do actionable notifications on Android!
iOS
The iOS version of the companion app does things a little different to Android. iOS requires you to define “categories” in order to create actions. You can do this in two ways, through YAML files on the server, or directly through the iOS app.
The advantage of doing it via the YAML file is that if you have more than one iOS device connected to Home Assistant, you don’t need to create it on every device, you can just import them direct from the server.
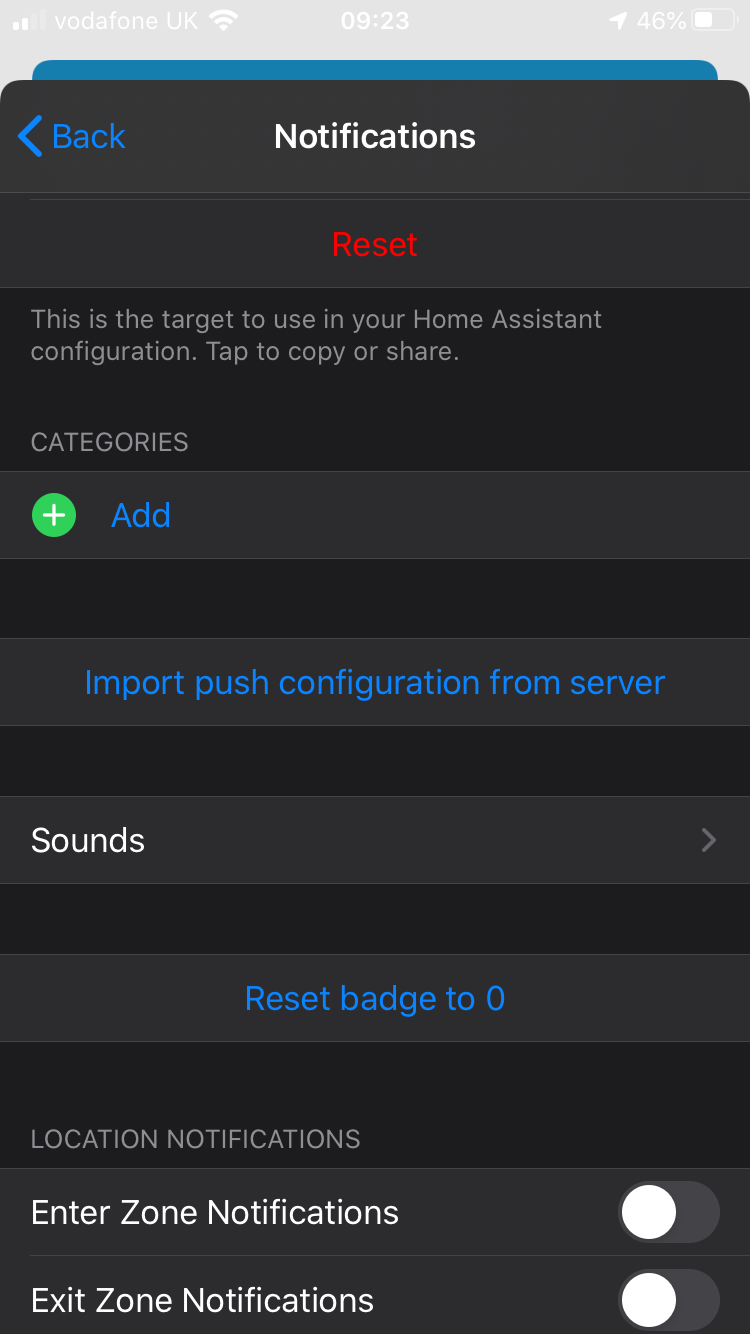
I’m going to show you how to create the categories via the YAML files but also I’ll show screenshots via the app. If you want to create notifications via the app, head to app configuration, notifications then press add on the categories section.
Edit the configuration.yaml file on your Home Assistant server.
Add the following code, this defines the ios integration, and adds a “heating” category with a “heating on” button:
ios:
push:
categories:
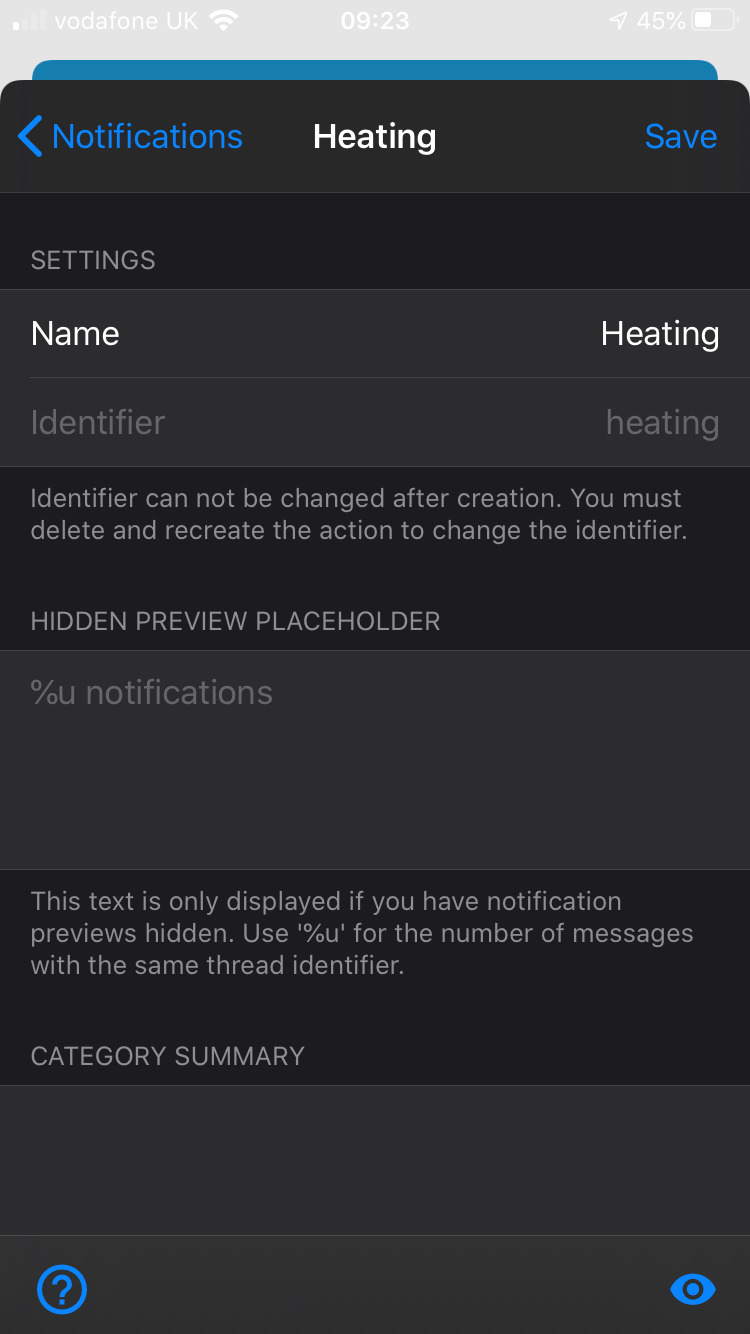
- name: Heating
identifier: 'heating' # Must be lower case with no spaces or special characters - take note of this for later
actions:
- identifier: 'HEATING_ON' # Must be uppercase with only underscores - take note of this for later
title: 'Heating on'
activationMode: 'background'
authenticationRequired: true # If requires the device to be unlocked
destructive: false # Shows a red button indicating the action is destructive
behaviour: 'default'Make sure to restart Home Assistant after adding this configuration.
Once done, go back to the iOS app, app configuration, notifications and scroll down to the categories section. Now press “import push configuration from server” which will automatically pull in the configuration you just created:
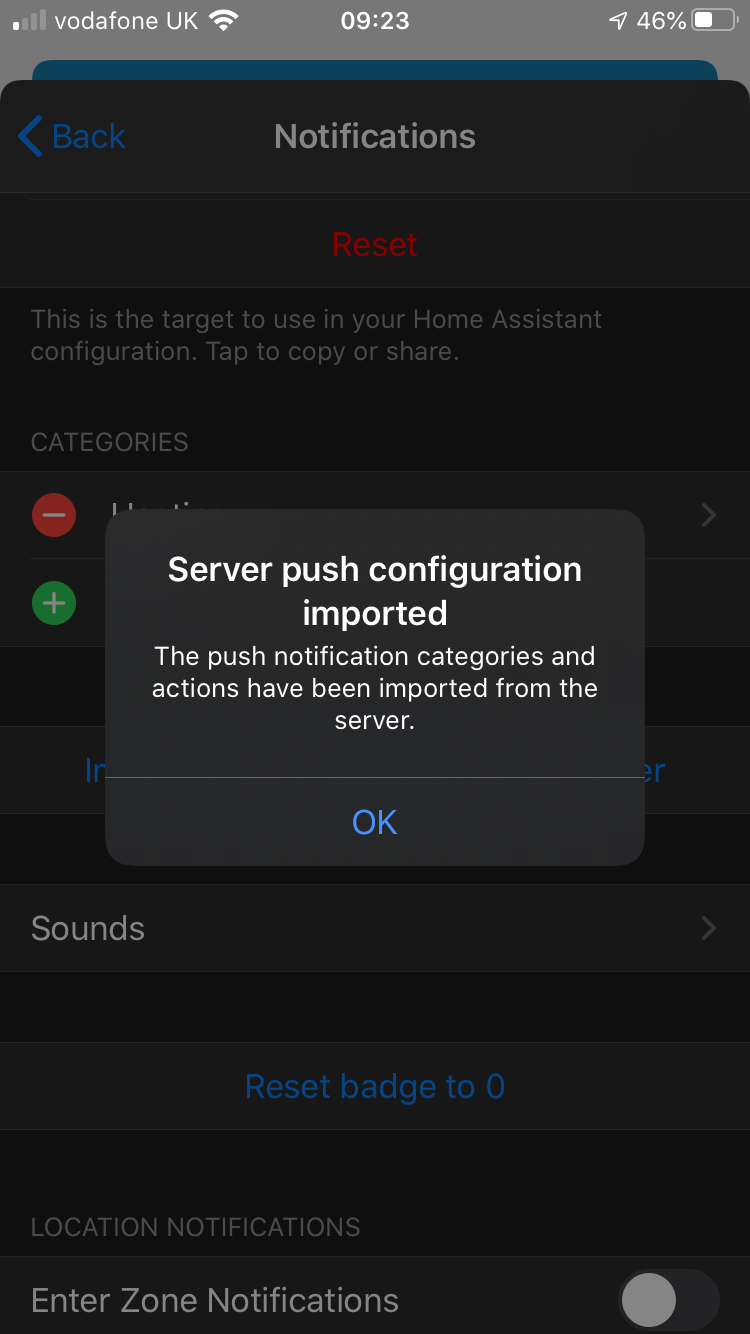
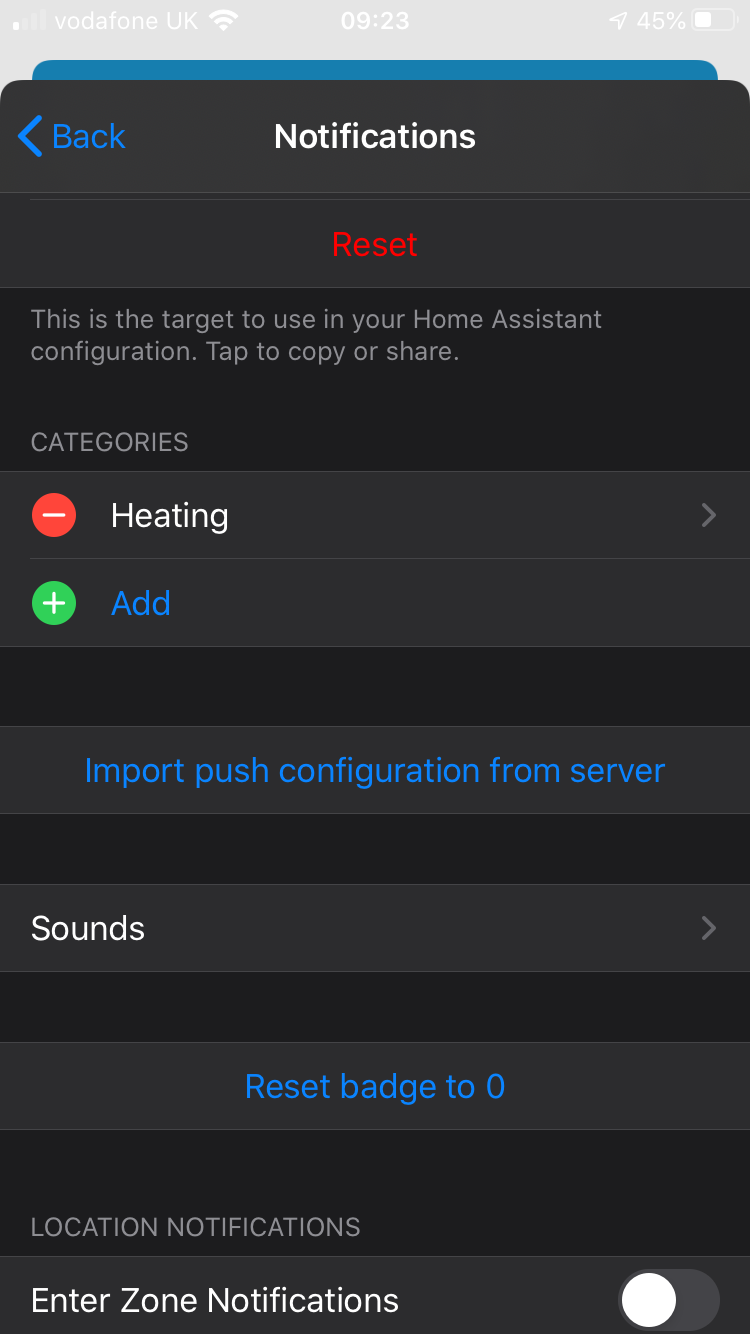
You should now have a category that looks like the following or if you are creating them directly on the mobile app, follow these next images to create it:

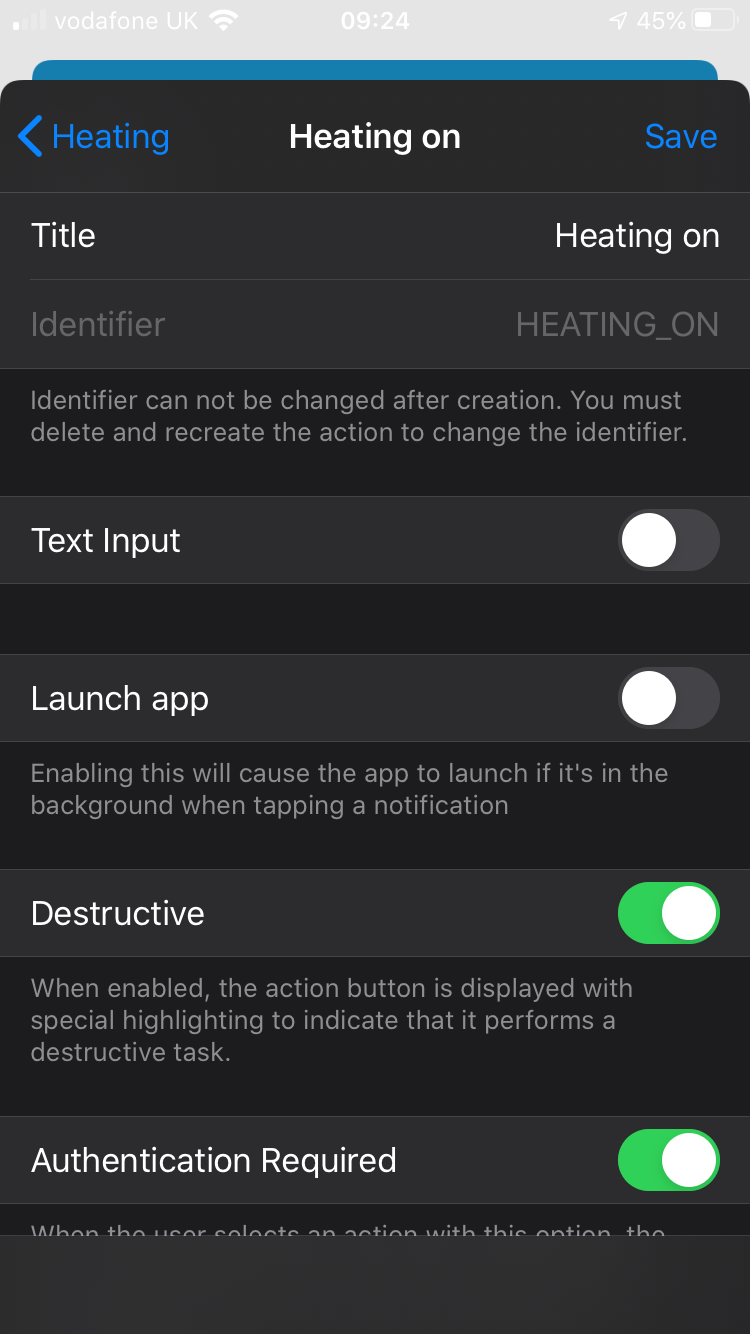
Next, edit the automation on home assistant to add our action button to look like so:
data:
  push:
    category: heating
message: >-
  The current temperature is {{ states.sensor.living_room_temperature.state }}
title: Hourly temperature update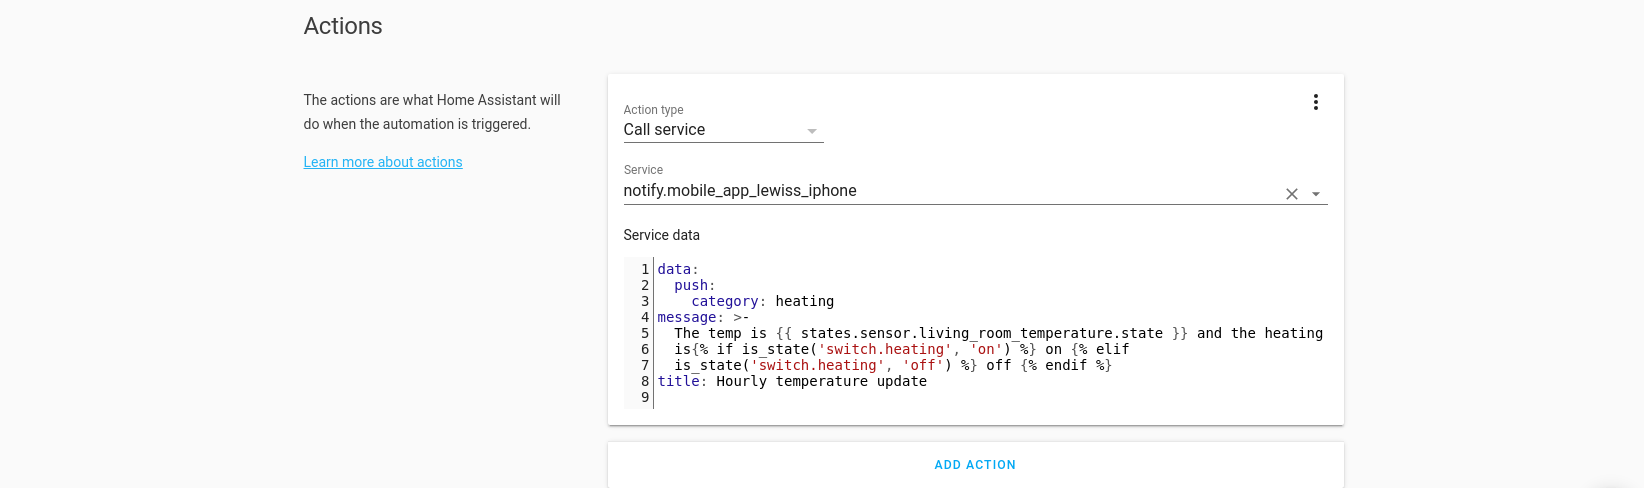
Notice the category is ‘heating’ this corresponds to the identifier we created in the category previously so make sure it matches.
If we run this now, it should produce:
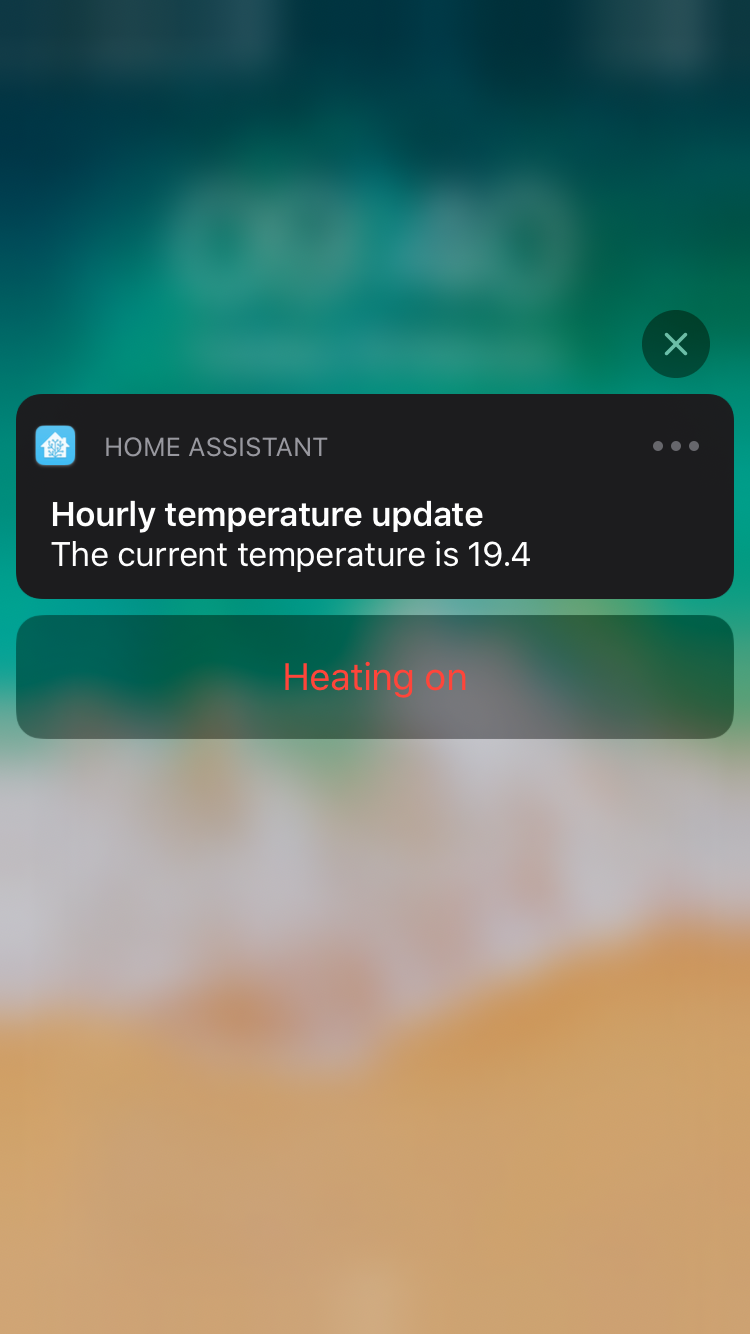
Clicking the button will do nothing for us, we haven’t told Home Assistant how to handle it yet! Let’s go ahead and do that now.
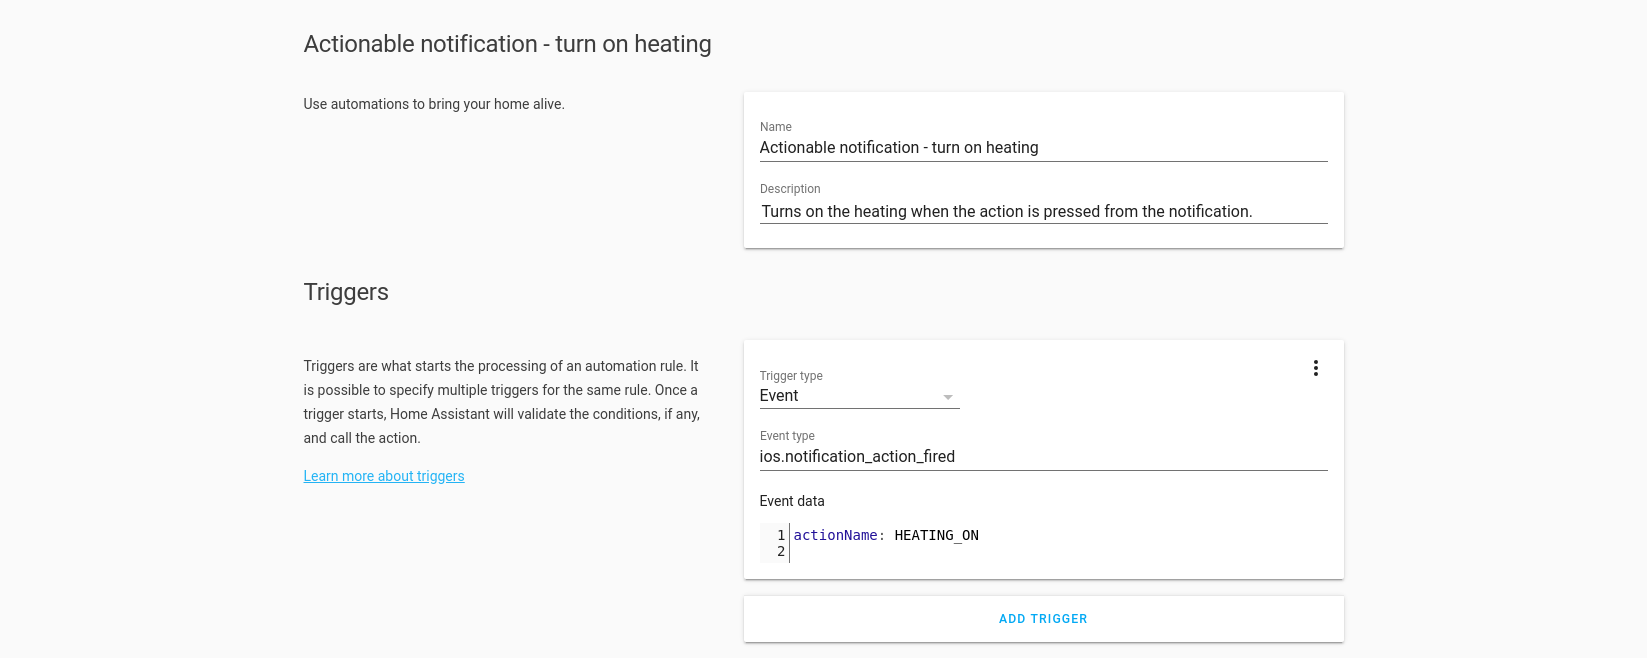
Let’s now create a second automation that will handle the button press.
Go ahead and give it a name and description. This time for the trigger we are going to select Event as the trigger type and enter ‘ios.notification_action_fired’ in the event type.
Add actionName to the event type with the identifier we gave to our button in the category, so ‘HEATING_ON’ for this example:
We do not need any conditions for this.
Next add the service you want to control, I am switching on the heating and I’m also sending a second notification in order to acknowledge the action has been received and processed:

Test the entire process, it should now successfully toggle your switch right from your phone, and you will receive a notification like so:
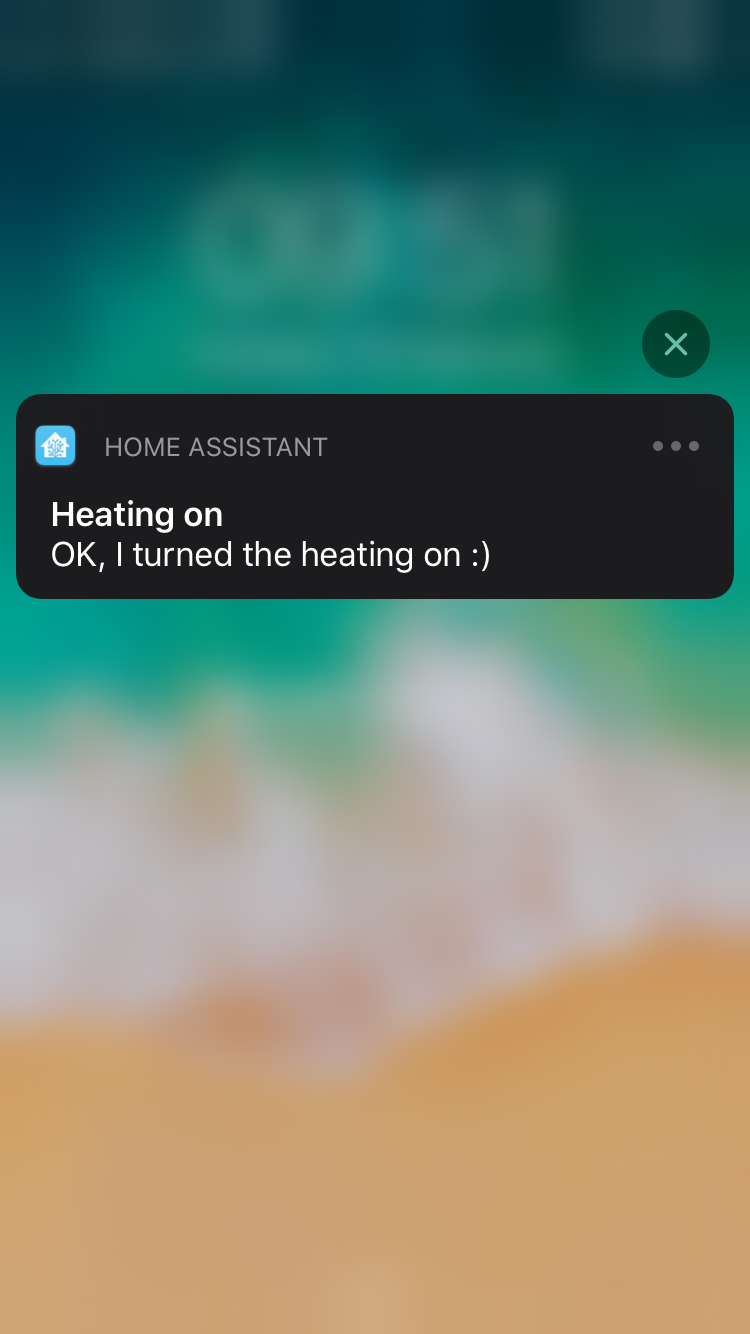
Great, we just created our first actionable notification!
We can take this a little bit further and turn it into a toggle switch instead rather than just an “on” switch, allowing us to toggle it on and off depending on what the current state is.
First lets edit the category to look like this:
ios:
  push:
    categories:
      - name: Heating
        identifier: 'heating'
        actions:
          - identifier: 'HEATING_TOGGLE'
            title: 'Heating Toggle'
            activationMode: 'background'
            authenticationRequired: true
            destructive: true
            behaviour: 'default'
Remember to restart home assistant and delete and re-import the categories from the server on the mobile app.
Now we edit the notification automation and add the current state of the sensor:
data:
  push:
    category: heating
message: >-
  The temp is {{ states.sensor.living_room_temperature.state }} and the heating
  is{% if is_state('switch.heating', 'on') %} on {% elif
  is_state('switch.heating', 'off') %} off {% endif %}
title: Hourly temperature update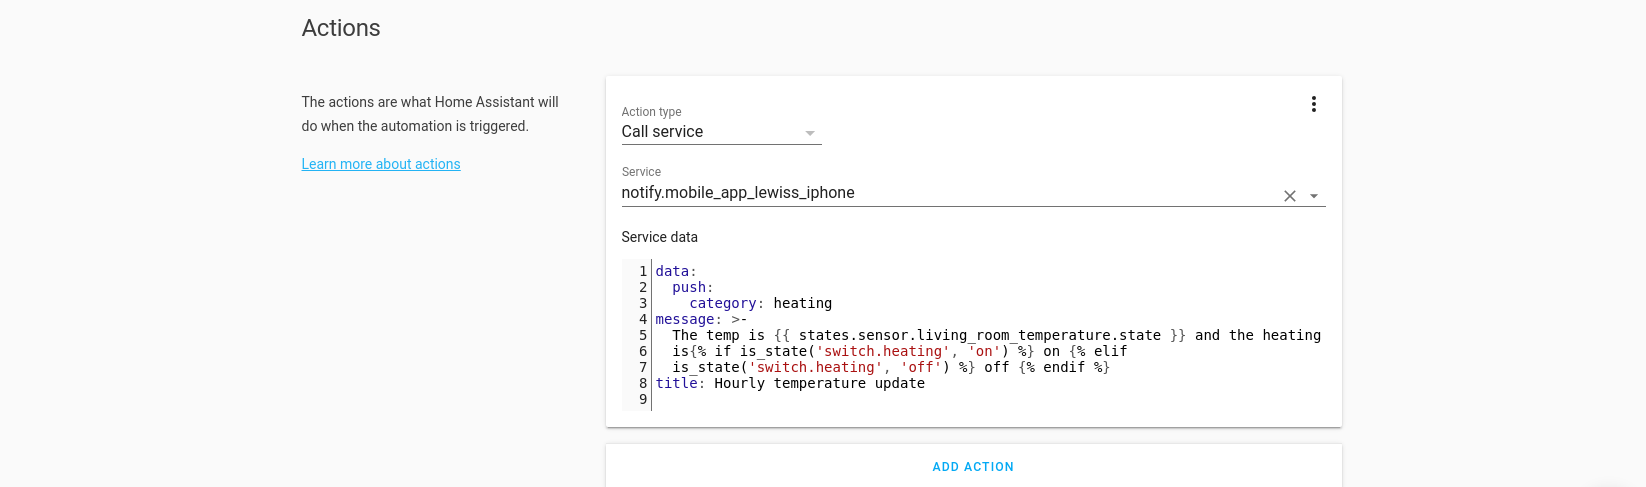
Notice how we are using an if template to display the state of the switch.
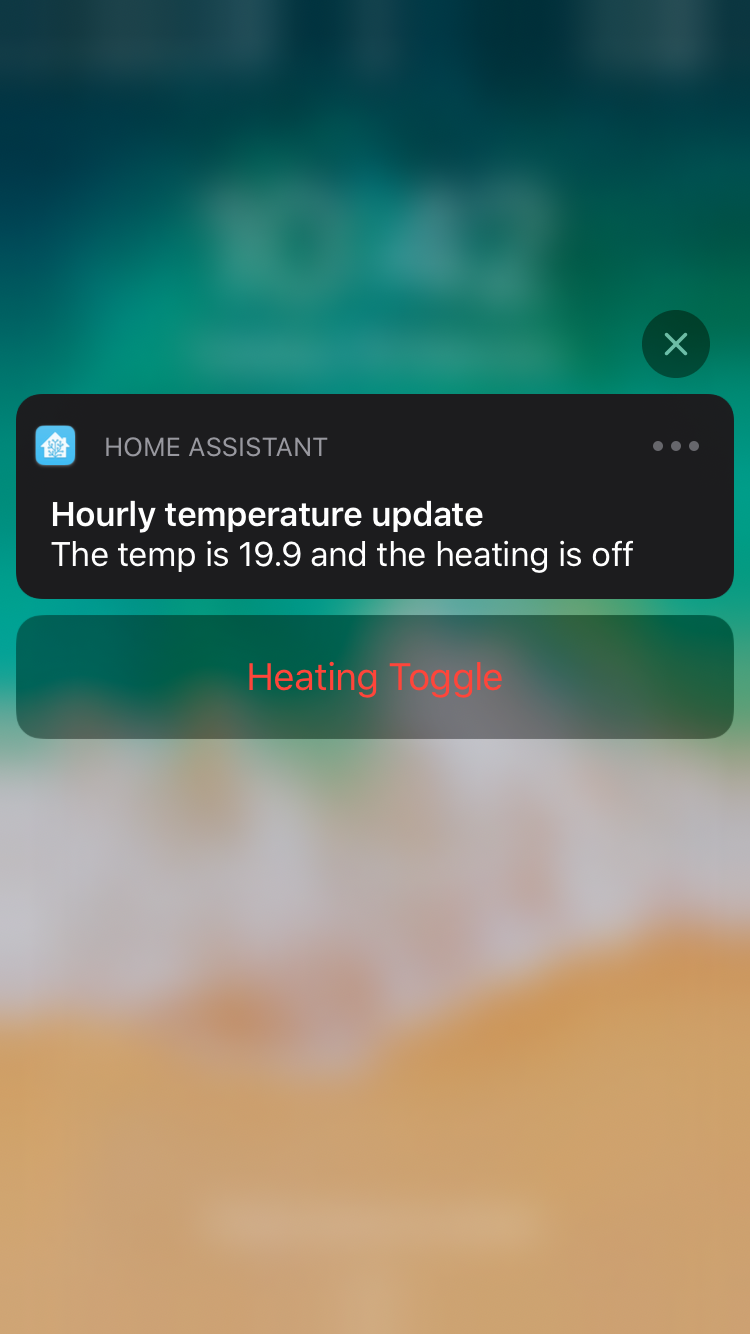
This gives us this:
Then edit the action automation, make sure to change the name of the actionName in the trigger to HEATING_TOGGLE, and change the action to switch.toggle rather than switch.on:

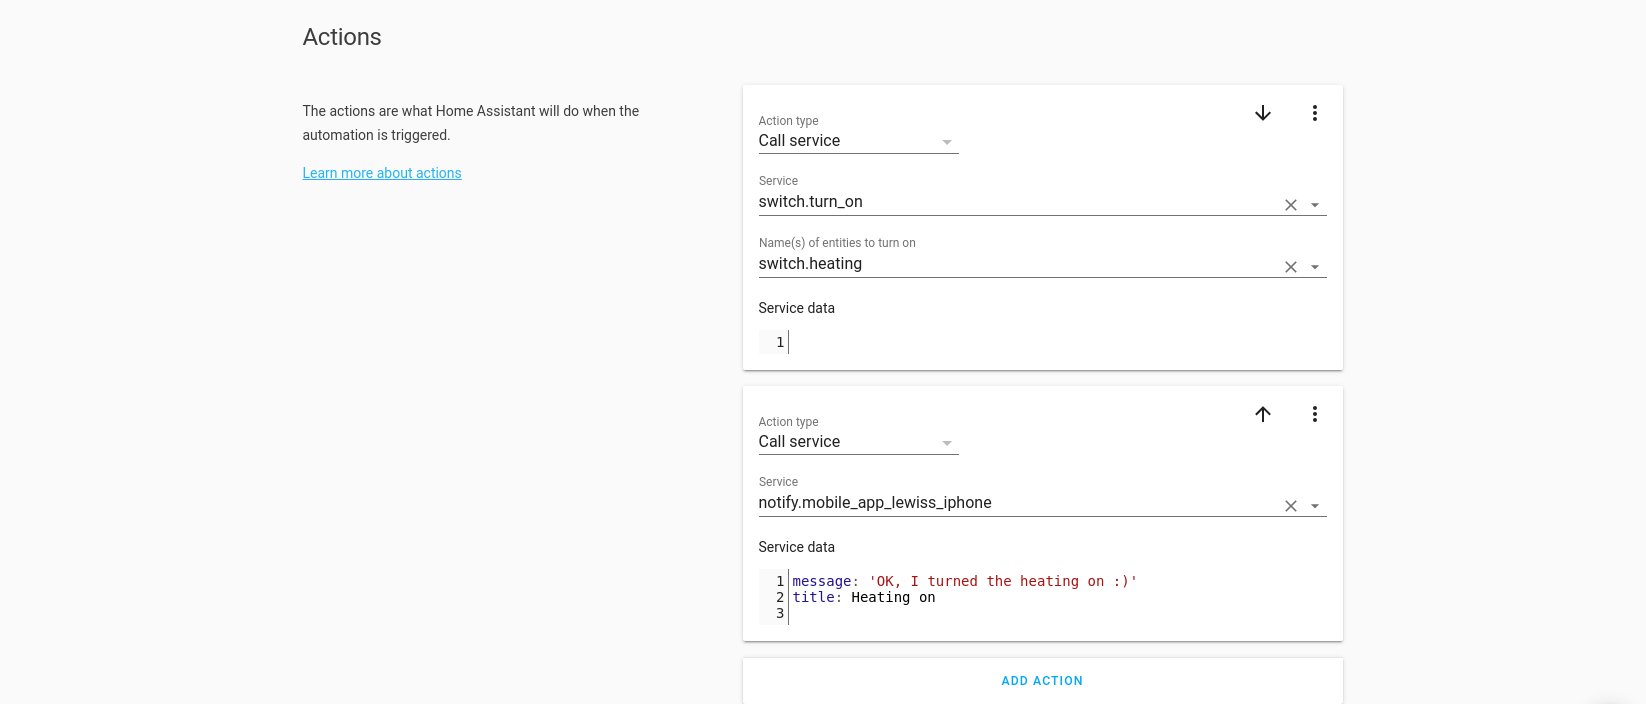
And when we press the toggle button on the notification we then get a response saying:
Now we know how to do actionable notifications on iOS!
Conclusion
Hopefully by this point we should now have learned how to create simple notifications that display simple information, information that can change based on states and notifications that we can act on straight from the notification itself, on both iOS and Android versions of the Home Assistant app.
If you have any queries or questions drop them down below, or hit us up with any ideas you want us to cover in the future!