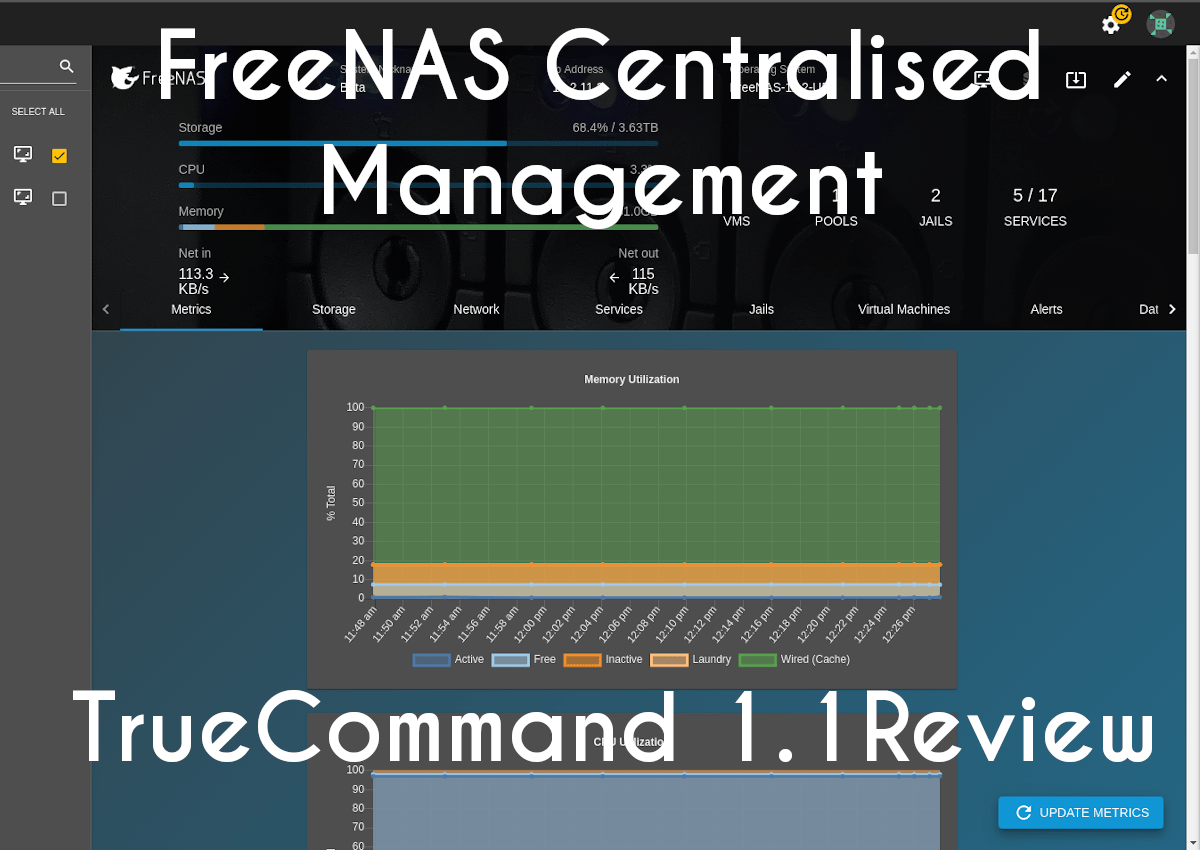
FreeNAS Centralised Management - TrueCommand 1.1 release overview

I’ve been personally using FreeNAS permanently for around 6 years or so, around the 8.3 release, and it is ony of my favourite open-source projects to date. As a NAS, it’s so simple and easy to use (although it did used to be a bit daunting!) and just simply works.
However since I started managing 15+ devices at once, the thing I was always clamouring for was a way of centrally managing them, since logging into each device individually can be a bit tedious.
iXsystems must have heard my prayers, because back in April this year, they announced the beta release of TrueCommand which gives you a single pane of glass view of all your TrueNAS/FreeNAS devices. I took a look at it back then and was really excited by what I saw, sure there was a few missing features and a few bugs I reported but it was a beta, and the team were super quick to pick up on them.
Fast forward to earlier this month, the 1.1 release of TrueCommand has been announced with a few key additions which we will take a look at and overview of today.
TrueCommand currently has a free licence that will do up to 50 disks, meaning you can have 50 systems with 1 disk each, 1 system with 50 disks or anything in between. More than that will require a paid licence which can be obtained from iXsystems here.
Let’s get into this overview of TrueCommand!
Installation
Hardware requirements
One of the nice things about TrueCommand is it doesn’t really need much specs to run it, less than FreeNAS does at any rate. The official hardware requirements are:
- 2 cores (64-bit CPU required)
- 4GB of RAM
- 80GB HDD
It should install perfectly well on any hypervisor of your choice. I didn’t try with lesser specs in my testing, I just stuck to the guidelines for now.
For my testing, I’m running on ESXI 6.7u3.
Setup
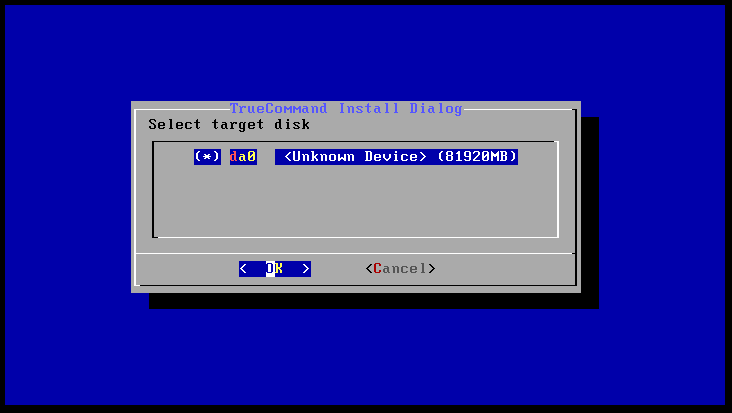
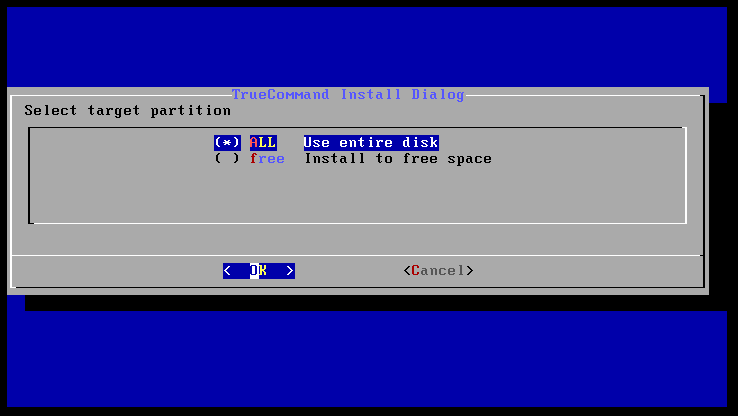
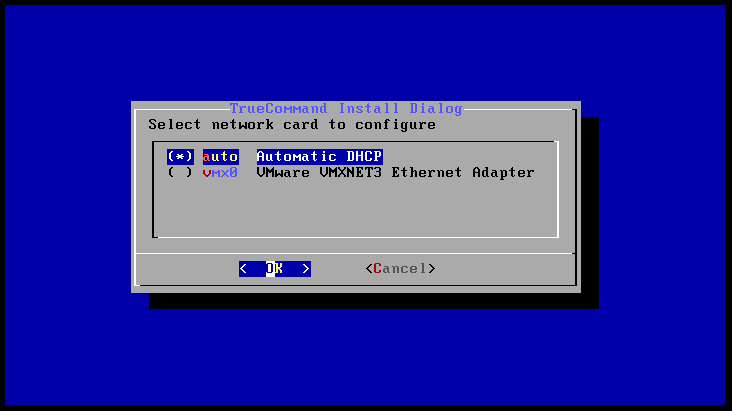
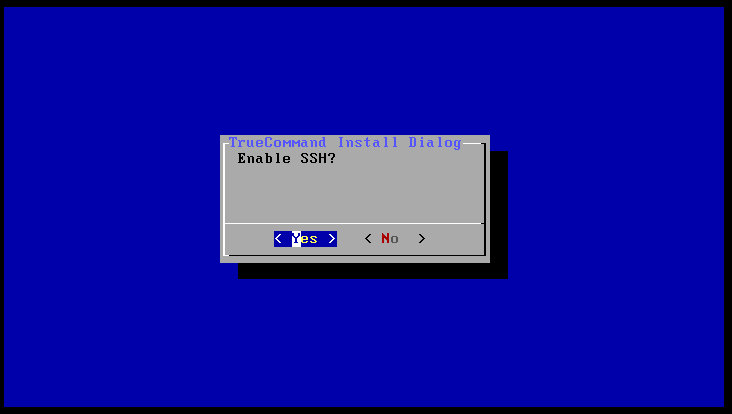
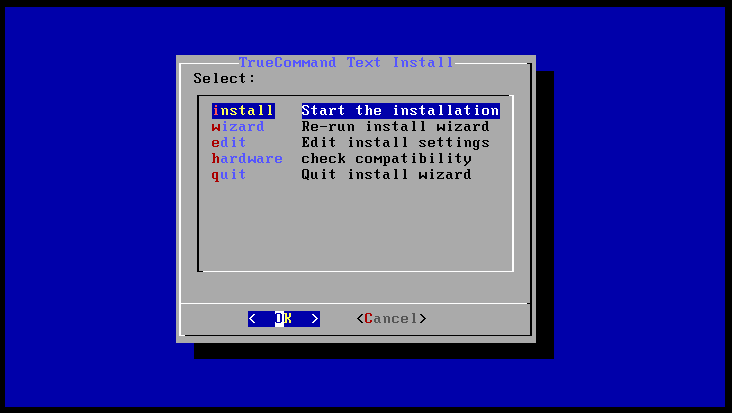
Installing TrueCommand is really easy – mount the ISO to your machine and boot to CD. The installer will start and take you through 10 steps, where you can pretty much accept all the defaults:
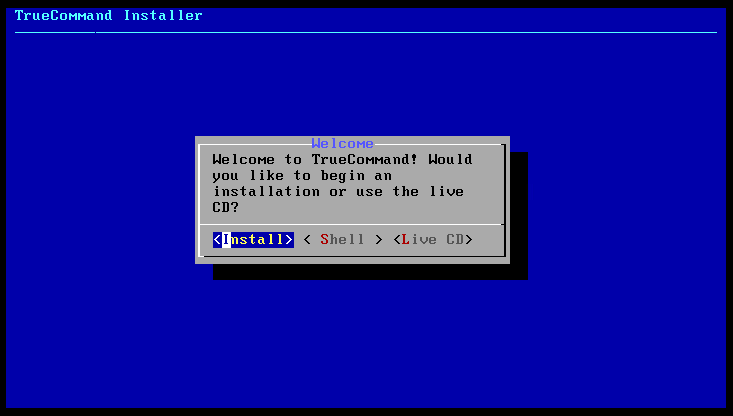
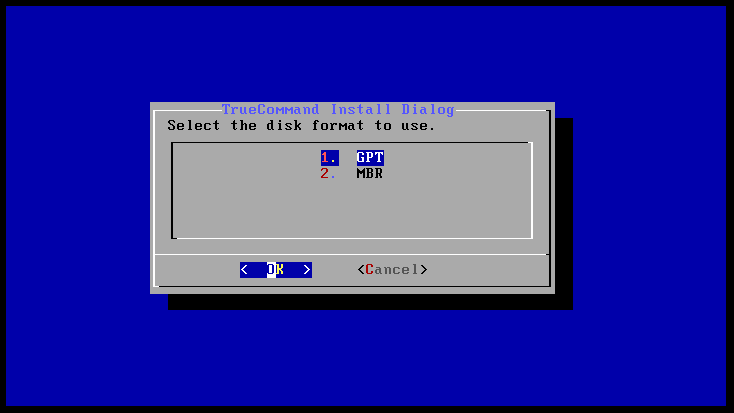
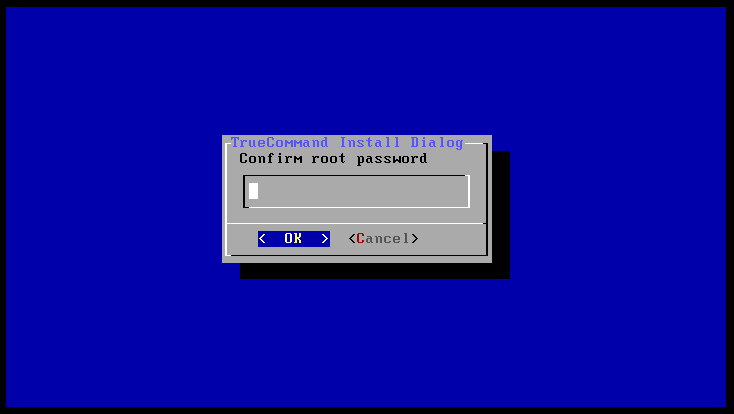
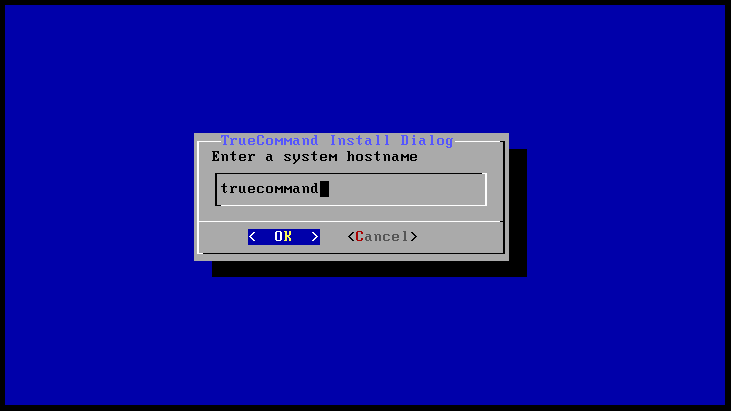
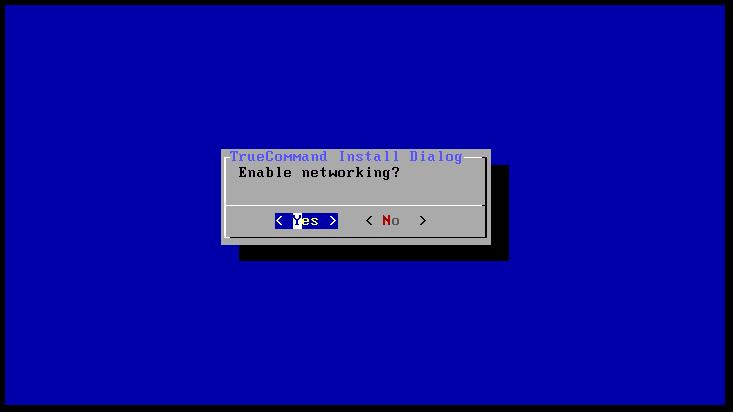
P.S – who doesn’t love an old school installer like this!? Just something satisfying about it!
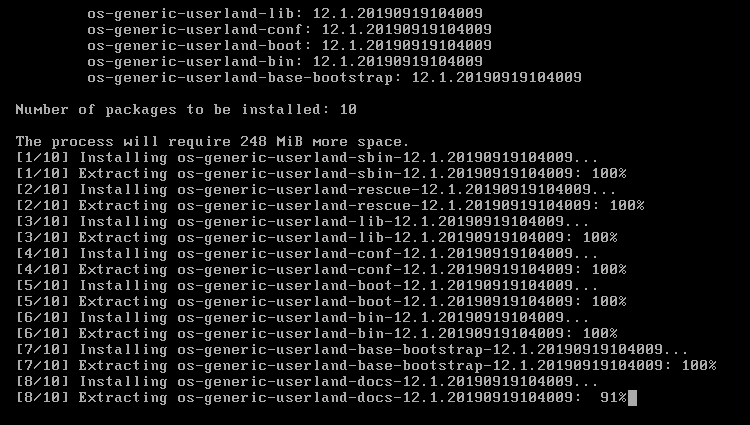
Once you’ve hit the install button, TrueCommand will begin installing, mine took around 90 seconds to install from start to finish so you won’t need to hang around waiting:
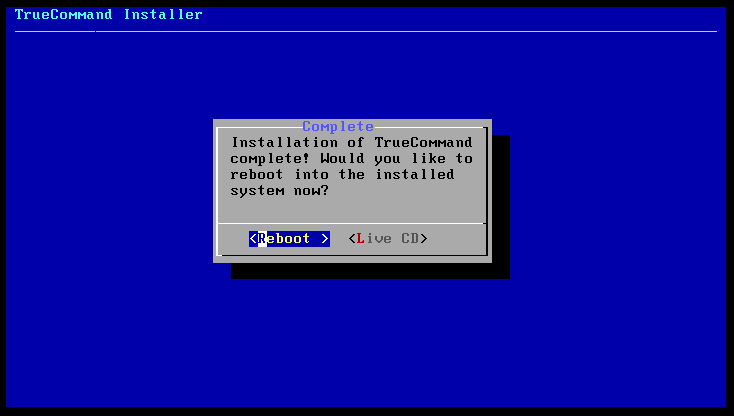
Eject the CD and reboot, which will then boot up into TrueCommand:
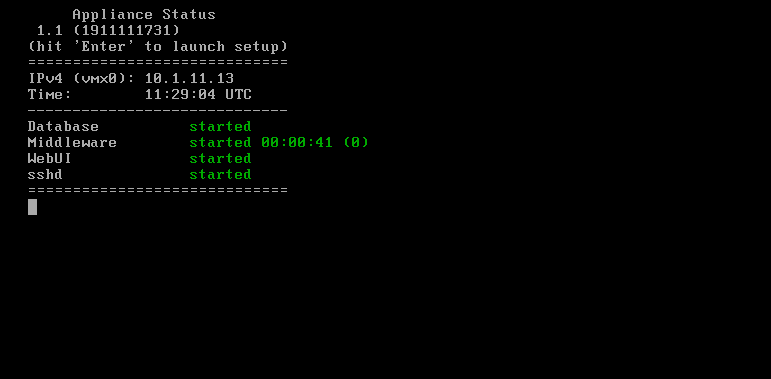
This gives us some basic information about the instance, and if you hit enter you can configure a couple of the network settings.
Let’s finish the install by visiting the web UI in your browser, which will present you with the login screen:
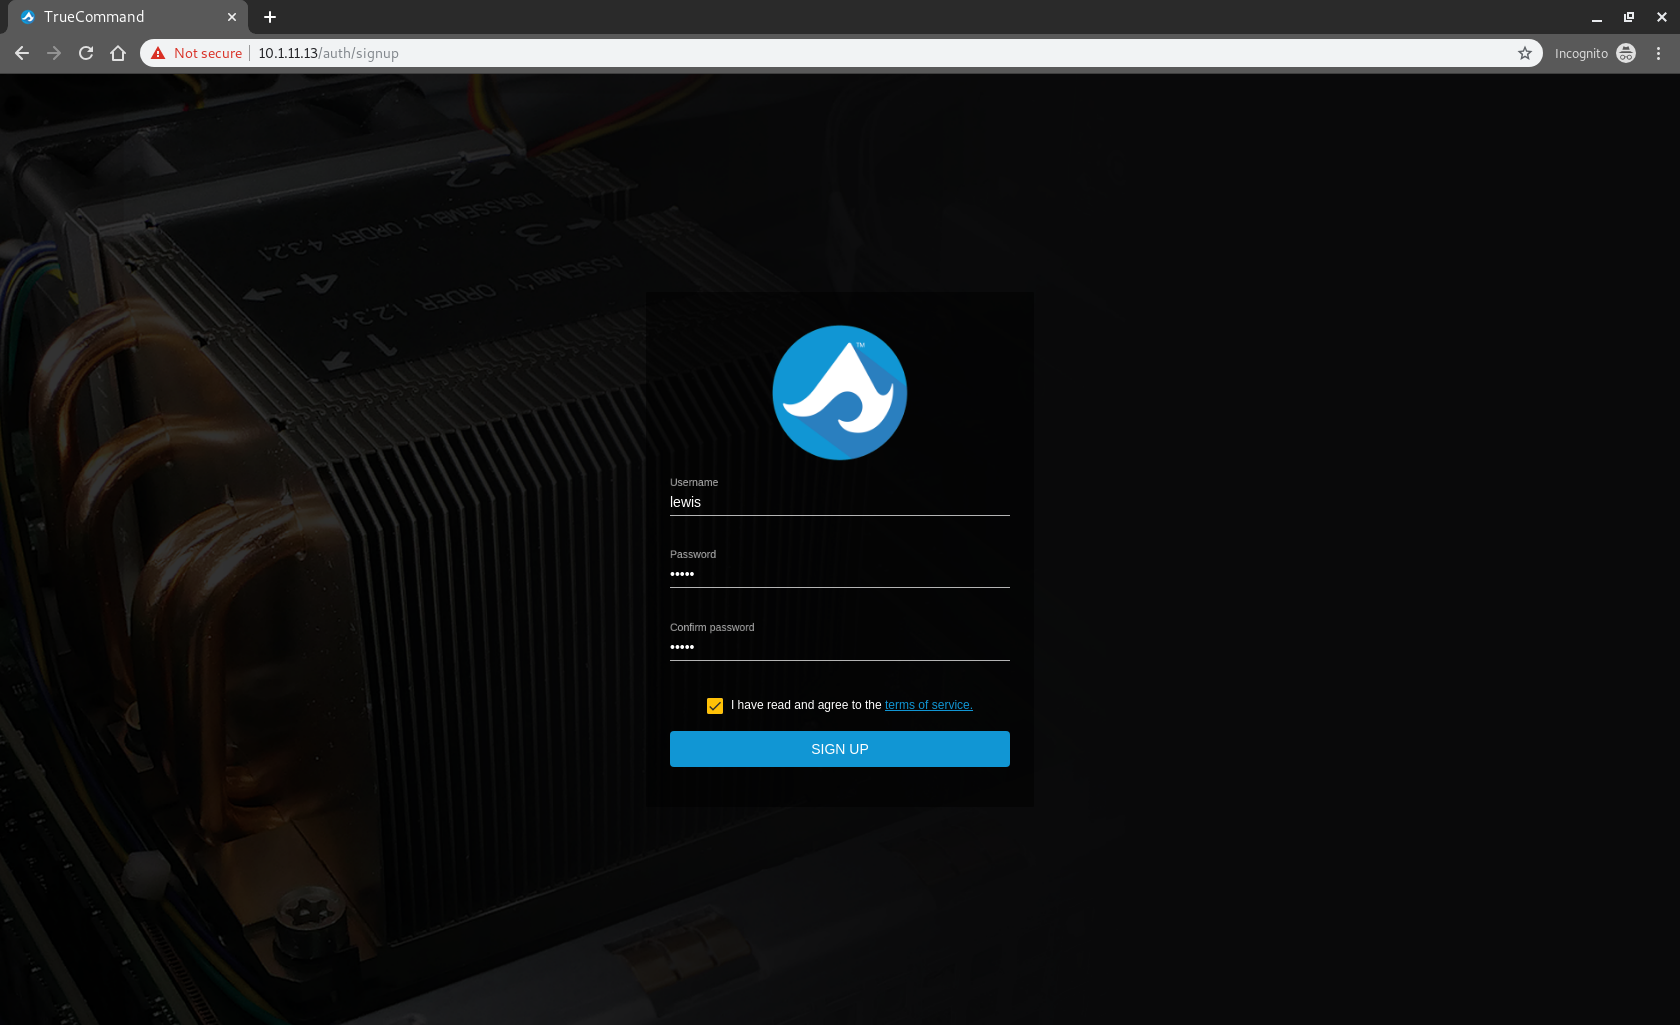
Enter admin/admin at this point and you will be prompted to create a new account. The admin account is only used for first boot up and then seems to be disabled afterwards.
A side note – it’s a little confusing that you create a root account when installing but then a different admin account. I think this could be improved in future or perhaps better explained but its a minor gripe.
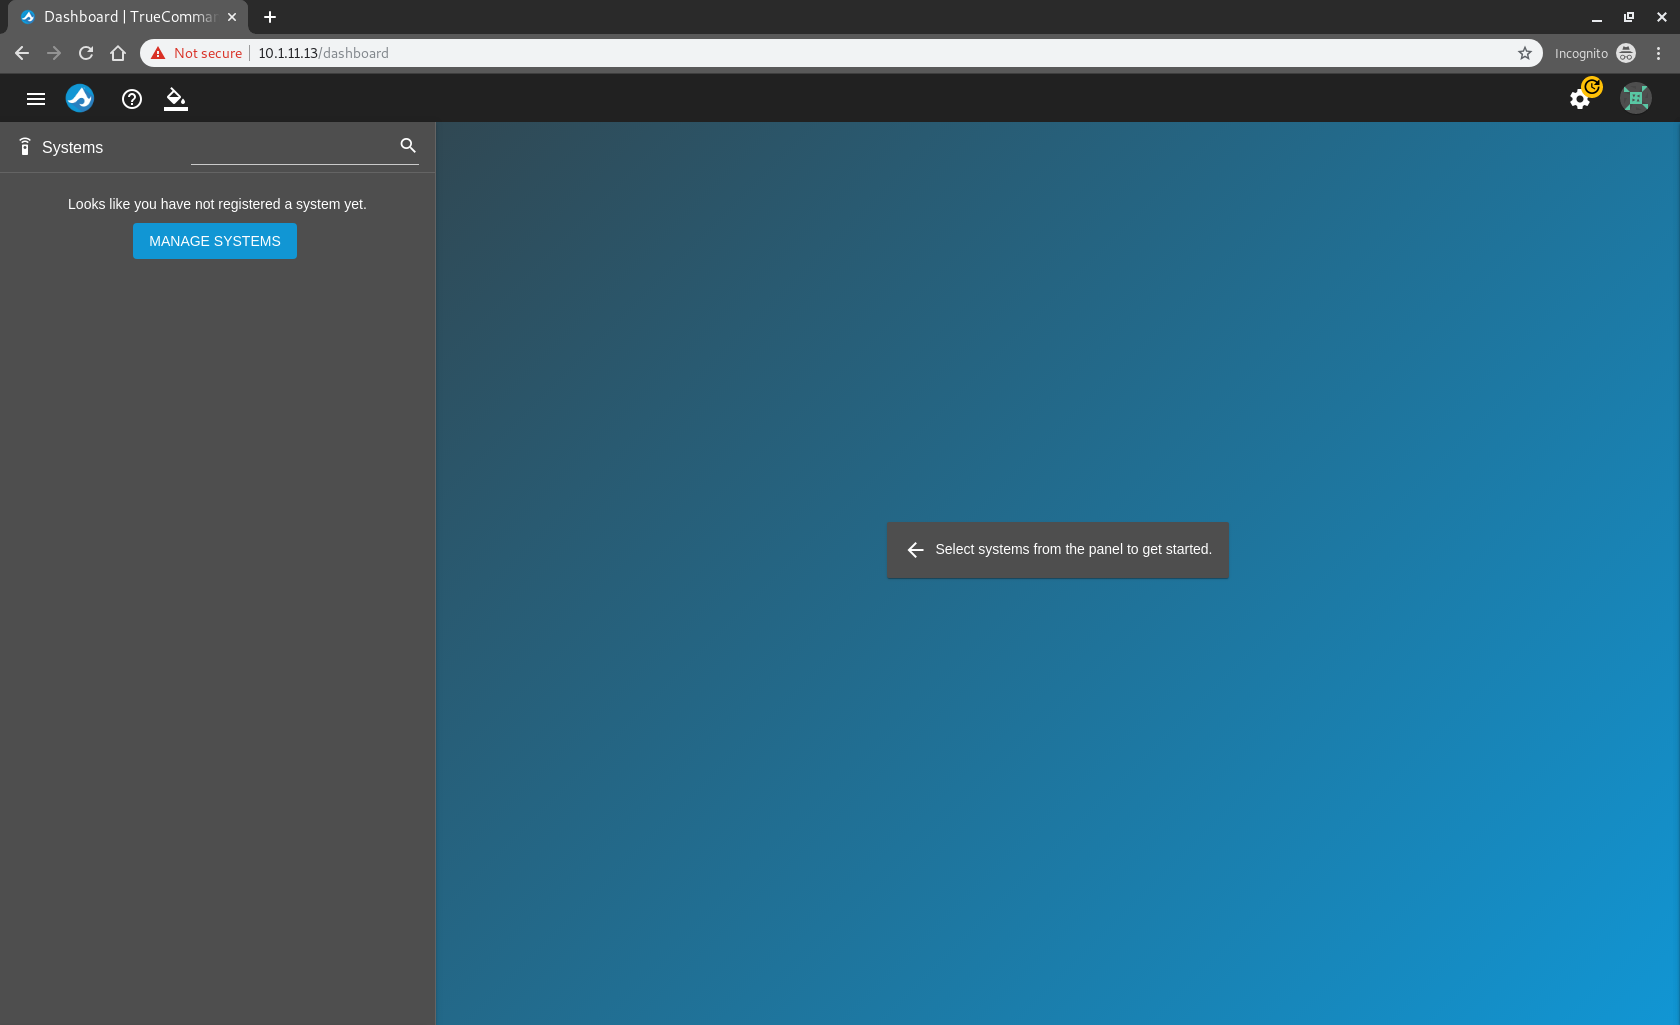
Once the new account has been created, login with it and you will be at the dashboard.
Overview
Dashboard and Systems
Taking a look at the dashboard, its understandably rather blank at the moment, let’s rectify that by adding some machines in. Hit the manage systems button on the left or click the settings button (cog) in the top right and choose systems.
You will have a blank table for now, but note you have 3 “tabs” along the top. The discovered systems tab will automatically detect FreeNAS systems running on your network and make it super easy to add them. I believe this only works for systems on the same subnet as the TrueCommand machine but have not fully tested that theory yet.
Hit the “New System” button in the top right and enter the hostname/IP address of the system you want to manage, then enter the root password for the device:
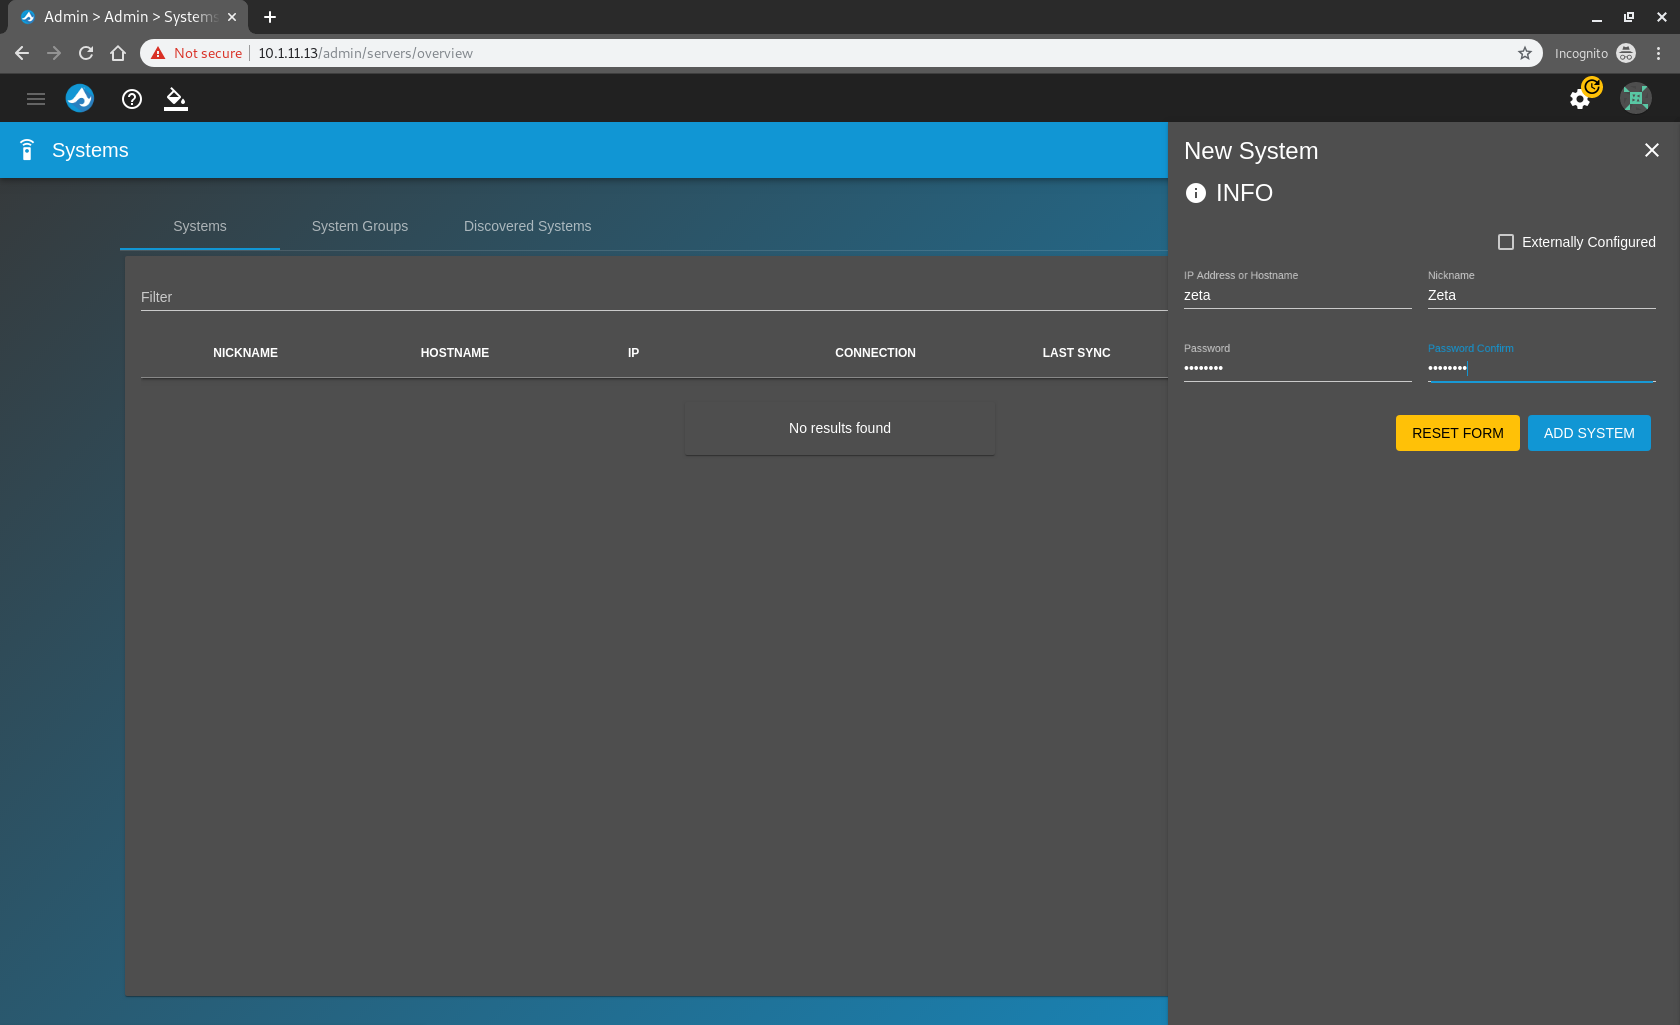
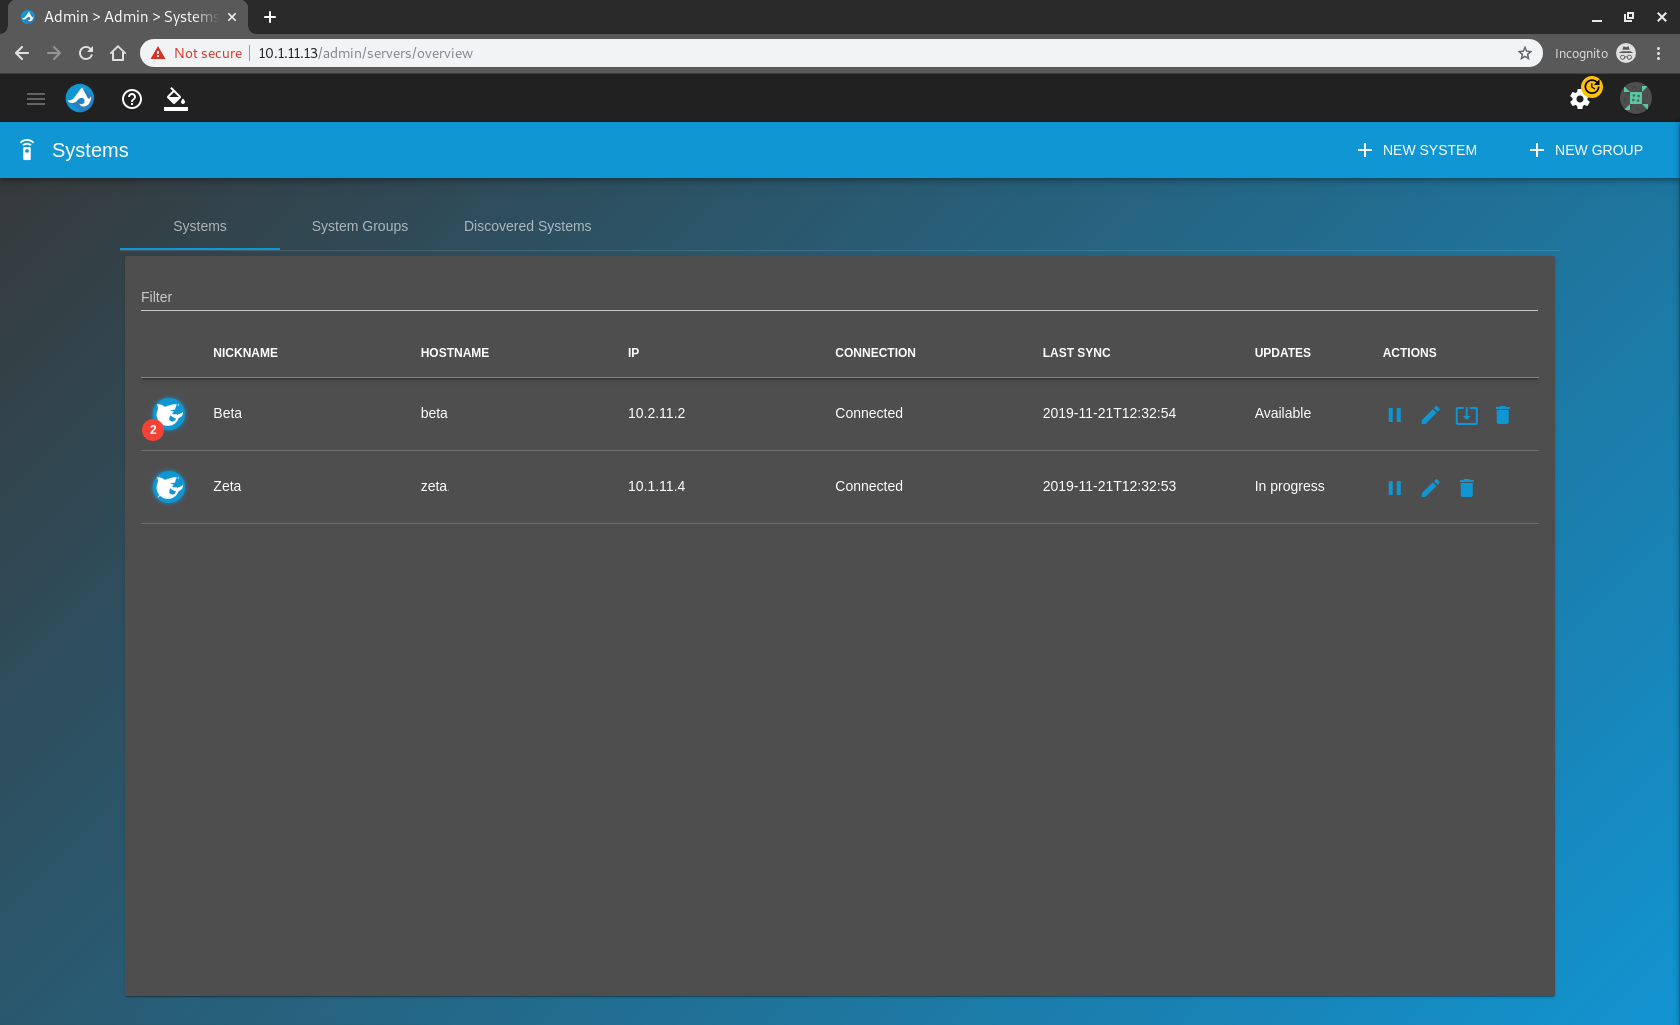
Save this and TrueCommand will connect to the target and add it to the inventory. Repeat these steps for all the systems you have. I’ve added 2 systems for now as you can see:
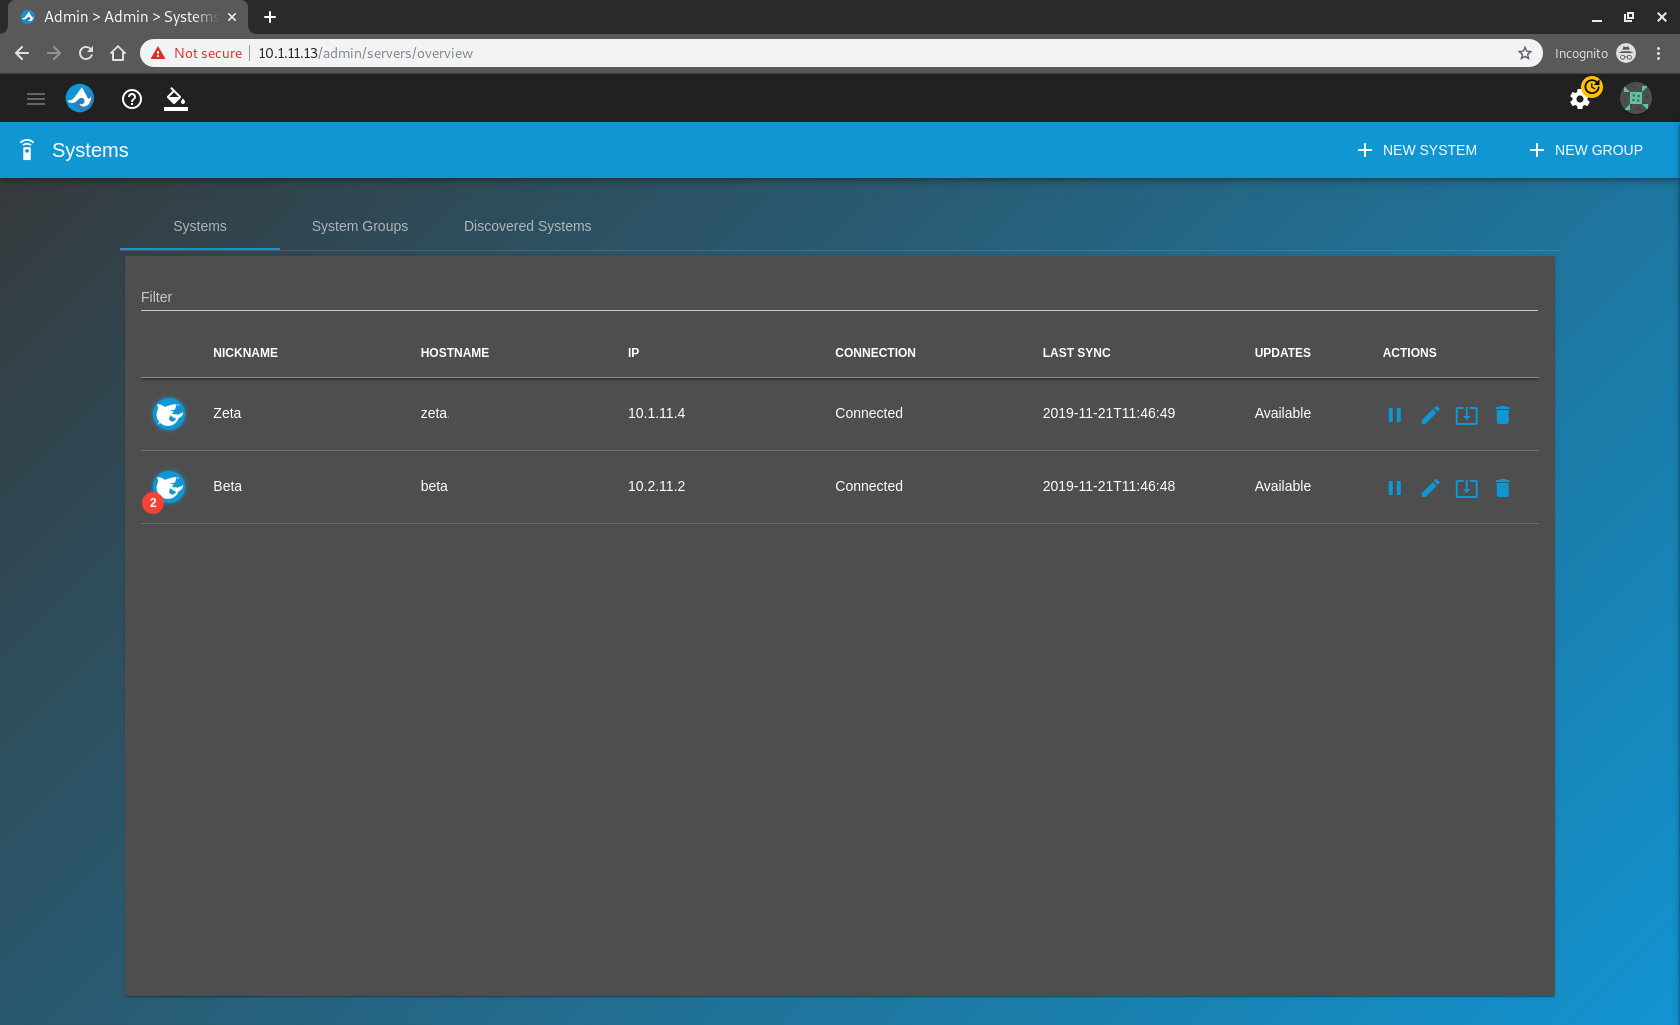
FreeNAS 11.2 U5 is required for TrueCommand to work.
Now return to the main dashboard by clicking the TrueCommand logo in the top right:
TrueCommand should now be pulling through all the information for the devices you added, this usually takes a minute for the first time.
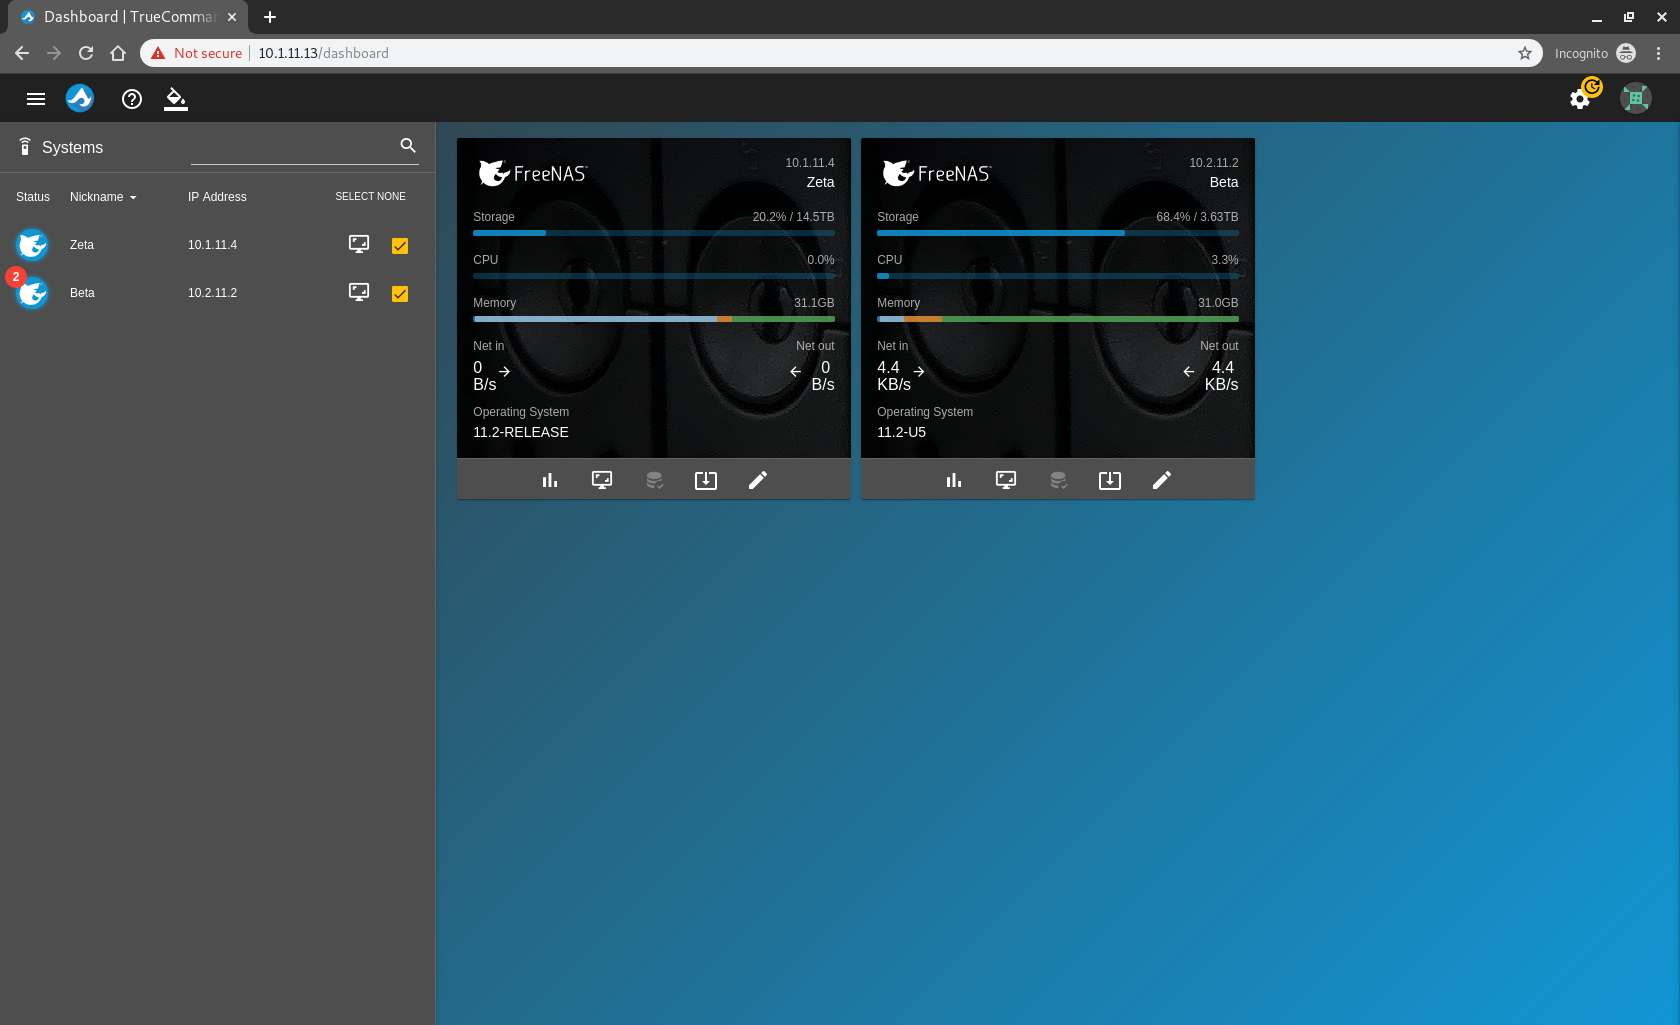
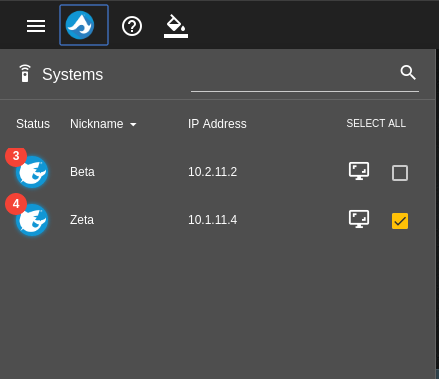
TrueCommand lists our systems in the left hand pane, where we can select none, one or multiple systems which will be displayed in the right hand pane.
If you select multiple systems, they will be displayed in a grid and have some brief information about them. Selecting a single system will give us a full access to that system where you can go through and view almost all the settings for that system:
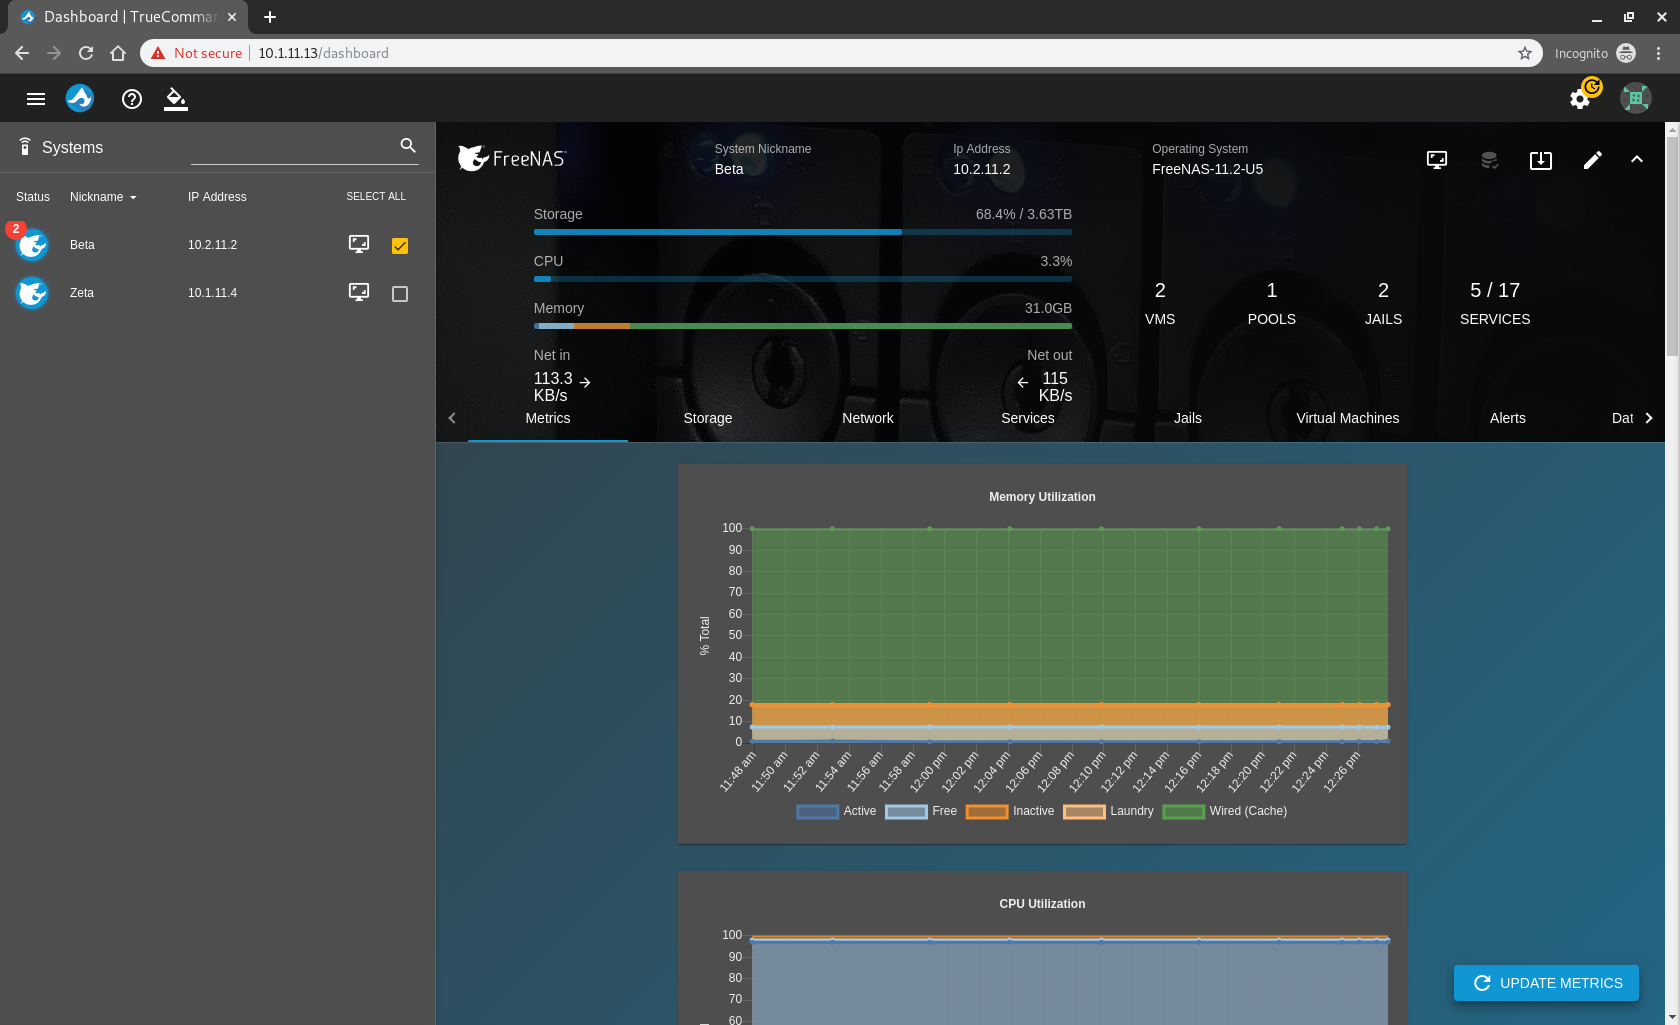
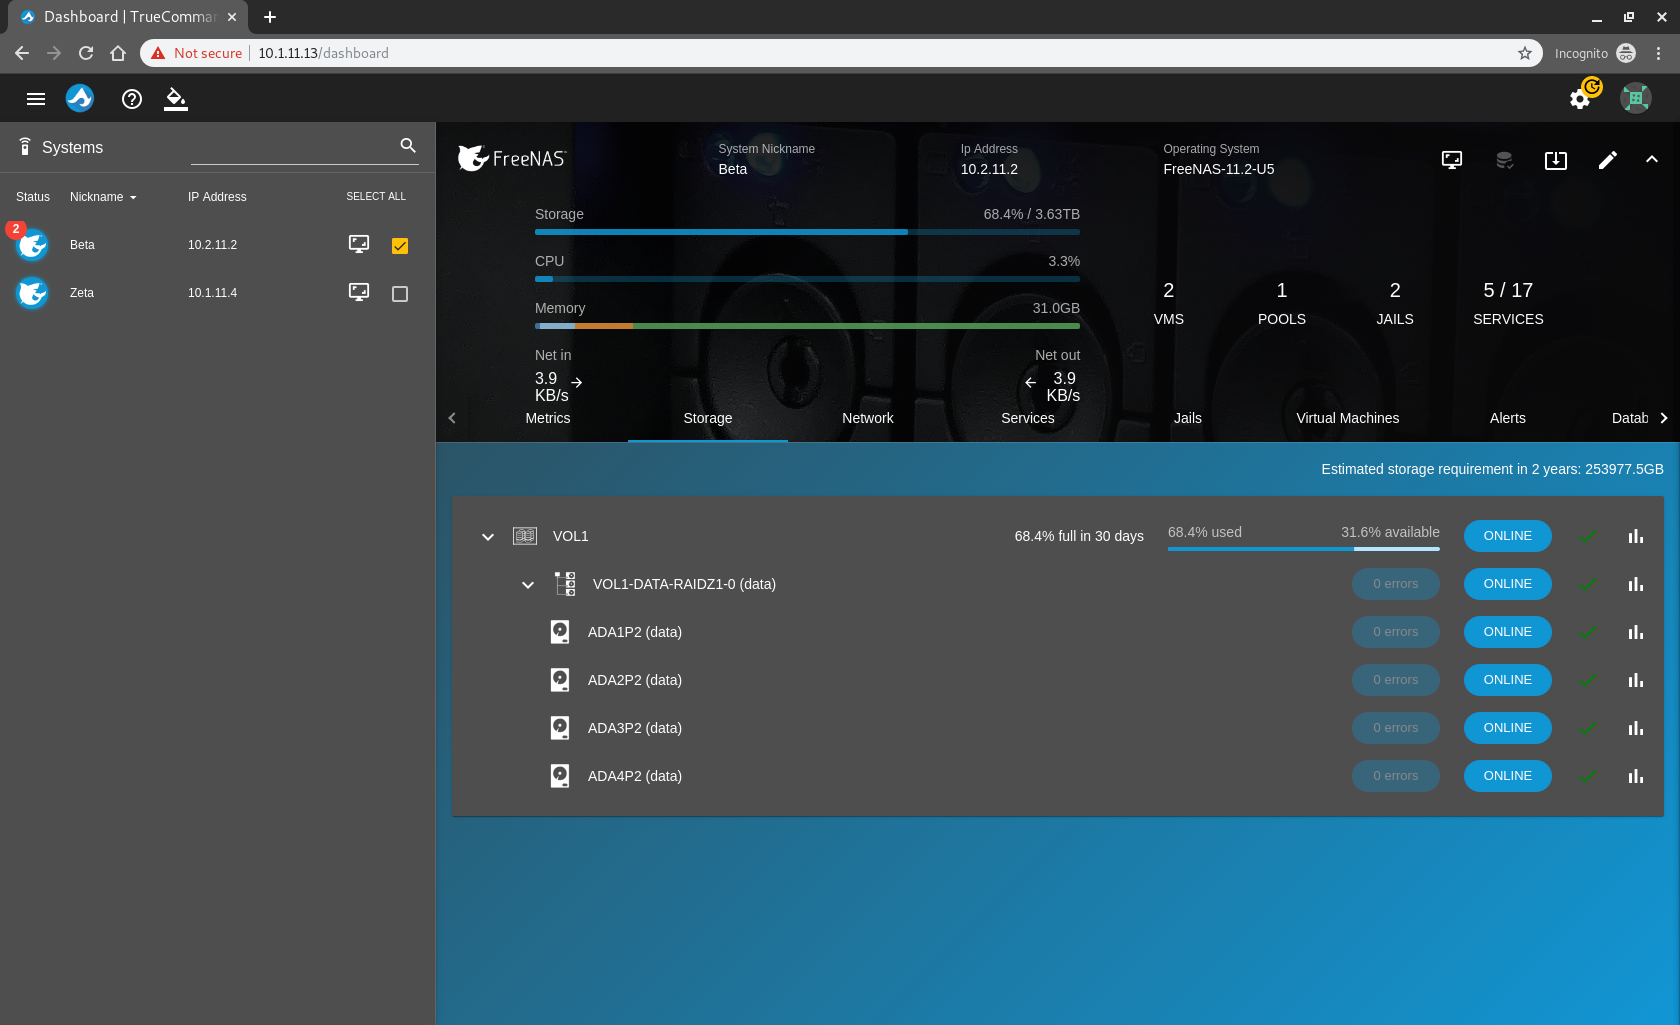
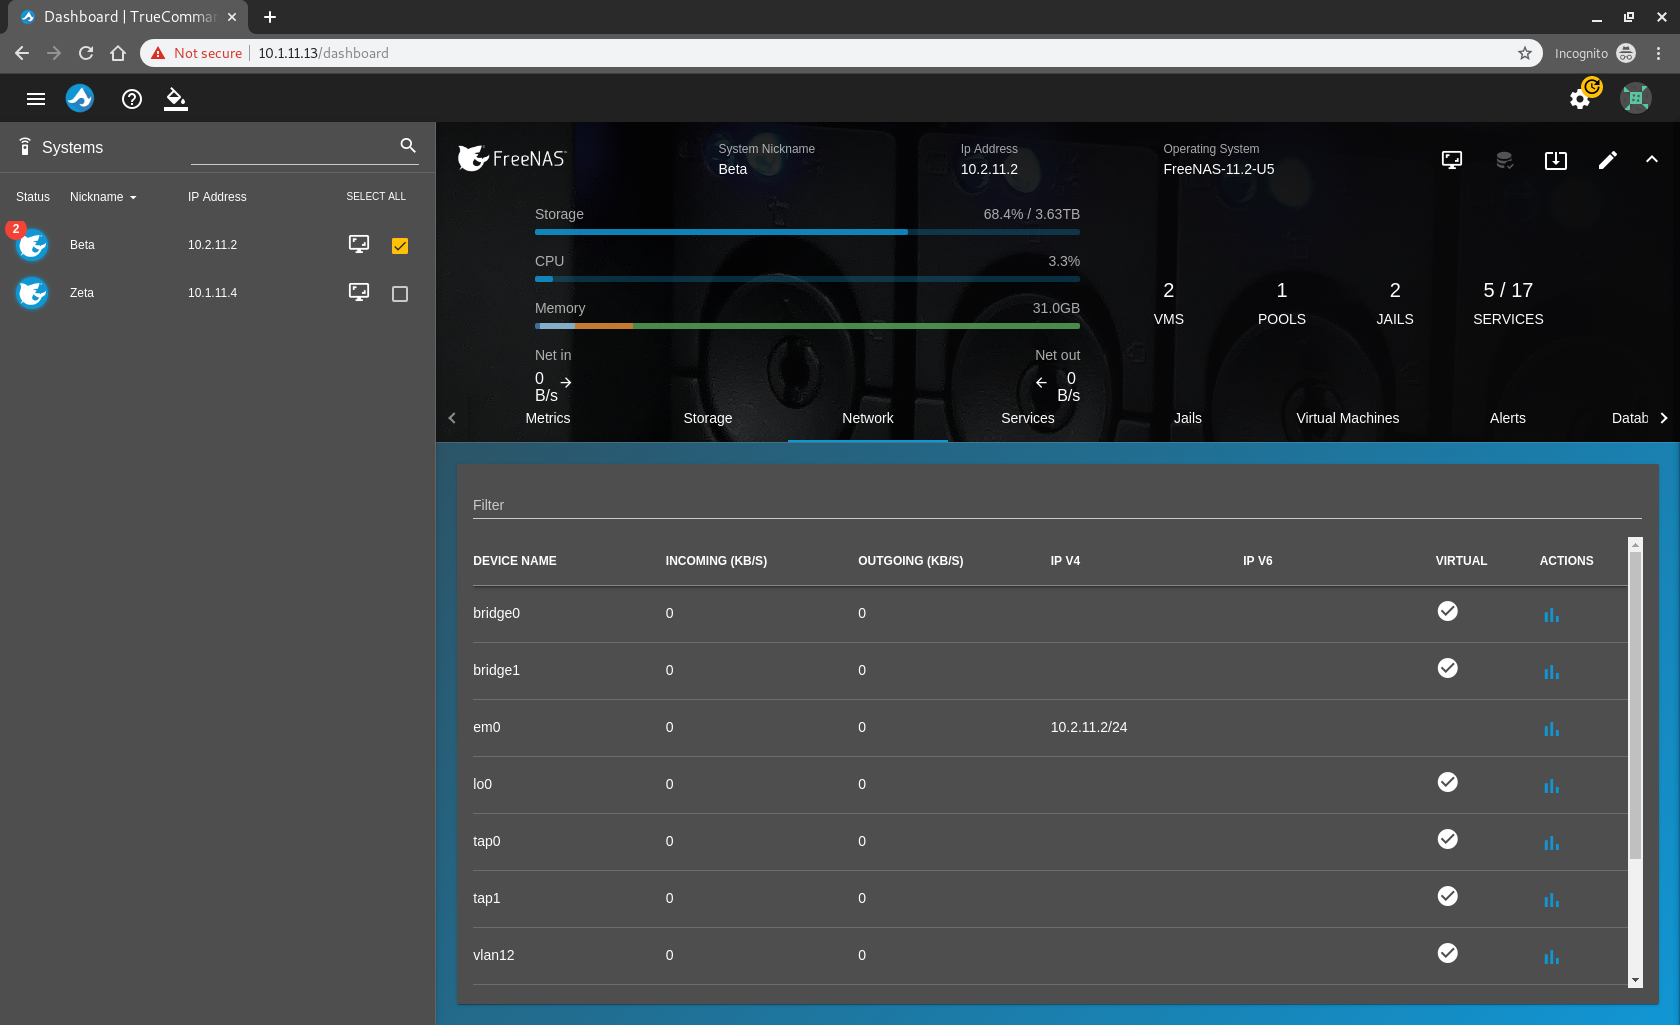
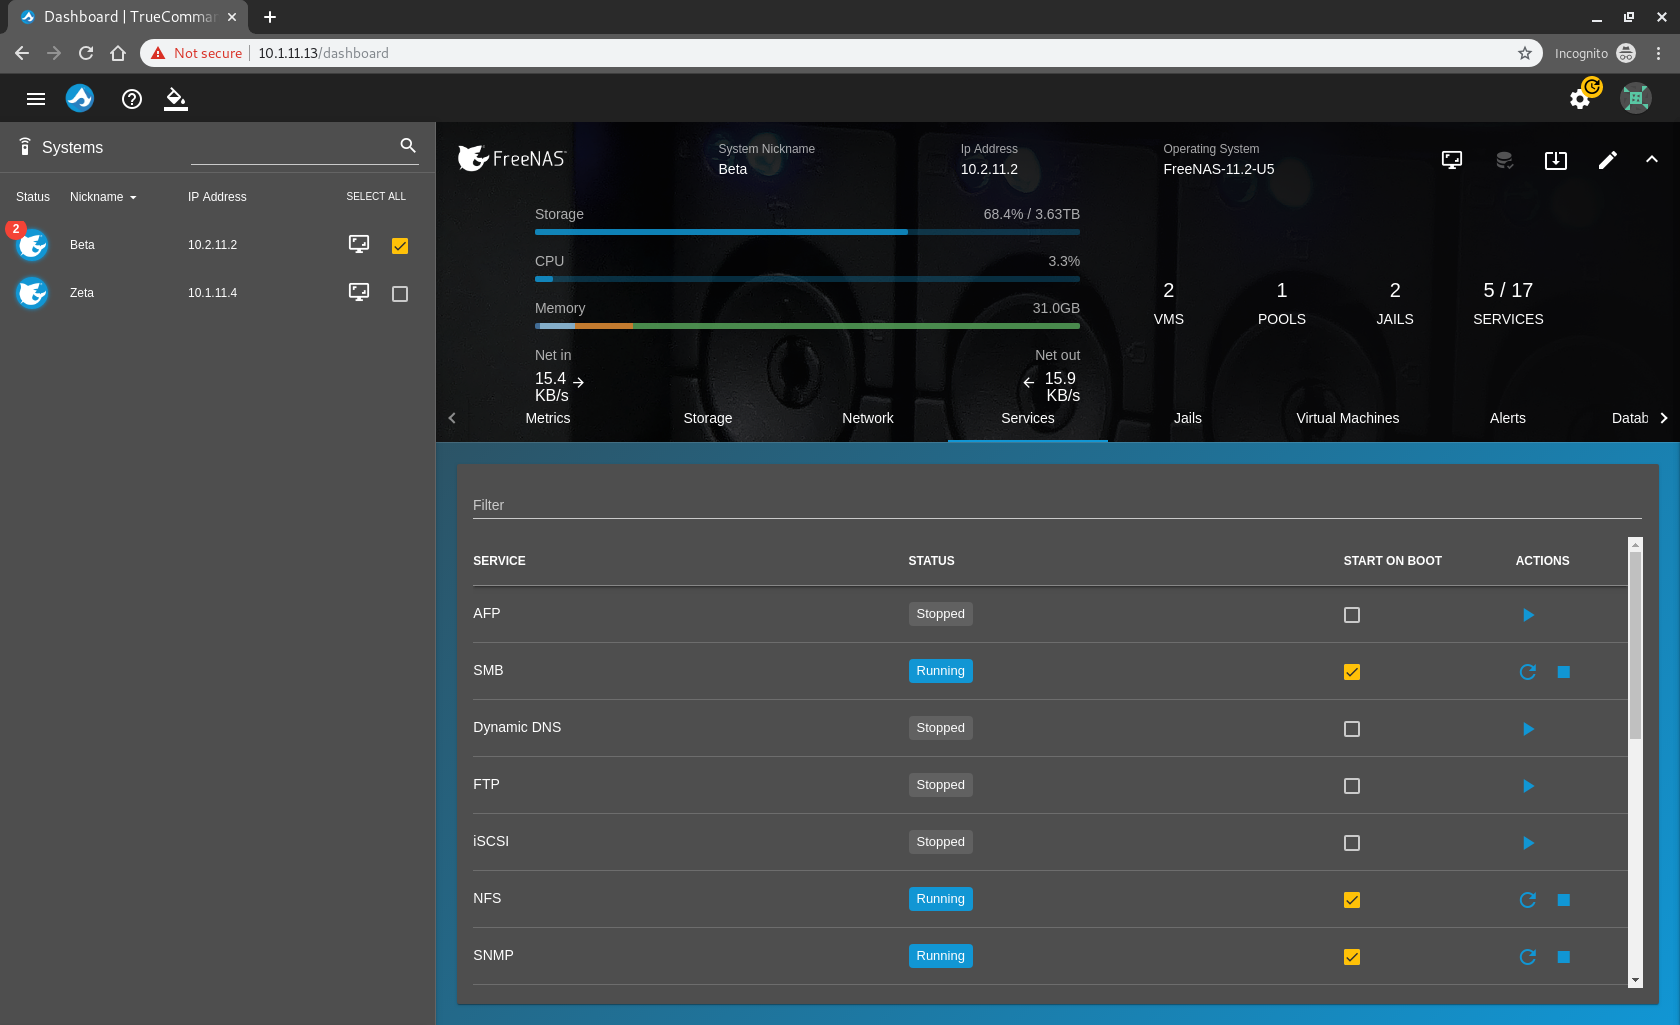

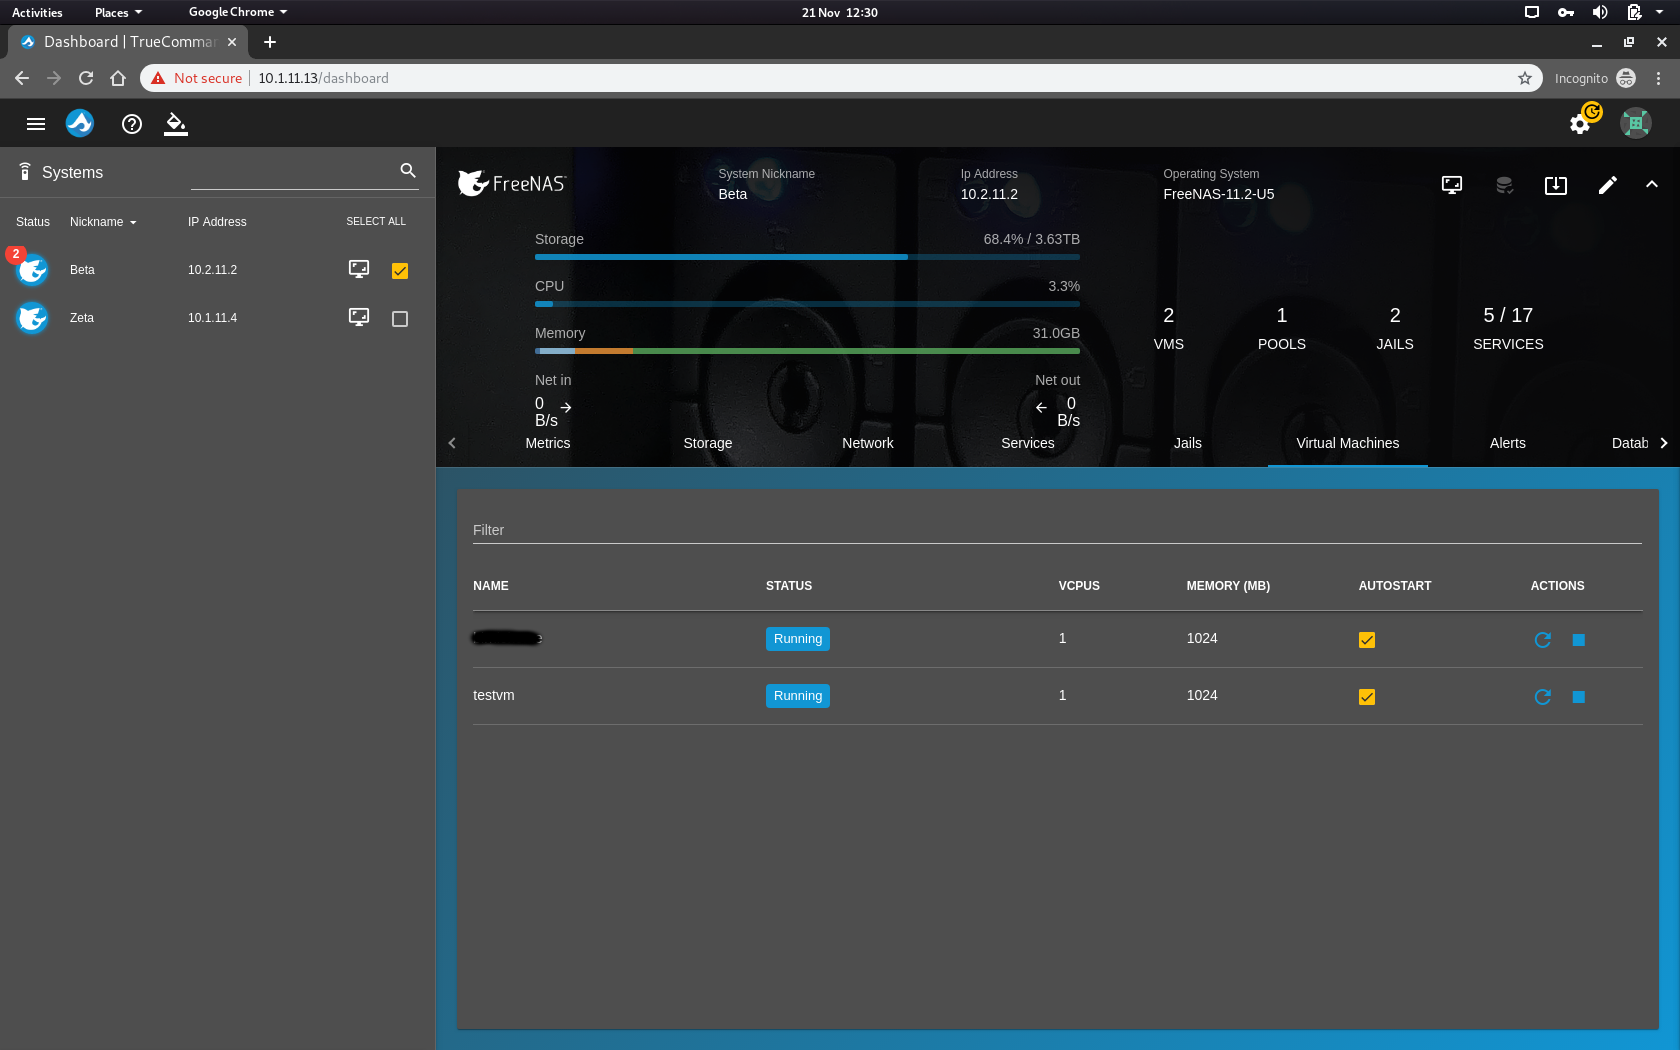
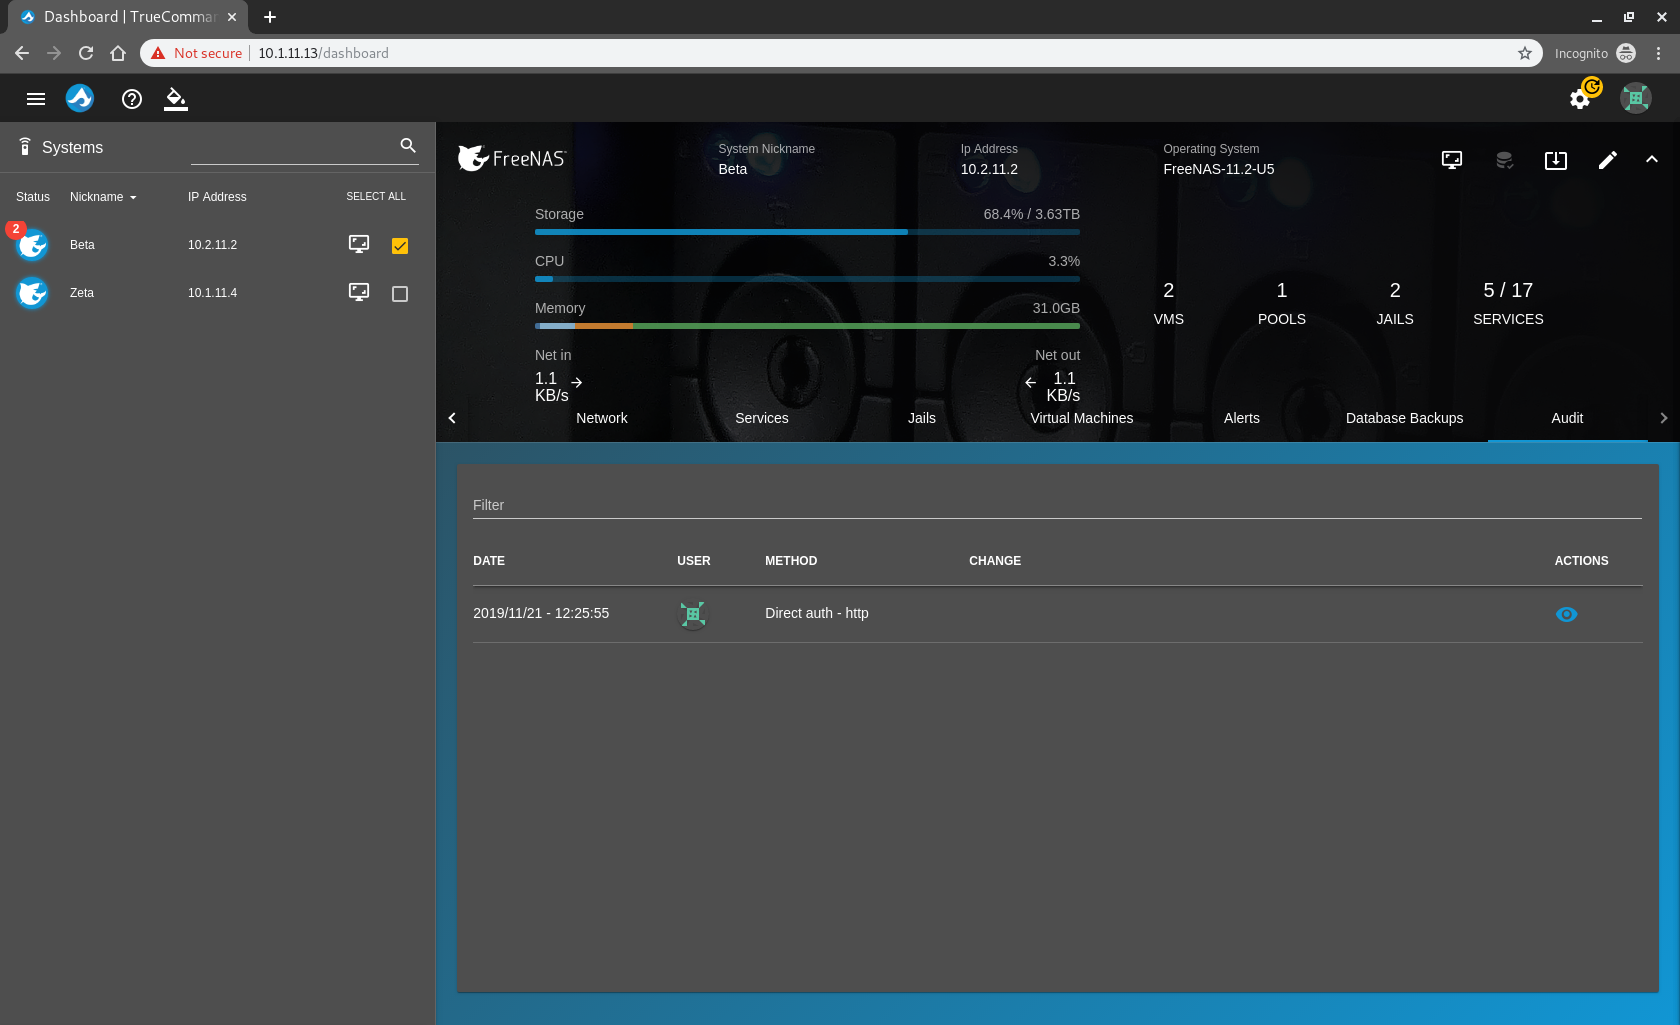
In it’s current form, TrueCommand gives us mostly read access to the settings – you cannot create pools, shares or edit network settings for example. Yet. However, you can stop and start services, stop and start jails and stop and start VM’s which is pretty handy. The rest of the stuff however can be changed through “System Portal” which is the Single Sign On access to the system – more on that later.
So to summarize, you can technically manage every single setting on your FreeNAS from TrueCommand, meaning in theory you never need to directly login to all of your systems again.
Updates
Updates is probably the biggest headache when managing multiple systems and the reason I wanted a central management program so much.
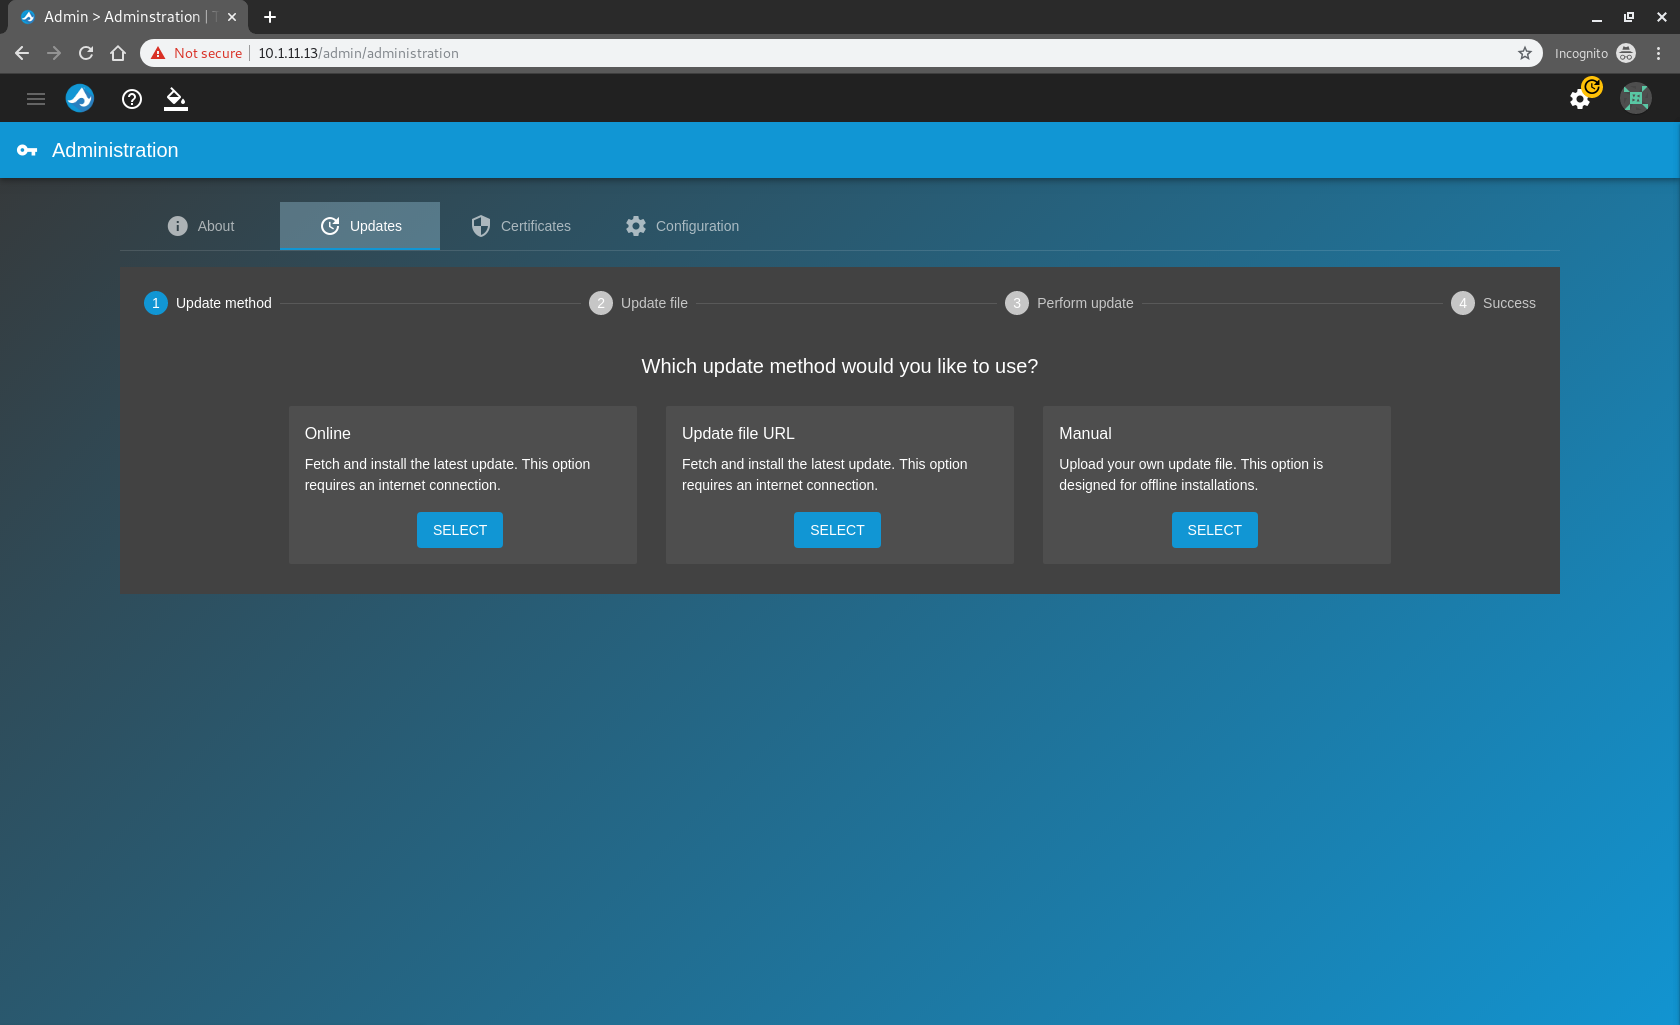
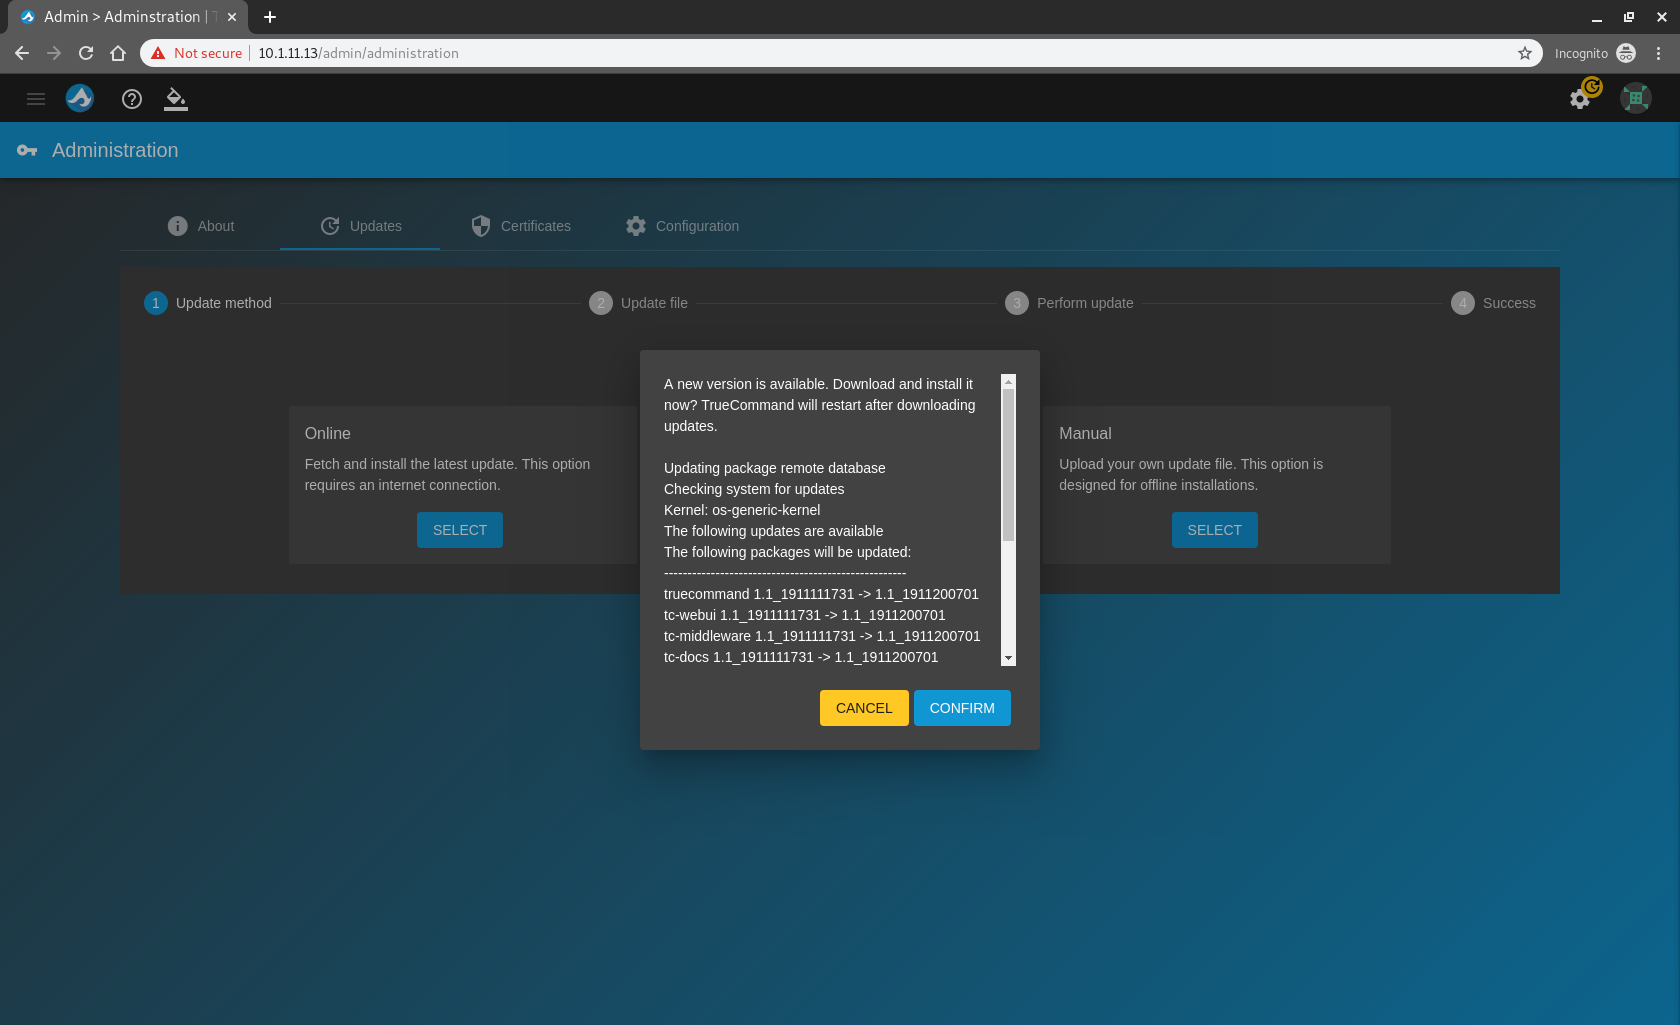
First let’s take a look at how TrueCommand updates are delivered, it’s as simple as clicking the settings button in the top right and going to Administration. Click on the updates tab and choose how you want to update, choose online and within seconds TrueCommand will offer you an update if there is one, you can then select at what time you want to reboot the system to apply an update, which is a nice touch:
I’m really excited to talk about this next bit – sad I know!
Updating your FreeNAS/TrueNAS devices are now easier than ever – not that they weren’t easy before but just kind of…repetitive. No more!
Visit the system page again and notice the “Updates” column which indicates that an update is available. From there, simply click the “update” icon in the actions column and it will notify you that the system will be restart to apply the update. You will then see “in progress” in the update column:
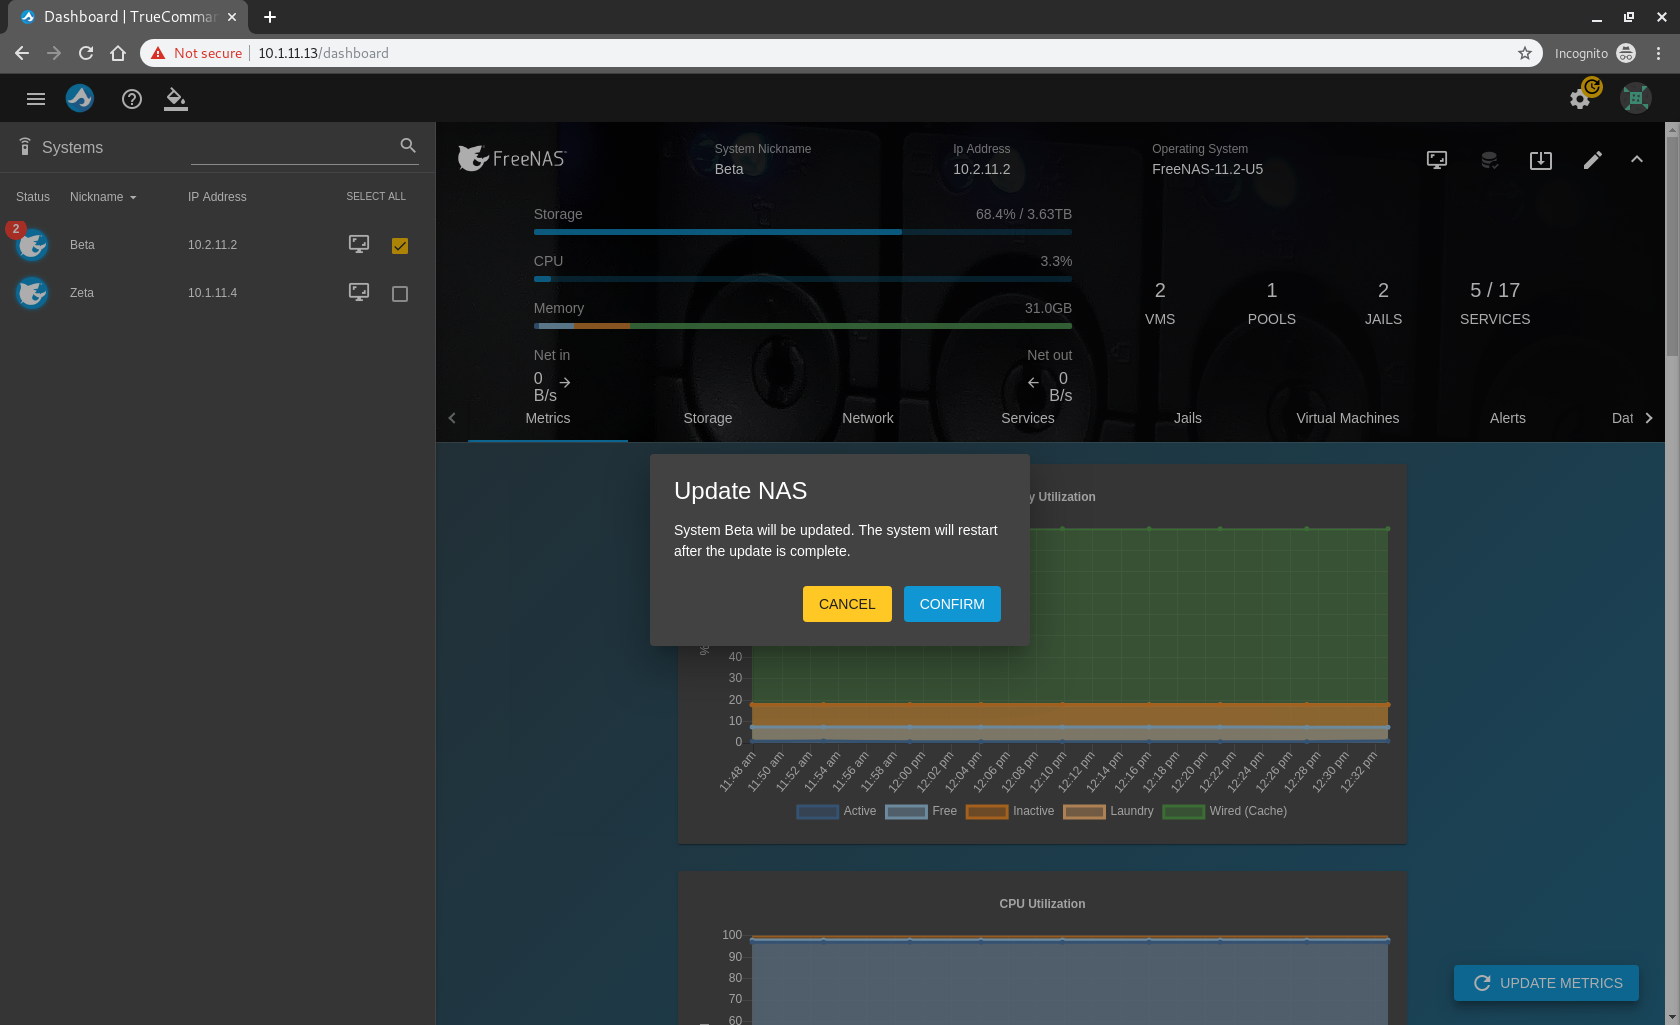
This means you can update many systems with just a few clicks (of course after doing due diligence to ensure that the update is stable) – from my testing this works really well every time. Really impressed with the update system!
Single-Sign On
The other massive feature for me (and most people I’m sure!) is the SSO feature, essentially you are one click away from being logged directly into the UI of any of your managed systems, right from the main dashboard.
There isn’t a massive amount to touch on here, because the feature is executed so well and just works seamlessly.
From the main dashboard simply hit the monitor icon next to the machine you want to control:
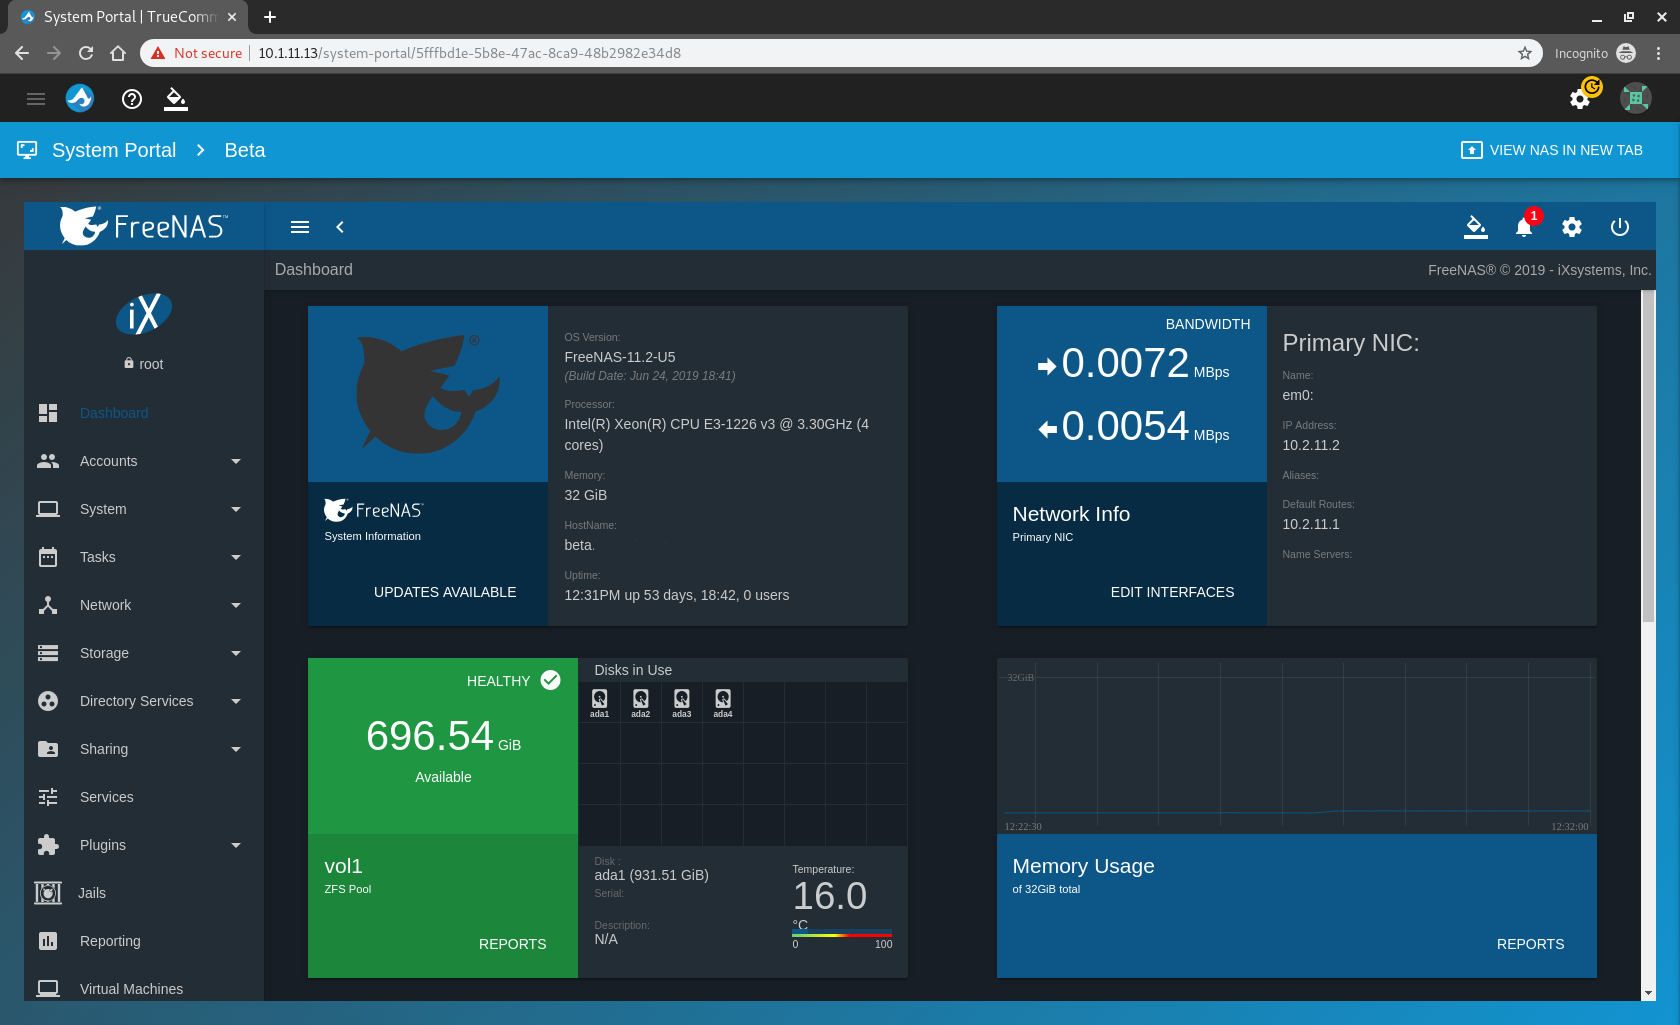
This will launch the “System Portal” which will open a window into your FreeNAS, all without having to login again.
This feature is why I say that in theory you never need to directly login to each system individually again, it can all be done through TrueCommand.
Users/LDAP/Role-based Access Control
The final big feature with TrueCommand is the addition of LDAP integration, along side Role-based Access Control.
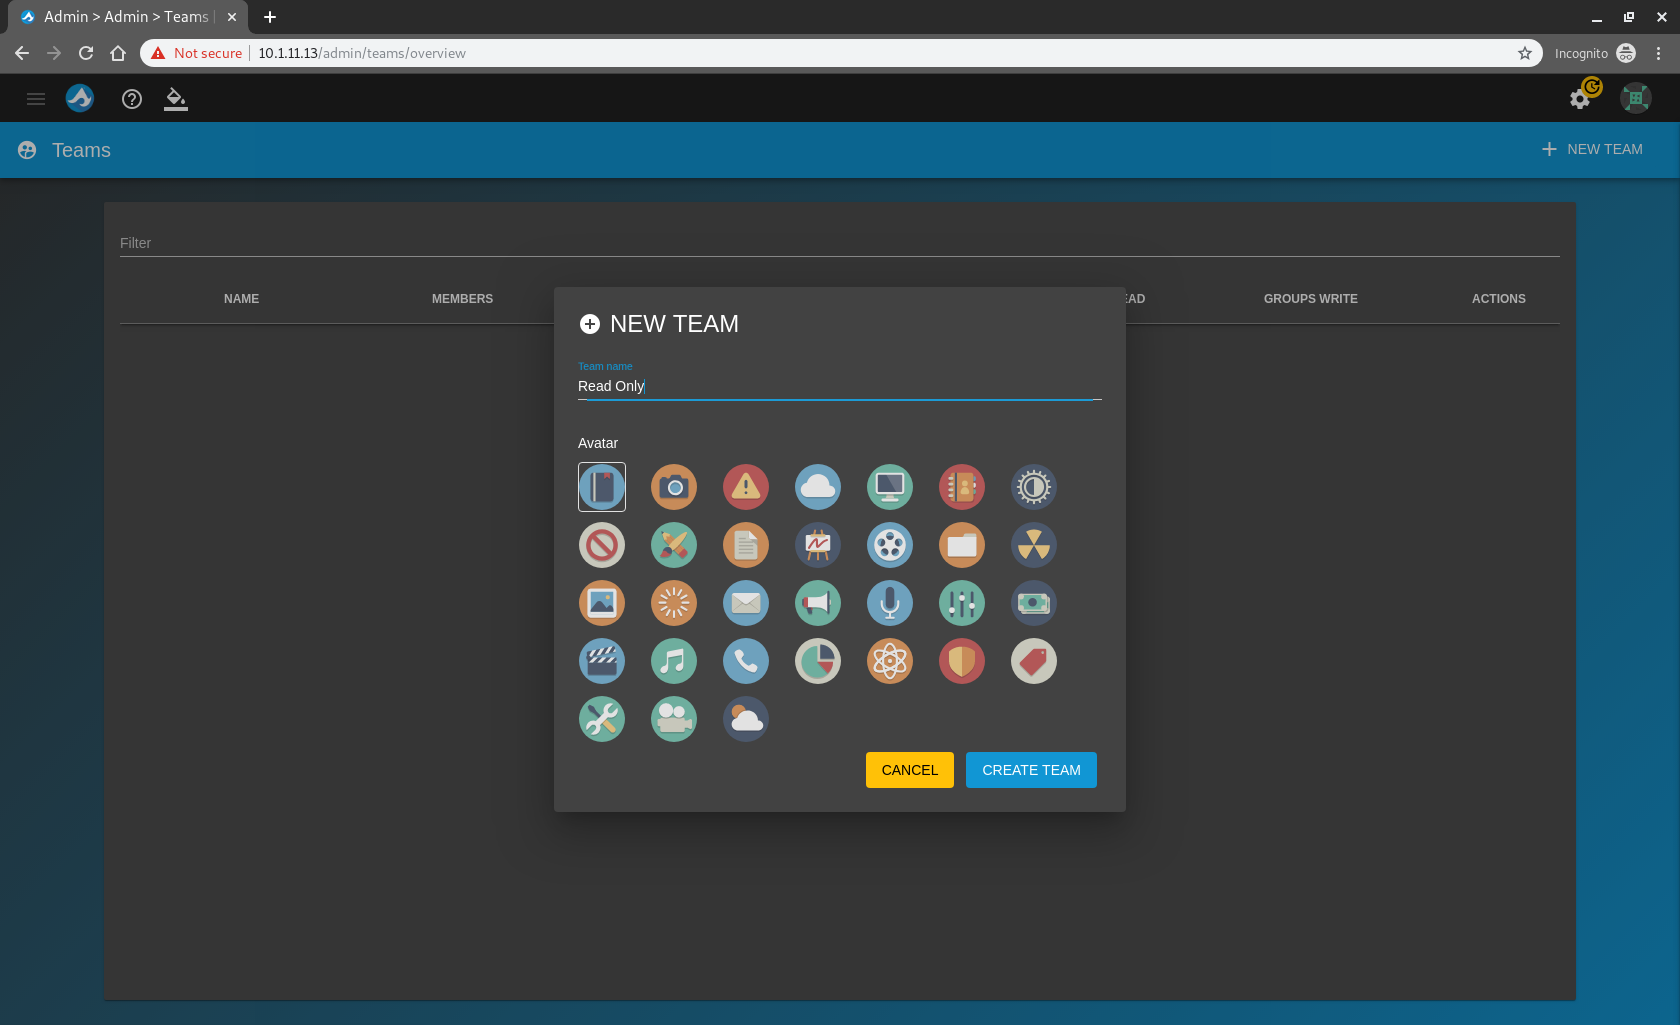
RBAC in it’s current iteration allows you create users that have read-only access (as well as read/write) which is particularly useful if you want to have your support team be able to monitor FreeNAS/TrueNAS systems without actually letting them change anything. You can even assign particular systems only for them to view if you so wish.
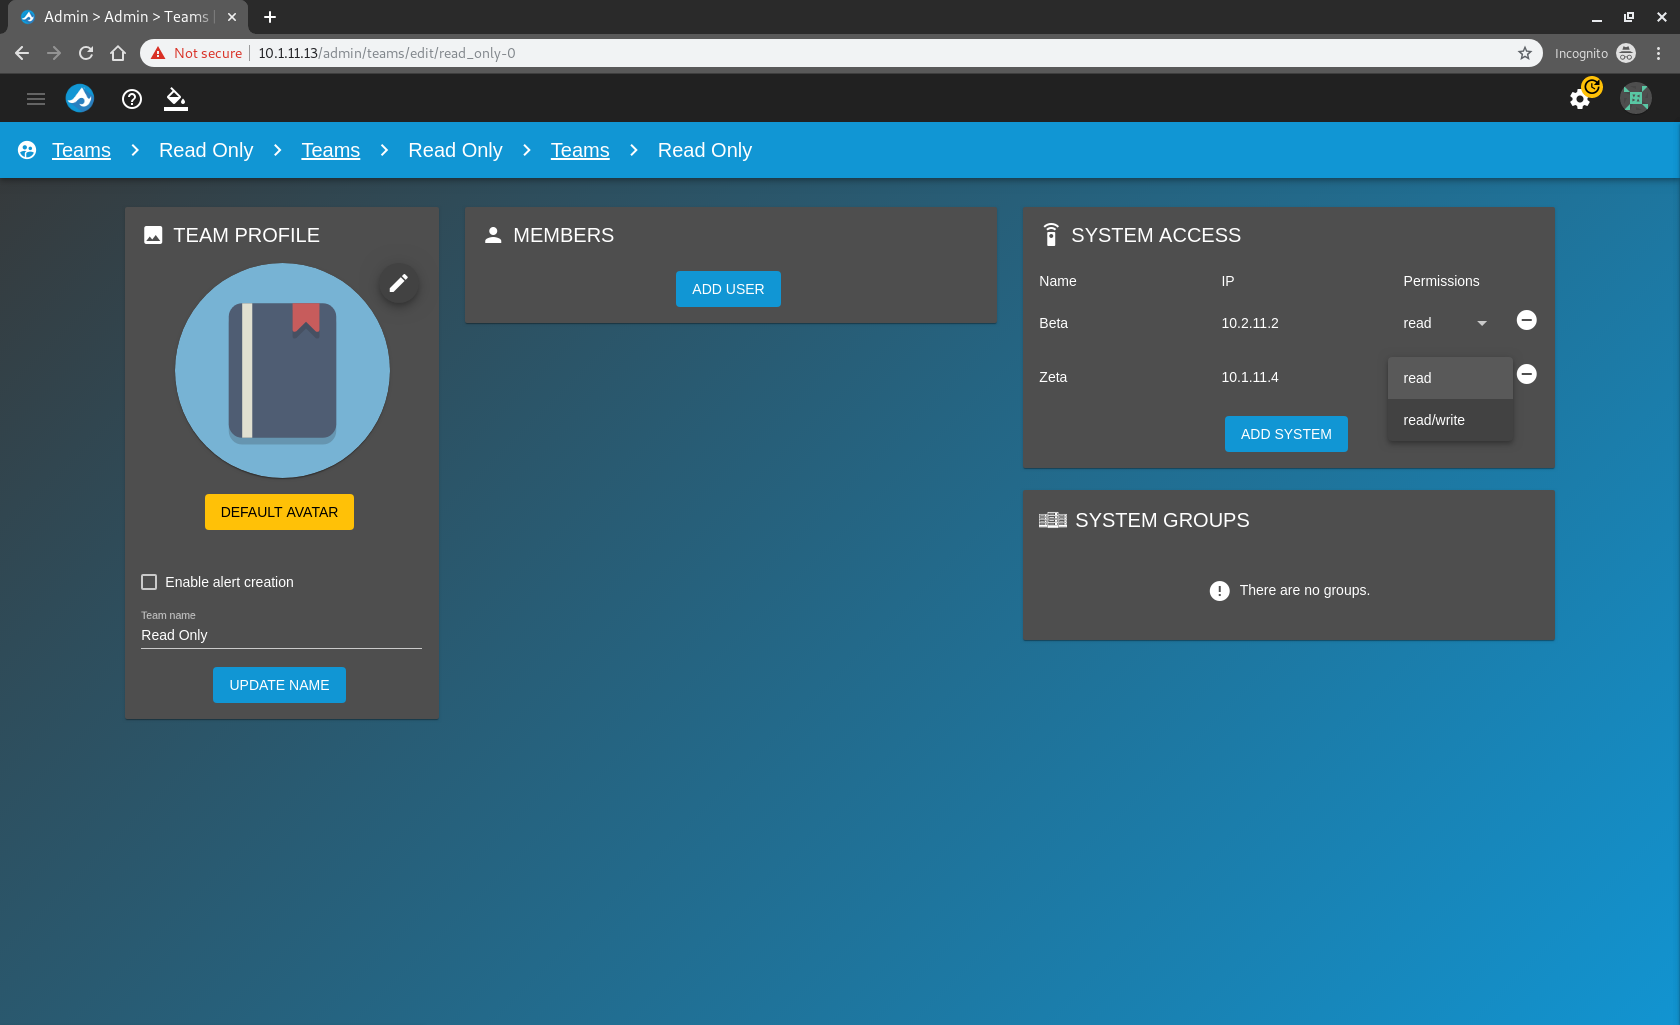
To do this we need to add a “Team”, hit the settings button and go to Teams. In the top right hit the New Team button. Give your team a name and choose an icon if you should so desire:
From there you can assign systems to the team and choose the permissions you want:
Next we are going to create a new user and assign them to the team. Go to users in the settings menu and create a new user:
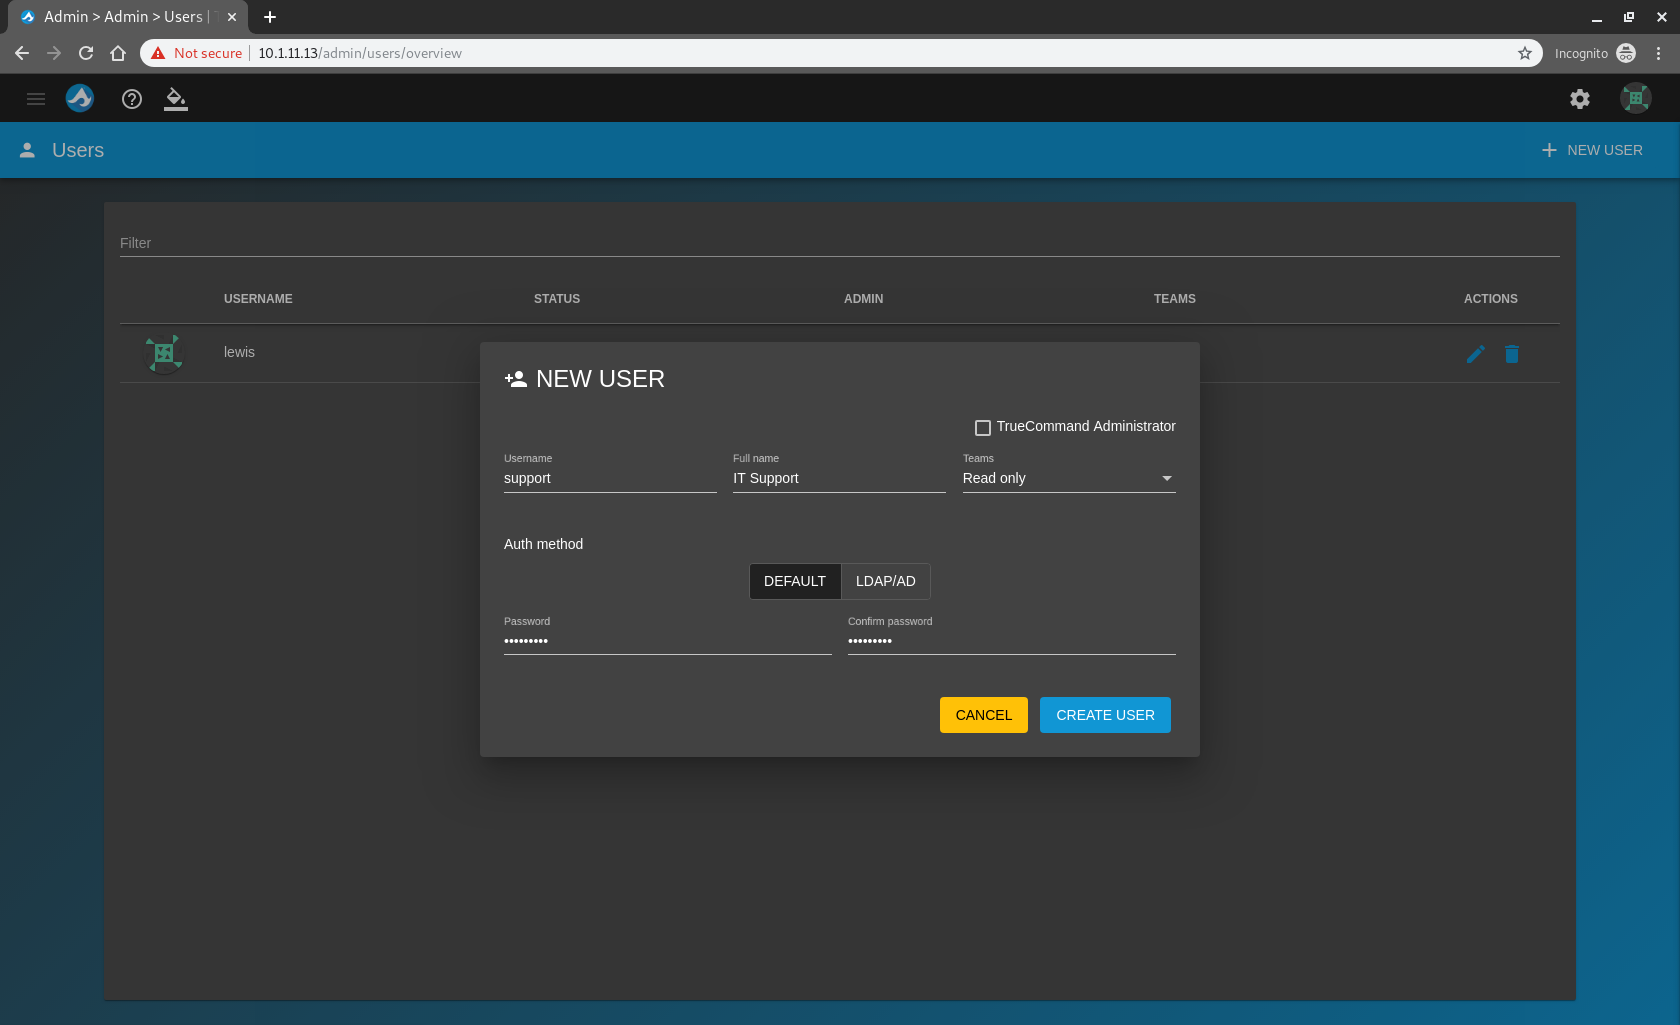
Note how we assign the read only team we just created.
Now sign in as the user you just created, note how you can view everything but you do not have permission to make any changes!
This is a great addition and one that is certainly useful. At the moment you can only set read mode for each system as a whole, but in the future I hope they may add further granular control being able to control read/write to each section of the system.
Alerts
The last section we will cover is the alerts system, which allows you to create custom rules for alerts with different priority levels. There is also a plugin system for alerts that lets you integrate with different platforms, at the moment there is just 2 plugins – email and PaperDuty – but I imagine more will be coming in the future, perhaps Slack and Teams?
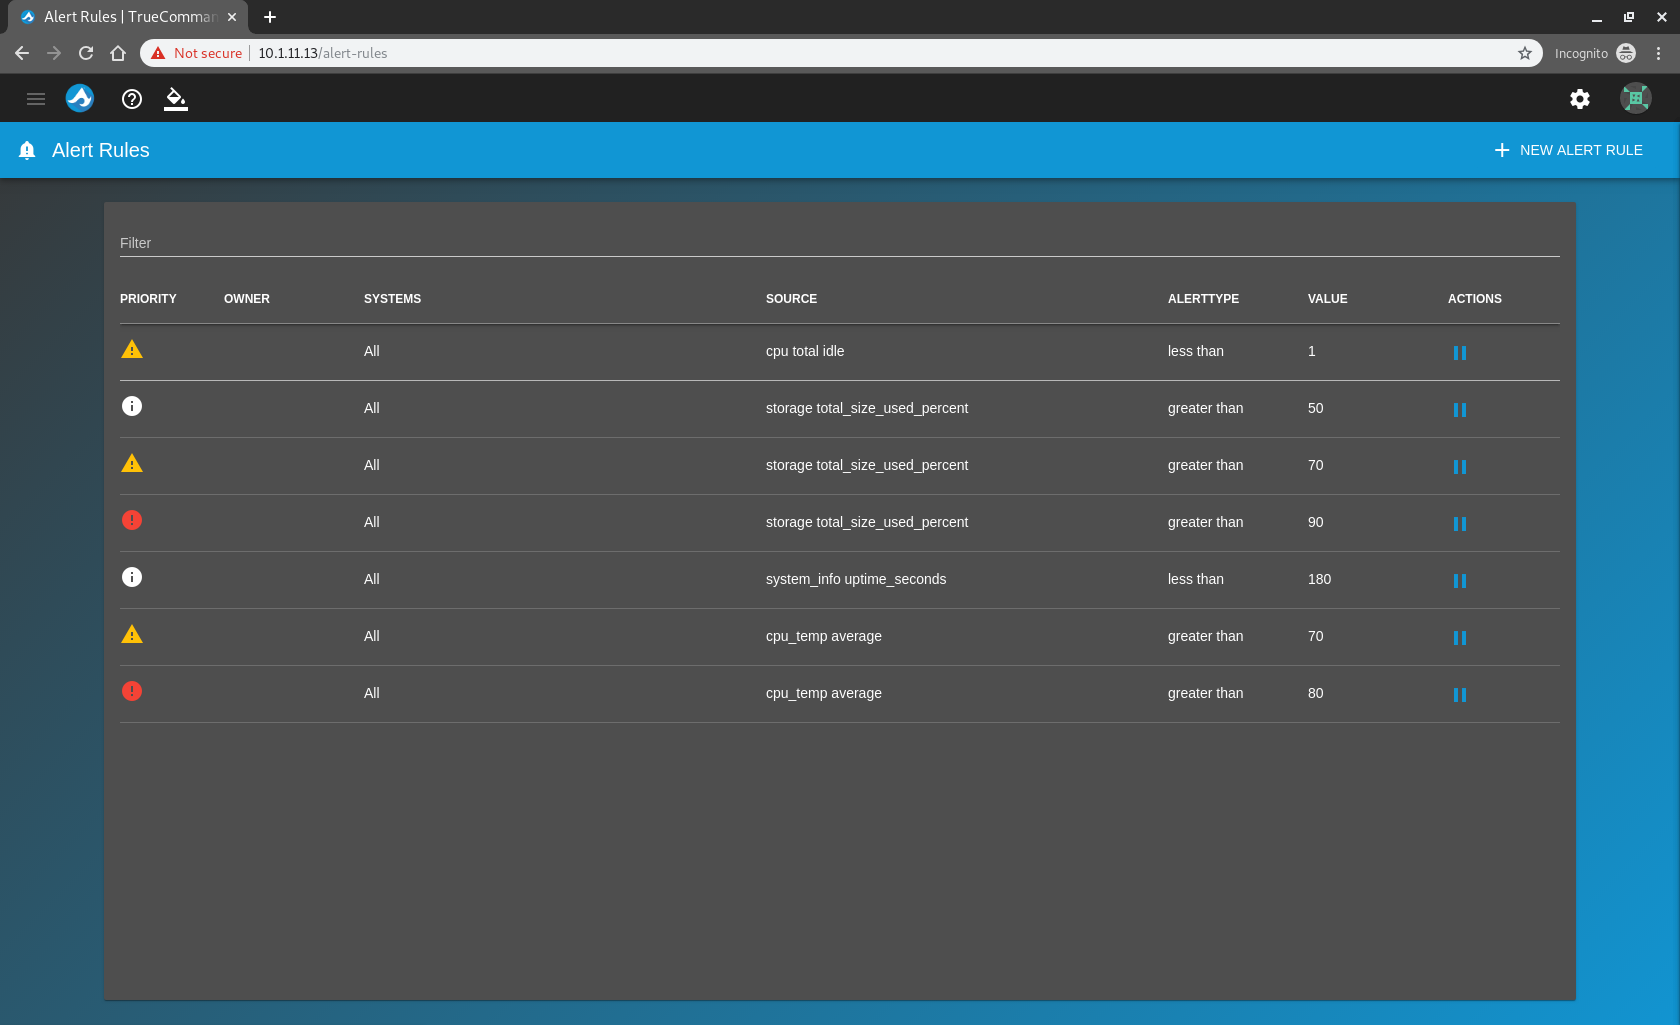
To create a custom rule, click the user profile icon in the top right (next to the settings button, not sure why it is here and not settings?) and choose “Alert Rules”.
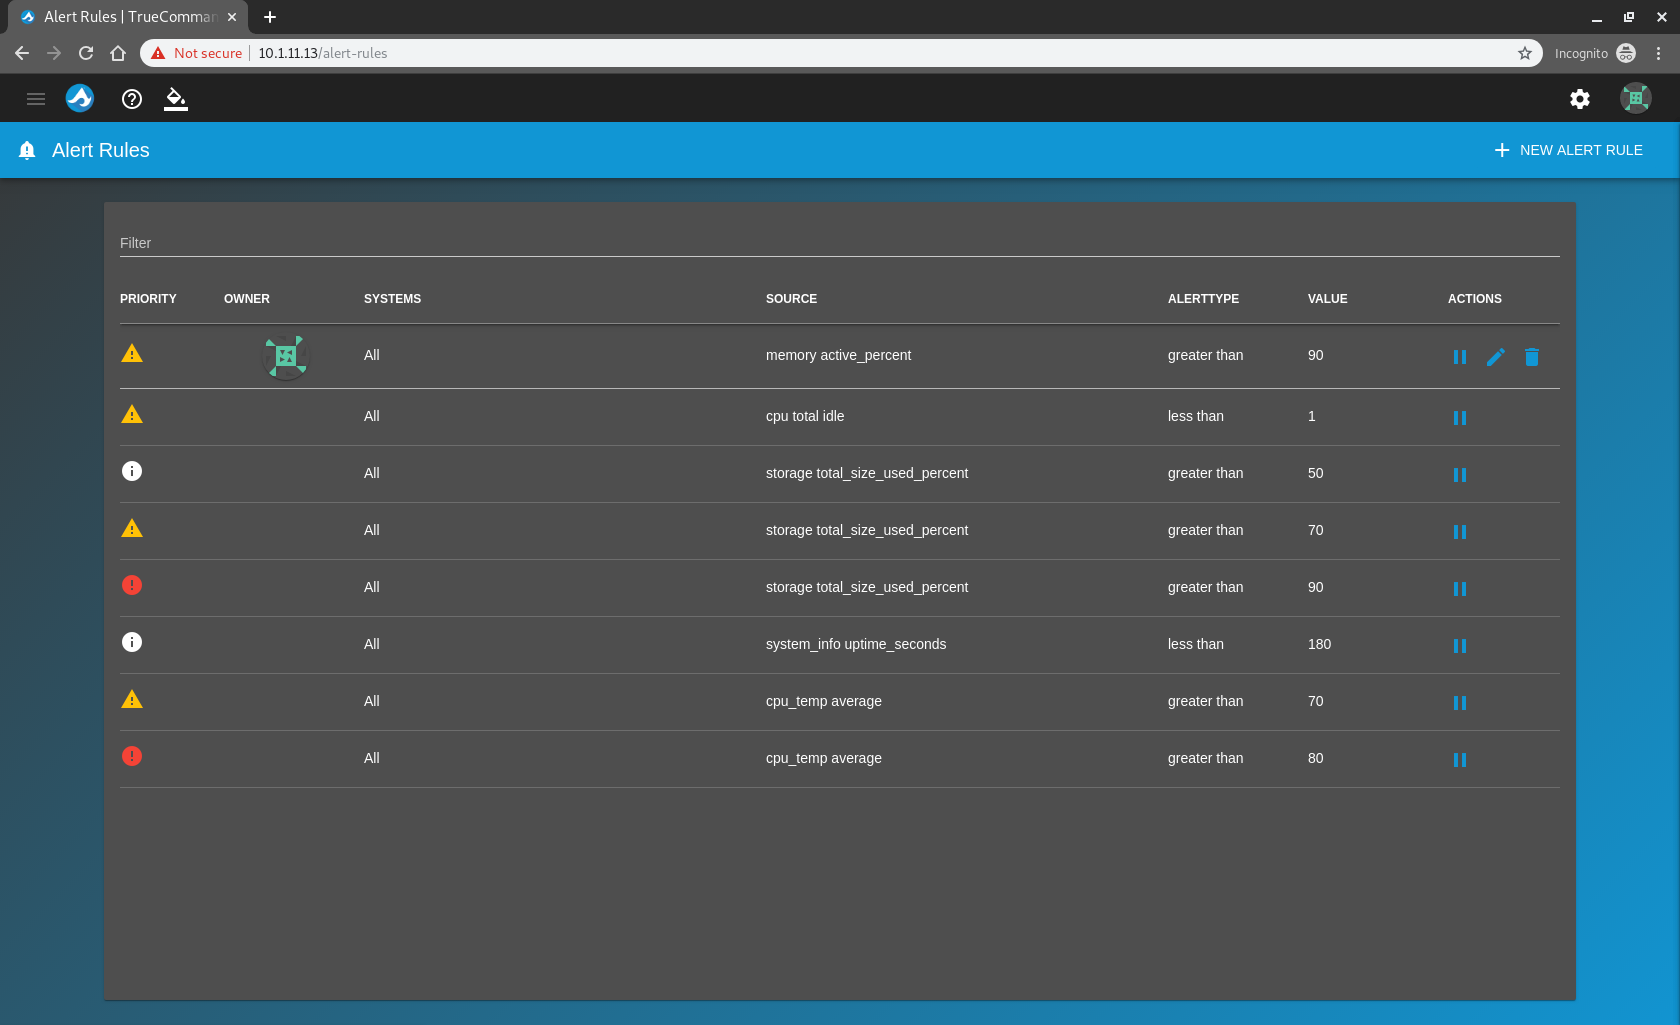
You can see that there is a handful of sensible default rules which is nice:
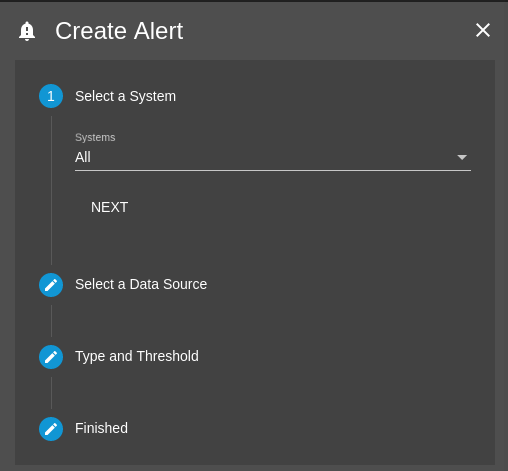
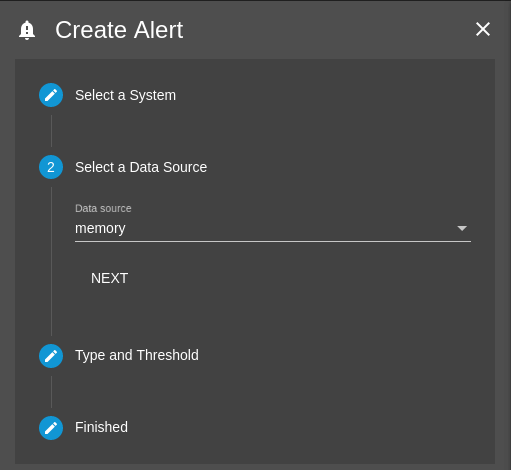
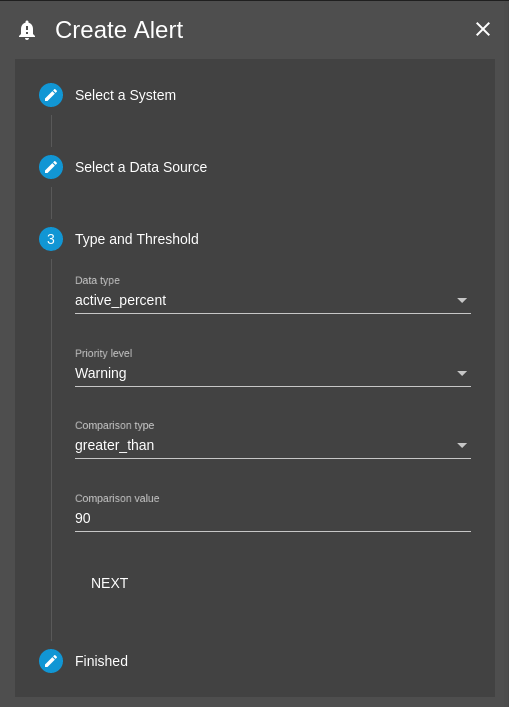
Create a new rule by hitting the button in the top right, then go ahead and setup the rule you want. You can see in the images below that I’ve created an alert for when the active memory gets above 90% utilisation (perhaps not a particularly useful rule given the nature of ZFS but it’s just an example!):
You can see a new rule added to the table, and it also shows who created it which is nice:
Once rules are configured, you can click the user profile icon and hit the “All Alerts” button. This will show you all active and resolved alerts, as well as letting you filter by system name and severity:

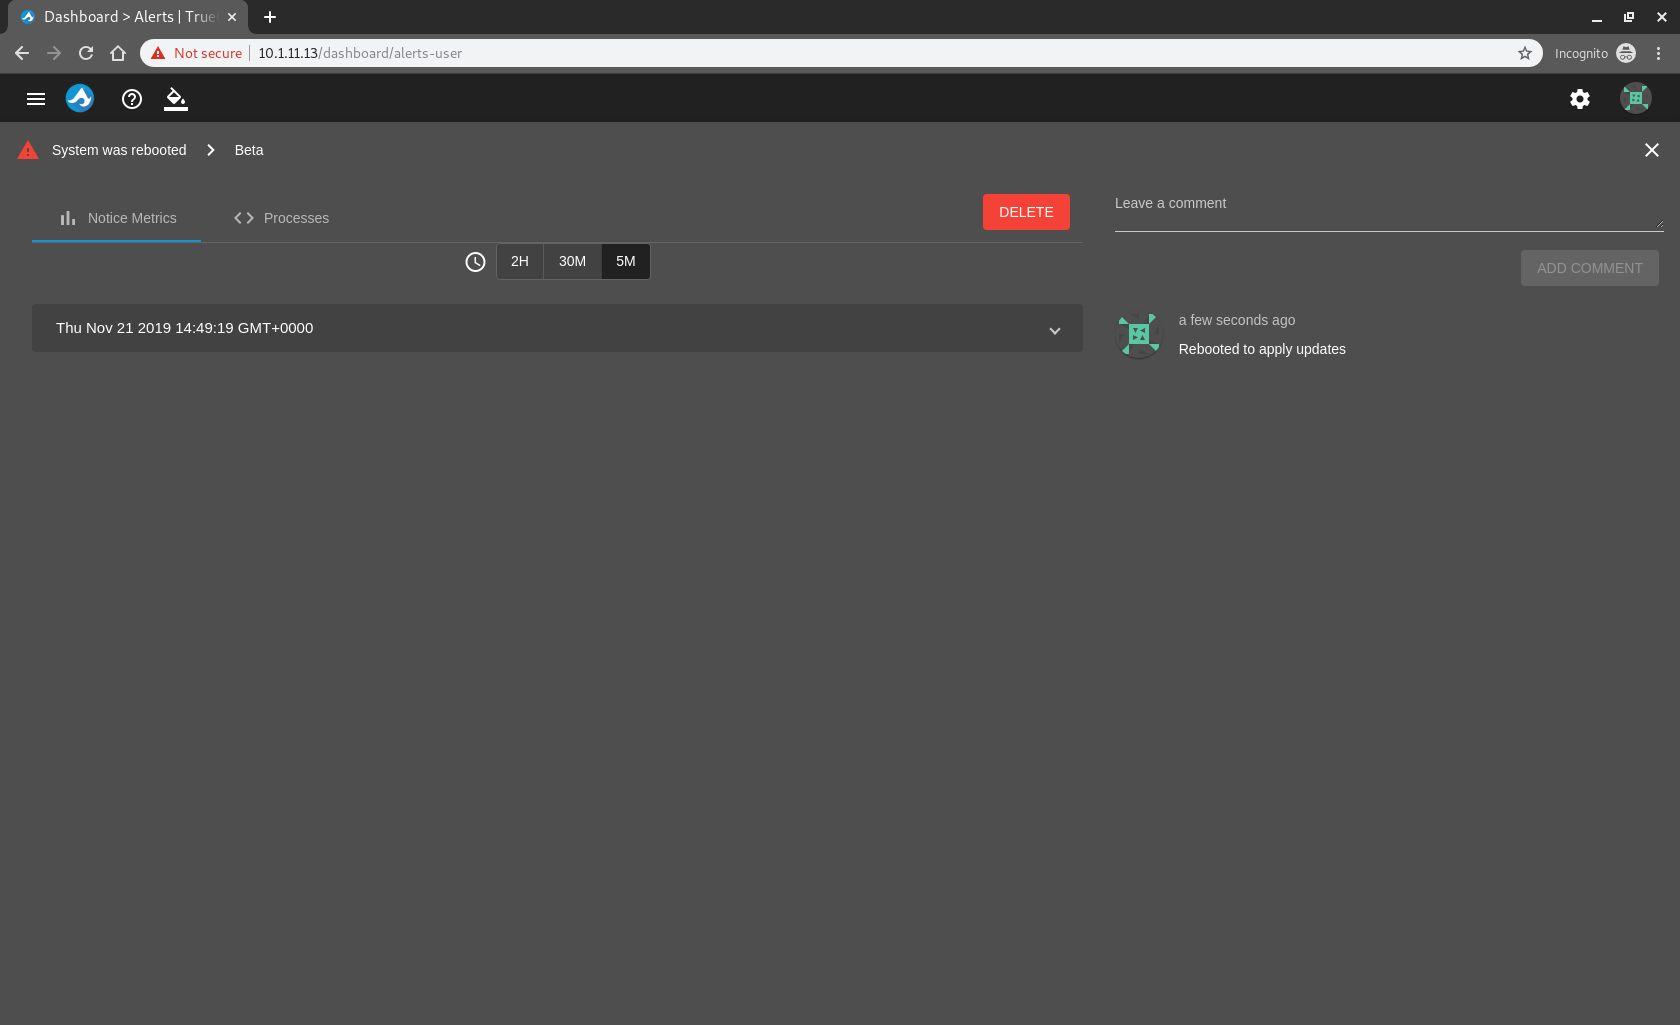
From there, you can click the information button on any alert to view details of the alert, you can even add comments to the alert to let other administrators know everything is OK:
All in all, the alert systems seems to be off to a great start and looking forward to seeing where else they can take it. I think integrations with other platforms would be a really nice addition.
Other Notable Features
TrueCommand has a few other notable features that are worth mentioning:
- Reporting – you can create custom reports for one or many systems that will display metrics for the given interval, useful if you want to view areas of high CPU usage for example.
- API – a lot of work seems to have been put into the API which is really nice, more options are always appreciated. I can see the API being used when trying to integrate with 3rd party systems, one I would like to investigate is integrating with Elasticsearch, it would be really nice to have the statistics there.
- Automatic configuration backups – this would be an excellent addition for anyone really, you can never have too many backups and its all too easy to accidentally update or reboot a system, only to later realise you never backed up the configuration file – we’ve all been guilty of it! I couldn’t test this feature as it is only included in the licenced version unfortunately but that is a brilliant feature to have.
Conclusions
I have to say, I’m really impressed with TrueCommand in what is technically its first release.
One thing I haven’t touched on is the UI, in my use so far it is incredibly responsive and just works every single time. I also think its incredibly good looking and pretty well laid out, although that is pretty subjective.
It’s also great to see how quickly bugs are being fixed, I submitted several during the beta and they were all picked up straight away and fixed rather snappily too!
All in all, TrueCommand definitely far exceeded my expectations for a first release and I suggest you check it out if you have 2 or more systems to manage, there really isn’t any reason not too.