Controlling Google Home With Home Assistant!
Controlling Google Home devices using Home Assistant just became a reality thanks to a brand new Integration, allowing you to automate even more things!


A few years ago, I made a video on how to link your Google Assistant to Home Assistant so that you can control devices connected to HA using Google Home. However, what if you wanted to do it the other way round and control your smart home devices that are only connected to your Google Home inside of Home Assistant? Thanks to a recent addition to Home Assistant 2023.1, you are now able to do just that! Even better? I'm going to show you how...
Video
But...Why?
But first, why would you want to do this in the first place?
Well, most of us will want to connect all of our devices directly into Home Assistant, so that it has the fastest and direct access to our devices. Now, Home Assistant is obviously great and supports hundreds, if not thousands, of different devices, but sometimes you will come across a device that doesn’t yet have a Home Assistant integration and so, it isn’t possible to connect that device yet... or maybe it does have an integration but it doesn’t quite support all of the functions yet but Google Home does, for example - that’s where this integration might come in handy!
Now, there is a slight caveat with this integration. So, by following this guide, you aren’t going to end up with all of your Google Home devices exposed as entities inside of Home Assistant where you can press a button and use it as normal - that would, obviously, be the best but unfortunately it's not how it works. However, there is a workaround you can do to add buttons which I will also show you.
I just wanted to make you aware of that first but now let’s get started!
Adding the Home Assistant Integration
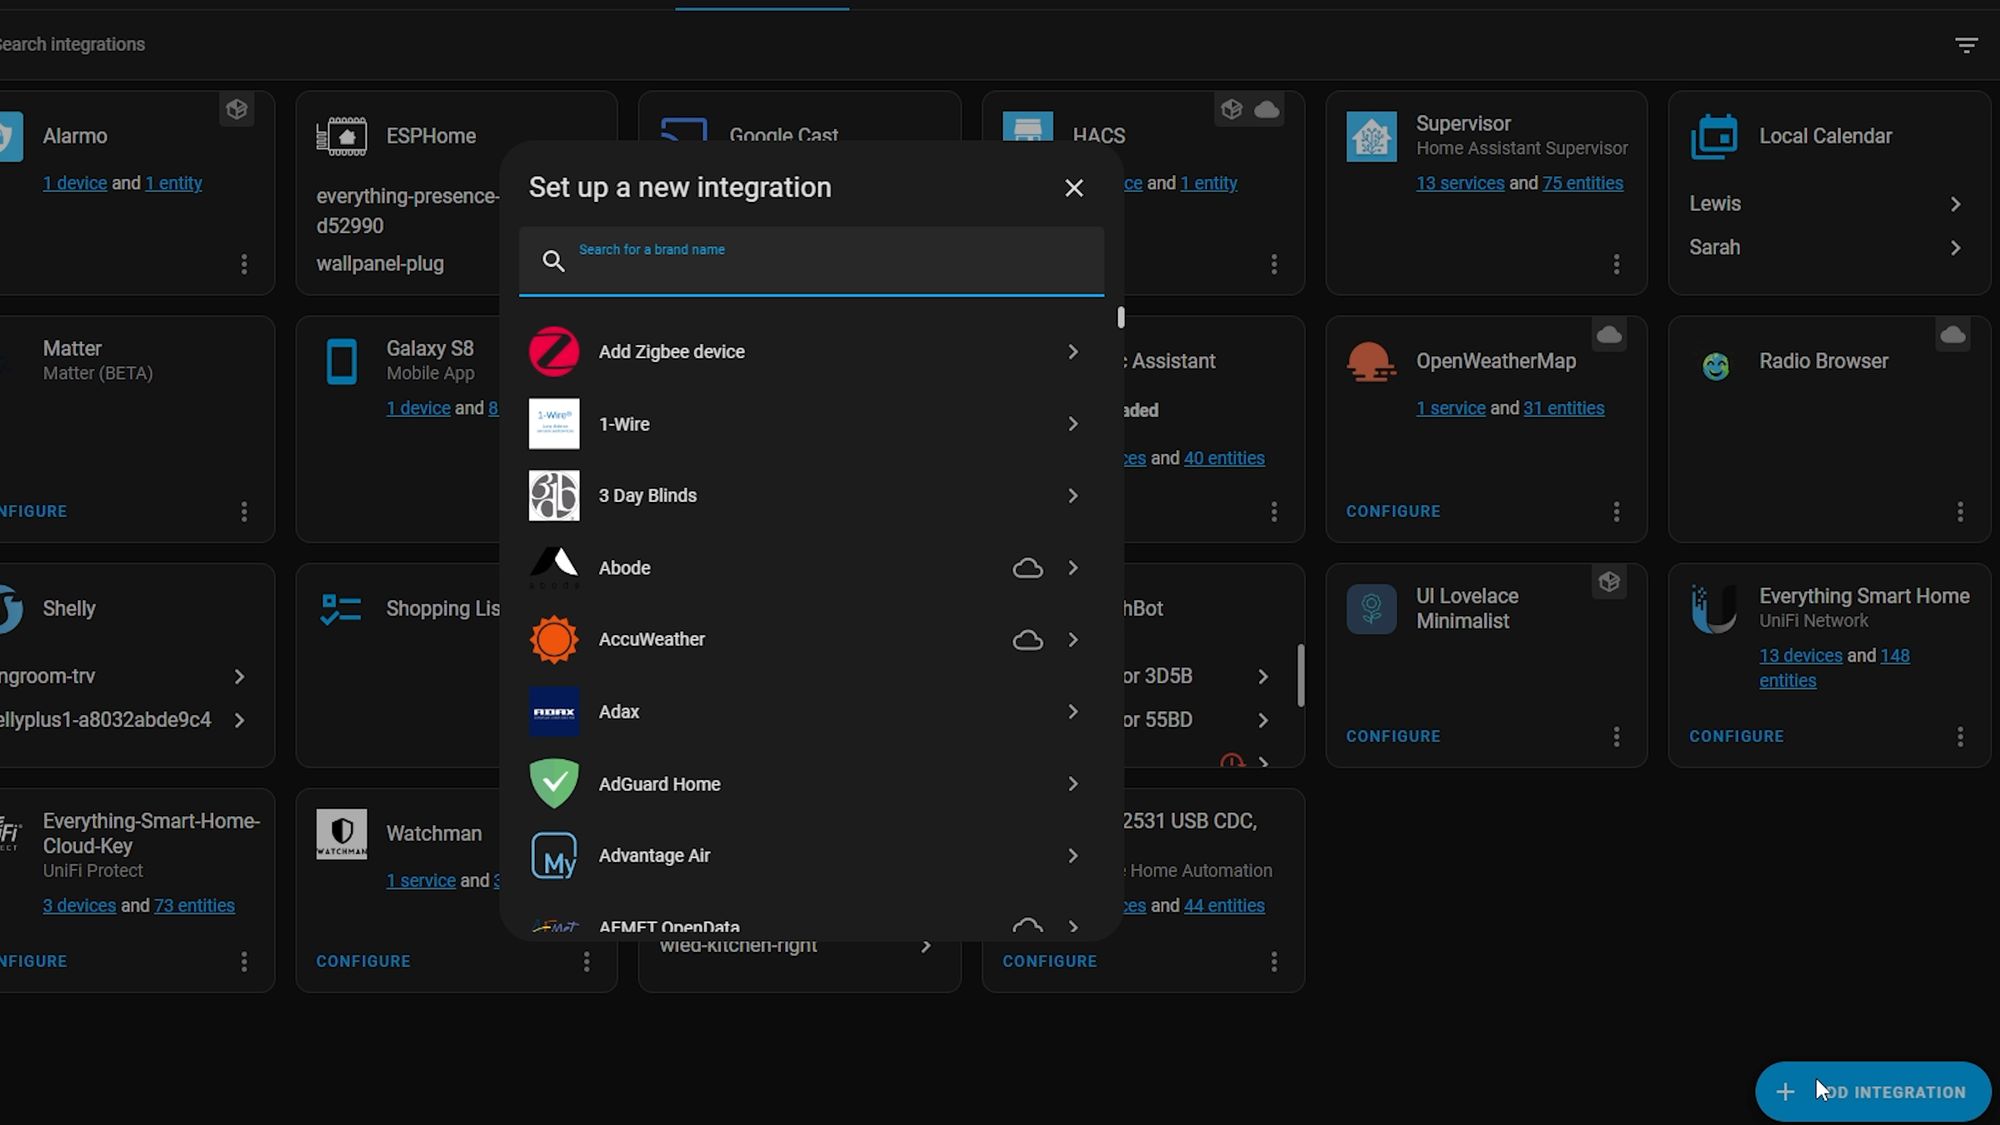
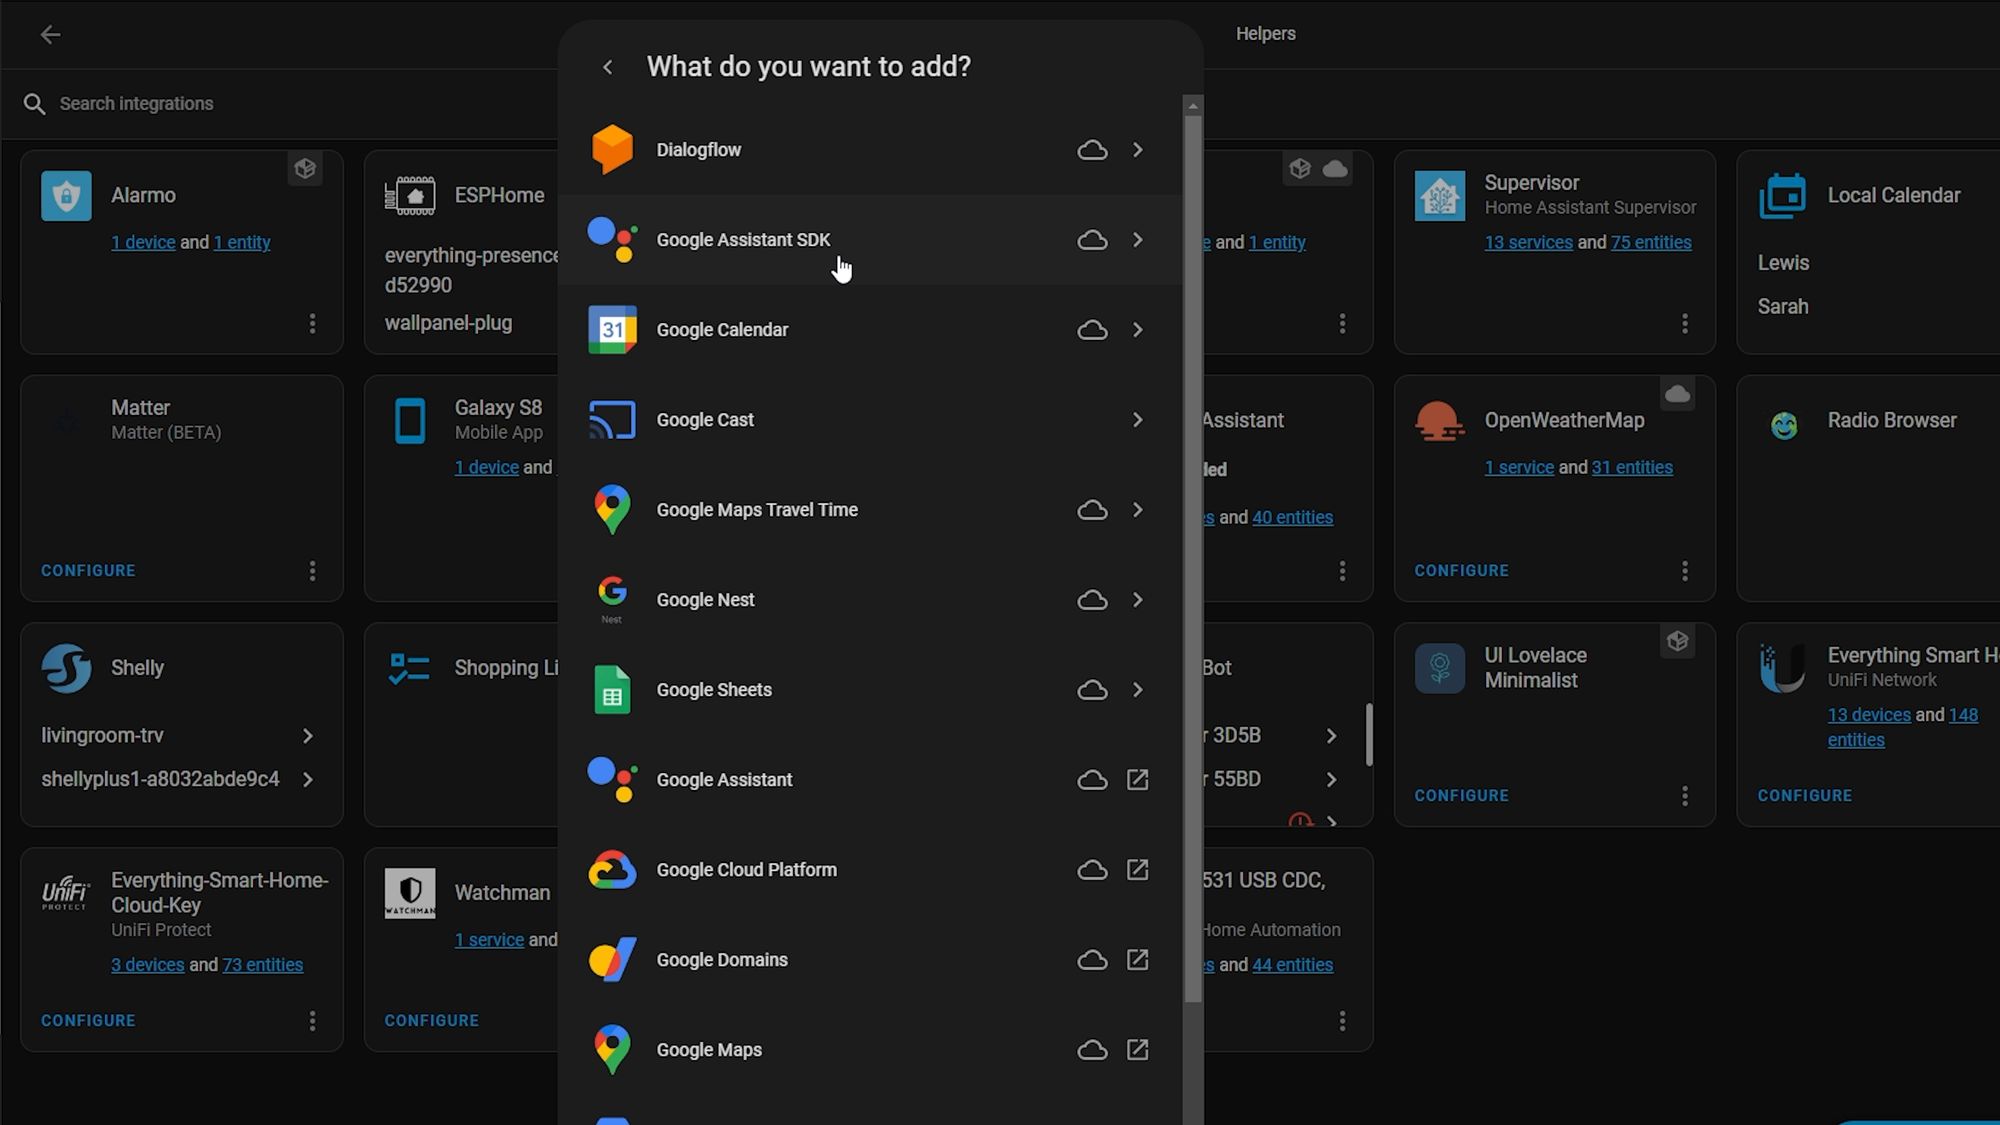
Firstly, head over to Home Assistant and you are going to want to go to settings, devices and services and add a new integration. Then search for Google and select the Google Assistant SDK option.


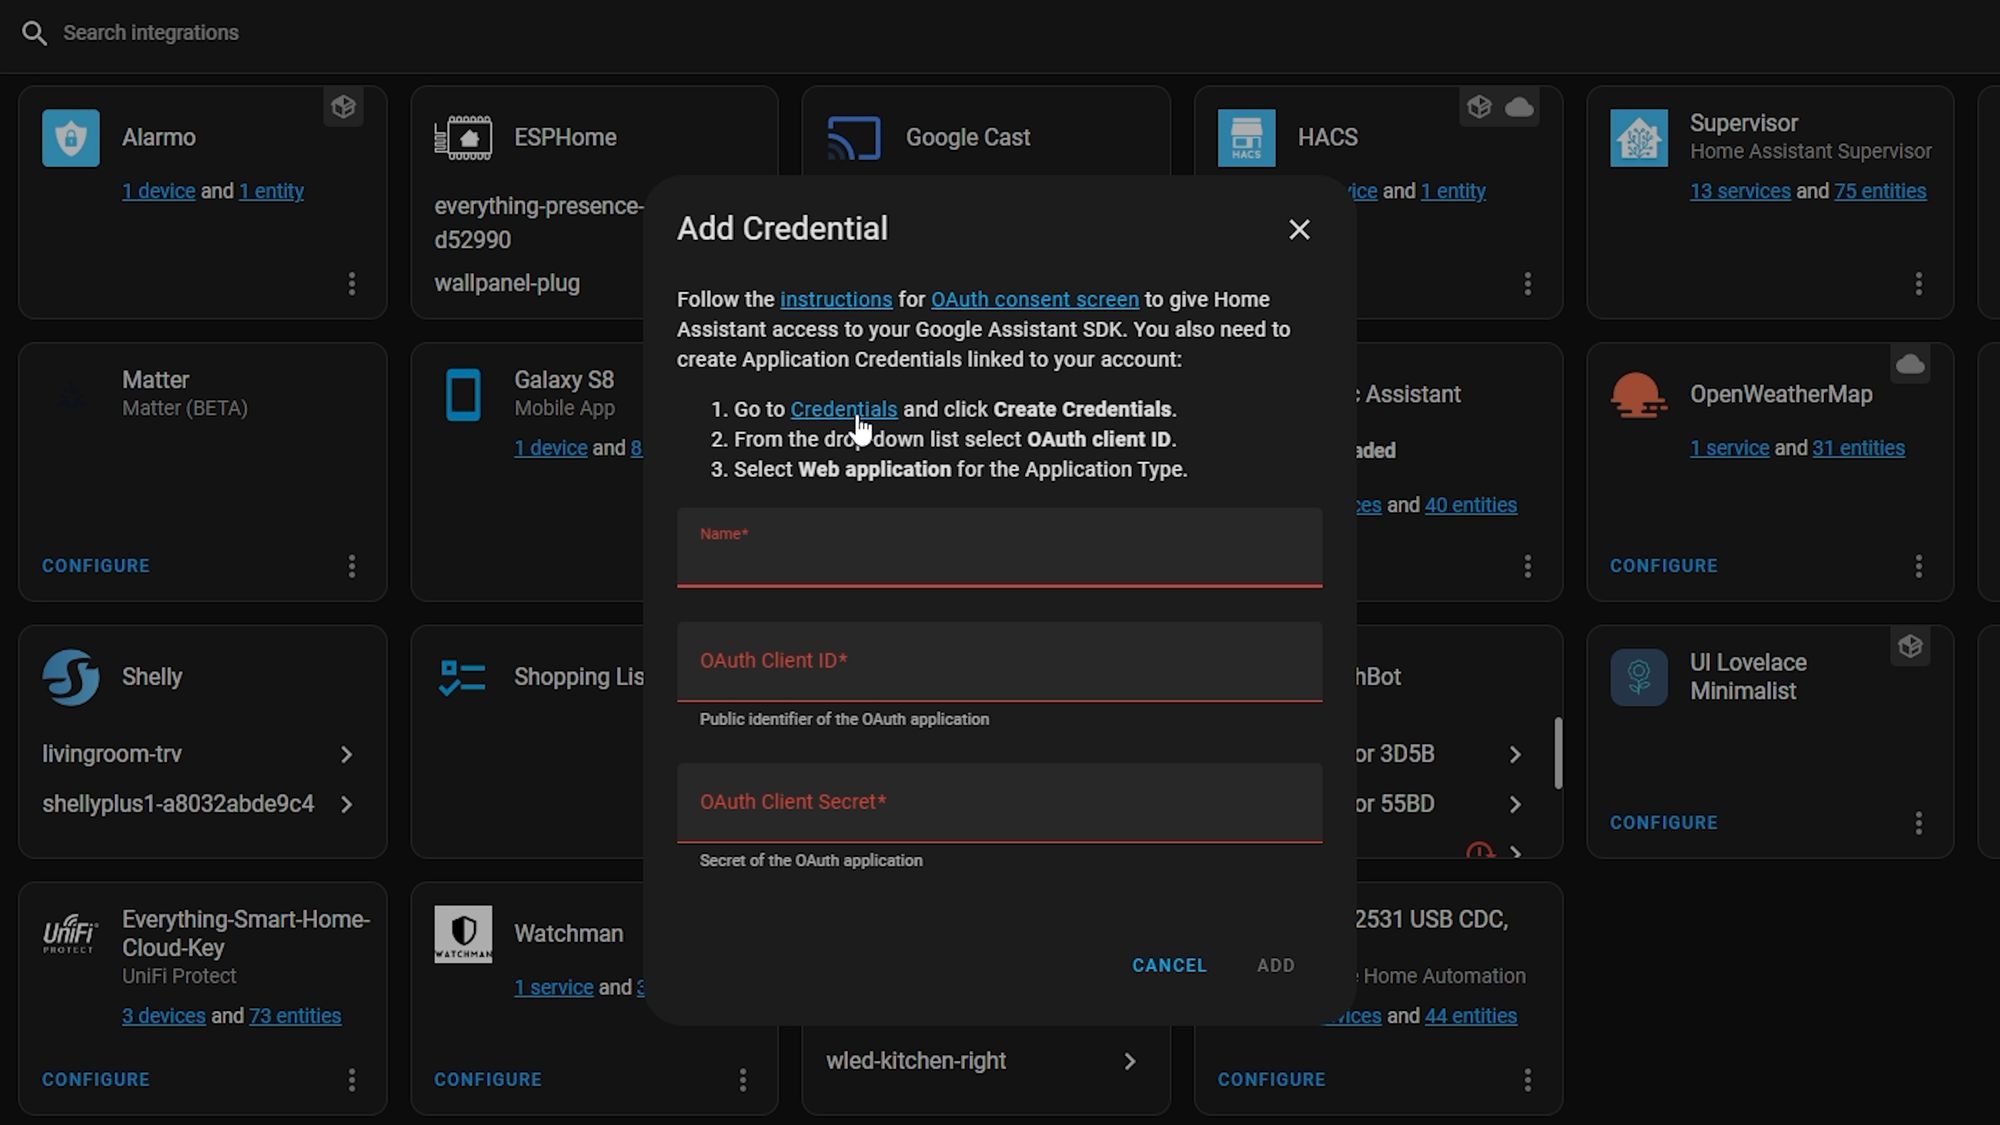
This will come up asking for some credentials - if you have configured the Google Sheets or the Nest integration in the past then you can use the same credentials and skip creating new ones.
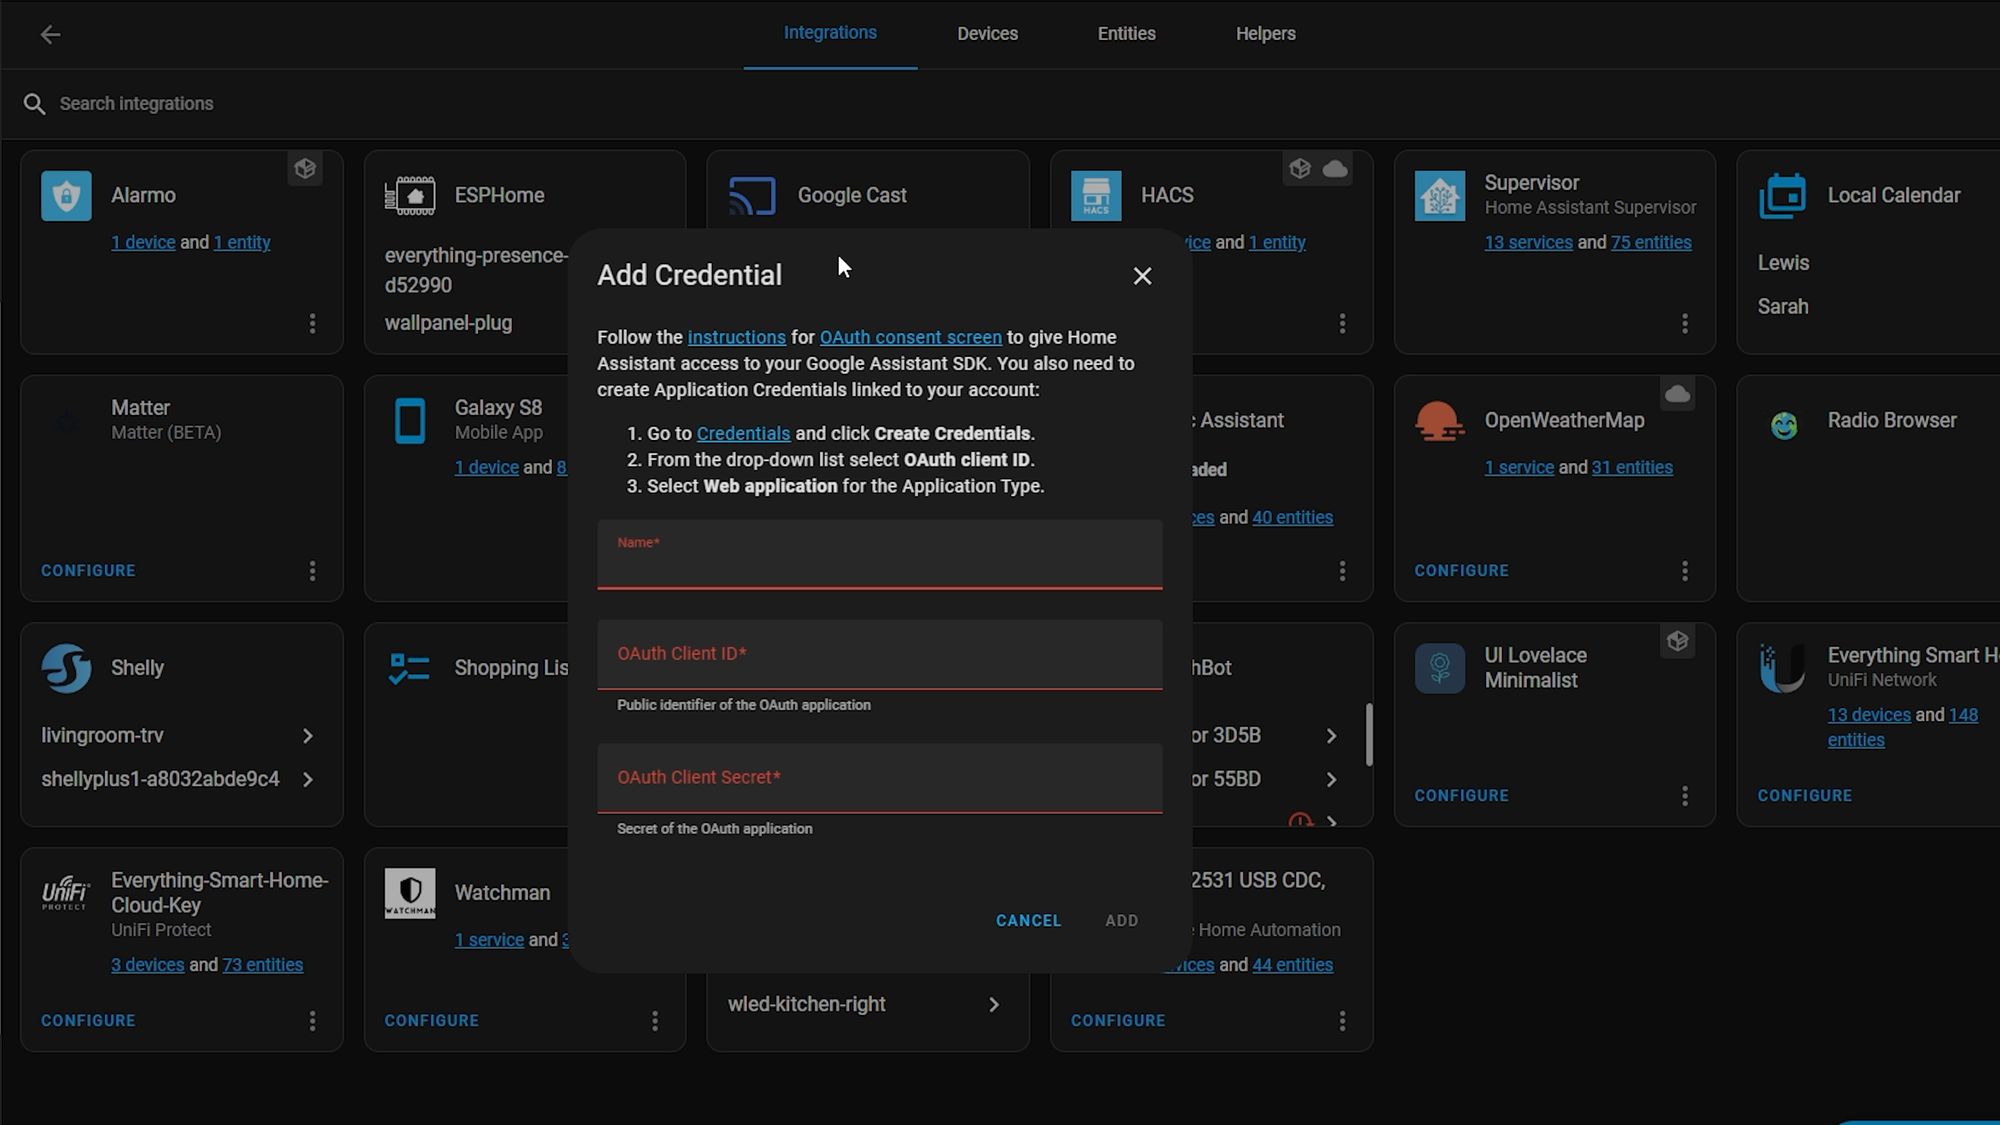
However, if you haven’t, then you will want to click on the link that says credentials. This will take you to the Google developer console where we can create our credentials. You will want to make sure that you are signed in using the same email address that has access to your Google home for this to work.
Creating Credentials
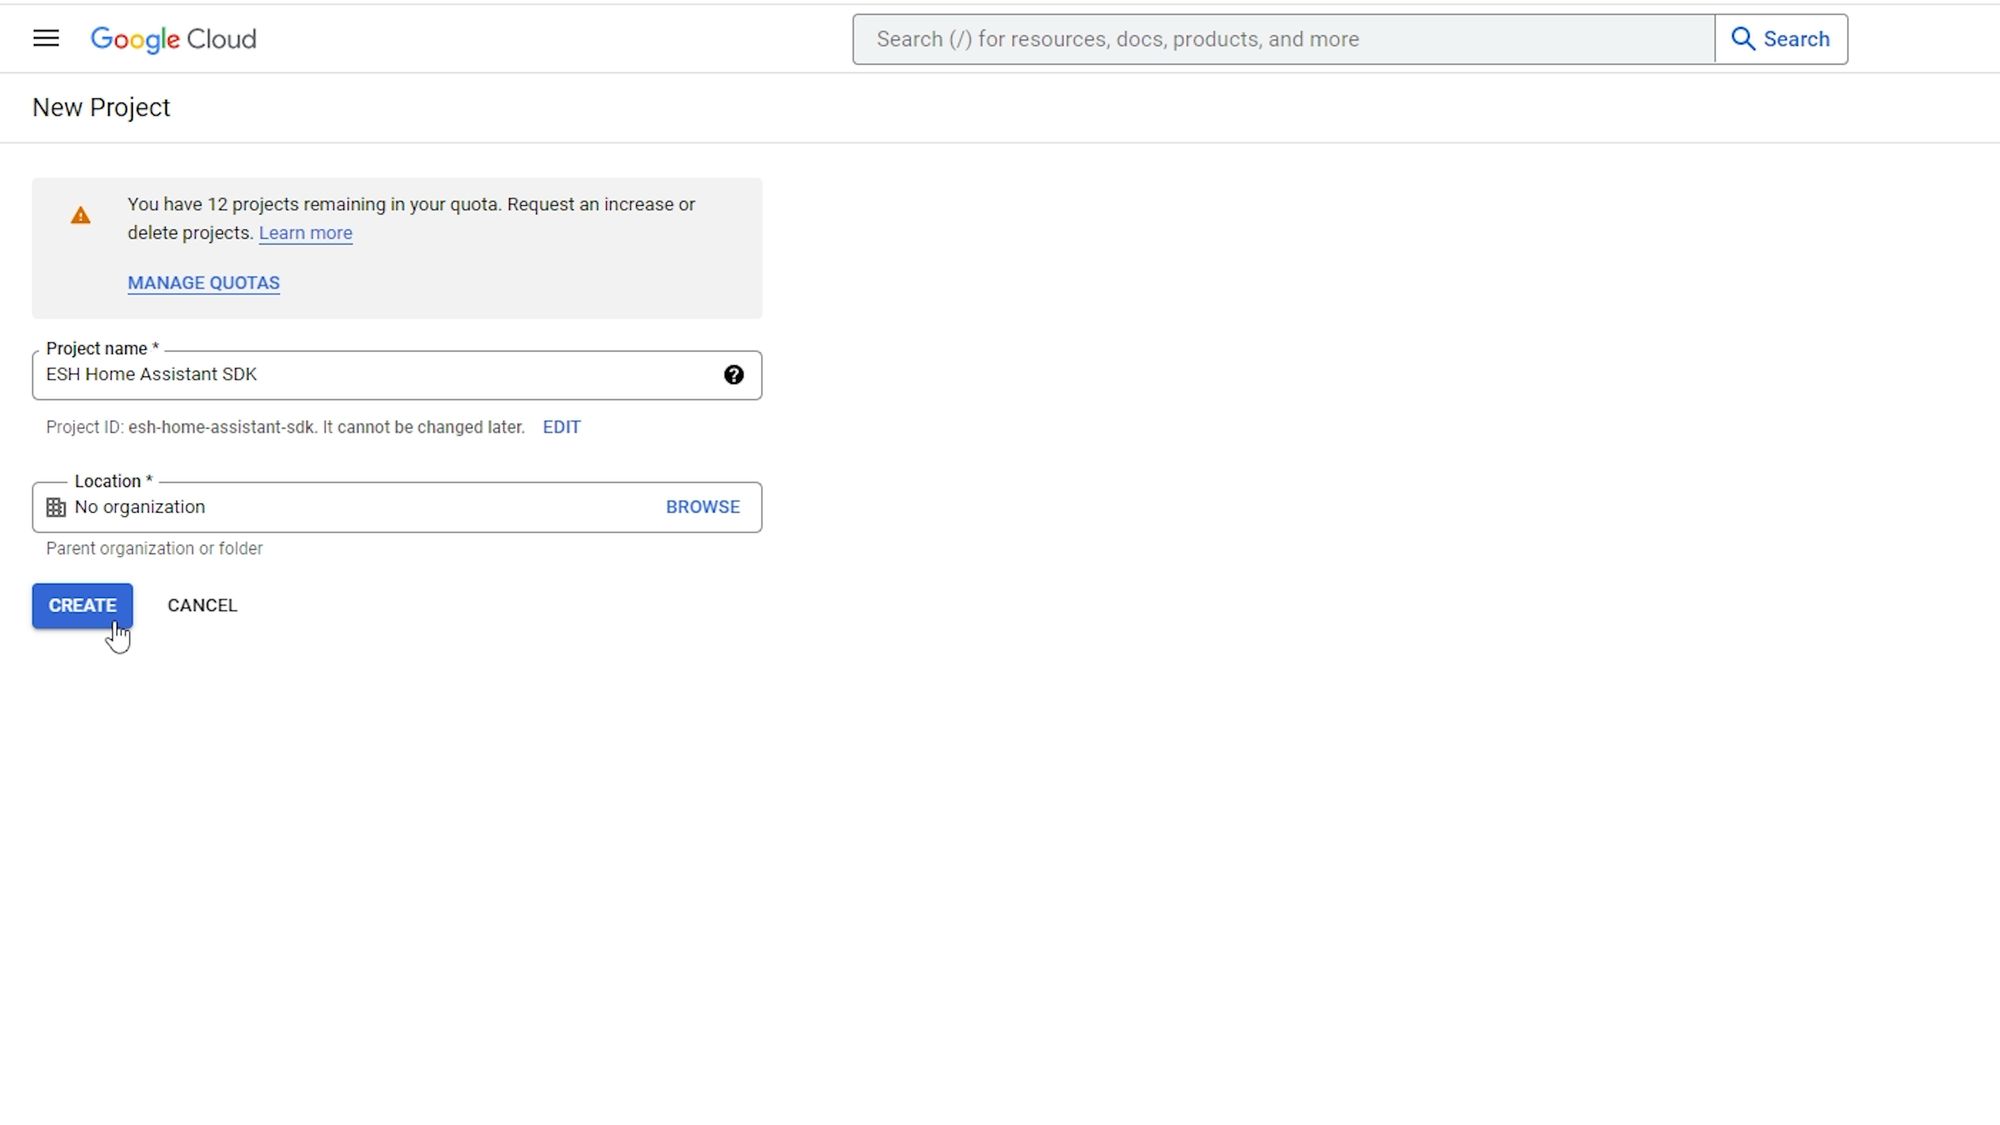
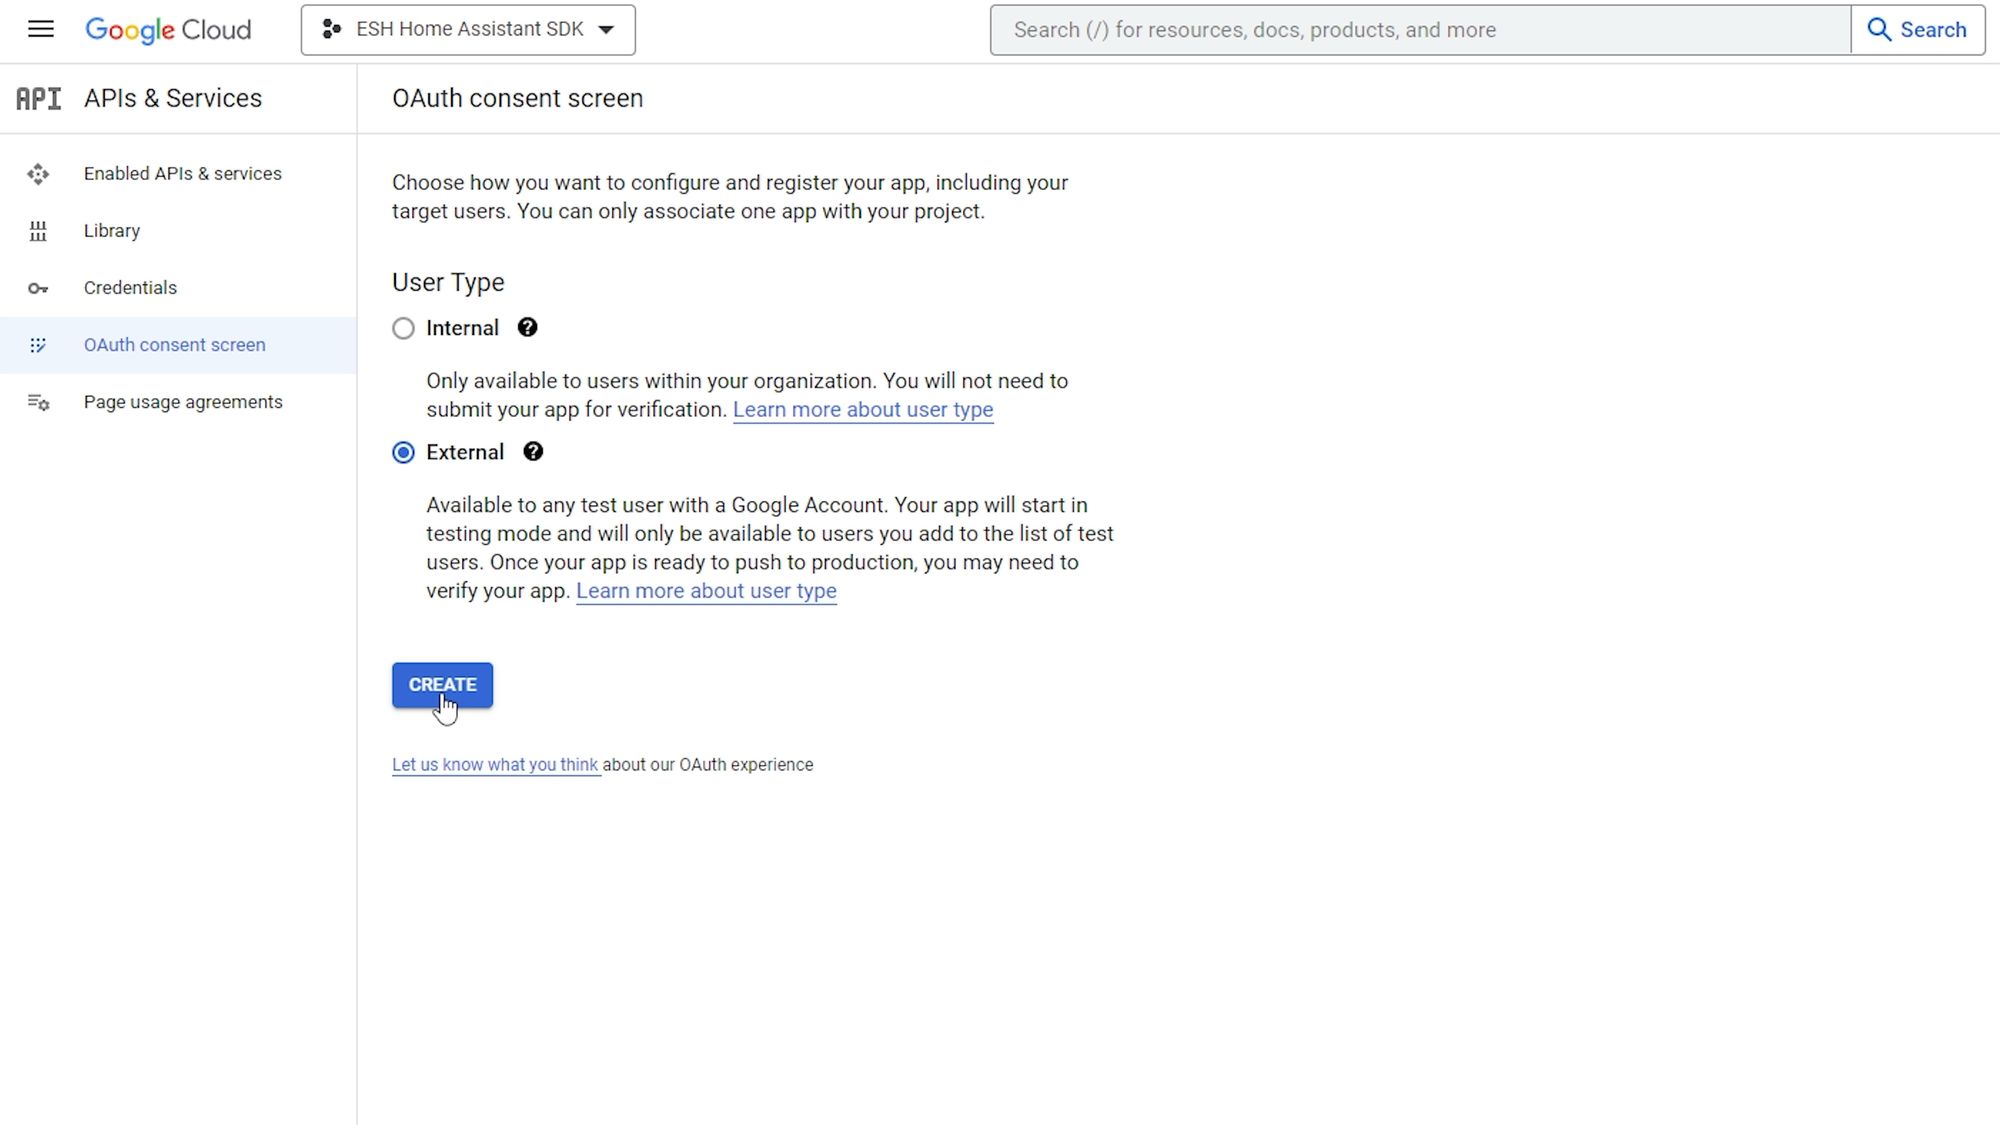
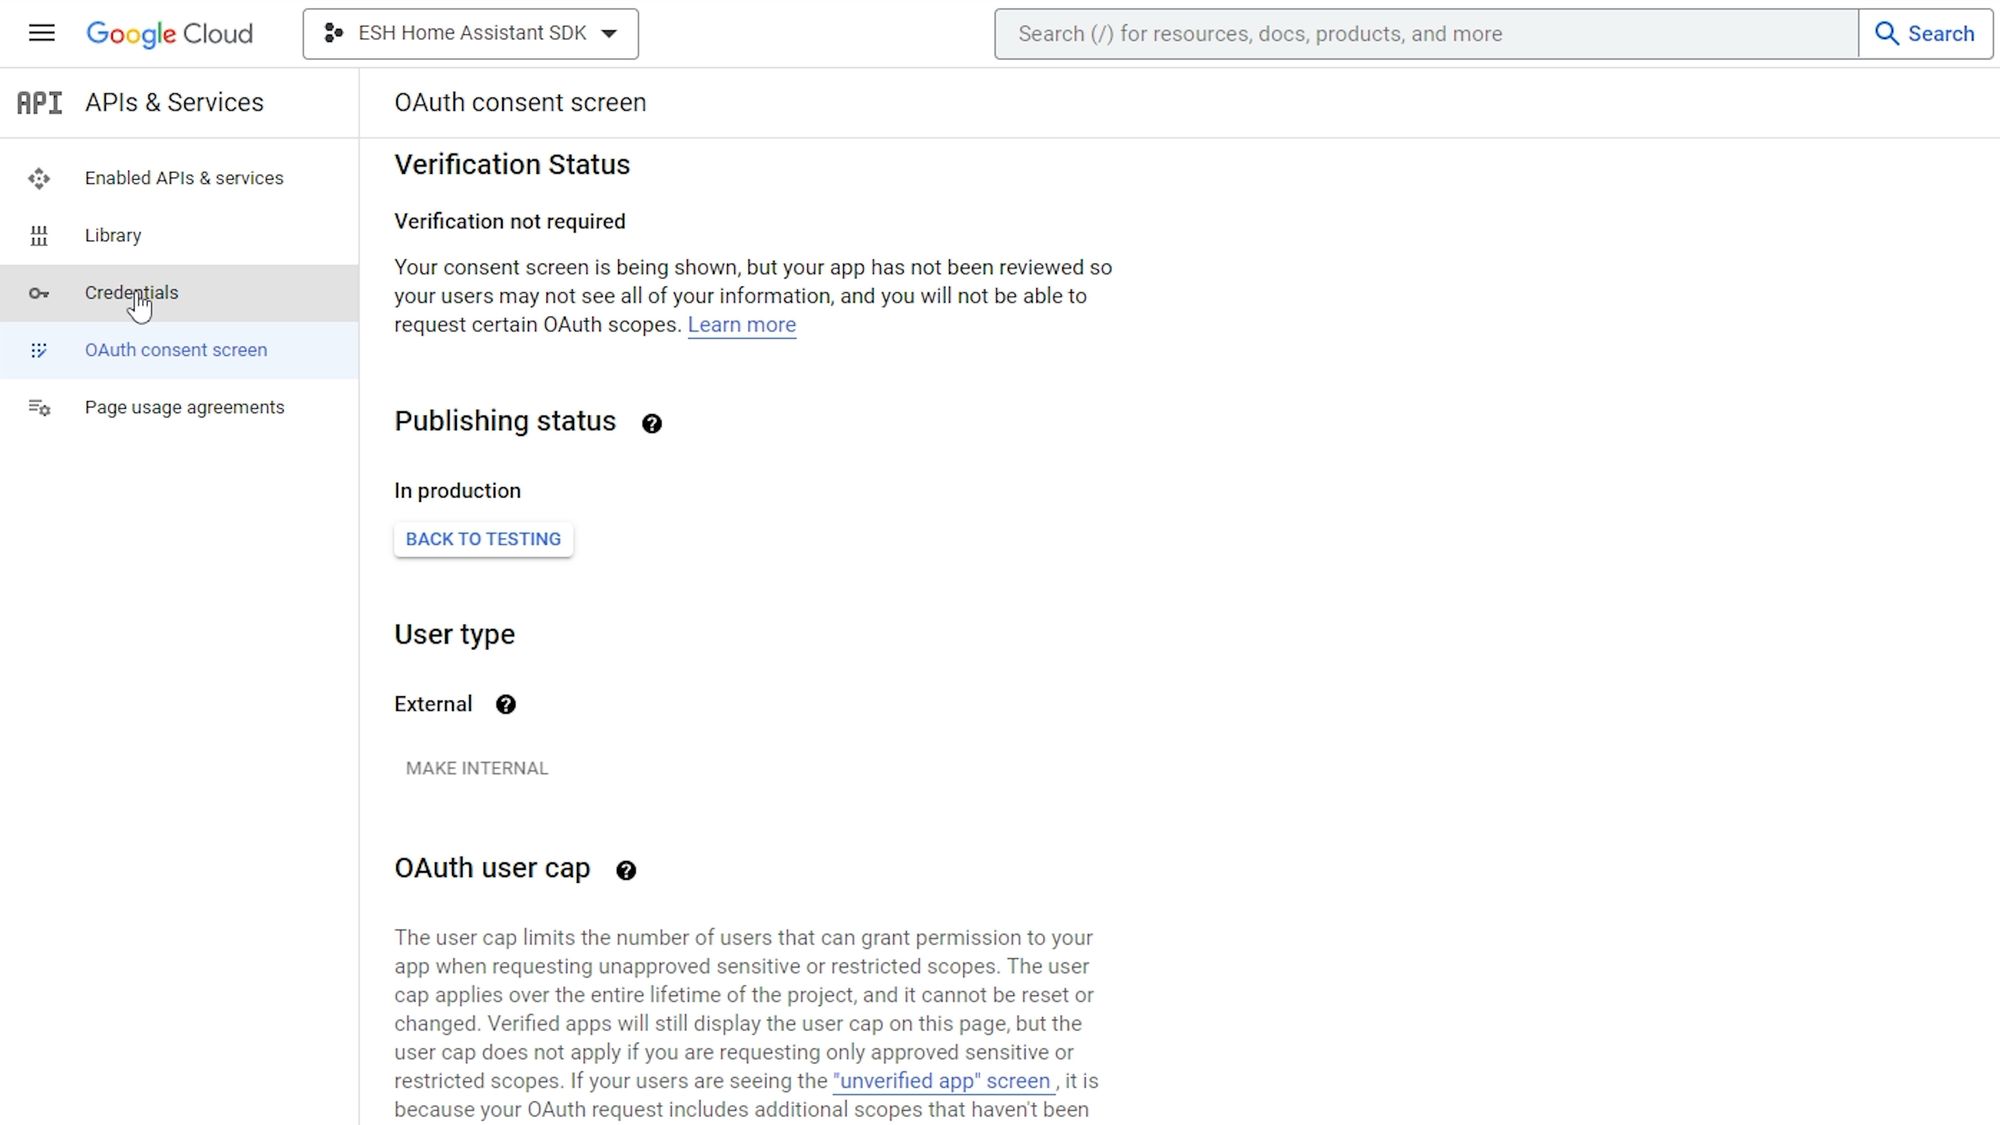
Click create a project first and name your project something descriptive so you know what its for. Then when you have saved your project, click configure consent screen.

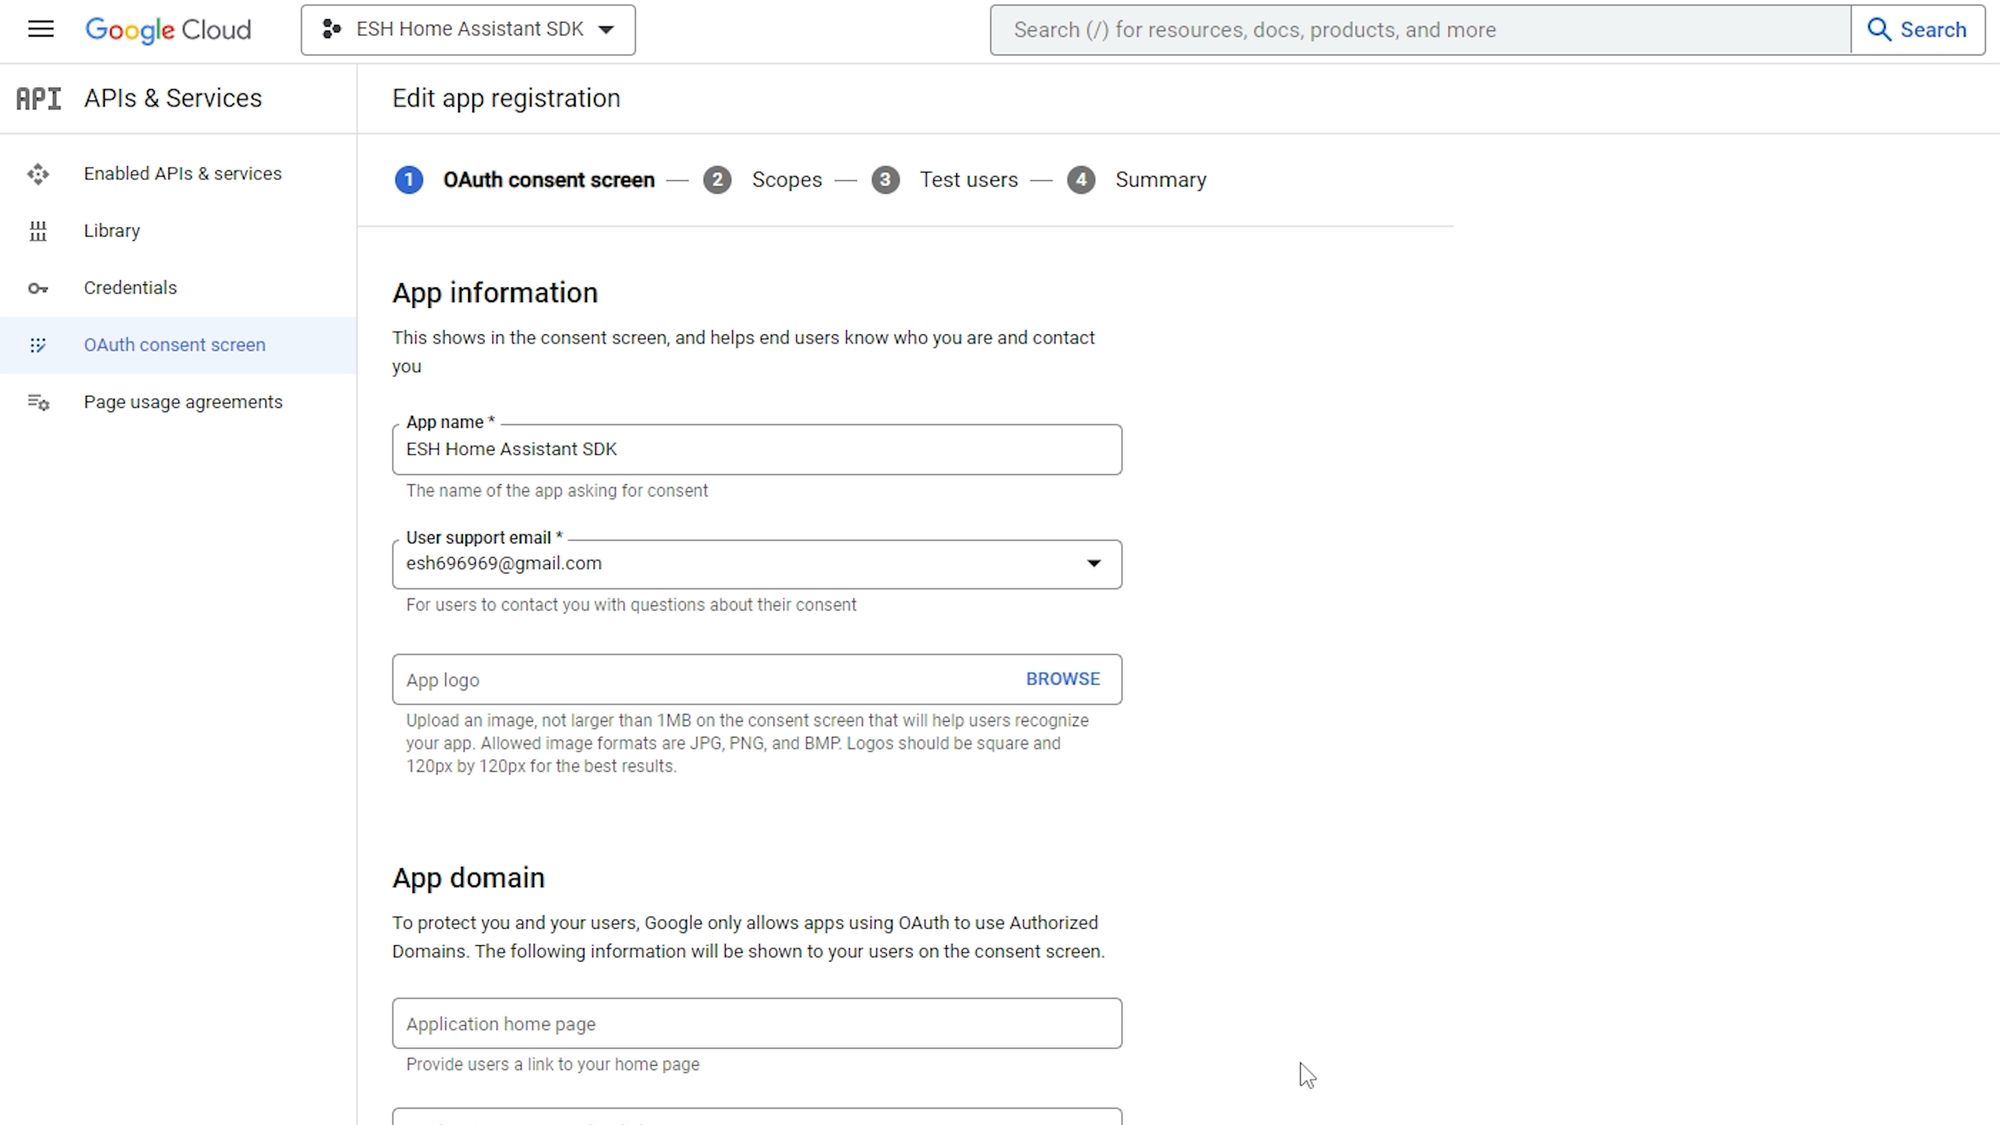
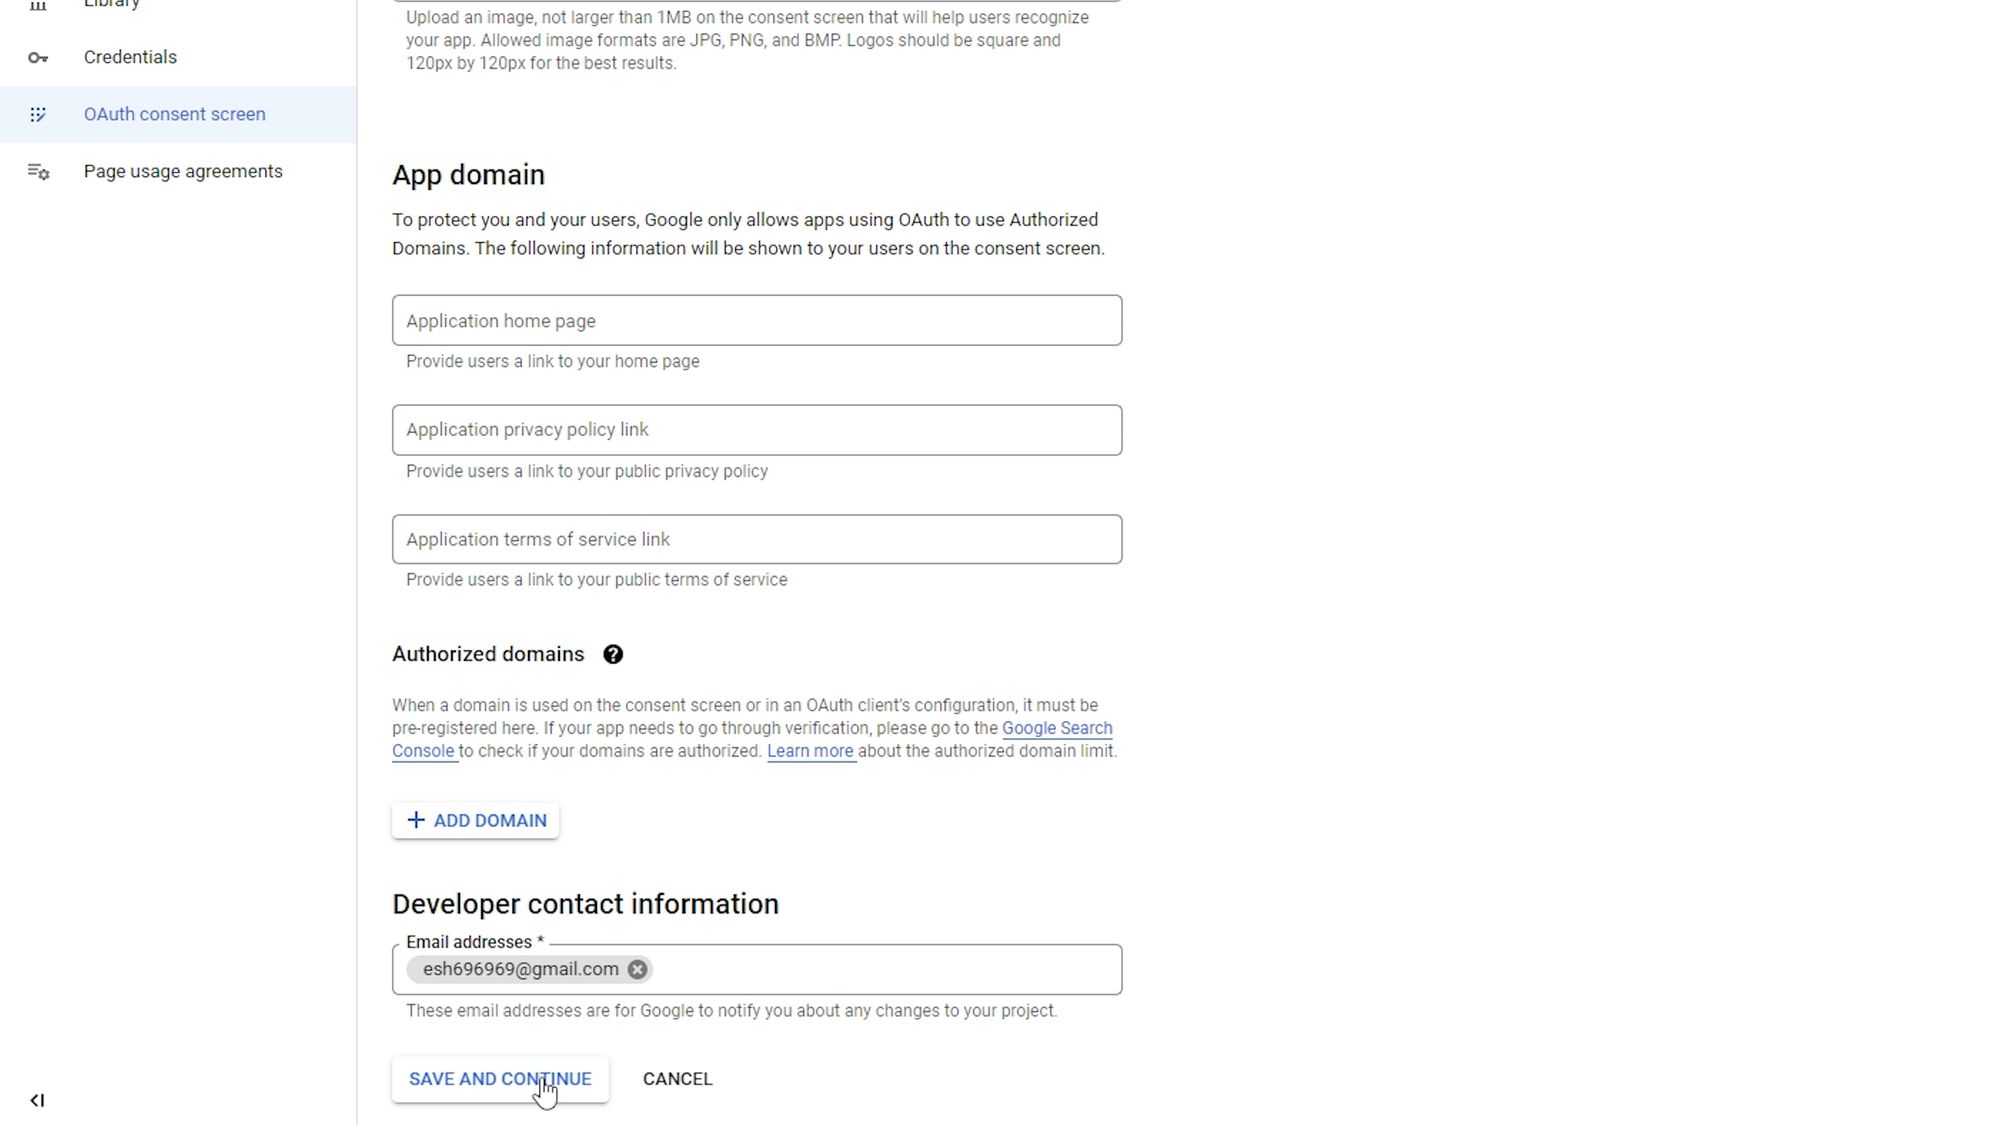
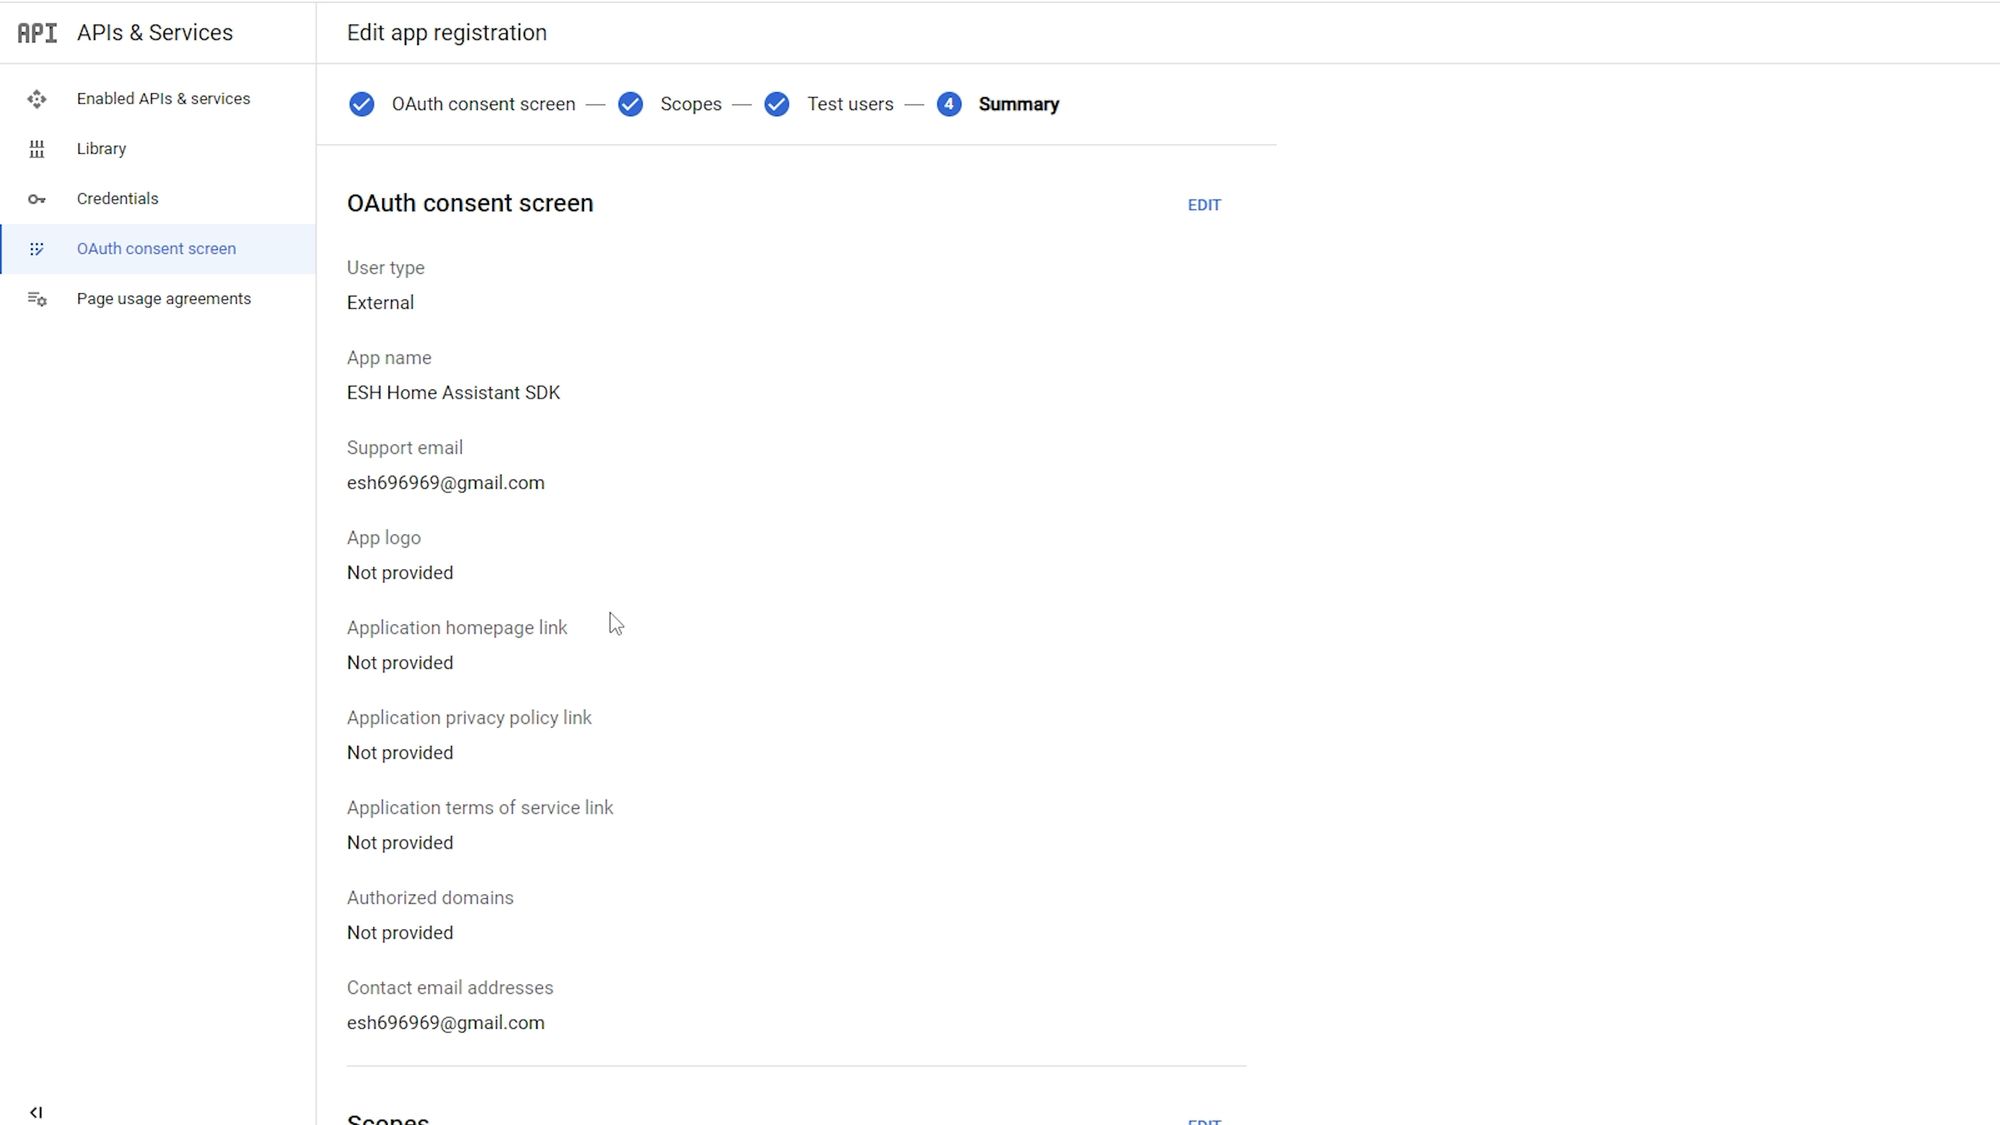
For the user type, you will want to choose external and then on the next screen we only need to change a few options: firstly, make sure it has an appropriate app name, which defaults to the name of your project. Then under the user support email, click the drop down and select your email address - don’t worry, this won’t be visible to anyone but you. Do the same for the developer contact email address near the bottom as well and hit save and continue.
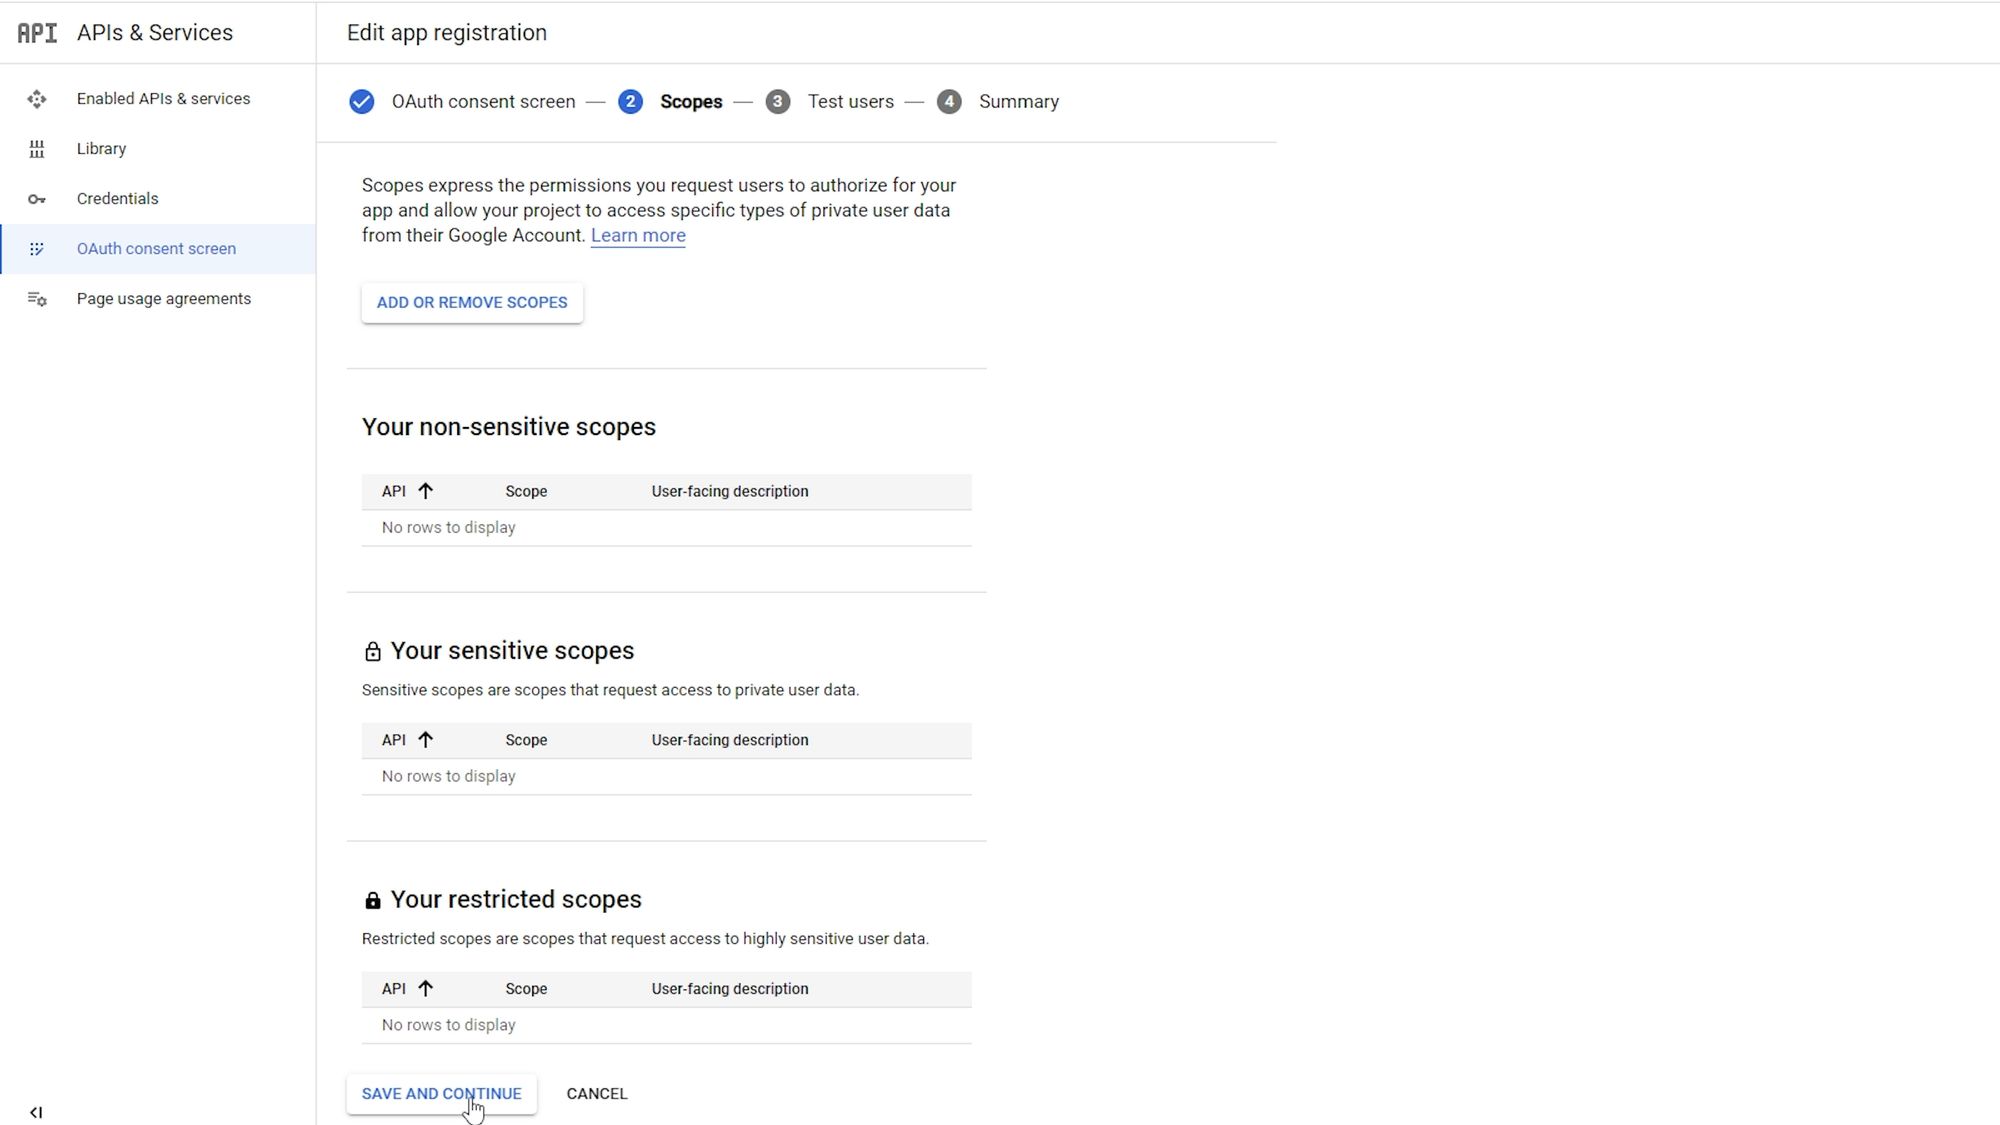
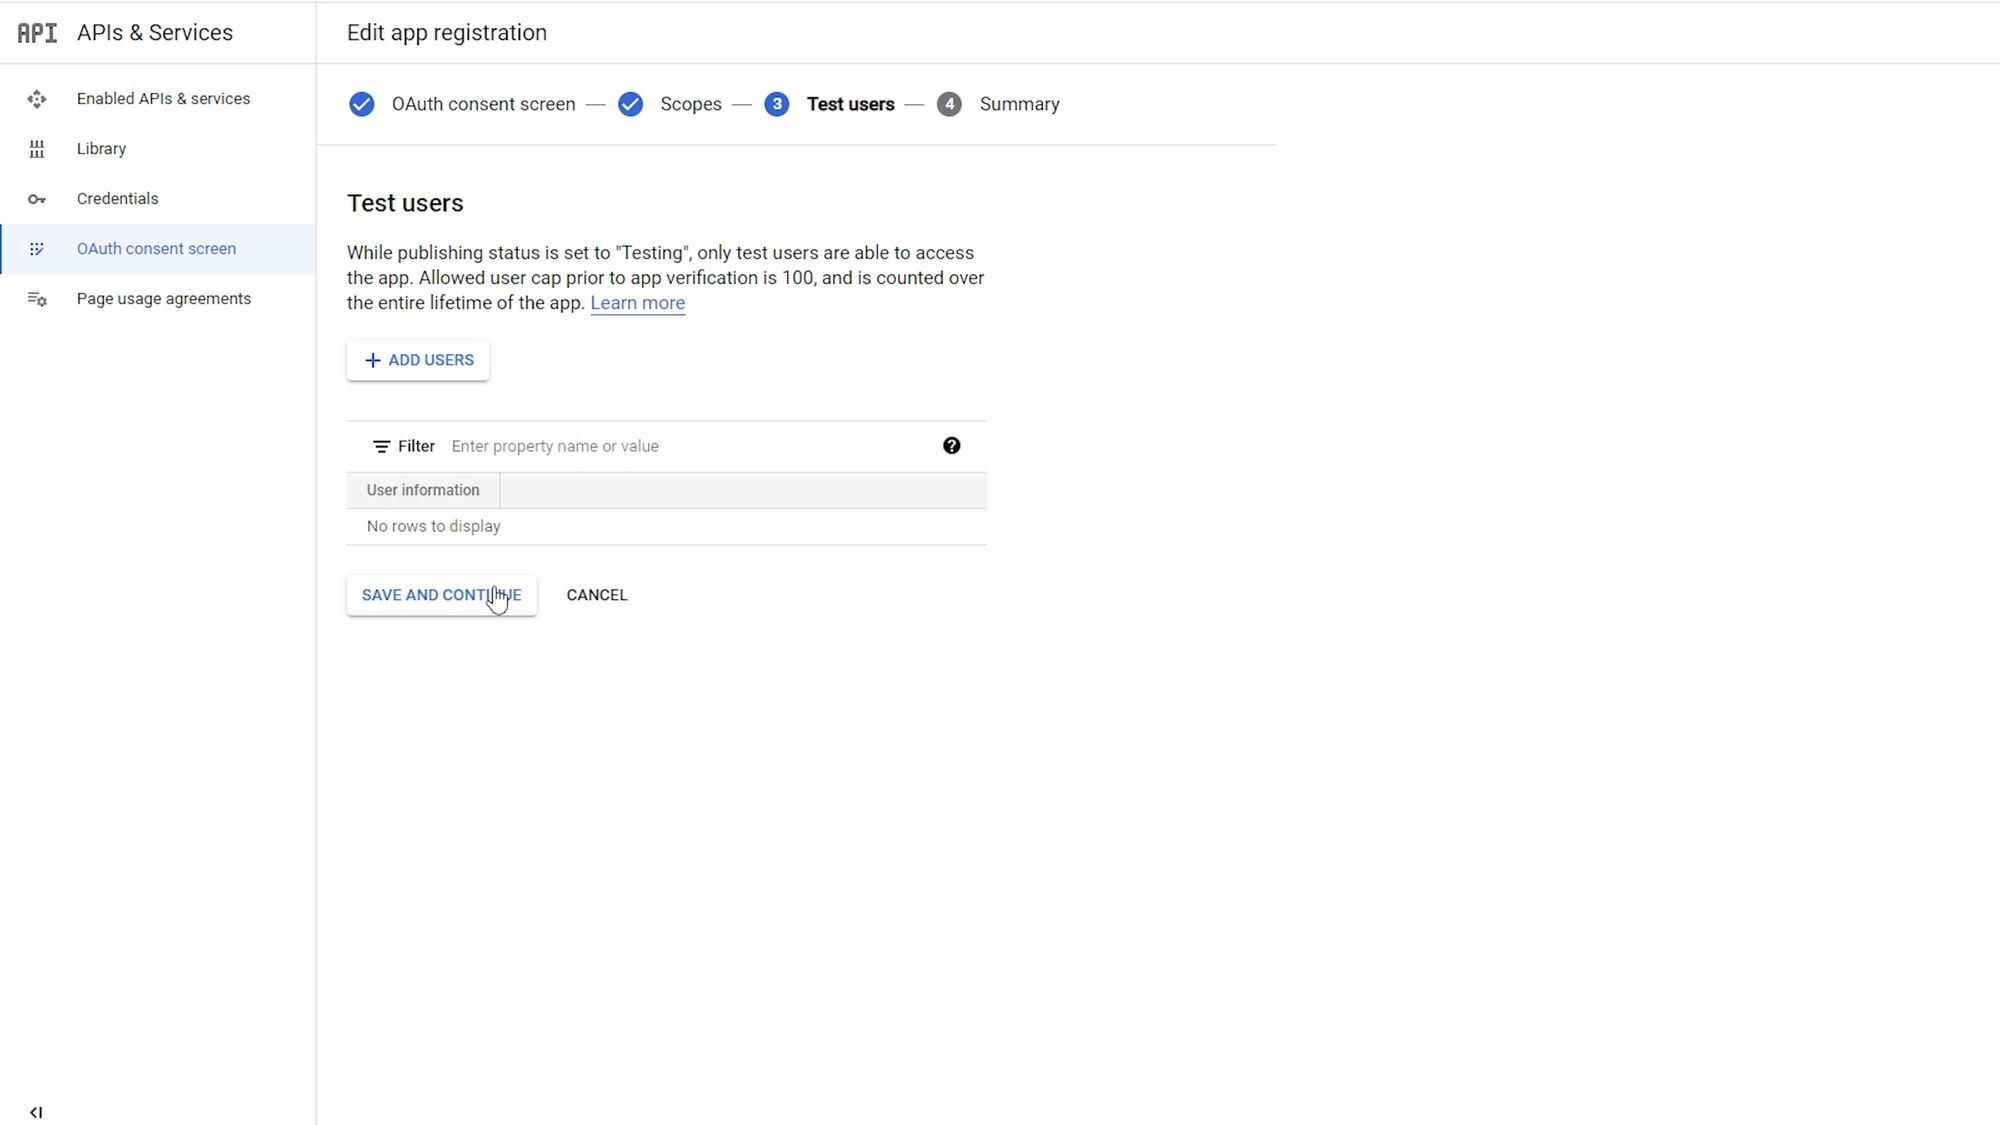
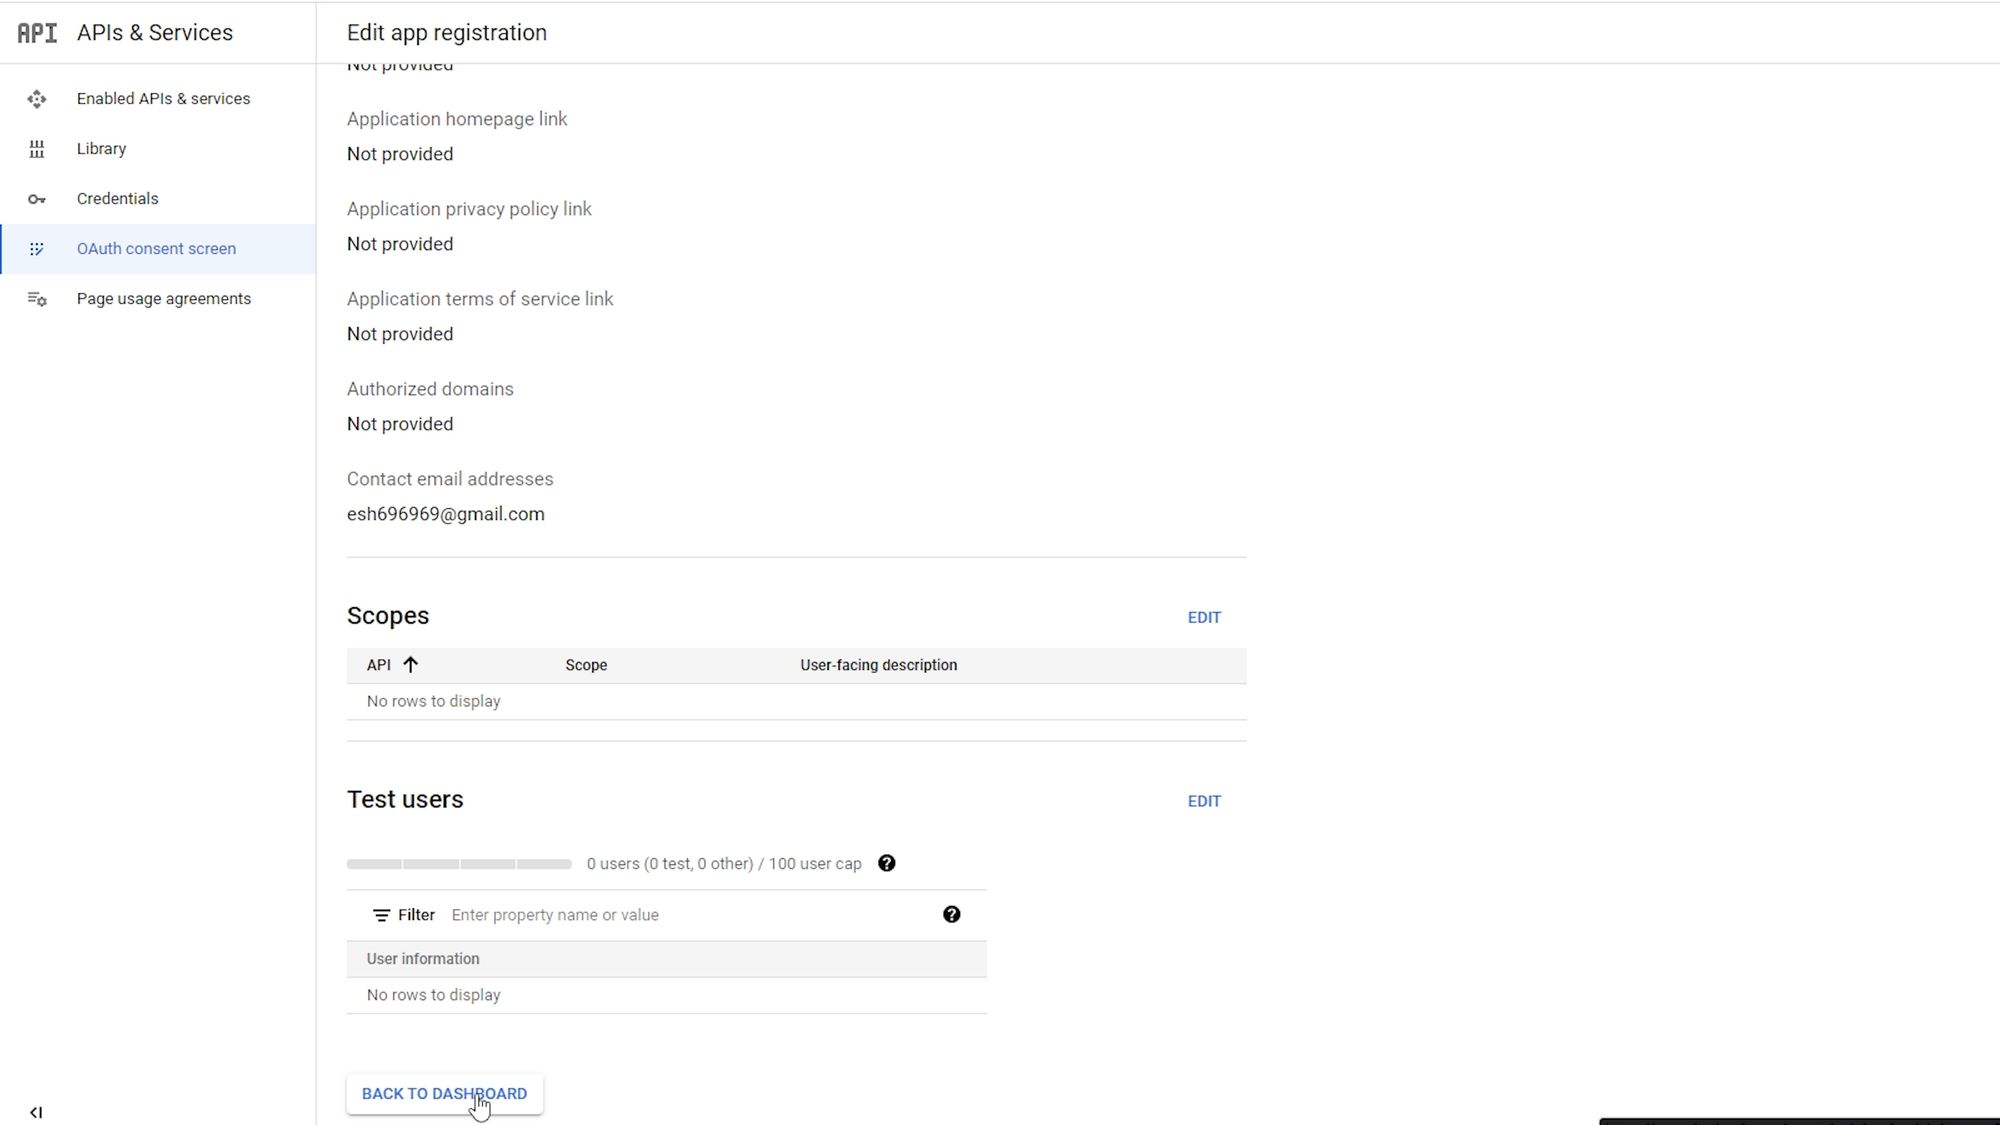
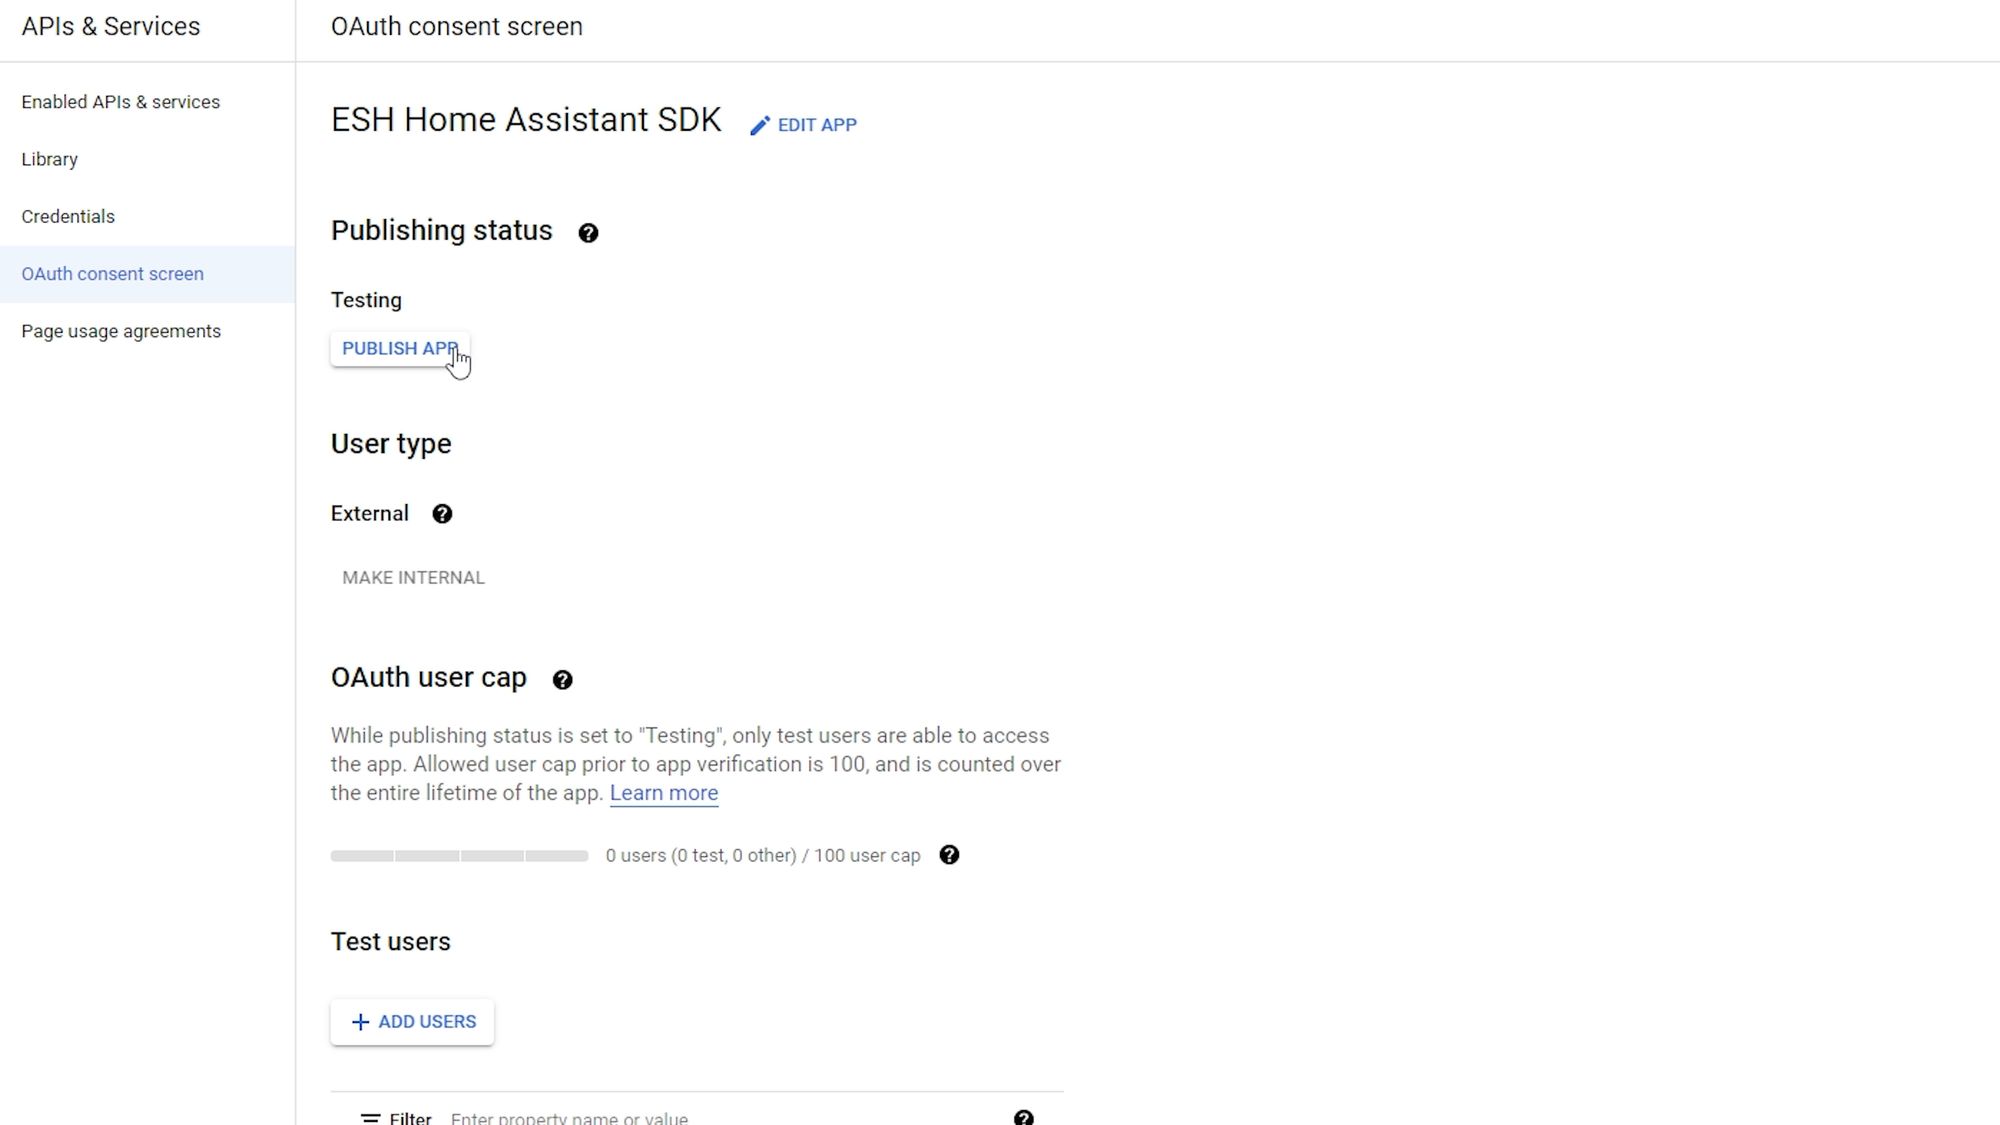
On the scopes screen, you can just hit continue and hit continue again on the optional info screen and then on the summary page hit the back to dashboard button. Then hit the publish app button to finish this section and confirm.

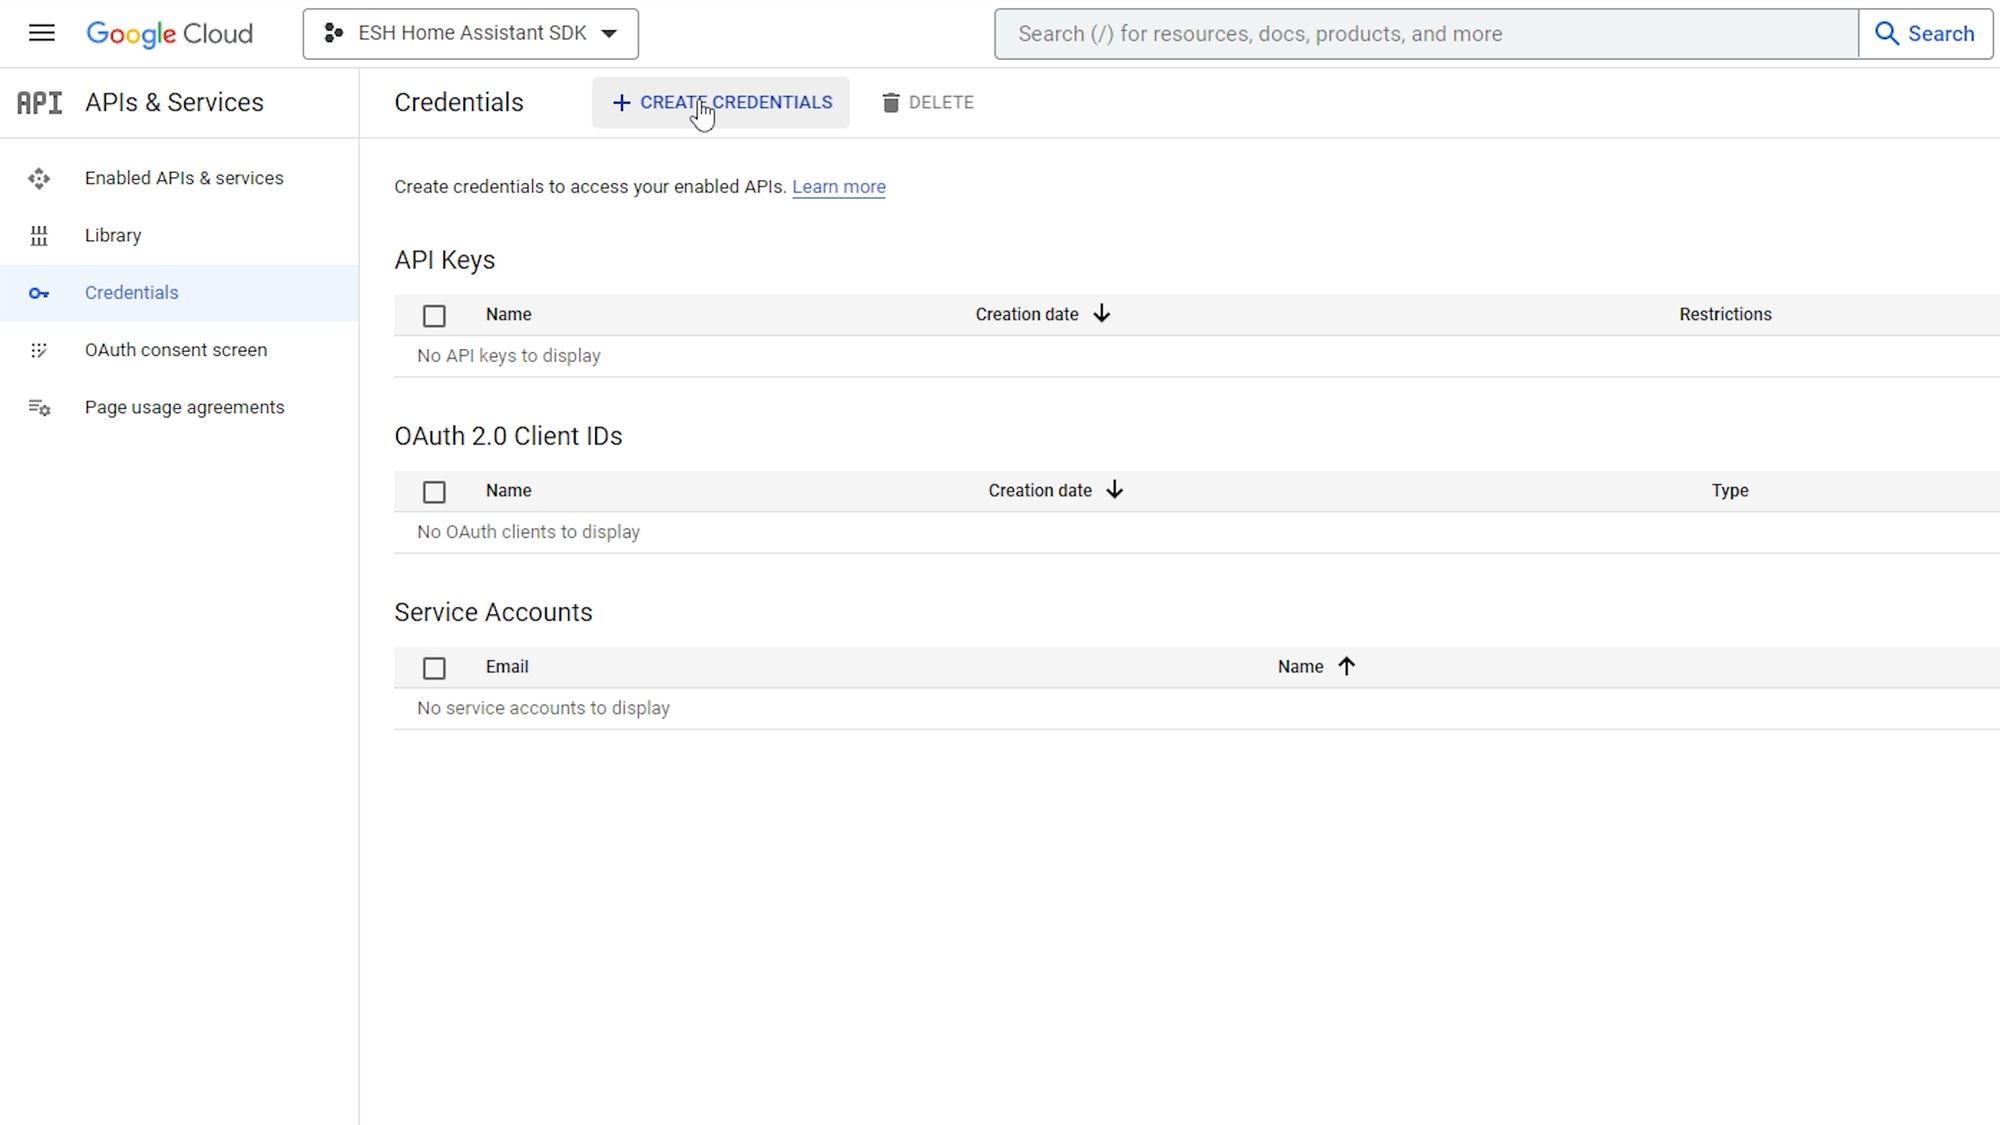
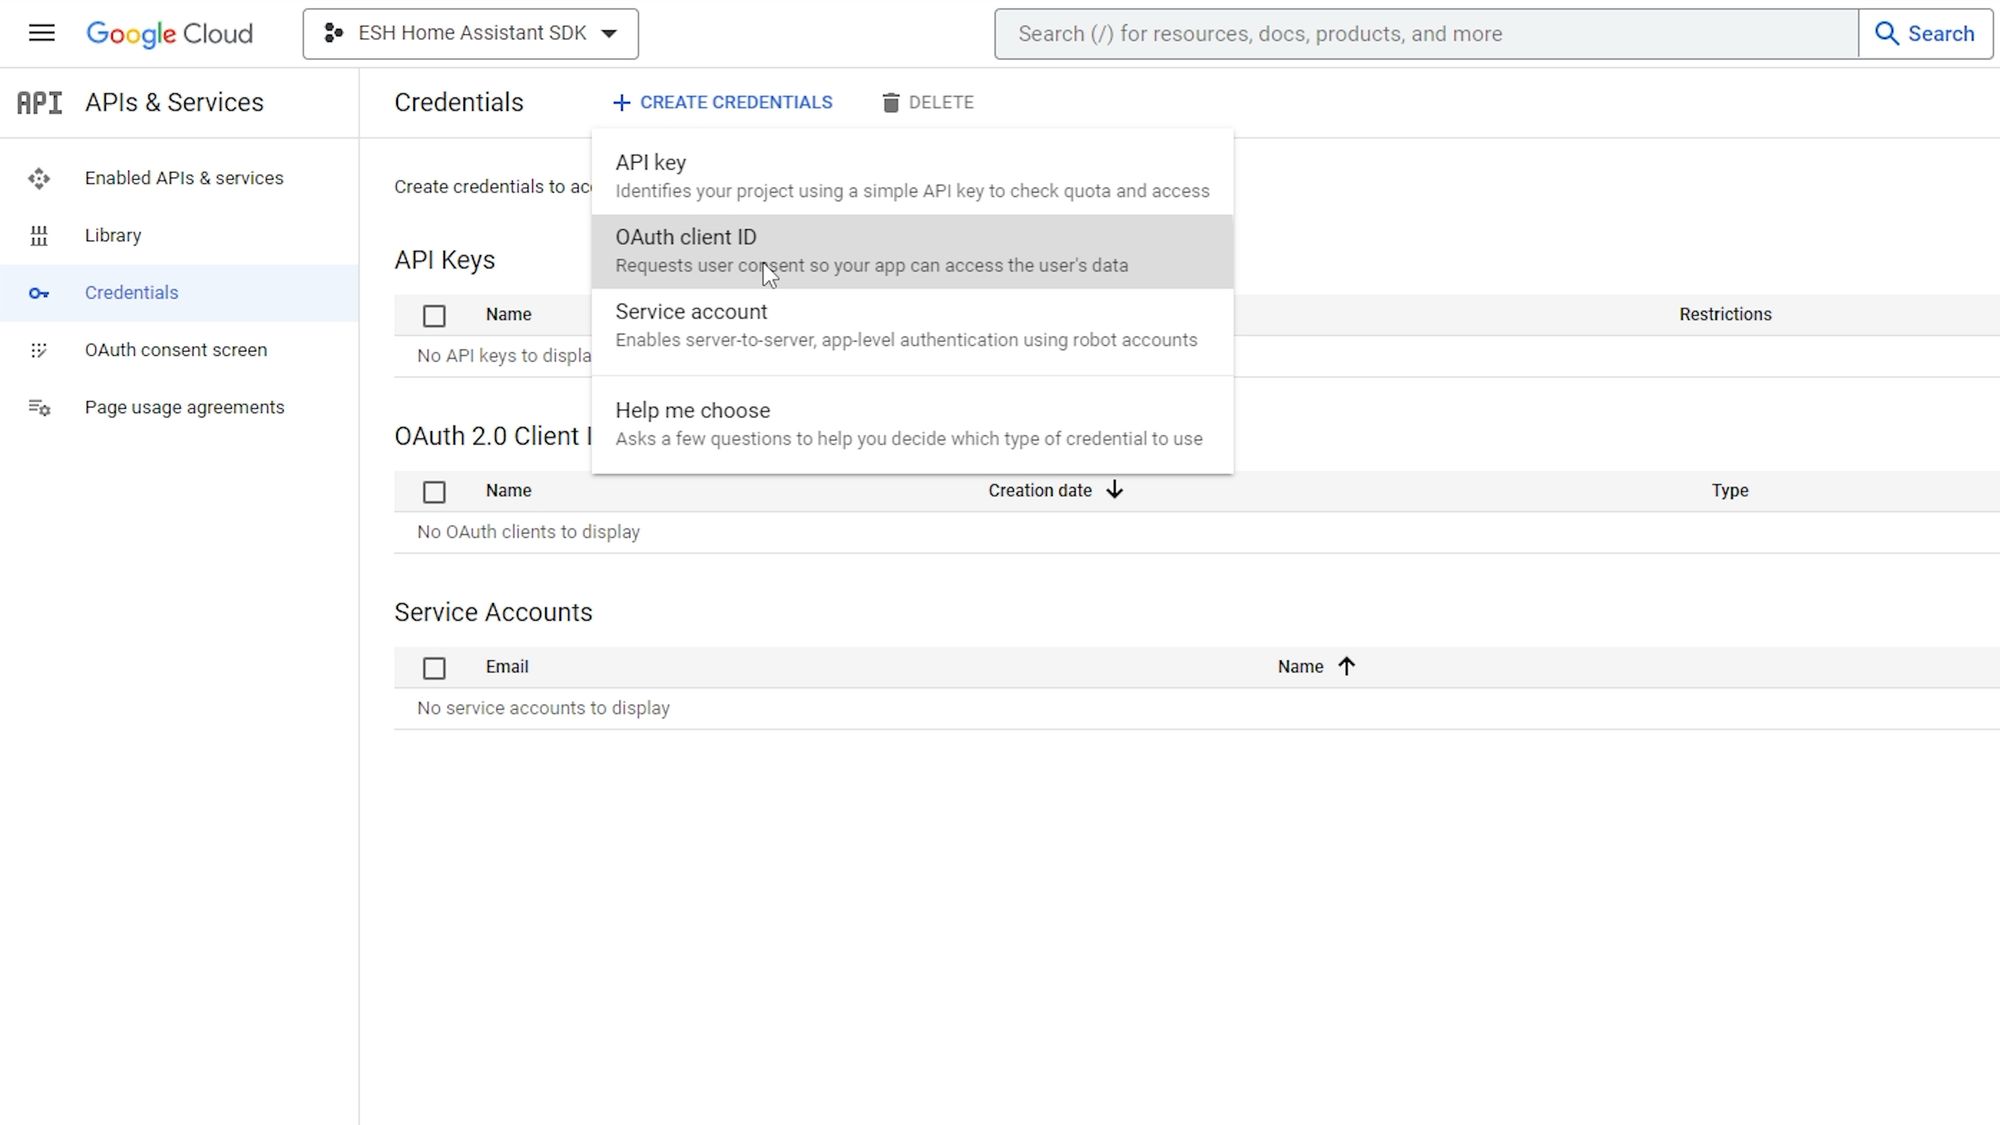
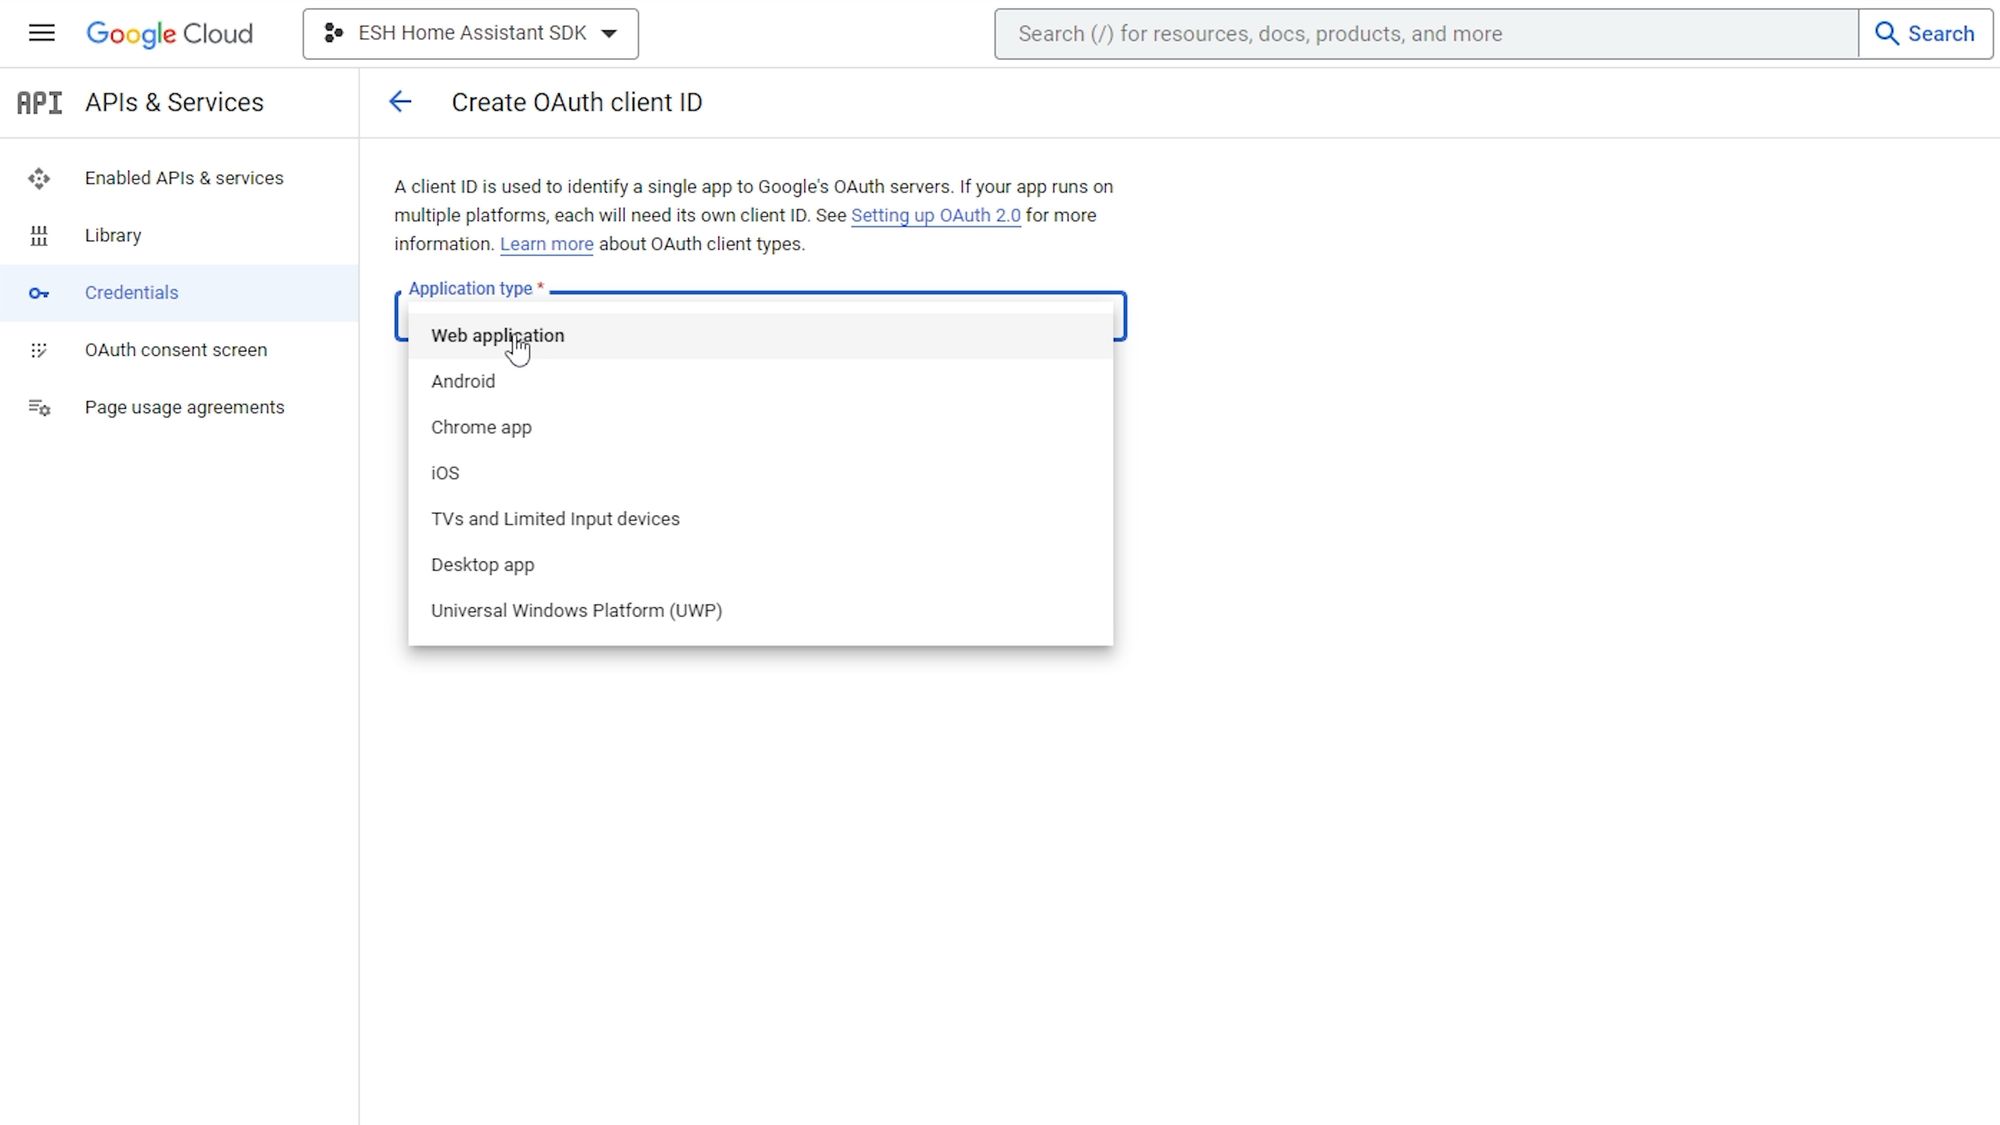
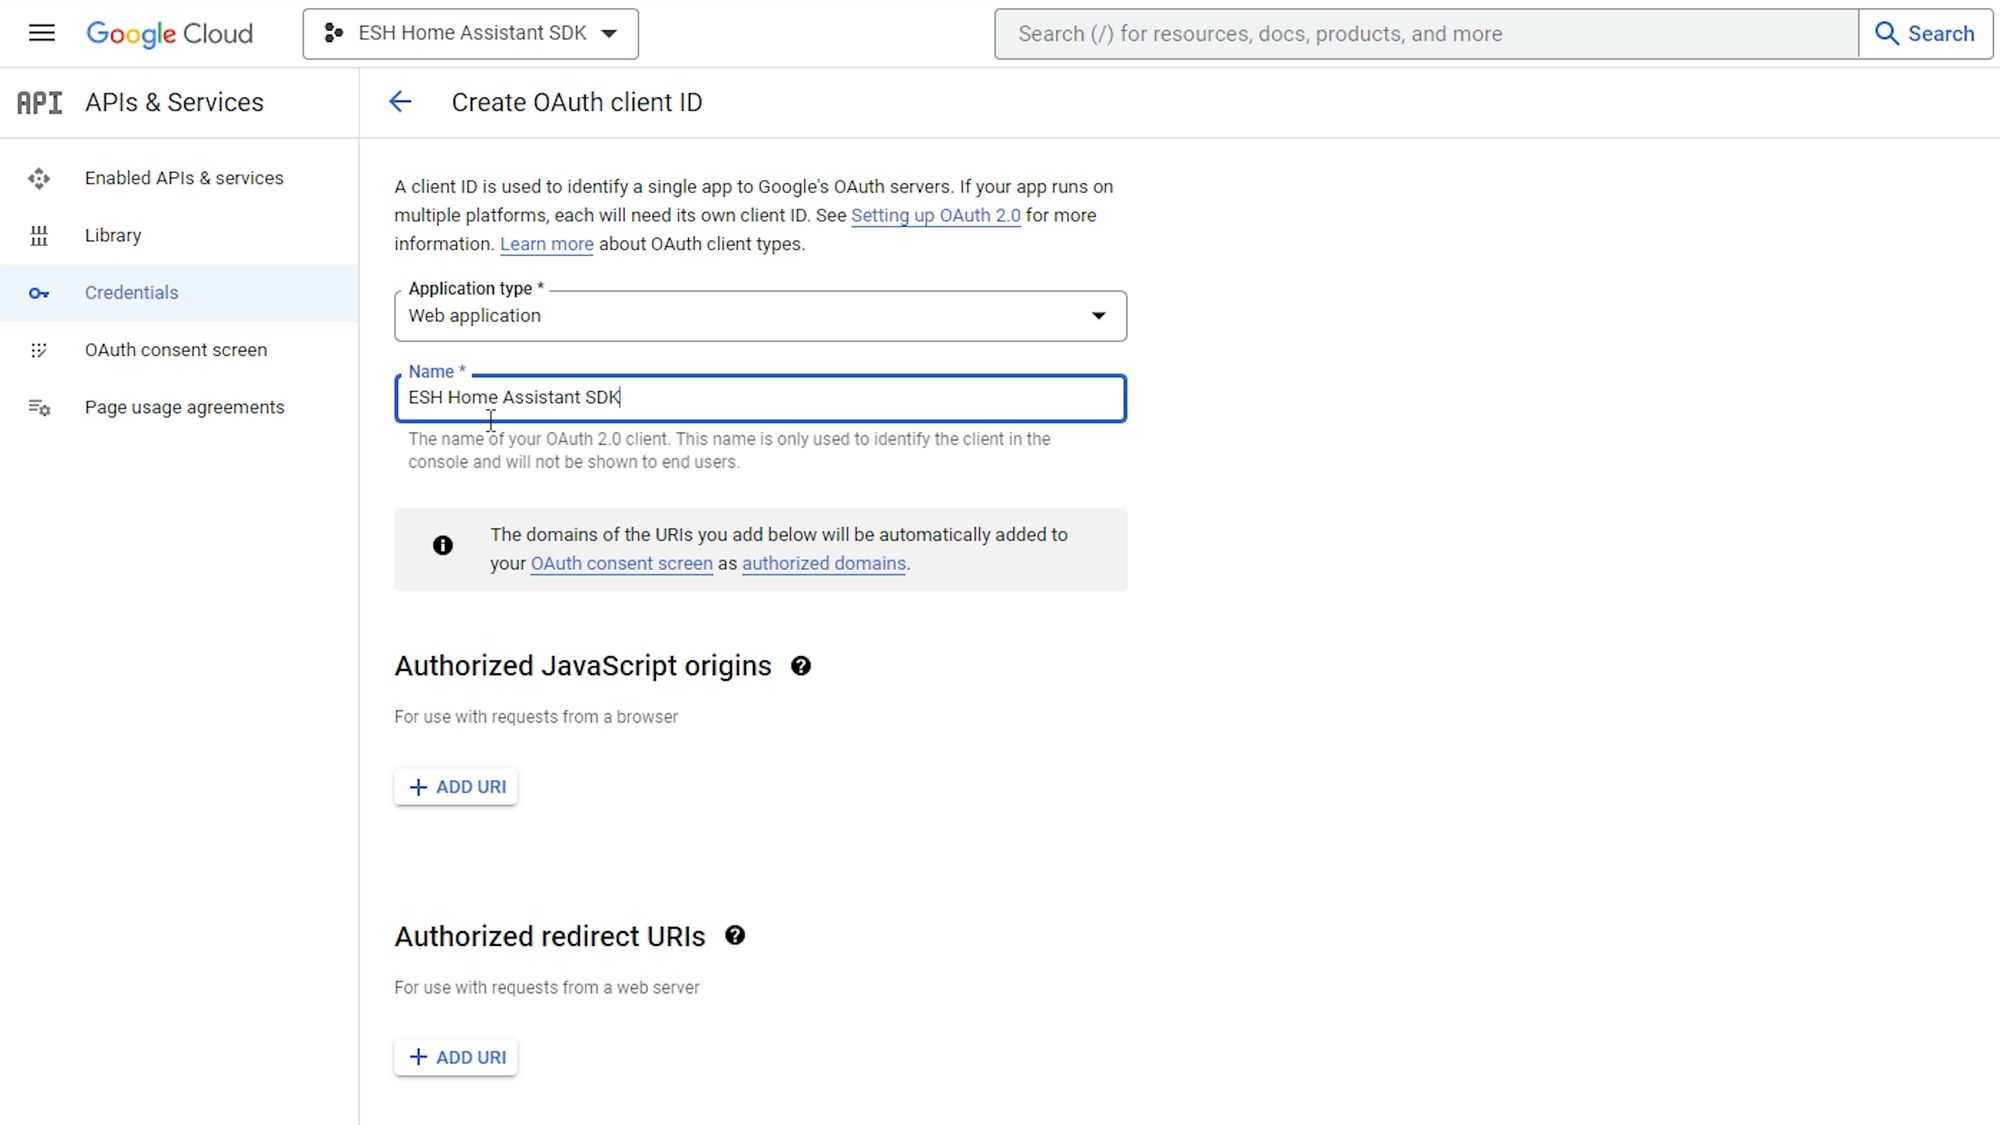
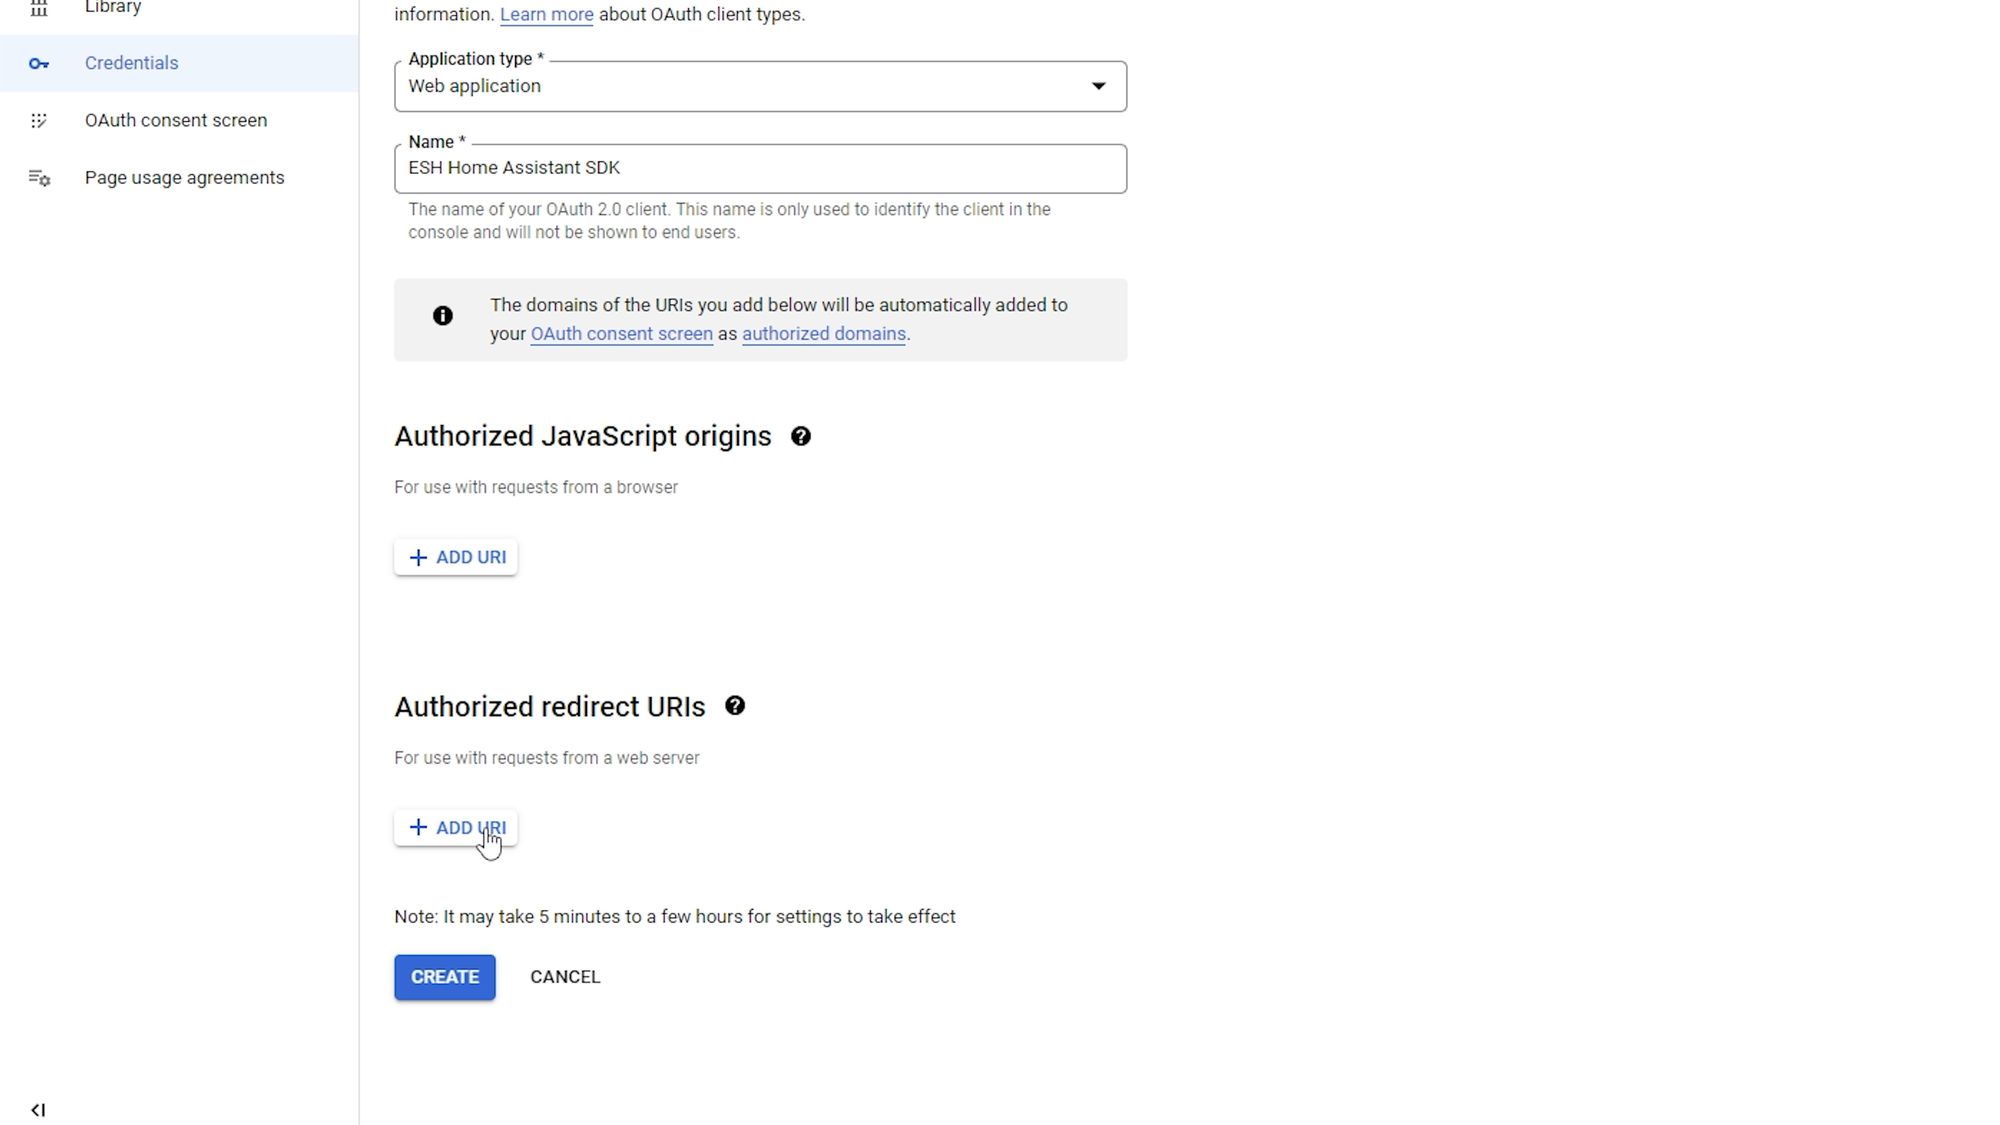
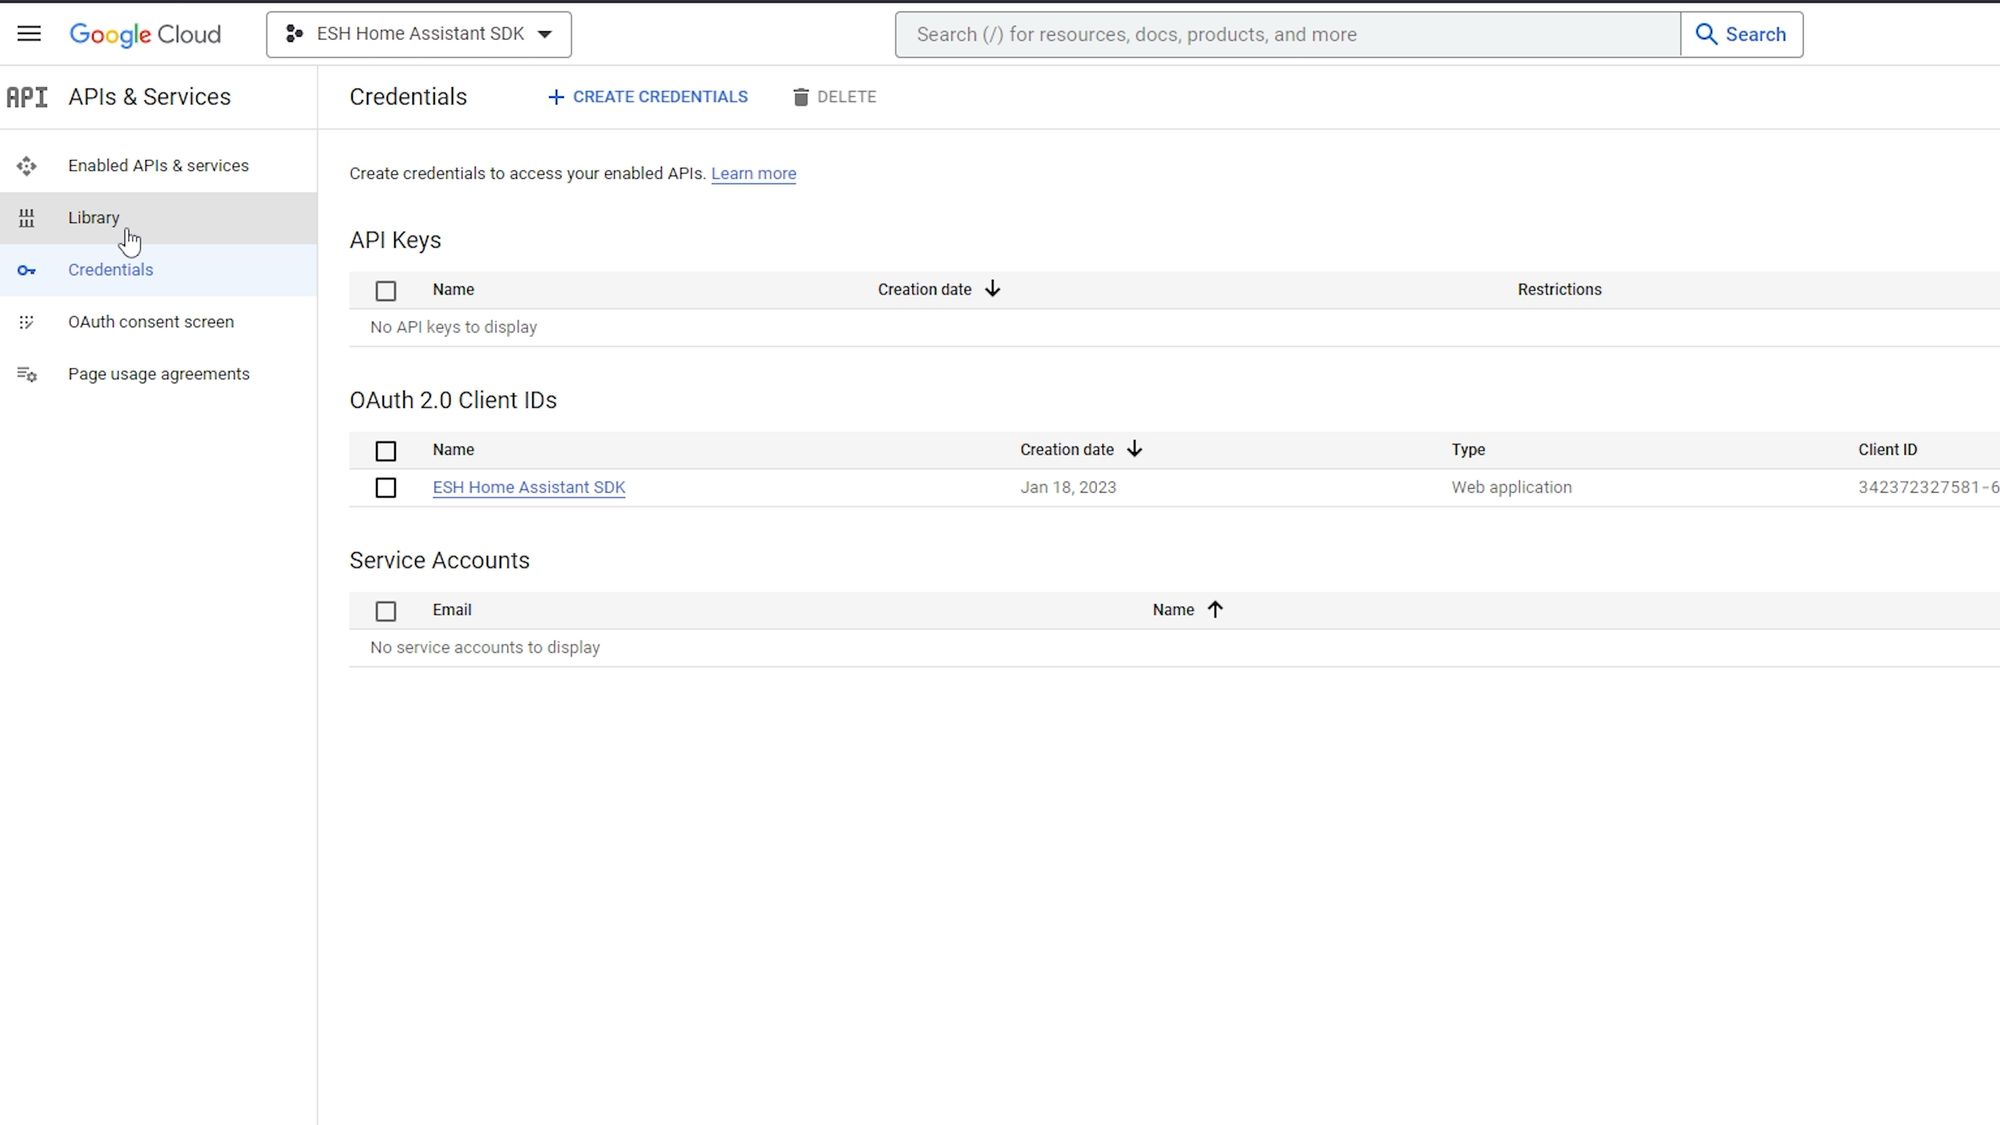
Then, from the side bar select credentials, then create credentials from the top bar and select oauth client id. For the application type, select the web application and then give your credentials a name once again.
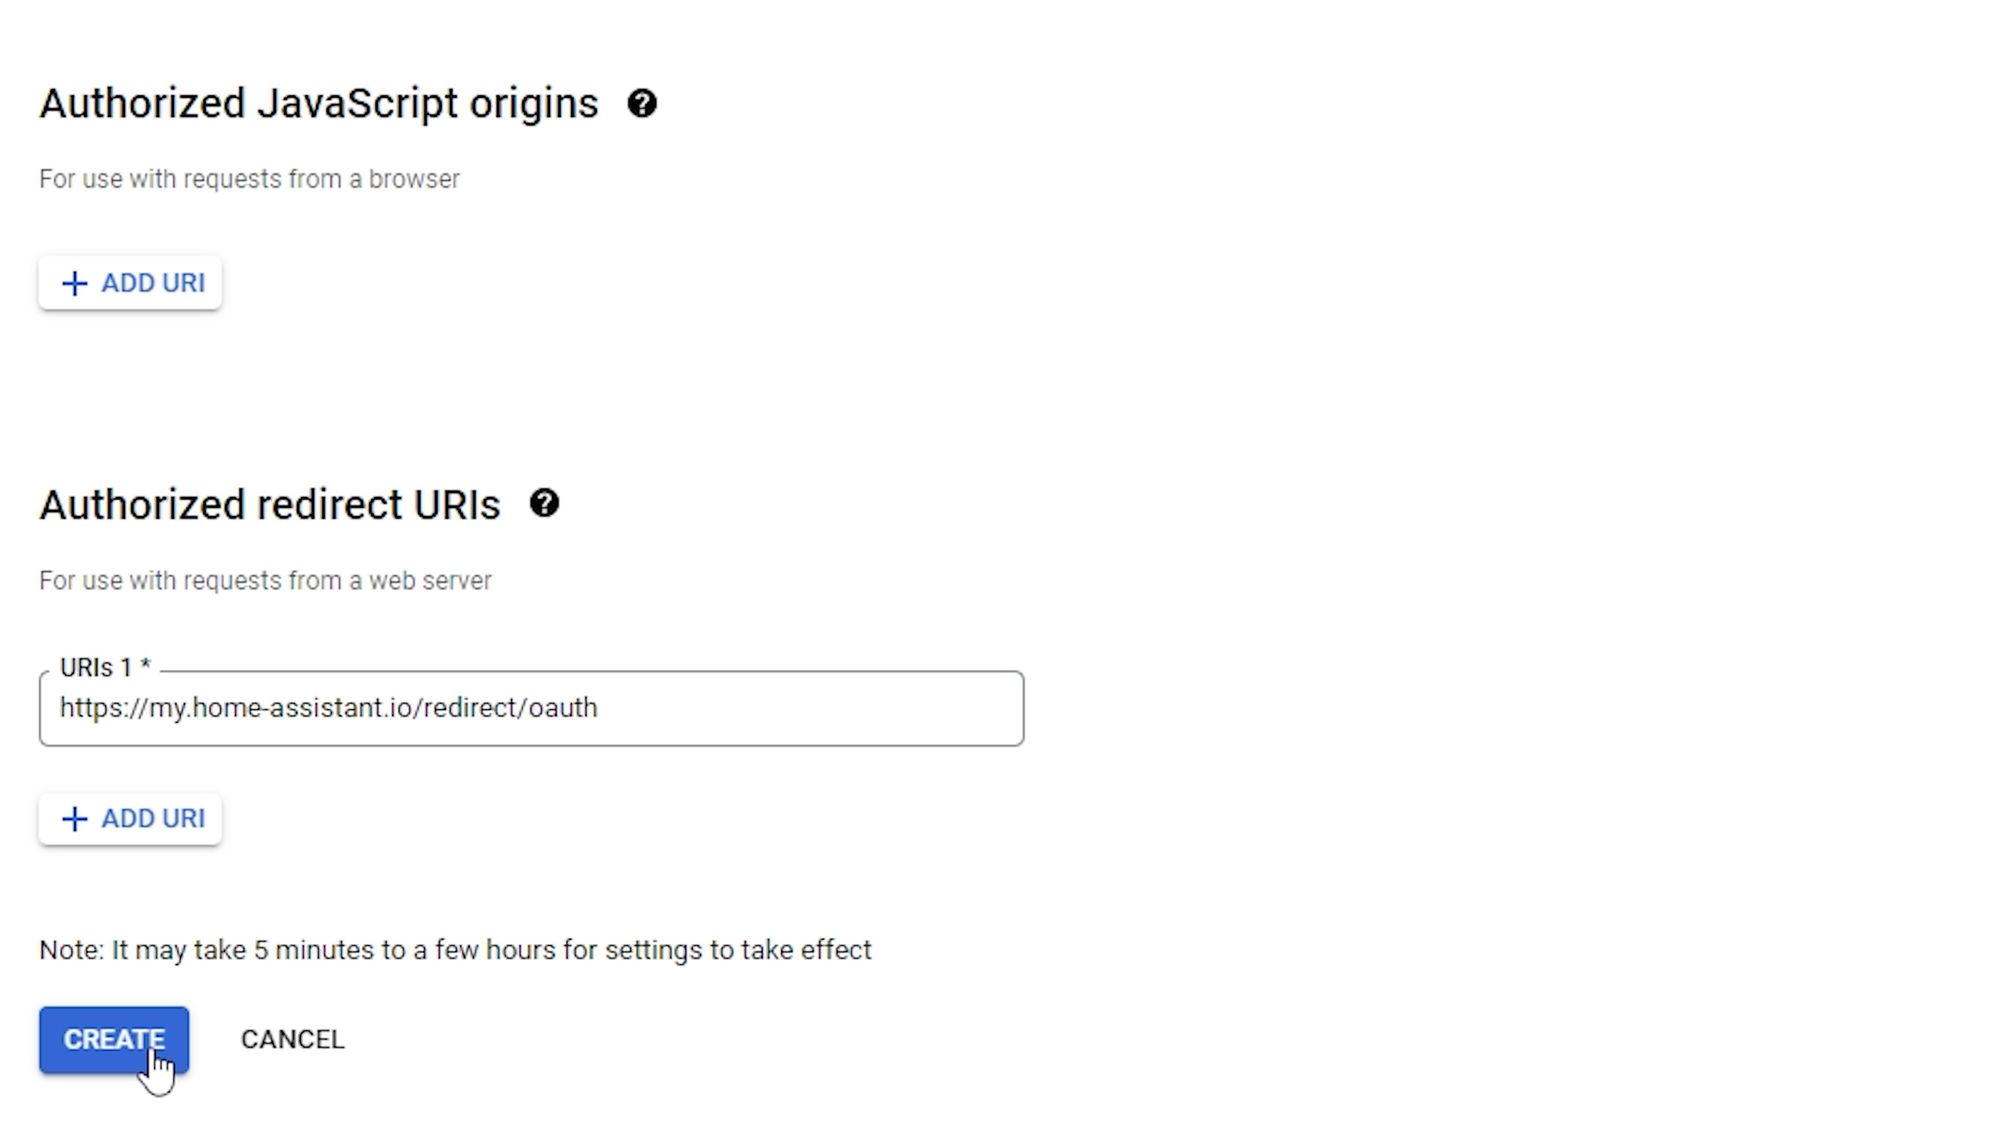
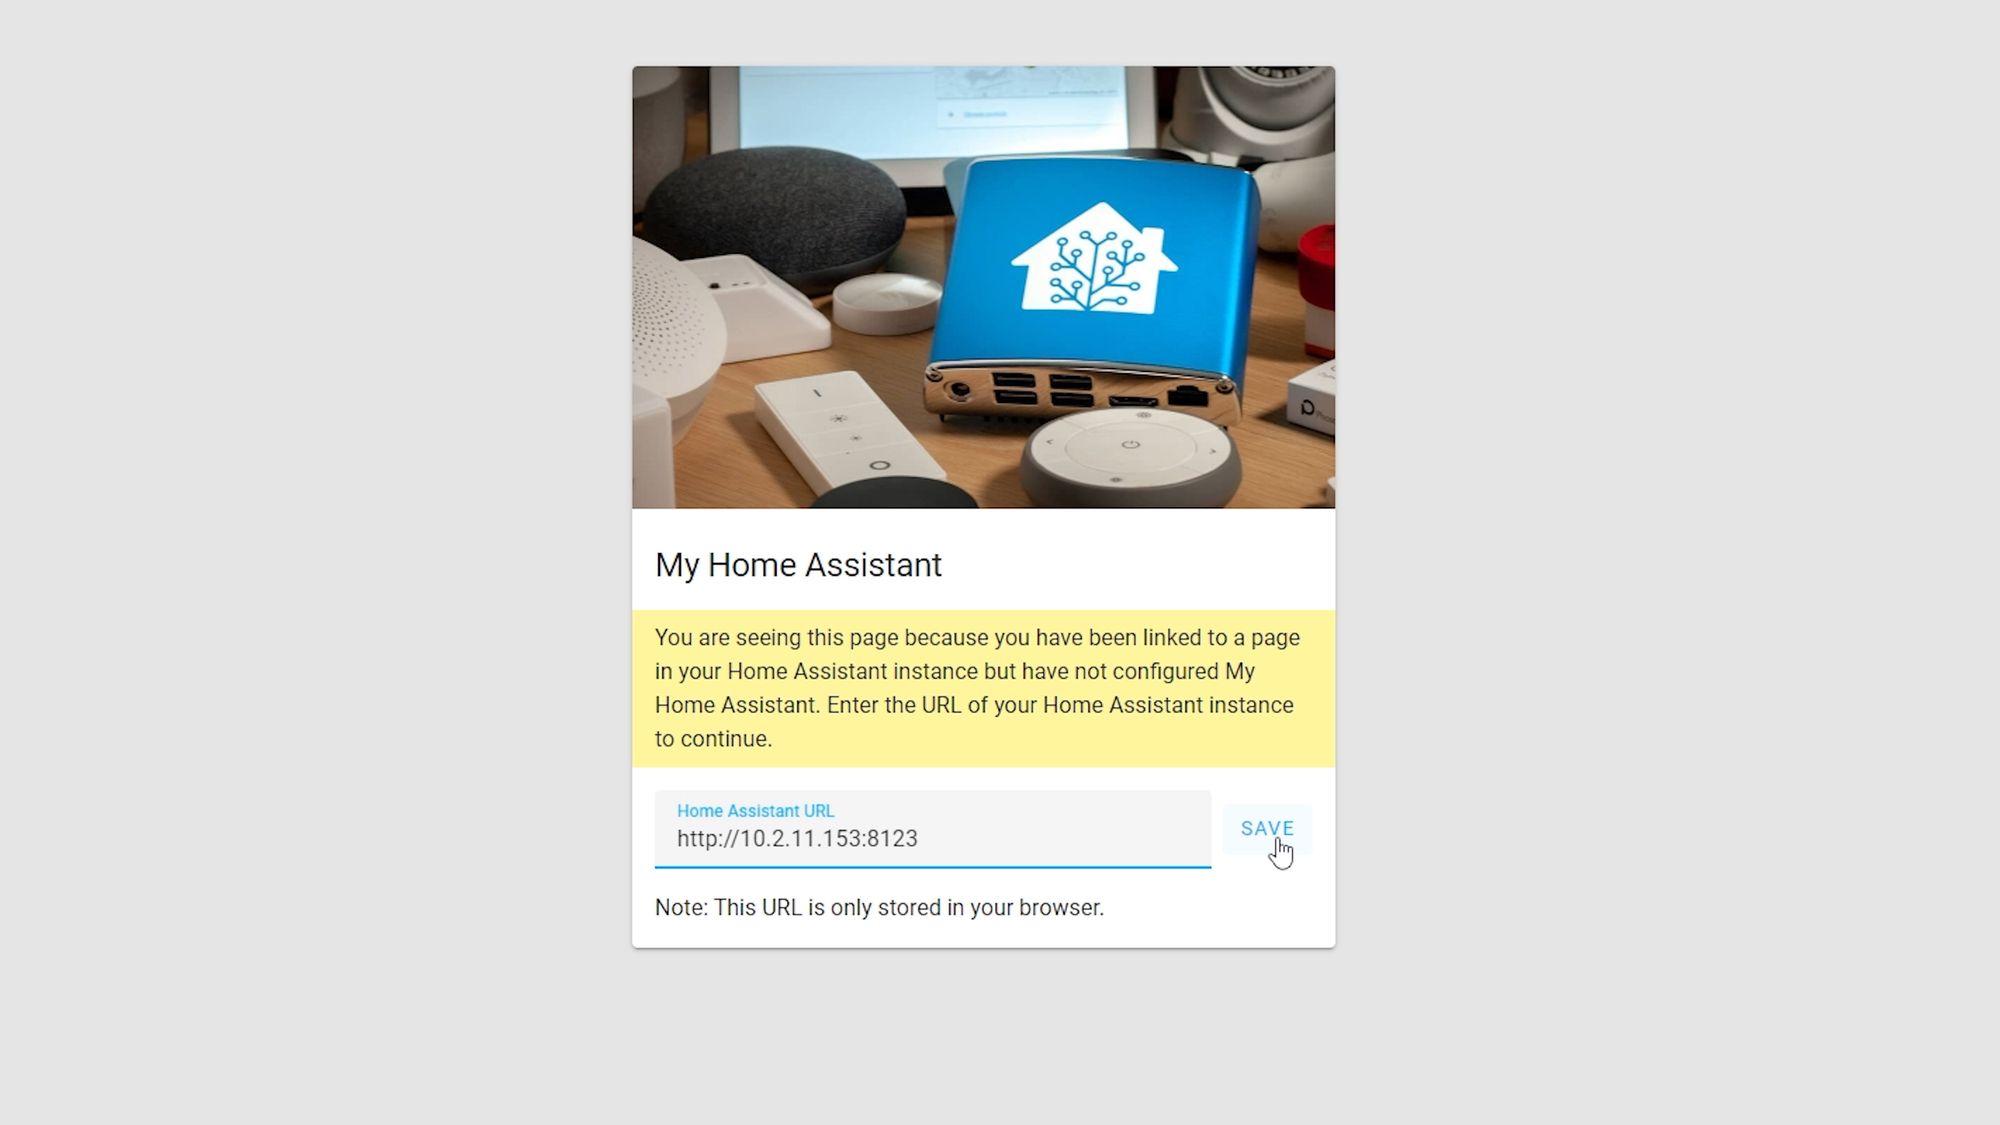
Then under the authorized redirect URIs section, hit add URI and enter https://my.home-assistant.io/redirect/oauth and hit create to save.
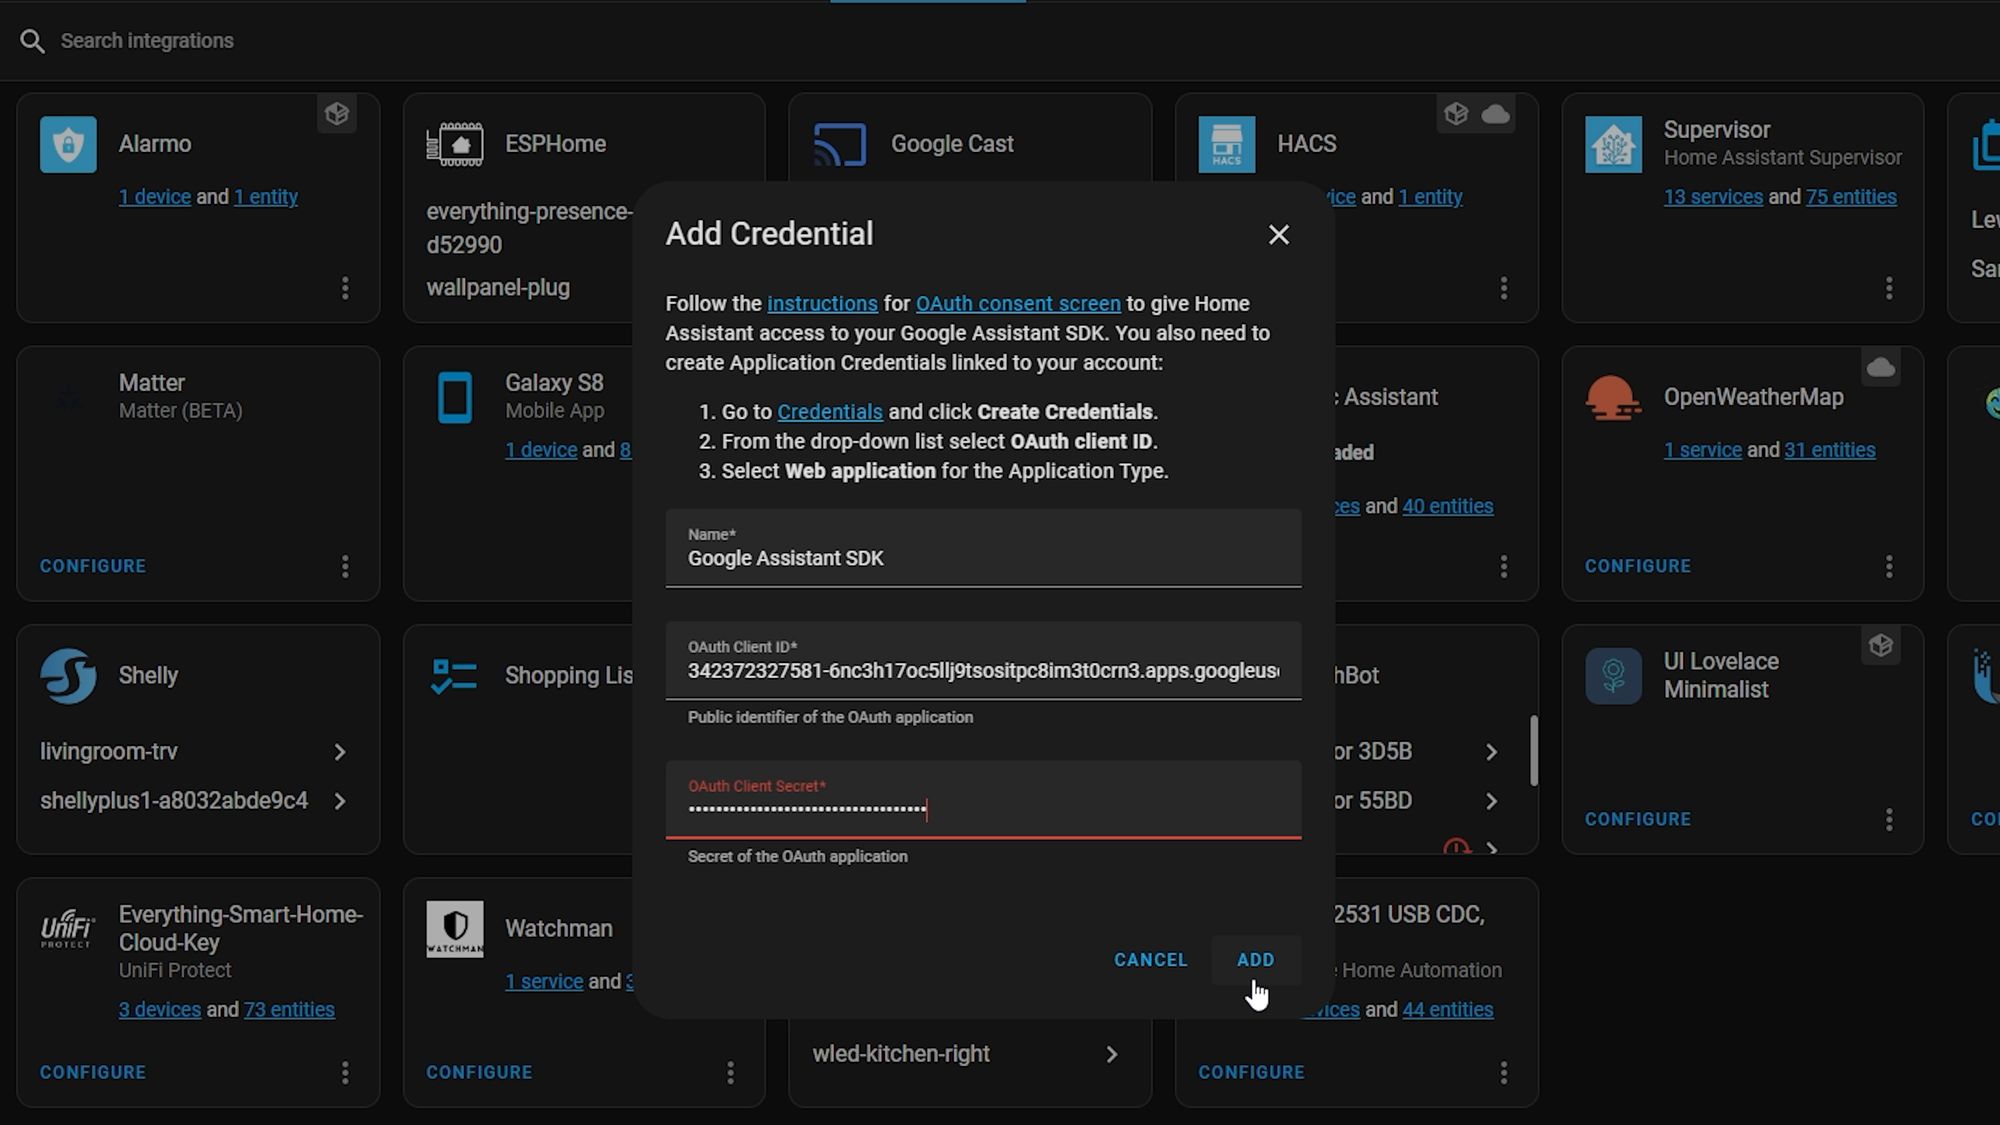
It will then pop up with 2 things that you need: the client ID and the client secret.
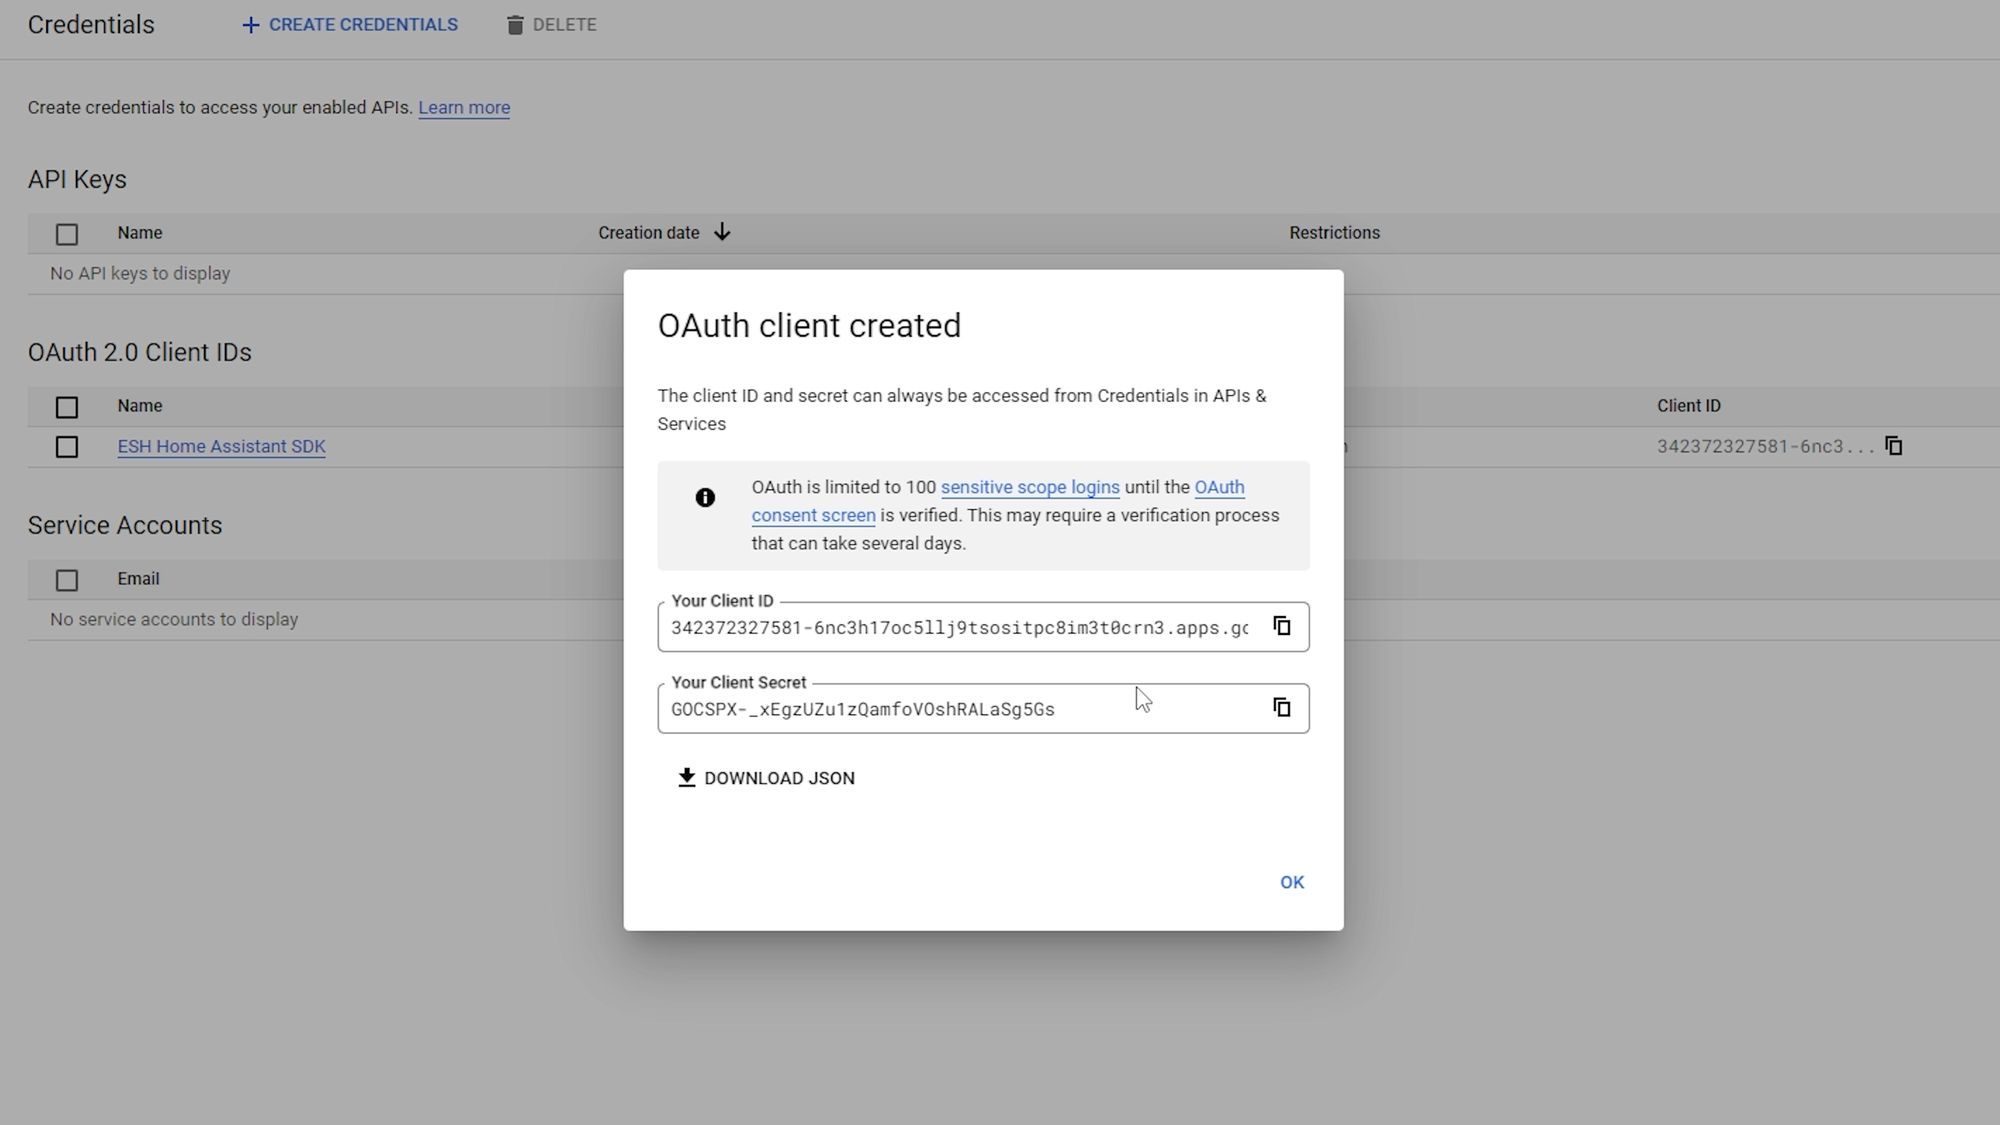
Copy the client ID first and switchback to your Home Assistant tab. Enter a descriptive name into the box and then paste your client ID into the client ID section and do the same with the client secret. Once done, click add to finish.
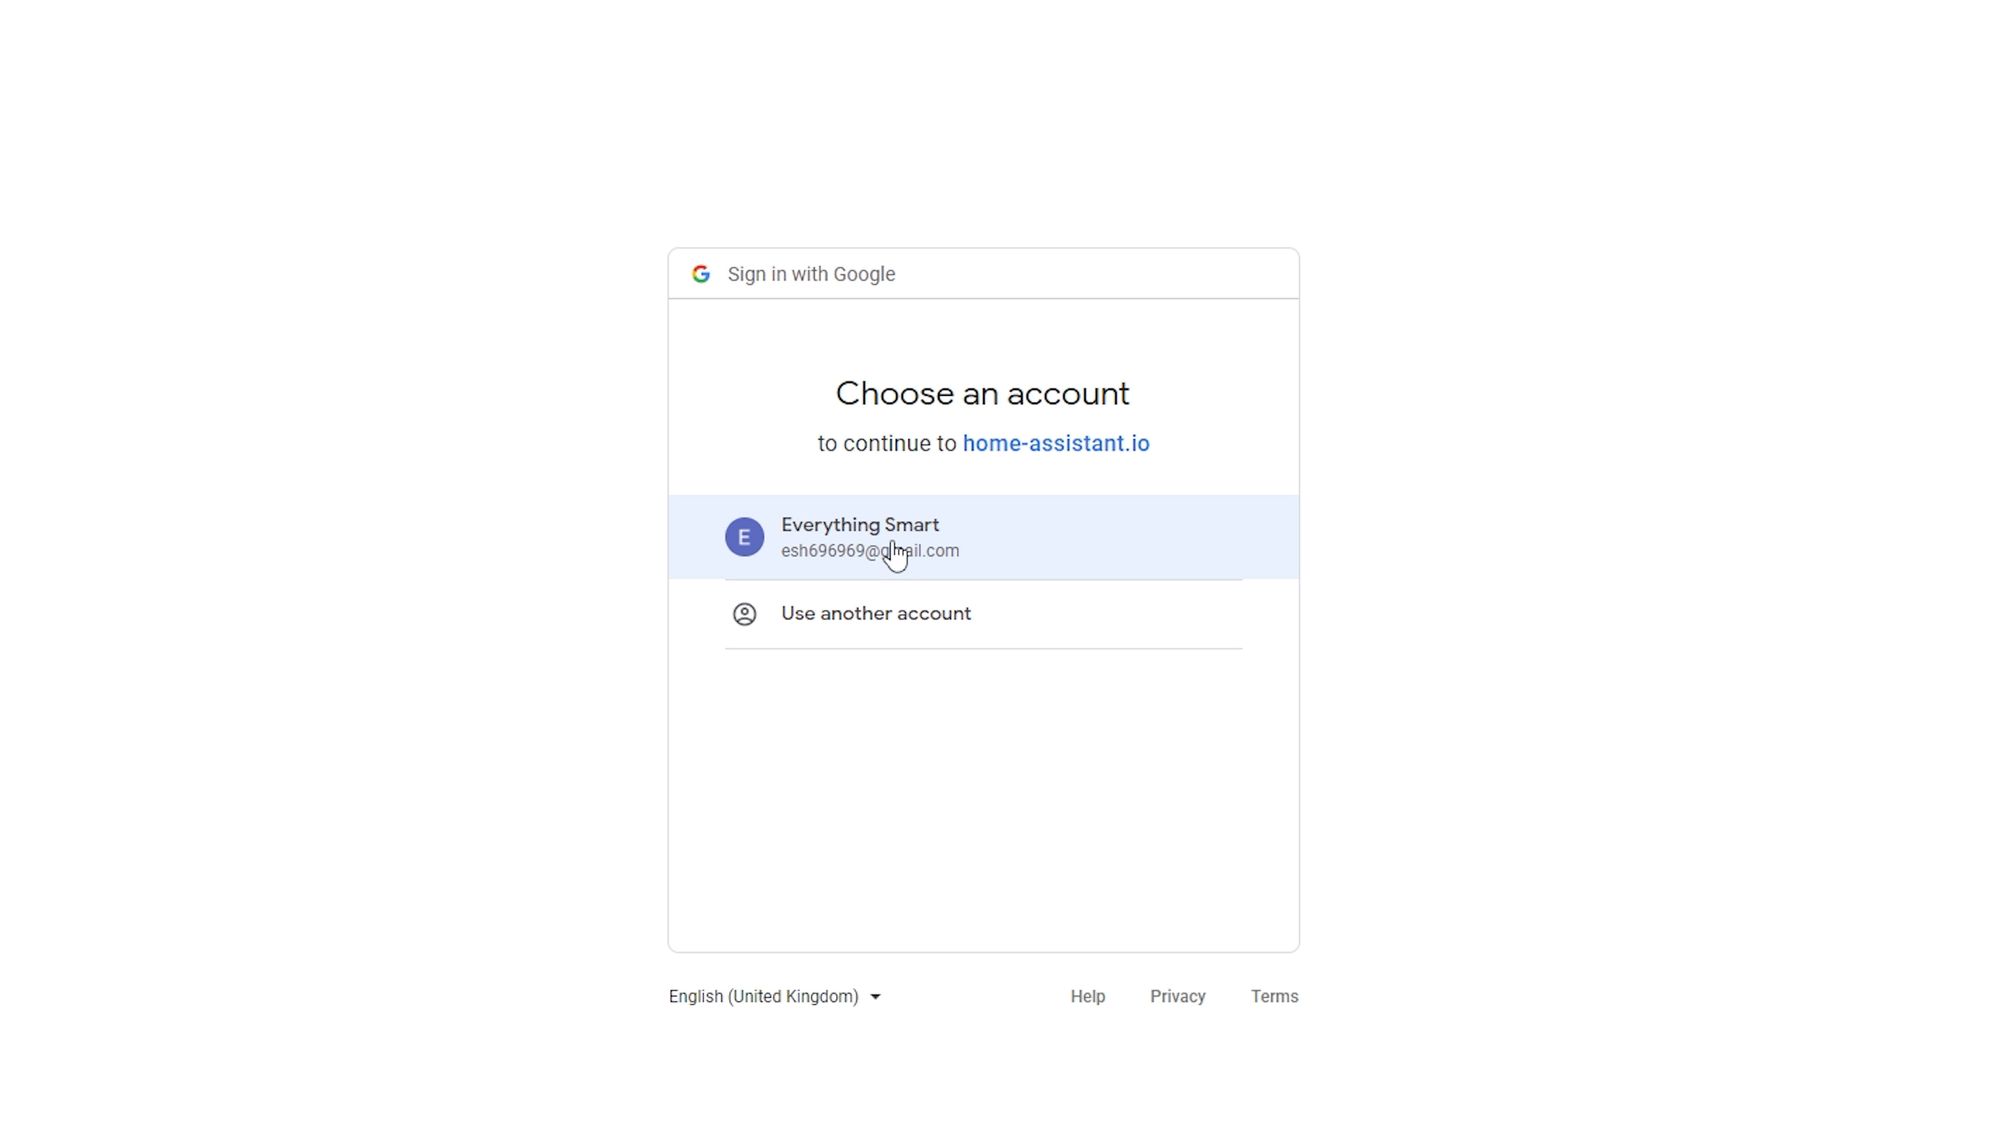
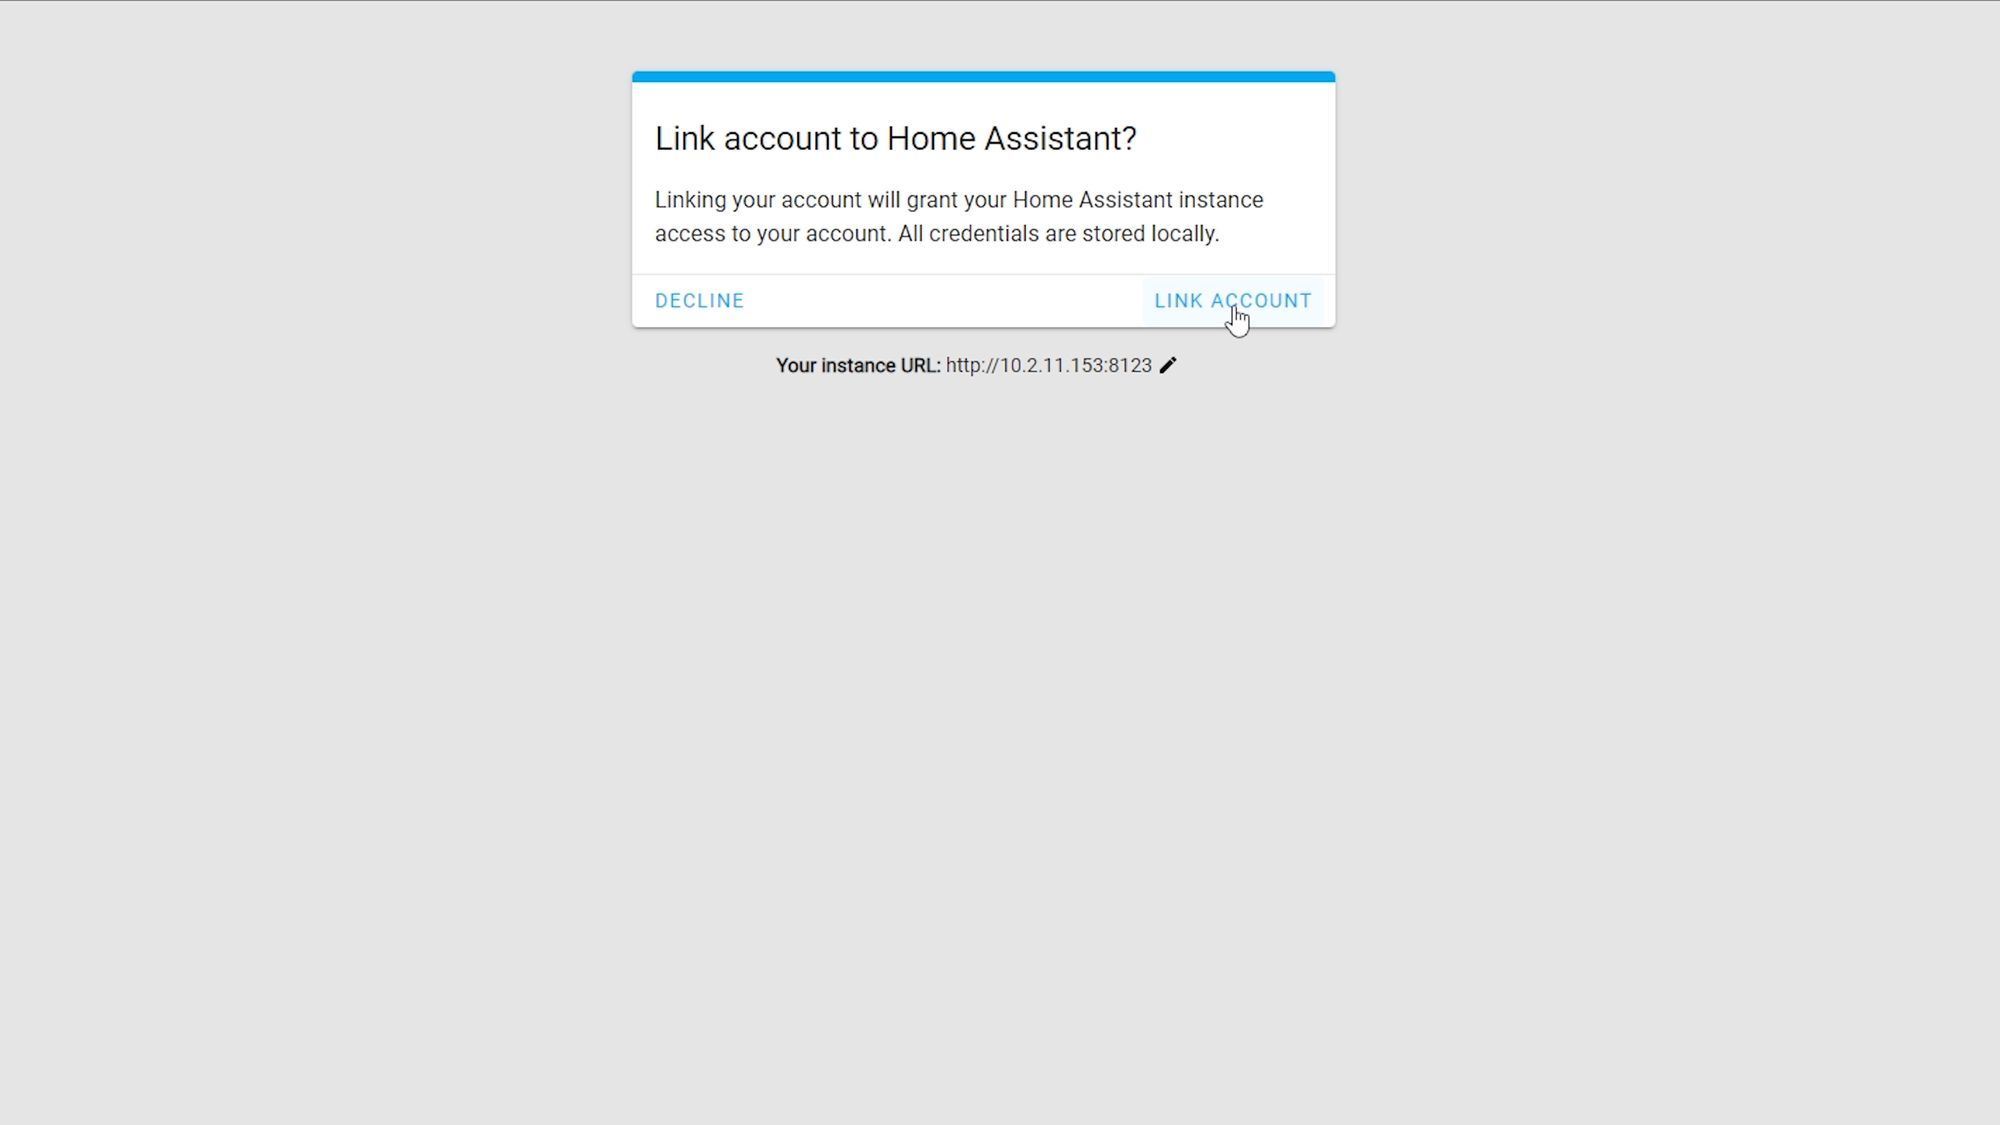
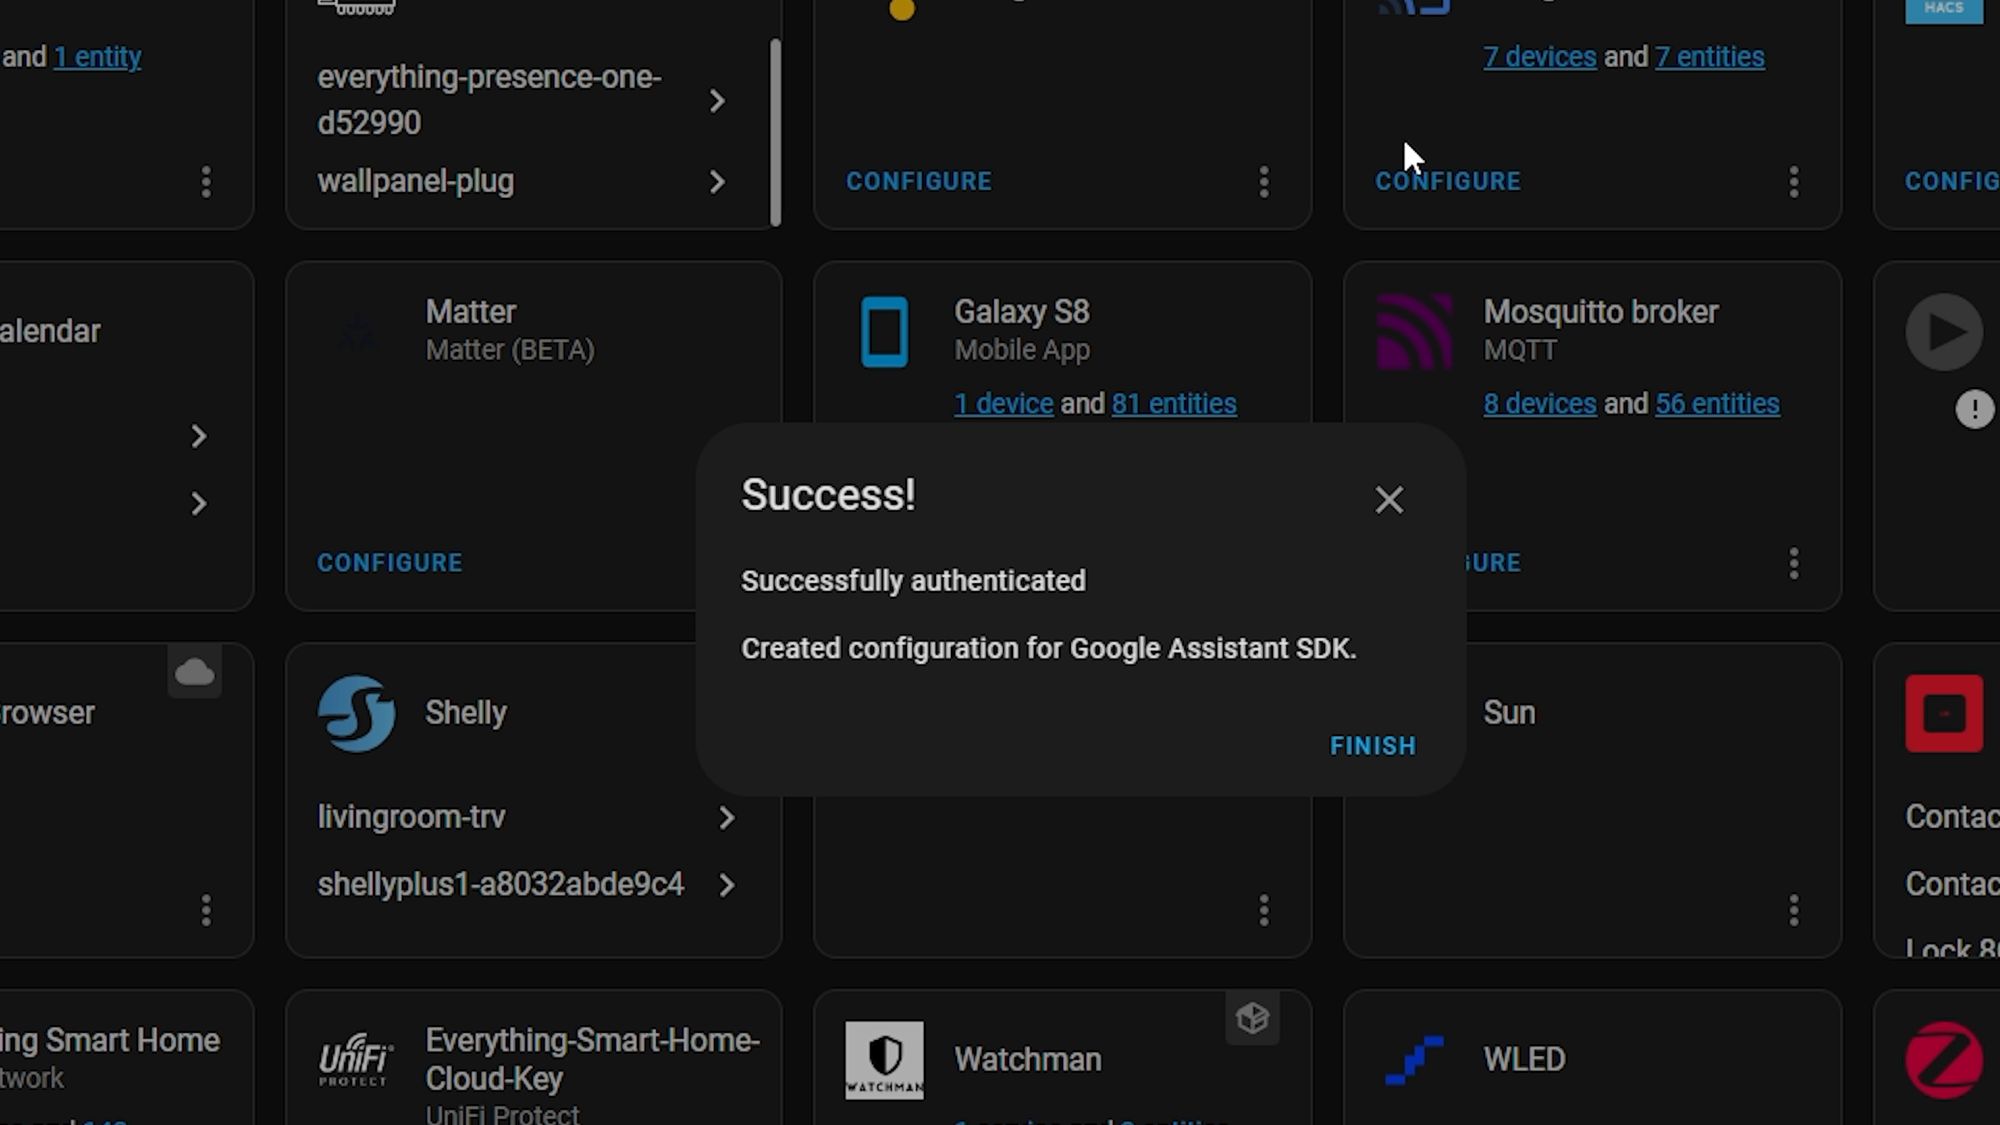
A new tab is going to open asking you to select your account to give permission, so go ahead and do that and click the link URL. Click finish, and the Google Assistant SDK has now been added!
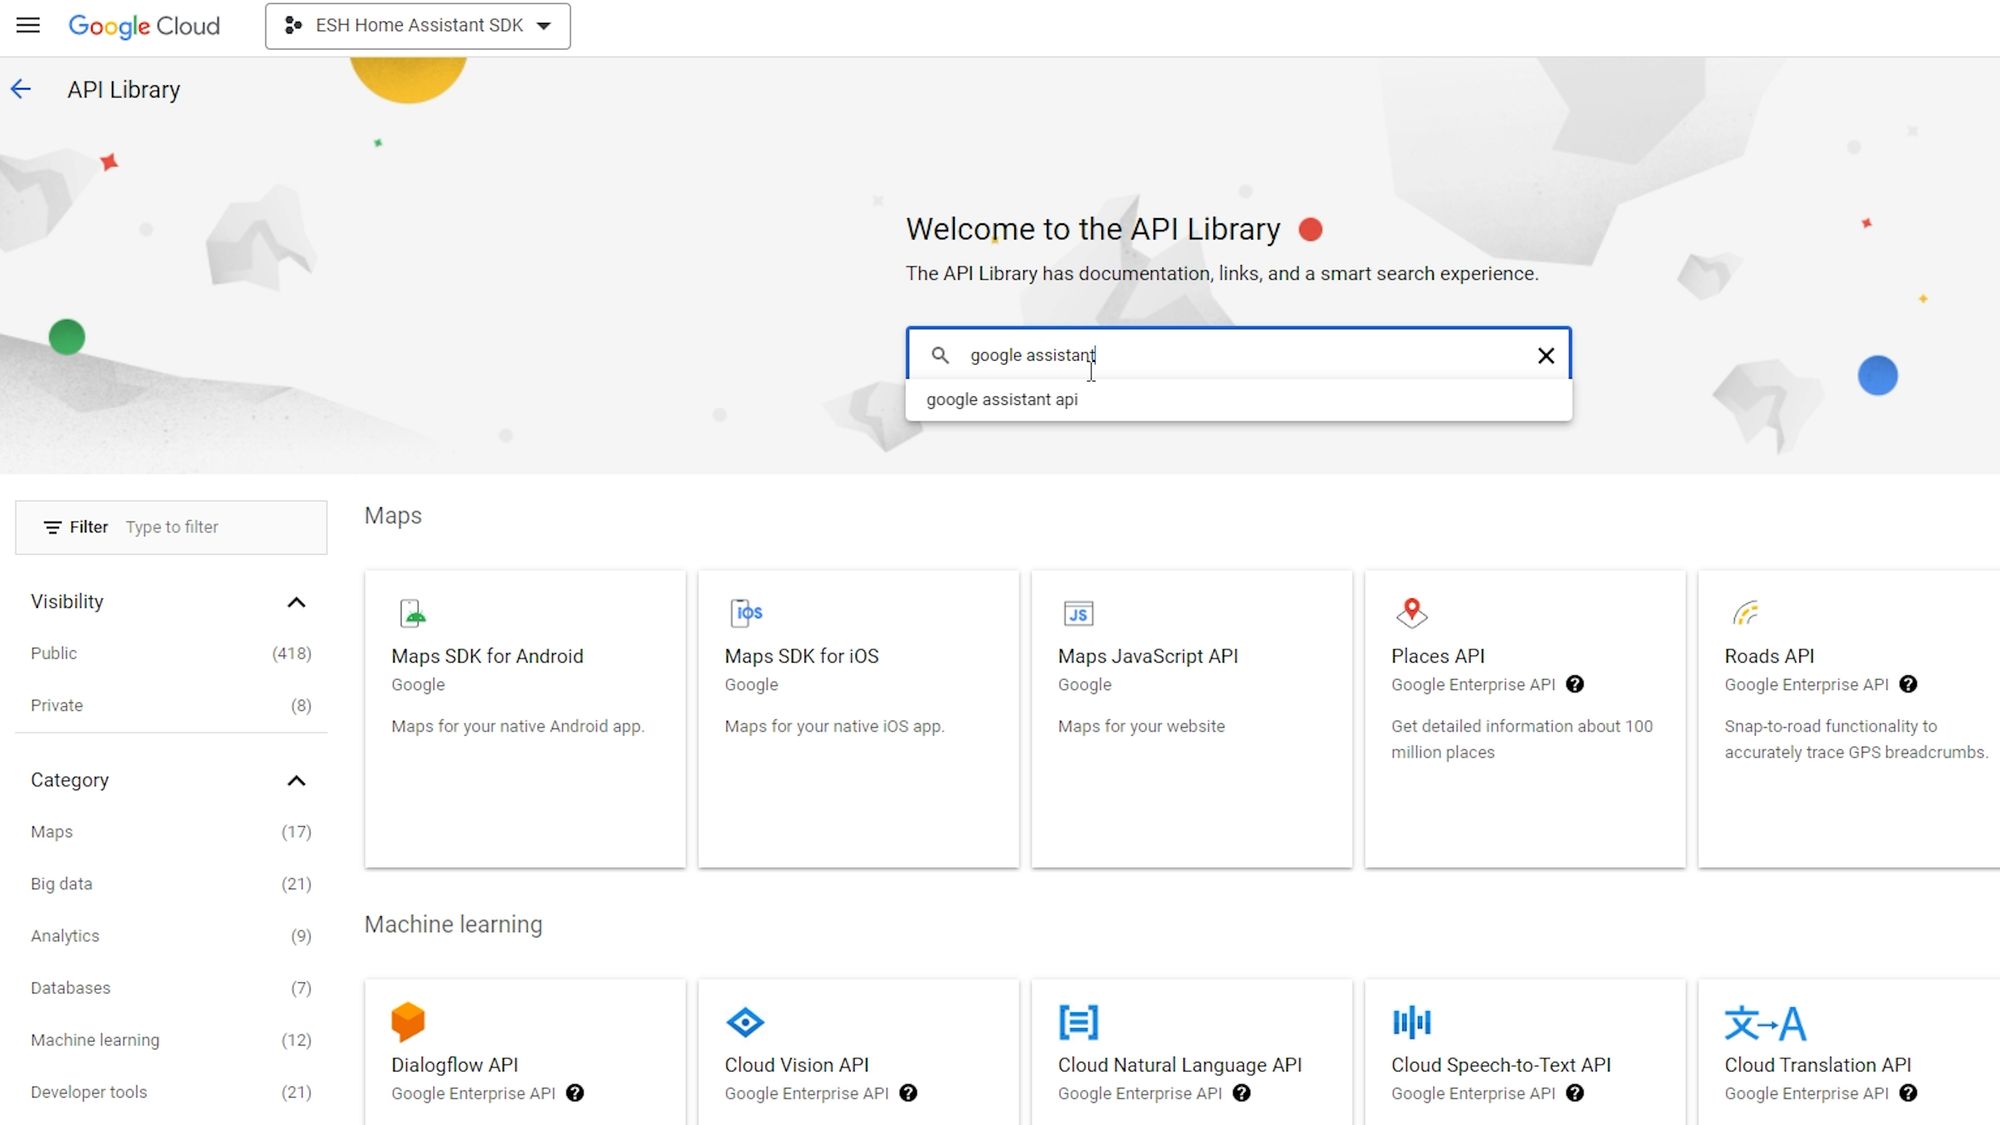
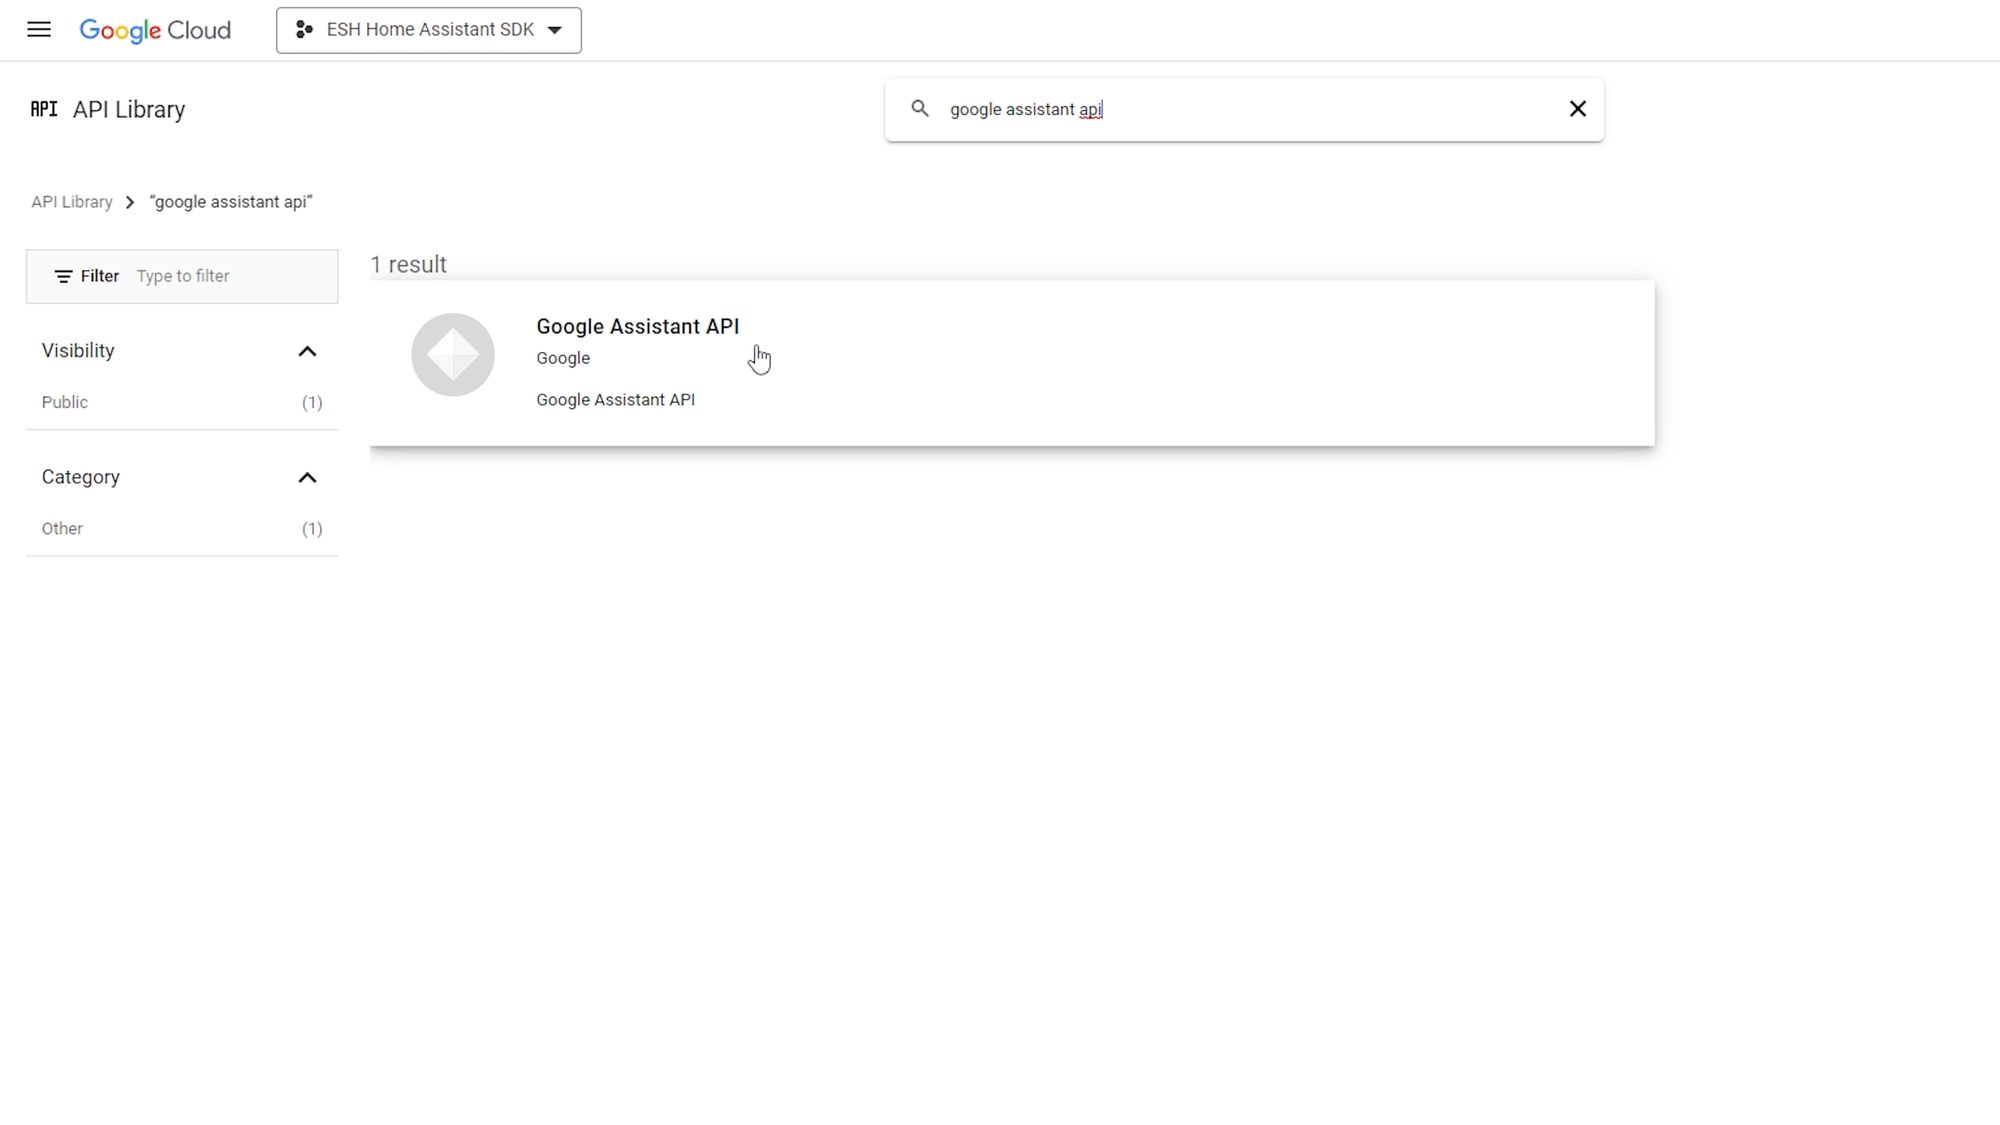
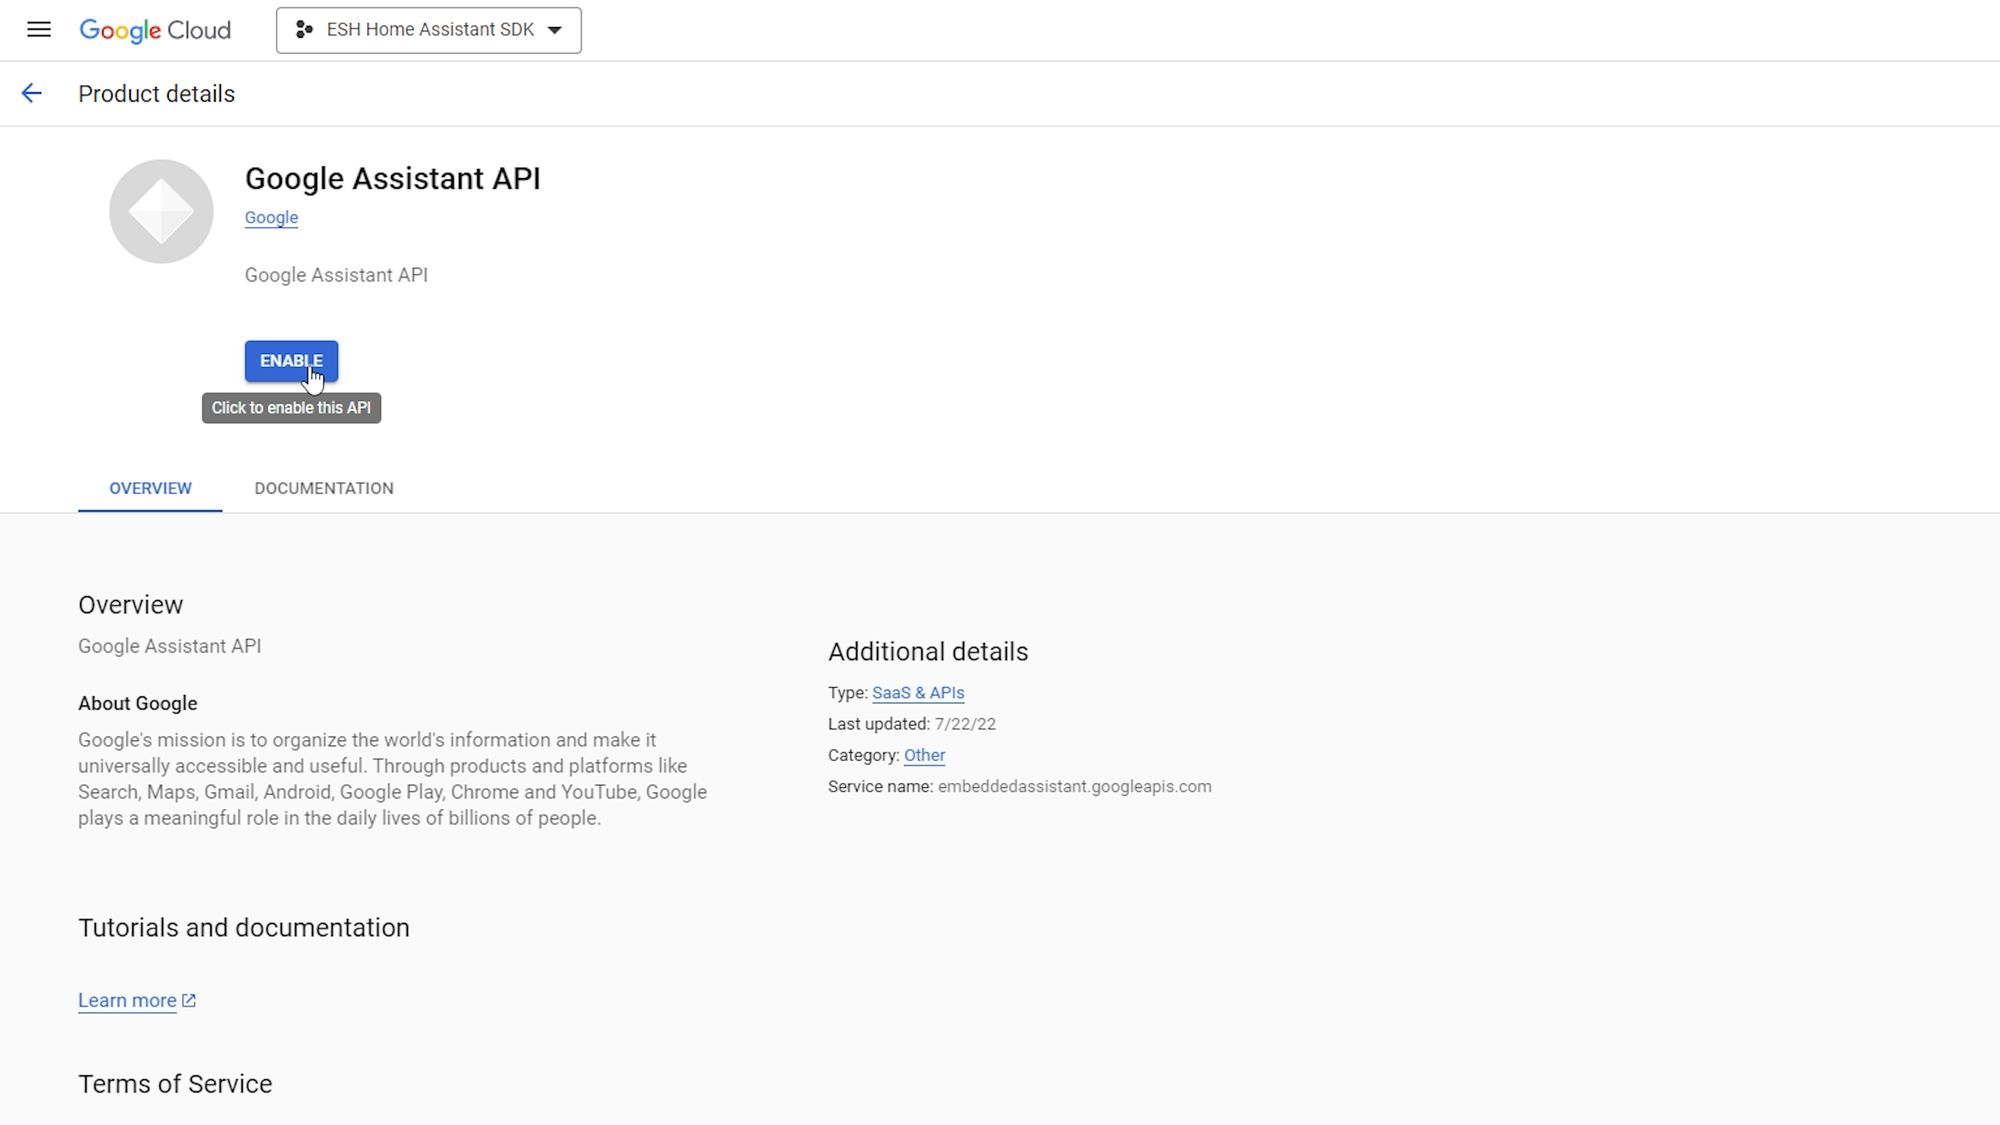
There is one final thing to do on the Google console: click on library from the left hand menu and then search for Google assistant, and select the Google assistant api item, and click on the enable button.
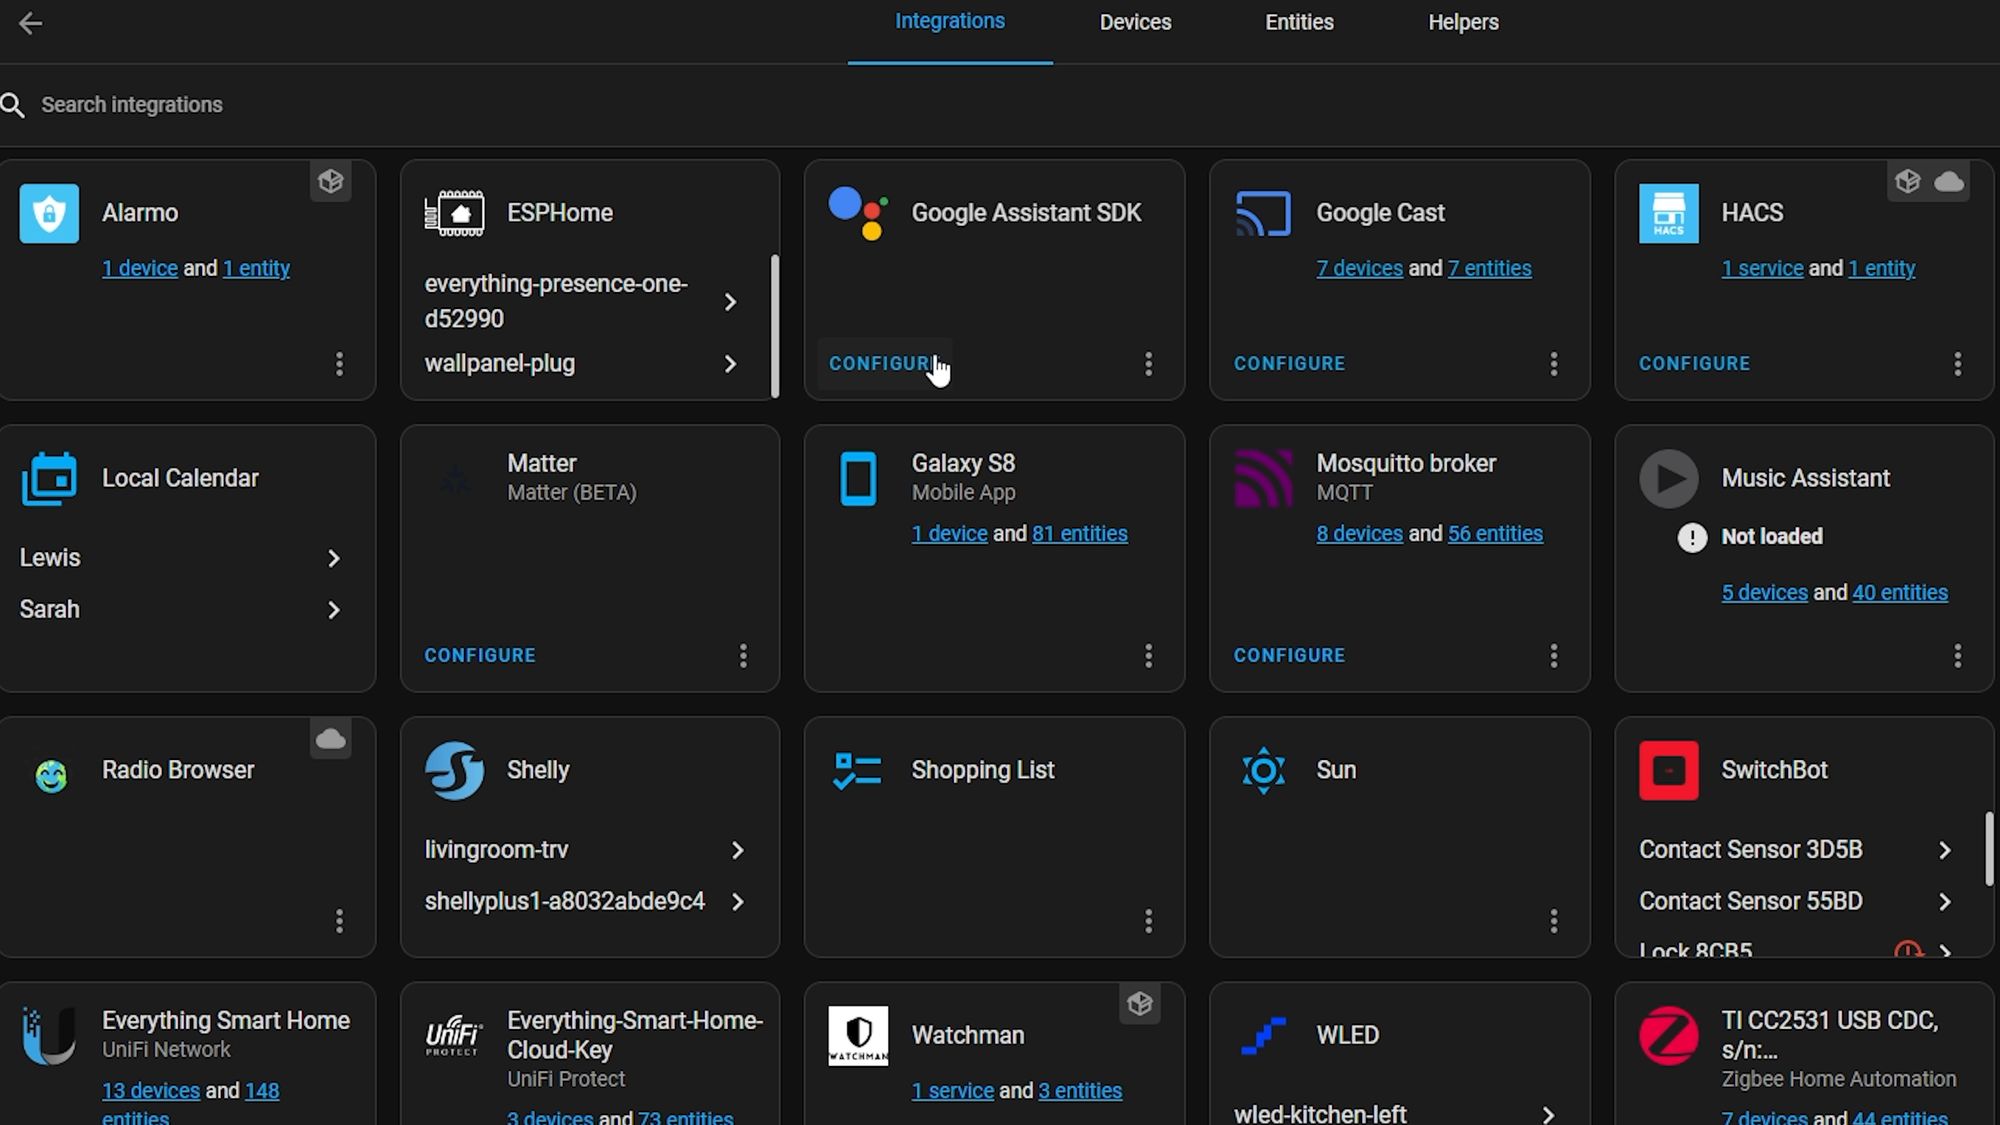
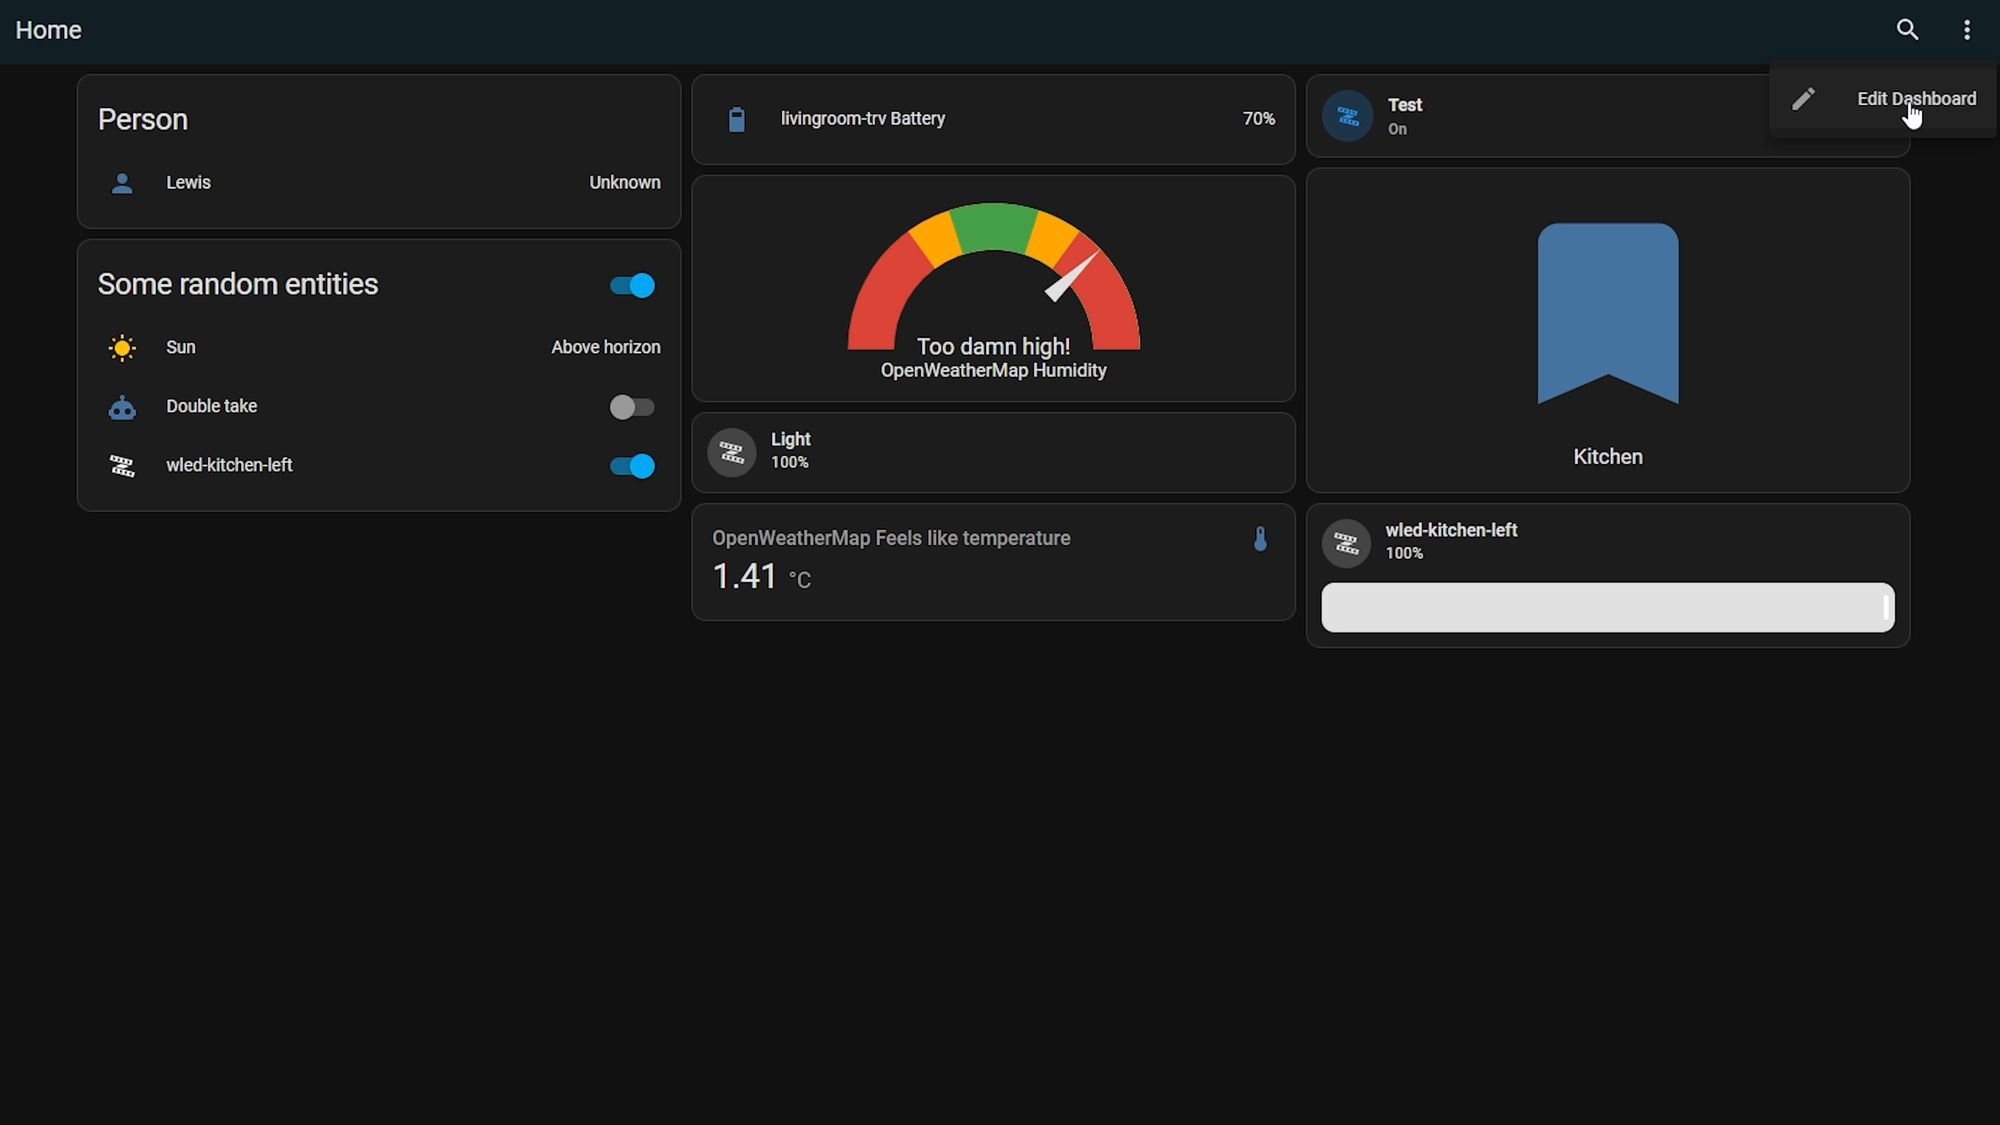
Now, back on Home Assistant, you will notice that we can now see the Google Assistant SDK integration, but it doesn’t have any entities that we can actually use, so what’s the deal there?
Adding Entities to Google Assistant SDK
Well, like I mentioned earlier, this doesn’t actually bring in all of your entities from Google into Home Assistant like we would expect from other integrations. The way this works is that it gives you a service that you can type commands in, in the style you would speak to your Google home speaker with your voice...let me show you.
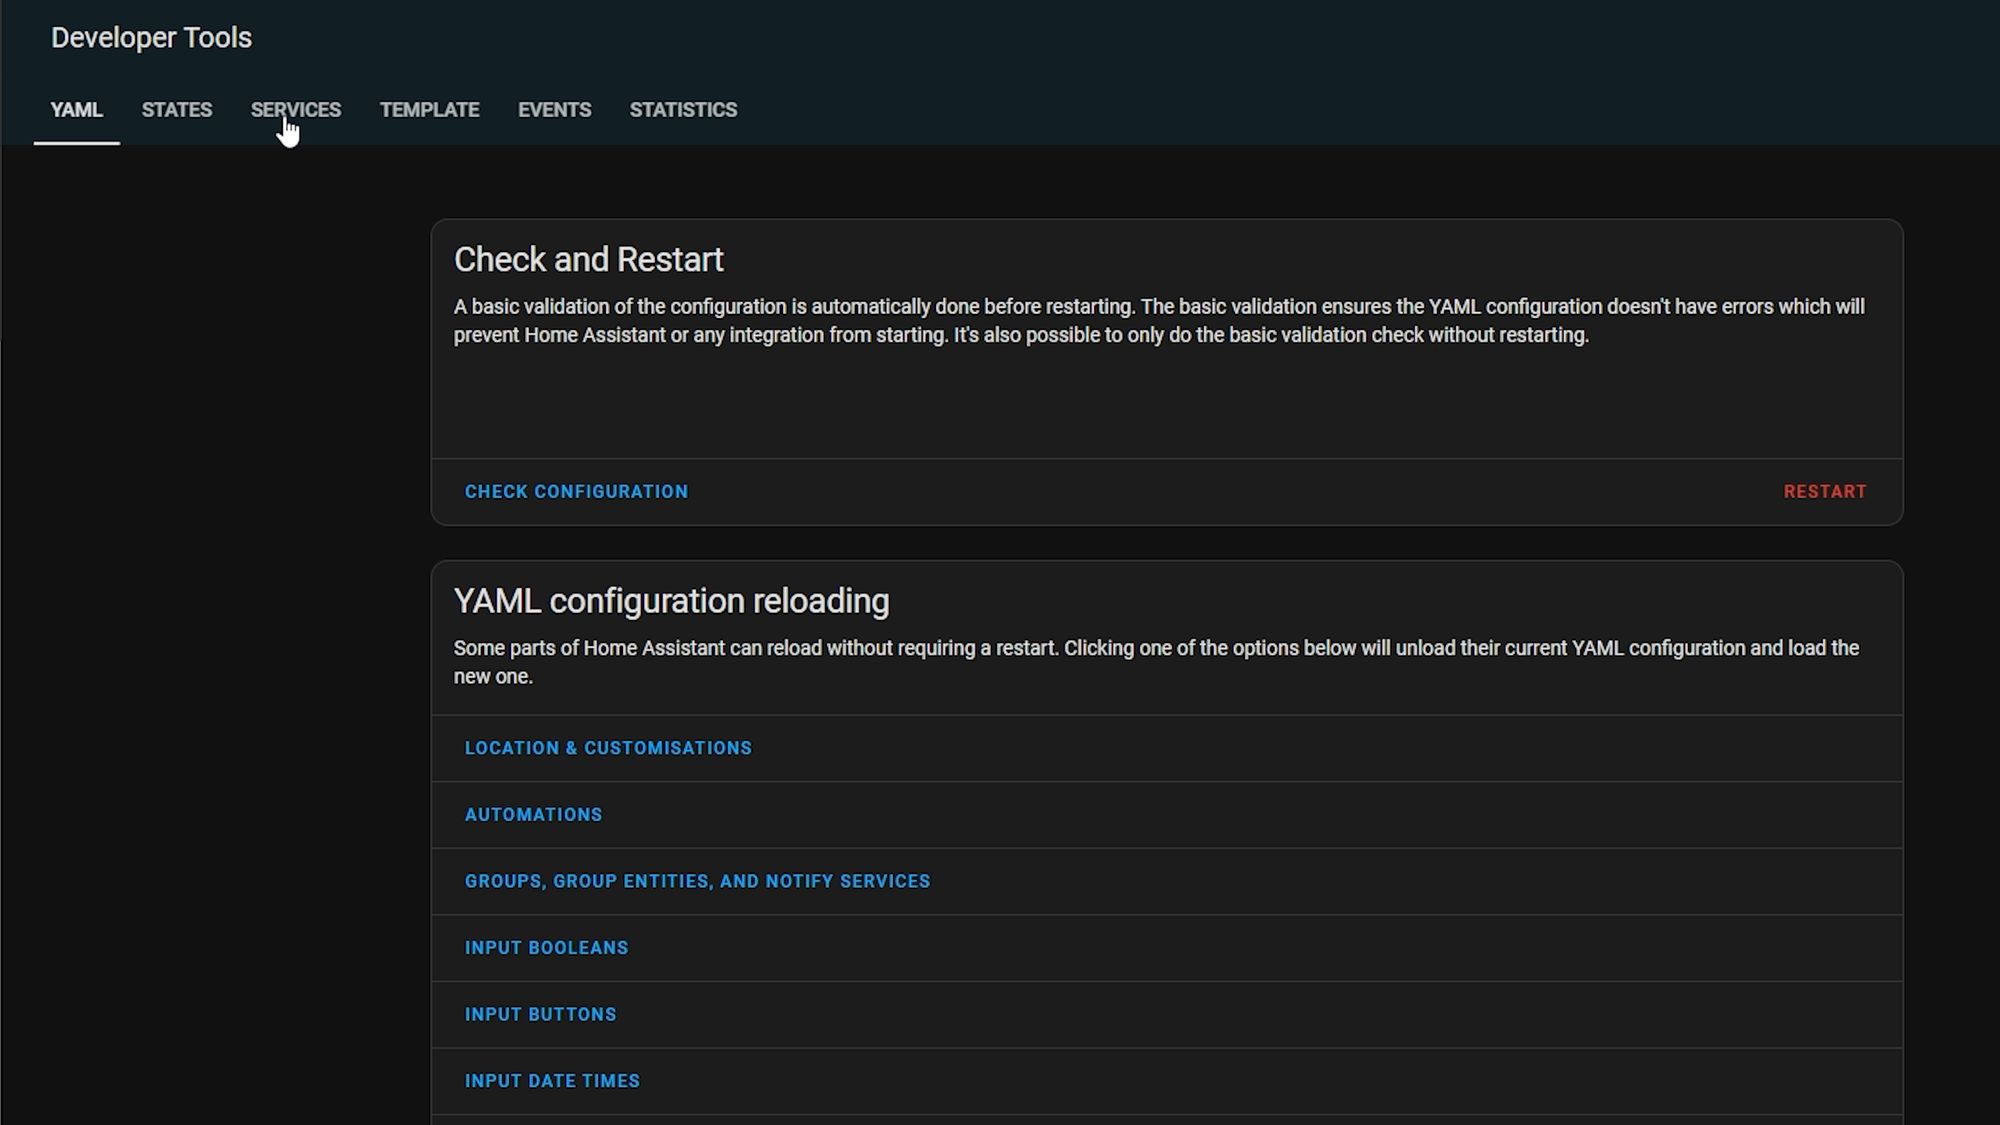
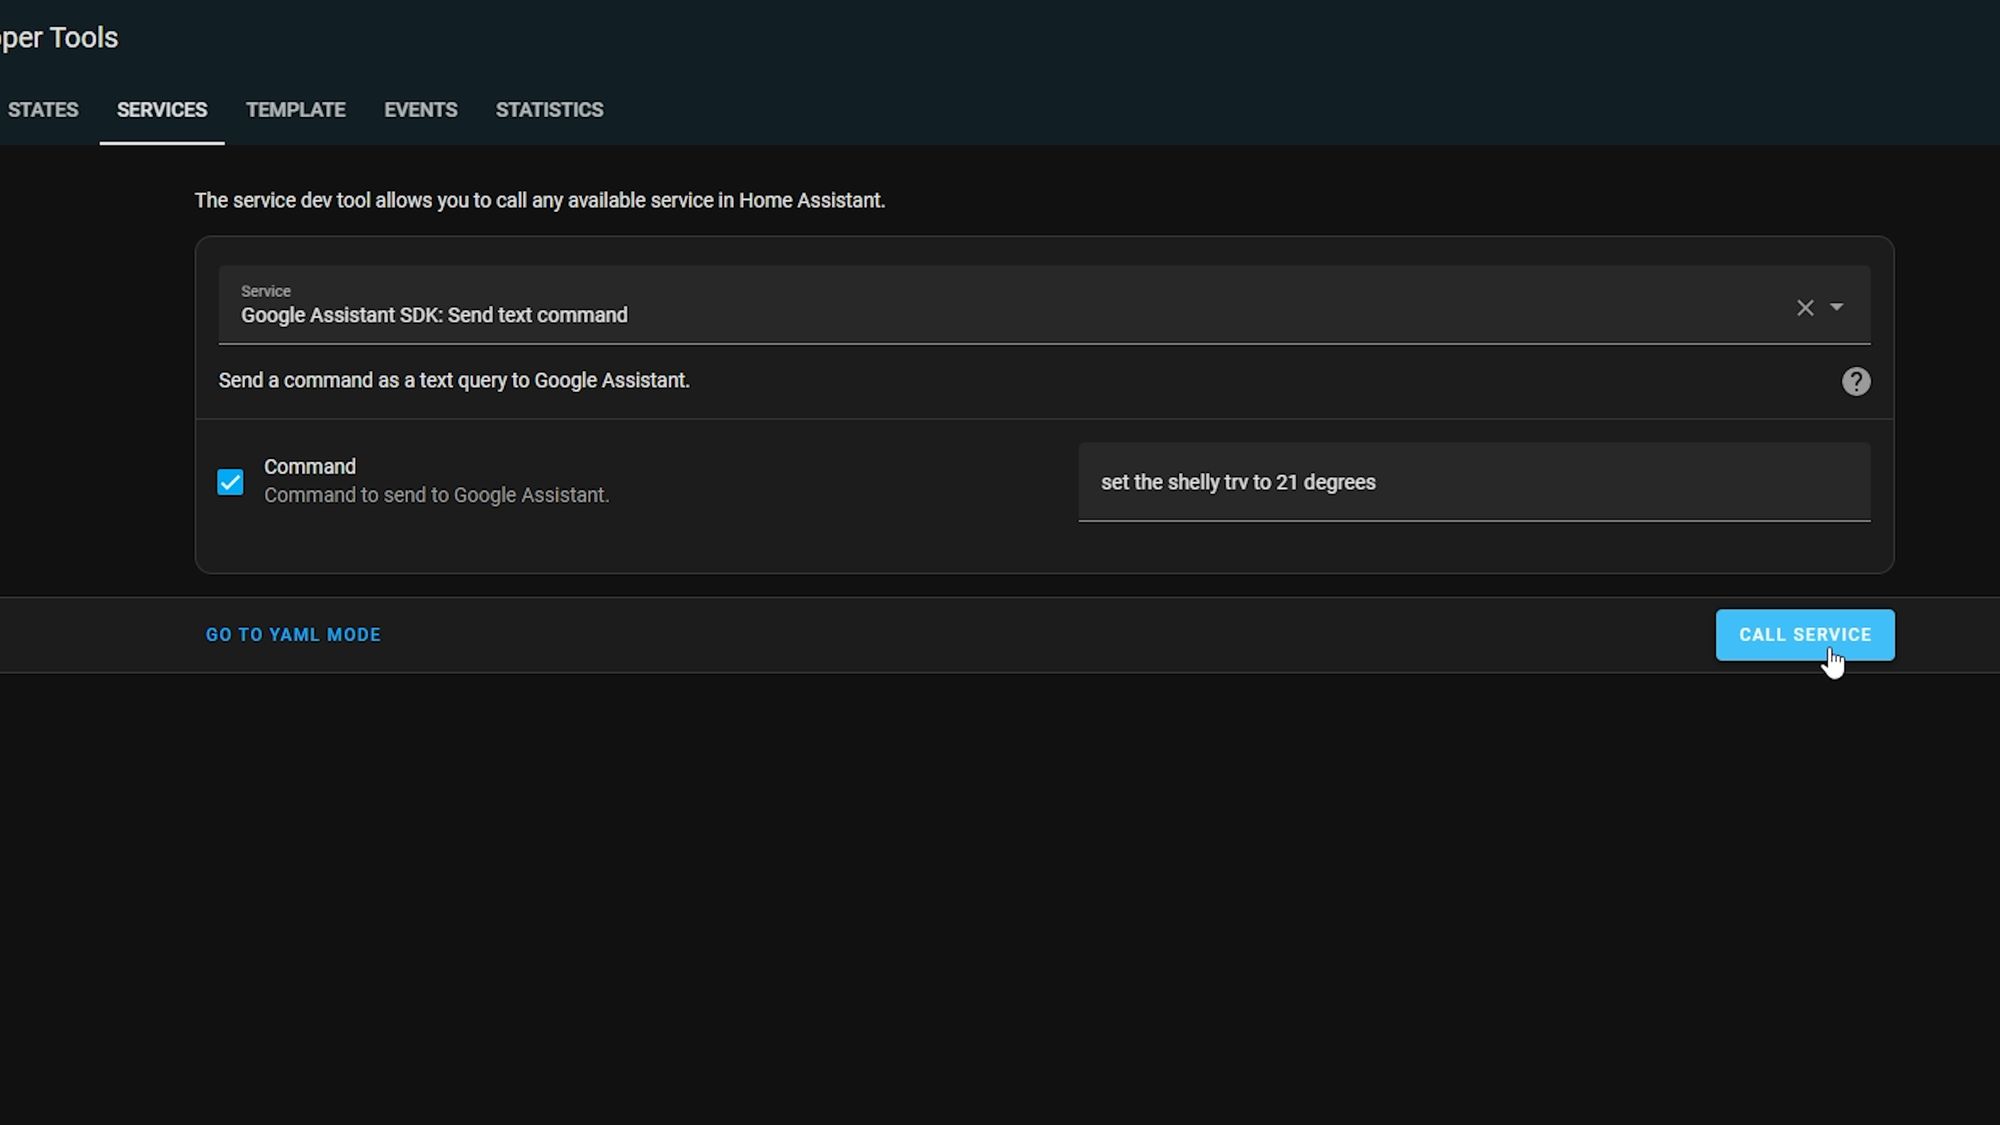
Head over to developer tools and click on services then search for Google Assistant, selecting the Google Assistant SDK send text command service.
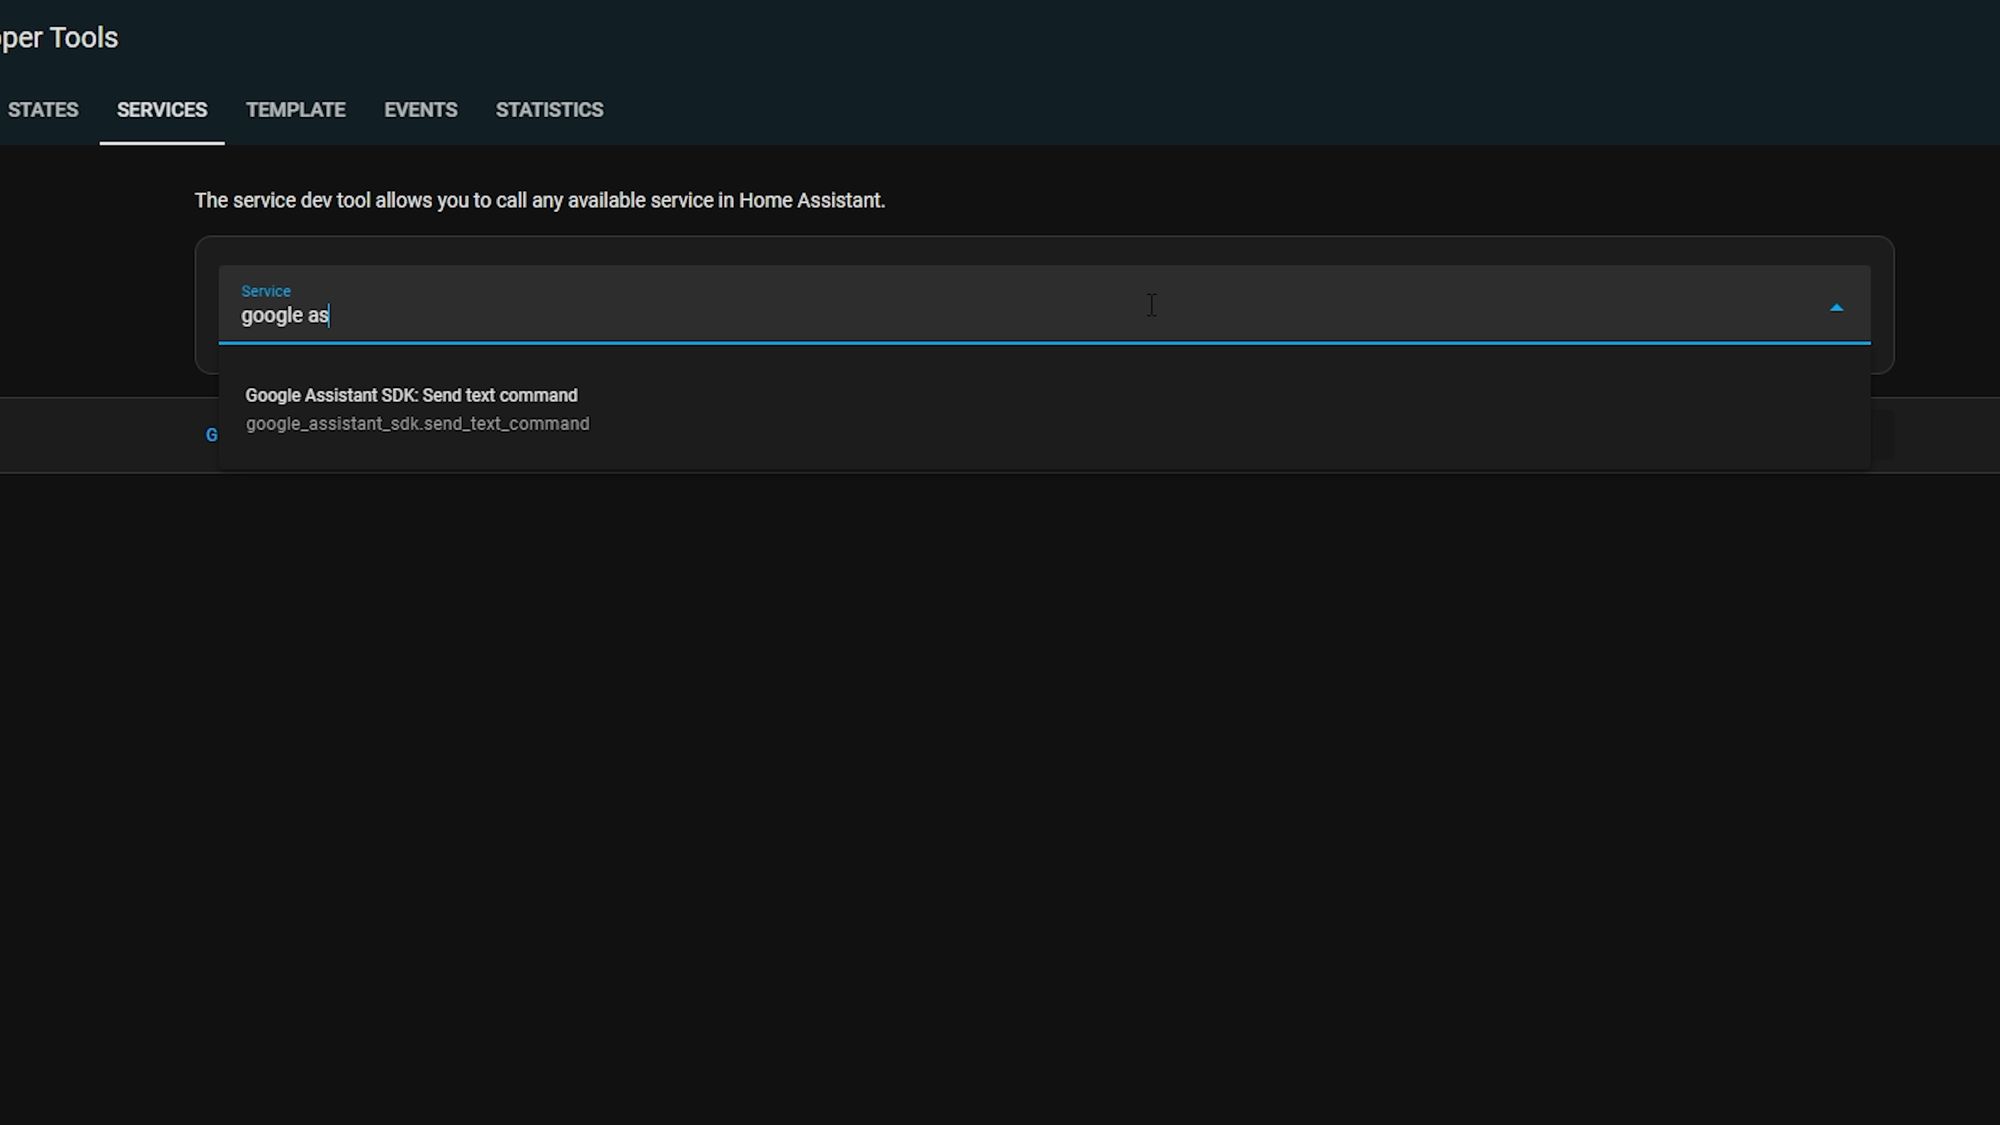
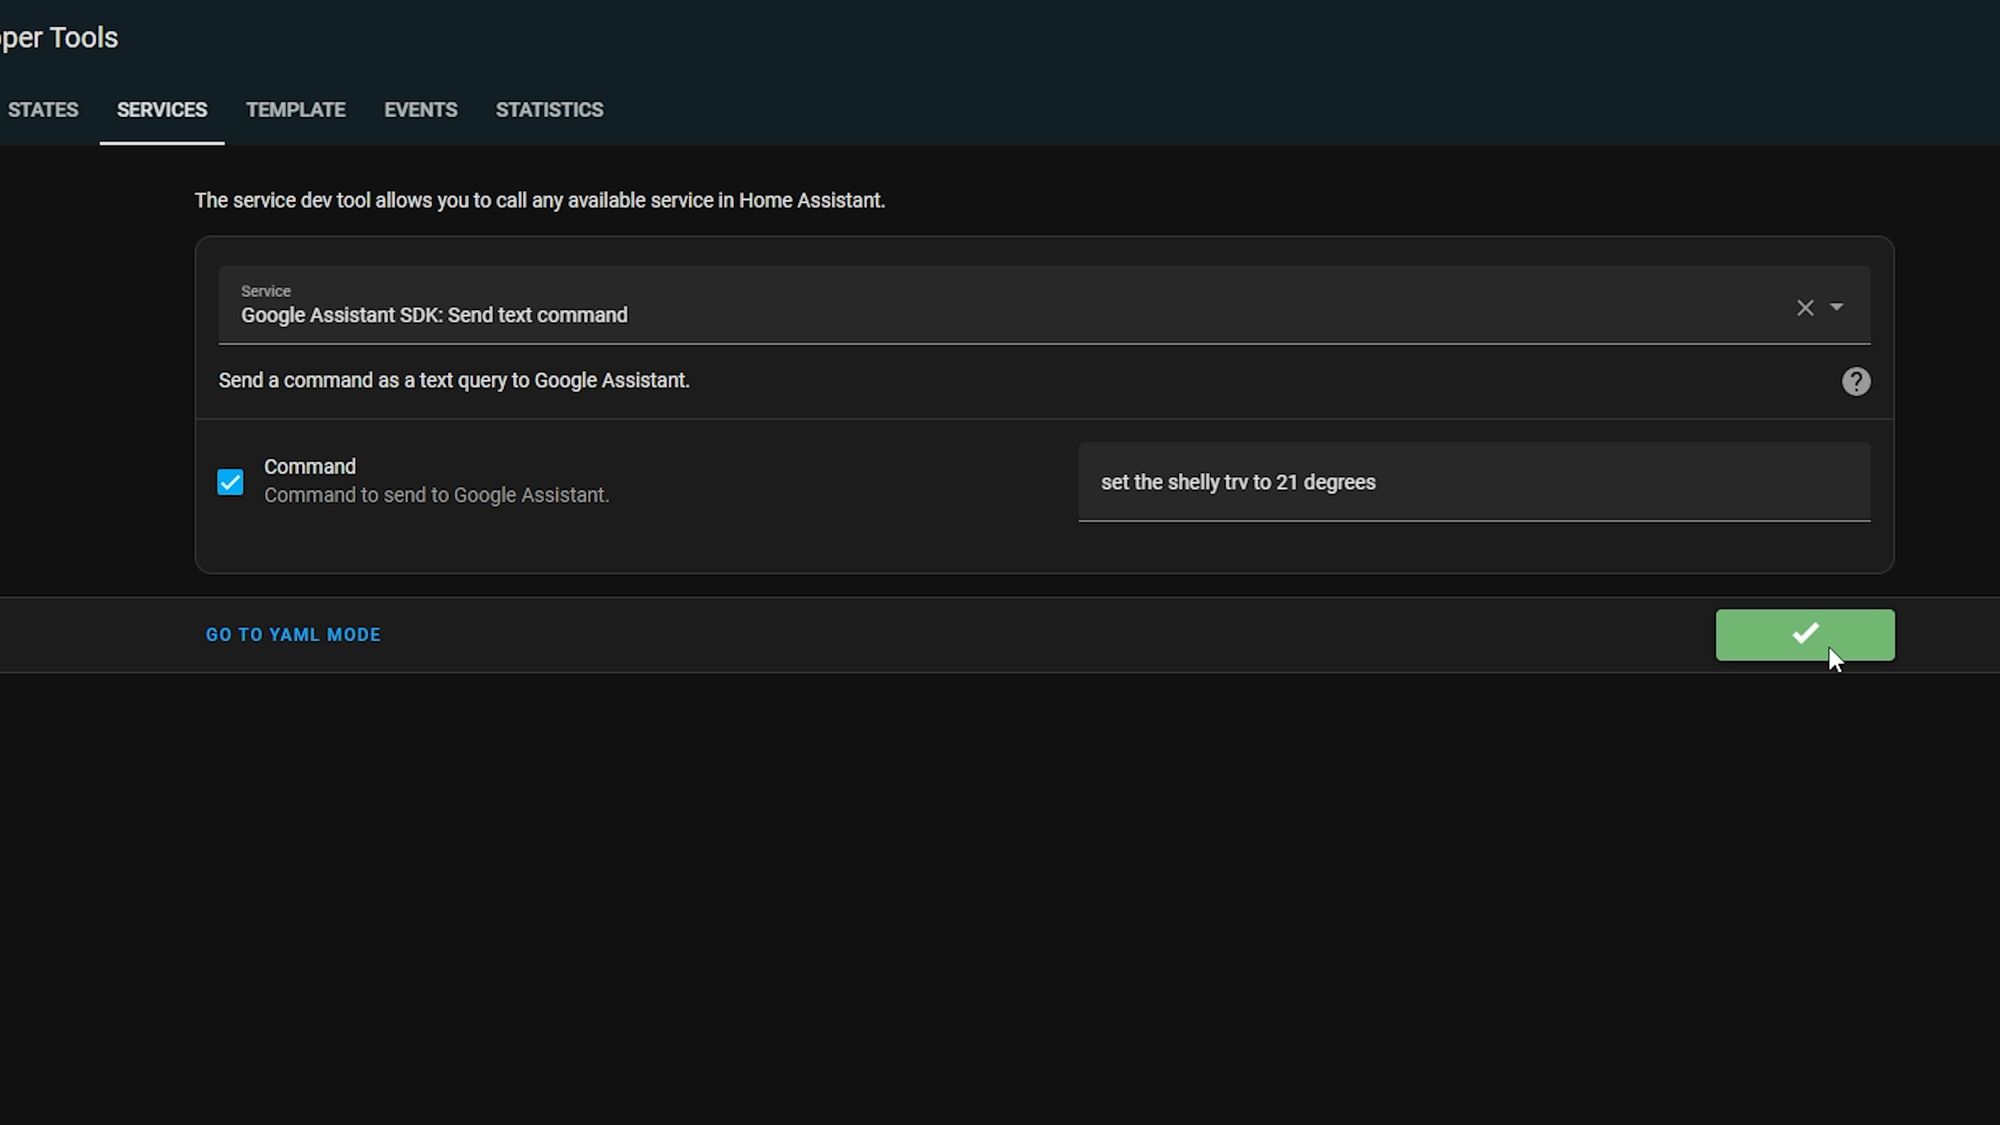
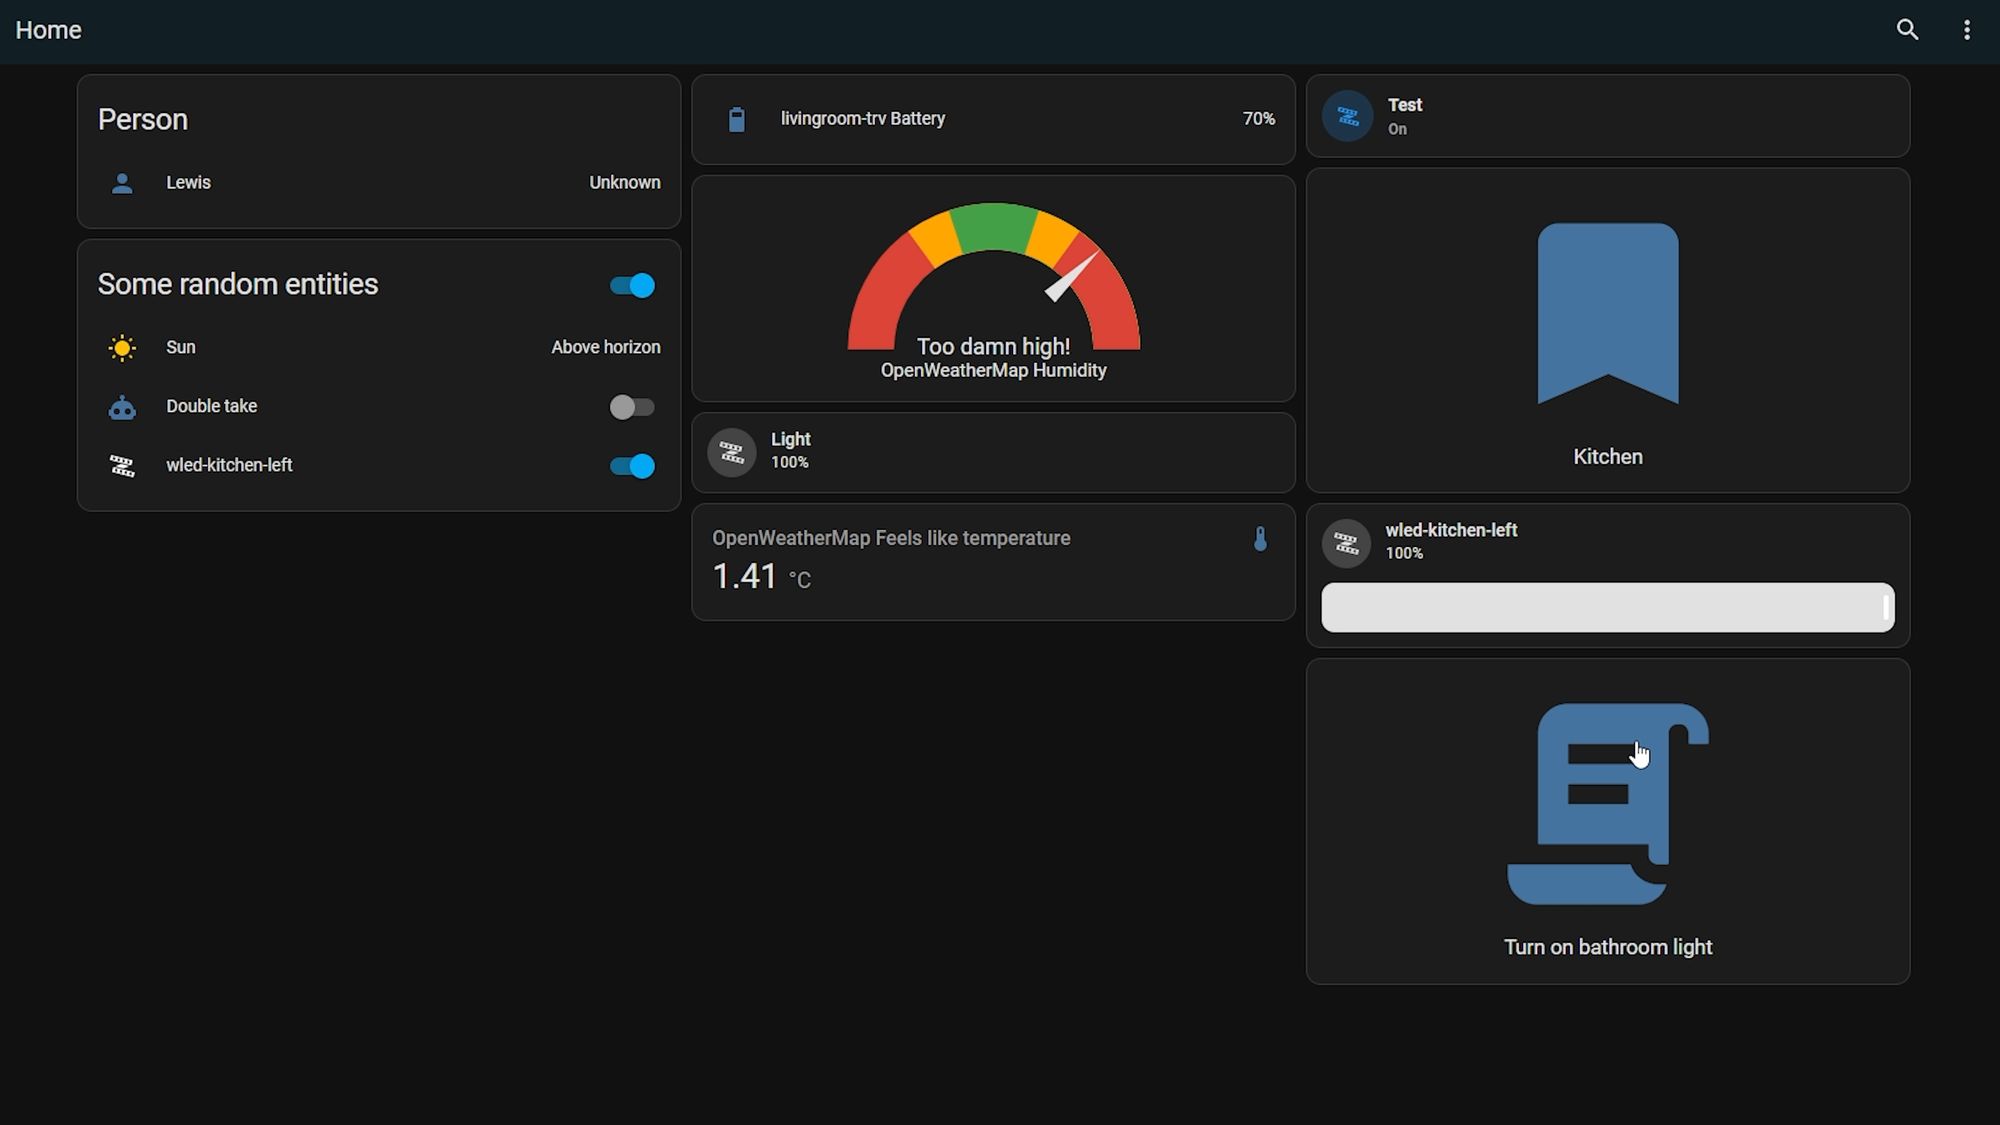
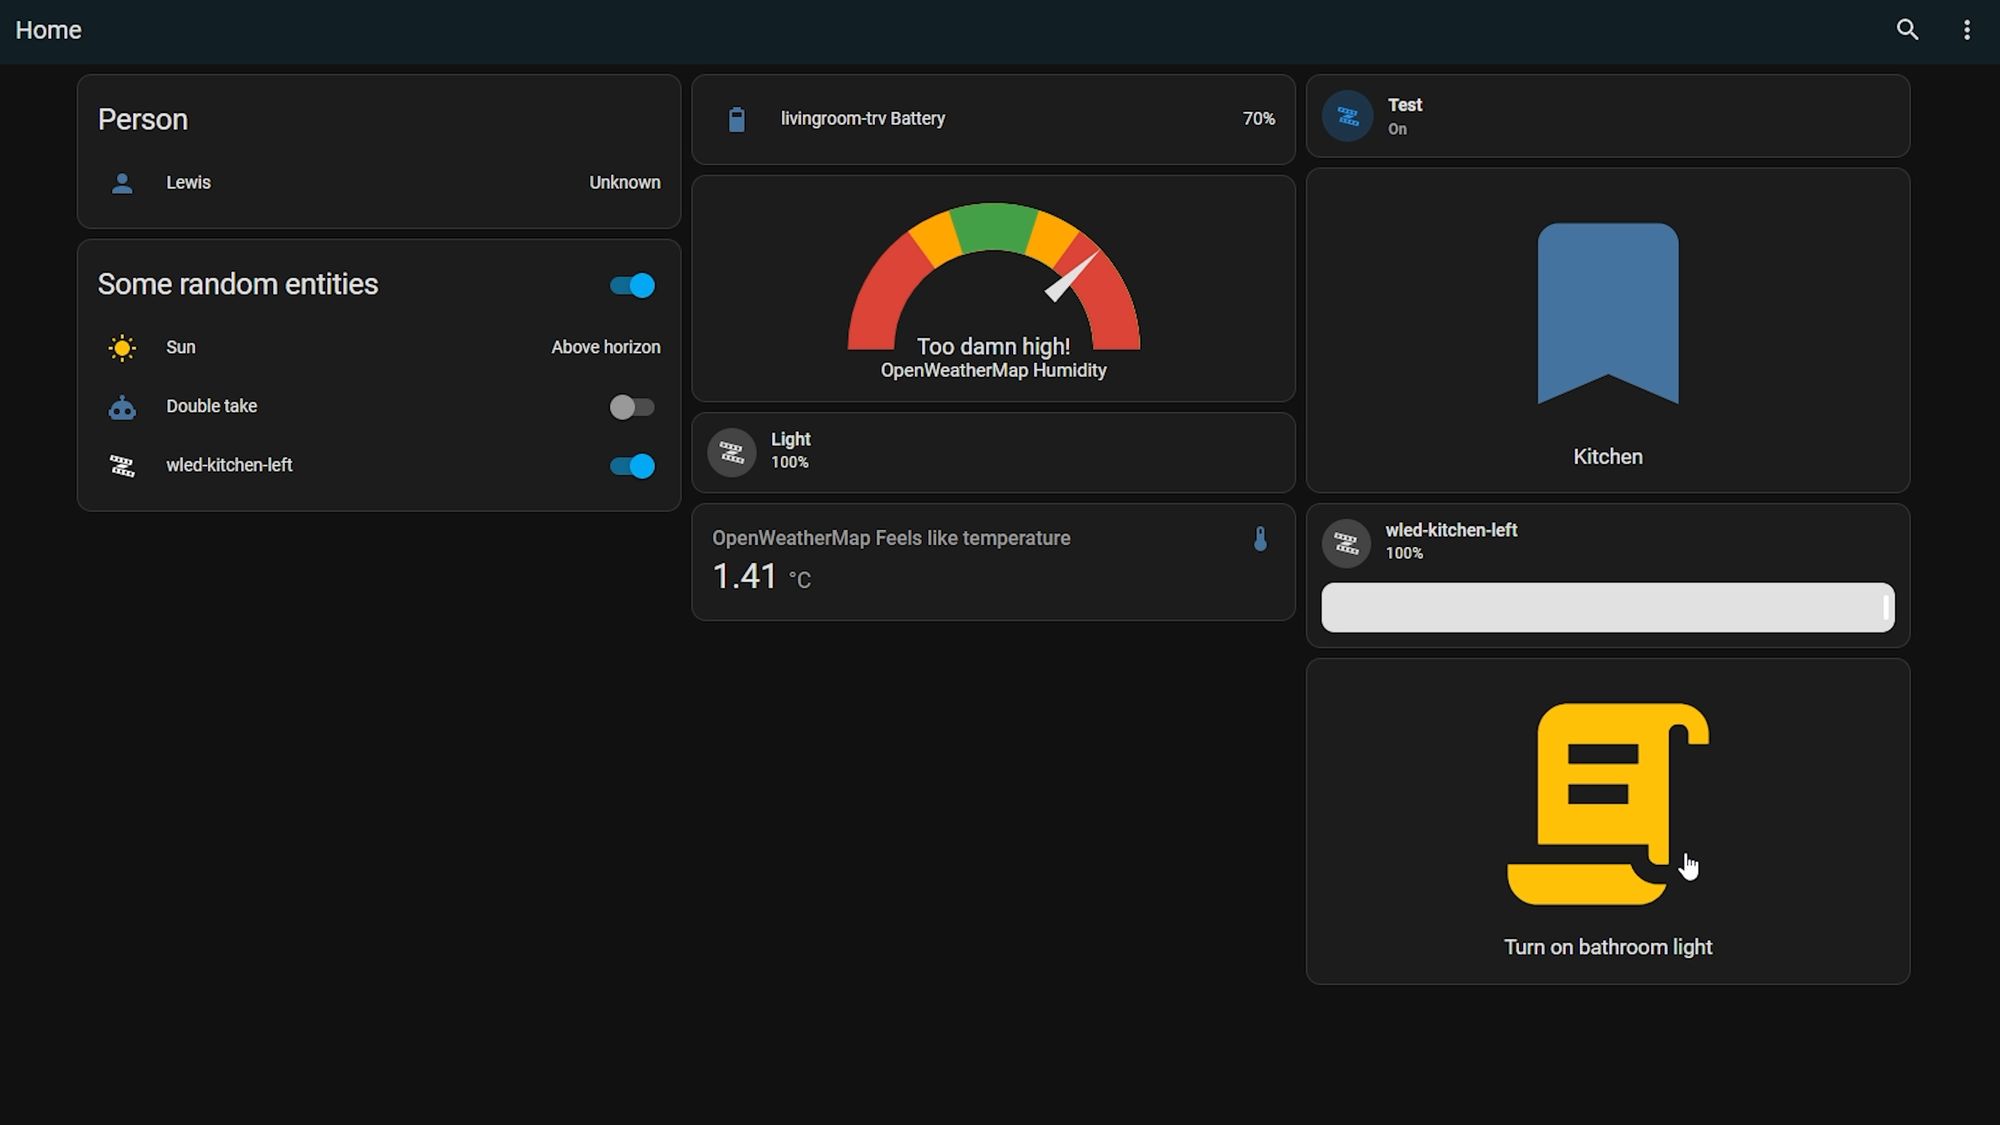
Then, tick the command box and enter something that you would normally say to Google home. For example, I can say "set the Shelly TRV to 21 degrees" or "turn on the bathroom light." If you hit call service and watch the Google app at the same time, you should see that change happen within a few seconds.

So, now you can use the Google Assistant SDK in your automations and scripts with this simple service which allows you to interact with devices connected to Google Home from within Home Assistant - that’s great for automations but what about if you wanted a button?
It would be great if we just got a load of entities inside of Home Assistant but as that's not the case, we can use a workaround. One way would be to create a template button using that service but, as we have no way of retrieving the state of a device, the easier method is to just use a script instead.
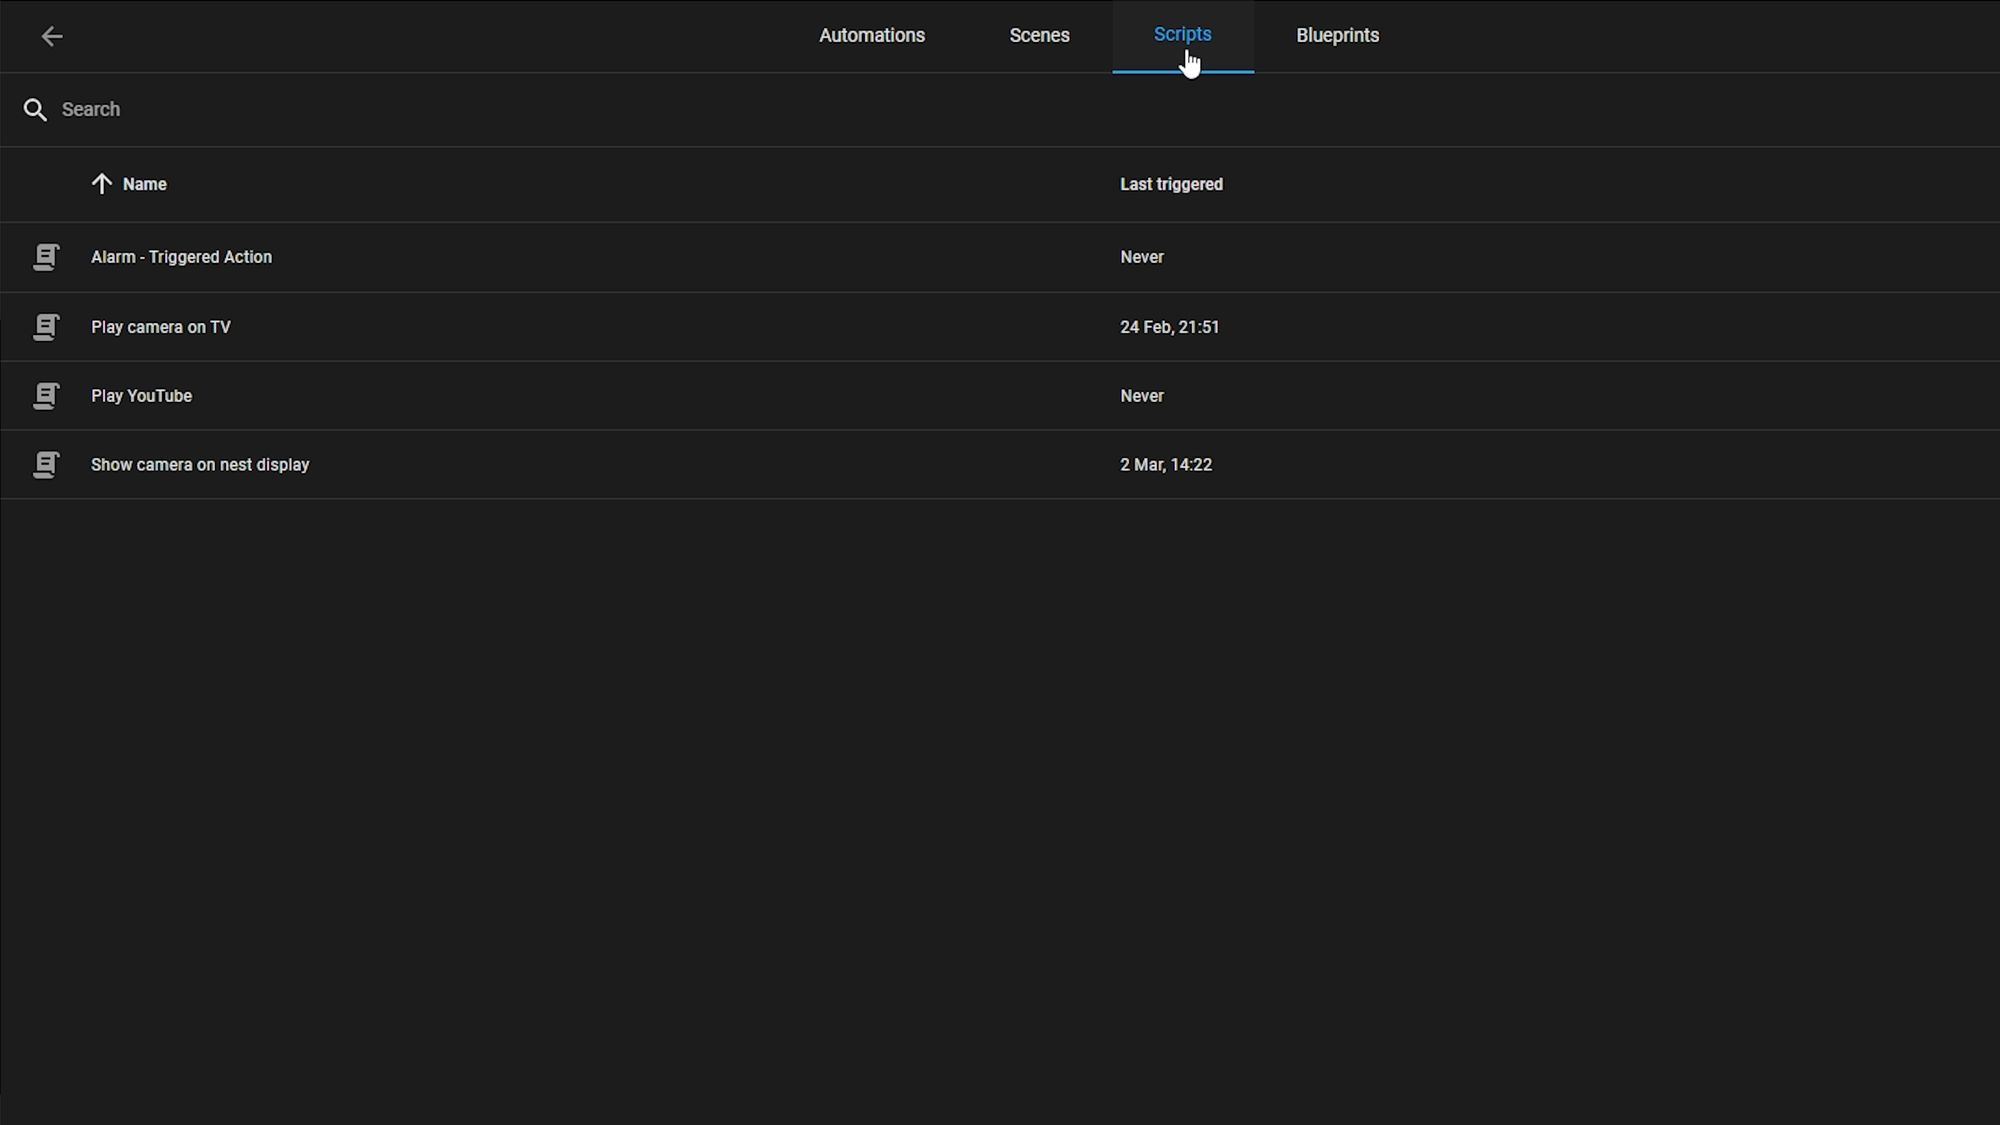
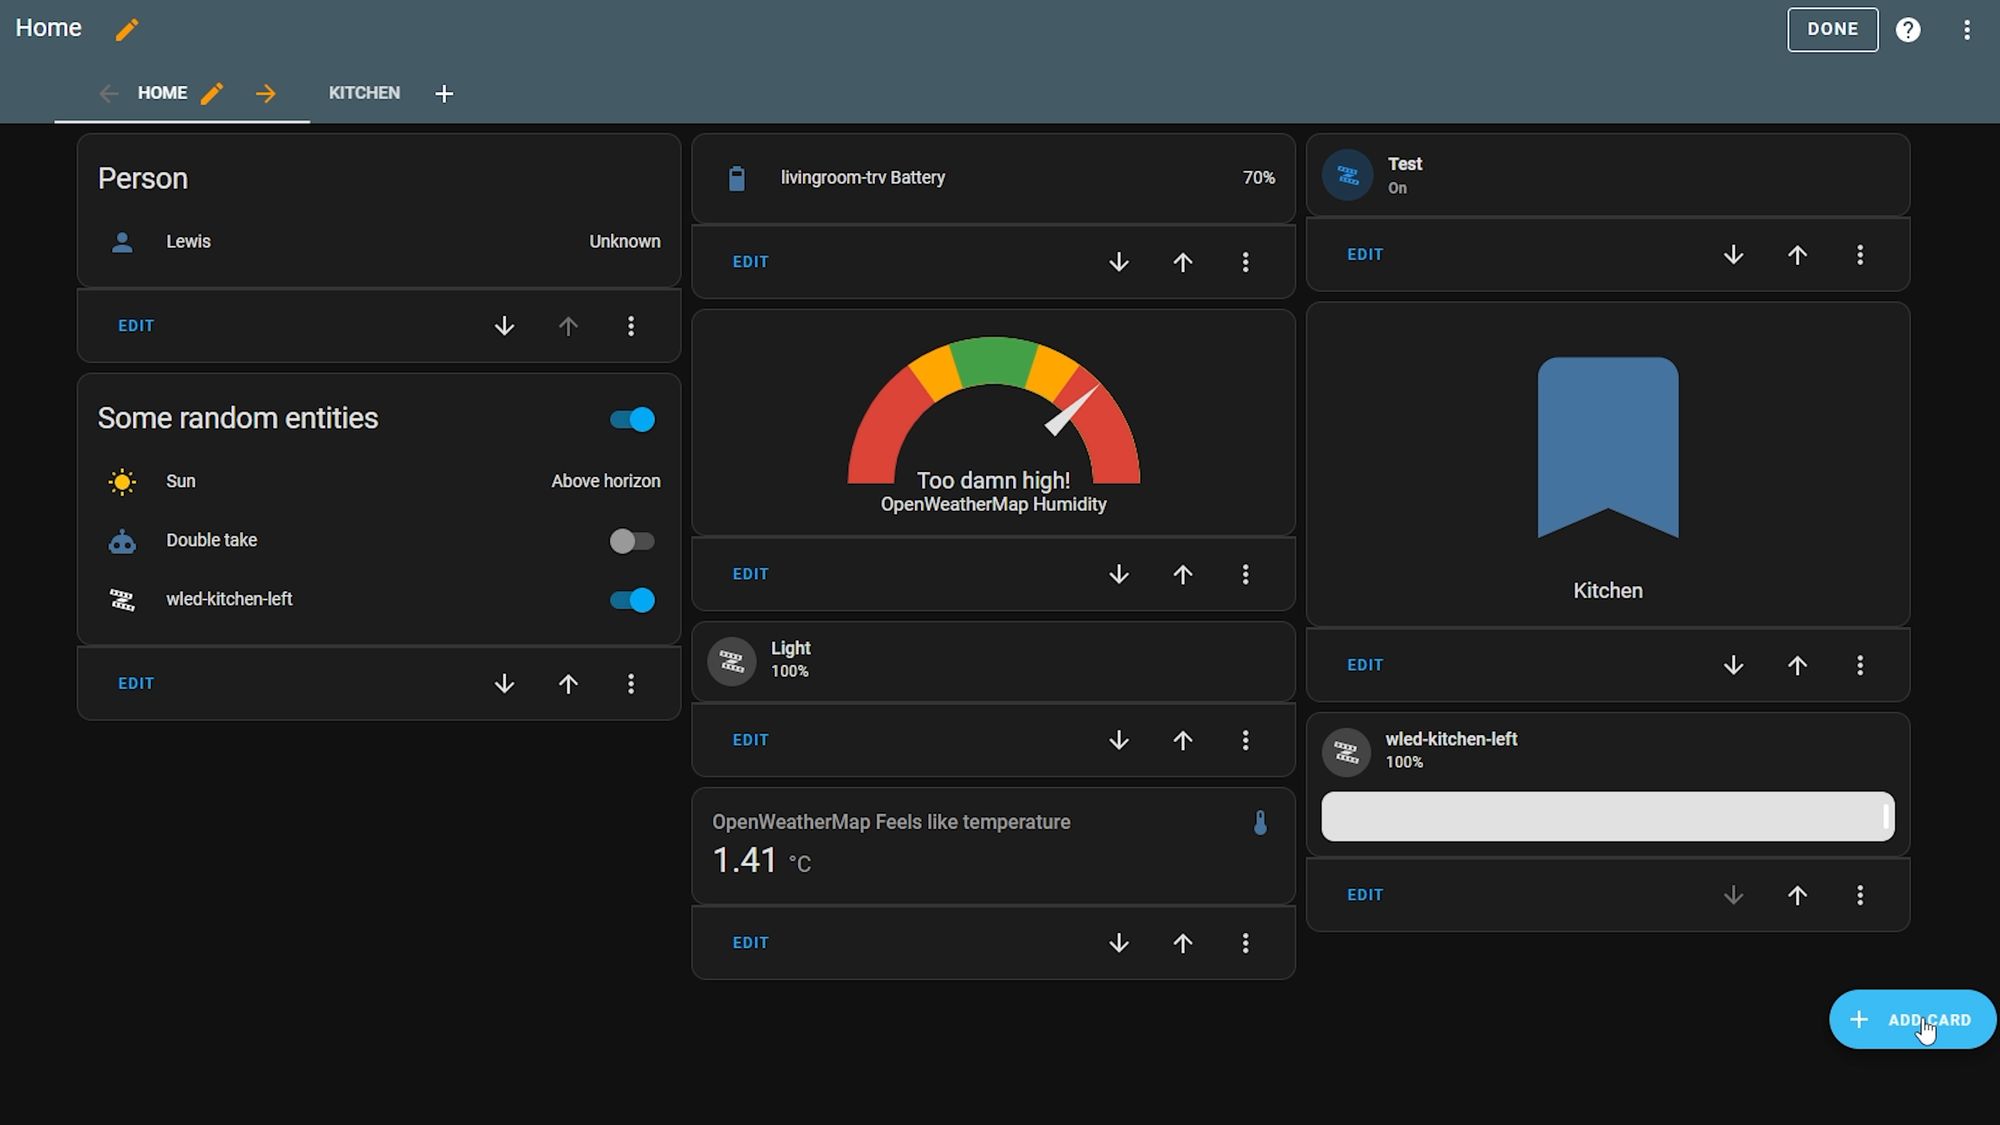
Creating A Button
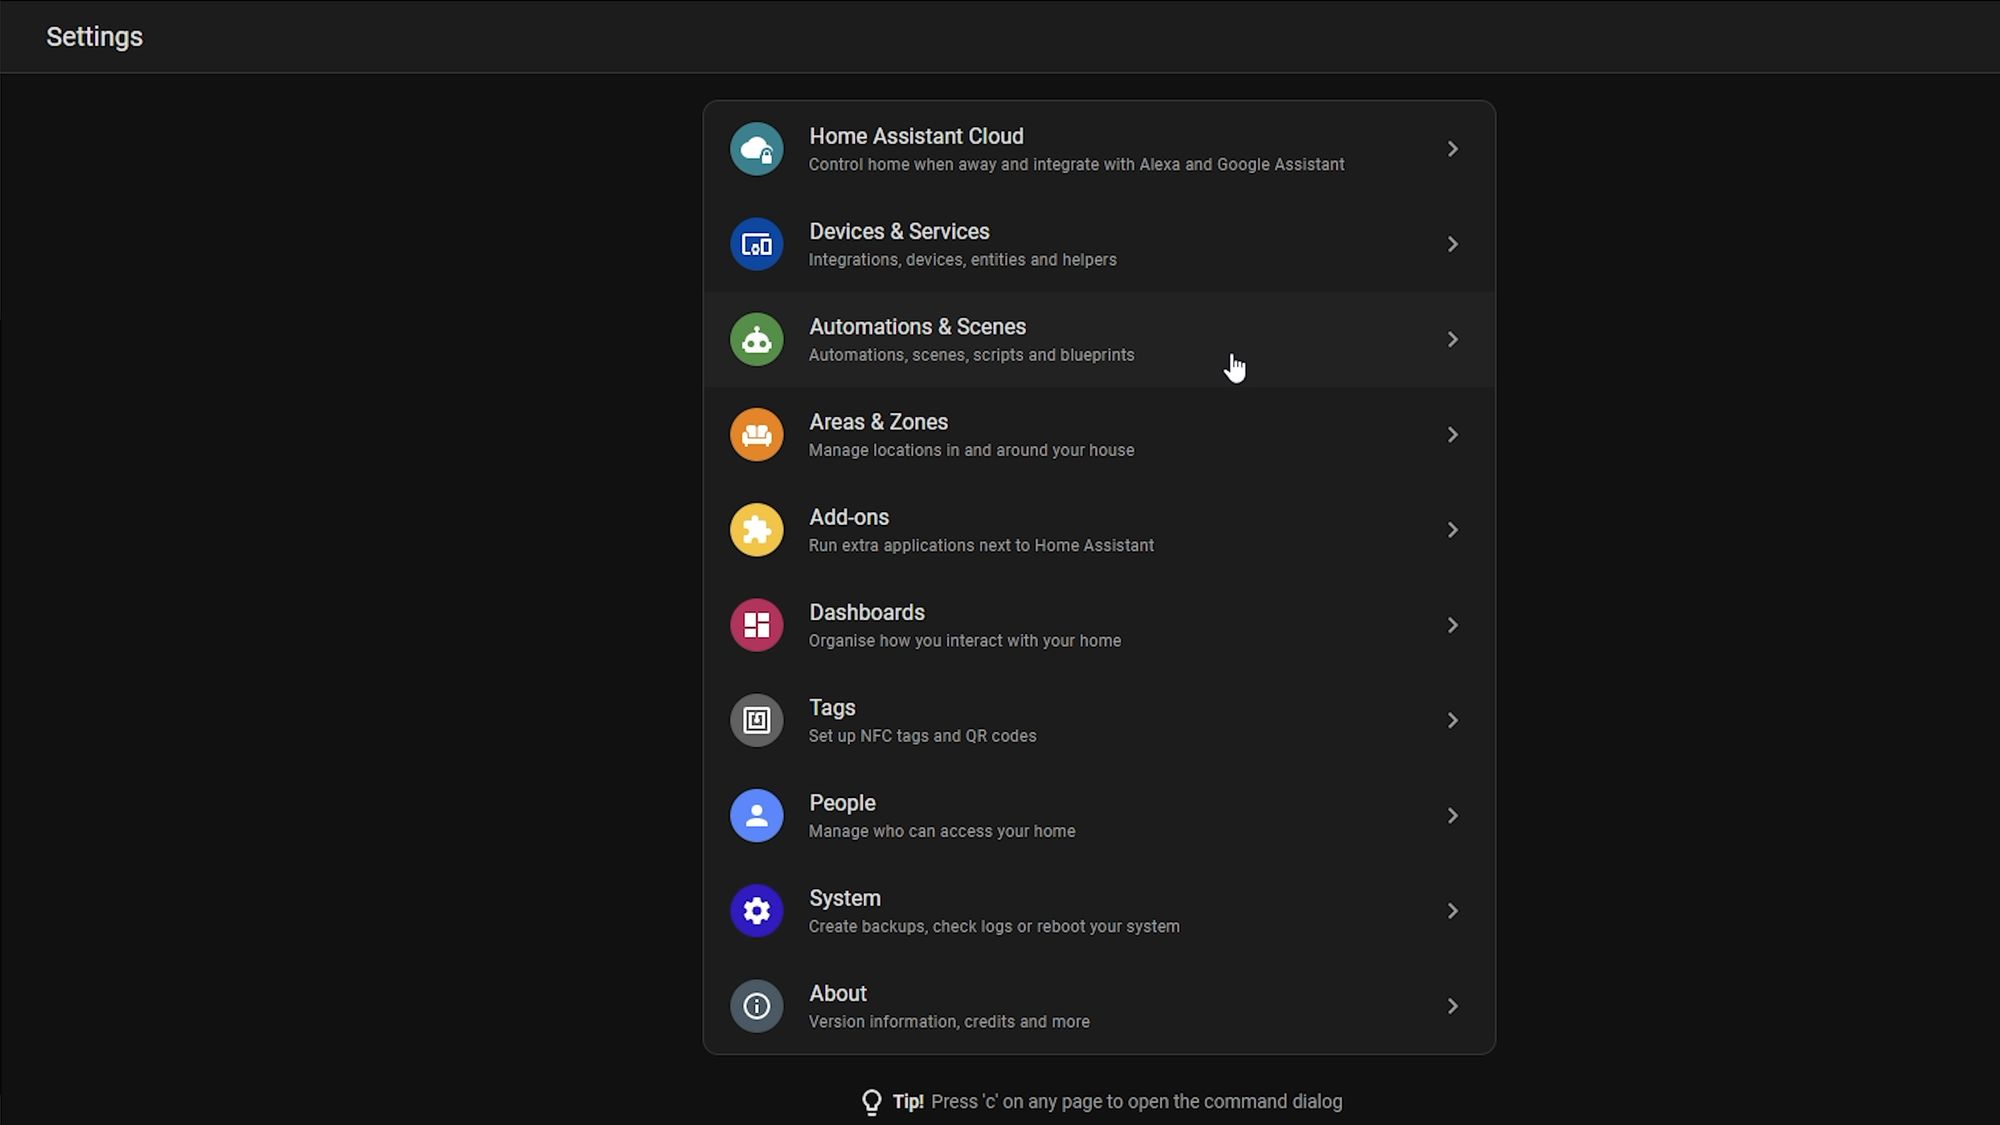
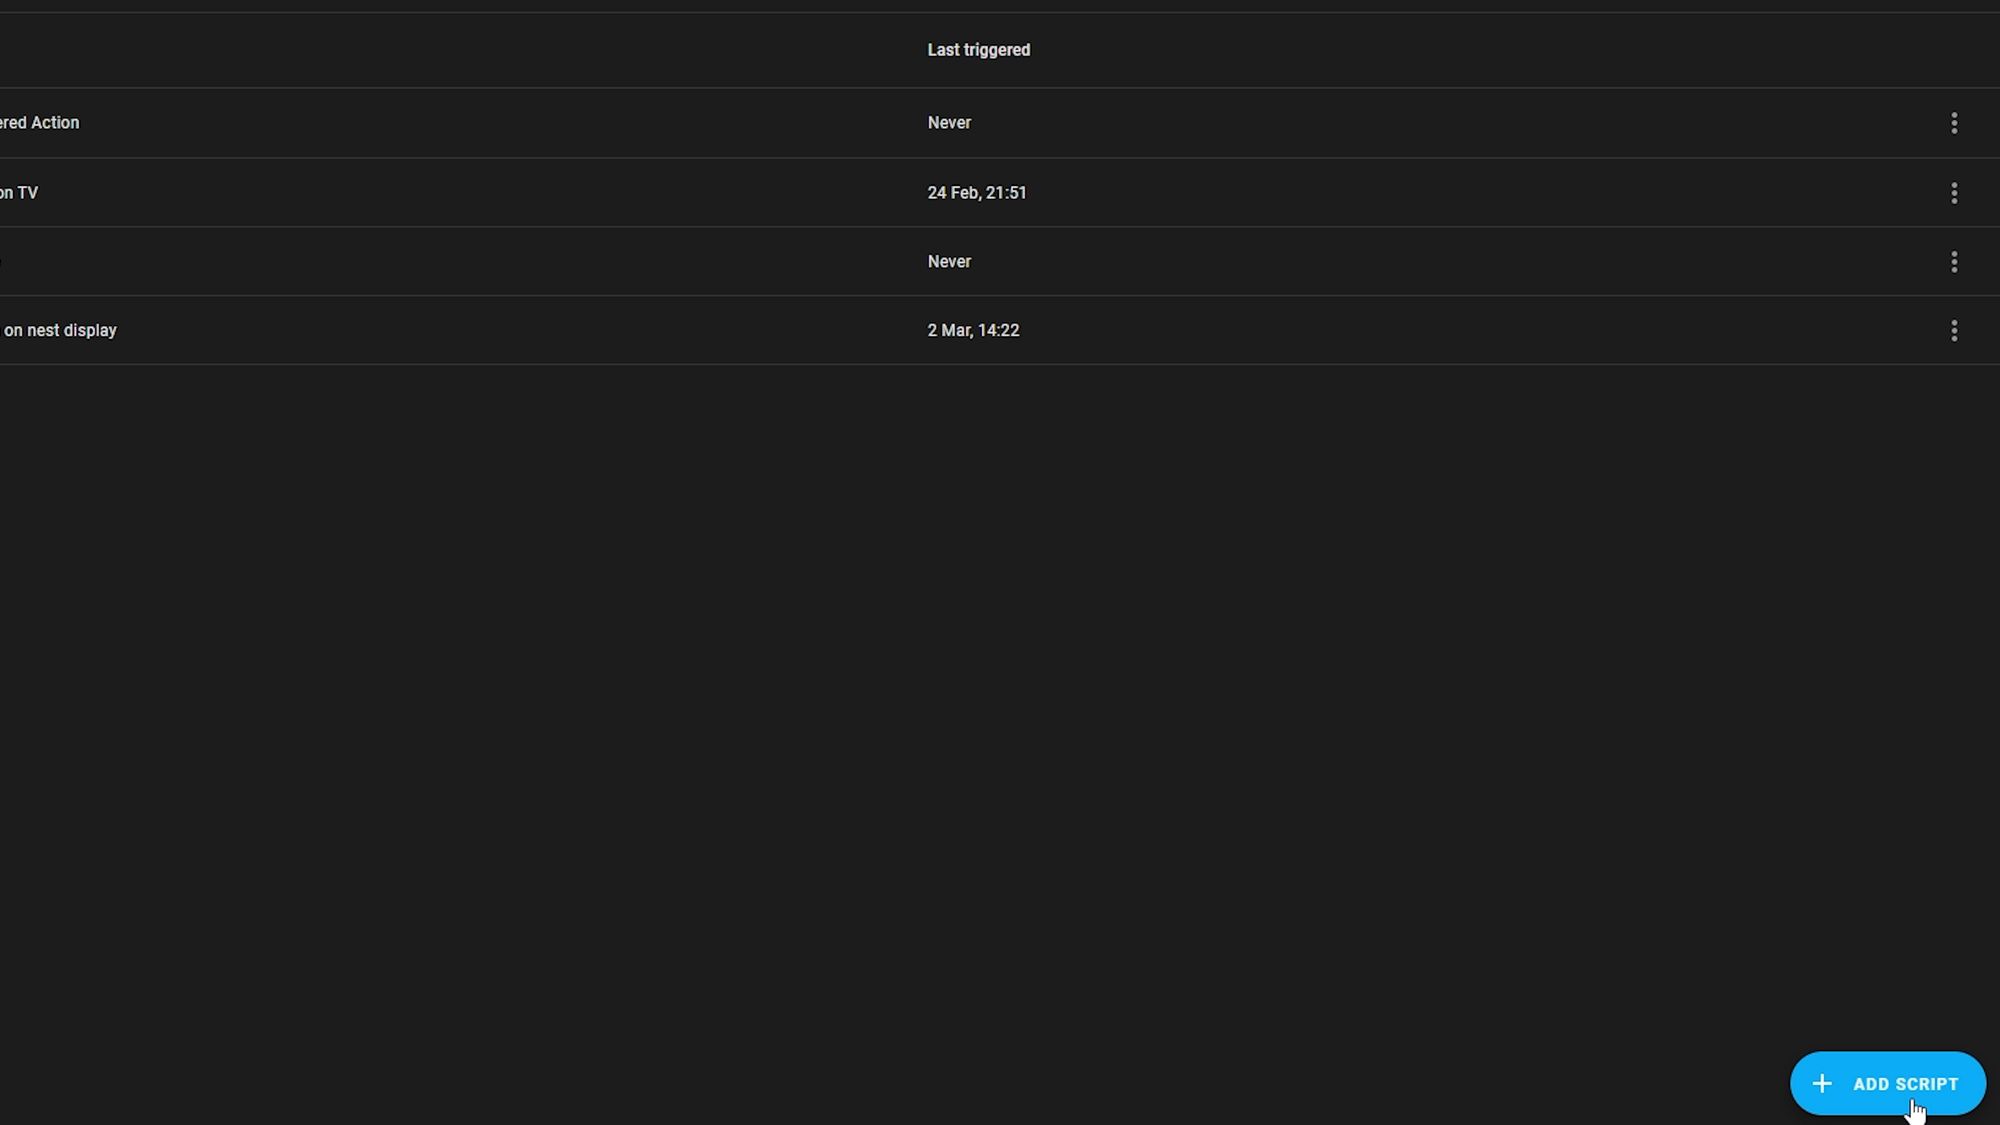
Head over to settings, automations and scripts, select scripts from the top and create a new script.
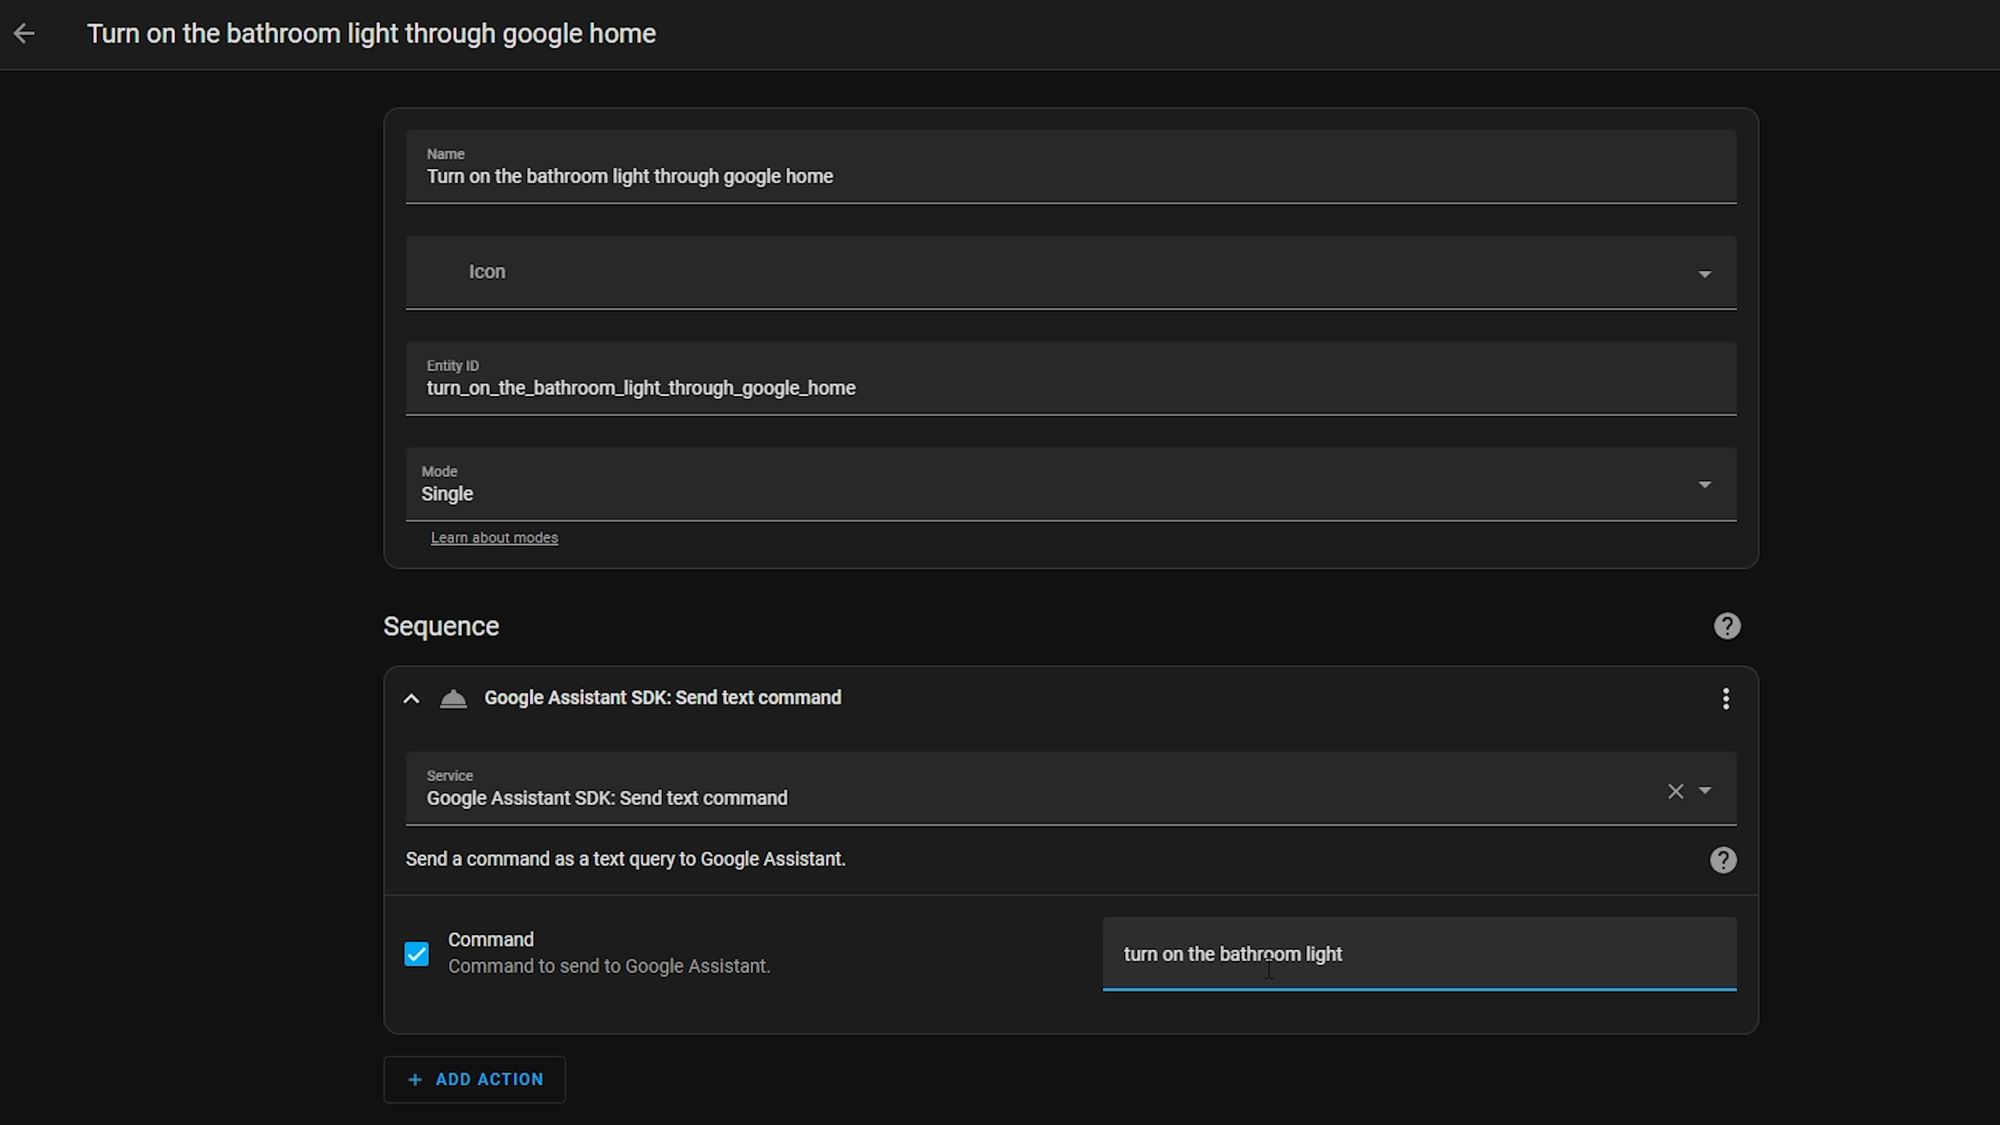
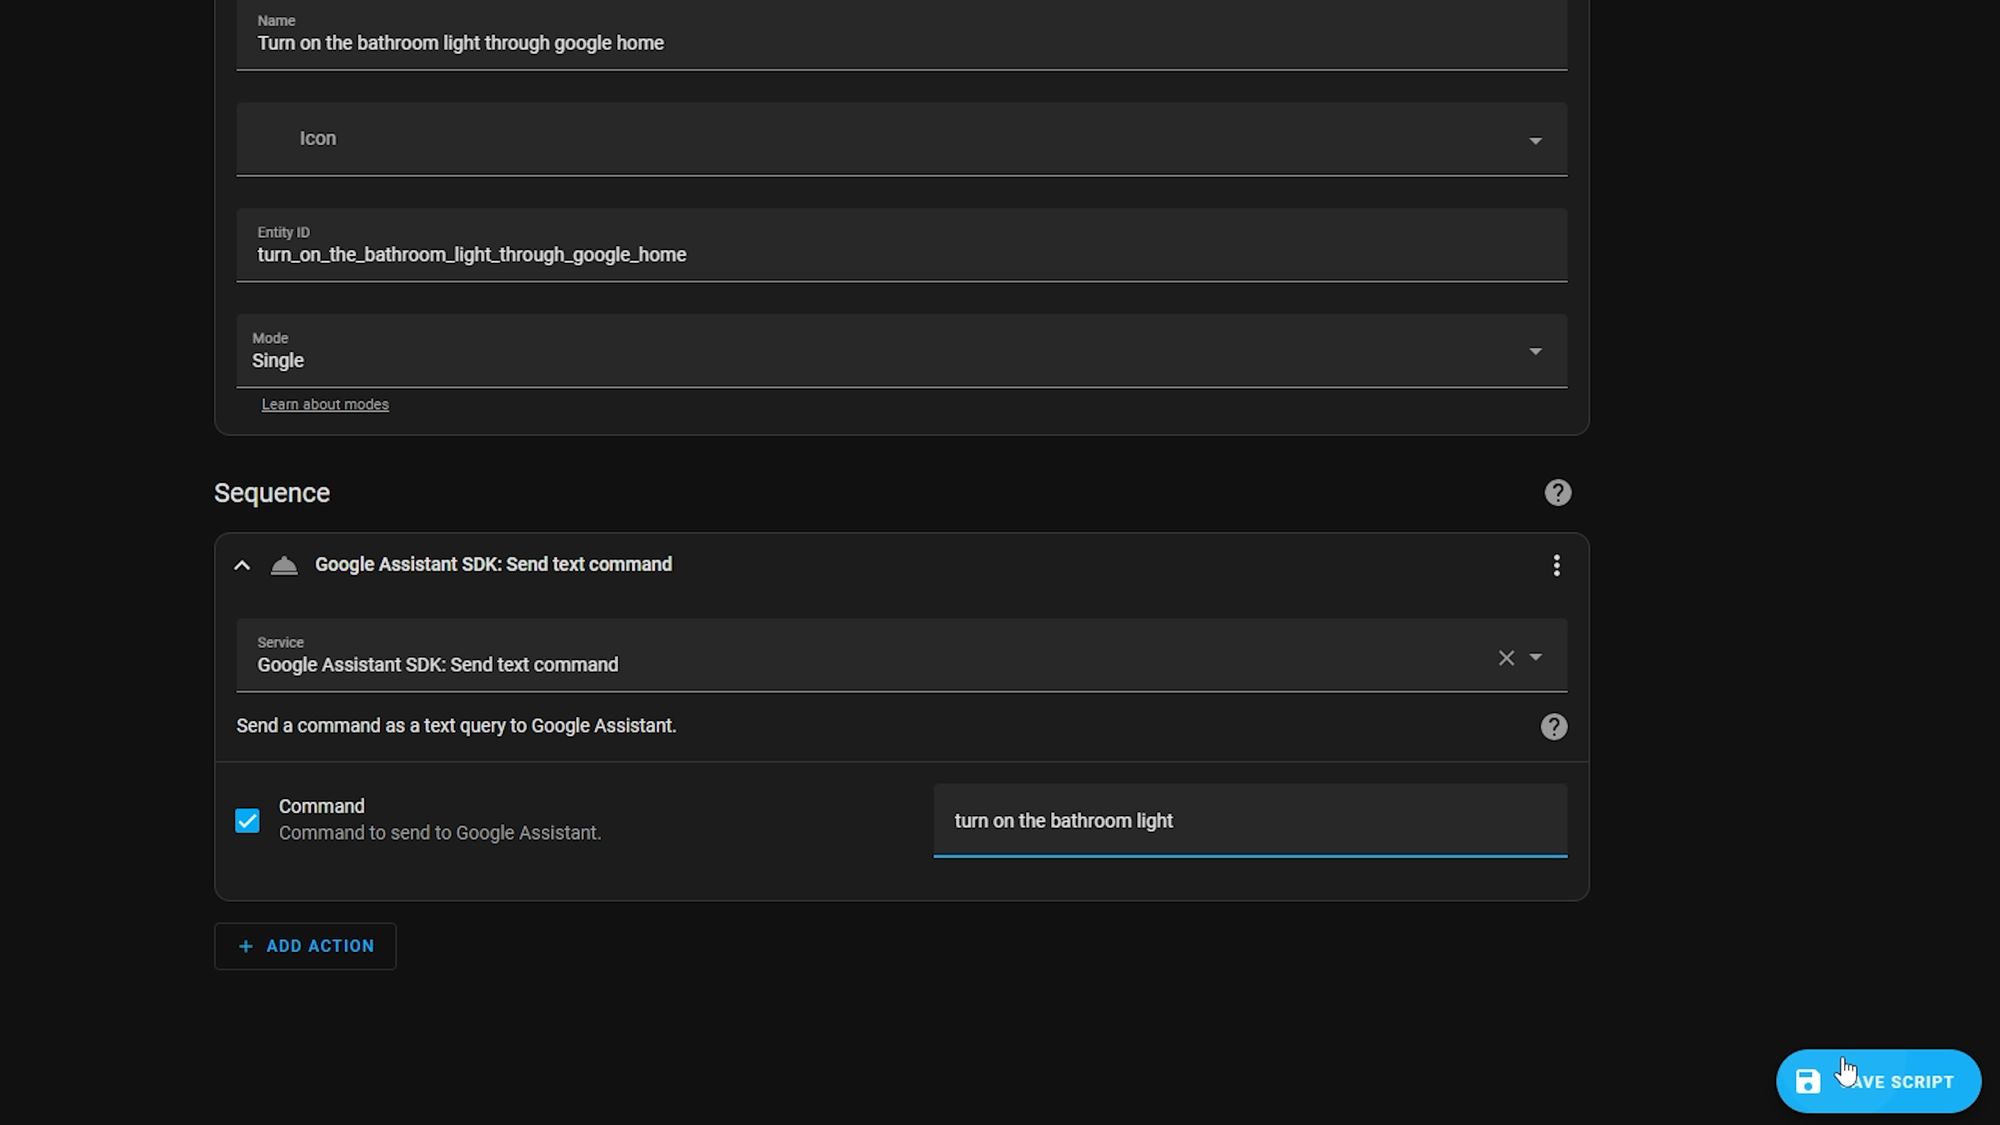
Name it whatever the action will be, and then for the sequence, add an action and select the Google Assistant SDK send text command service, same as before, and enter the command that you want to happen, i.e, turn the bathroom light on and then save your script.
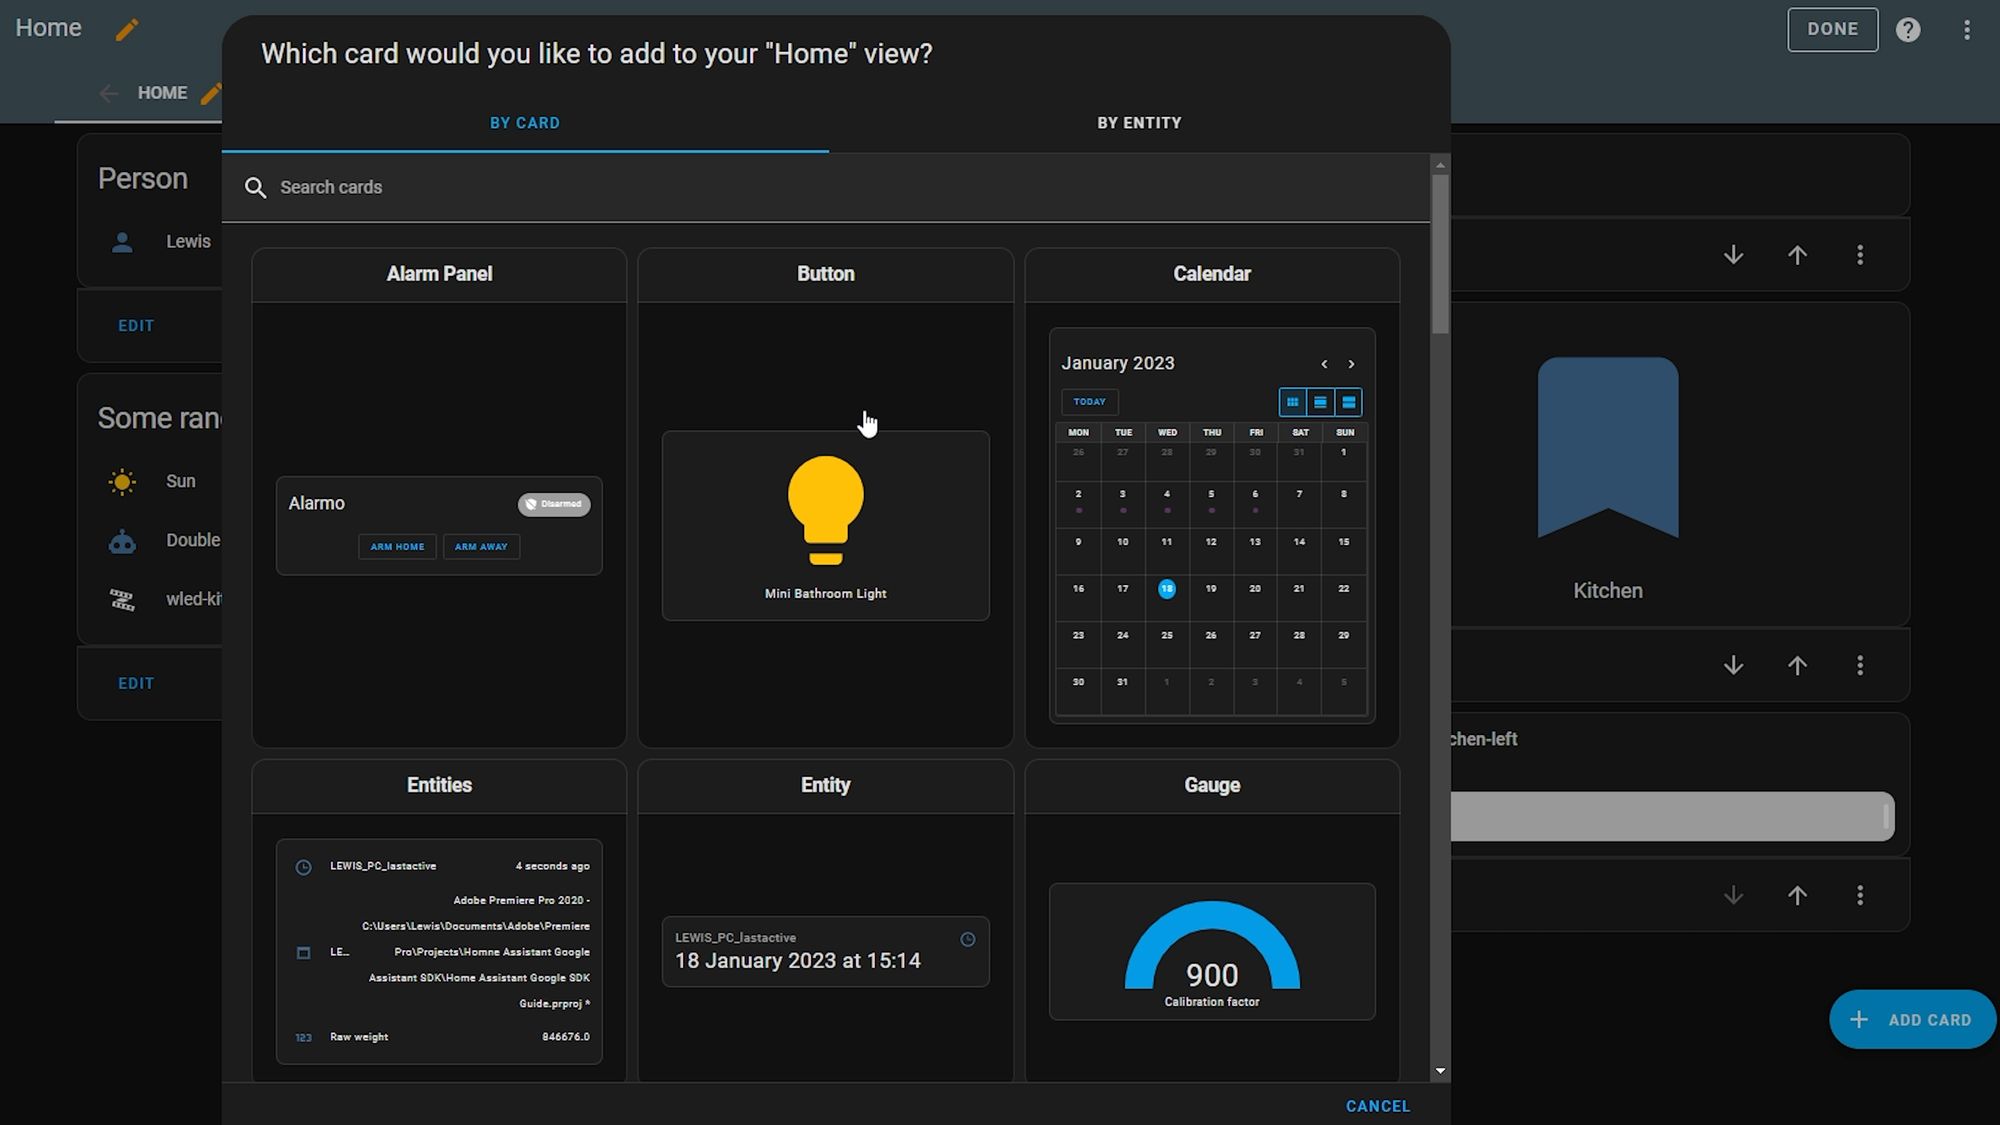
Then head to your dashboard and add a new button, searching for your script from the entity dropdown and hit save.
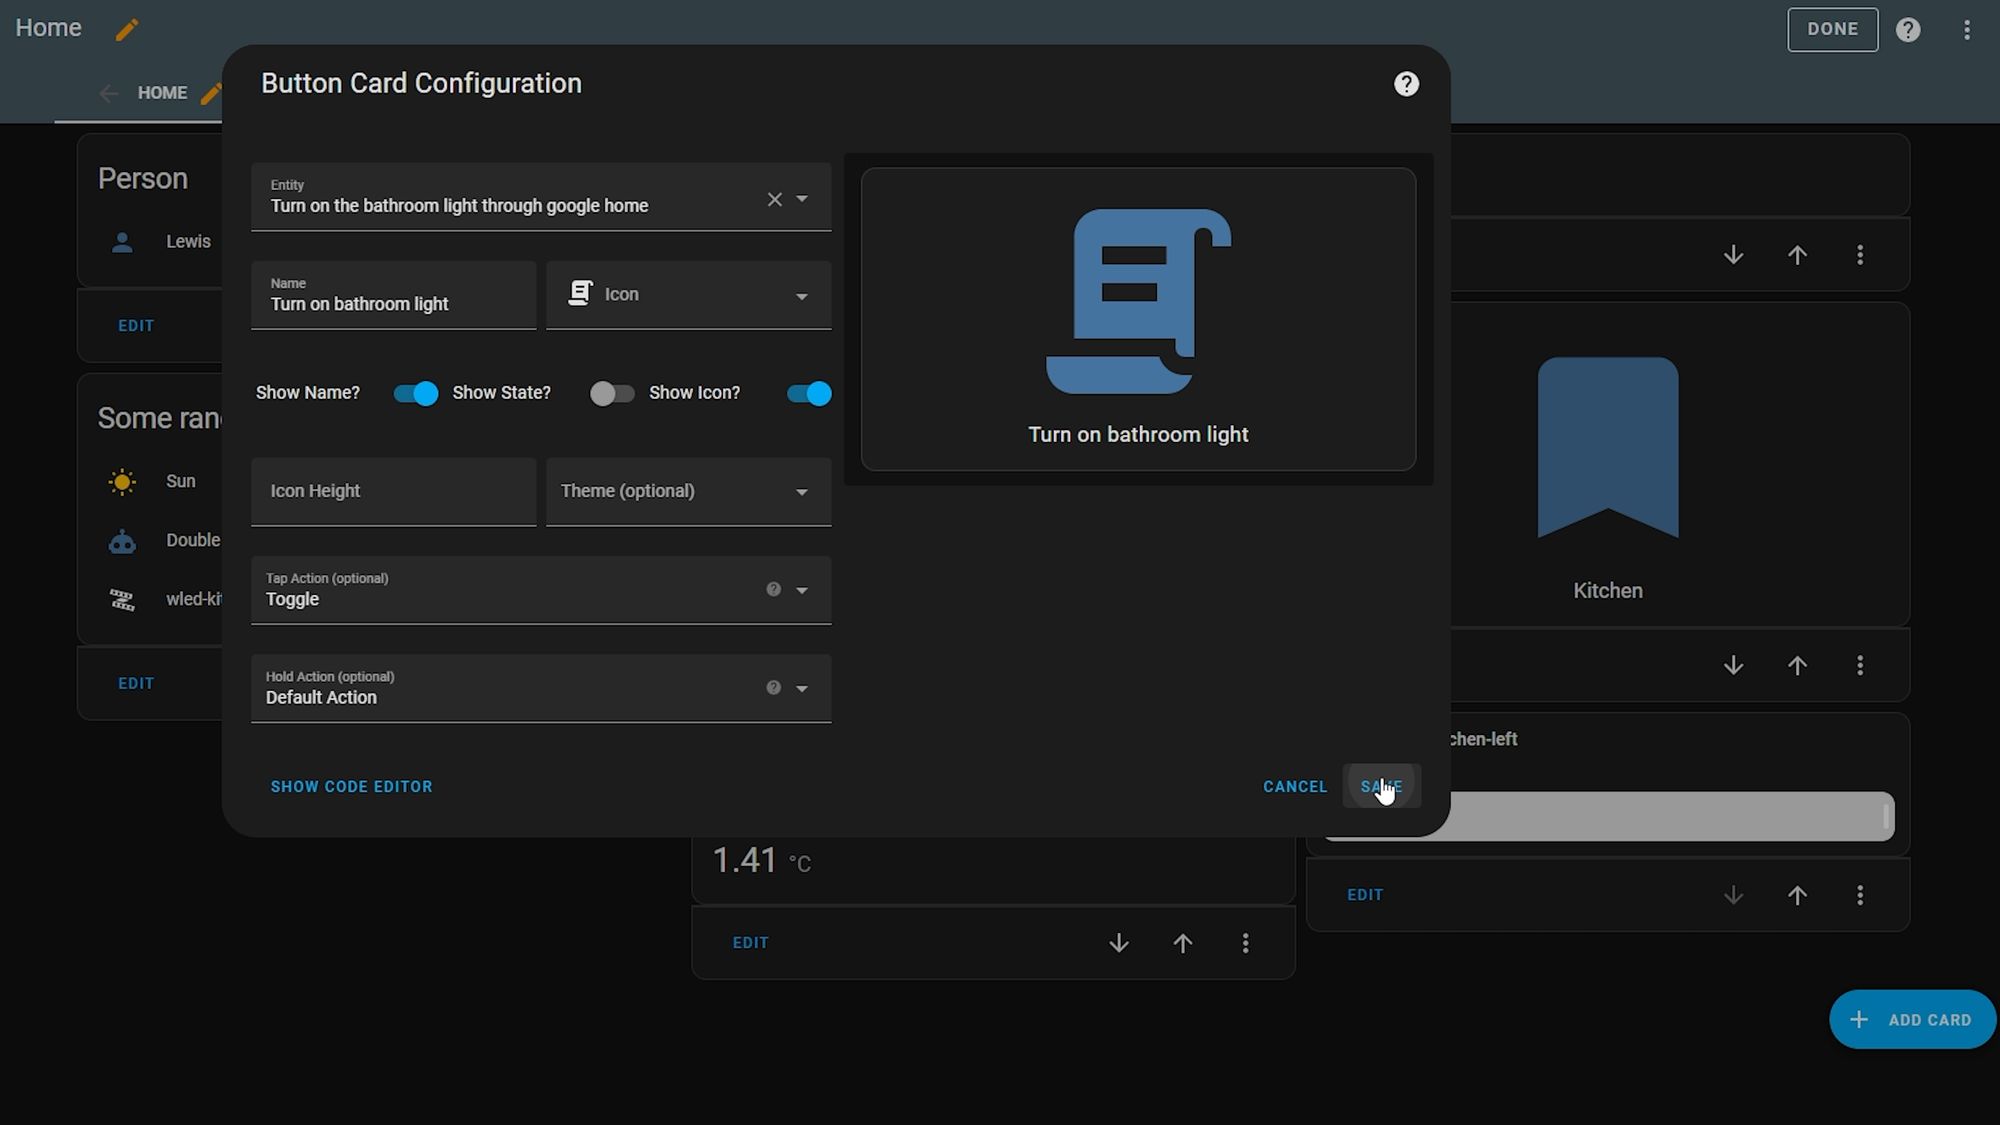
This isn’t ideal, and you may want to consider using a template button to get the on and off functionality in one button but this should be a good way to get you started.
Final Words
There we go, that is how to add Google Assistant devices into your Home Assistant so you can get even more control over everything! This might be a really good addition for devices that just have no other way of getting them into Home Assistant but do have Google Home support so I do, personally, find it very useful. Hopefully you found it useful too and enjoy having even more control in your smart home!
Until next time...